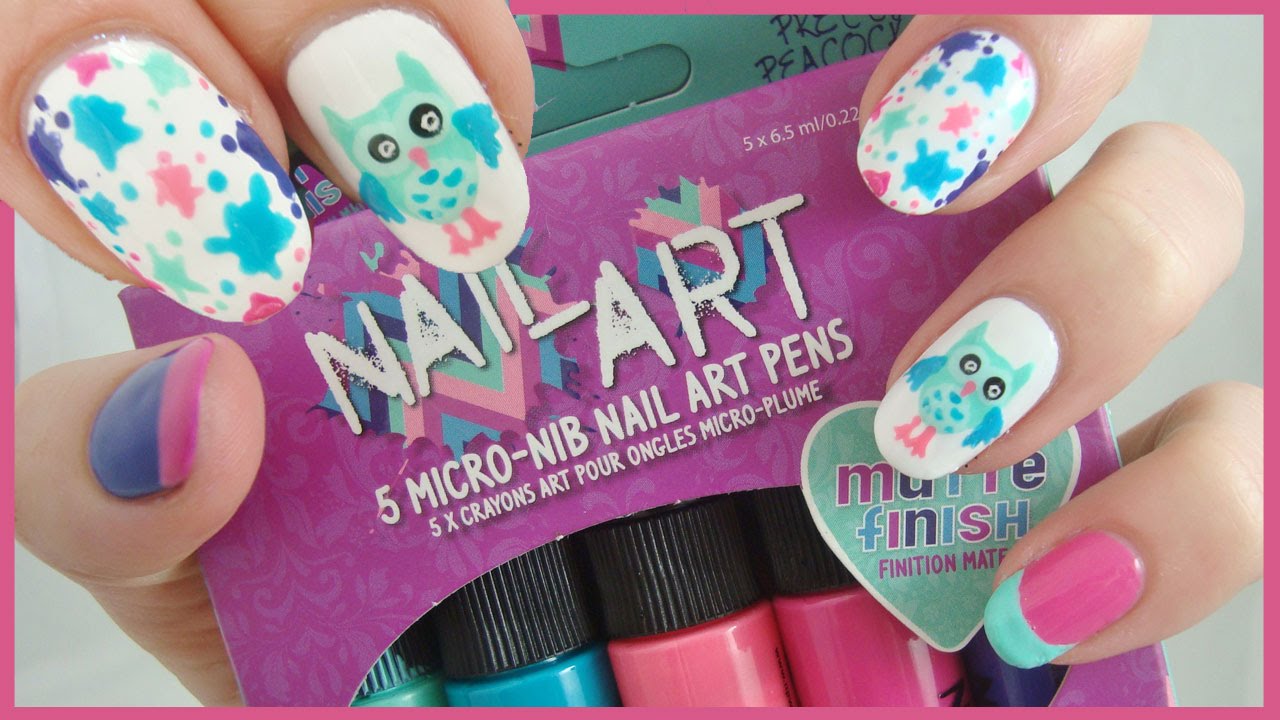
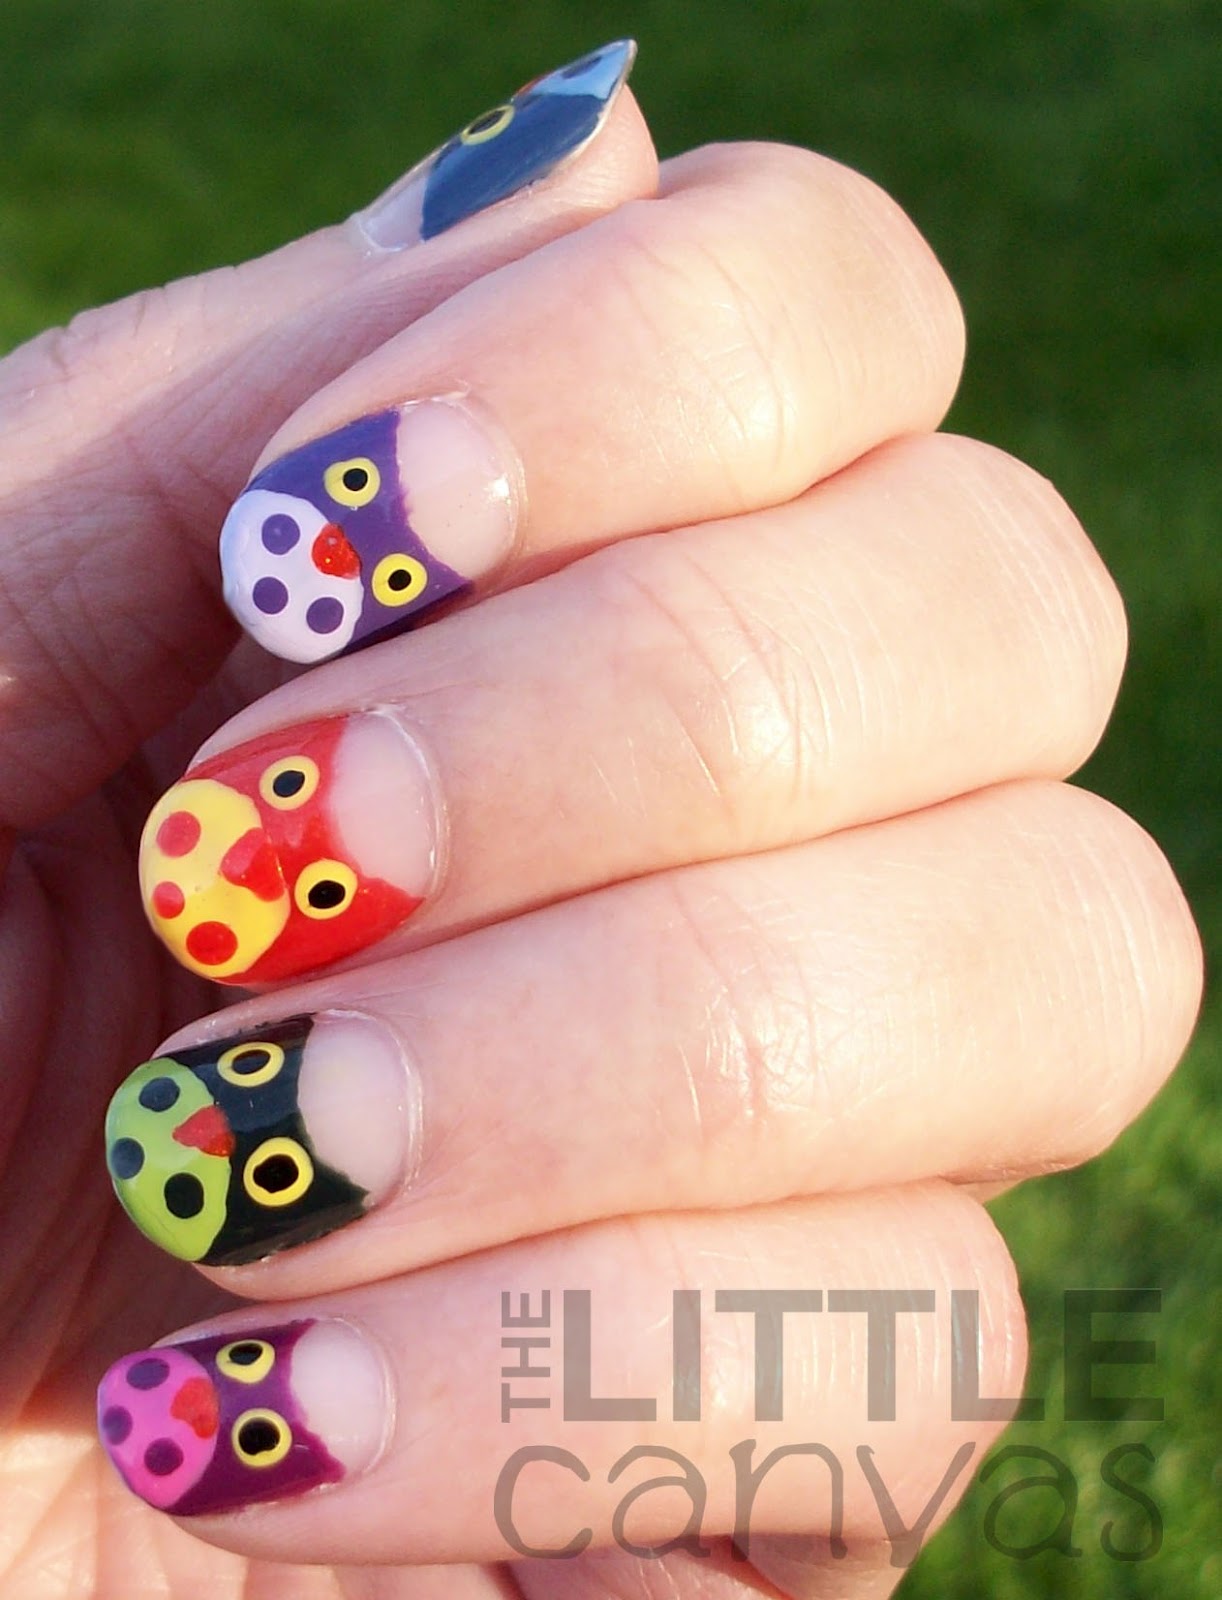
Want to create a stunning snowy owl nail art design? Look no further, as we have the perfect tutorial for you! Follow these easy steps to achieve a beautiful winter-inspired look on your nails. To start, you will need a white nail polish, a grey or silver nail polish, a black nail polish, a small brush, and a dotting tool. Begin by painting your nails with the white polish as the base color. Make sure to apply two coats for a fully opaque finish. Next, use the grey or silver polish to create the snowy owl's feathers. Using the small brush, create curved lines starting from the base of your nail, working your way up to the tip. Make the lines thicker at the base and thinner towards the tip to mimic the look of feathers. Once the grey or silver polish is dry, use the black nail polish to draw the owl's eyes. Using the small brush, create two large circles on each nail. Then, using the dotting tool, add a small white dot in the center of each circle to create the pupils. For the final touch, use the black polish to create the owl's beak. Using the small brush, draw a small triangle shape at the top of each nail, just below the eyes. And there you have it, a beautiful snowy owl nail art design!1. "Snowy Owl Nail Art Tutorial"


1. "Snowy Owl Nail Art Tutorial"


If you're new to nail art or just looking for a simple and easy snowy owl design, this one is for you. With just a few steps, you can achieve a cute and minimalistic look on your nails. For this design, you will need a white nail polish, a black nail polish, a small brush, and a dotting tool. Start by painting your nails with the white polish as the base color. Apply two coats for a solid and smooth finish. Next, using the small brush and black polish, draw two small circles on each nail to create the owl's eyes. Then, using the dotting tool, add a small white dot in the center of each circle for the pupils. To finish off the design, use the black polish to draw a small triangle shape just below the eyes to create the owl's beak. And that's it, a simple yet adorable snowy owl nail art design!2. "Easy Snowy Owl Nail Art"


2. "Easy Snowy Owl Nail Art"


Embrace the winter season with this gorgeous winter wonderland nail art featuring a majestic snowy owl. This design may look intricate, but with a little bit of patience and precision, you can achieve this stunning look. You will need a white nail polish, a grey or silver nail polish, a black nail polish, a small brush, a dotting tool, and a thin nail art brush. Start by painting your nails with the white polish as the base color. Apply two coats for a fully opaque finish. Next, use the grey or silver polish to create the snowy owl's feathers. Using the small brush, create curved lines starting from the base of your nail, working your way up to the tip. Make the lines thicker at the base and thinner towards the tip to mimic the look of feathers. Once the grey or silver polish is dry, use the black nail polish to draw the owl's eyes. Using the small brush, create two large circles on each nail. Then, using the dotting tool, add a small white dot in the center of each circle to create the pupils. For the final touch, use the thin nail art brush and black polish to add intricate details to the owl's feathers and face. And there you have it, a stunning winter wonderland nail art featuring a magnificent snowy owl.3. "Winter Wonderland Nail Art: Snowy Owl"


3. "Winter Wonderland Nail Art: Snowy Owl"


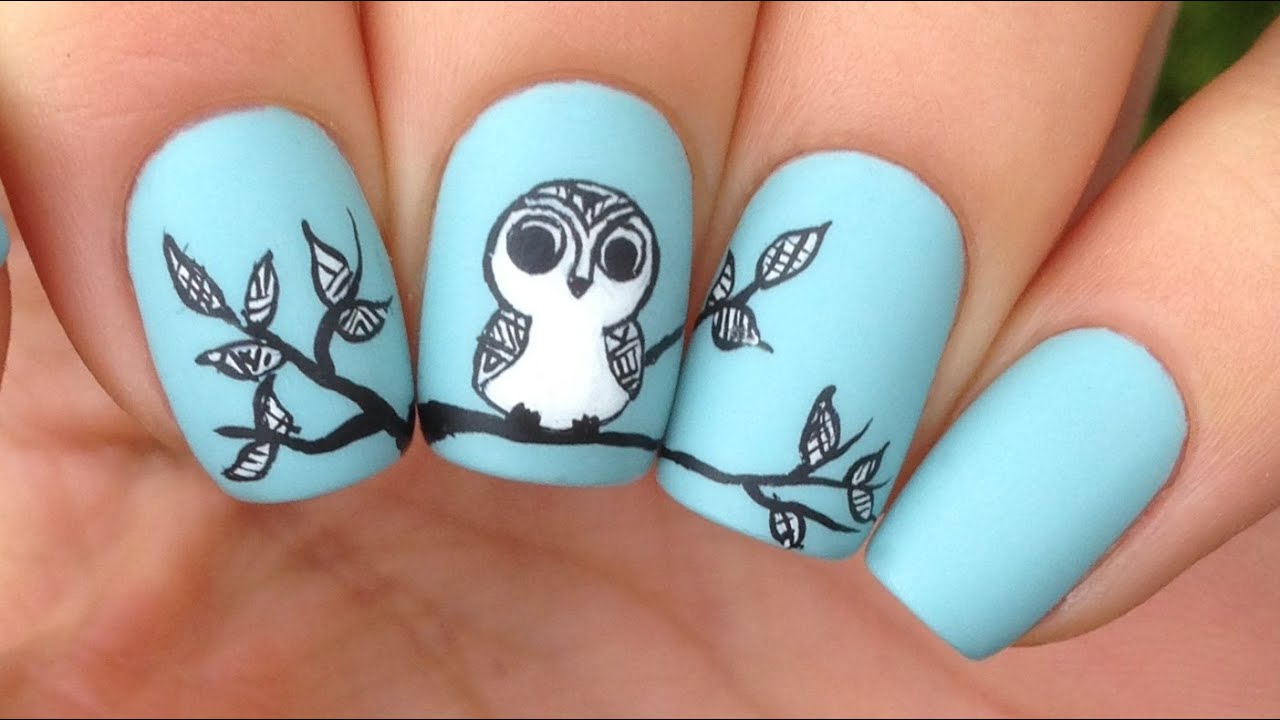
If you're a fan of cute and playful nail designs, this one is for you. This snowy owl design features a cartoonish and adorable owl on each nail that will surely make you smile every time you look at your nails. You will need a white nail polish, a grey or silver nail polish, a black nail polish, a small brush, a dotting tool, and a thin nail art brush. Start by painting your nails with the white polish as the base color. Apply two coats for a solid and smooth finish. Next, use the grey or silver polish to create the snowy owl's feathers. Using the small brush, create curved lines starting from the base of your nail, working your way up to the tip. Make the lines thicker at the base and thinner towards the tip to mimic the look of feathers. Once the grey or silver polish is dry, use the black nail polish to draw the owl's eyes. Using the small brush, create two large circles on each nail. Then, using the dotting tool, add a small white dot in the center of each circle to create the pupils. To give the design a cute and playful touch, use the thin nail art brush and black polish to draw small hearts or stars around the owl. And there you have it, a cute and fun snowy owl nail design.4. "Cute Snowy Owl Nail Design"
4. "Cute Snowy Owl Nail Design"


:max_bytes(150000):strip_icc()/GettyImages-163436746-724fa379f2e94cadbebf9c75ace30d39.jpg)

If you're new to nail art or just looking for a detailed step-by-step tutorial, we've got you covered. Follow these easy steps to achieve a beautiful snowy owl nail art design. For this design, you will need a white nail polish, a grey or silver nail polish, a black nail polish, a small brush, and a dotting tool. Start by painting your nails with the white polish as the base color. Apply two coats for a solid and smooth finish. Next, use the grey or silver polish to create the snowy owl's feathers. Using the small brush, create curved lines starting from the base of your nail, working your way up to the tip. Make the lines thicker at the base and thinner towards the tip to mimic the look of feathers. Once the grey or silver polish is dry, use the black nail polish to draw the owl's eyes. Using the small brush, create two large circles on each nail. Then, using the dotting tool, add a small white dot in the center of each circle to create the pupils. For the final touch, use the black polish to create the owl's beak. Using the small brush, draw a small triangle shape at the top of each nail, just below the eyes. And there you have it, a beautiful snowy owl nail art design, step by step.5. "Snowy Owl Nail Art Step by Step"


5. "Snowy Owl Nail Art Step by Step"


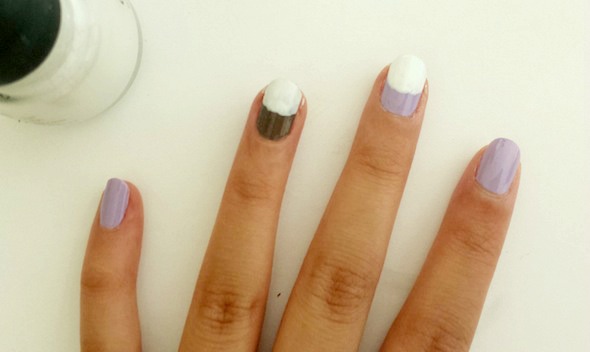
If you love a minimalist and monochromatic look, this white and grey snowy owl nail art is perfect for you. With just two colors, you can create a sleek and elegant design on your nails. You will need a white nail polish, a grey or silver nail polish, a small brush, a dotting tool, and a thin nail art brush. Start by painting your nails with the white polish as the base color. Apply two coats for a fully opaque finish. Next, use the grey or silver polish to create the snowy owl's feathers. Using the small brush, create curved lines starting from the base of your nail, working your way up to the tip. Make the lines thicker at the base and thinner towards the tip to mimic the look of feathers. Once the grey or silver polish is dry, use the thin nail art brush and black polish to add intricate details to the owl's feathers and face. And there you have it, a sleek and elegant white and grey snowy owl nail art.6. "White and Grey Snowy Owl Nail Art"


6. "White and Grey Snowy Owl Nail Art"

Short nails can also rock a snowy owl nail art design. With a few tweaks, you can achieve a cute and compact version of this winter-inspired design. For this design, you will need a white nail polish, a grey or silver nail polish, a black nail polish, a small brush, and a dotting tool. Start by painting your nails with the white polish as the base color. Apply two coats for a solid and smooth finish. Next, use the grey or silver polish to create the snowy owl's feathers. Using the small brush, create curved lines starting from the base of your nail, working your way up to the tip. Make the lines thicker at the base and thinner towards the tip to mimic the look of feathers. Once the grey or silver polish is dry, use the black nail polish to draw the owl's eyes. Using the small brush, create two large circles on each nail. Then, using the dotting tool, add a small white dot in the center of each circle to create the pupils. To give the design a cute and compact touch, use the black polish to create a smaller triangle shape for the owl's beak. And there you have it, a cute snowy owl nail art design for short nails.7. "Snowy Owl Nail Art for Short Nails"


7. "Snowy Owl Nail Art for Short Nails"


Add some sparkle and shine to your snowy owl nail art with this glittery design. This is a perfect look for a special occasion or a night out during the winter season. You will need a white nail polish, a grey or silver nail polish, a black nail polish, a small brush, a dotting tool, and glitter nail polish. Start by painting your nails with the white polish as the base color. Apply two coats for a solid and smooth finish. Next, use the grey or silver polish to create the snowy owl's feathers. Using the small brush, create curved lines starting from the base of your nail, working your way up to the tip. Make the lines thicker at the base and thinner towards the tip to mimic the look of feathers. Once the grey or silver polish is dry, use the black nail polish to draw the owl's eyes. Using the small brush, create two large circles on each nail. Then, using the dotting tool, add a small white dot in the center of each circle to create the pupils. To add the glittery touch, use the glitter nail polish to create a sparkly gradient on the tips of your nails. And there you have it, a glittery snowy owl nail art design.8. "Glittery Snowy Owl Nail Art"


8. "Glittery Snowy Owl Nail Art"

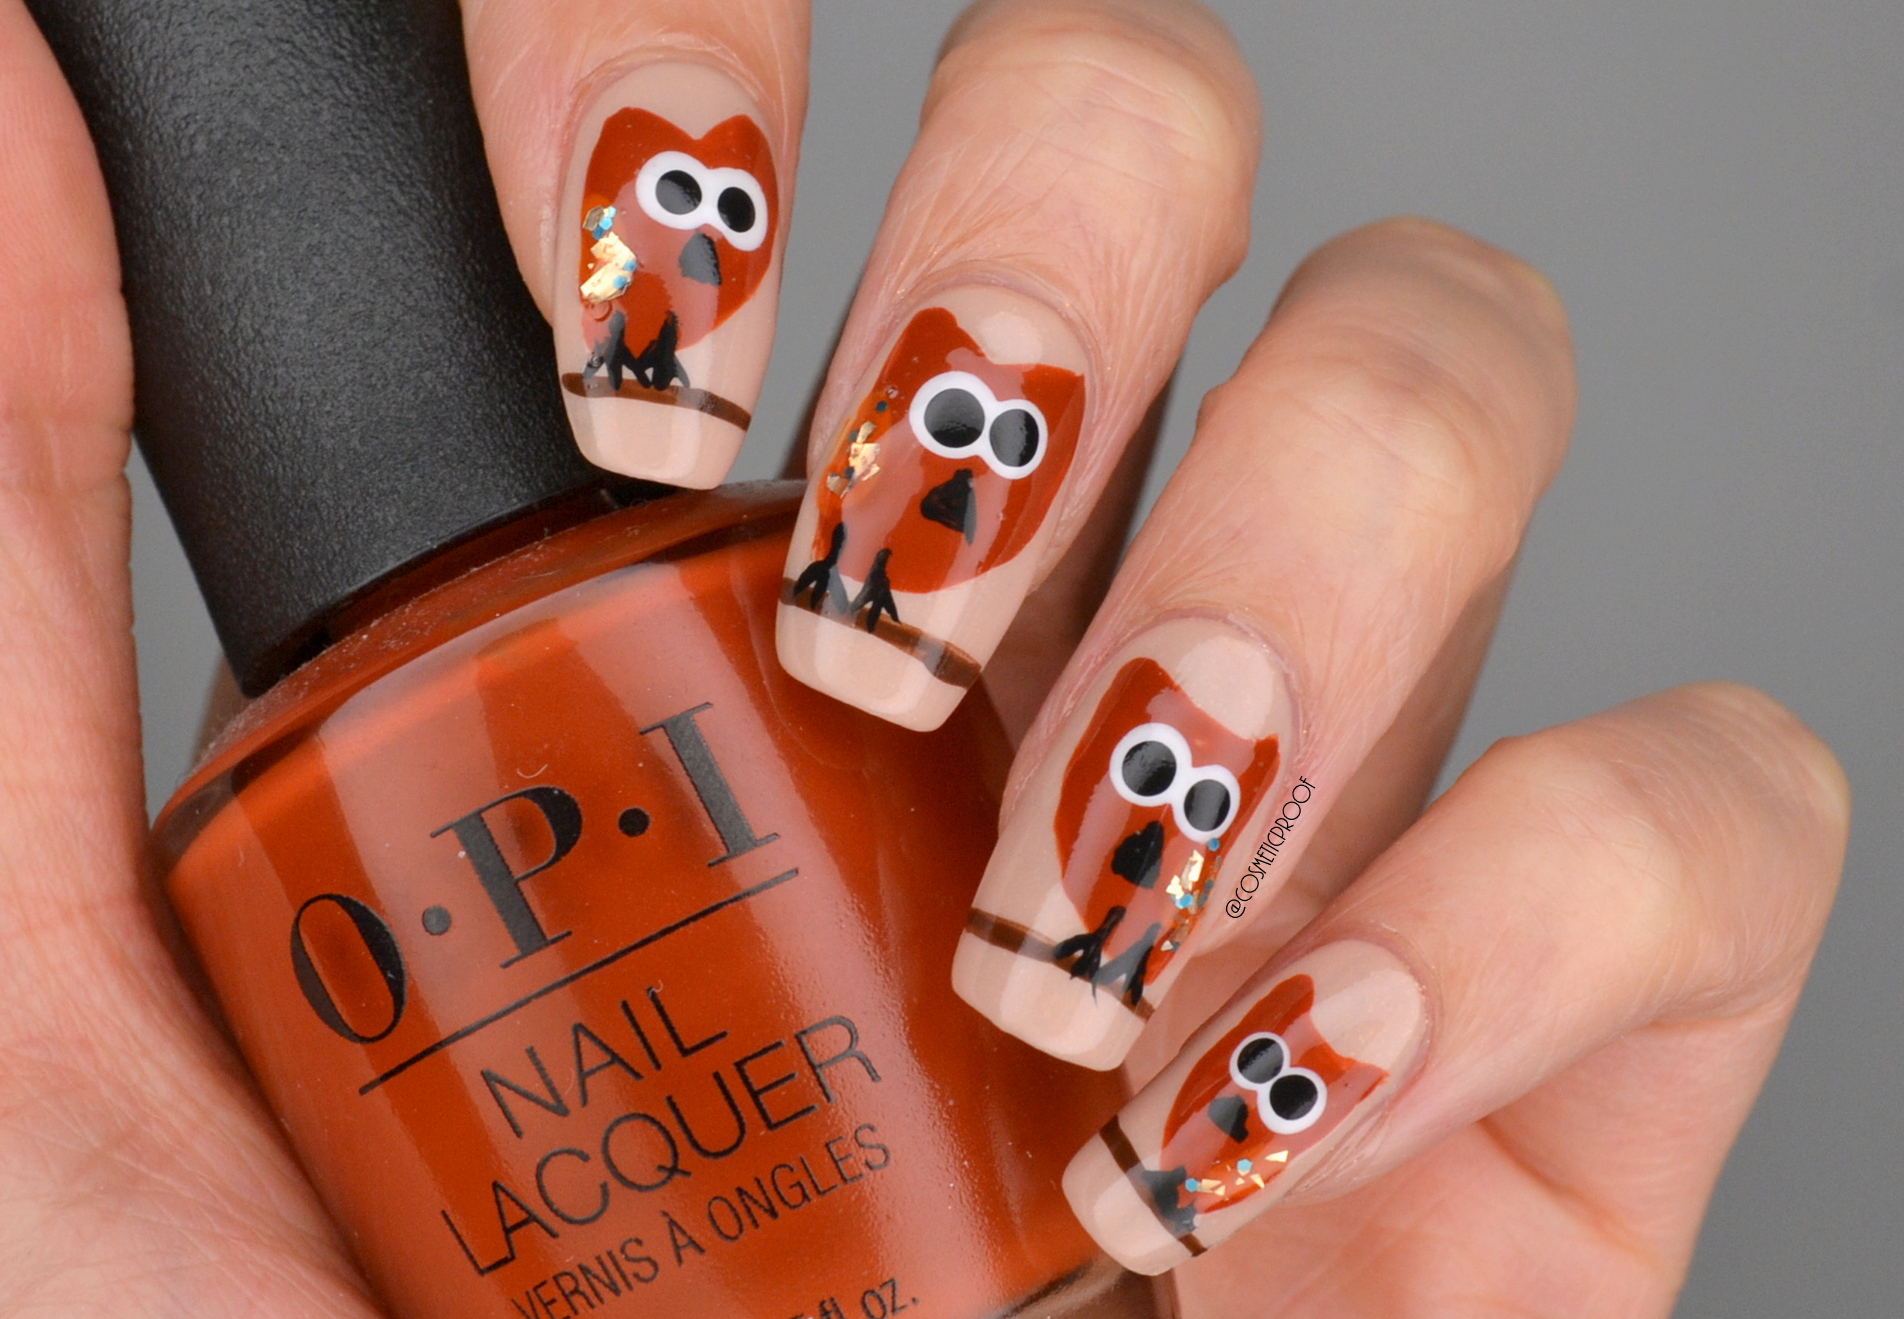
Take your snowy owl nail art to the next level by incorporating real feathers into the design. This will add a unique and textured look to your nails that will surely catch everyone's attention. For this design, you will need a white nail polish, a grey or silver nail polish, a black nail polish, a small brush, a dotting tool, feathers, and nail glue. Start by painting your nails with the white polish as the base color. Apply two coats for a fully opaque finish. Next, use the grey or silver polish to create the snowy owl's feathers. Using the small brush, create curved lines starting from the base of your nail, working your way up to the tip. Make the lines thicker at the base and thinner towards the tip to mimic the look of feathers. Once the grey or silver polish is dry, use the black nail polish to draw the owl's eyes. Using the small brush, create two large circles on each nail. Then, using the dotting tool, add a small white dot in the center of each circle to create the pupils. For the final touch, use the nail glue to attach small feathers onto your nails, creating a 3D effect. And there you have it, a unique and textured snowy owl nail art design with real feathers.9. "Snowy Owl Nail Art with Feathers"
9. "Snowy Owl Nail Art with Feathers"

For those who love realistic and detailed nail art, this snowy owl design is perfect for you. With a little bit of patience and precision, you can achieve a stunning and lifelike snowy owl on your nails. You will need a white nail polish, a grey or silver nail polish, a black nail polish, a small brush, a dotting tool, and a thin nail art brush. Start by painting your nails with the white polish as the base color. Apply two coats for a fully opaque finish. Next, use the grey or silver polish to create the snowy owl's feathers. Using the small brush, create curved lines starting from the base of your nail, working your way up to the tip. Make the lines thicker at the base and thinner towards the tip to mimic the look of feathers. Once the grey or silver polish is dry, use the black nail polish to draw the owl's eyes. Using the small brush, create two large circles on each nail. Then, using the dotting tool, add a small white dot in the center of each circle to create the pupils. To add a lifelike touch, use the thin nail art brush and black polish to add intricate details to the owl's feathers and face. And there you have it, a realistic snowy owl nail art design that will surely impress. 10. "Realistic Snowy Owl Nail Art"


10. "Realistic Snowy Owl Nail Art"
Snowy Owl Nail Art: A Whimsical Addition to Your Winter Look

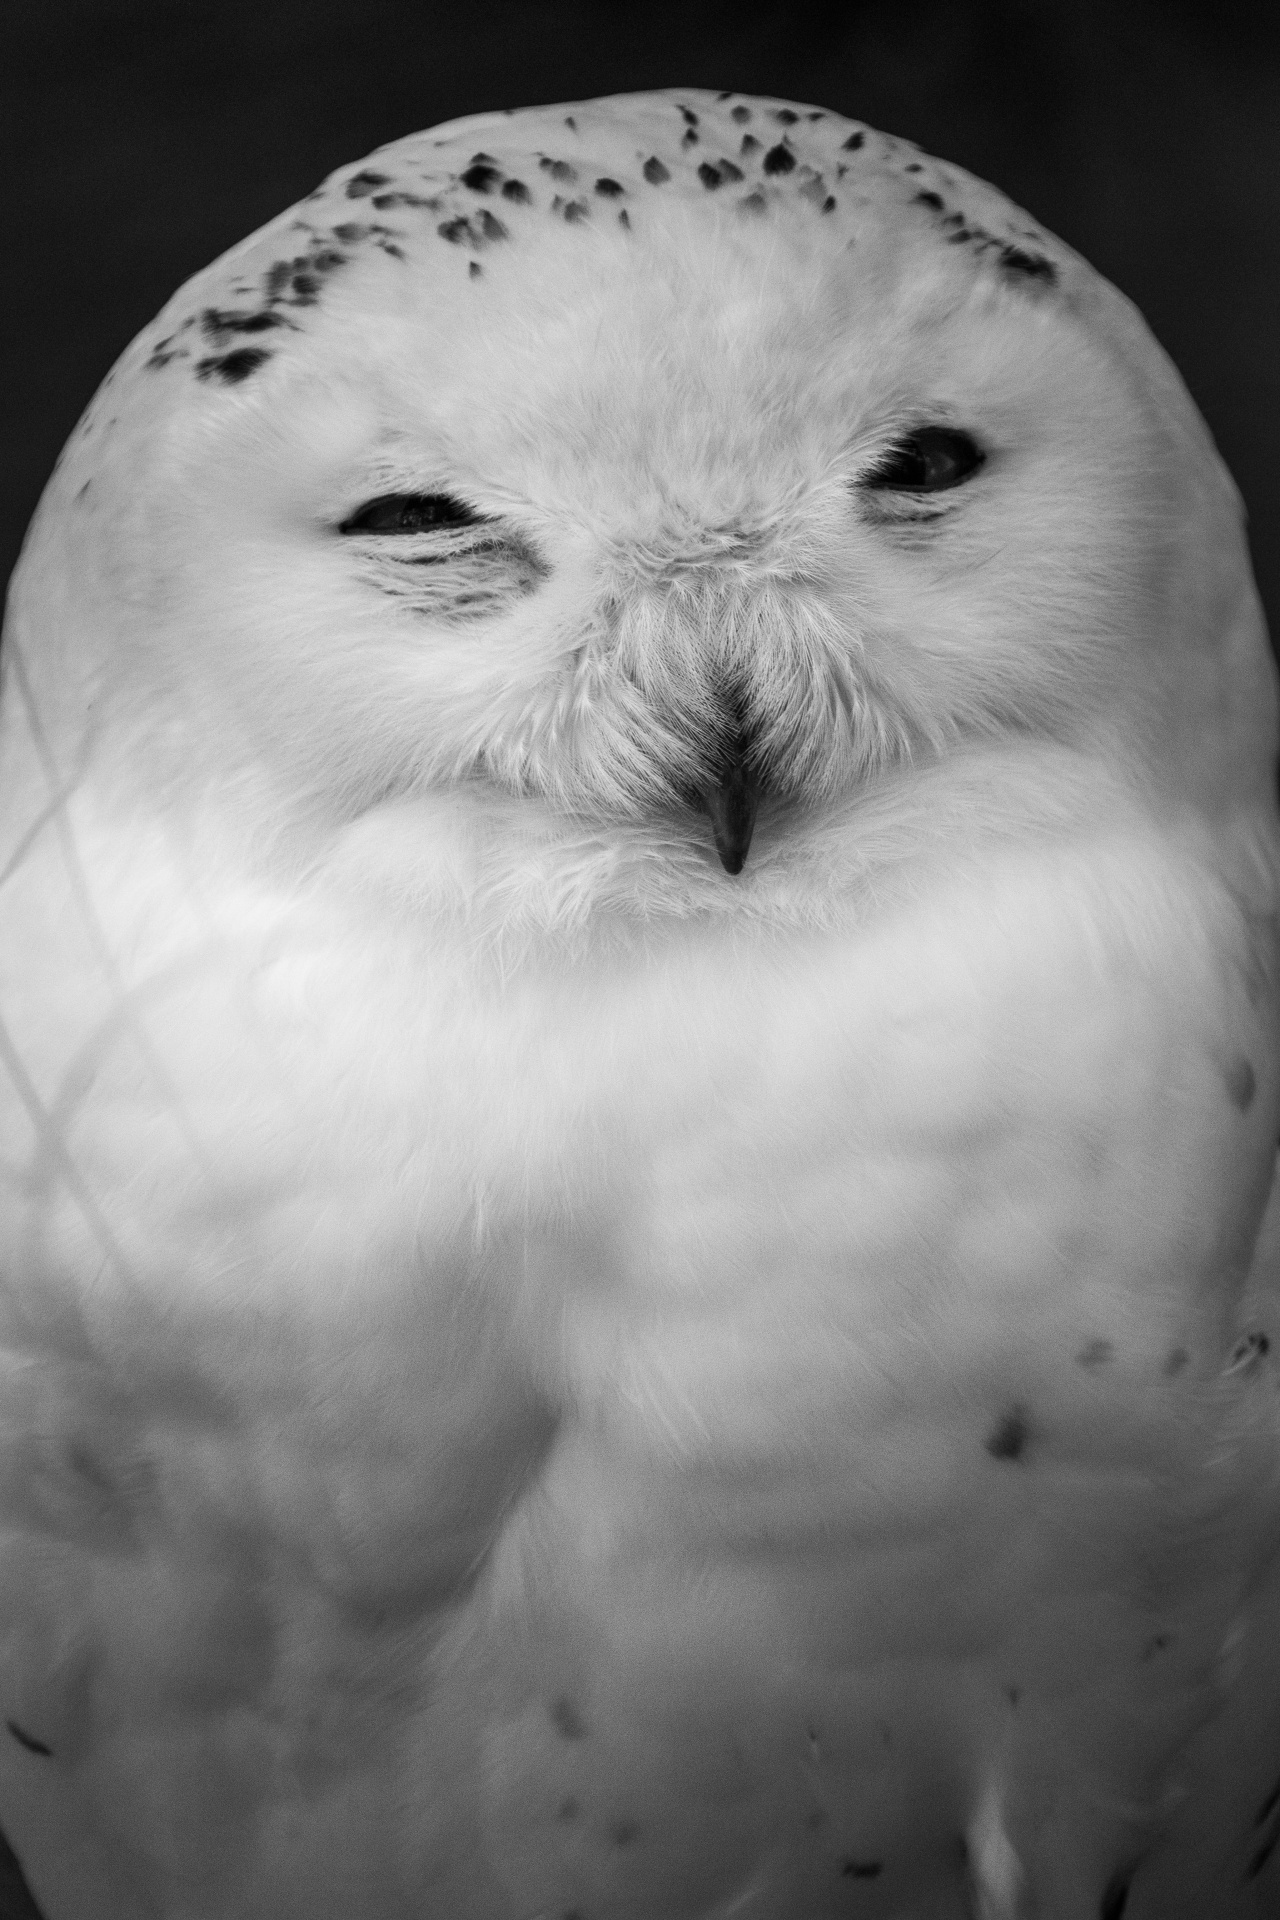
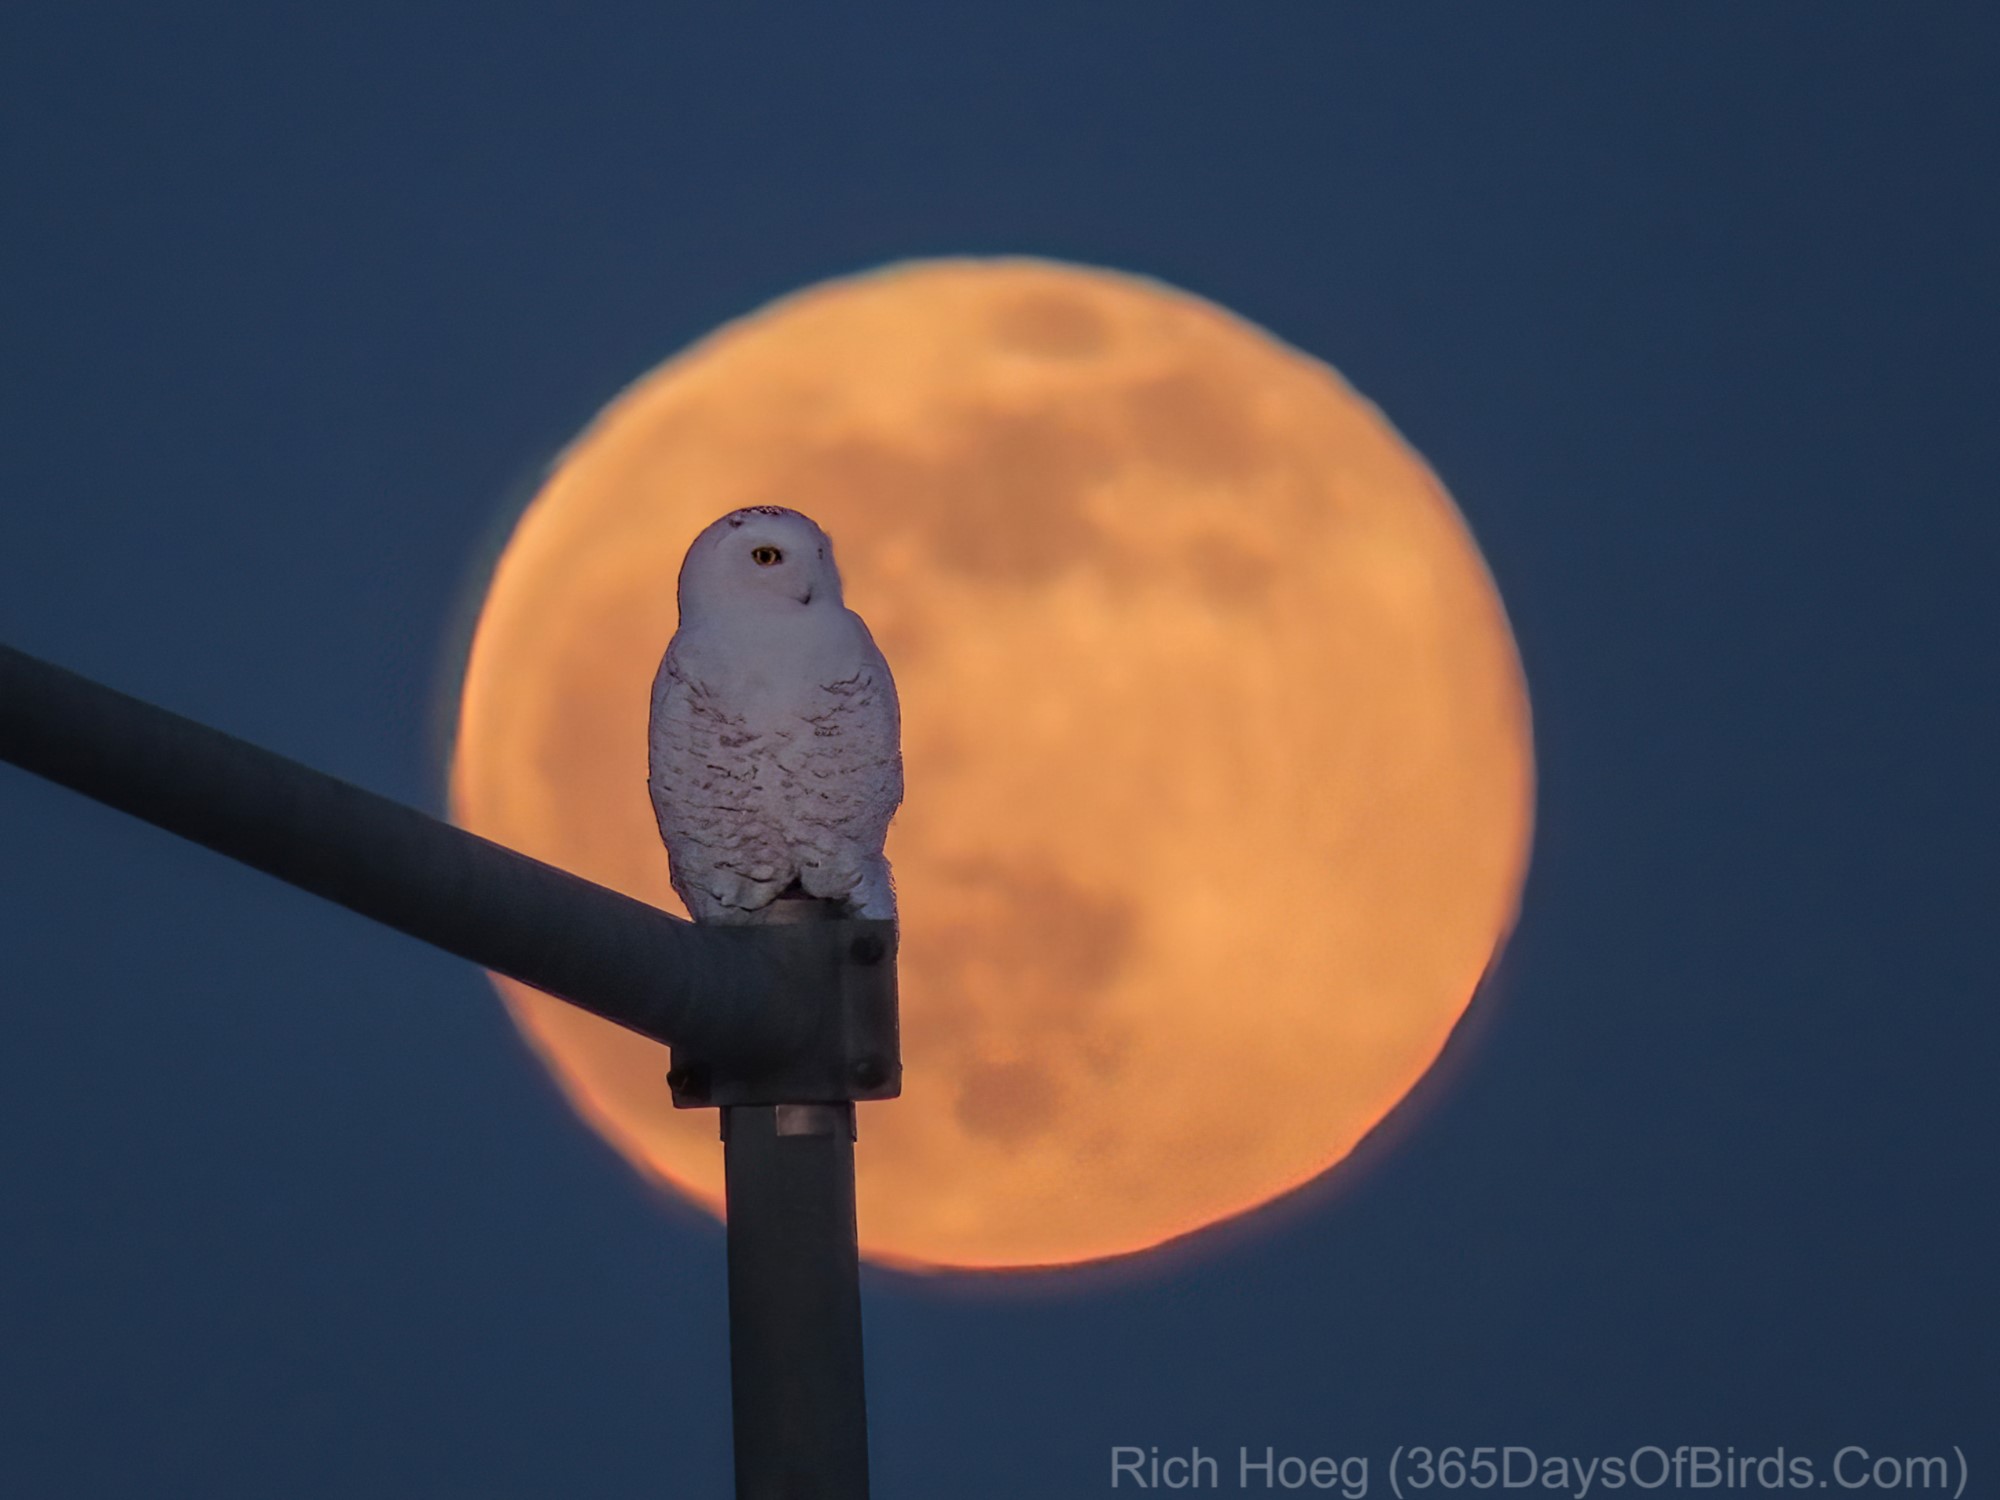
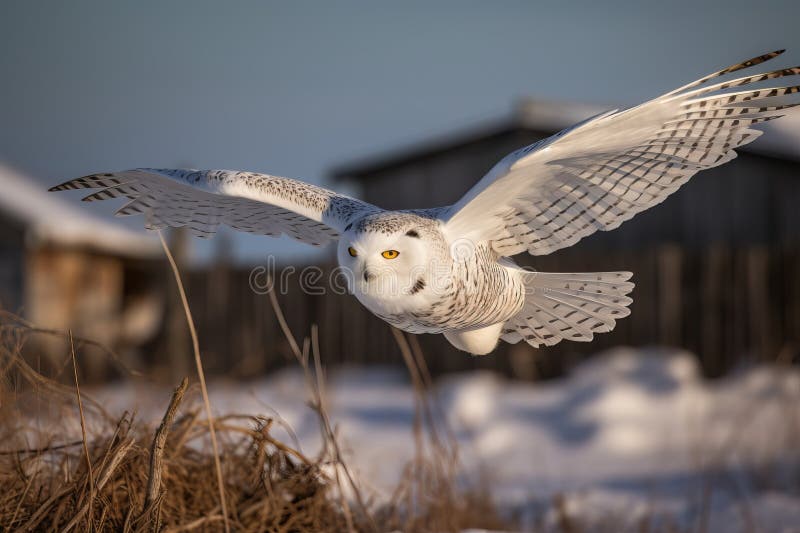
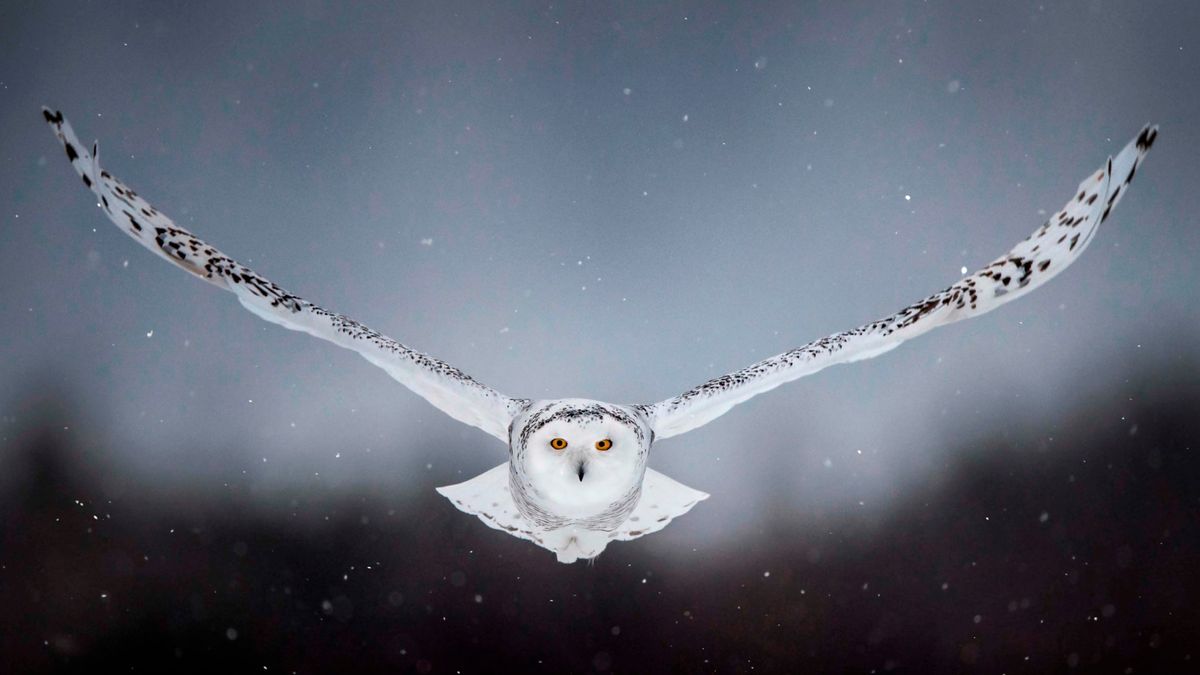
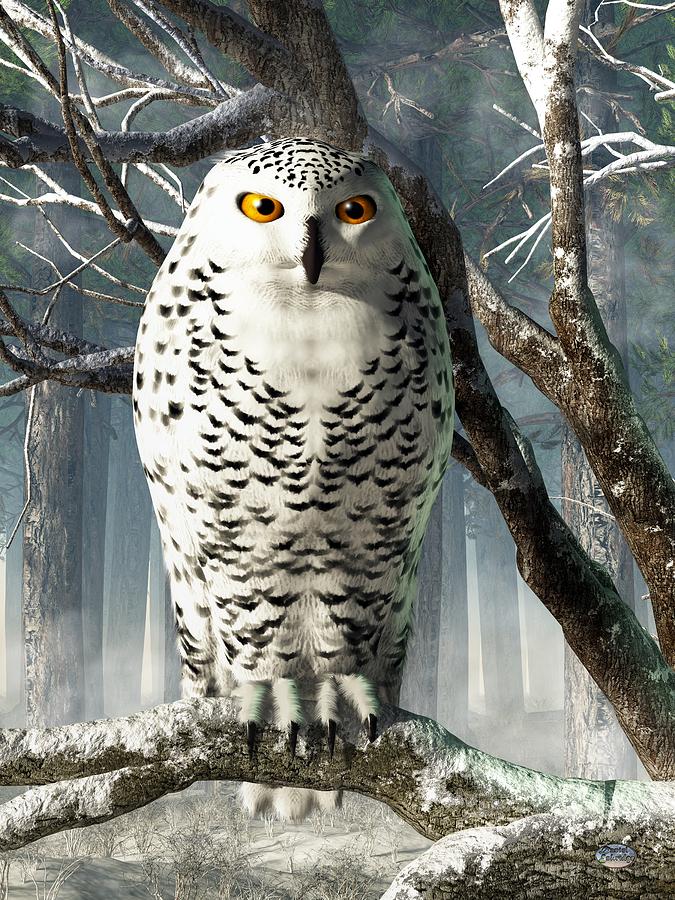
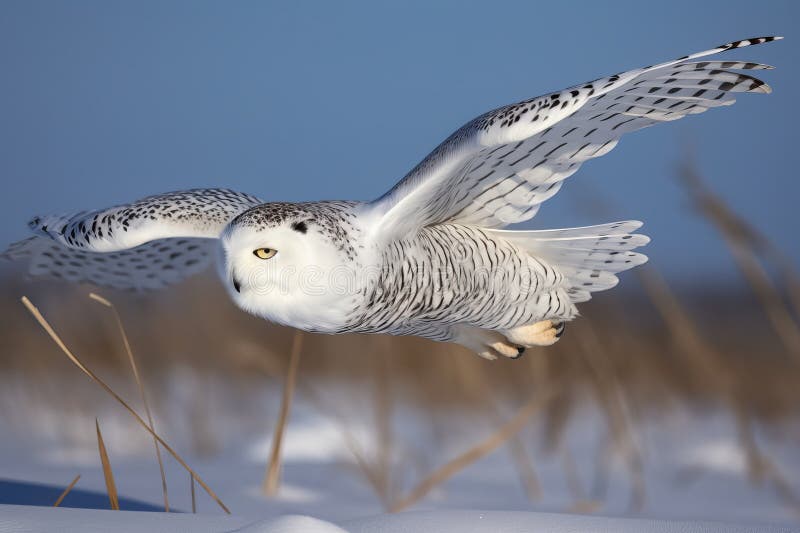
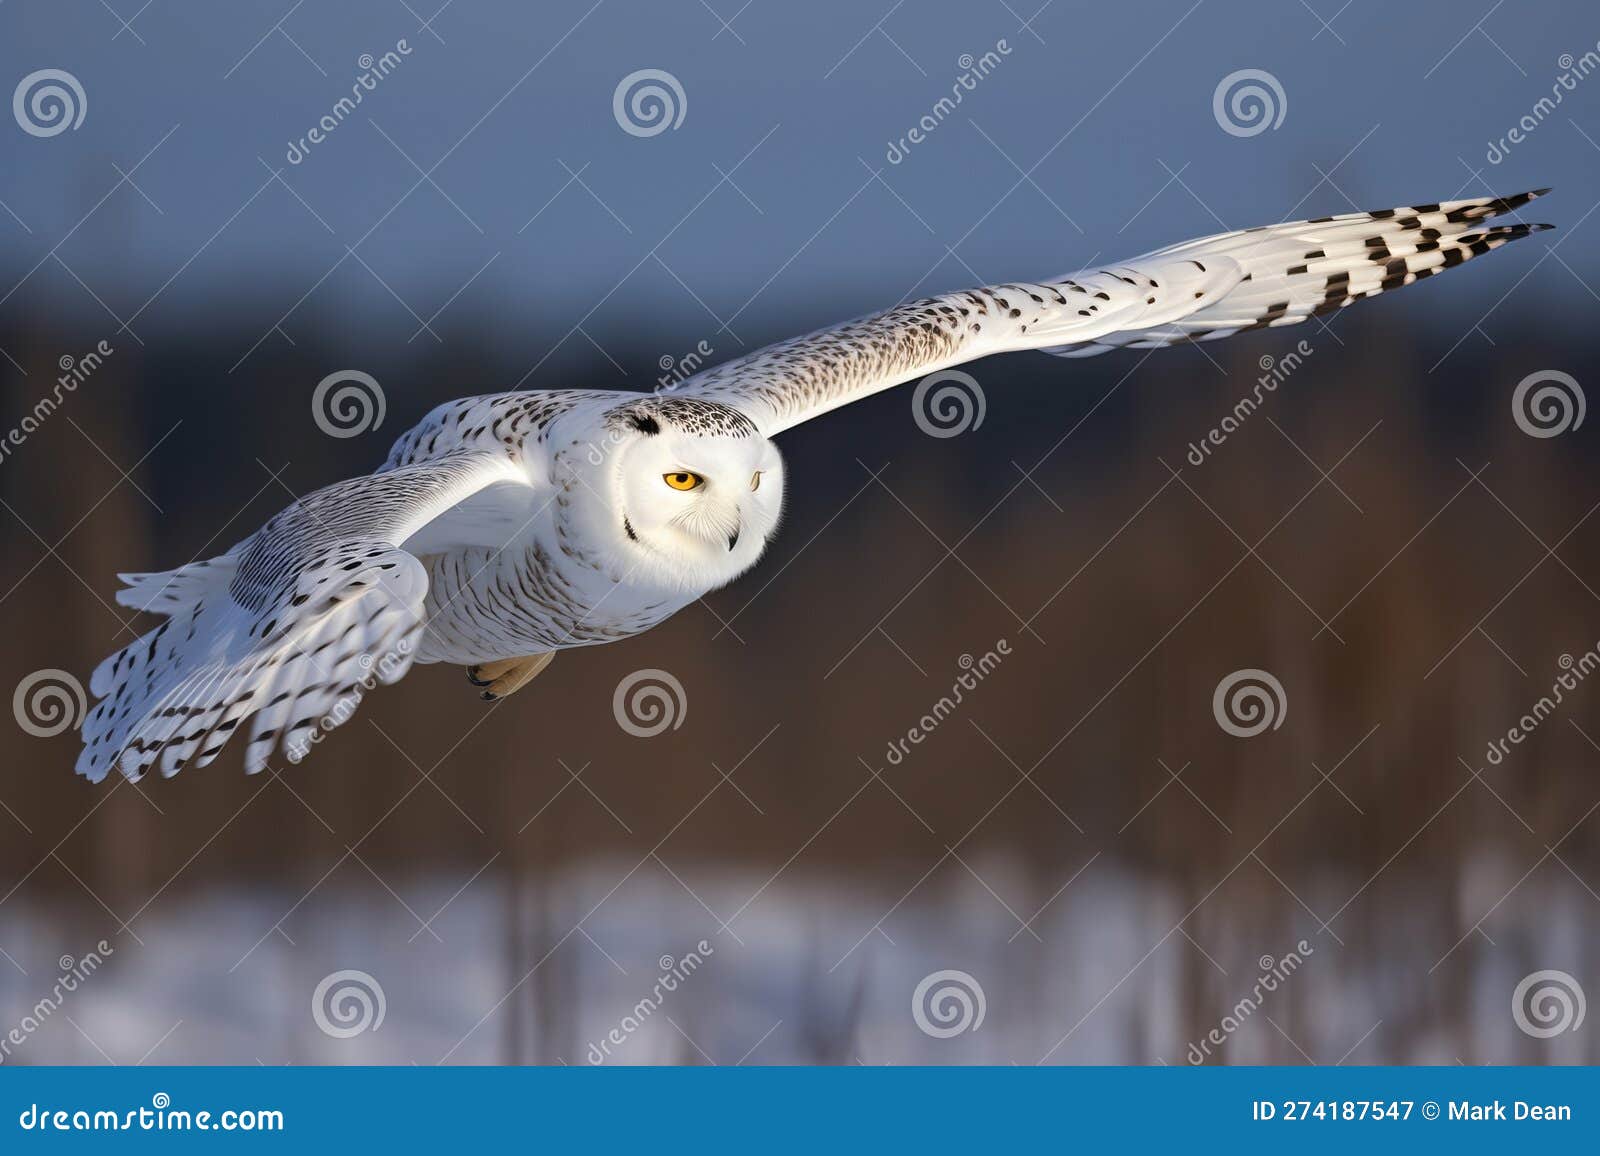
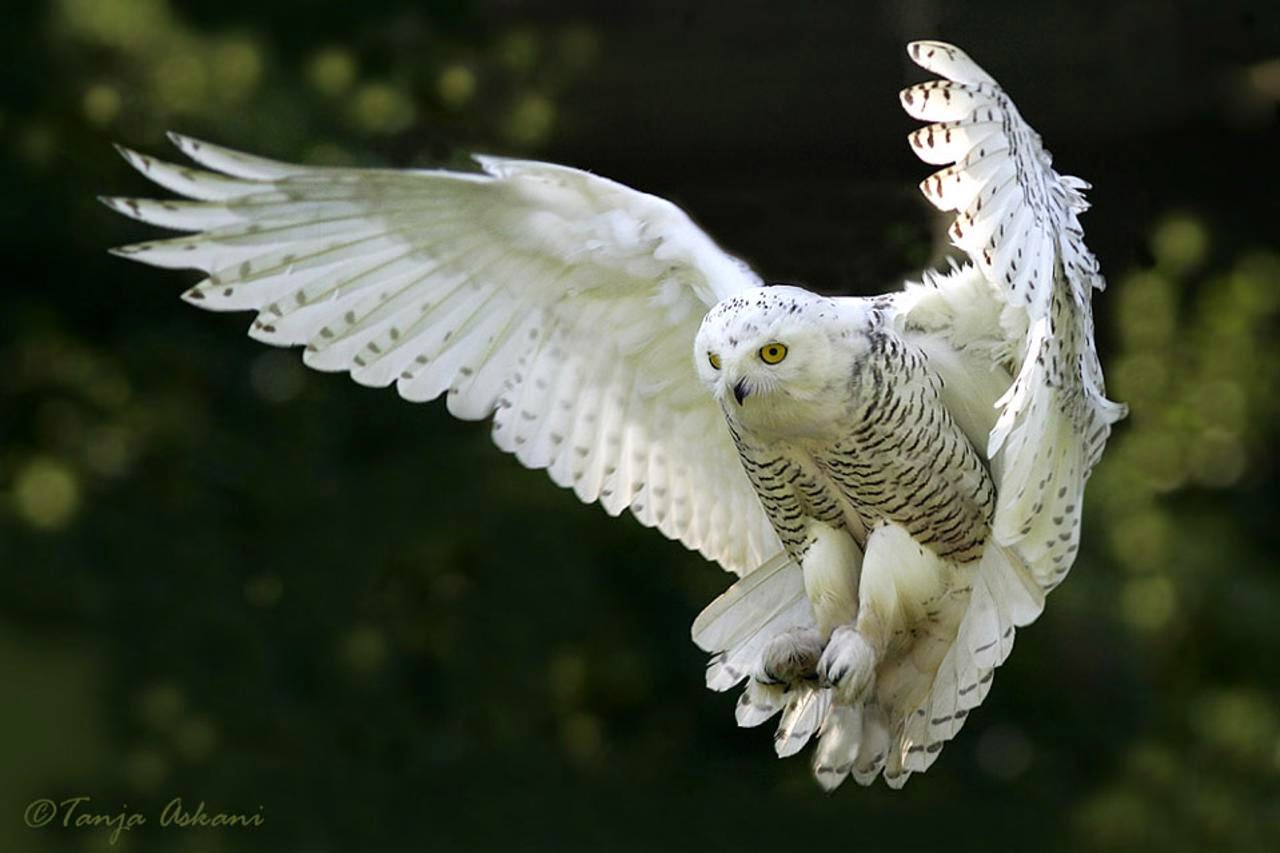
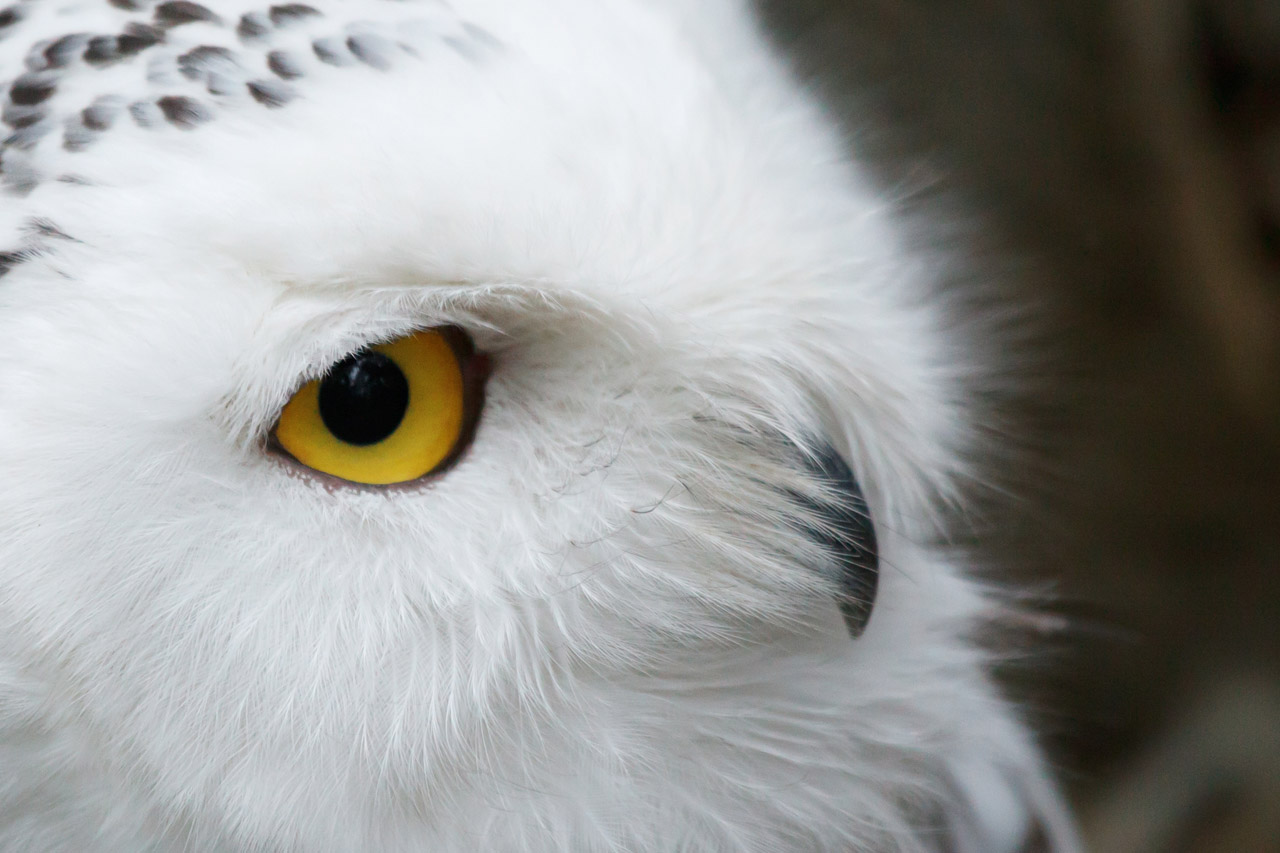
Winter is a magical time of year, filled with the wonder of freshly fallen snow, cozy nights by the fire, and the majestic creatures that roam the wintry landscape. One such creature that captures our hearts and imaginations is the snowy owl. With its striking white feathers, piercing yellow eyes, and graceful flight, the snowy owl is a symbol of beauty and grace in the winter season.
The Inspiration Behind Snowy Owl Nail Art

It's no wonder that the snowy owl has become a popular design choice for winter-themed nail art. This trend has taken the beauty world by storm, and it's not hard to see why. Snowy owl nail art is a perfect way to incorporate the beauty of this majestic bird into your winter look.
The intricate details of the snowy owl's feathers make for a stunning nail design, with its bold black and white color scheme and delicate patterns. It's a versatile design that can be recreated in various ways, from a simple and elegant look to a more whimsical and playful style.
How to Achieve the Perfect Snowy Owl Nail Art

Creating snowy owl nail art may seem like a daunting task, but with a little patience and the right tools, you can achieve a stunning look that will have everyone asking for your nail artist's contact information.
Start by prepping your nails with a base coat to protect them and ensure your design lasts longer. Then, using a white nail polish, paint all of your nails evenly. Next, using a thin brush or a toothpick, carefully draw on the snowy owl's distinctive black markings, such as its wings and facial features.
You can add a touch of sparkle and dimension to your design by using a glitter polish for the owl's eyes or adding some silver or gold accents throughout the design. Finally, seal your masterpiece with a topcoat to protect it and make it shine.
Embrace Your Inner Snowy Owl
Snowy owl nail art is not only a fun and creative way to express yourself; it's also a nod to the beauty and wonder of nature. So, this winter, embrace your inner snowy owl and add a touch of whimsy to your look with this stunning nail art design.
Whether you're heading to a holiday party or just want to add a little sparkle to your day, snowy owl nail art is the perfect way to elevate your winter style. So, grab your nail polish and let your creativity take flight with this enchanting and on-trend design.
Featured Keywords: snowy owl nail art, winter look, majestic creatures, wintry landscape, beauty and grace, winter-themed nail art, beauty world, intricate details, versatile design, whimsical and playful, perfect snowy owl nail art, achieve a stunning look, distinctive black markings, touch of sparkle, nod to nature, elevate your winter style.


