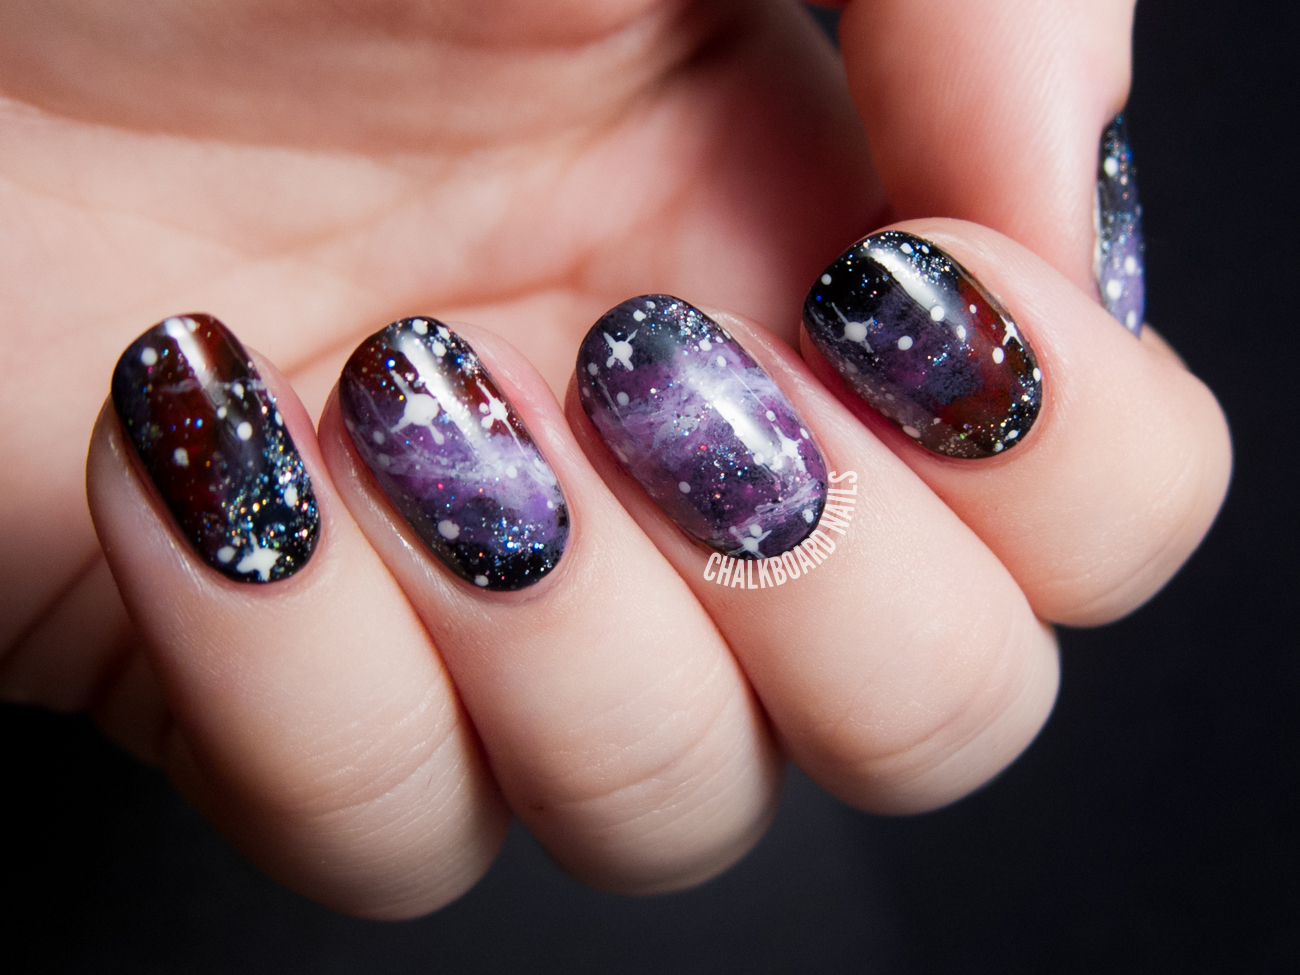
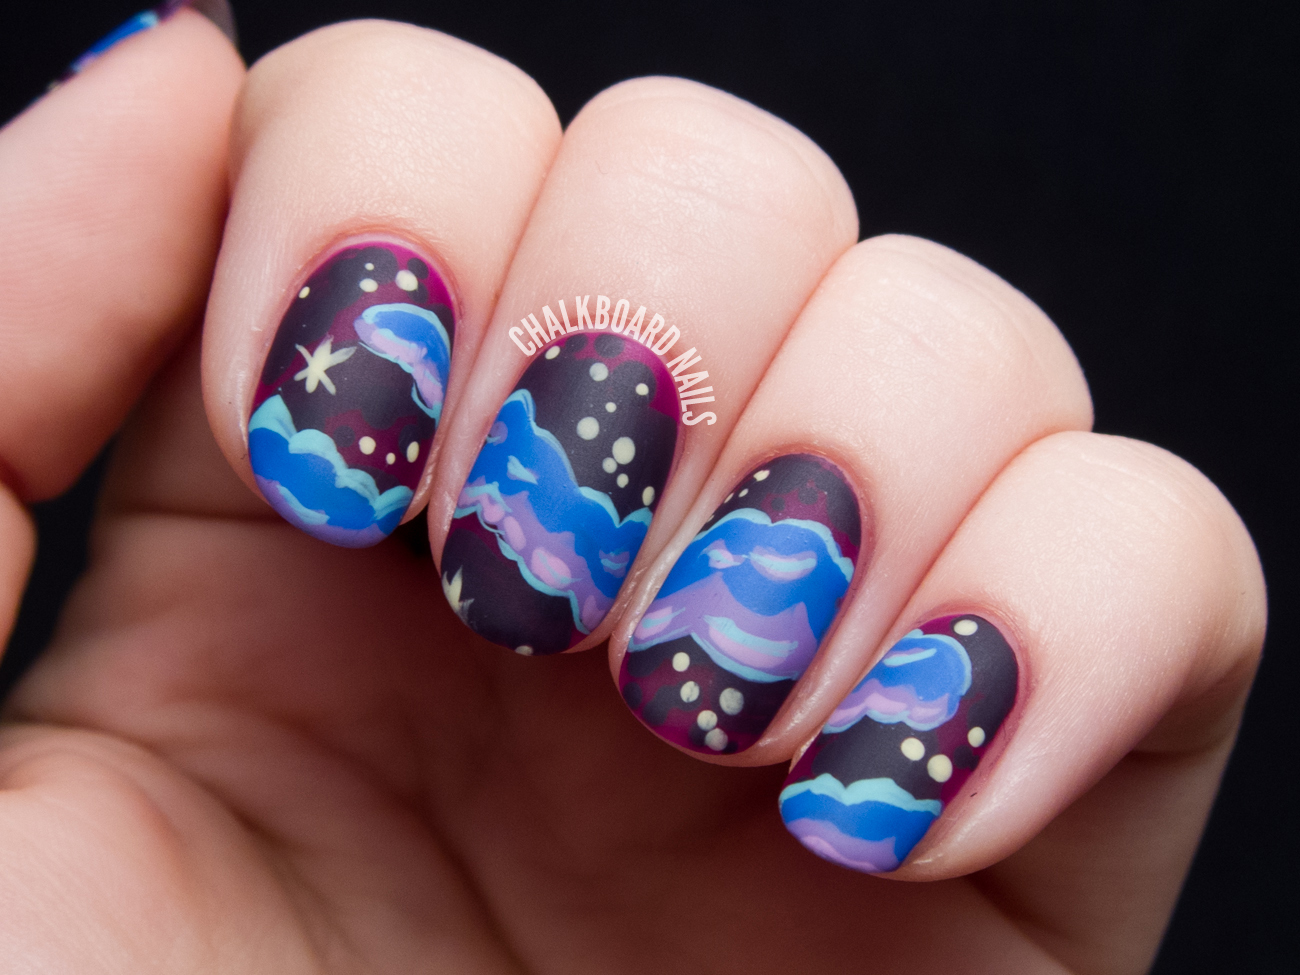
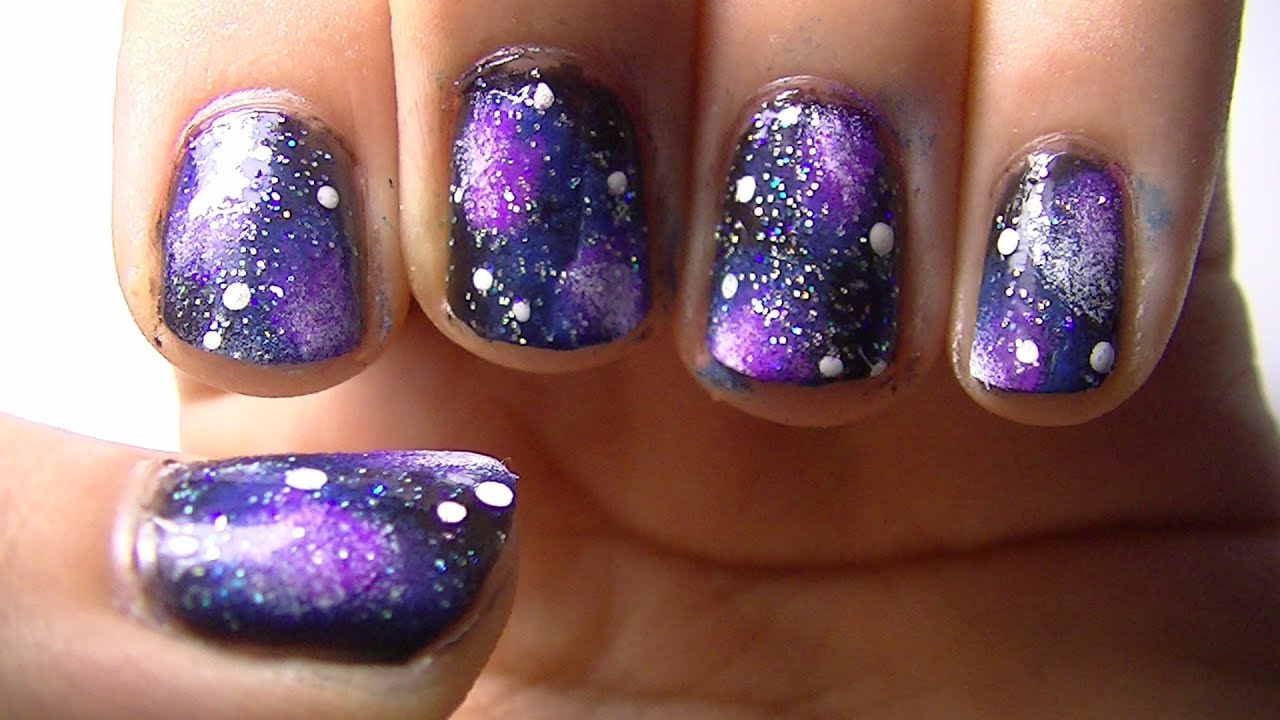
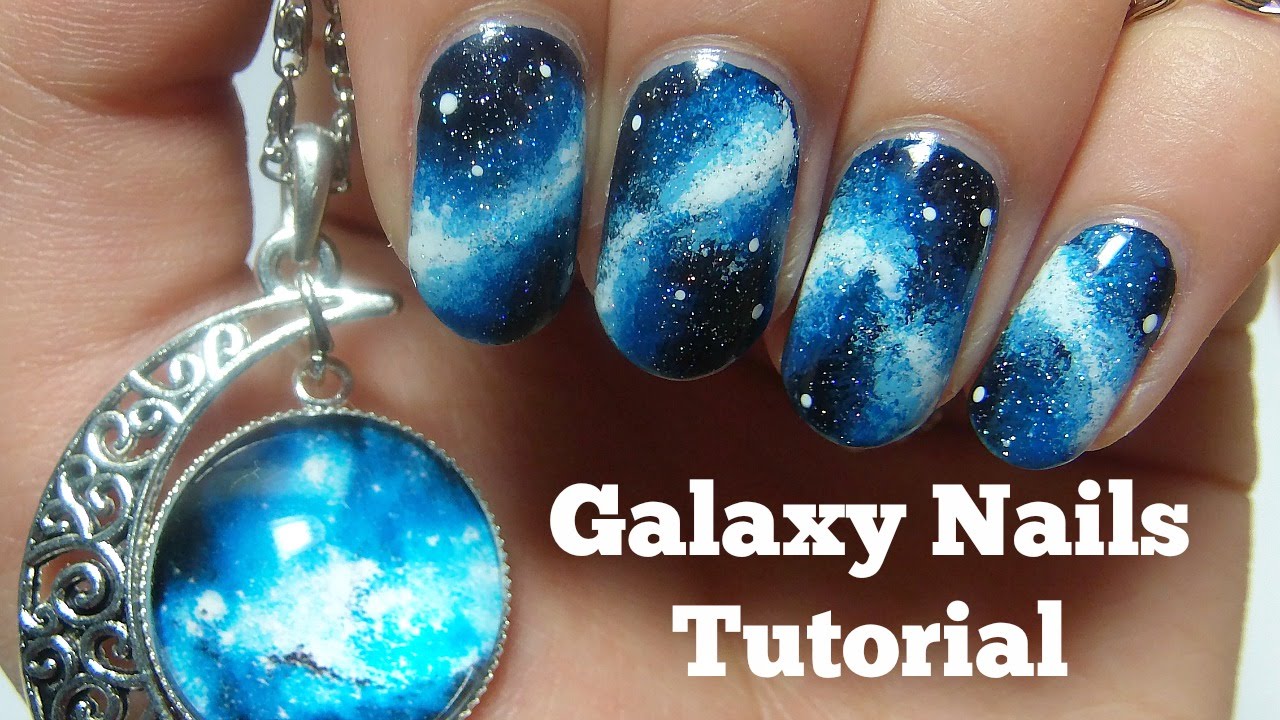
Creating a galaxy-inspired look on your nails is a fun and creative way to show off your love for outer space. With a few simple steps, you can transform your nails into a cosmic masterpiece. Here's a step-by-step guide on how to achieve this stunning space nail art. To start off, you will need a black or dark blue nail polish as your base color. Apply two coats for a solid and opaque base. Once it's dry, take a small makeup sponge and dab a few different shades of purple, blue, and pink onto it. Then, gently press the sponge onto your nails to create a colorful and abstract background. Next, take a white or silver nail polish and create small dots on your nails using a dotting tool or a toothpick. These dots will represent stars in the galaxy. You can also use a glitter polish to add a bit of sparkle to your design. Don't worry about the dots being perfect, as they will add to the overall ethereal and cosmic look. Once the dots are dry, take a small detailing brush and carefully draw thin arcs on your nails using a light blue nail polish. These arcs will represent the swirling nebulas in outer space. You can also add some shimmer to these arcs to make them stand out even more. To add more depth to your galaxy nails, take a dark purple nail polish and create small dots and lines around the nebulas. This will give the illusion of stars and clusters in the galaxy. You can also use a glitter top coat to add some extra sparkle and dimension to your design. Finally, seal in your design with a clear top coat to protect your nails and give them a glossy finish. And there you have it, your very own galaxy nail art! Play around with different colors and patterns to create your own unique space-inspired look.Galaxy Nail Art Tutorial


Galaxy Nail Art Tutorial
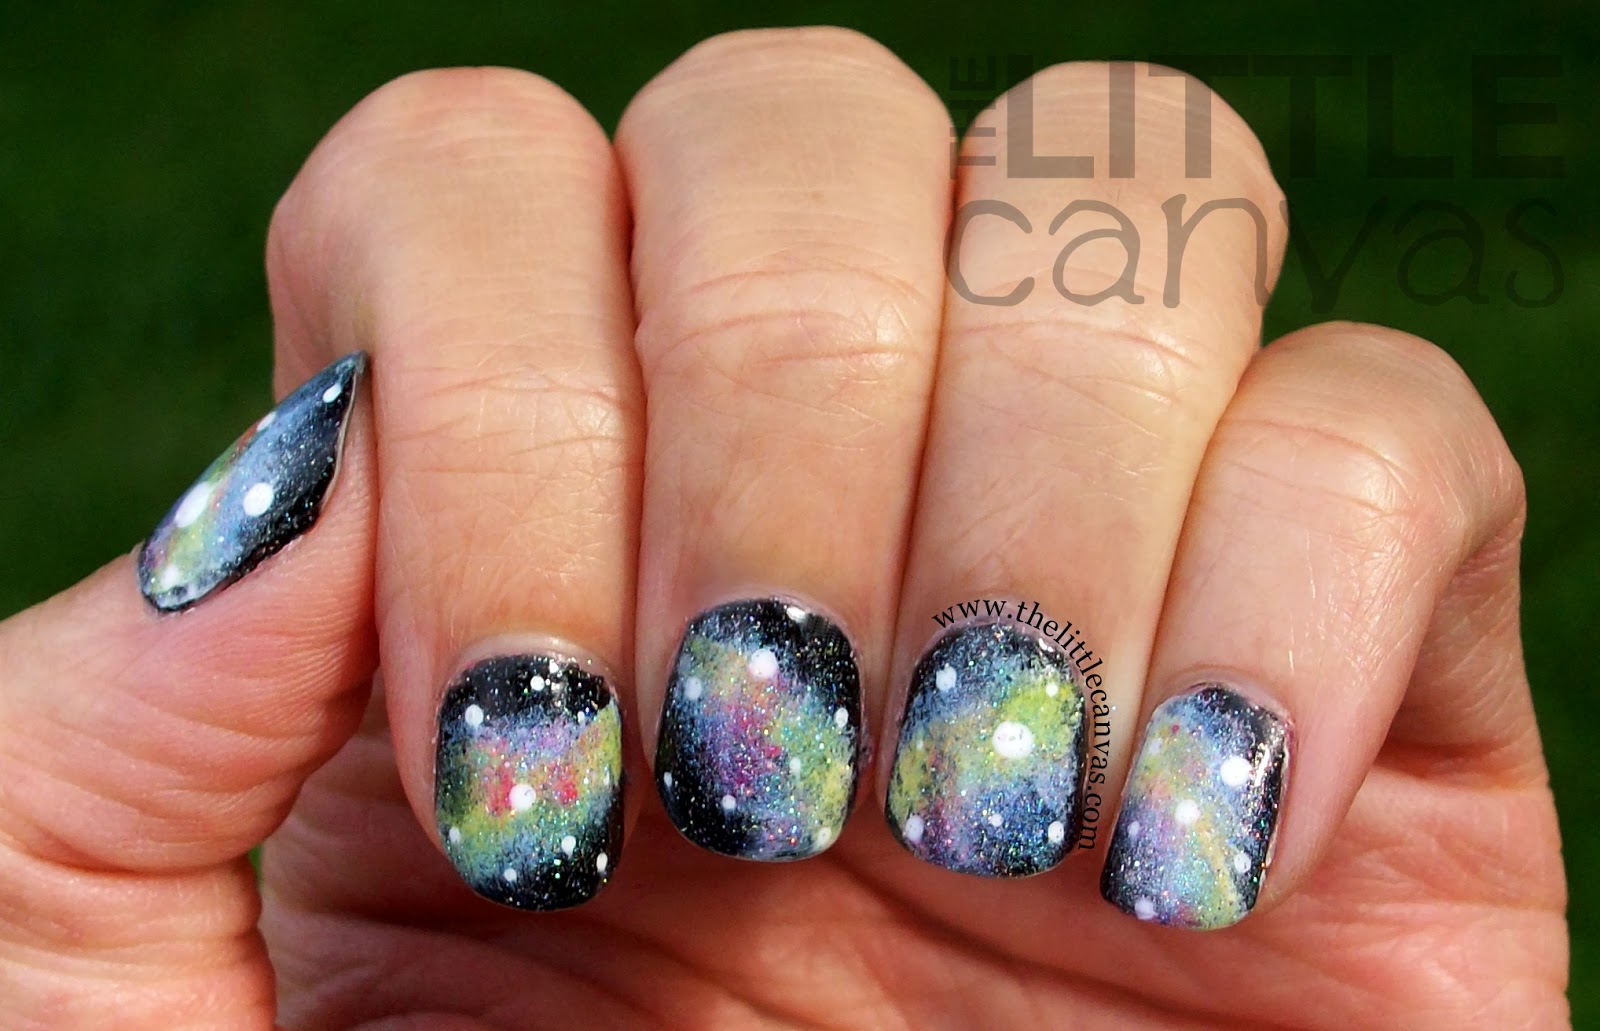


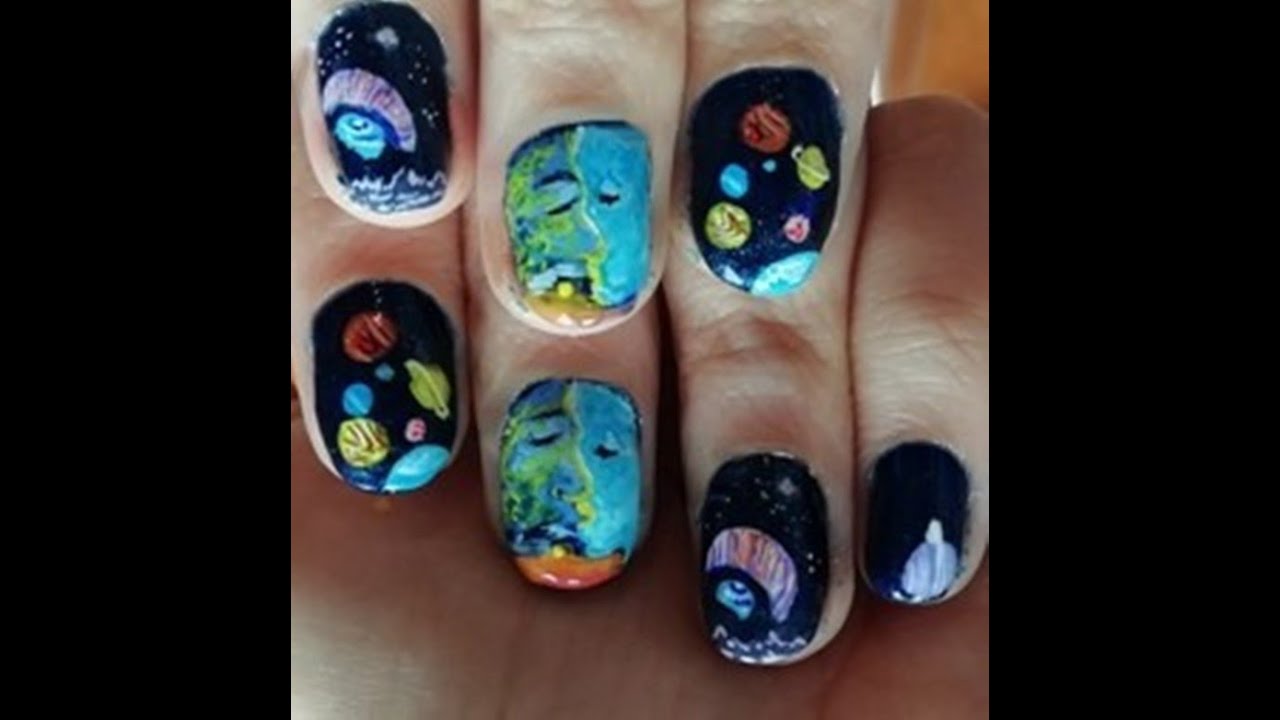
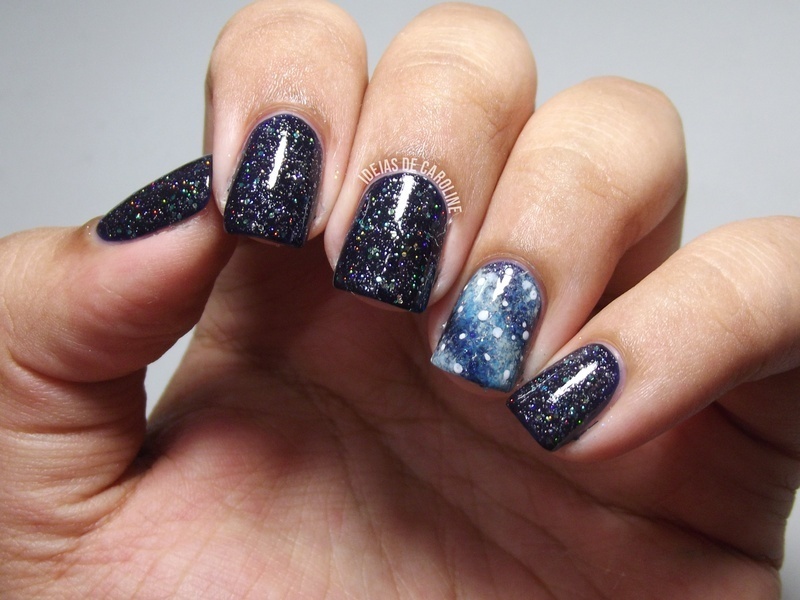
If you're new to nail art or just looking for a quick and easy space-inspired design, this tutorial is for you. You don't need any fancy tools or techniques, just a few basic nail polish colors and some creativity. Let's get started! Start by painting your nails with a dark blue base color. This will serve as the background for your space design. Once it's dry, take a white nail polish and create small dots all over your nails using a dotting tool or a toothpick. These dots will represent stars in the galaxy. Next, take a light blue nail polish and draw a few small arcs on your nails using a thin brush. These arcs will represent the swirling nebulas in outer space. You can also add some shimmer to these arcs to make them stand out. Now, take a purple nail polish and create small dots and lines around the nebulas. This will add more dimension to your design and give the illusion of stars and clusters in the galaxy. You can also use a glitter top coat for some extra sparkle. To finish off, seal in your design with a clear top coat and let it dry completely. And just like that, you have a simple yet stunning space-themed nail art. You can experiment with different colors and patterns to create your own unique look.Easy Space Nail Art Tutorial


Easy Space Nail Art Tutorial


If you're a fan of all things space and want to show it off on your nails, then this tutorial is for you. With a little bit of patience and some basic nail art supplies, you can create a mesmerizing space design on your nails. Here's how to do it. Start by painting your nails with a black base color. Once it's dry, take a small makeup sponge and dab a few different shades of purple, blue, and pink onto it. Then, gently press the sponge onto your nails to create a colorful and abstract background. Next, take a white nail polish and create small dots all over your nails using a dotting tool or a toothpick. These dots will represent stars in the galaxy. You can also use a silver glitter polish to add some sparkle to your design. For the swirling nebulas, take a light blue nail polish and carefully draw thin arcs on your nails using a small detailing brush. You can also add some shimmer to these arcs to make them stand out even more. To give your design more depth, take a dark purple nail polish and create small dots and lines around the nebulas. This will add the illusion of stars and clusters in the galaxy. Finish off with a clear top coat to seal in your design and give it a glossy finish. With a little bit of practice, you can create a stunning space design on your nails that will surely be out of this world.Nail Art Tutorial: How to Create a Space Design

Nail Art Tutorial: How to Create a Space Design


If you want to take your nail art skills to the next level, this step-by-step tutorial will guide you through creating a detailed and intricate space design on your nails. You'll need some patience and a steady hand, but the end result will be worth it. Start by painting your nails with a dark blue base color. Once it's dry, take a small makeup sponge and dab a few different shades of purple, blue, and pink onto it. Then, gently press the sponge onto your nails to create a colorful and abstract background. Next, take a white nail polish and create small dots all over your nails using a dotting tool or a toothpick. These dots will represent stars in the galaxy. You can also use a silver glitter polish to add some sparkle to your design. For the swirling nebulas, take a light blue nail polish and carefully draw thin arcs on your nails using a small detailing brush. You can also add some shimmer to these arcs to make them stand out even more. To add more depth and dimension to your design, take a dark purple nail polish and create small dots and lines around the nebulas. This will give the illusion of stars and clusters in the galaxy. You can also use a glitter top coat to add some extra sparkle. For the final touch, take a white nail polish and create small dots and lines all over your nails using a toothpick or a thin brush. These dots and lines will represent the stars and clusters in the galaxy. Seal in your design with a clear top coat and let it dry completely. With a little bit of practice, you can create a stunning and detailed space design on your nails that will surely impress everyone around you.Step-by-Step Space Nail Art Tutorial

Step-by-Step Space Nail Art Tutorial


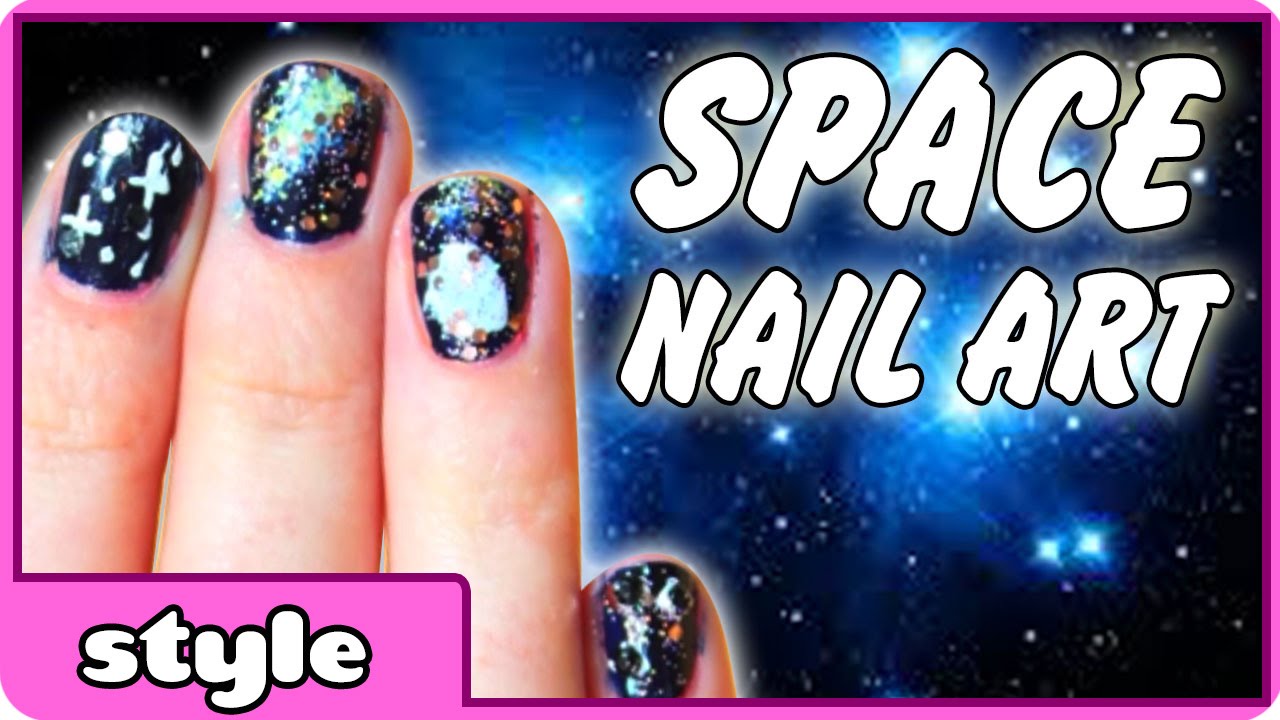

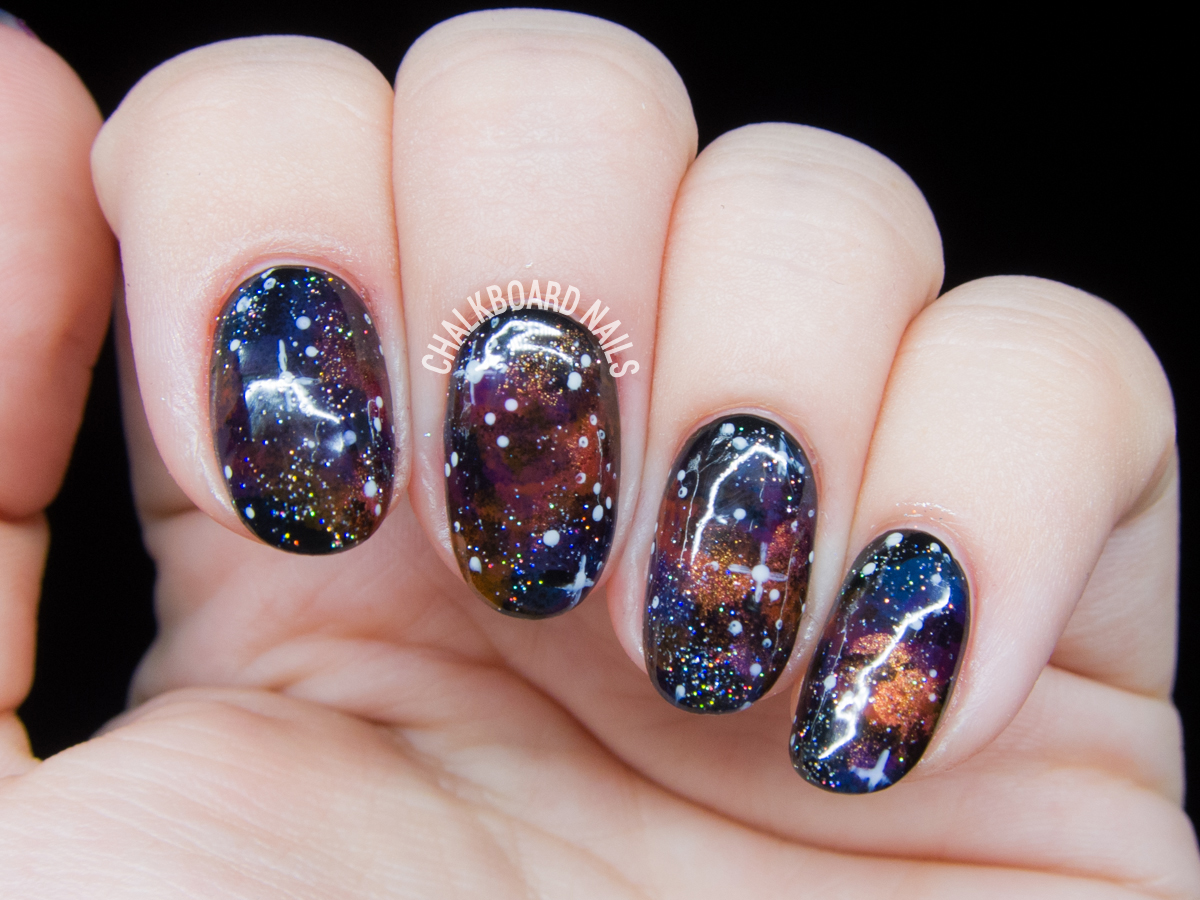
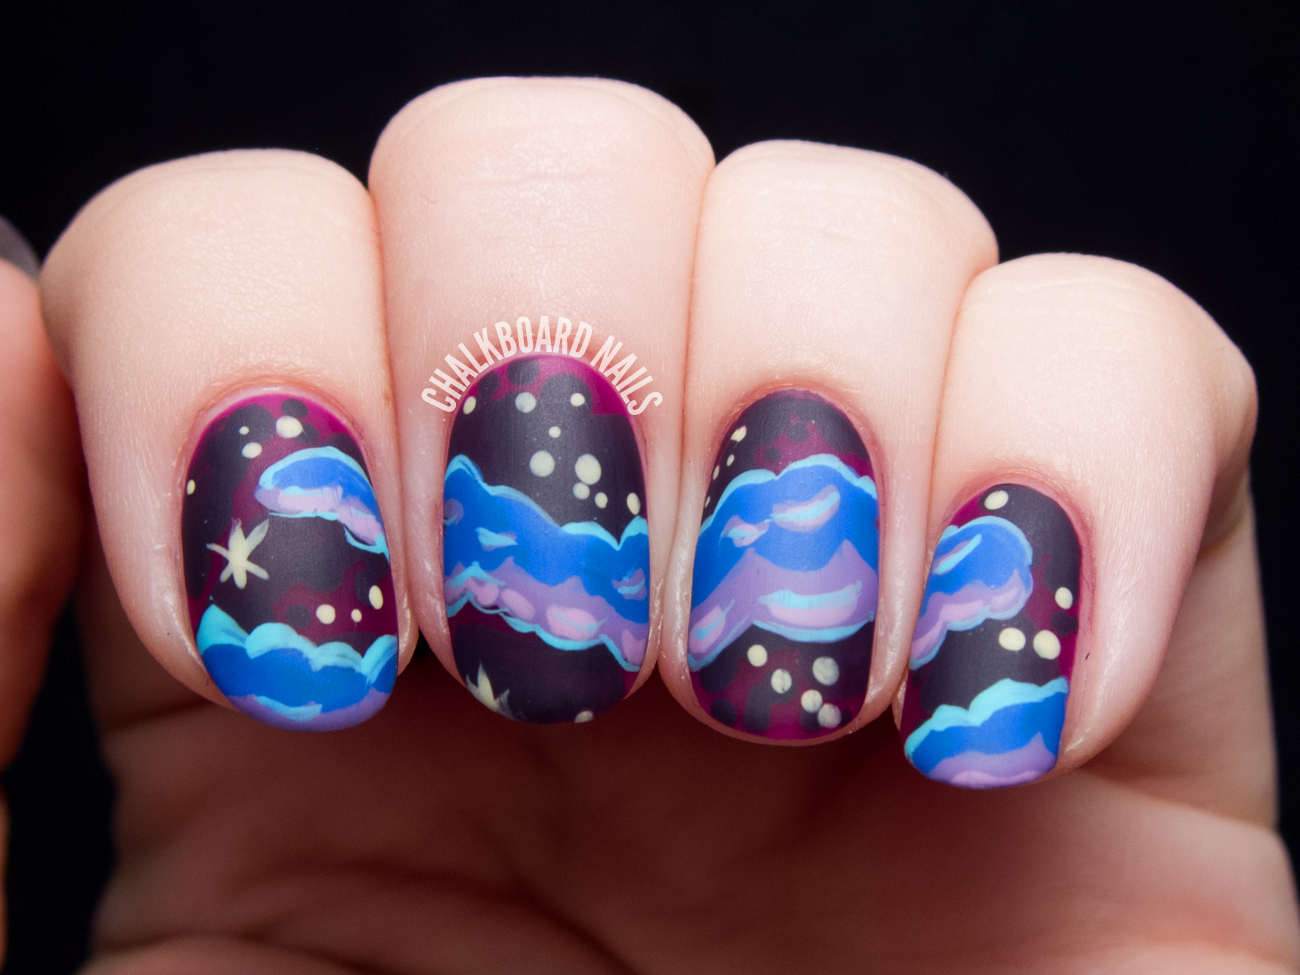
For those who want to add a bit of drama to their nail art, this cosmic look is the perfect choice. It combines deep, dark colors with bright and bold accents, creating a mesmerizing and intense space design on your nails. Start by painting your nails with a black base color. Once it's dry, take a small makeup sponge and dab a few different shades of purple, blue, and pink onto it. Then, gently press the sponge onto your nails to create a colorful and abstract background. Next, take a silver glitter polish and create small dots all over your nails using a dotting tool or a toothpick. These dots will represent stars in the galaxy. You can also add some chunky glitter for a more dramatic effect. For the swirling nebulas, take a light blue nail polish and carefully draw thin arcs on your nails using a small detailing brush. You can also add some holographic glitter to these arcs to make them stand out even more. Next, take a dark purple nail polish and create small dots and lines around the nebulas. This will add more depth and dimension to your design. You can also use a glitter top coat for some extra sparkle. To finish off, take a white nail polish and create small dots and lines all over your nails using a toothpick or a thin brush. These dots and lines will represent the stars and clusters in the galaxy. Seal in your design with a clear top coat and let it dry completely. This cosmic nail art is sure to make a statement and leave everyone in awe of your out-of-this-world design skills.Nail Art Tutorial: Creating a Cosmic Look


Nail Art Tutorial: Creating a Cosmic Look


If you're on a budget or don't have access to a lot of nail art supplies, this DIY space nails tutorial is perfect for you. All you need is a few basic nail polish colors and some creativity to create a simple yet stunning space design on your nails. Start by painting your nails with a dark blue base color. Once it's dry, take a small makeup sponge and dab a few different shades of purple, blue, and pink onto it. Then, gently press the sponge onto your nails to create a colorful and abstract background. Next, take a white nail polish and create small dots all over your nails using a dotting tool or a toothpick. These dots will represent stars in the galaxy. You can also use a silver glitter polish to add some sparkle to your design. For the swirling nebulas, take a light blue nail polish and carefully draw thin arcs on your nails using a small detailing brush. You can also add some shimmer to these arcs to make them stand out even more. Finally, take a black nail polish and create small dots and lines all over your nails using a toothpick or a thin brush. These dots and lines will represent the stars and clusters in the galaxy. Seal in your design with a clear top coat and let it dry completely. With a little bit of imagination, you can create a stunning space design on your nails using just a few basic nail polish colors.DIY Space Nails Tutorial


DIY Space Nails Tutorial


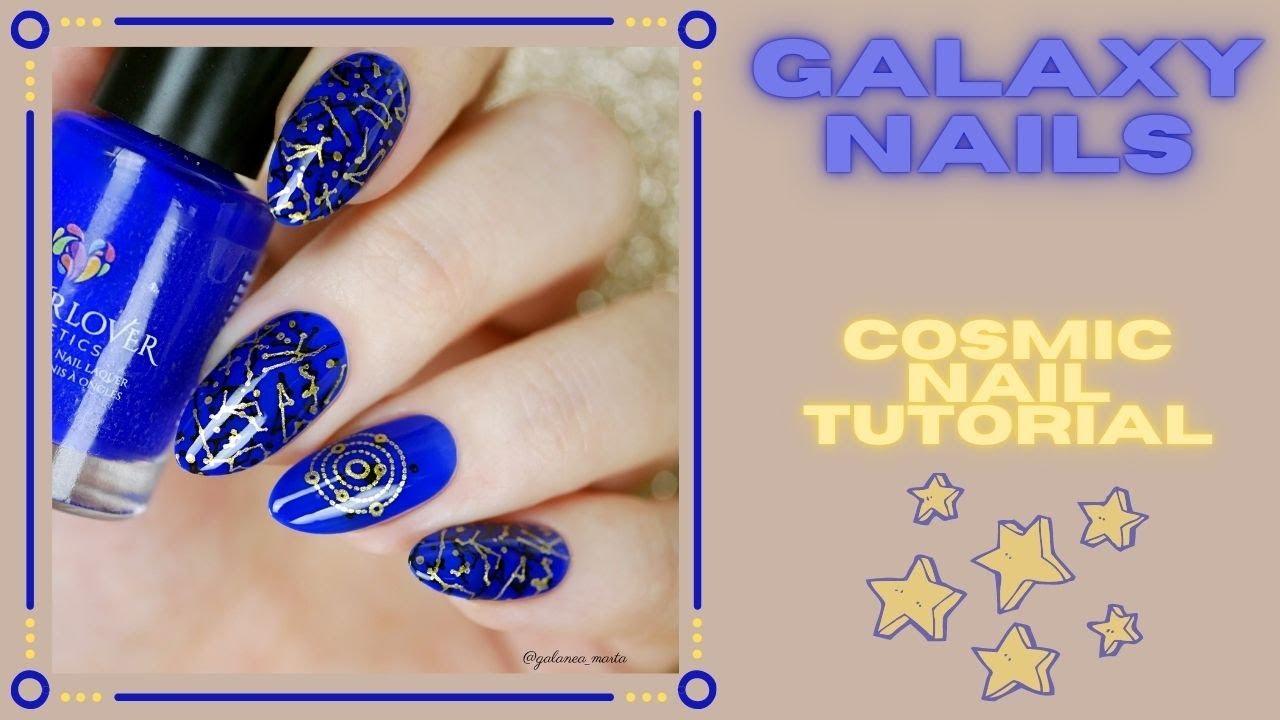
If you're a beginner in nail art or just looking for a simple yet gorgeous space design, these galaxy nails are the perfect choice. With a few basic nail polish colors and some creativity, you can create a stunning cosmic look on your nails. Start by painting your nails with a black base color. Once it's dry, take a small makeup sponge and dab a few different shades of purple, blue, and pink onto it. Then, gently press the sponge onto your nails to create a colorful and abstract background. Next, take a white nail polish and create small dots all over your nails using a dotting tool or a toothpick. These dots will represent stars in the galaxy. You can also use a silver glitter polish to add some sparkle to your design. For the swirling nebulas, take a light blue nail polish and carefully draw thin arcs on your nails using a small detailing brush. You can also add some shimmer to these arcs to make them stand out even more. To add more depth to your design, take a dark purple nail polish and create small dots and lines around the nebulas. You can also use a glitter top coat for some extra sparkle and dimension. Finally, seal in your design with a clear top coat and let it dry completely. These galaxy nails are sure to be a hit and will have everyone asking you how you achieved such a stunning look.Nail Art Tutorial: Galaxy Nails

Nail Art Tutorial: Galaxy Nails

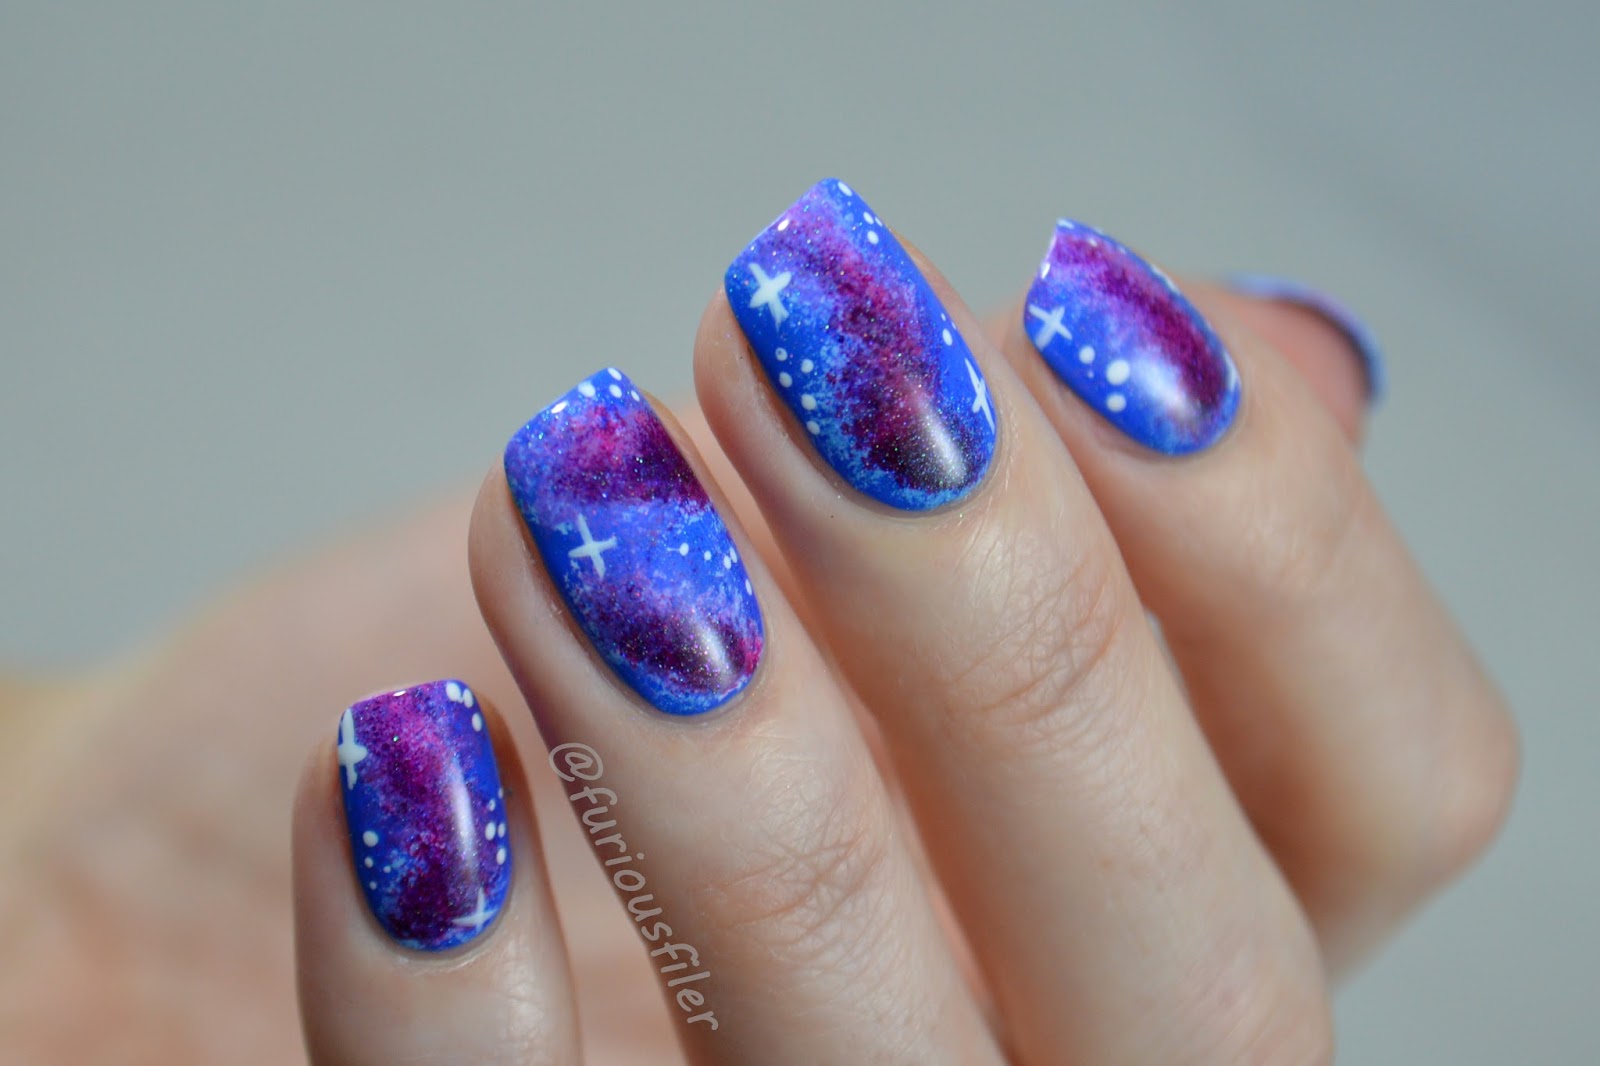
If you want to take your space nail art to the next level, this tutorial will guide you through creating a detailed and intricate design that is truly out of this world. With a little bit of patience and some basic nail art supplies, you can create a stunning space-themed look on your nails. Start by painting your nails with a dark blue base color. Once it's dry, take a small makeup sponge and dab a few different shades of purple, blue, and pink onto it. Then, gently press the sponge onto your nails to create a colorful and abstract background. Next, take a white nail polish and create small dots all over your nails using a dotting tool or a toothpick. These dots will represent stars in the galaxy. You can also use a silver glitter polish to add some sparkle to your design. For the swirling nebulas, take a light blue nail polish and carefully draw thin arcs on your nails using a small detailing brush. You can also add some holographic glitter to these arcs to make them stand out even more. To add more dimension and depth to your design, take a dark purple nail polish and create small dots and lines around the nebulas. You can also use a chunky glitter for a more dramatic effect. Next, take a white nail polish and create small dots and lines all over your nails using a toothpick or a thin brush. These dots and lines will represent the stars and clusters in the galaxy. Seal in your design with a clear top coat and let it dry completely.Space Themed Nail Art Tutorial


Space Themed Nail Art Tutorial
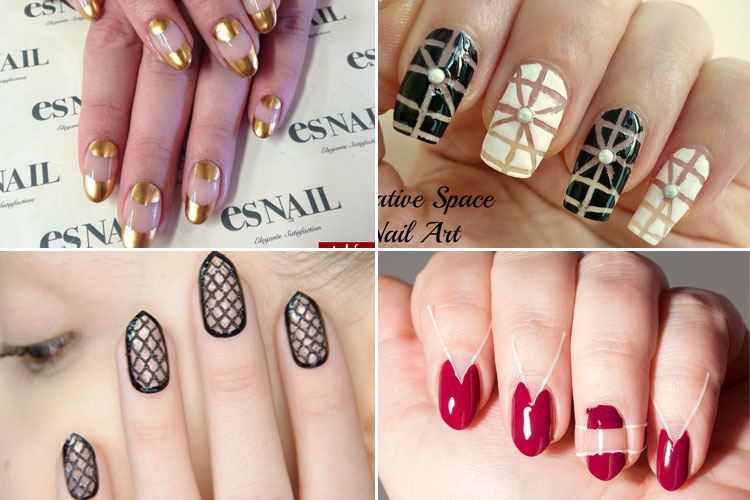
Create a Futuristic Look with Space Nail Art
Exploring the Galaxy on Your Nails
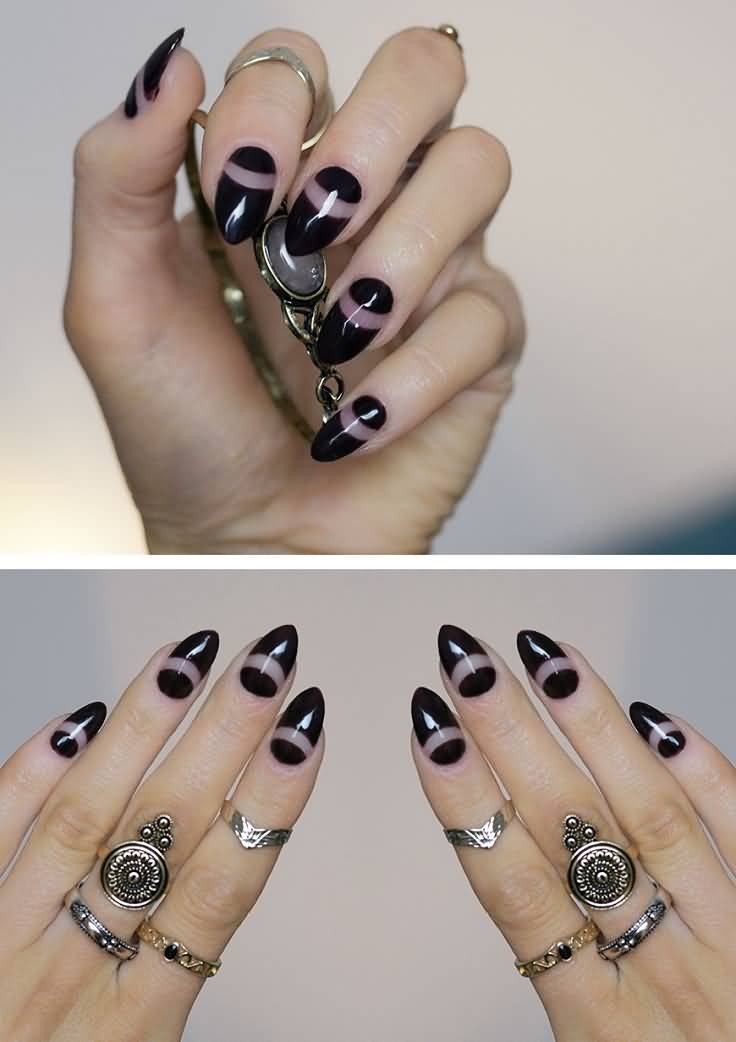
 When it comes to nail art, the possibilities are endless. From abstract designs to intricate patterns, there is something for everyone to try. But if you want to take your nail game to the next level, why not try a space-inspired design? With metallic shades, glitter, and various techniques, you can create a futuristic look that is out of this world.
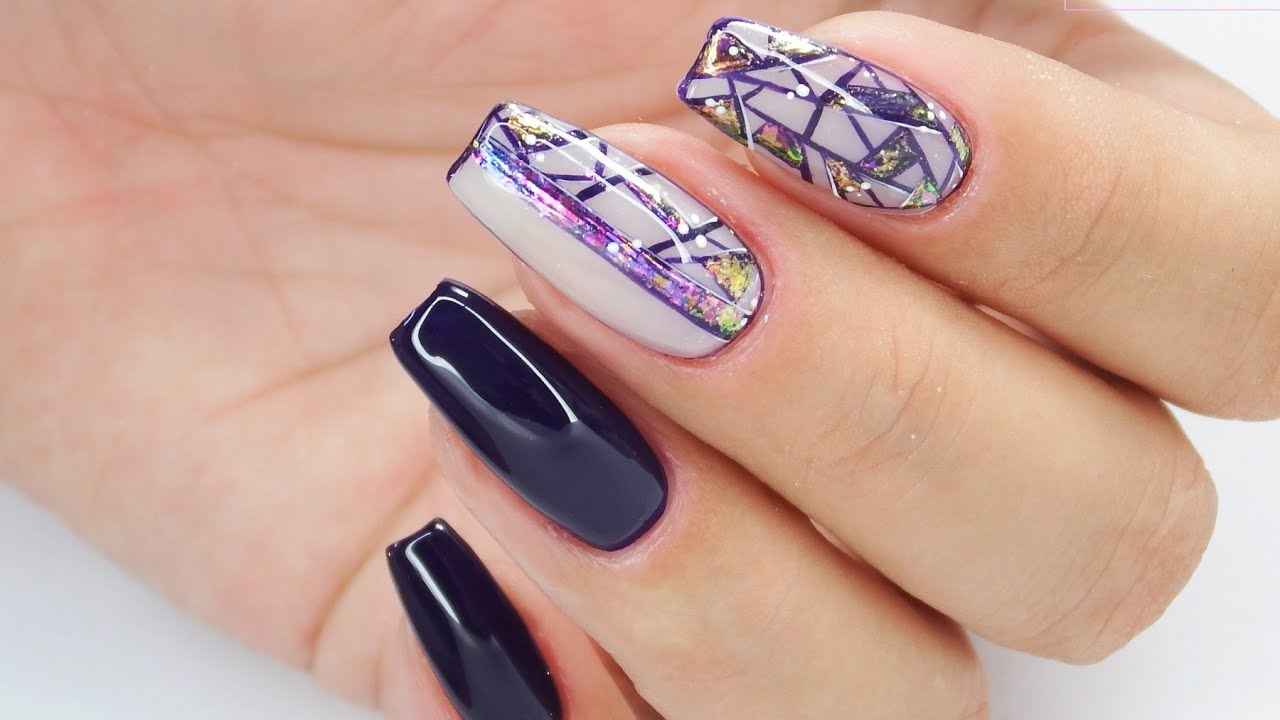
Galactic Colors
The key to achieving a space-themed nail art is to use
dark, metallic colors
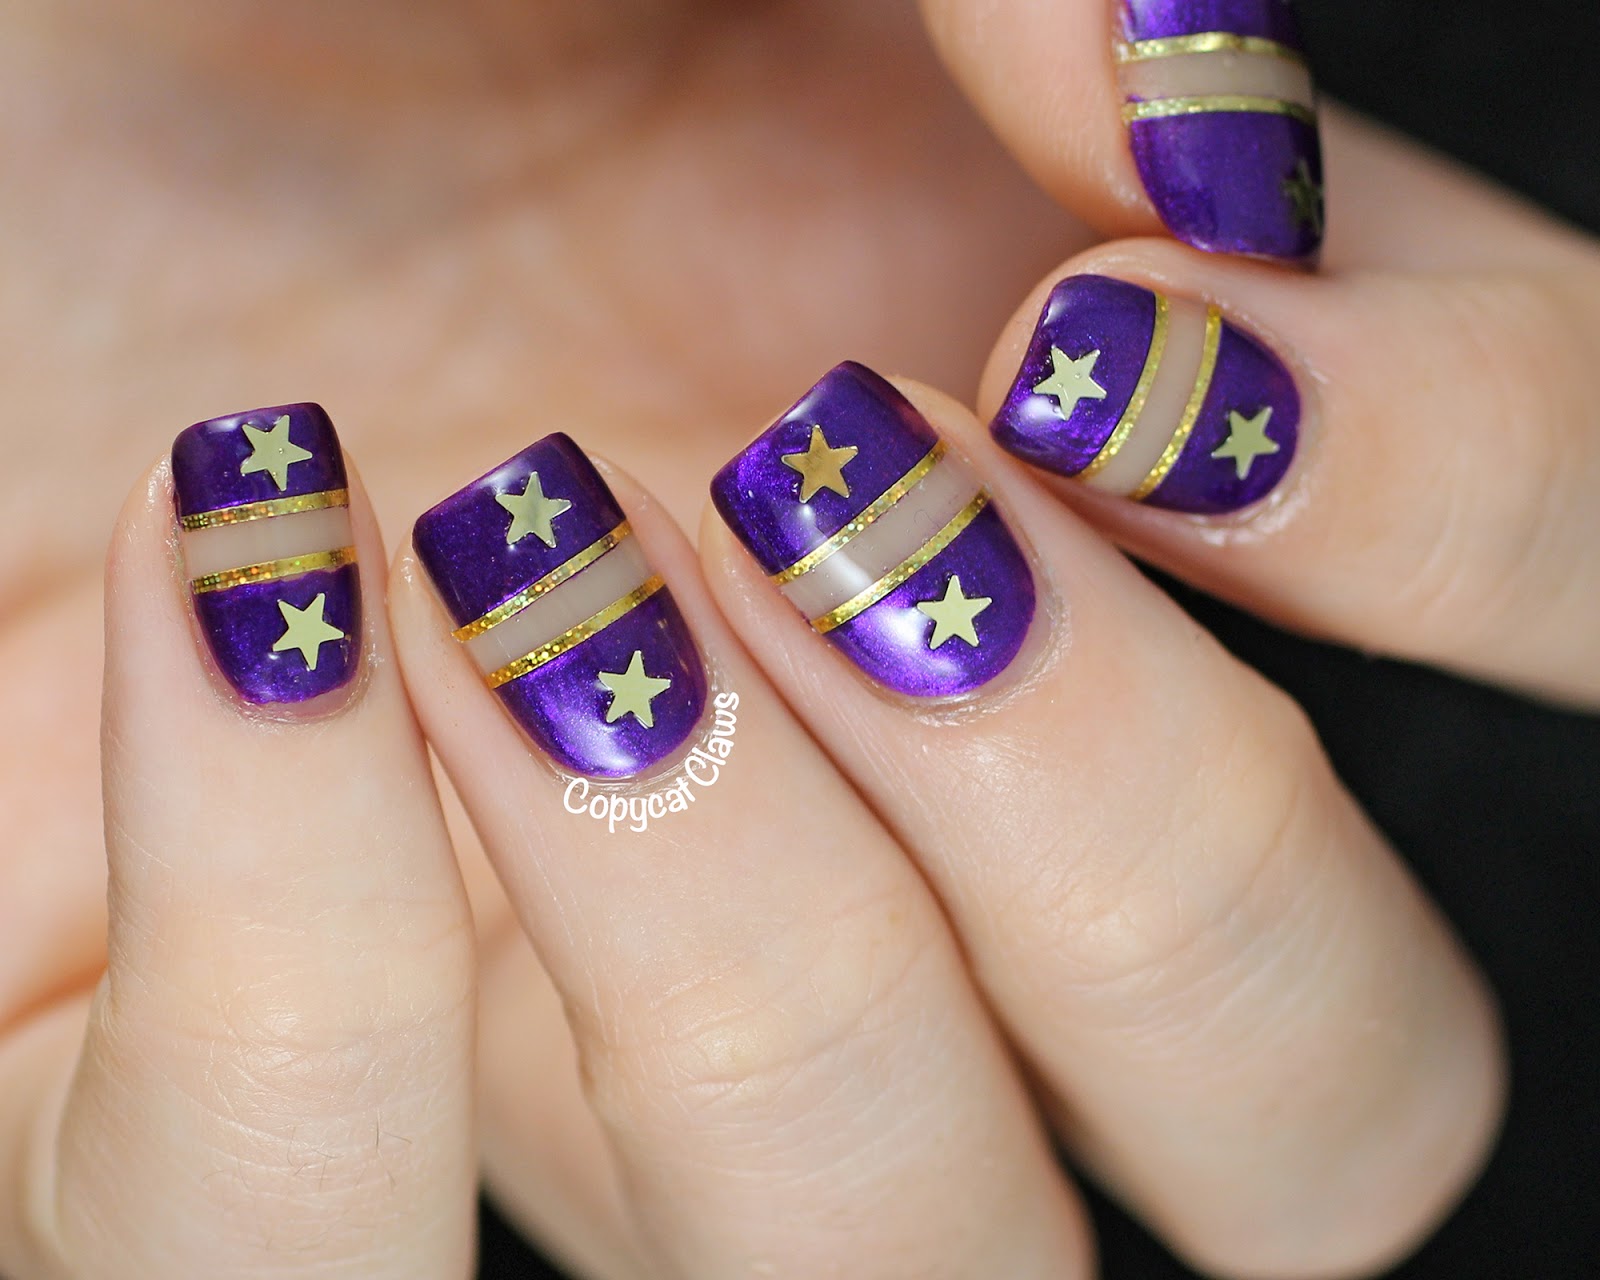
such as deep blues, purples, and blacks. These shades mimic the vastness of the night sky and give a galactic feel to your nails. You can also add pops of
shimmery silver and gold
to represent stars and planets, adding dimension to your design.
When it comes to nail art, the possibilities are endless. From abstract designs to intricate patterns, there is something for everyone to try. But if you want to take your nail game to the next level, why not try a space-inspired design? With metallic shades, glitter, and various techniques, you can create a futuristic look that is out of this world.
Galactic Colors
The key to achieving a space-themed nail art is to use
dark, metallic colors
such as deep blues, purples, and blacks. These shades mimic the vastness of the night sky and give a galactic feel to your nails. You can also add pops of
shimmery silver and gold
to represent stars and planets, adding dimension to your design.
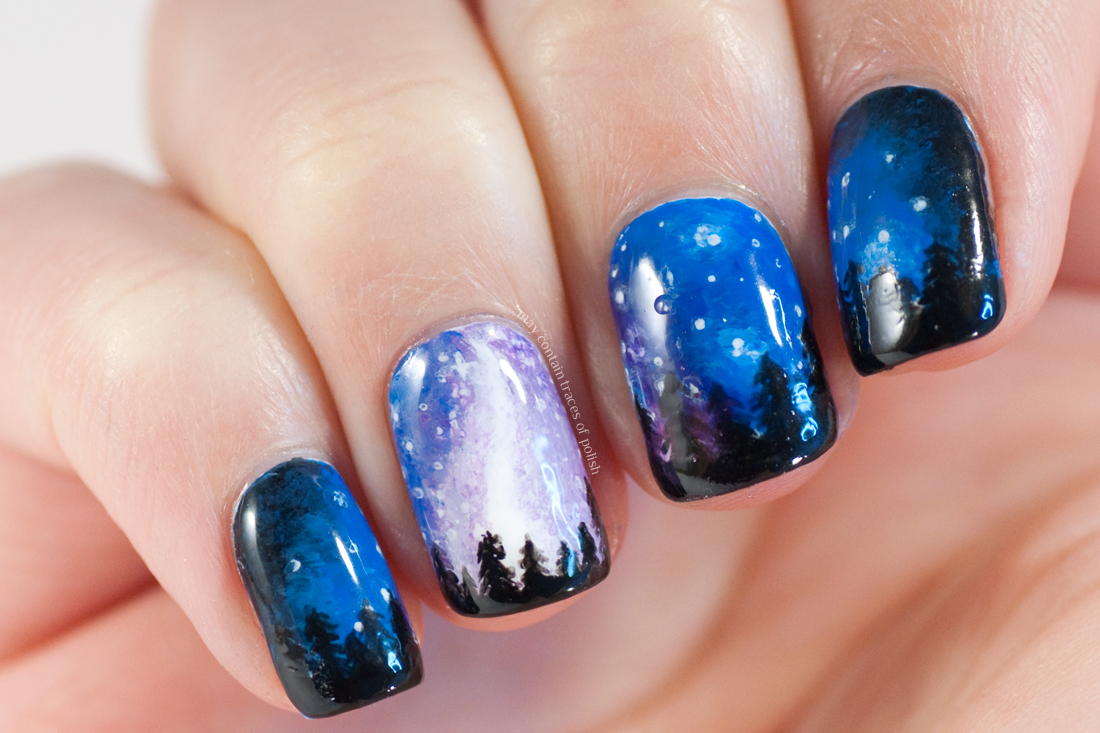
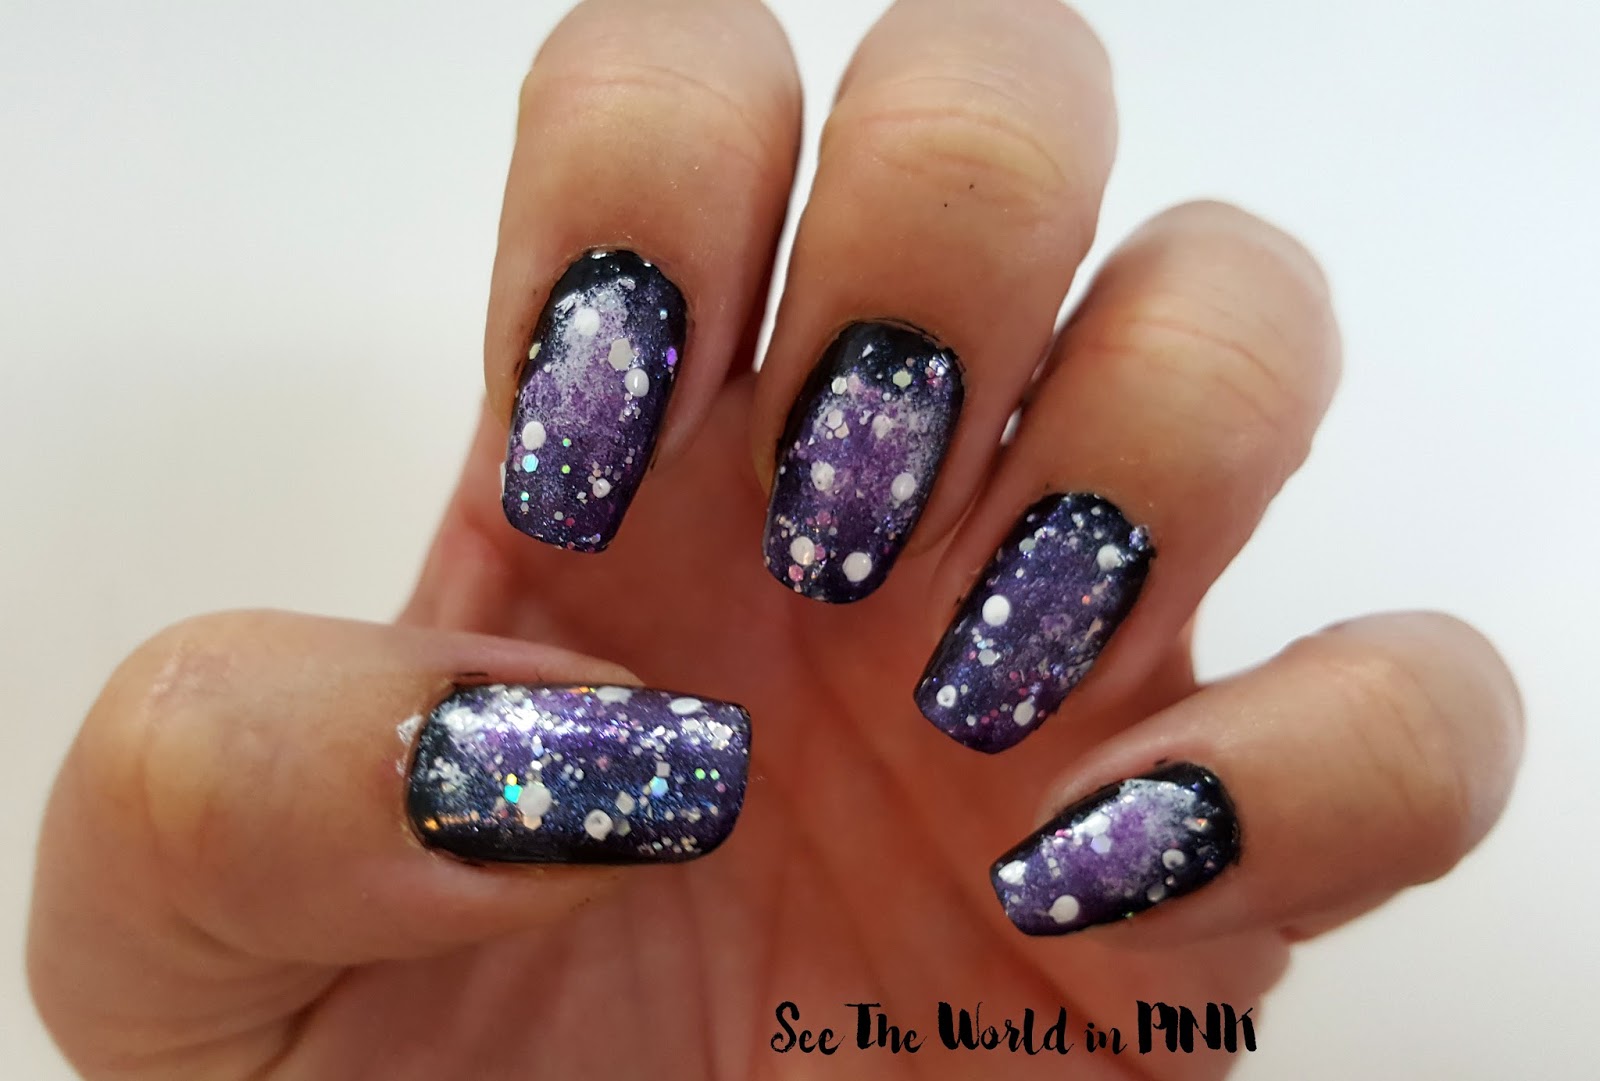
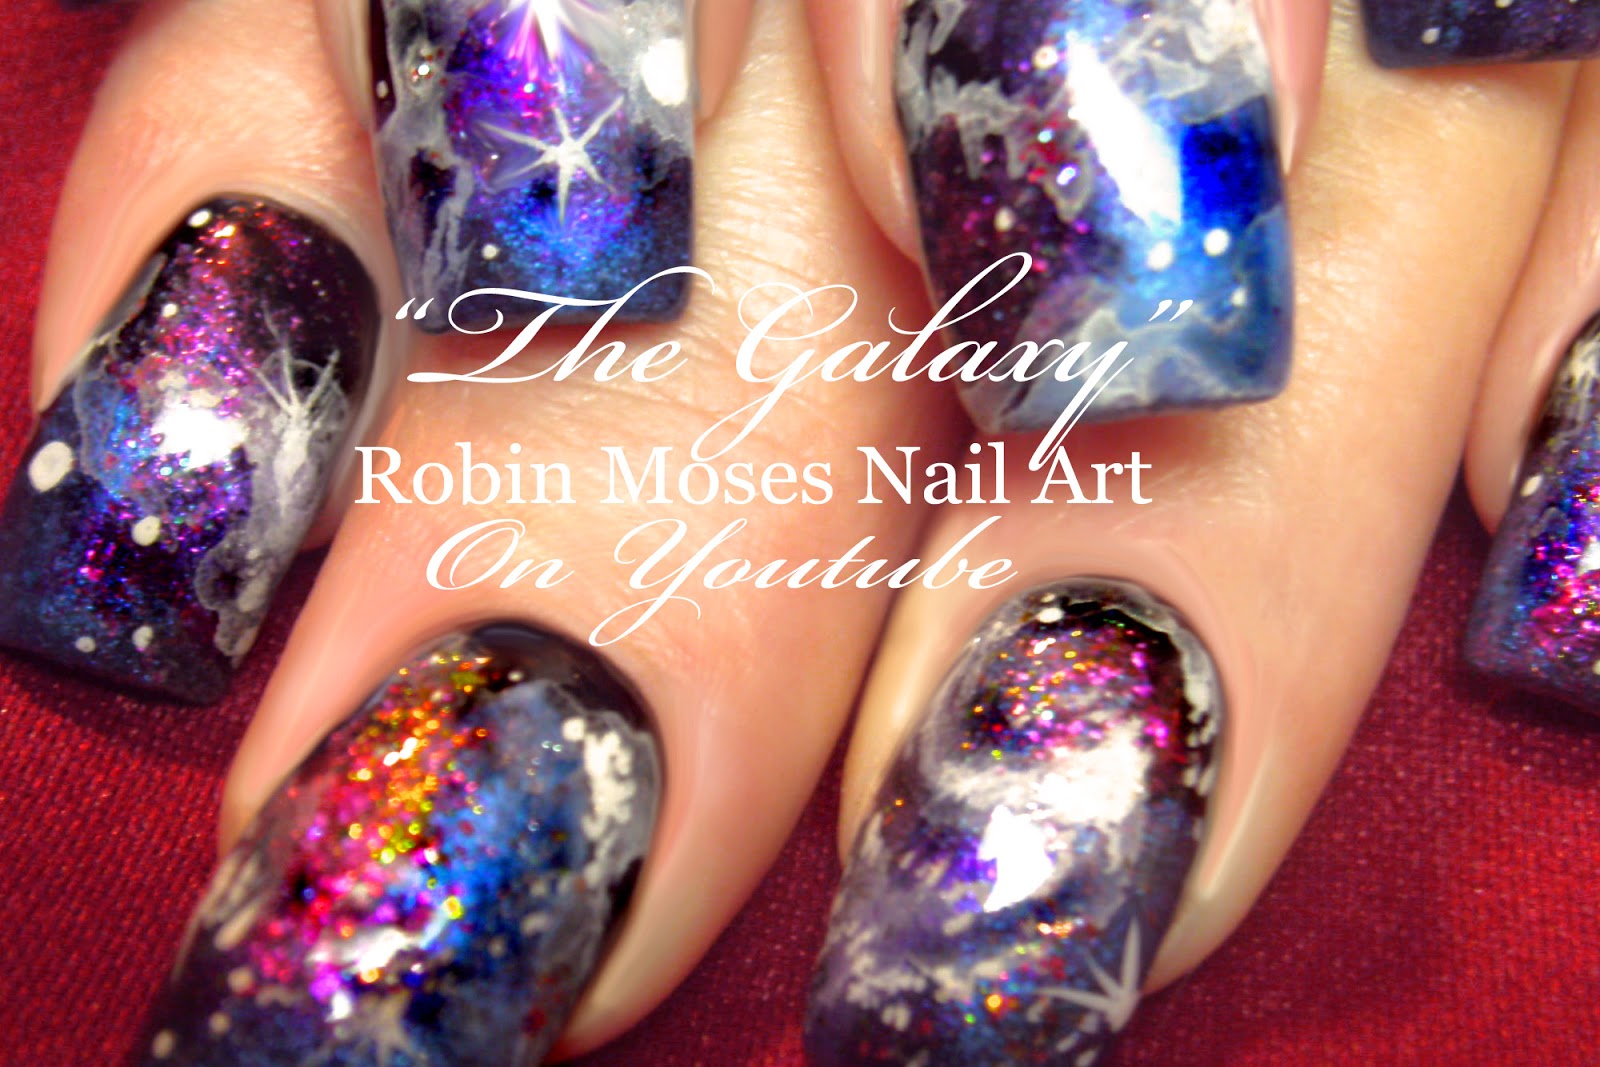
The Milky Way Technique
 One of the most popular techniques for creating a space-inspired nail art is the
Milky Way
design. This technique involves blending different shades of blue and purple to achieve a swirling effect that resembles the galaxy. To create this look, start by painting your nails with a dark blue base color. Then, using a sponge, dab on lighter shades of blue and purple onto your nails. Continue layering the colors until you achieve the desired effect.
One of the most popular techniques for creating a space-inspired nail art is the
Milky Way
design. This technique involves blending different shades of blue and purple to achieve a swirling effect that resembles the galaxy. To create this look, start by painting your nails with a dark blue base color. Then, using a sponge, dab on lighter shades of blue and purple onto your nails. Continue layering the colors until you achieve the desired effect.
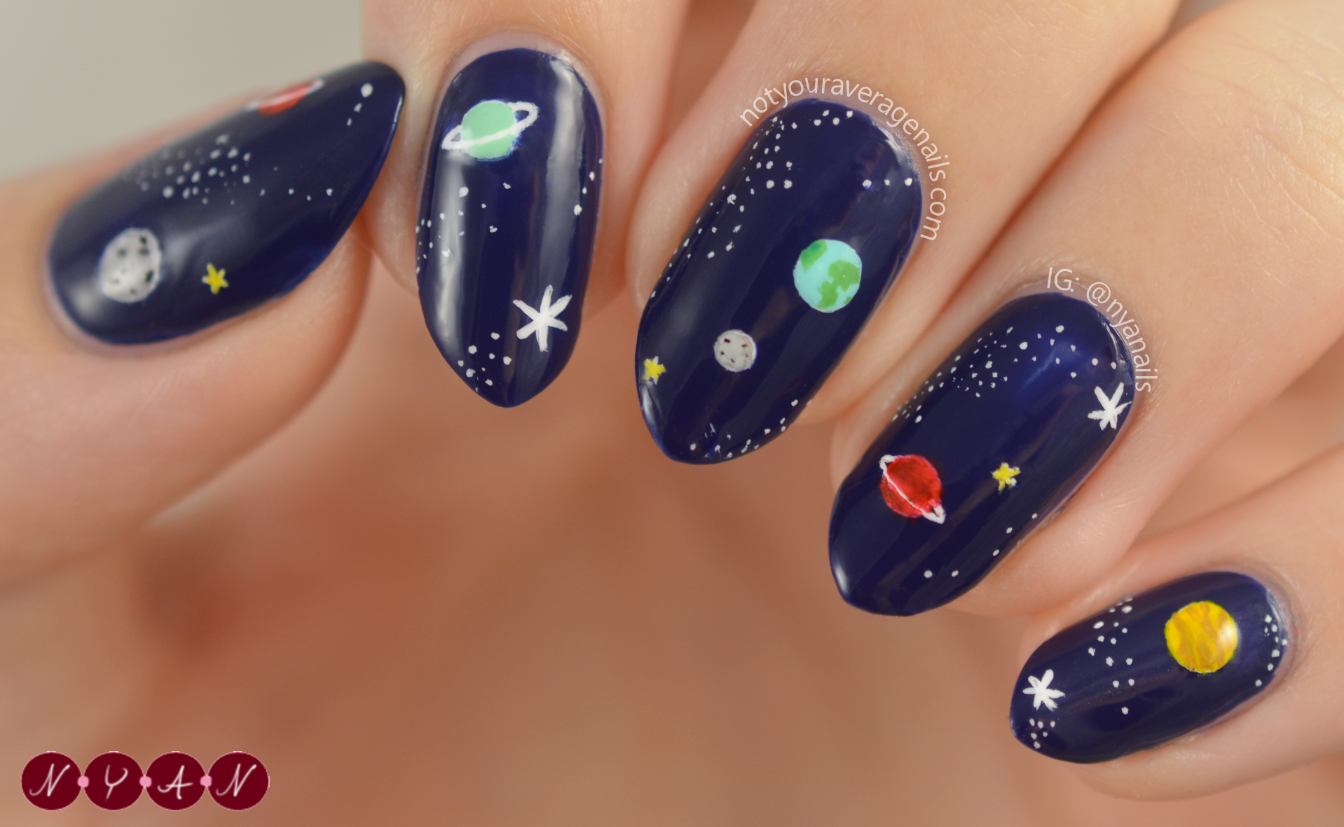
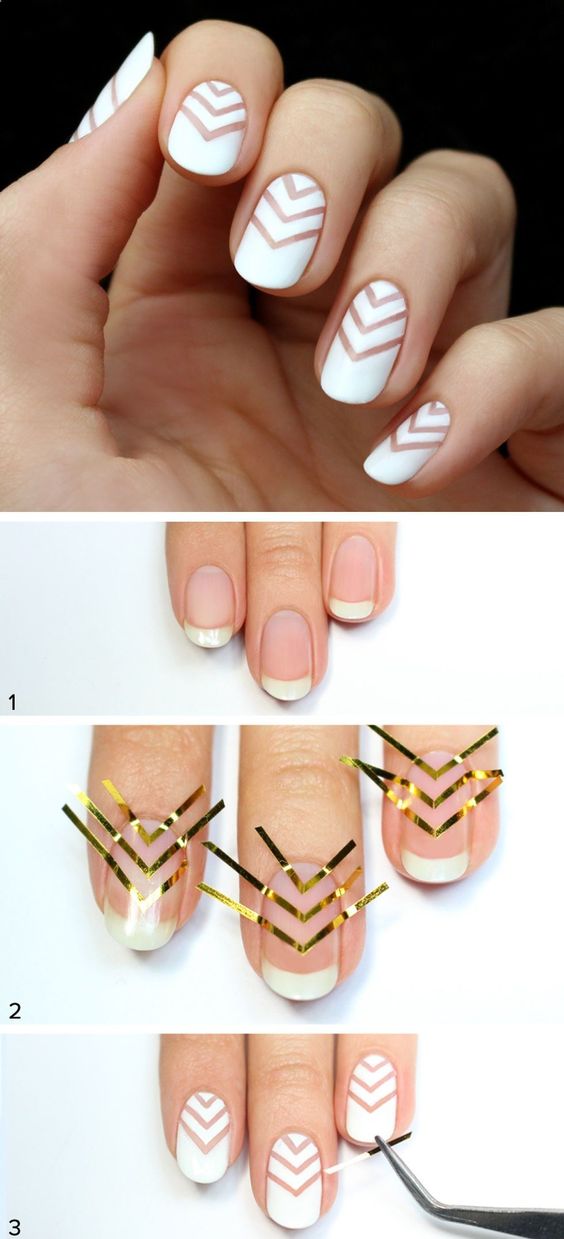
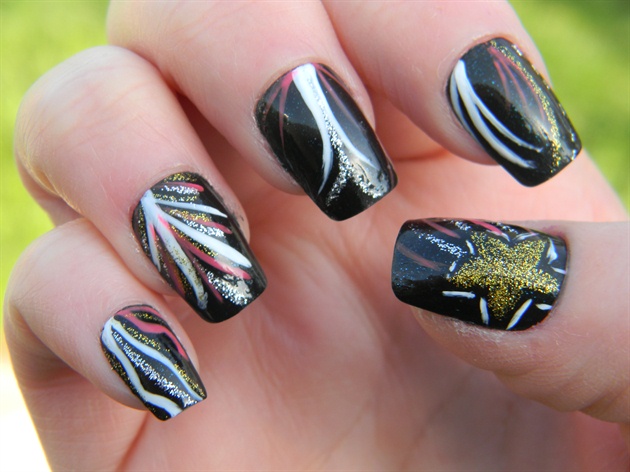
Starry Accents
 Another way to elevate your space nail art is by adding
glitter and rhinestones
. These embellishments can represent stars, comets, or even a shooting star. You can apply them randomly on your nails or create a specific design, such as a constellation. Using a
dotting tool
, you can also create tiny dots to mimic distant stars.
Another way to elevate your space nail art is by adding
glitter and rhinestones
. These embellishments can represent stars, comets, or even a shooting star. You can apply them randomly on your nails or create a specific design, such as a constellation. Using a
dotting tool
, you can also create tiny dots to mimic distant stars.
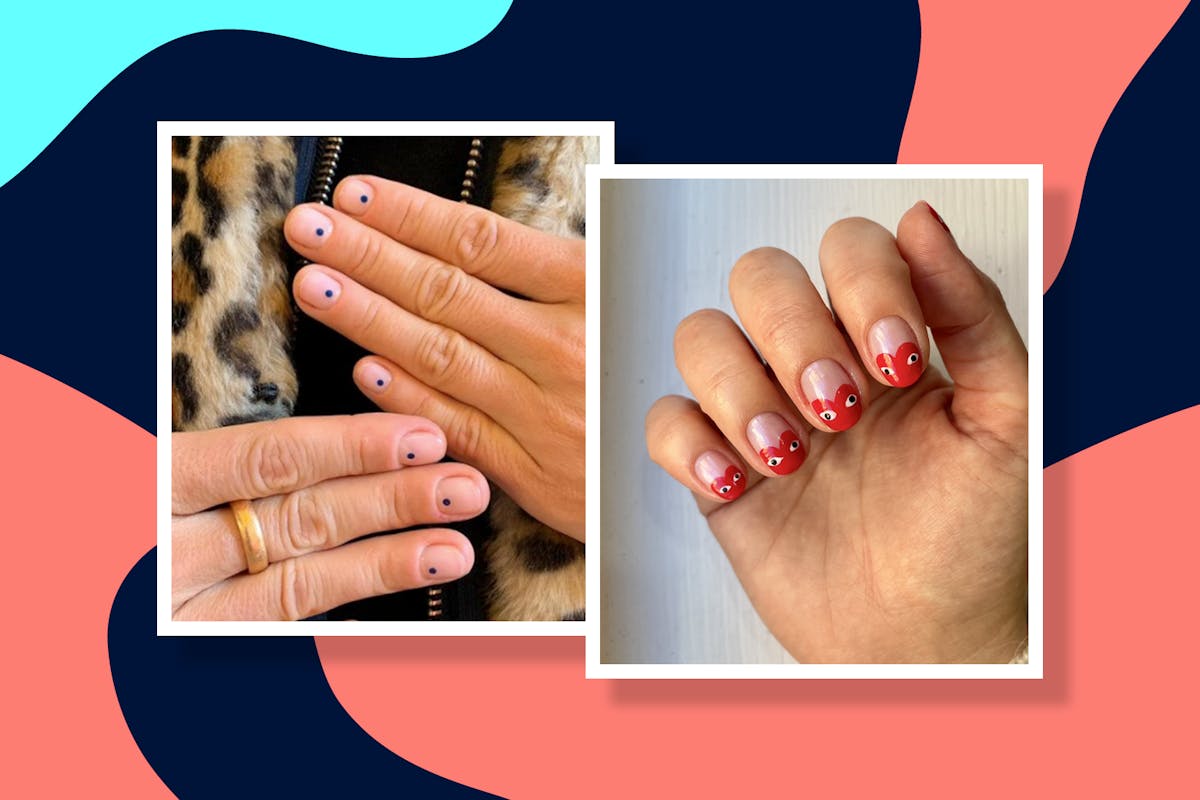
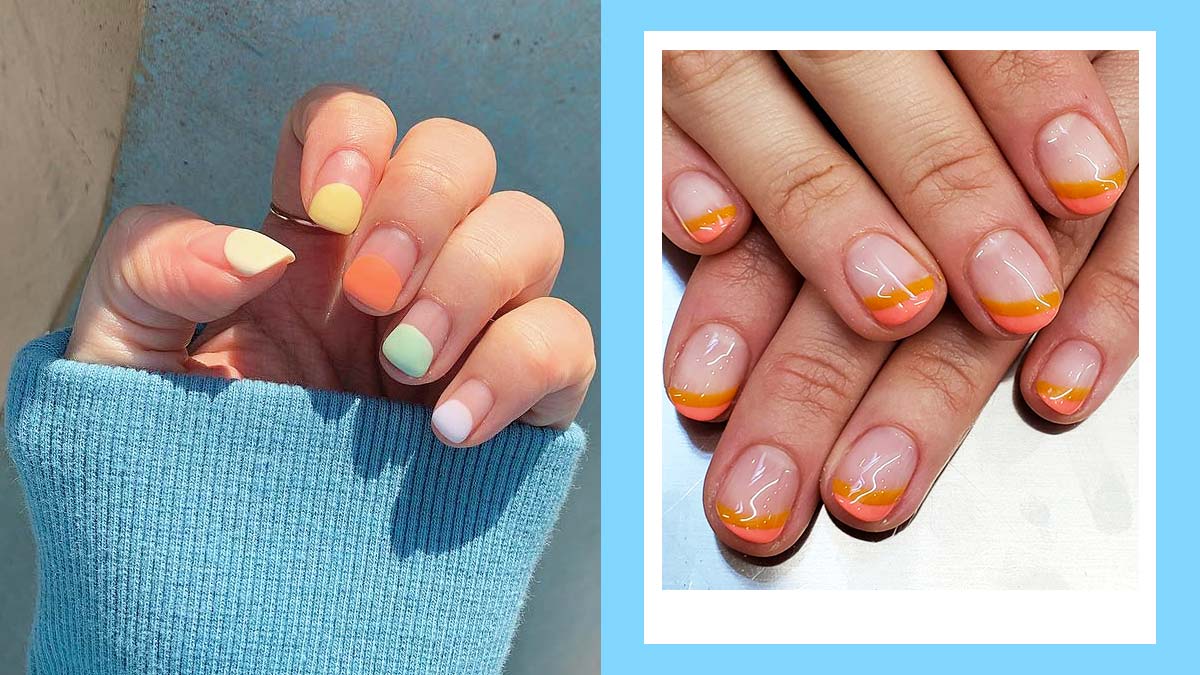
Final Touches
 To complete your space nail art, add a glossy topcoat to seal in your design and add shine. You can also experiment with different finishes, such as matte or metallic, to add more depth to your look. And don't forget to add some
space-inspired nail decals
for an extra touch of creativity.
In conclusion, space nail art allows you to unleash your creativity and create a unique and futuristic look. By using dark, metallic colors, techniques such as the Milky Way, and adding embellishments, you can achieve a galaxy-inspired design that will turn heads. So go ahead and explore the endless possibilities of space nail art and let your nails take you on a journey through the cosmos.
To complete your space nail art, add a glossy topcoat to seal in your design and add shine. You can also experiment with different finishes, such as matte or metallic, to add more depth to your look. And don't forget to add some
space-inspired nail decals
for an extra touch of creativity.
In conclusion, space nail art allows you to unleash your creativity and create a unique and futuristic look. By using dark, metallic colors, techniques such as the Milky Way, and adding embellishments, you can achieve a galaxy-inspired design that will turn heads. So go ahead and explore the endless possibilities of space nail art and let your nails take you on a journey through the cosmos.


