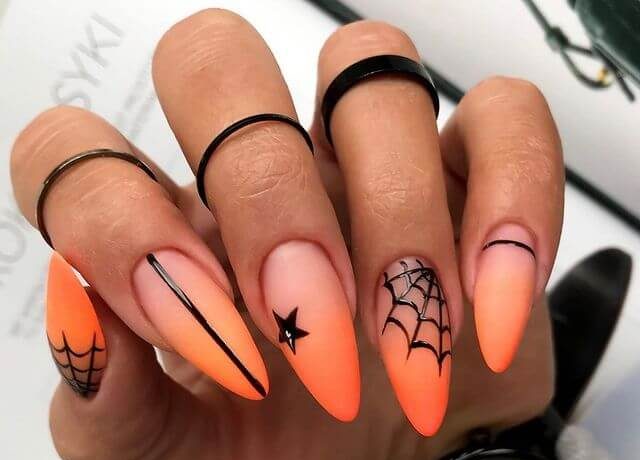
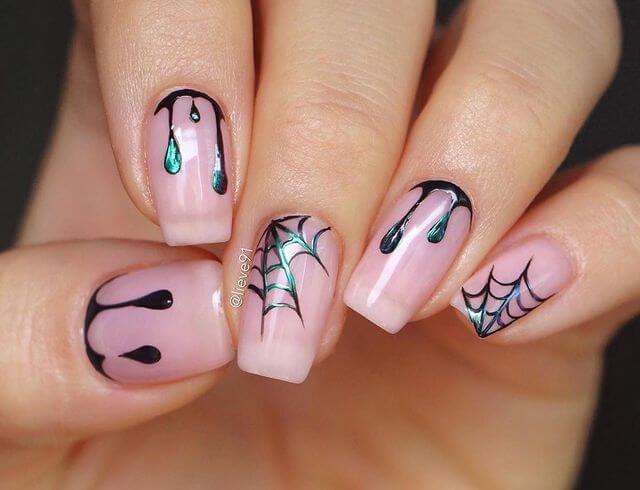
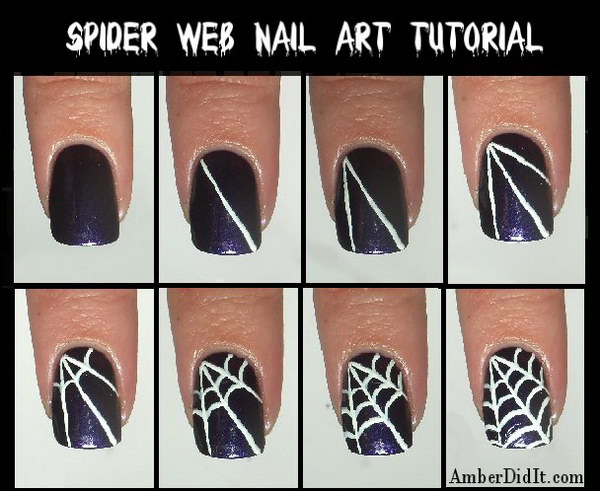
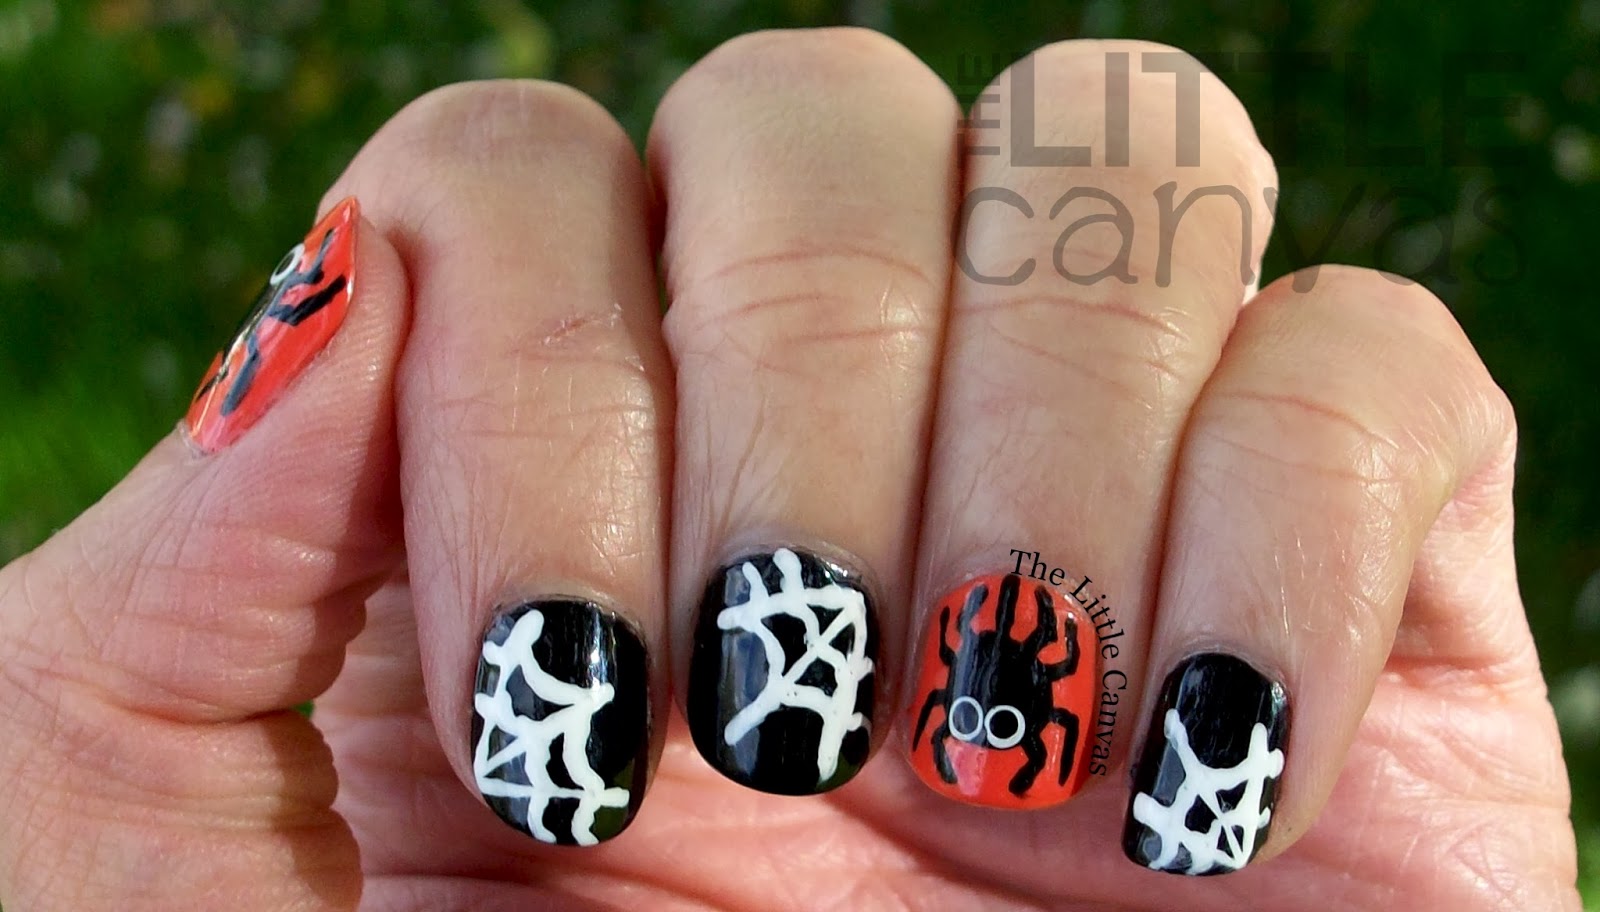
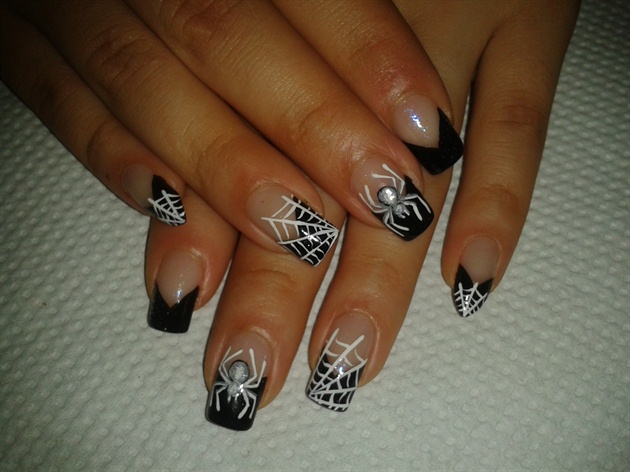
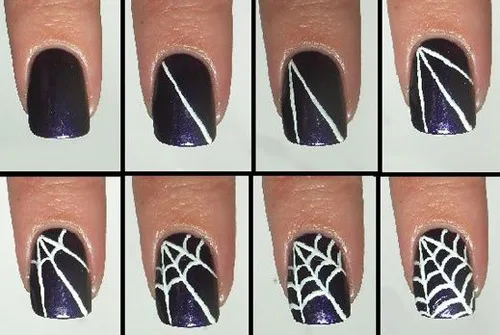
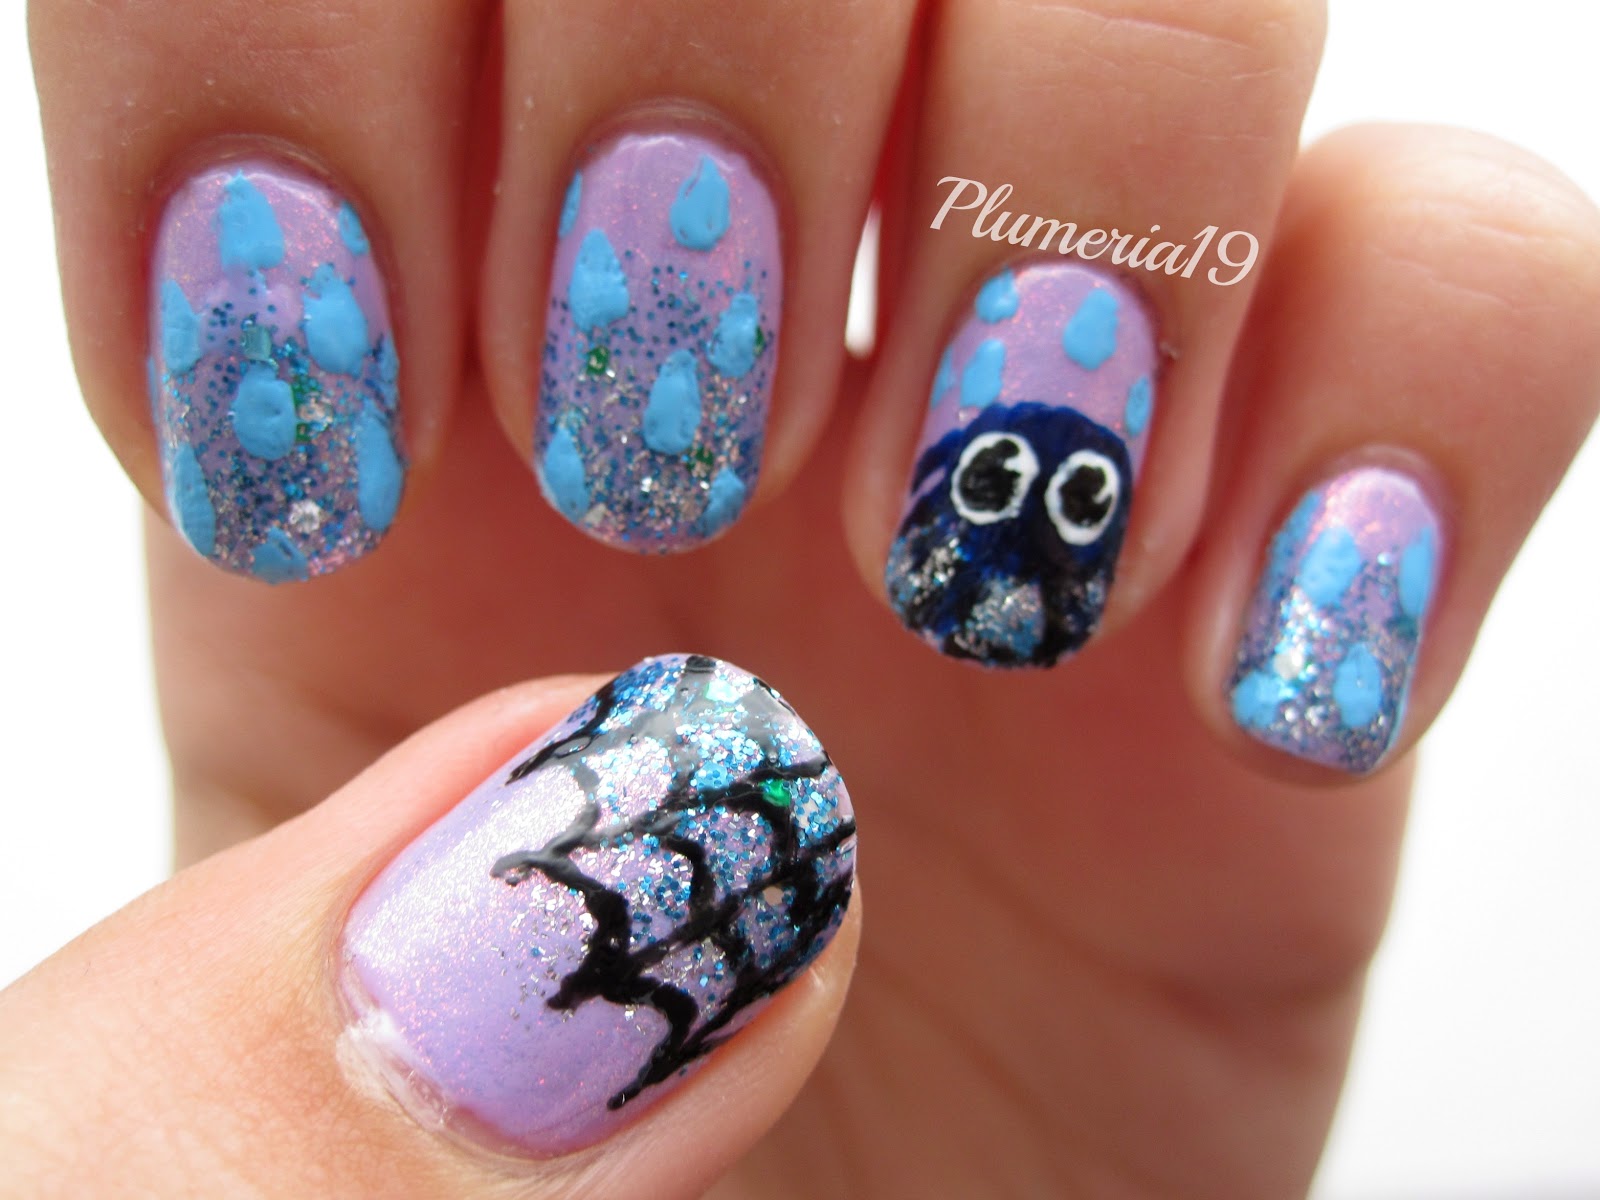
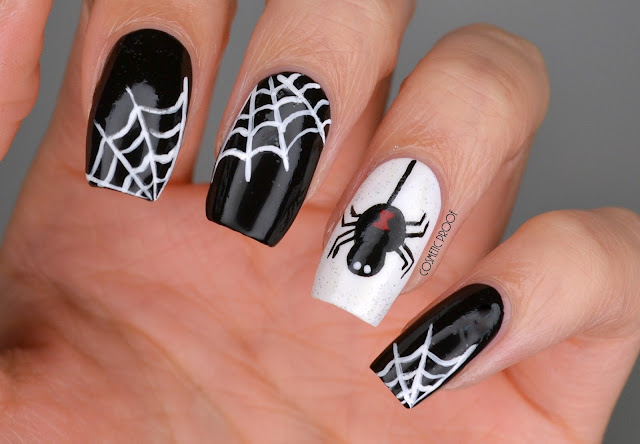
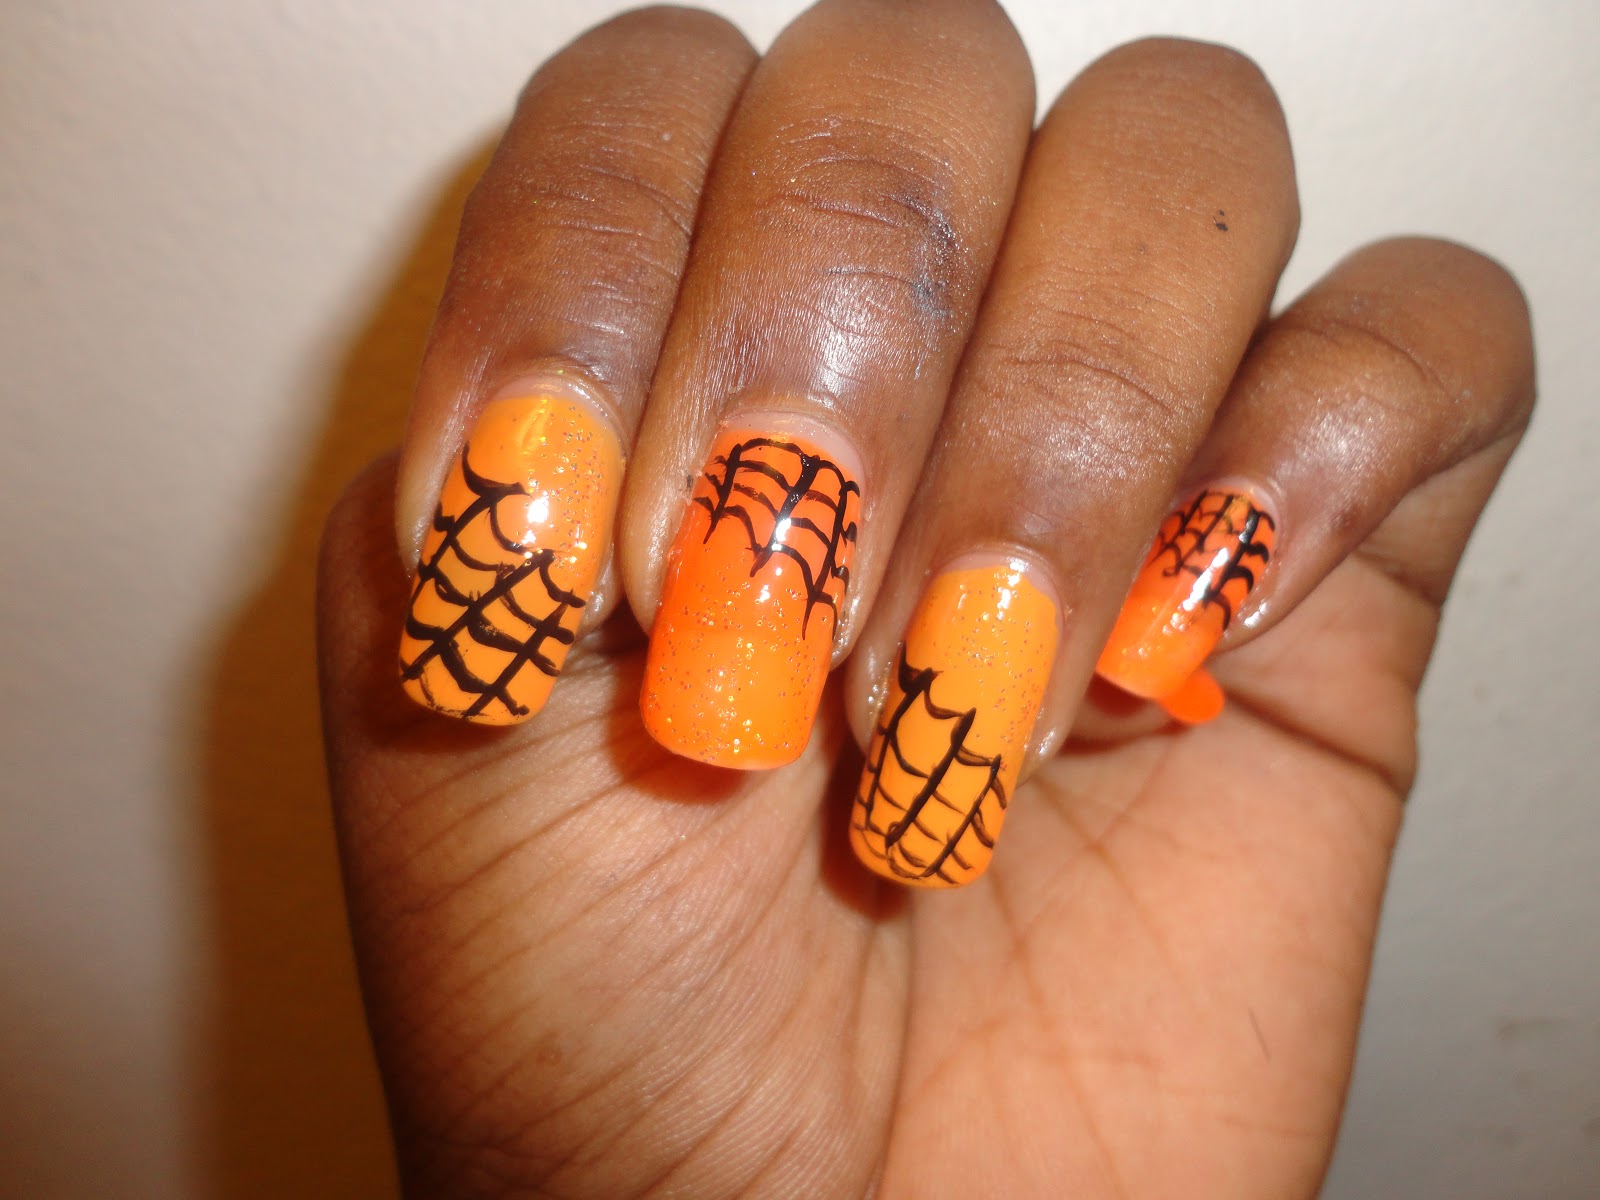
Looking for a spooky and stylish nail design? Look no further than these spider web nails! This tutorial will guide you through the steps to create the perfect Halloween-inspired look. Start by painting your nails with black polish. This will serve as the base for your spider web design. Let the polish dry completely before moving on to the next step. Next, take a thin brush or a toothpick and dip it into white nail polish. Begin creating the spokes of the spider web by drawing lines from the center of your nail outwards. Make sure to leave some space between each line. Once you've created the spokes, connect them by drawing curved lines between each one. This will create the classic spider web shape. You can also add smaller lines for a more intricate design. To finish off the design, use a dotting tool or toothpick to create a small black dot in the center of the web. This will represent the spider. Seal the design with a top coat to make it last longer and add some shine. And there you have it, a spooky and stylish spider web nail design that will surely turn heads.Spider Web Nail Art Tutorial


Spider Web Nail Art Tutorial

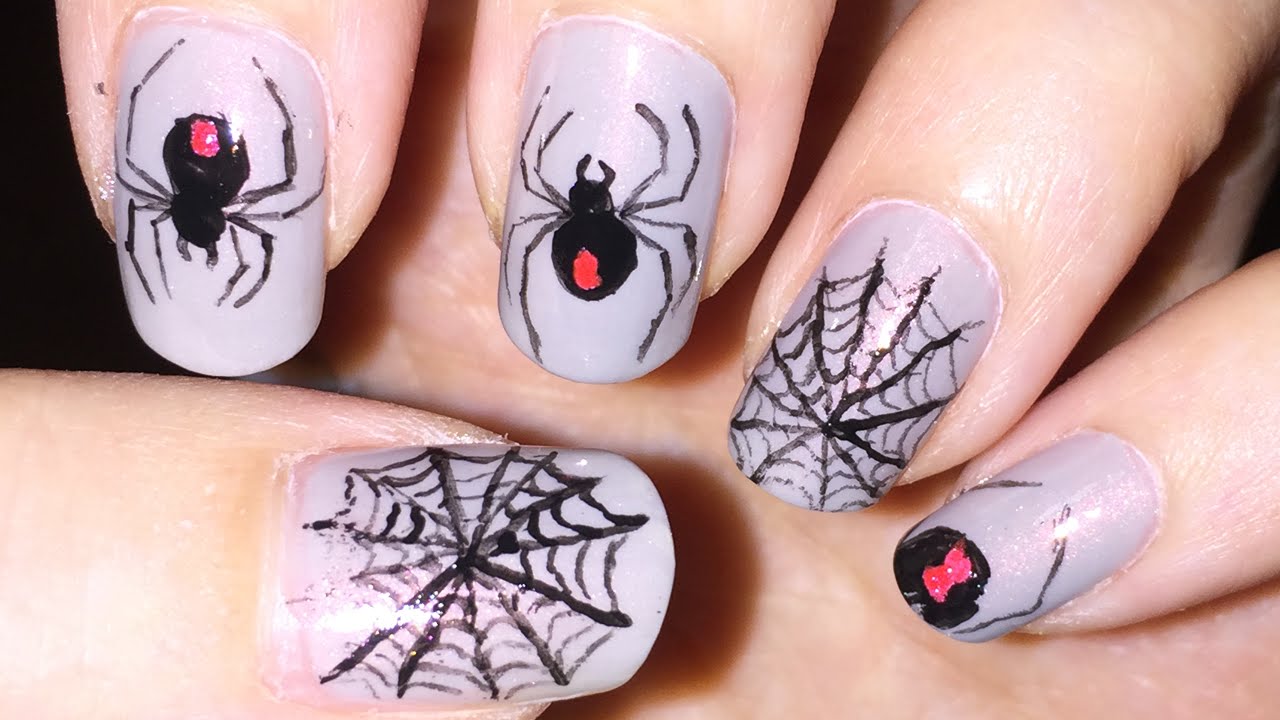
Looking to add some fierce and feminine vibes to your nails? This black widow nail art design is the perfect choice. Follow these steps to achieve the look. Start by painting your nails with black polish. This will serve as the base for your design. Let it dry completely before moving on. Next, take a red nail polish and create a diagonal line across your nail, leaving a triangle shape at the tip. Fill in the triangle with the red polish. This will be the black widow's iconic hourglass shape. Using a thin brush, draw two curved lines on either side of the red triangle, creating the shape of a spider's body. Then, add four small lines on each side to represent the legs. For an extra touch, you can also add small white dots on the spider's body to create a textured effect. Finish off with a top coat to seal the design and add some shine. This bold and edgy black widow nail art is sure to make a statement.Black Widow Nail Art Design


Black Widow Nail Art Design


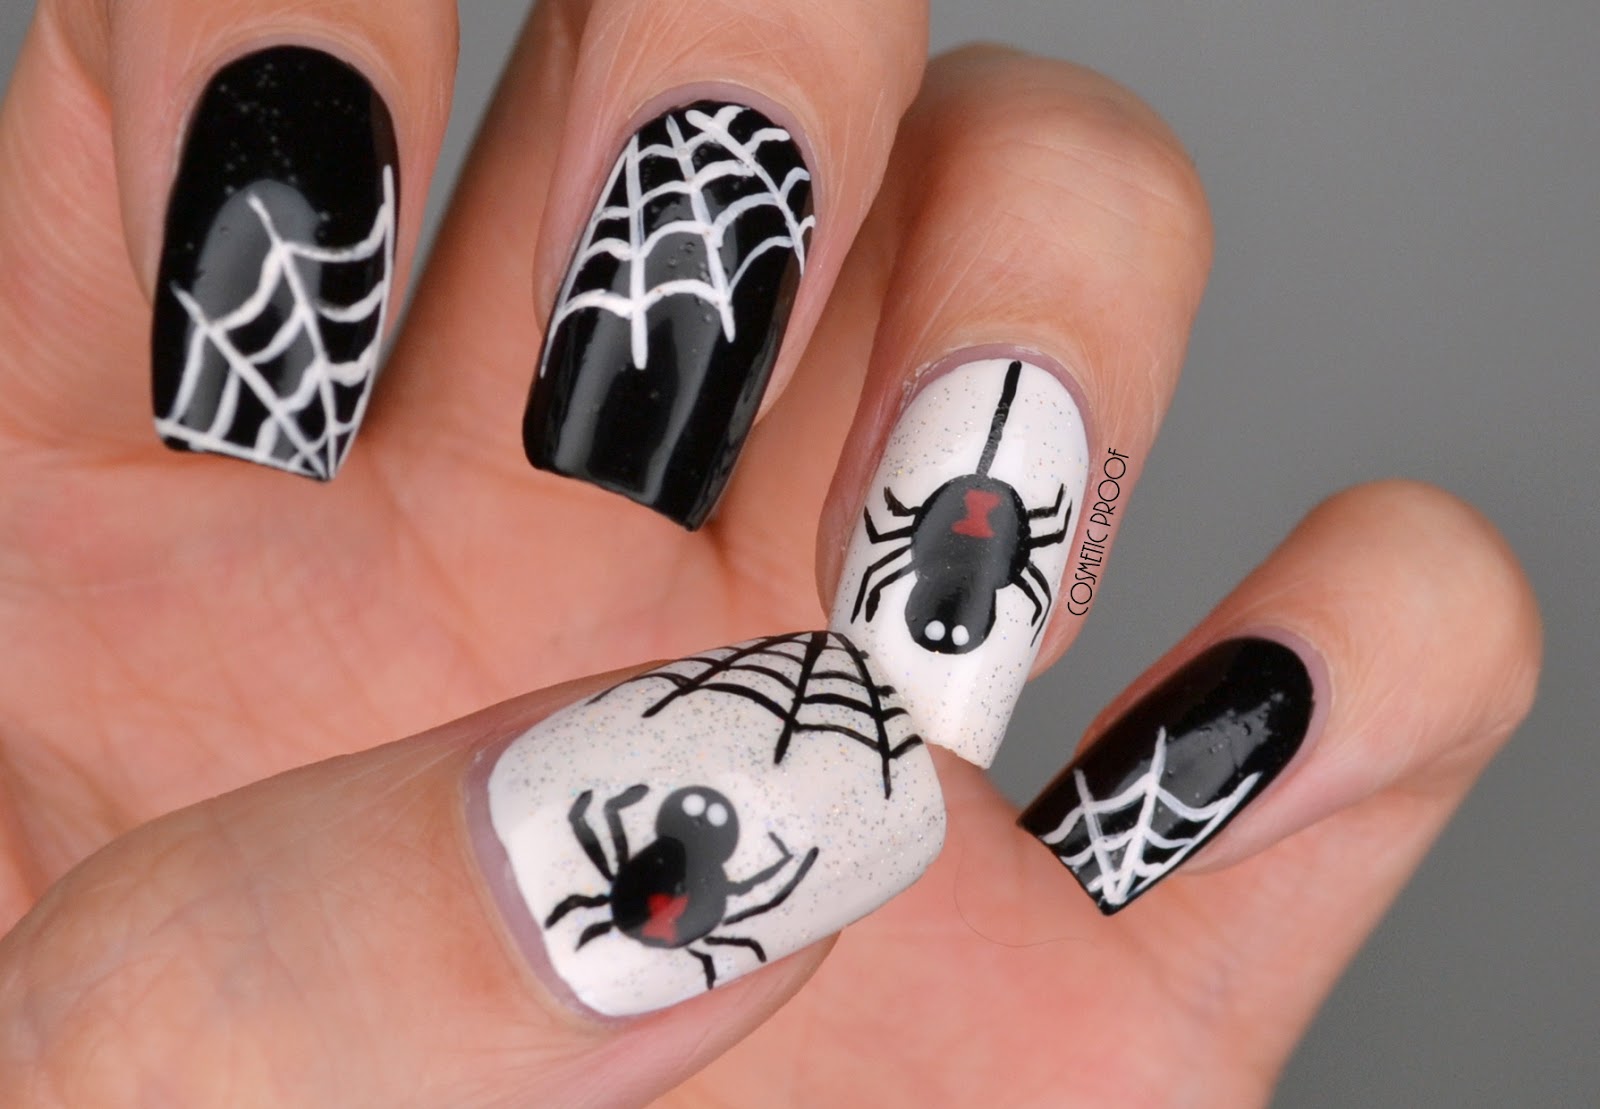
Want to create a festive and fun Halloween nail design without too much effort? These easy spider nails are the perfect choice. Here's how to achieve the look. Start by painting your nails with black polish. Let it dry completely before moving on. Next, take a white nail polish and create two large dots on each nail, leaving some space in between. These will be the spider's body. Using a toothpick or a thin brush, draw four curved lines on each side of the body, creating the spider's legs. Feel free to make them as long or short as you like. For a more intricate look, you can also add a small red dot on top of the white body to represent the spider's eyes. Seal the design with a top coat and you'll have cute and easy spider nails that are perfect for Halloween.Easy Halloween Spider Nails


Easy Halloween Spider Nails


If you want to keep your Halloween nail design simple and chic, this black and white spider design is the way to go. Here's how to achieve it. Start by painting your nails with black polish. Let it dry completely before moving on. Next, take a white nail polish and create a diagonal line across your nail, leaving a triangle shape at the tip. Fill in the triangle with the white polish. Using a thin brush, draw two curved lines on either side of the white triangle, creating the shape of a spider's body. Then, add four small lines on each side to represent the legs. For an added touch, you can also add small black dots on the spider's body to create a textured effect. Seal the design with a top coat and you'll have a sleek and stylish spider nail design that is perfect for any Halloween event.Black and White Spider Nail Design


Black and White Spider Nail Design

Want to achieve a professional-looking spider nail design without all the hassle and mess? These spider nail art stickers are the answer. Start by painting your nails with black polish. Let it dry completely before moving on. Next, choose your desired spider nail art sticker and carefully place it on your nail. You can position it on the tip of your nail or in the center, depending on your preference. Press down on the sticker to ensure it is securely attached to your nail. Then, use a top coat to seal the sticker and add some shine. Repeat the process for each nail and you'll have a perfectly designed spider nail look without all the work.Spider Nail Art Stickers


Spider Nail Art Stickers


If you want to add a pop of color to your spider nail design, this black and red combination is the way to go. Here's how to achieve it. Start by painting your nails with black polish. Let it dry completely before moving on. Next, take a red nail polish and create a diagonal line across your nail, leaving a triangle shape at the tip. Fill in the triangle with the red polish. Using a thin brush, draw two curved lines on either side of the red triangle, creating the shape of a spider's body. Then, add four small lines on each side to represent the legs. For an extra touch, you can also add small white dots on the spider's body to create a textured effect. Seal the design with a top coat and you'll have a bold and eye-catching spider nail look.Black and Red Spider Nails
Black and Red Spider Nails


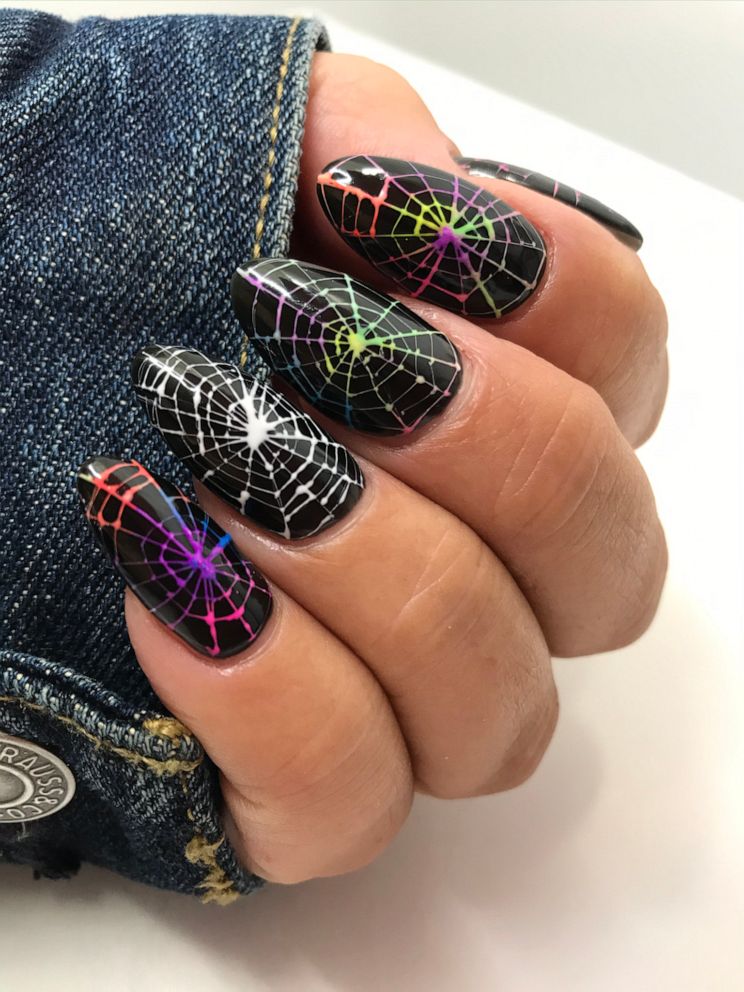
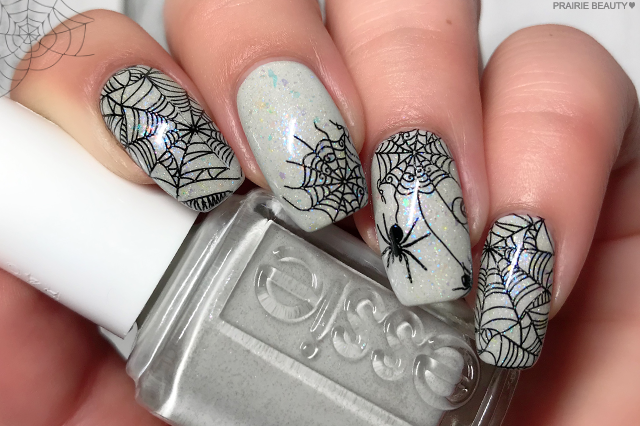
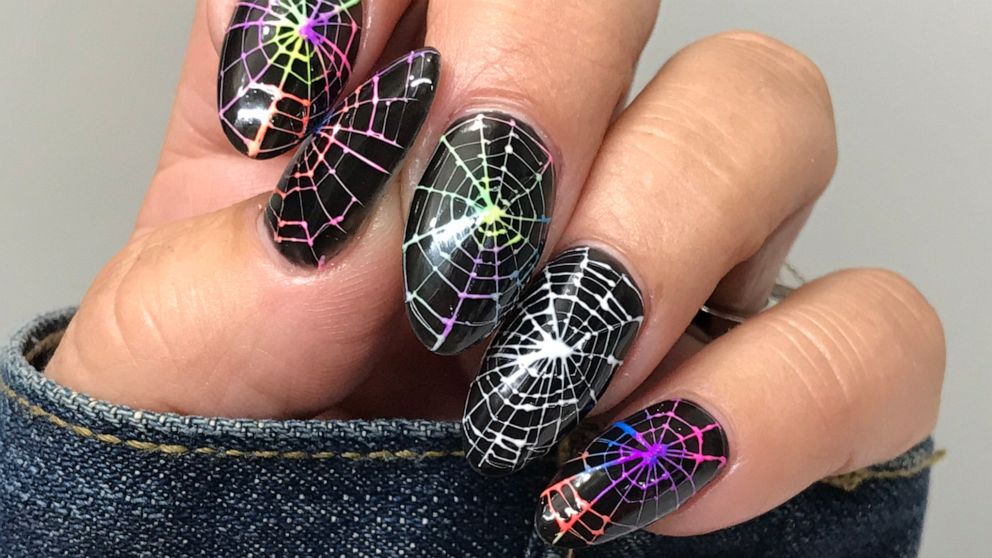
Looking for a quick and easy way to create a spider web design on your nails? Nail stamping is the perfect solution. Here's how to achieve it. Start by painting your nails with black polish. Let it dry completely before moving on. Next, choose a spider web nail stamping plate and a white nail polish. Apply the white polish to the design on the plate and use a scraper to remove the excess polish. Quickly press a stamper onto the plate to pick up the design, then stamp it onto your nail. Repeat this process for each nail. For an extra touch, you can also add a small black dot in the center of the web for the spider. Seal the design with a top coat and you'll have a perfectly stamped spider web design on your nails.Spider Web Nail Stamping

Spider Web Nail Stamping


Want to add a touch of luxury to your spider nail design? This black and gold combination is the perfect choice. Here's how to achieve it. Start by painting your nails with black polish. Let it dry completely before moving on. Next, take a gold nail polish and create a diagonal line across your nail, leaving a triangle shape at the tip. Fill in the triangle with the gold polish. Using a thin brush, draw two curved lines on either side of the gold triangle, creating the shape of a spider's body. Then, add four small lines on each side to represent the legs. For an extra touch, you can also add small black dots on the spider's body to create a textured effect. Seal the design with a top coat and you'll have a glamorous and unique spider nail look.Black and Gold Spider Nails


Black and Gold Spider Nails
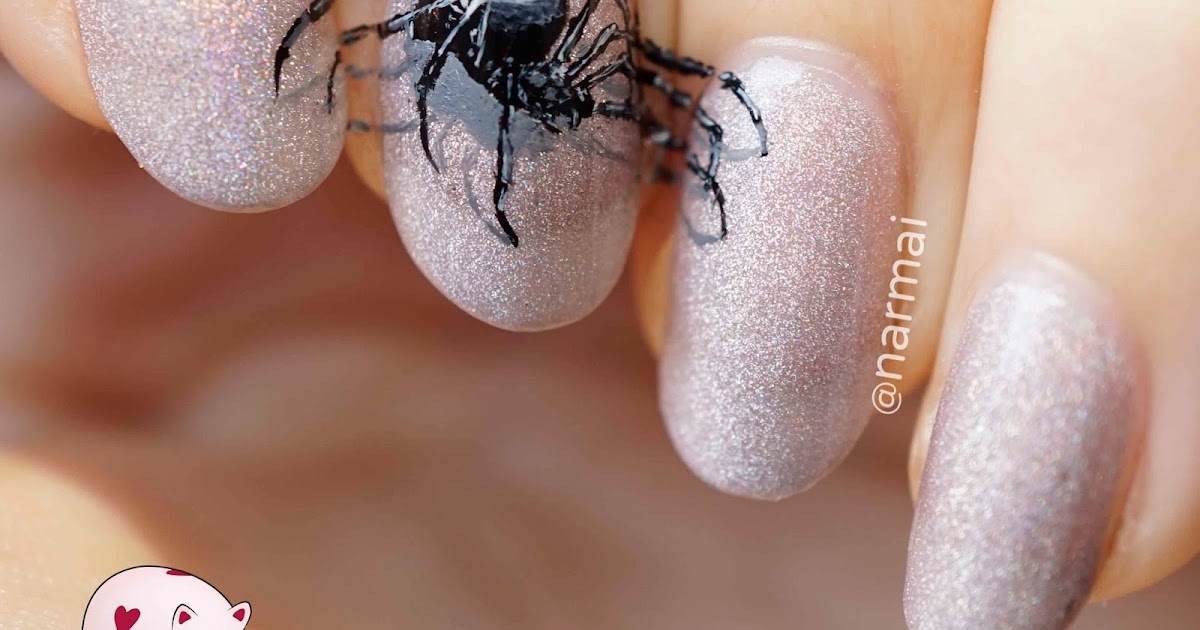
Looking to take your spider nail design to the next level? This 3D spider nail art is sure to impress. Here's how to achieve it. Start by painting your nails with black polish. Let it dry completely before moving on. Next, take a white nail polish and create two large dots on each nail, leaving some space in between. These will be the spider's body. Using a toothpick or a thin brush, draw four curved lines on each side of the body, creating the spider's legs. Feel free to make them as long or short as you like. For a more intricate look, you can also add a small red dot on top of the white body to represent the spider's eyes. To add the 3D effect, use a small amount of clear nail gel or glue and place a plastic spider on top of the design. Hold it in place until the gel or glue dries. Seal the design with a top coat and you'll have a unique and eye-catching spider nail look.3D Spider Nail Art

3D Spider Nail Art

If you want to add a touch of color to your spider nail design, this black and purple combination is a great choice. Here's how to achieve it. Start by painting your nails with black polish. Let it dry completely before moving on. Next, take a purple nail polish and create a diagonal line across your nail, leaving a triangle shape at the tip. Fill in the triangle with the purple polish. Using a thin brush, draw two curved lines on either side of the purple triangle, creating the shape of a spider's body. Then, add four small lines on each side to represent the legs. For an extra touch, you can also add small black dots on the spider's body to create a textured effect. Seal the design with a top coat and you'll have a bold and beautiful spider nail look.Black and Purple Spider Nails

Black and Purple Spider Nails
How to Create the Perfect Spider Nail Art Design in Black
Unleash Your Creativity with Spider Nail Art
 If you're looking to add a touch of spookiness to your
nail art
collection, then
spider nail art
is the perfect choice for you. This unique and edgy design is perfect for Halloween, or any time you want to make a bold statement with your nails. In this article, we'll show you how to create the perfect spider nail art design in
black
that will have everyone talking.
If you're looking to add a touch of spookiness to your
nail art
collection, then
spider nail art
is the perfect choice for you. This unique and edgy design is perfect for Halloween, or any time you want to make a bold statement with your nails. In this article, we'll show you how to create the perfect spider nail art design in
black
that will have everyone talking.
Gather Your Supplies
 Before you begin, make sure you have all the necessary supplies. You'll need a
black
nail polish, a thin nail art brush, a dotting tool, and a top coat. You can also add some extra sparkle with a glitter top coat or rhinestones. Having all your supplies ready will make the process much easier and prevent any interruptions.
Before you begin, make sure you have all the necessary supplies. You'll need a
black
nail polish, a thin nail art brush, a dotting tool, and a top coat. You can also add some extra sparkle with a glitter top coat or rhinestones. Having all your supplies ready will make the process much easier and prevent any interruptions.
Step-by-Step Guide
 Now, let's get started on creating your
spider nail art
design. Follow these simple steps for a flawless and professional-looking result.
Now, let's get started on creating your
spider nail art
design. Follow these simple steps for a flawless and professional-looking result.
Step 1: Apply Base Coat
Before you begin painting your nails, make sure to apply a base coat to protect them and prevent any staining. This will also help your nail polish last longer.Step 2: Paint Your Nails Black
Paint all your nails with the black nail polish. You may need to apply two coats for a deep and solid color.Step 3: Create the Spider Web
Using the thin nail art brush, create a spider web on one of your nails. Start by drawing a small cross in the center of your nail. Then, draw curved lines coming out from the cross to create the web.Step 4: Add the Spider
Next, use the dotting tool to create a small circle for the spider's body. Then, use the brush to add eight legs coming out from the body. You can make the spider as big or as small as you like.Step 5: Repeat on Other Nails
Repeat the spider web and spider design on your other nails. You can vary the placement and size of the web and spider for a unique look.Step 6: Add Finishing Touches
Once your spider nail art is complete, add a top coat to seal in your design and add shine. You can also add some extra sparkle with a glitter top coat or rhinestones for an even more eye-catching look.Get Creative and Have Fun!
 Now that you know how to create the perfect
spider nail art
design in
black
, let your creativity run wild! You can experiment with different colors, add more spiders or webs, or even try a different shape for your spider web. The possibilities are endless, so have fun and create a unique and spooky design that will make your nails stand out.
Now that you know how to create the perfect
spider nail art
design in
black
, let your creativity run wild! You can experiment with different colors, add more spiders or webs, or even try a different shape for your spider web. The possibilities are endless, so have fun and create a unique and spooky design that will make your nails stand out.


