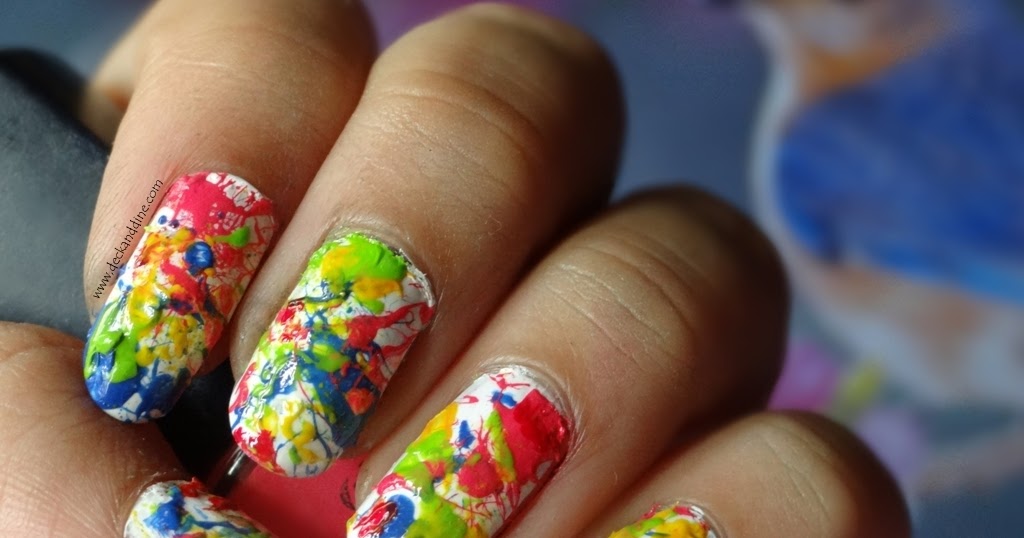
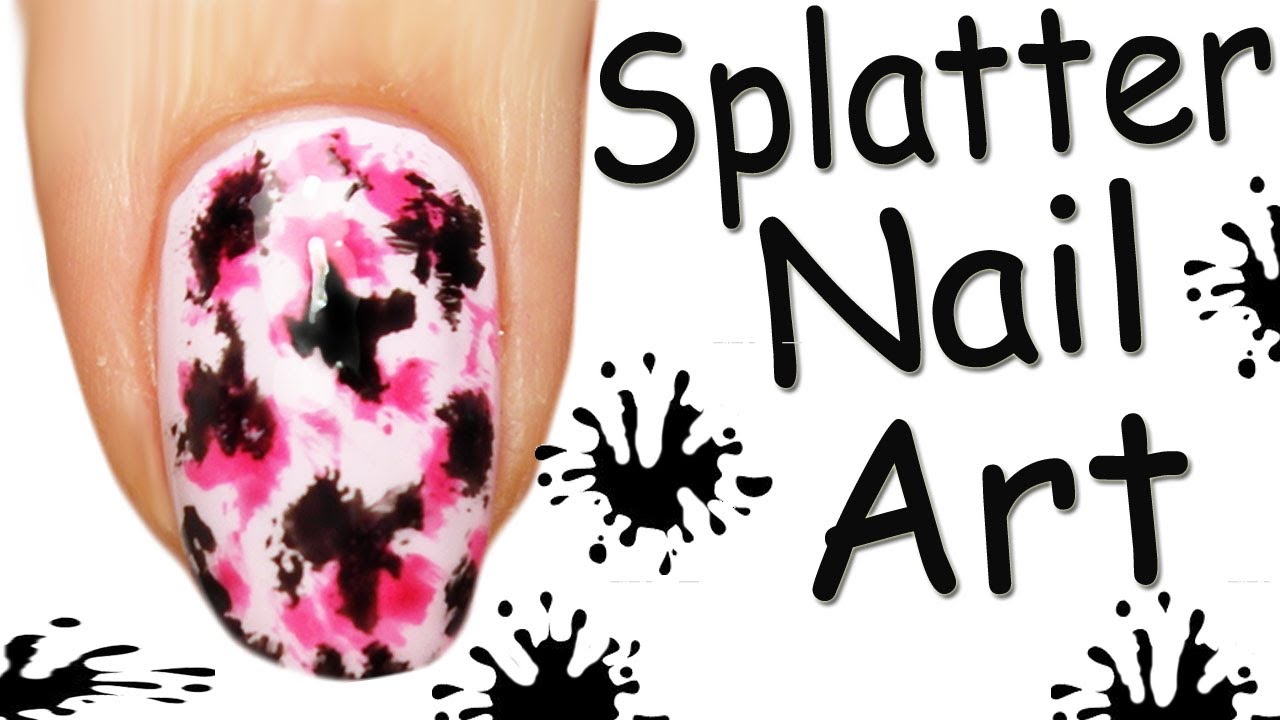
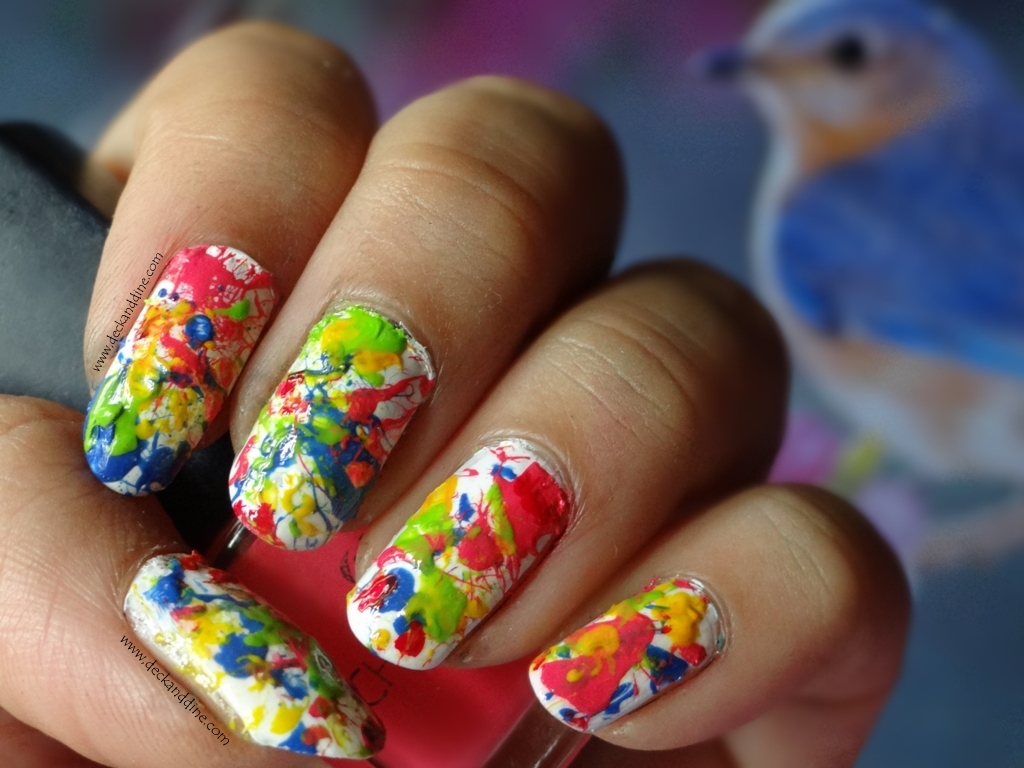
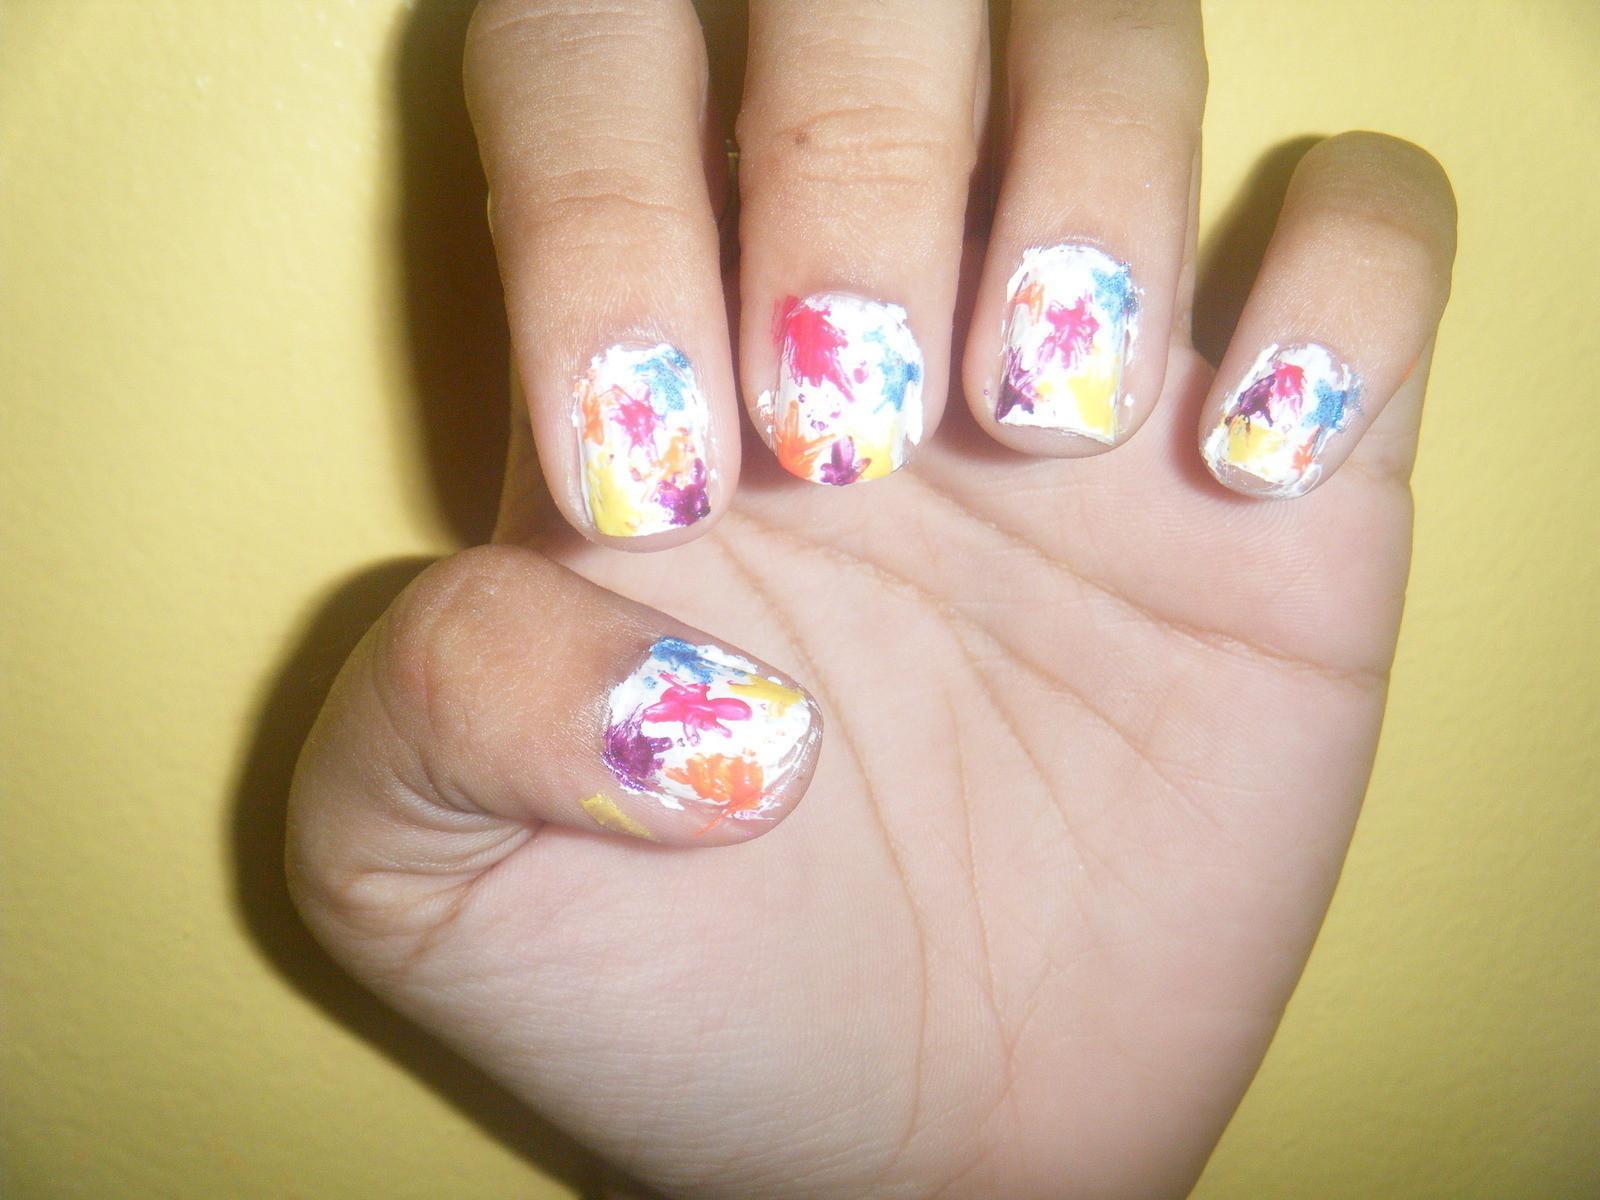
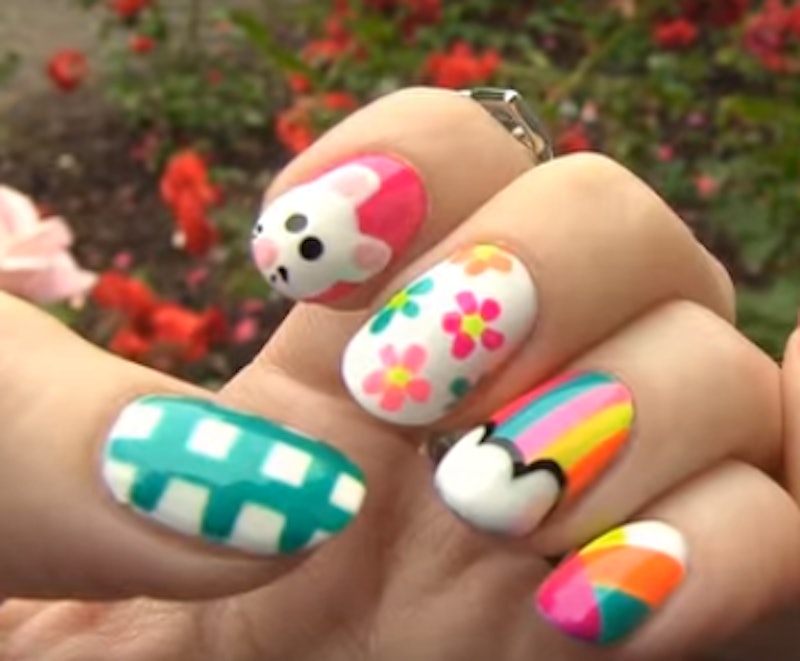
Splatter nail art is a fun and creative way to add some personality to your nails. It involves using a straw or toothbrush to create a splatter effect on your nails, resulting in a unique and eye-catching design. In this tutorial, we will guide you through the step by step process of creating your own splatter nail art.1. Splatter Nail Art Tutorial


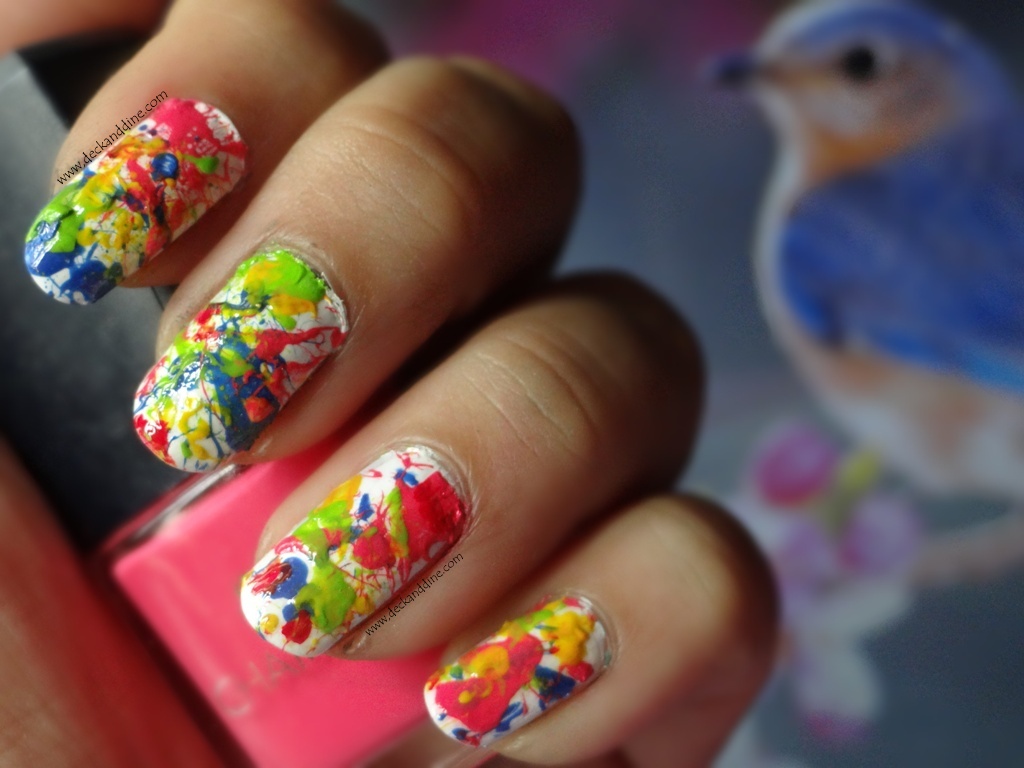
1. Splatter Nail Art Tutorial


If you're new to nail art, don't worry, this step by step guide will make it easy for you to achieve the perfect splatter design. The first step is to gather all the necessary materials. You will need a base coat, a top coat, your chosen nail polish colors, a straw or toothbrush, and some tape or liquid latex to protect your skin.2. Step by Step Splatter Nail Art

.jpg)
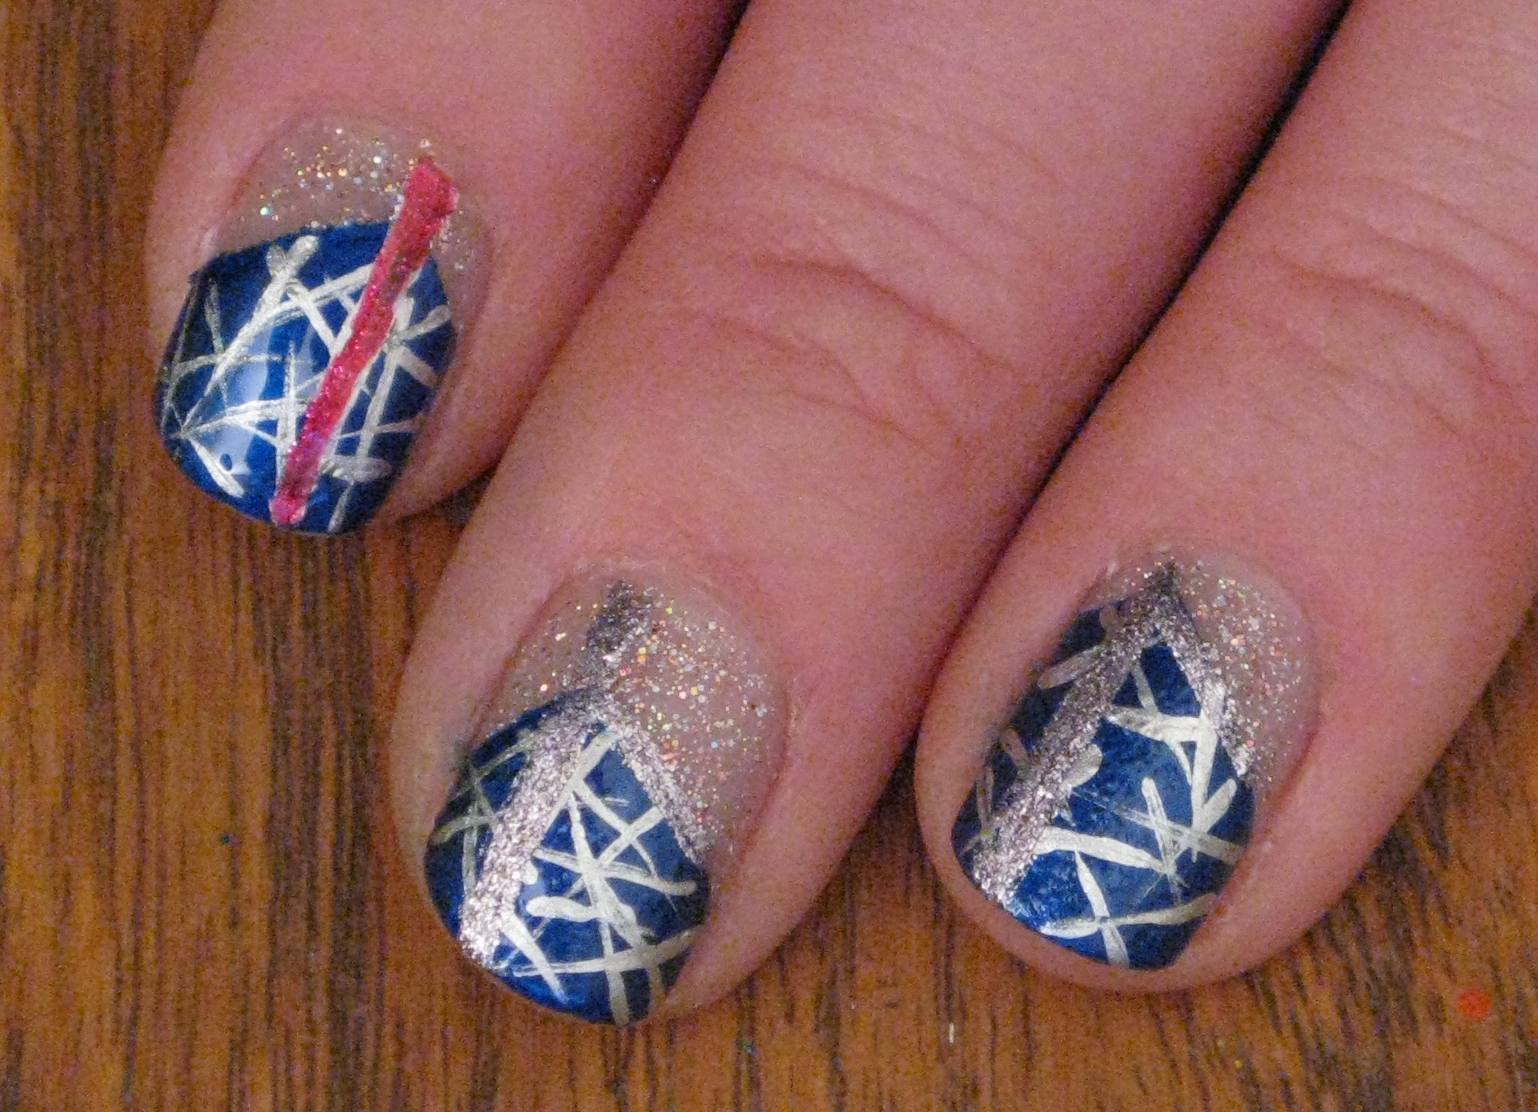
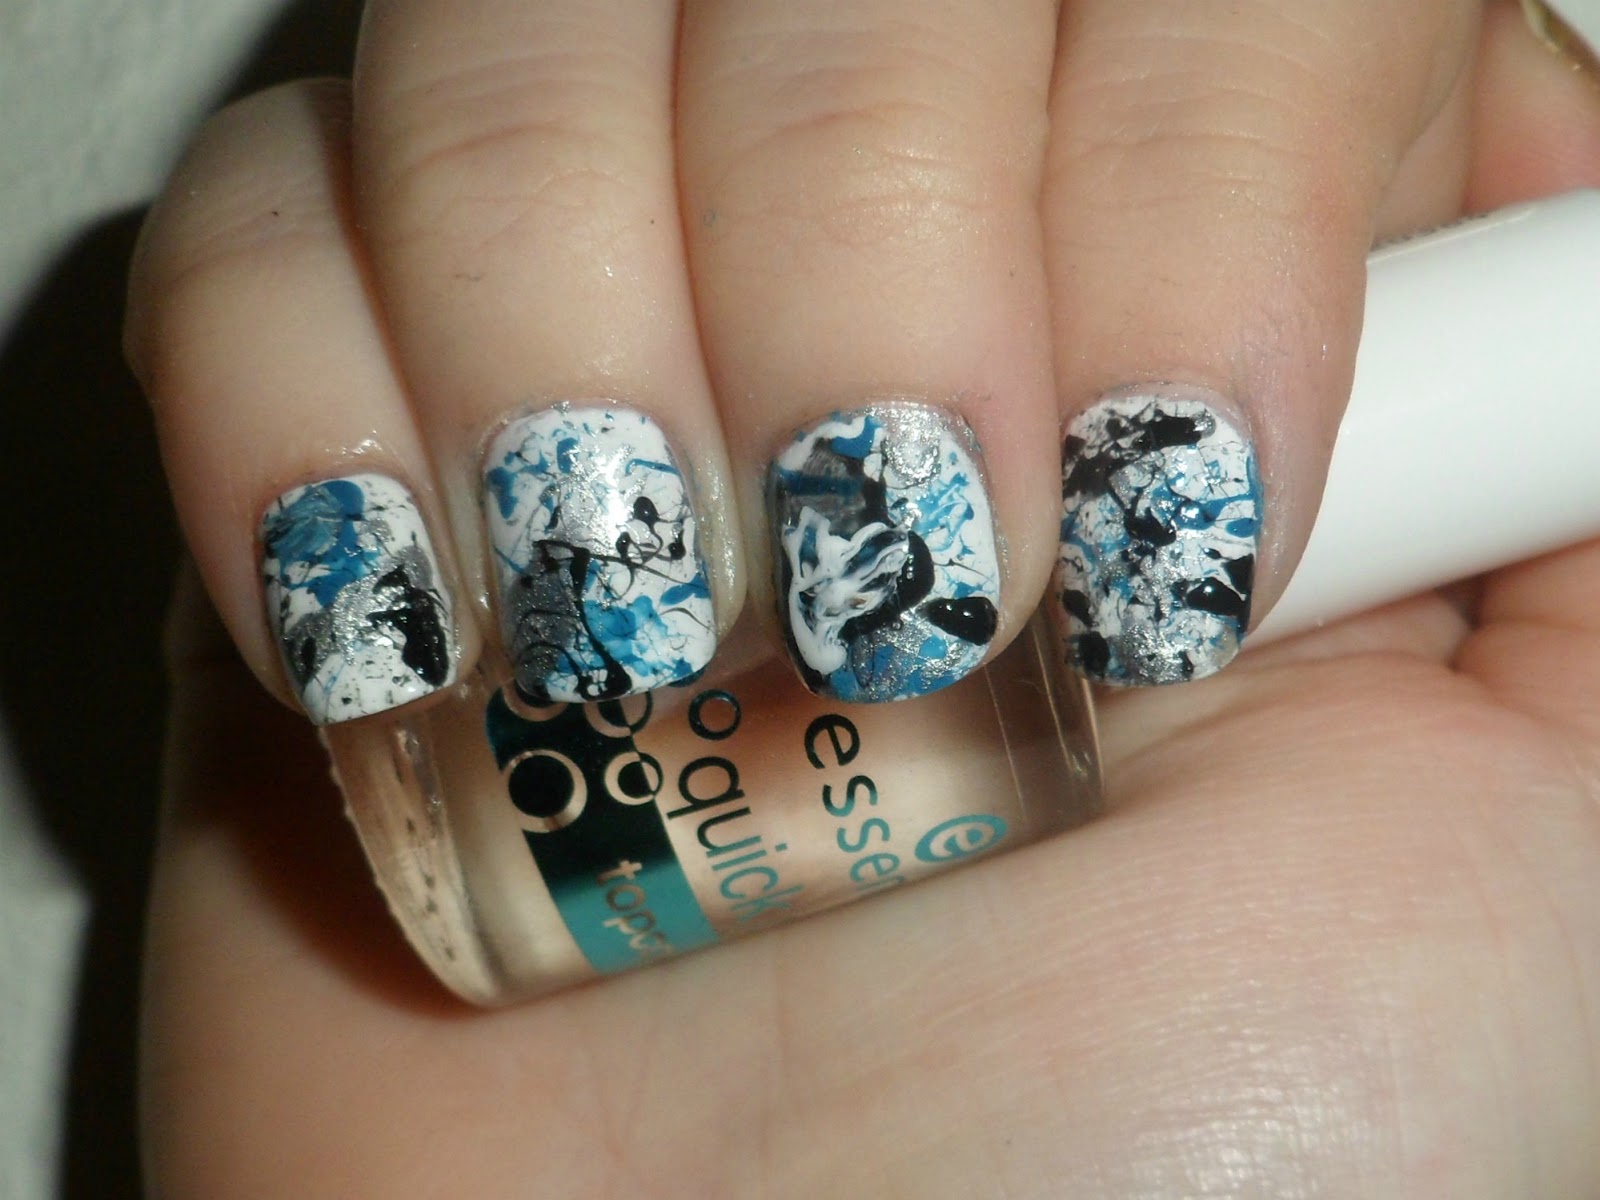
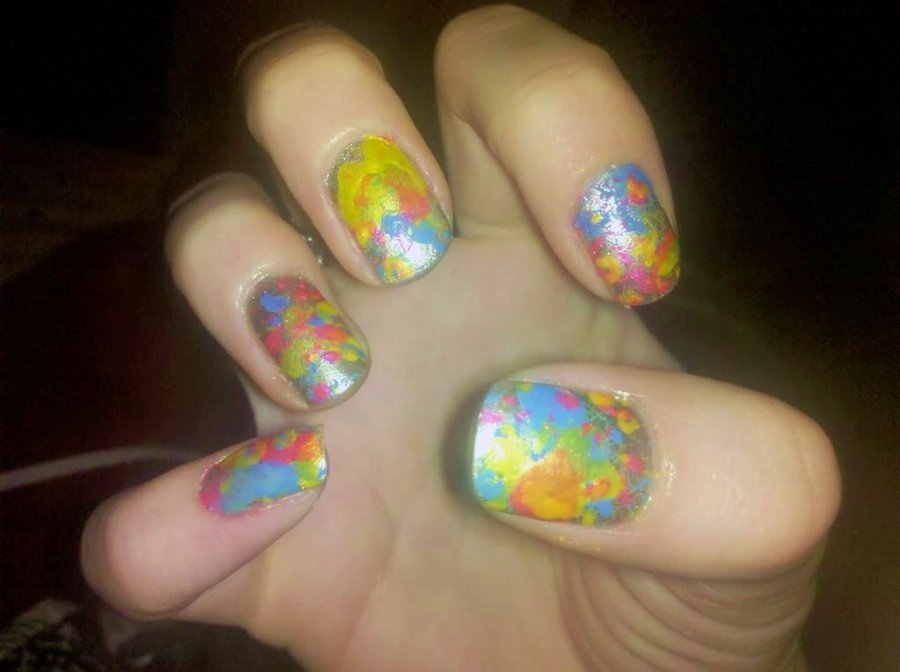
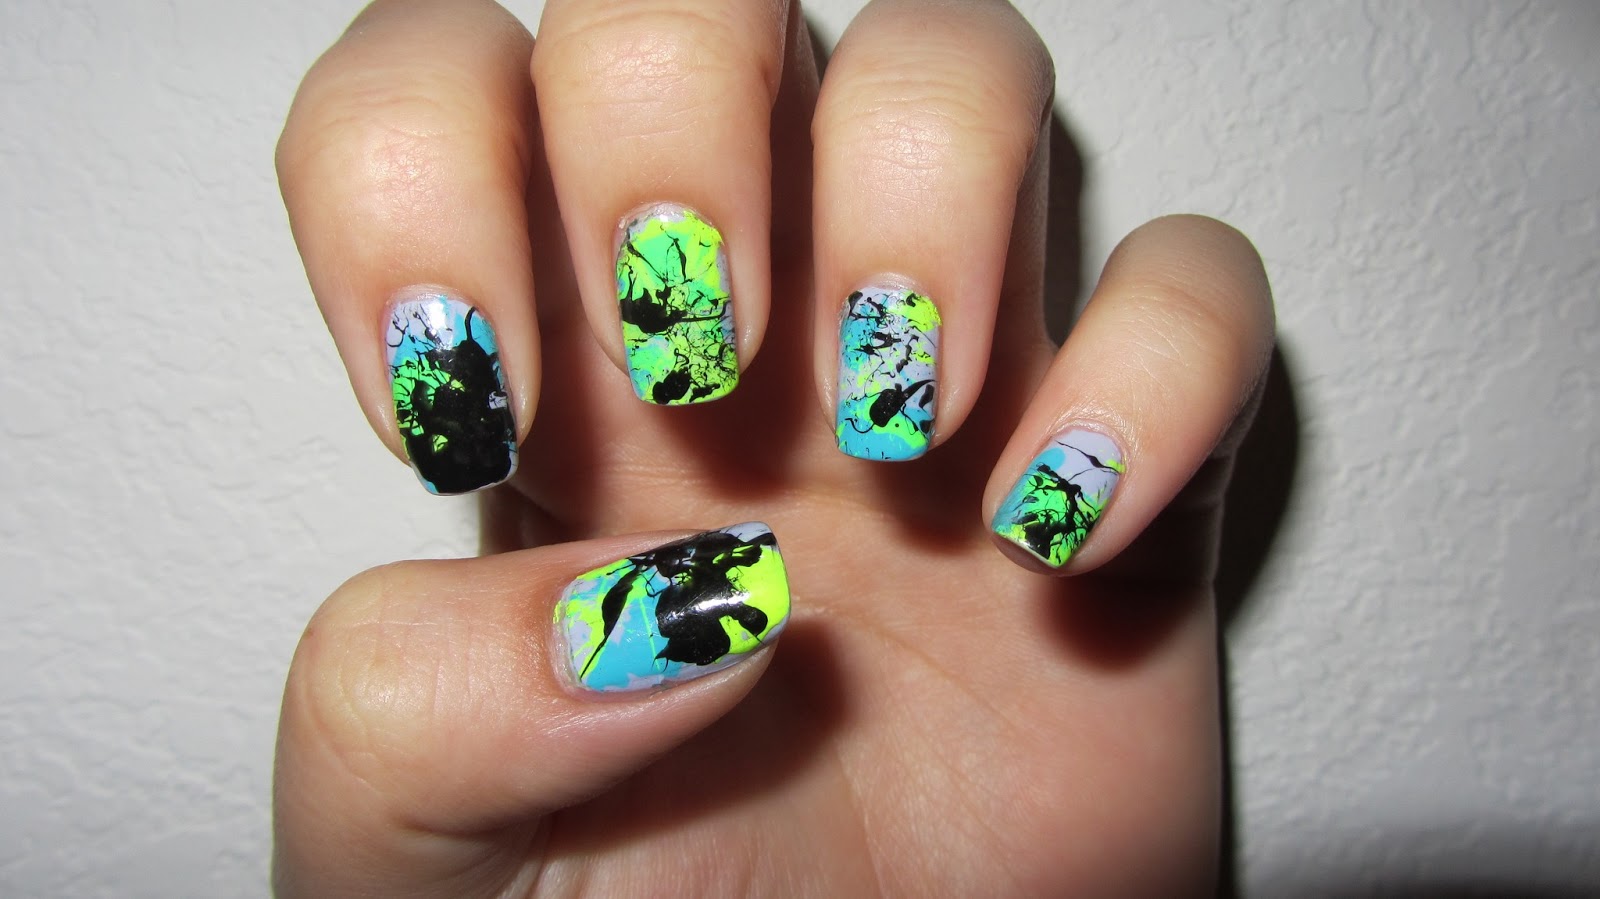
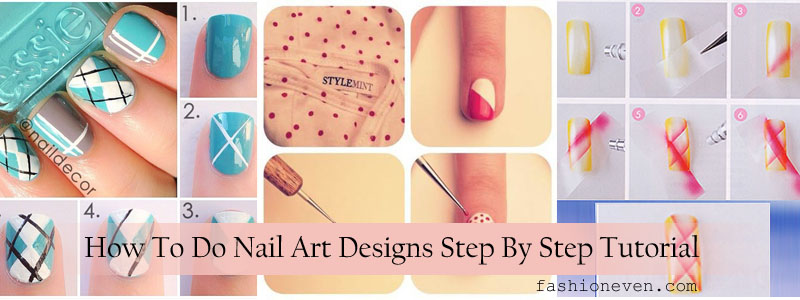
2. Step by Step Splatter Nail Art

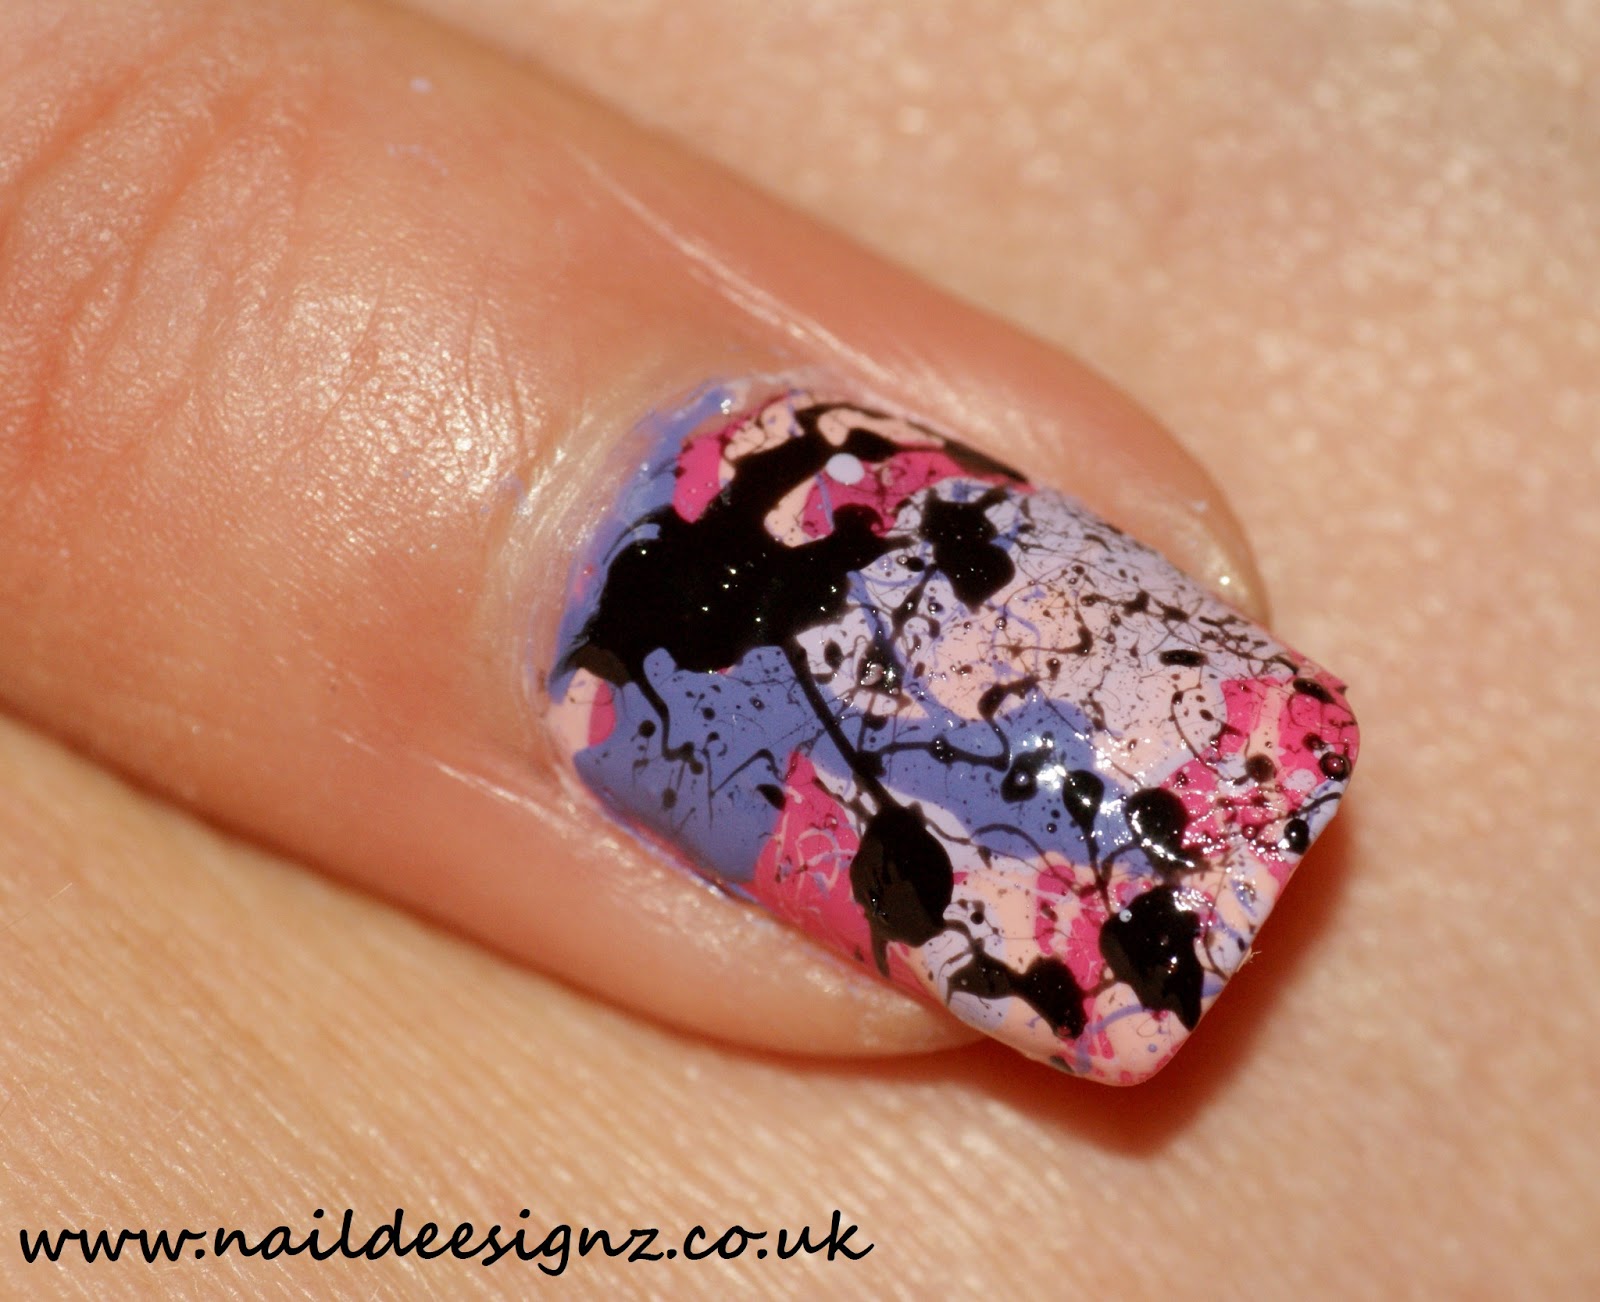


Don't be intimidated by the term "nail art". This easy splatter nail art tutorial is suitable for beginners and requires no special skills or tools. Start by applying a base coat to protect your nails and allow it to dry completely. Then, apply a generous amount of your chosen nail polish to a paper plate or other disposable surface.3. Easy Splatter Nail Art


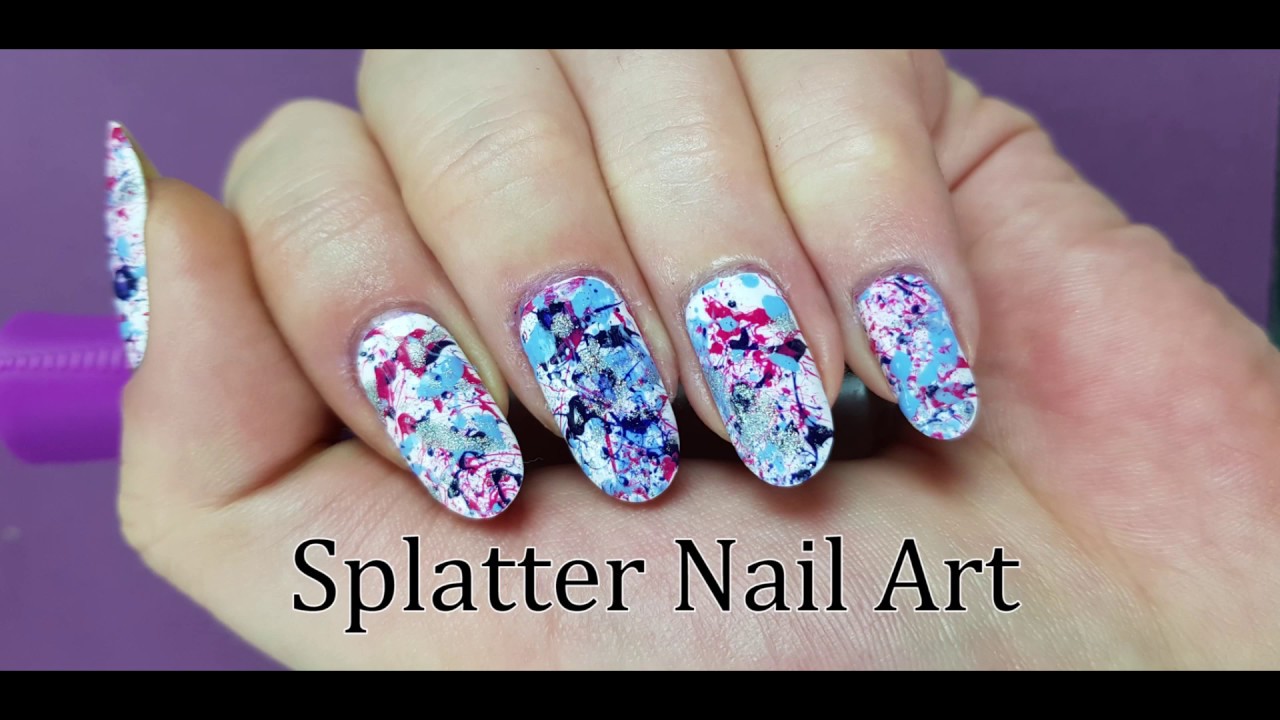
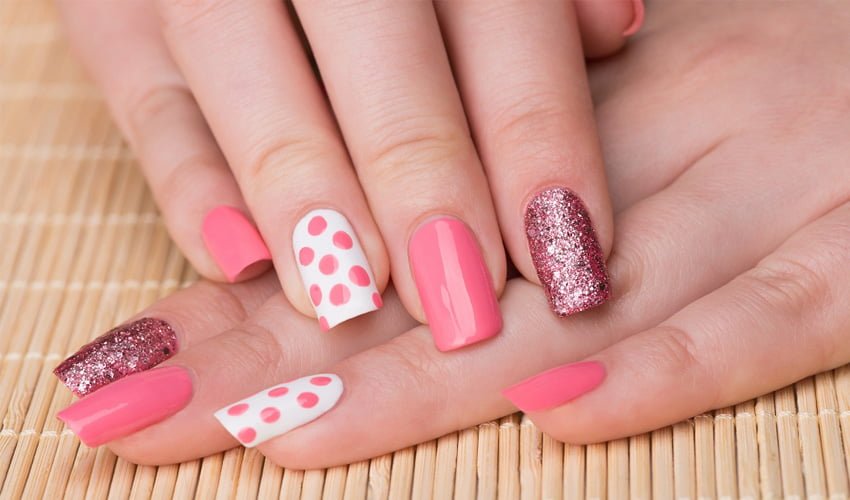
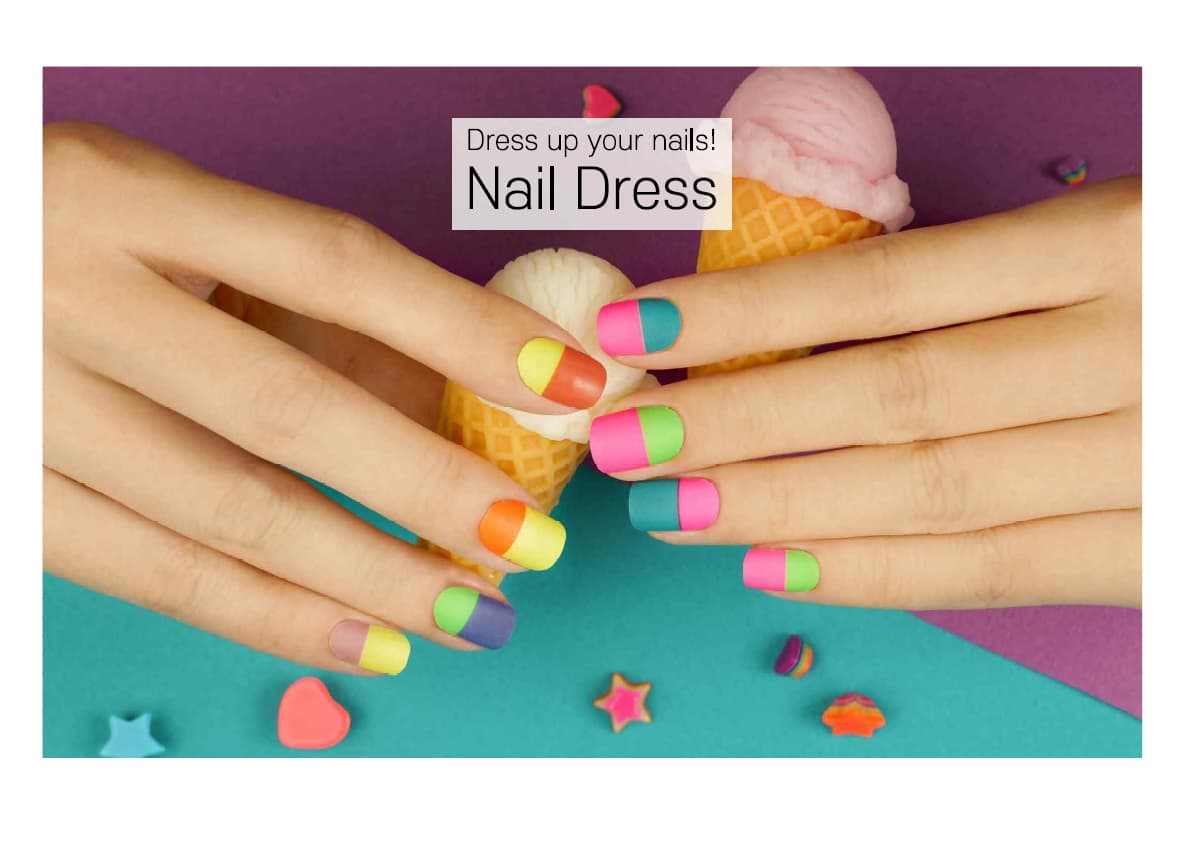
3. Easy Splatter Nail Art

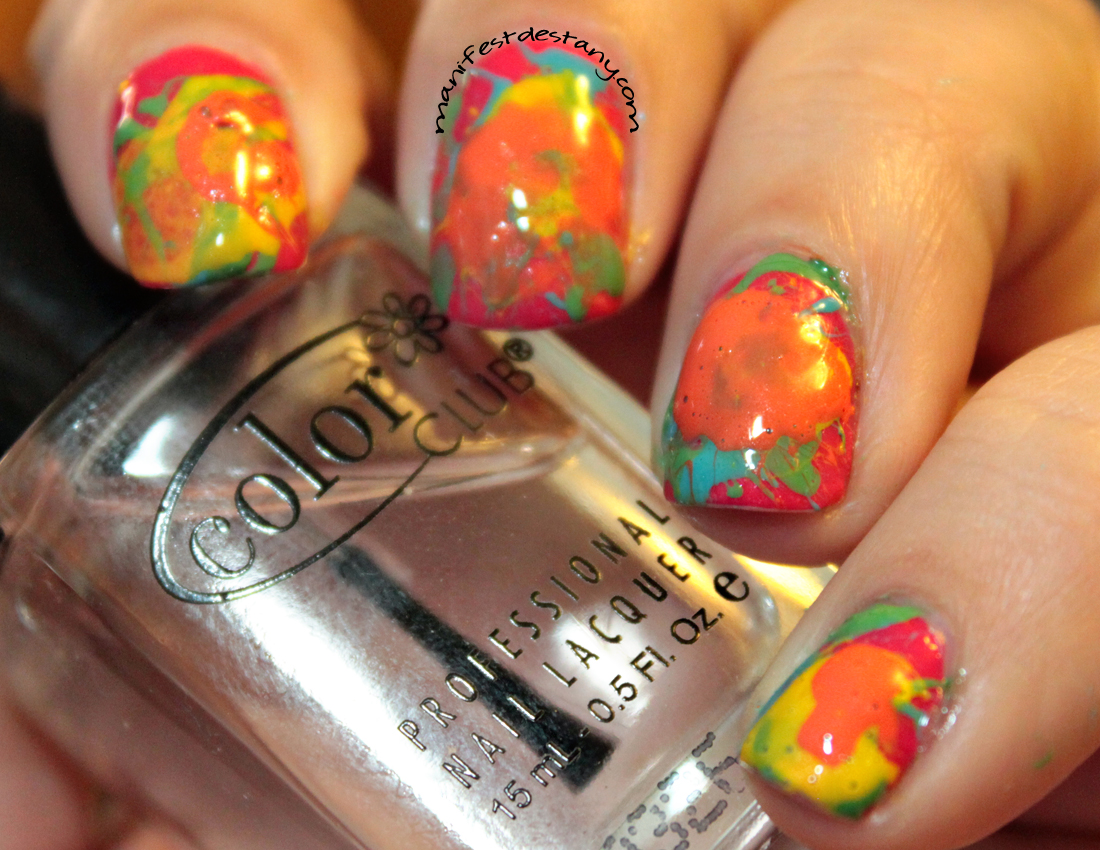

Save some money and unleash your creativity by trying DIY splatter nail art at home. Instead of buying expensive nail art tools, you can use items you already have at home, such as a straw or toothbrush, to create the splatter effect. This makes it an affordable and fun activity for anyone to try.4. DIY Splatter Nail Art

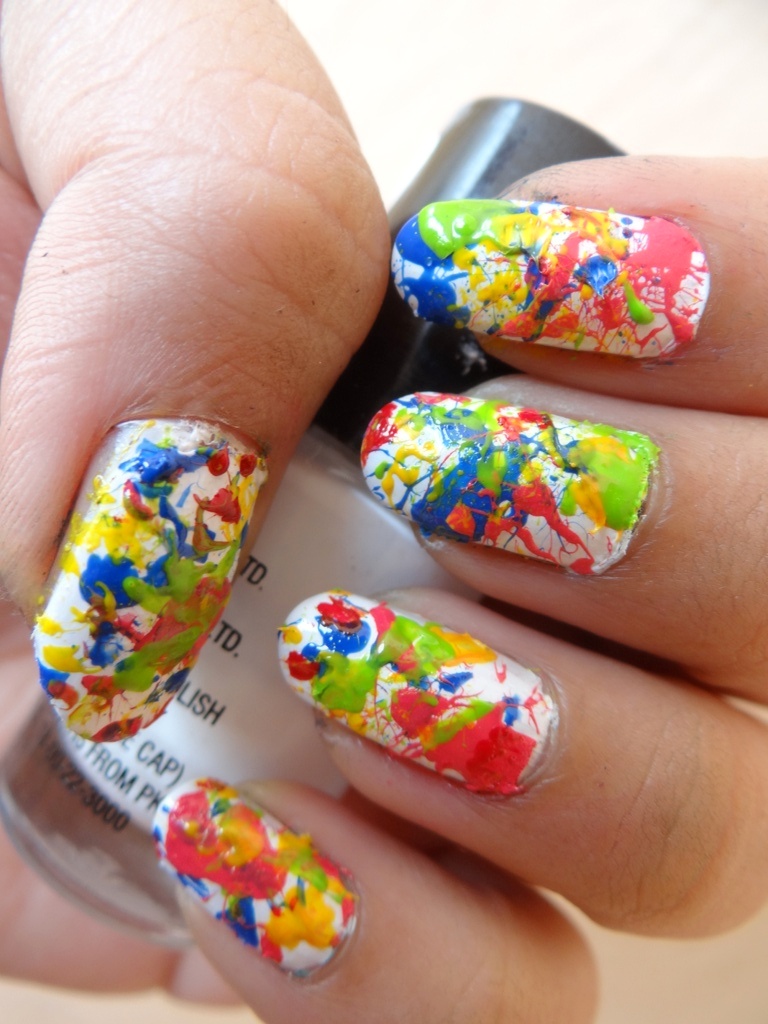
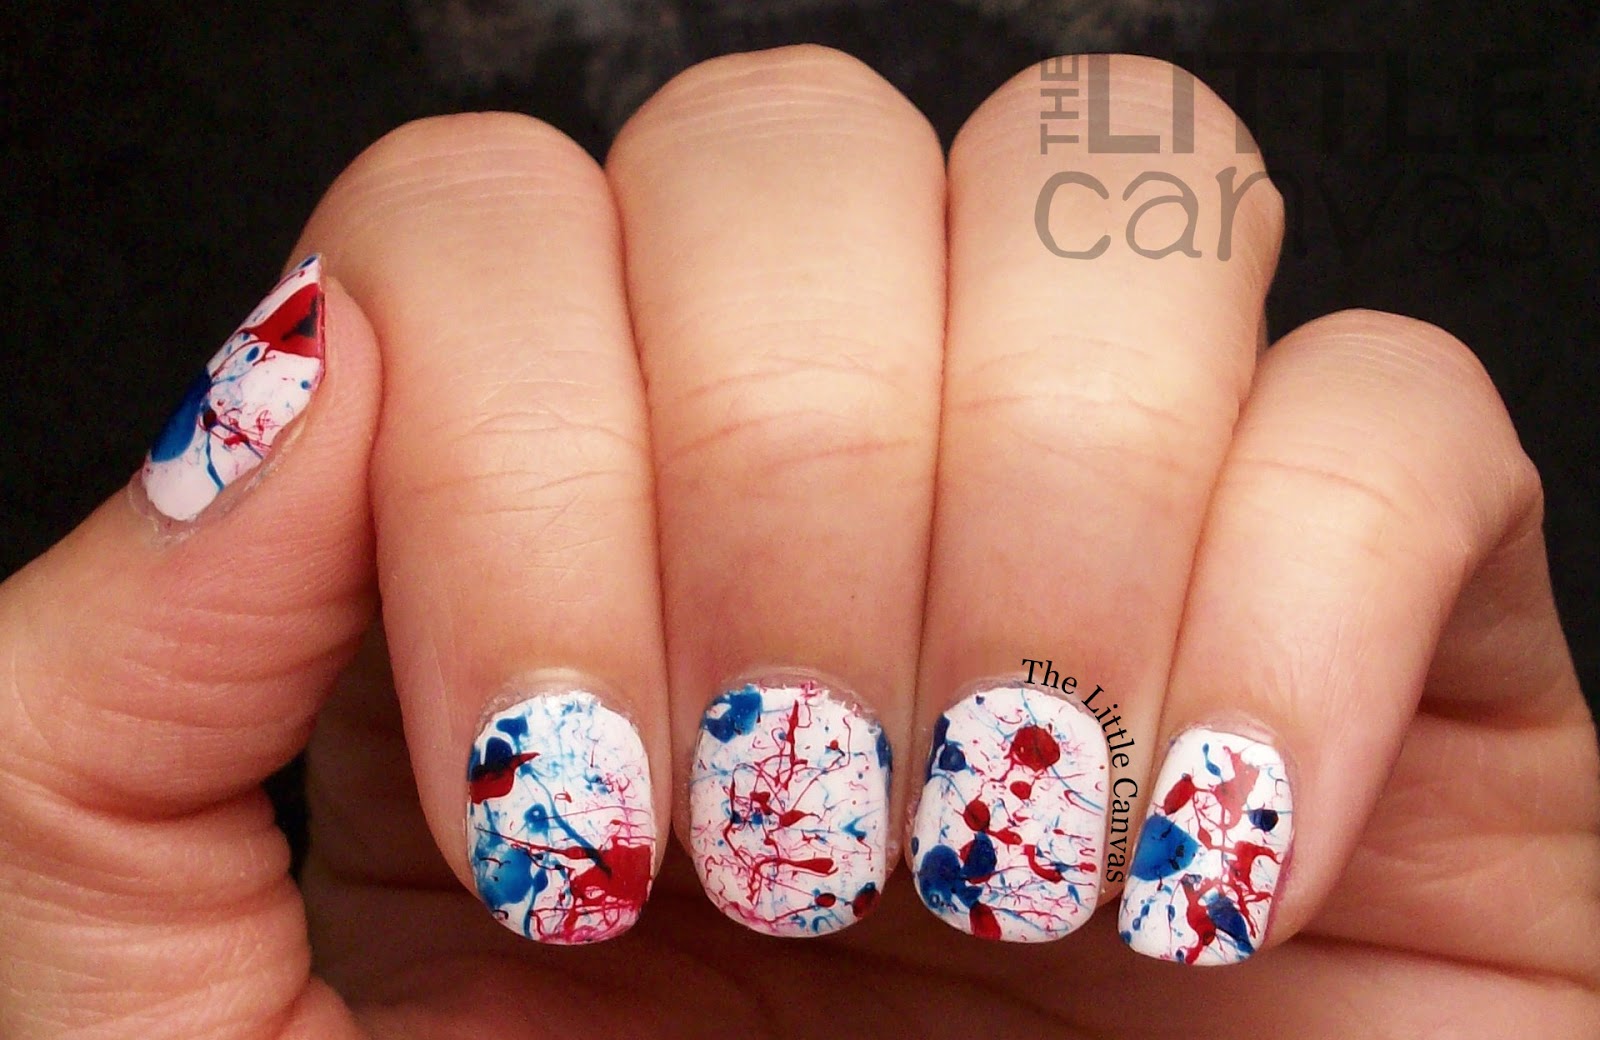
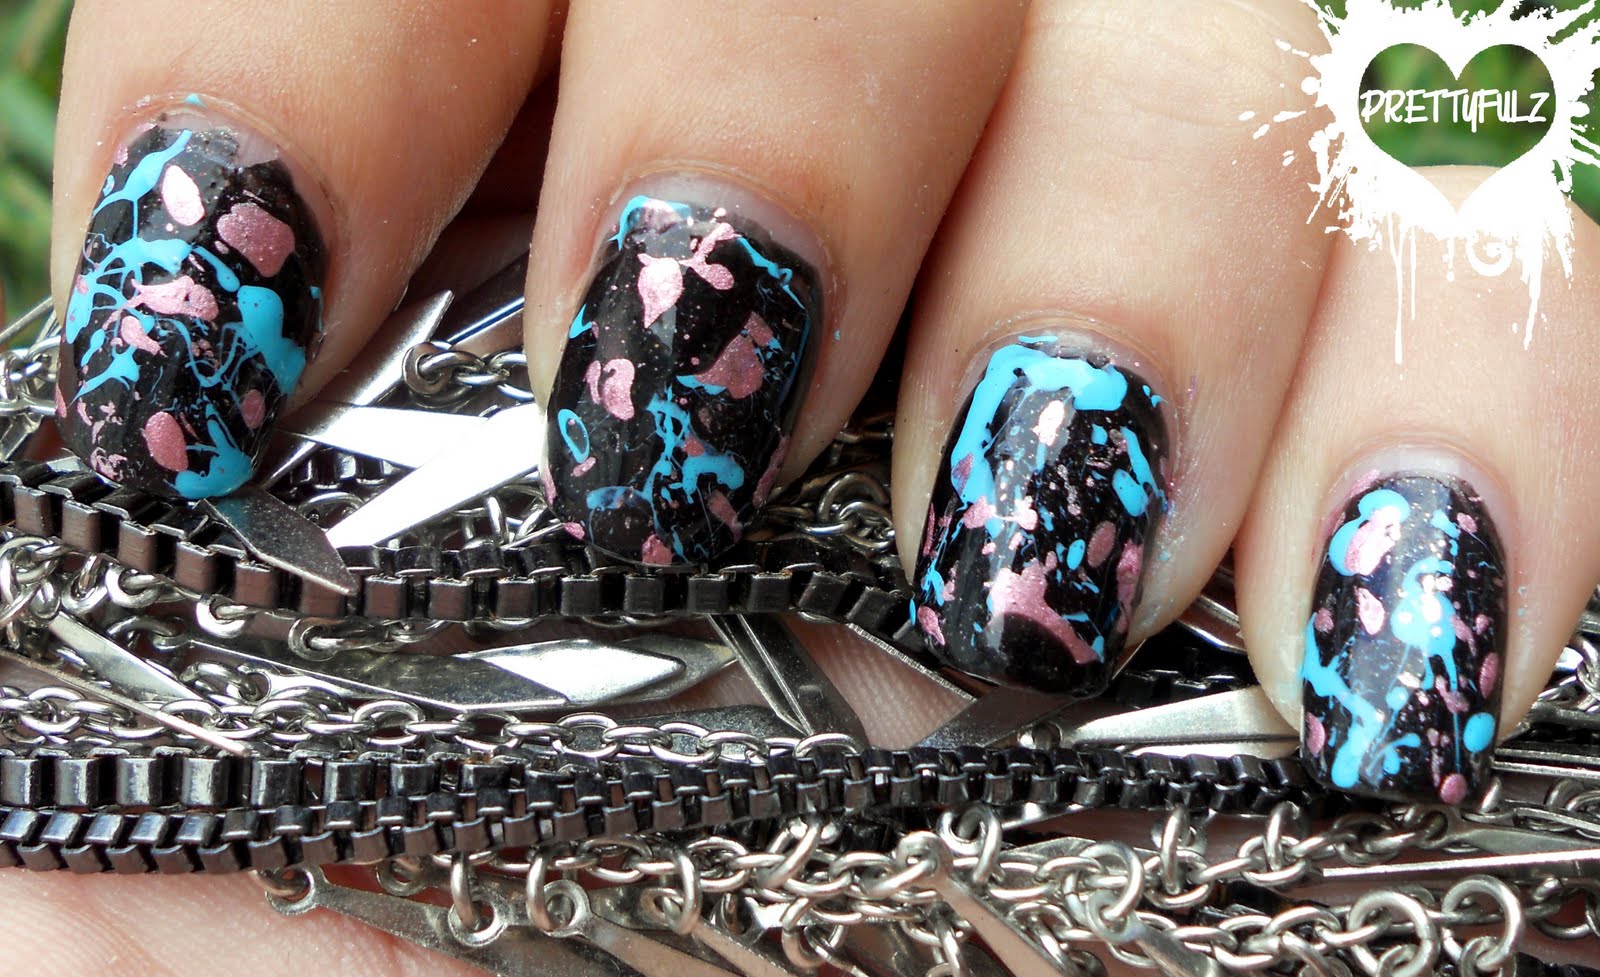
4. DIY Splatter Nail Art


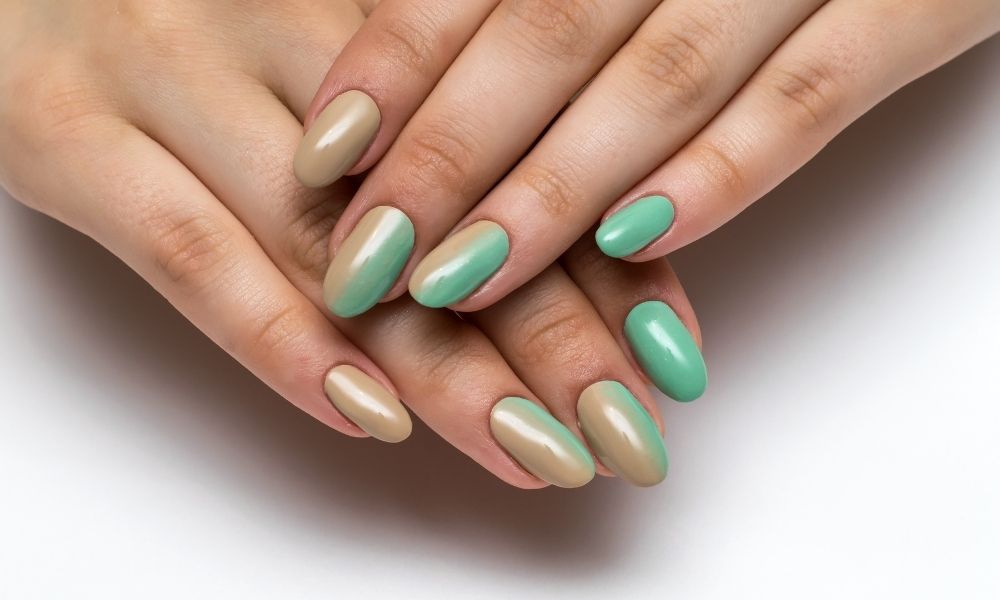
If you're new to nail art and want to try something different, splatter nail art is a great option. It's easy to do and doesn't require any special skills. Plus, the design possibilities are endless, making it a perfect choice for beginners who want to experiment with different colors and patterns.5. Splatter Nail Art for Beginners


5. Splatter Nail Art for Beginners


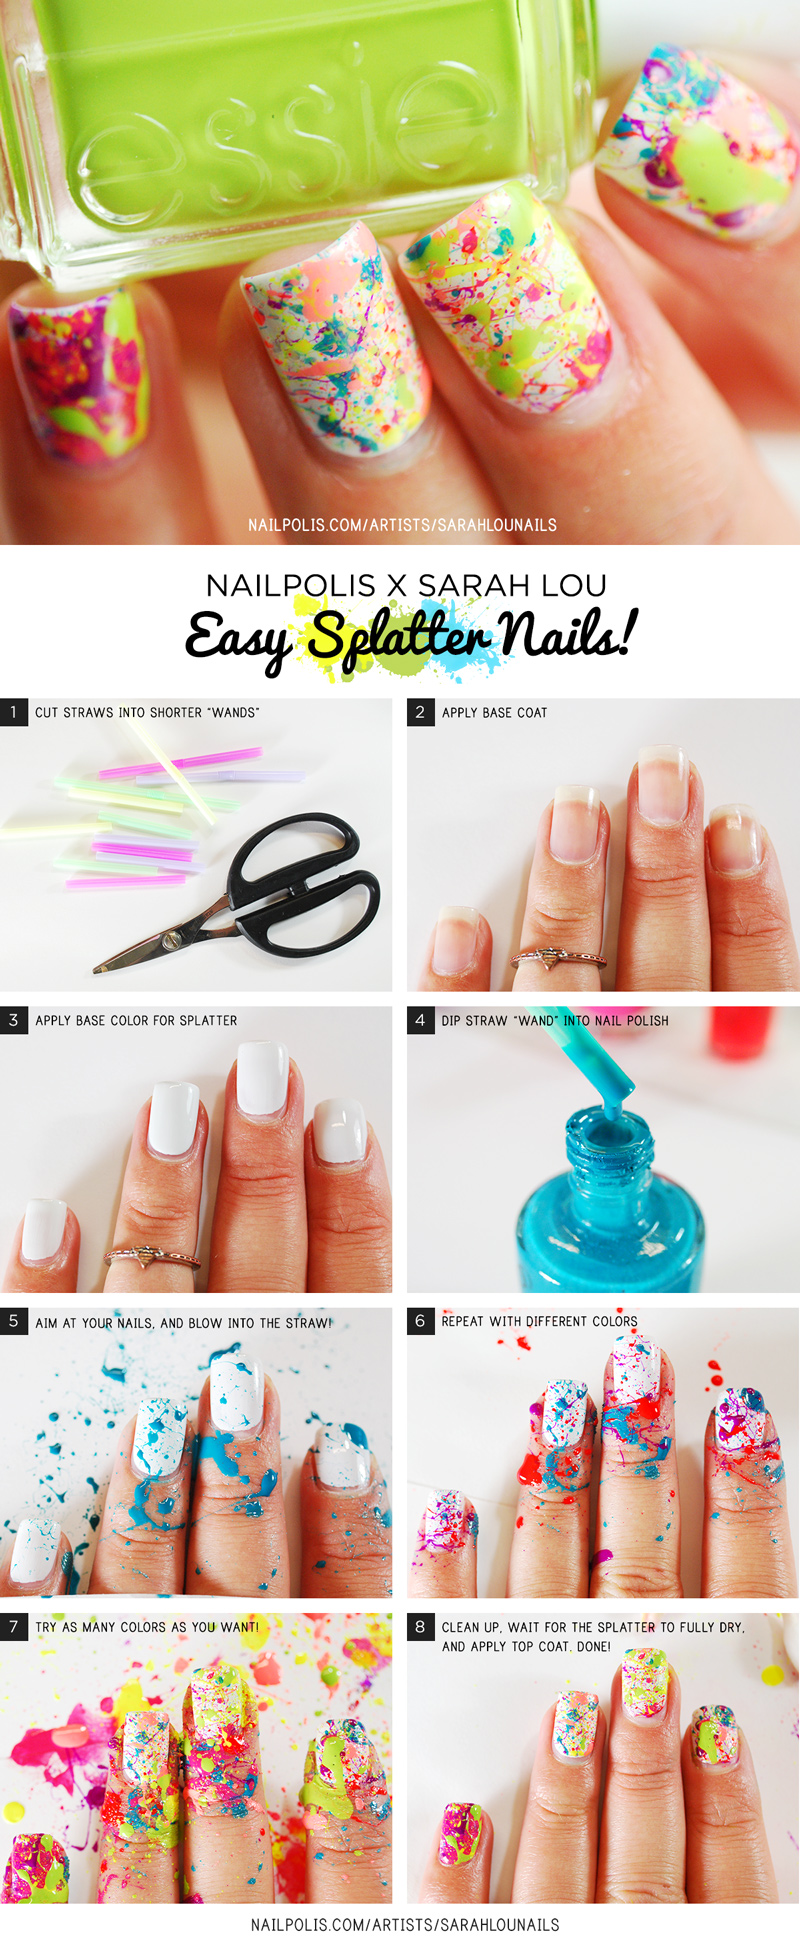
The key to achieving a perfect splatter design is to have the right technique. Start by placing a small amount of your chosen nail polish onto a paper plate or other disposable surface. Then, dip the end of a straw or a toothbrush into the polish and gently blow or flick it onto your nails. Repeat this step with different colors until you achieve your desired look.6. How to Do Splatter Nail Art


6. How to Do Splatter Nail Art


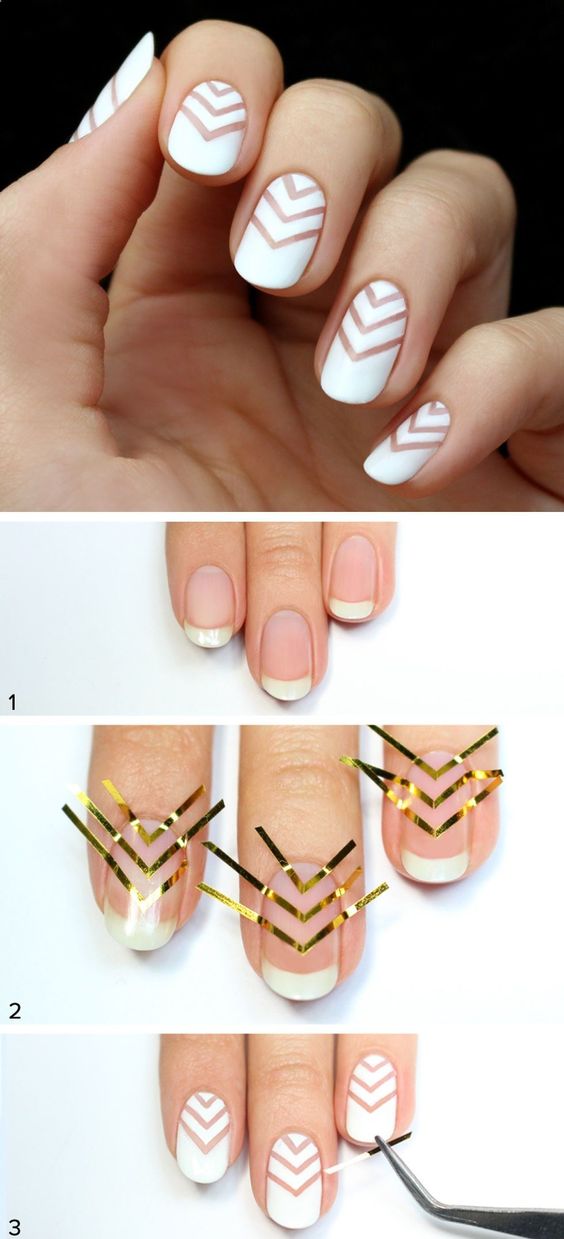
If you want a step by step guide to help you perfect your splatter nail art, you're in the right place. After applying your base coat and allowing it to dry, use tape or liquid latex to protect the skin around your nails. Then, follow the steps mentioned in the previous heading to create the splatter effect. Once you're satisfied with the design, apply a top coat to seal and protect your nails.7. Step by Step Guide to Splatter Nail Art


7. Step by Step Guide to Splatter Nail Art


There are various techniques you can use to create different effects with splatter nail art. For a more controlled and precise design, you can use a toothpick or a small brush to create splatters. You can also try mixing different colors on the paper plate before applying them to your nails for a more blended and unique look.8. Splatter Nail Art Techniques


8. Splatter Nail Art Techniques


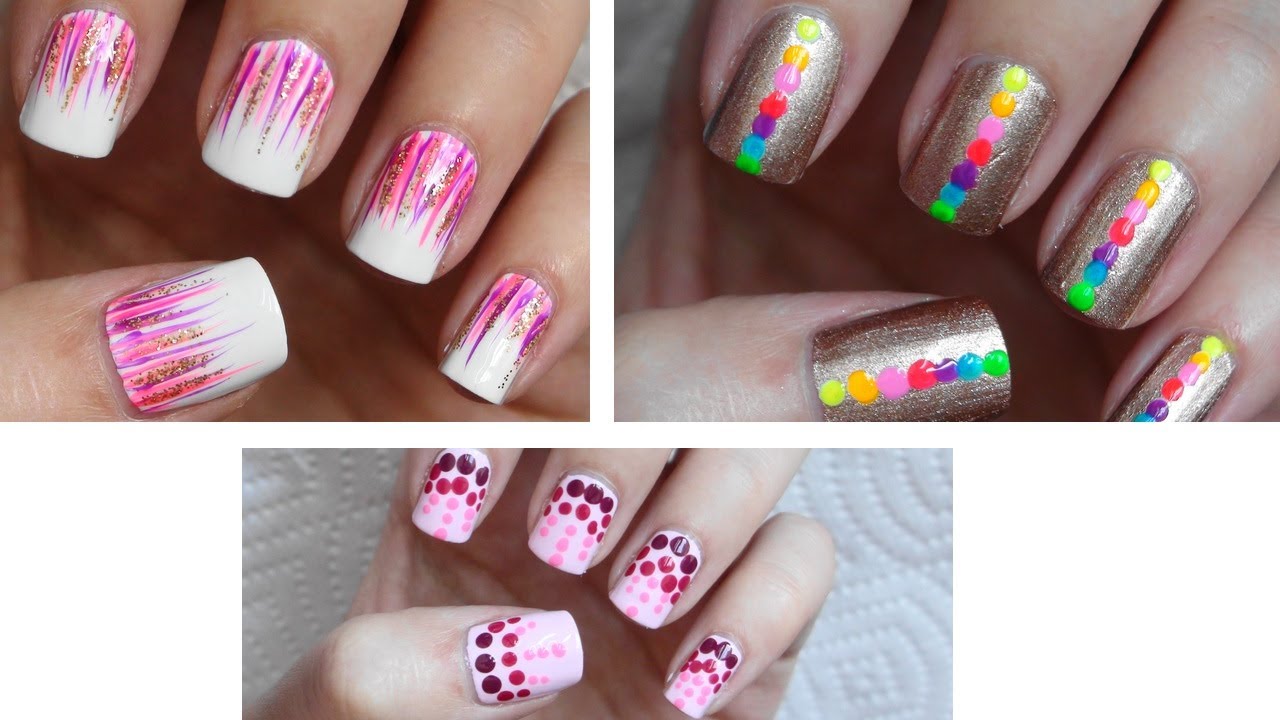
Looking for some ideas to inspire your next splatter nail art design? You can try a monochromatic look by using different shades of the same color, or opt for a rainbow effect by using a variety of bright colors. You can also experiment with different patterns, such as stripes or polka dots, using the splatter technique.9. Splatter Nail Art Ideas


9. Splatter Nail Art Ideas

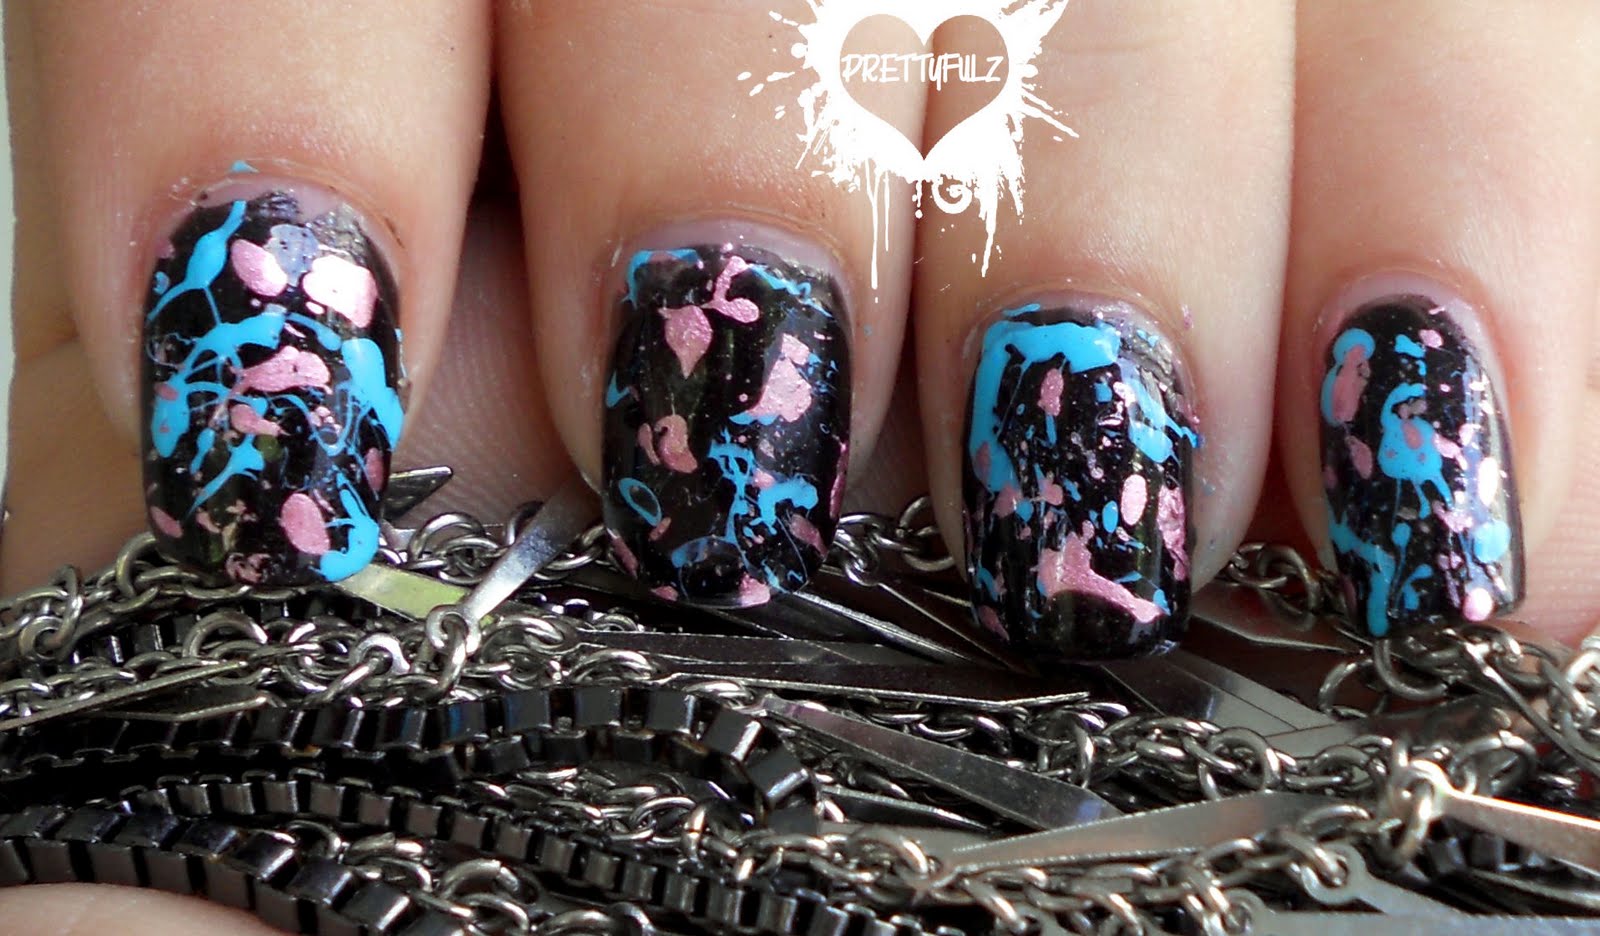
Finally, let's talk about some designs you can create with splatter nail art. You can keep it simple and go for a classic splatter design using a mix of colors, or try a more intricate design by combining the splatter technique with other nail art techniques, such as stamping or gradient. The possibilities are endless, so have fun and let your creativity run wild!10. Splatter Nail Art Designs


10. Splatter Nail Art Designs

Creating a Stunning Look with Splatter Nail Art

Step by Step Guide
 If you're looking for a fun and creative way to spice up your nail game, look no further than splatter nail art. This trendy and eye-catching design is perfect for any occasion, whether you're heading to a party or just want to add some flair to your everyday look. In this article, we'll take you through the steps of creating your own splatter nail art, so get ready to get messy and unleash your inner artist.
Step 1: Prep your Nails
Before you start splattering paint all over your nails, it's important to properly prep them to ensure the design lasts. Begin by shaping and filing your nails to your desired length and shape. Next, push back your cuticles and apply a base coat to protect your nails from staining. This will also help the polish adhere better.
Step 2: Choose your Colors
When it comes to splatter nail art, the more colors the better. Choose a variety of shades that complement each other and your outfit. Bright and bold colors work best for this design, but you can also opt for a more subtle look with pastel shades.
Step 3: Protect your Workspace
Splatter nail art can get messy, so make sure you protect your workspace before getting started. Lay down some newspaper or paper towels to catch any paint splatters. You can also wear gloves if you want to avoid getting paint on your hands.
Step 4: Splatter the Paint
Now it's time to get creative! Take one of your chosen nail polish colors and remove the brush from the bottle, leaving only the stem. Hold the stem over your nails and use your other hand to flick the brush, causing the paint to splatter onto your nails. Repeat this step with your other colors until you've achieved your desired look.
Step 5: Clean up
Once you're happy with your splatter design, use a cotton swab dipped in nail polish remover to clean up any excess paint on your skin. You can also use a small paintbrush dipped in remover to clean up any polish that may have splattered onto your cuticles or fingers.
Step 6: Seal the Design
To ensure your splatter nail art lasts, finish off with a top coat to seal in the design and add shine. This will also help to smooth out any rough edges and give your nails a professional look.
Now you're ready to show off your stunning splatter nails! Experiment with different color combinations and patterns to create unique and eye-catching designs. With this step-by-step guide, you'll have the perfect splatter nail art in no time. So go ahead and unleash your creativity and rock this trendy and fun nail design.
If you're looking for a fun and creative way to spice up your nail game, look no further than splatter nail art. This trendy and eye-catching design is perfect for any occasion, whether you're heading to a party or just want to add some flair to your everyday look. In this article, we'll take you through the steps of creating your own splatter nail art, so get ready to get messy and unleash your inner artist.
Step 1: Prep your Nails
Before you start splattering paint all over your nails, it's important to properly prep them to ensure the design lasts. Begin by shaping and filing your nails to your desired length and shape. Next, push back your cuticles and apply a base coat to protect your nails from staining. This will also help the polish adhere better.
Step 2: Choose your Colors
When it comes to splatter nail art, the more colors the better. Choose a variety of shades that complement each other and your outfit. Bright and bold colors work best for this design, but you can also opt for a more subtle look with pastel shades.
Step 3: Protect your Workspace
Splatter nail art can get messy, so make sure you protect your workspace before getting started. Lay down some newspaper or paper towels to catch any paint splatters. You can also wear gloves if you want to avoid getting paint on your hands.
Step 4: Splatter the Paint
Now it's time to get creative! Take one of your chosen nail polish colors and remove the brush from the bottle, leaving only the stem. Hold the stem over your nails and use your other hand to flick the brush, causing the paint to splatter onto your nails. Repeat this step with your other colors until you've achieved your desired look.
Step 5: Clean up
Once you're happy with your splatter design, use a cotton swab dipped in nail polish remover to clean up any excess paint on your skin. You can also use a small paintbrush dipped in remover to clean up any polish that may have splattered onto your cuticles or fingers.
Step 6: Seal the Design
To ensure your splatter nail art lasts, finish off with a top coat to seal in the design and add shine. This will also help to smooth out any rough edges and give your nails a professional look.
Now you're ready to show off your stunning splatter nails! Experiment with different color combinations and patterns to create unique and eye-catching designs. With this step-by-step guide, you'll have the perfect splatter nail art in no time. So go ahead and unleash your creativity and rock this trendy and fun nail design.


