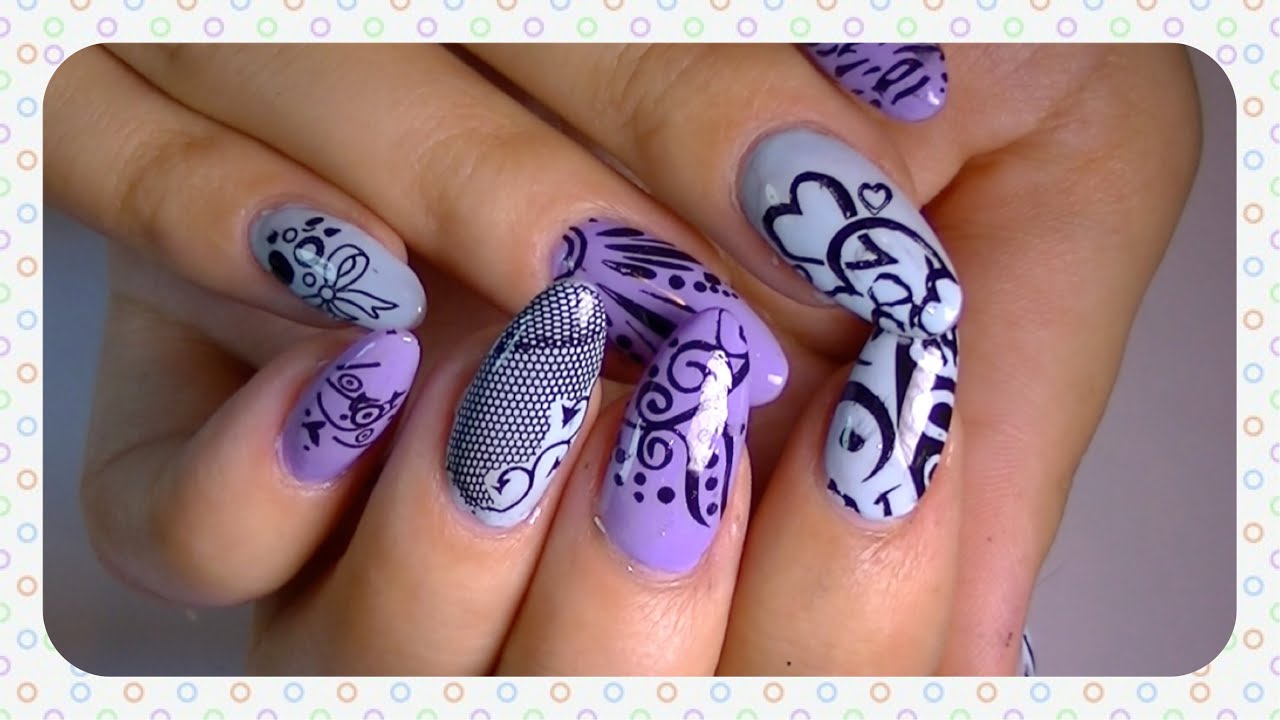
Are you tired of spending money on expensive stamping nail polishes? Look no further! With just a few simple steps, you can create stunning nail art designs using regular nail polish and stamping plates. First, start by choosing a base color for your nails. This can be any regular nail polish you have on hand, whether it's a bold red, a pretty pastel, or a classic nude. Apply two coats of your chosen color and let it dry completely. Next, select a stamping plate with a design that you like. You can find a variety of stamping plates with different patterns and images online or at your local beauty supply store. Make sure to choose a plate that has deep and defined etchings to get the best results. Now comes the fun part – stamping! Take a small amount of regular nail polish in a contrasting color and apply it to the design on the stamping plate. Use a scraper to remove any excess polish and then quickly transfer the design onto your nail by pressing the stamping plate onto your nail and rolling it off. Repeat this process for each nail, using different designs and colors for a unique and creative look. Finish off with a top coat to seal in your design and add shine. With this simple technique, you can easily create stunning nail art designs using regular nail polish and stamping plates. Experiment with different color combinations and designs to create endless possibilities for your nails.1. How to Create Stunning Nail Art with Regular Nail Polish and Stamping Plates


1. How to Create Stunning Nail Art with Regular Nail Polish and Stamping Plates


If you're new to stamping nail art, it can seem overwhelming and complicated. But with this easy tutorial, you'll be a pro in no time! All you need is some regular nail polish, stamping plates, and a little bit of patience. Start by choosing your base color and applying two coats. Then, select a stamping plate with a design that you like. For beginners, it's best to choose a simple design with fewer details. Apply regular nail polish in a contrasting color to the design on the stamping plate and scrape off any excess polish. It's important to work quickly here so that the polish doesn't dry before you can transfer it onto your nail. Press the stamping plate onto your nail and roll it off to transfer the design. If you don't get a clean transfer on your first try, don't worry! Simply remove the polish from your nail with nail polish remover and try again. Repeat this process for each nail, using different designs and colors to create a unique look. Feel free to mix and match designs to create your own custom nail art! Finish off with a top coat to seal in your design and add shine. And just like that, you've created stunning nail art using regular nail polish and stamping plates!2. Easy Stamping Nail Art Tutorial Using Regular Nail Polish


2. Easy Stamping Nail Art Tutorial Using Regular Nail Polish

Stamping nail art may seem intimidating, but with this step-by-step guide, you'll be able to create beautiful designs using regular nail polish and stamping plates in no time. Step 1: Start by choosing your base color and applying two coats. Let it dry completely before moving on to the next step. Step 2: Select a stamping plate with a design that you like. It's important to choose a plate with deep and defined etchings to get the best results. Step 3: Apply regular nail polish in a contrasting color to the design on the stamping plate. Use a scraper to remove any excess polish. Step 4: Quickly transfer the design onto your nail by pressing the stamping plate onto your nail and rolling it off. If you don't get a clean transfer, simply remove the polish and try again. Step 5: Repeat this process for each nail, using different designs and colors. Feel free to mix and match designs to create your own unique look. Step 6: Finish off with a top coat to seal in your design and add shine. With these simple steps, you can easily create stunning nail art using regular nail polish and stamping plates. Remember to have patience and practice, and soon you'll be a pro at stamping!3. Step-by-Step Guide to Stamping Nail Art with Regular Nail Polish


3. Step-by-Step Guide to Stamping Nail Art with Regular Nail Polish


Creating perfect stamping nail art with regular nail polish may seem like a daunting task, but with these tips and tricks, you'll be able to achieve flawless designs every time. Choose the right stamping plate: For best results, choose a stamping plate with deep and defined etchings. This will ensure that the design transfers cleanly onto your nail. Work quickly: Stamping nail art requires you to work quickly so that the polish doesn't dry before you can transfer the design onto your nail. Practice makes perfect, so don't get discouraged if you don't get it right on the first try. Use the right amount of polish: Too much polish can cause a messy transfer, while too little can result in a patchy design. Experiment with different amounts to find what works best for you. Keep a clean workspace: Make sure to clean your stamping plate and scraper after each use to avoid any leftover polish from interfering with your design. Try different color combinations: Don't be afraid to mix and match colors to create unique and eye-catching designs. The possibilities are endless! With these tips and tricks, you'll be well on your way to creating perfect stamping nail art using regular nail polish.4. Tips and Tricks for Perfect Stamping Nail Art with Regular Nail Polish

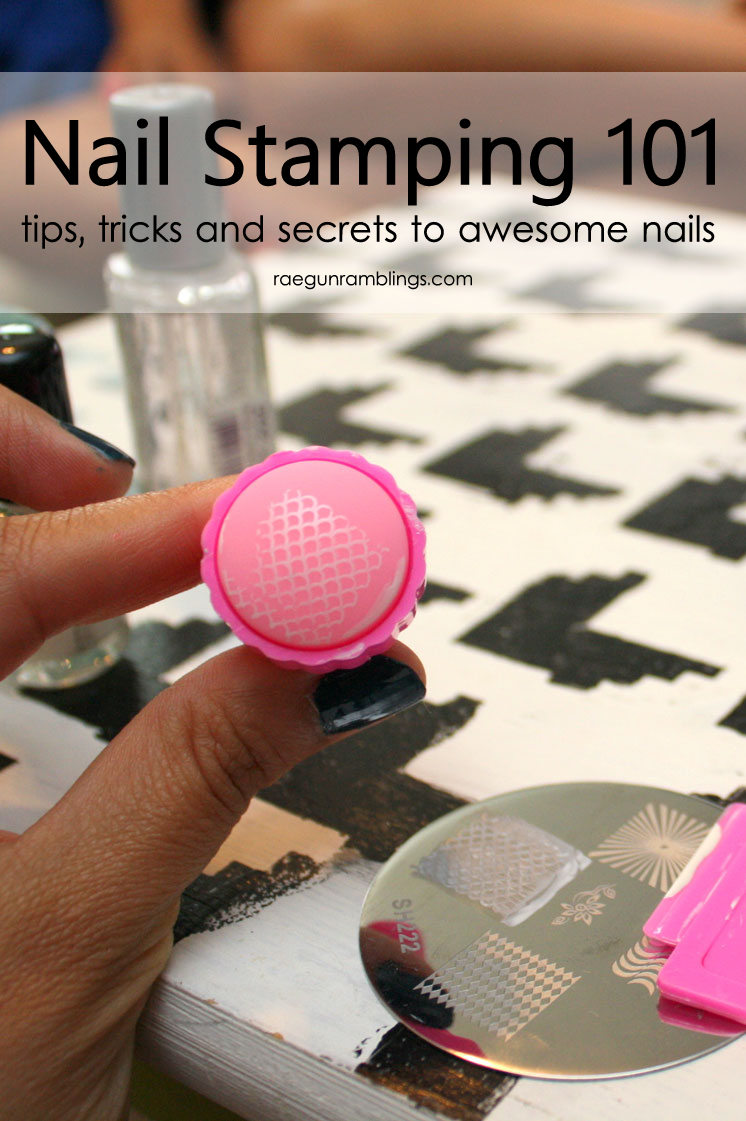
4. Tips and Tricks for Perfect Stamping Nail Art with Regular Nail Polish
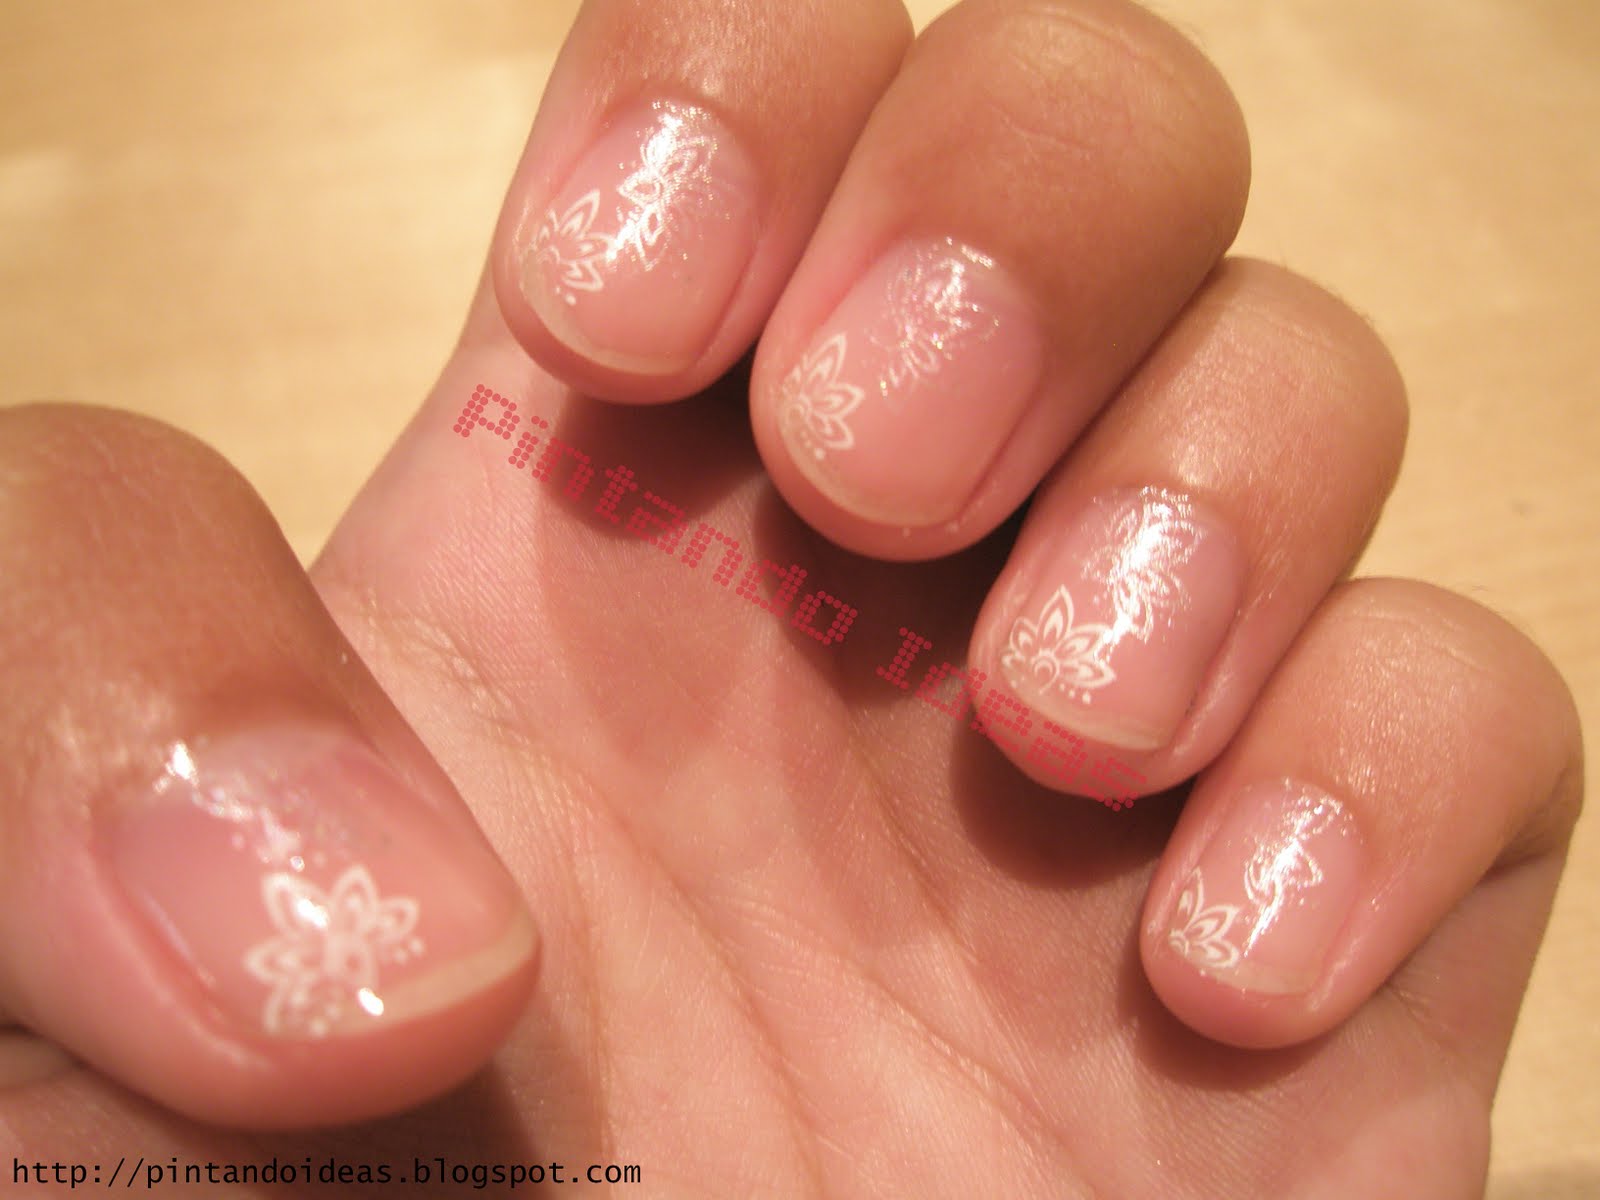
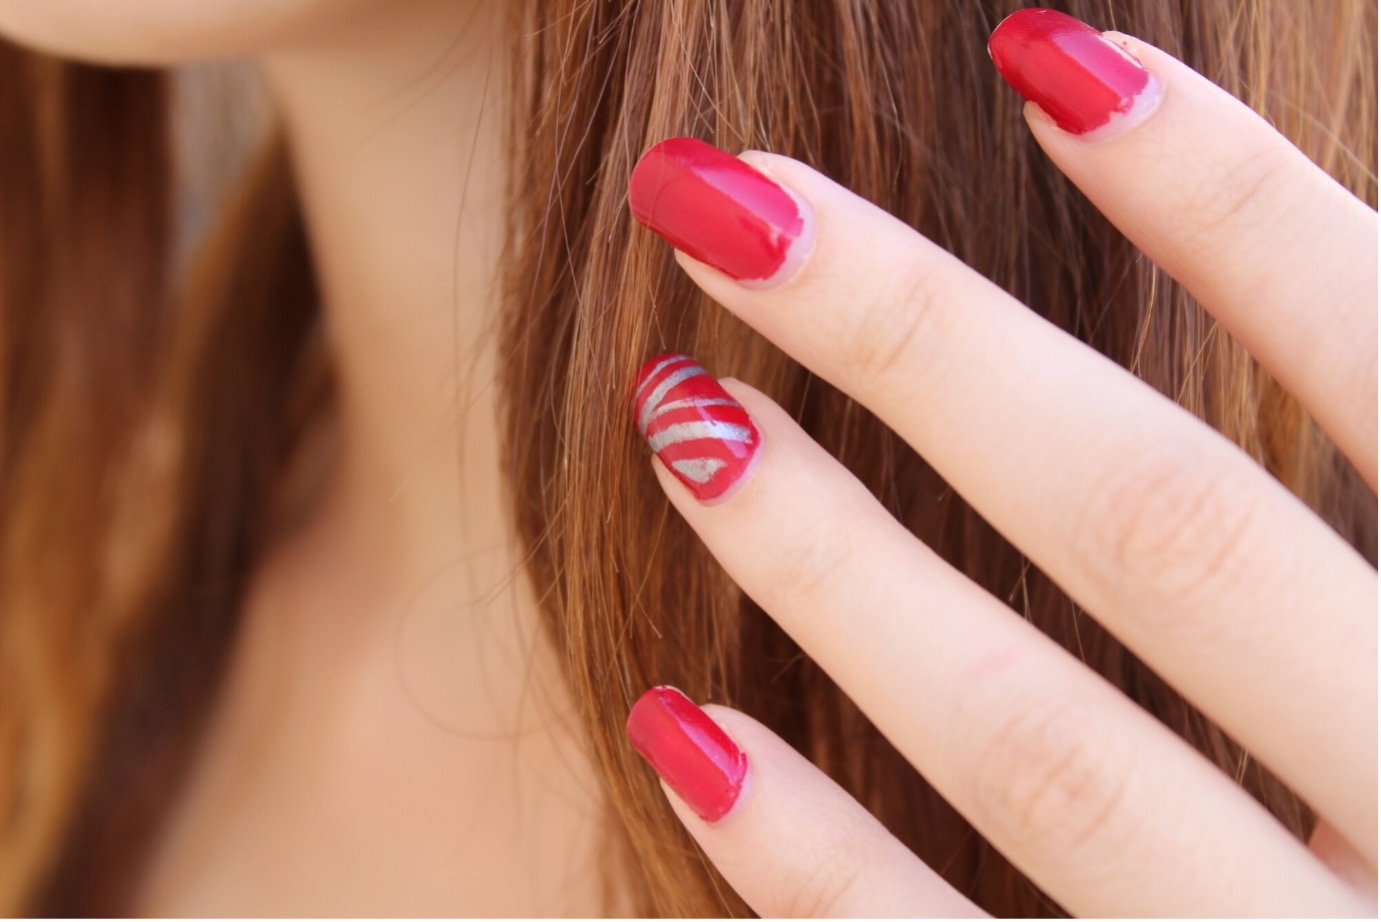
If you're new to stamping nail art, it's best to start with simple designs that are easy to transfer. Here are a few beginner-friendly stamping nail art designs using regular nail polish. Polka Dots: Apply a base color and let it dry completely. Using a dotting tool or the back of a bobby pin, create dots in a contrasting color all over your nails. Stripes: Apply a base color and let it dry completely. Use striping tape to create stripes on your nails, then remove the tape and fill in the gaps with a contrasting color. Floral: Apply a base color and let it dry completely. Use a small dotting tool to create flower petals in a contrasting color, then add a dot in the center using a third color. Geometric: Apply a base color and let it dry completely. Use striping tape to create geometric shapes on your nails, then fill in the shapes with a contrasting color. As you become more comfortable with stamping nail art, you can experiment with more intricate designs and techniques.5. Stamping Nail Art Designs Using Regular Nail Polish for Beginners


5. Stamping Nail Art Designs Using Regular Nail Polish for Beginners


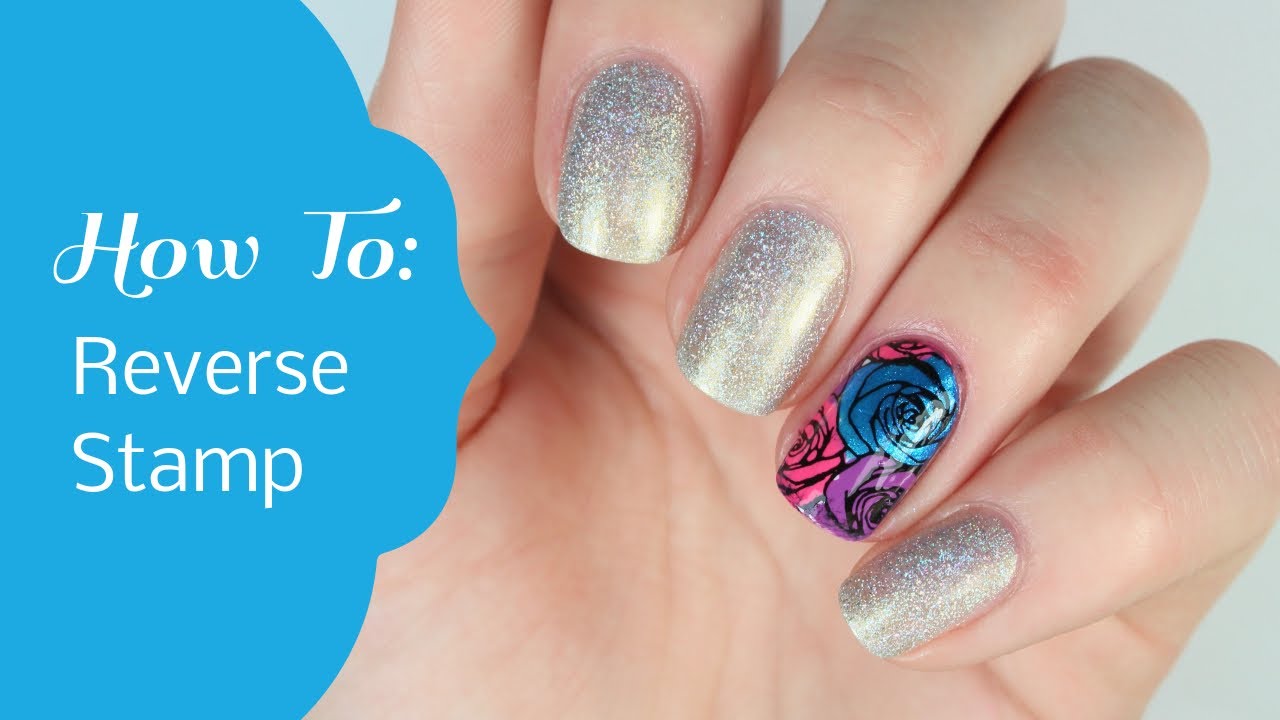
Stamping nail art can be a bit tricky, but with these nail stamping hacks, you'll be able to achieve perfect designs using regular nail polish. Double stamping: To create a more layered and dimensional look, try double stamping. After transferring the design onto your nail, clean the stamping plate and add a different color on top of the existing design. Stamp again on your nail for a unique effect. Gradient stamping: For a gradient effect, apply two different colors of regular nail polish onto the design on the stamping plate. Use a scraper to blend the colors together, then transfer onto your nail. Reverse stamping: Instead of transferring the design directly onto your nail, use a stamper to pick up the design and place it on a silicone mat. Fill in the design with different colors, then transfer onto your nail for a colorful and intricate design. Using a makeup sponge: If you don't have a stamper, you can use a makeup sponge to transfer the design onto your nail. Simply apply regular nail polish onto the design on the stamping plate and dab the sponge on top, then transfer onto your nail. These nail stamping hacks will take your regular nail polish stamping game to the next level. Don't be afraid to get creative and experiment with different techniques!6. Nail Stamping Hacks: How to Use Regular Nail Polish for Stamping


6. Nail Stamping Hacks: How to Use Regular Nail Polish for Stamping


While stamping nail art can be a fun and easy way to create unique designs, there are some dos and don'ts to keep in mind for best results. Do: - Clean your stamping plate and scraper after each use. - Work quickly to avoid the polish drying before you can transfer the design onto your nail. - Use a top coat to seal in your design and add shine. Don't: - Use regular nail polish that is too thick or too thin. This can affect the transfer of the design. - Press too hard when transferring the design onto your nail. This can result in a blurry design. - Get discouraged if it doesn't turn out perfect on your first try. Practice makes perfect! By following these dos and don'ts, you'll be able to create stunning stamping nail art using regular nail polish with ease.7. Stamping Nail Art with Regular Nail Polish: Dos and Don'ts

7. Stamping Nail Art with Regular Nail Polish: Dos and Don'ts

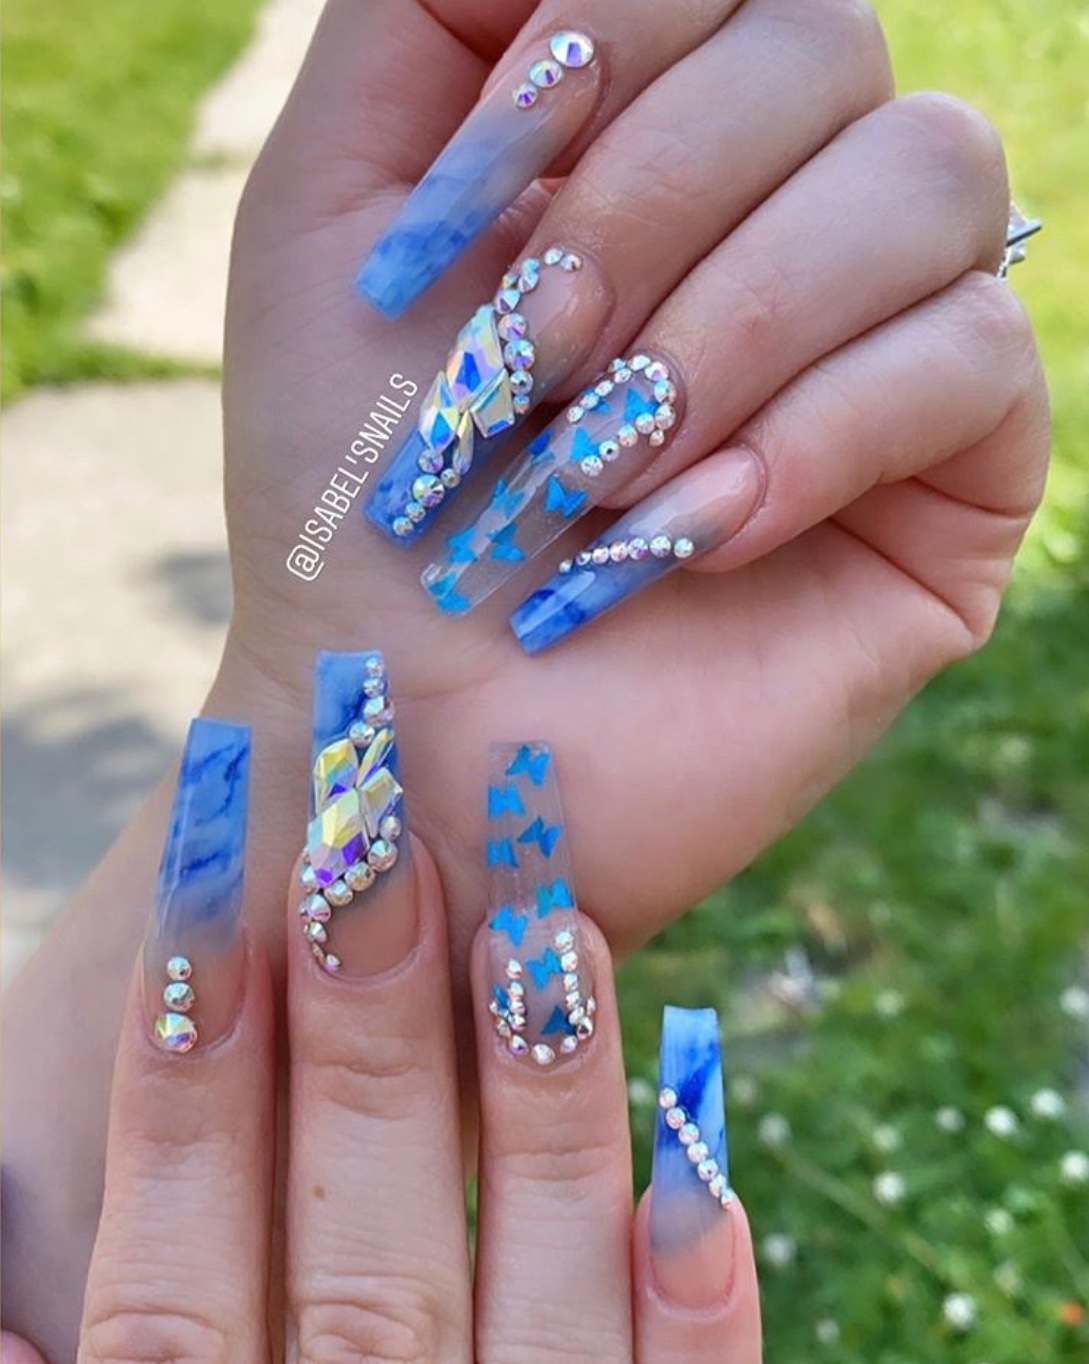
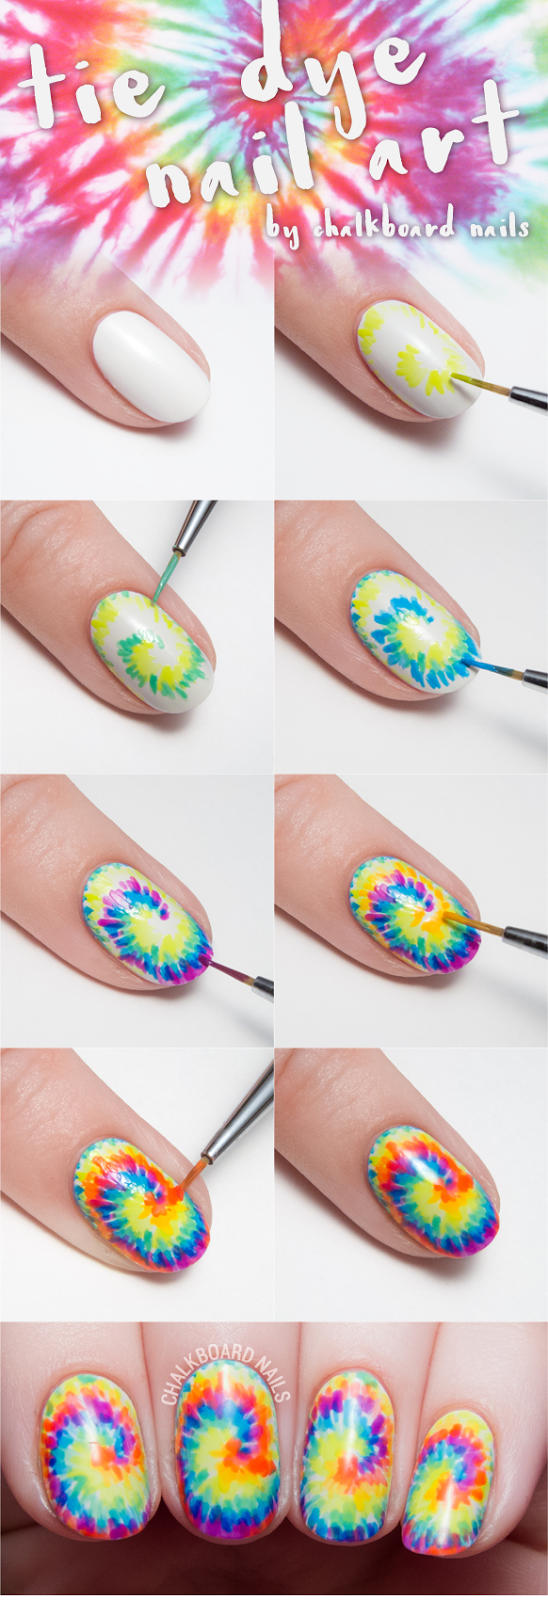
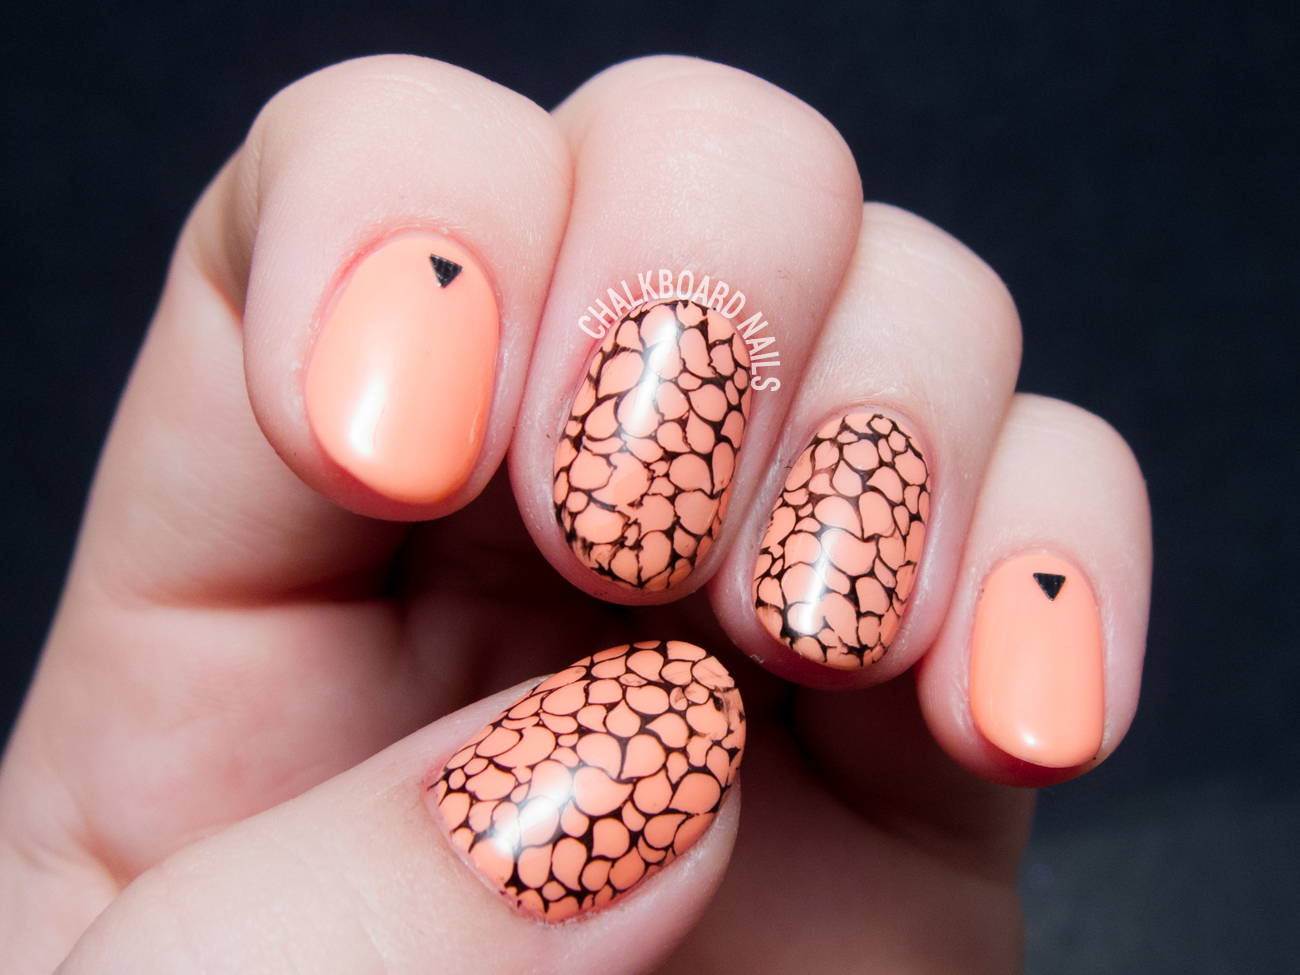
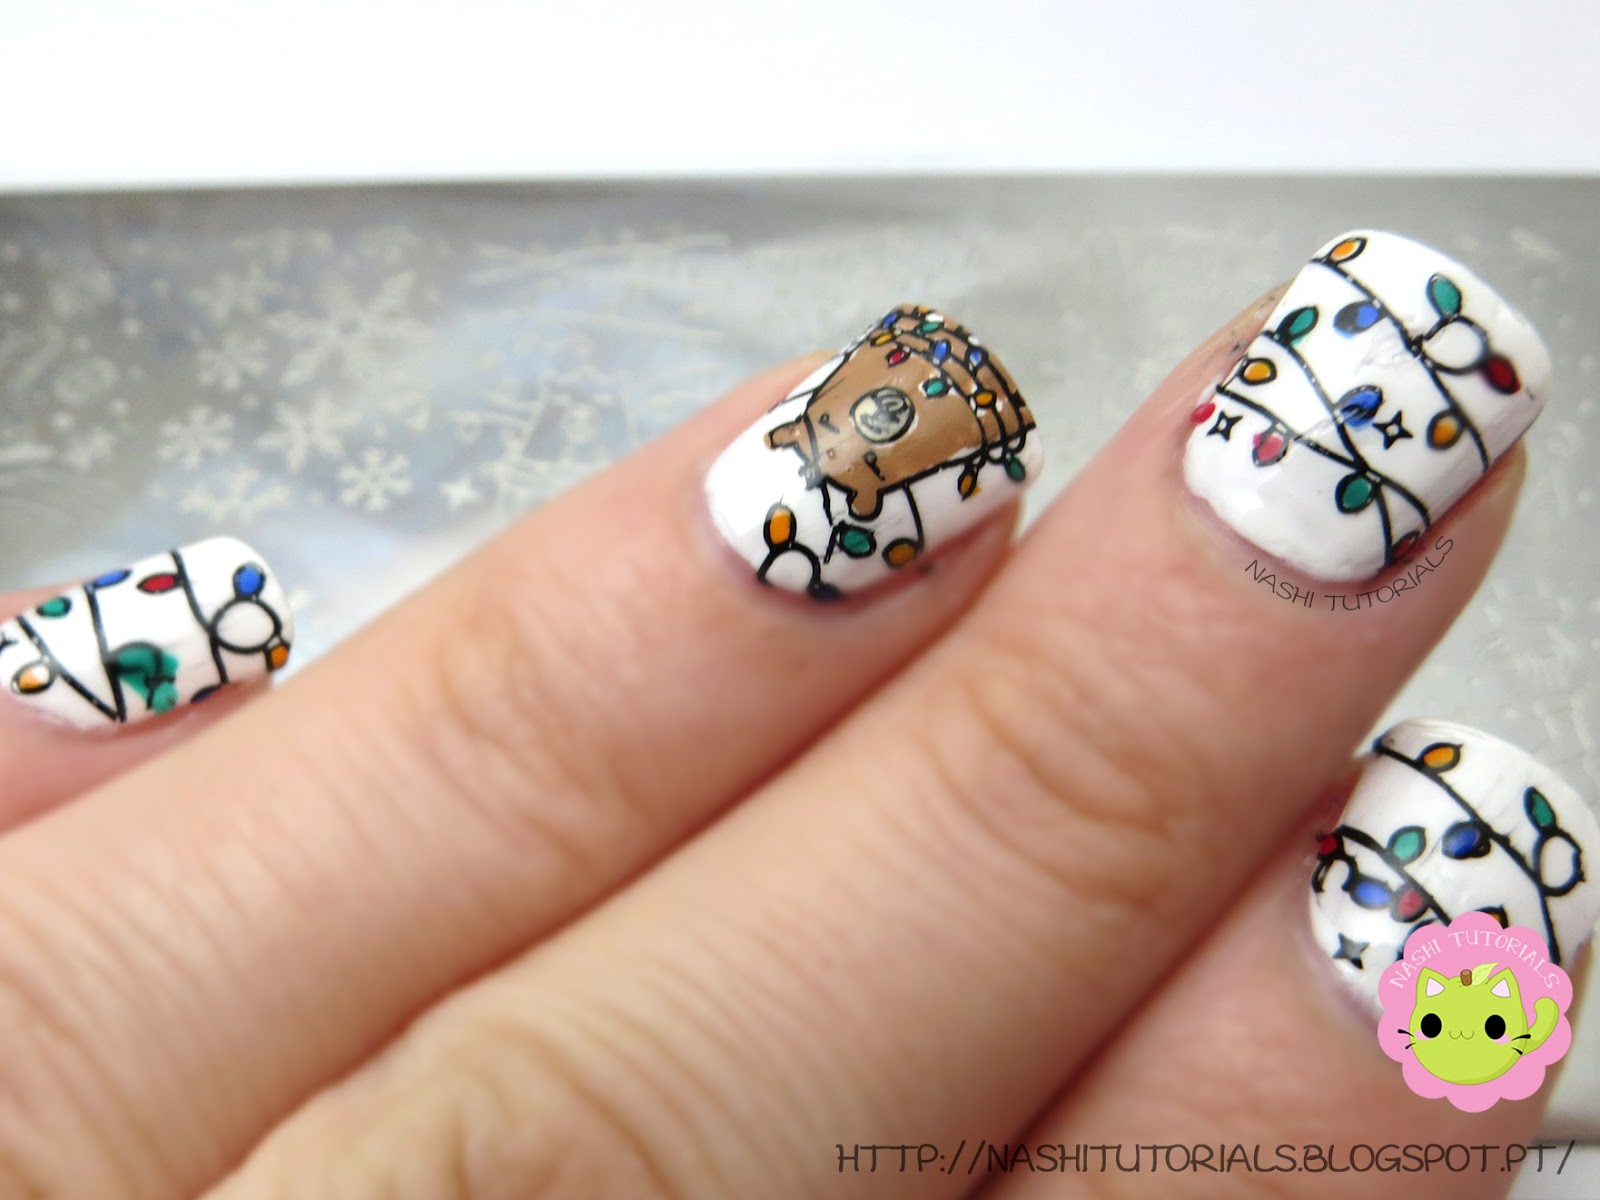
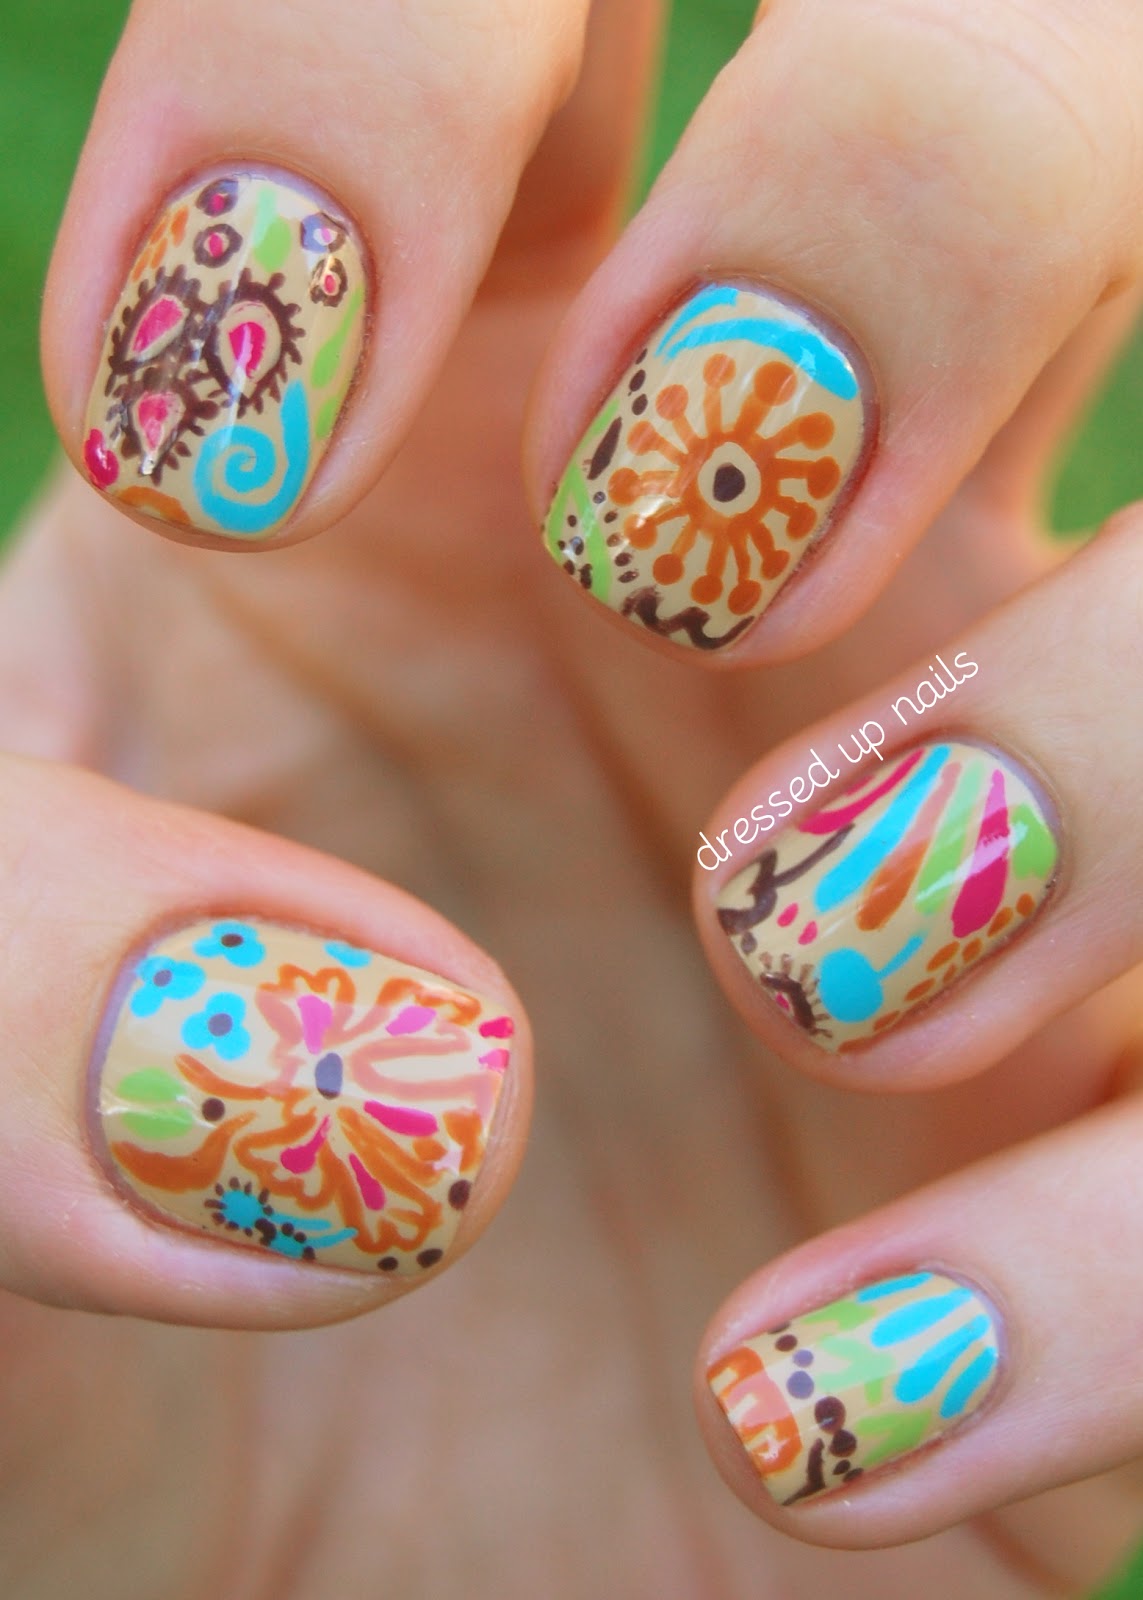
Stamping nail art allows for endless creativity and unique designs. Here are a few creative stamping nail art ideas using regular nail polish to inspire your next manicure. Ombre: Create an ombre effect by applying two different colors of regular nail polish onto the design on the stamping plate. Use a scraper to blend the colors together, then transfer onto your nail. Marble: Apply a base color and let it dry. Using a small piece of plastic wrap, dab on a different color of regular nail polish. Press the wrap onto your nail for a marbled effect. Animal print: Apply a base color and let it dry. Using a small dotting tool, create animal print patterns in a contrasting color all over your nails. Abstract: Apply a base color and let it dry. Using a small nail art brush or a toothpick, create abstract designs in different colors on your nails. Don't be afraid to get creative and try out different ideas for your stamping nail art using regular nail polish. The possibilities are endless!8. Creative Stamping Nail Art Ideas Using Regular Nail Polish


8. Creative Stamping Nail Art Ideas Using Regular Nail Polish
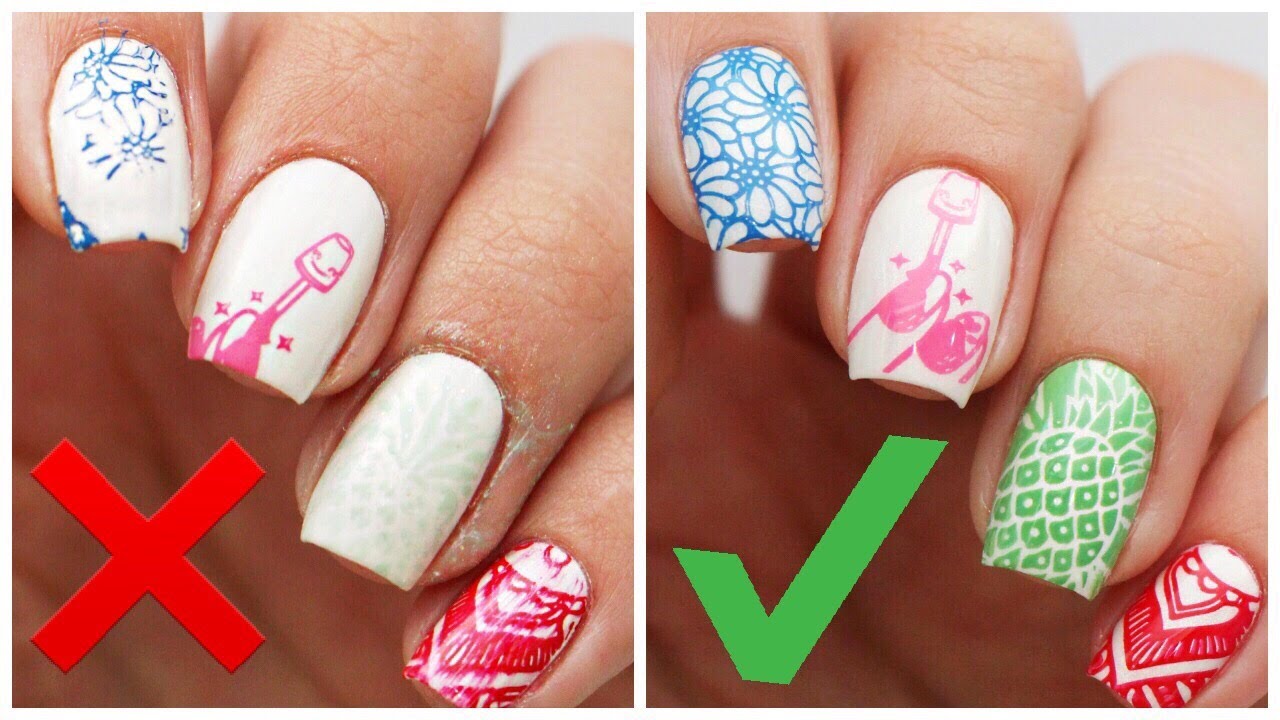
Even with practice, mistakes can happen when it comes to stamping nail art. Here are some common mistakes and how to fix them for a flawless manicure using regular nail polish. Smudged design: If your design gets smudged during the transfer process, remove the polish from your nail with nail polish remover and try again. Make sure to work quickly and press lightly when transferring the design. Design won't transfer at all: If you can't seem to get the design to transfer at all, check that you're using enough nail polish and that your stamping plate has deep and defined etchings. You may also need to try a different stamping technique or a different polish. Design is patchy or missing parts: This may be due to not using enough polish or not transferring the design quickly enough. Try again, making sure to work quickly and use enough polish on the stamping plate. Don't get discouraged if you encounter these or other common mistakes when trying out stamping nail art with regular nail polish. With practice and patience, you'll be able to achieve perfect designs every time.9. Stamping Nail Art with Regular Nail Polish: Common Mistakes and How to Fix Them


9. Stamping Nail Art with Regular Nail Polish: Common Mistakes and How to Fix Them


If you can't find a specific color or shade of stamping nail polish, you can easily make your own using regular nail polish and a few simple steps. Start by choosing a regular nail polish in the color you want. It's best to choose a polish with a thick and opaque formula. Add a few drops of clear nail polish to the regular polish and mix well. This will help to thin out the polish and make it easier to transfer onto your nails. You can also add some clear nail polish to the stamping plate before applying the regular polish to help with the transfer process. Experiment with different ratios to find the perfect consistency for stamping. With this DIY stamping nail polish, you can create any color or shade you want for your nail art designs.10. How to Make Your Own Stamping Nail Polish with Regular Nail Polish

10. How to Make Your Own Stamping Nail Polish with Regular Nail Polish

How to Elevate Your Nail Game with Stamp Nail Art Using Regular Nail Polish

The Power of Nail Art
 When it comes to personal style, every little detail counts. From our outfits to our hair, we want to make sure that we are putting our best foot (or hand) forward. That's where nail art comes in. It's the perfect way to add a unique and creative touch to any look. And with the rise of social media, it has become more popular than ever. One trend that has taken the nail art world by storm is stamp nail art using regular nail polish. Not only is it a fun and easy way to create intricate designs, but it also saves you the hassle and expense of purchasing specialized nail stamping polishes. Let's dive into how you can achieve this trendy look in the comfort of your own home.
The Basics of Stamp Nail Art
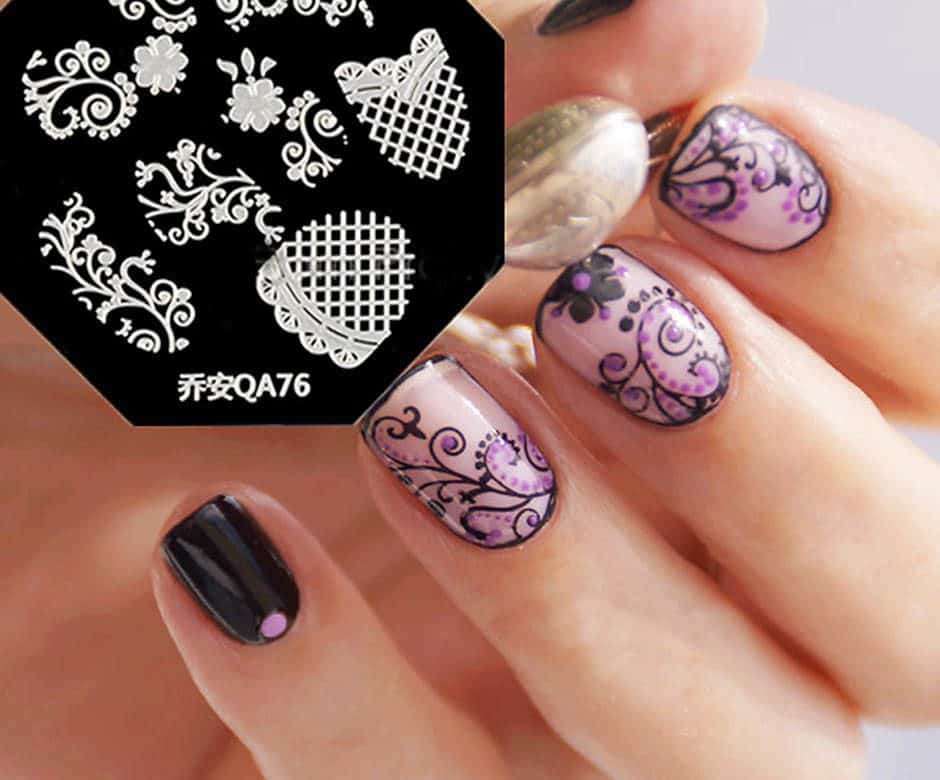
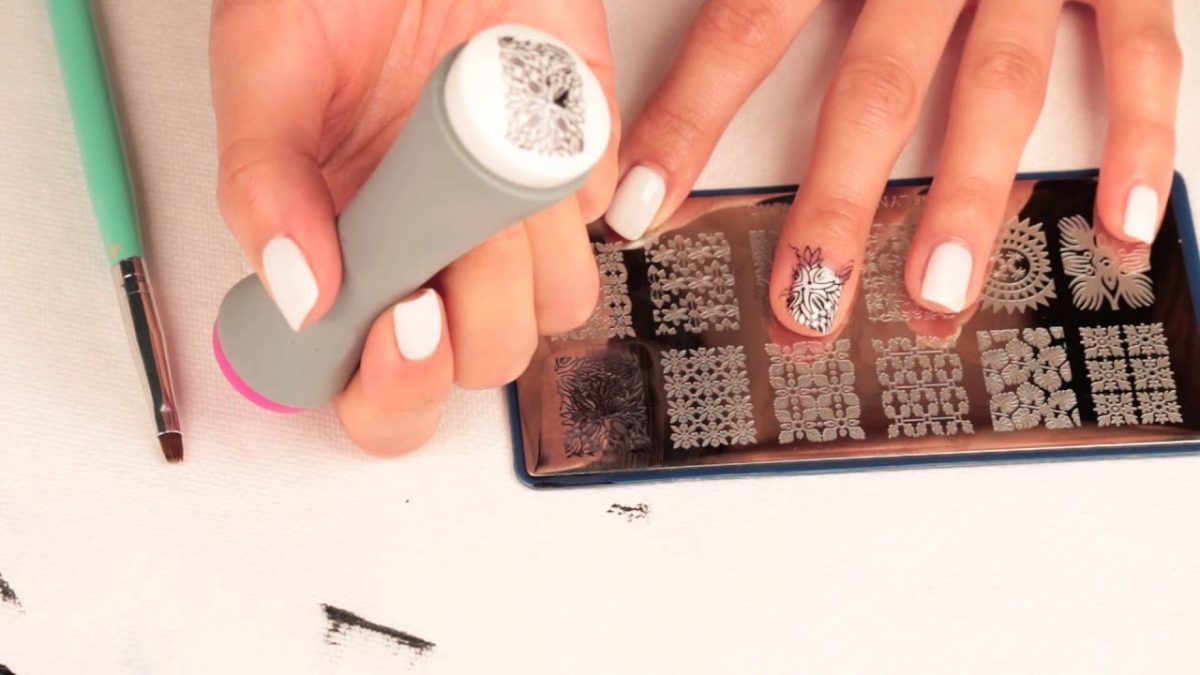
 First things first, let's go over the basics of stamp nail art. As the name suggests, this technique involves using a stamping tool to transfer a design onto your nails using regular nail polish. The stamping tool consists of a metal plate with various designs etched onto it and a rubber stamper to pick up and transfer the design onto your nail. The key to achieving a clean and precise look is to make sure you have a good stamping polish that is highly pigmented and dries quickly. It's also important to have a steady hand and to practice on a piece of paper before attempting it on your nails.
The Benefits of Using Regular Nail Polish
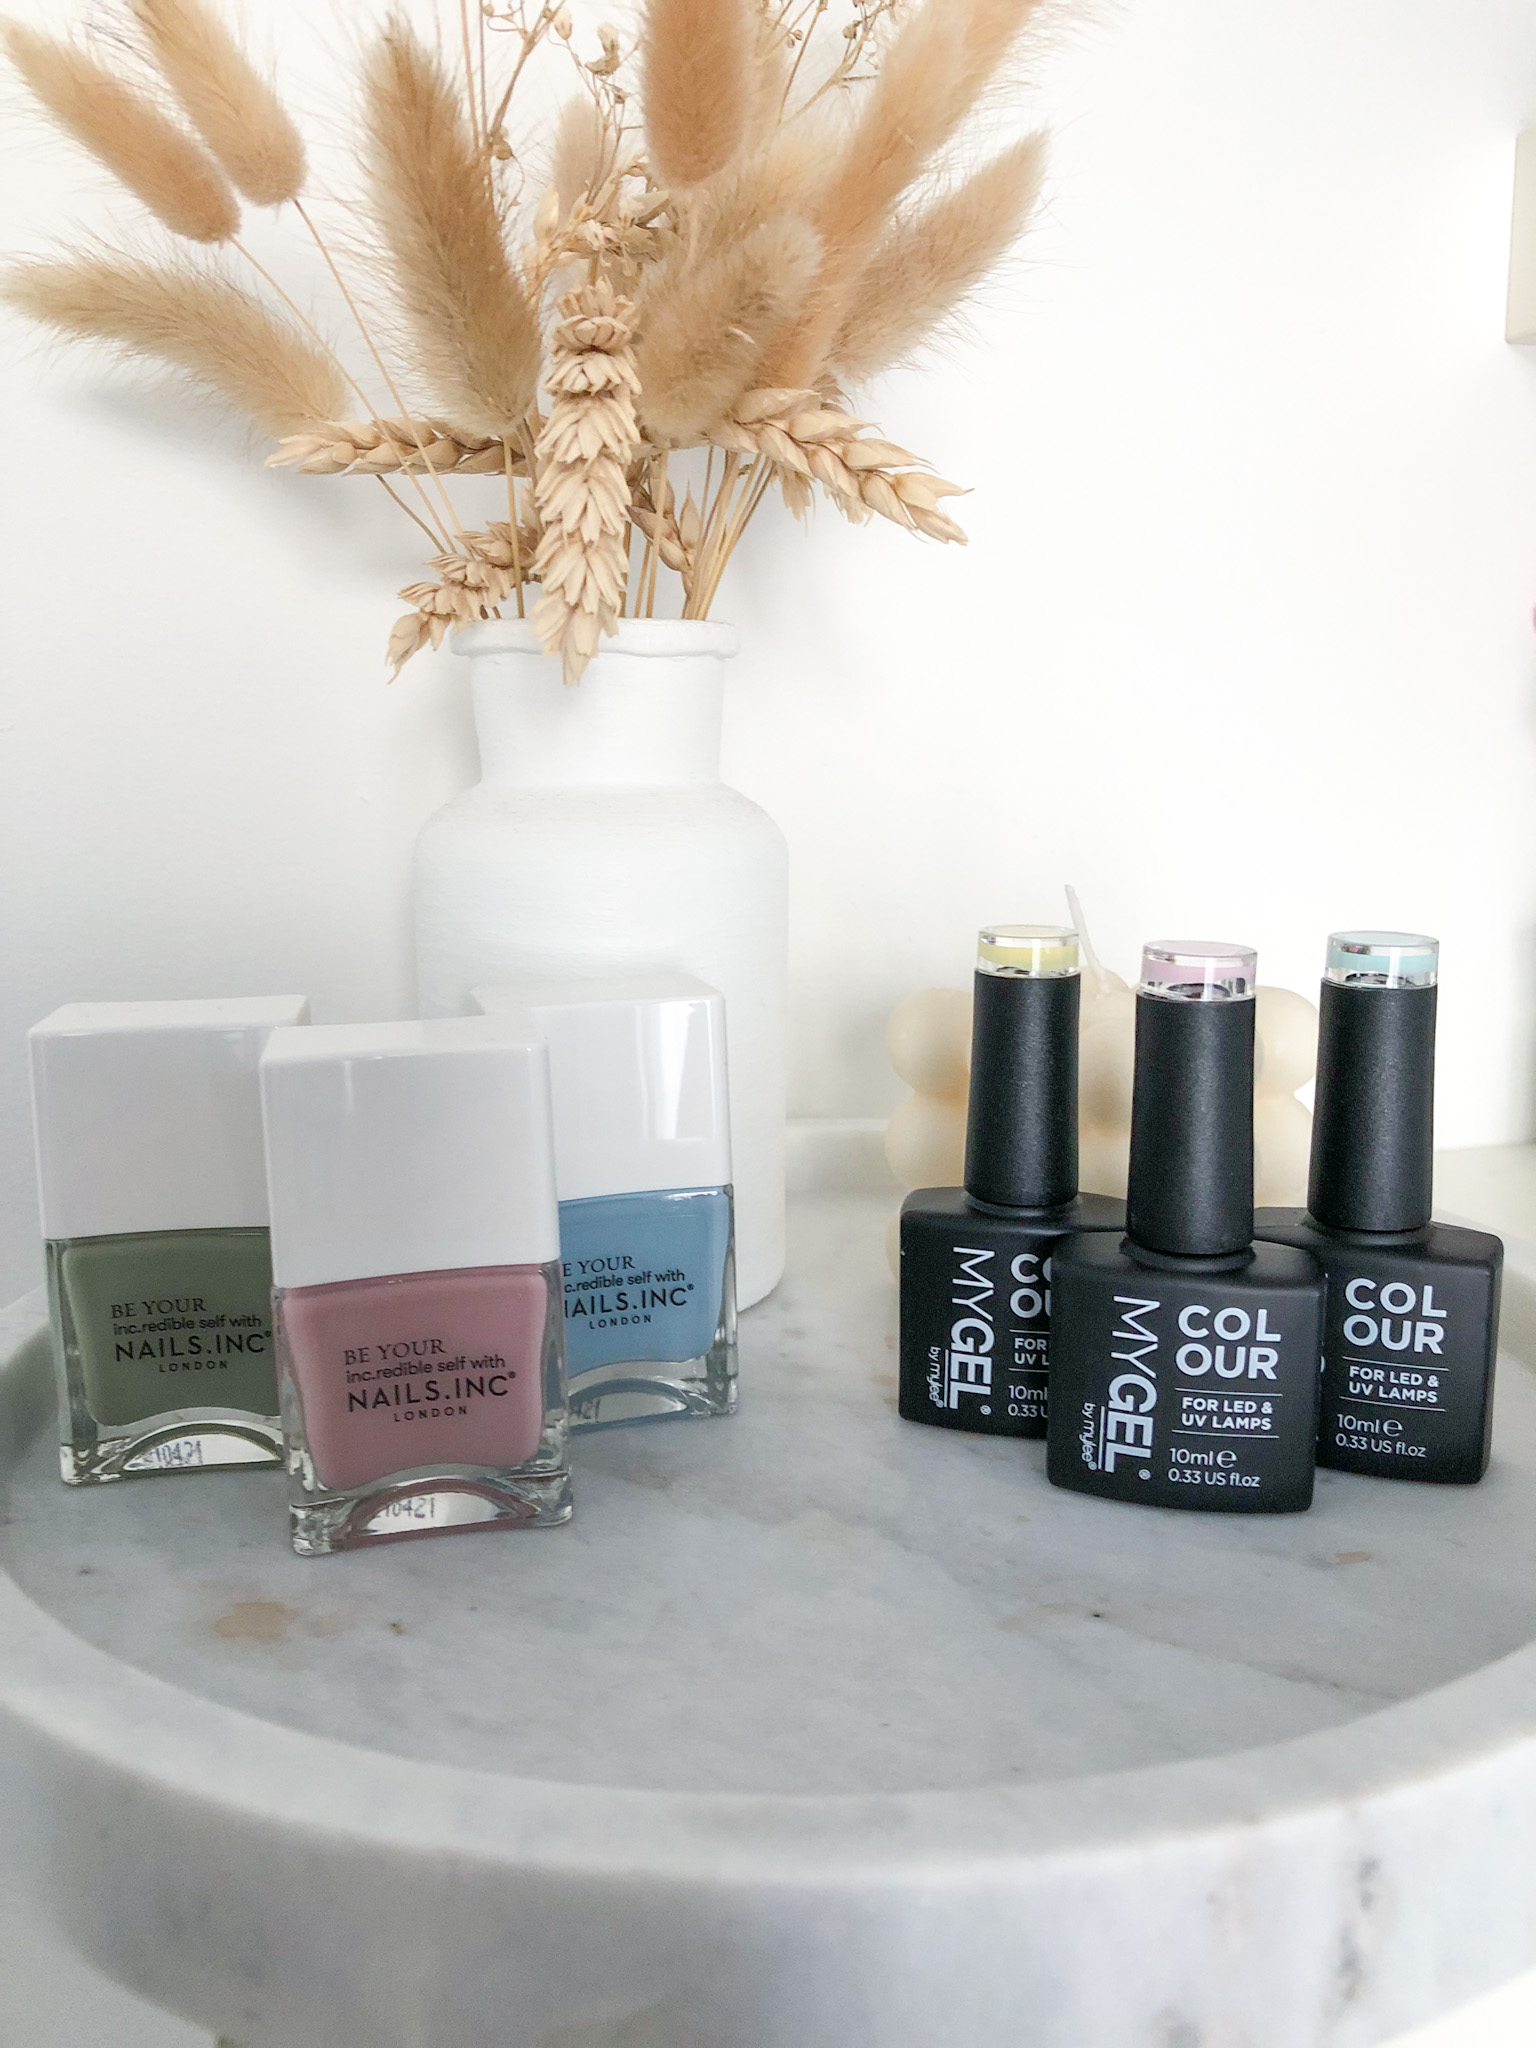
 One of the major benefits of using regular nail polish for stamp nail art is the cost-saving aspect. Specialized stamping polishes can be quite pricey, especially if you want a variety of colors. By using regular nail polish, you can mix and match different shades and create endless design possibilities without breaking the bank. Another advantage is the wide range of colors and finishes available in regular nail polish. You can achieve a metallic, glitter, or matte look, depending on the polish you use. This allows for more creativity and personalization in your nail art.
Step-by-Step Guide to Stamp Nail Art Using Regular Nail Polish
 To get started, you will need a stamping plate, a stamper, and regular nail polish in your desired colors. Follow these steps to achieve flawless stamp nail art:
Step 1:
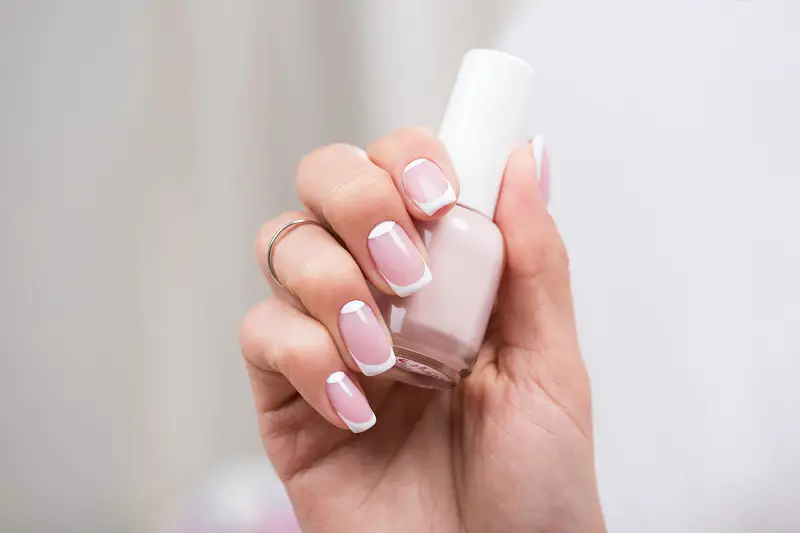
Start by applying a base coat to protect your nails and help the polish adhere better.
Step 2:
Choose your desired design from the stamping plate and apply a layer of regular nail polish over it.
Step 3:
Use the scraper to remove any excess polish from the plate.
Step 4:
Take the stamper and gently roll it over the design to pick it up.
Step 5:
Transfer the design onto your nail by gently pressing the stamper onto it.
Step 6:
Repeat these steps for each nail, making sure to clean the stamping plate and stamper between uses.
Step 7:
Once the design is dry, seal it in with a top coat to prevent chipping and add shine.
To get started, you will need a stamping plate, a stamper, and regular nail polish in your desired colors. Follow these steps to achieve flawless stamp nail art:
Step 1:
Start by applying a base coat to protect your nails and help the polish adhere better.
Step 2:
Choose your desired design from the stamping plate and apply a layer of regular nail polish over it.
Step 3:
Use the scraper to remove any excess polish from the plate.
Step 4:
Take the stamper and gently roll it over the design to pick it up.
Step 5:
Transfer the design onto your nail by gently pressing the stamper onto it.
Step 6:
Repeat these steps for each nail, making sure to clean the stamping plate and stamper between uses.
Step 7:
Once the design is dry, seal it in with a top coat to prevent chipping and add shine.
In Conclusion
 Stamp nail art using regular nail polish is a fun and budget-friendly way to add a creative touch to your nails. With a little practice and the right tools, you can achieve professional-looking designs in the comfort of your own home. So why not elevate your nail game and try out this trendy technique? Your nails will thank you.
HTML Code:
Stamp nail art using regular nail polish is a fun and budget-friendly way to add a creative touch to your nails. With a little practice and the right tools, you can achieve professional-looking designs in the comfort of your own home. So why not elevate your nail game and try out this trendy technique? Your nails will thank you.
HTML Code:
How to Elevate Your Nail Game with Stamp Nail Art Using Regular Nail Polish

The Power of Nail Art

When it comes to personal style, every little detail counts. From our outfits to our hair, we want to make sure that we are putting our best foot (or hand) forward. That's where nail art comes in. It's the perfect way to add a unique and creative touch to any look. And with the rise of social media, it has become more popular than ever. One trend that has taken the nail art world by storm is stamp nail art using regular nail polish . Not only is it a fun and easy way to create intricate designs, but it also saves you the hassle and expense of purchasing specialized nail stamping polishes. Let's dive into how you can achieve this trendy look in the comfort of your own home.
The Basics of Stamp Nail Art
First things first, let's go over the basics of stamp nail art. As the name suggests, this technique involves using a stamping


