Before you begin your water marble nail art, it's important to gather all the necessary materials. This includes nail polish, a cup of room temperature water, toothpicks or a needle, paper towels, and nail polish remover. Make sure you have everything within reach for an easy and stress-free process.Prepare your materials


Prepare your materials


.jpg)

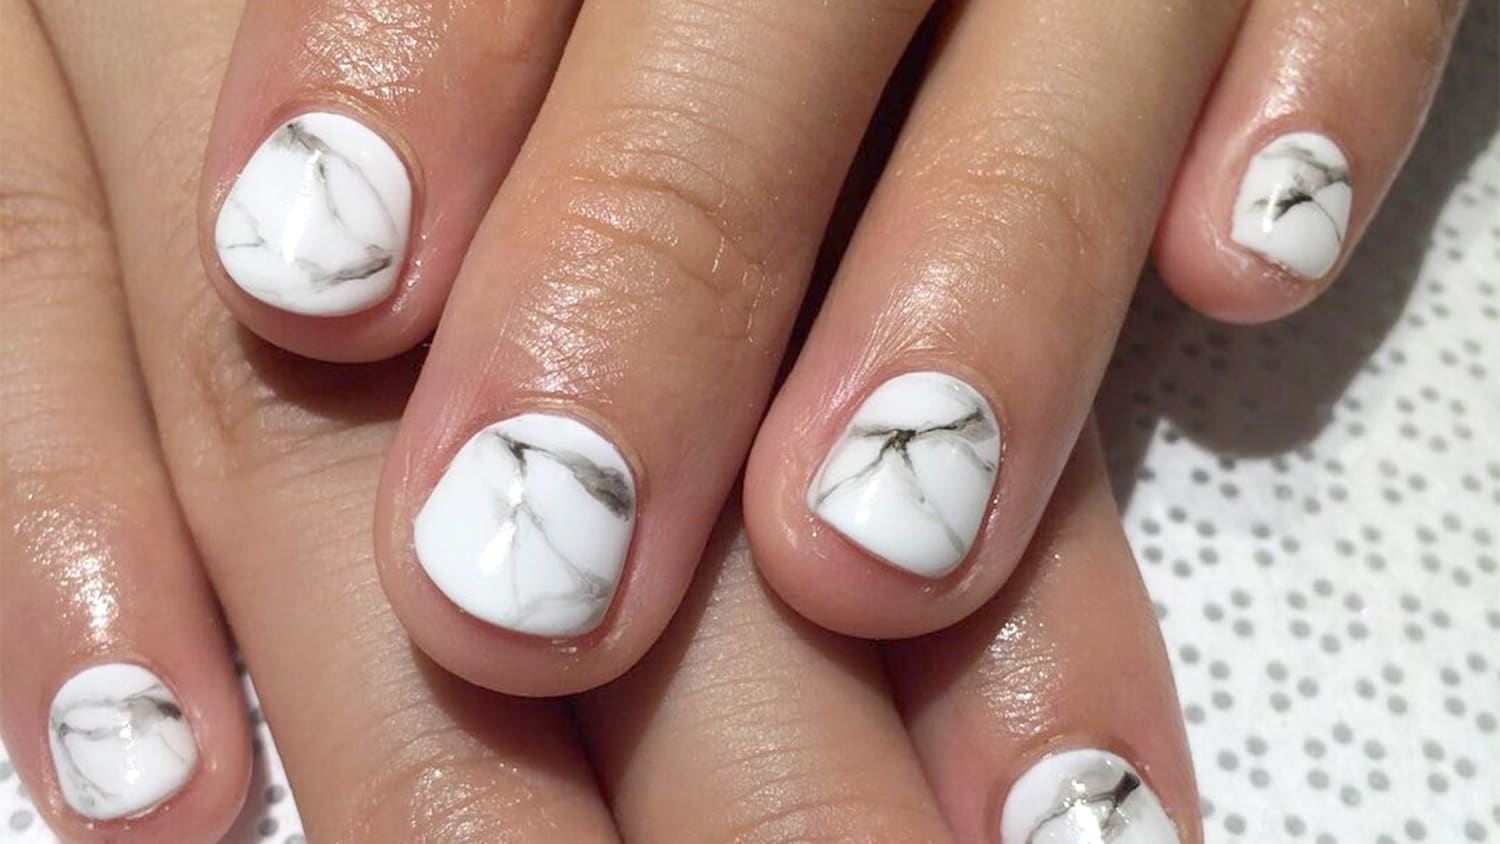
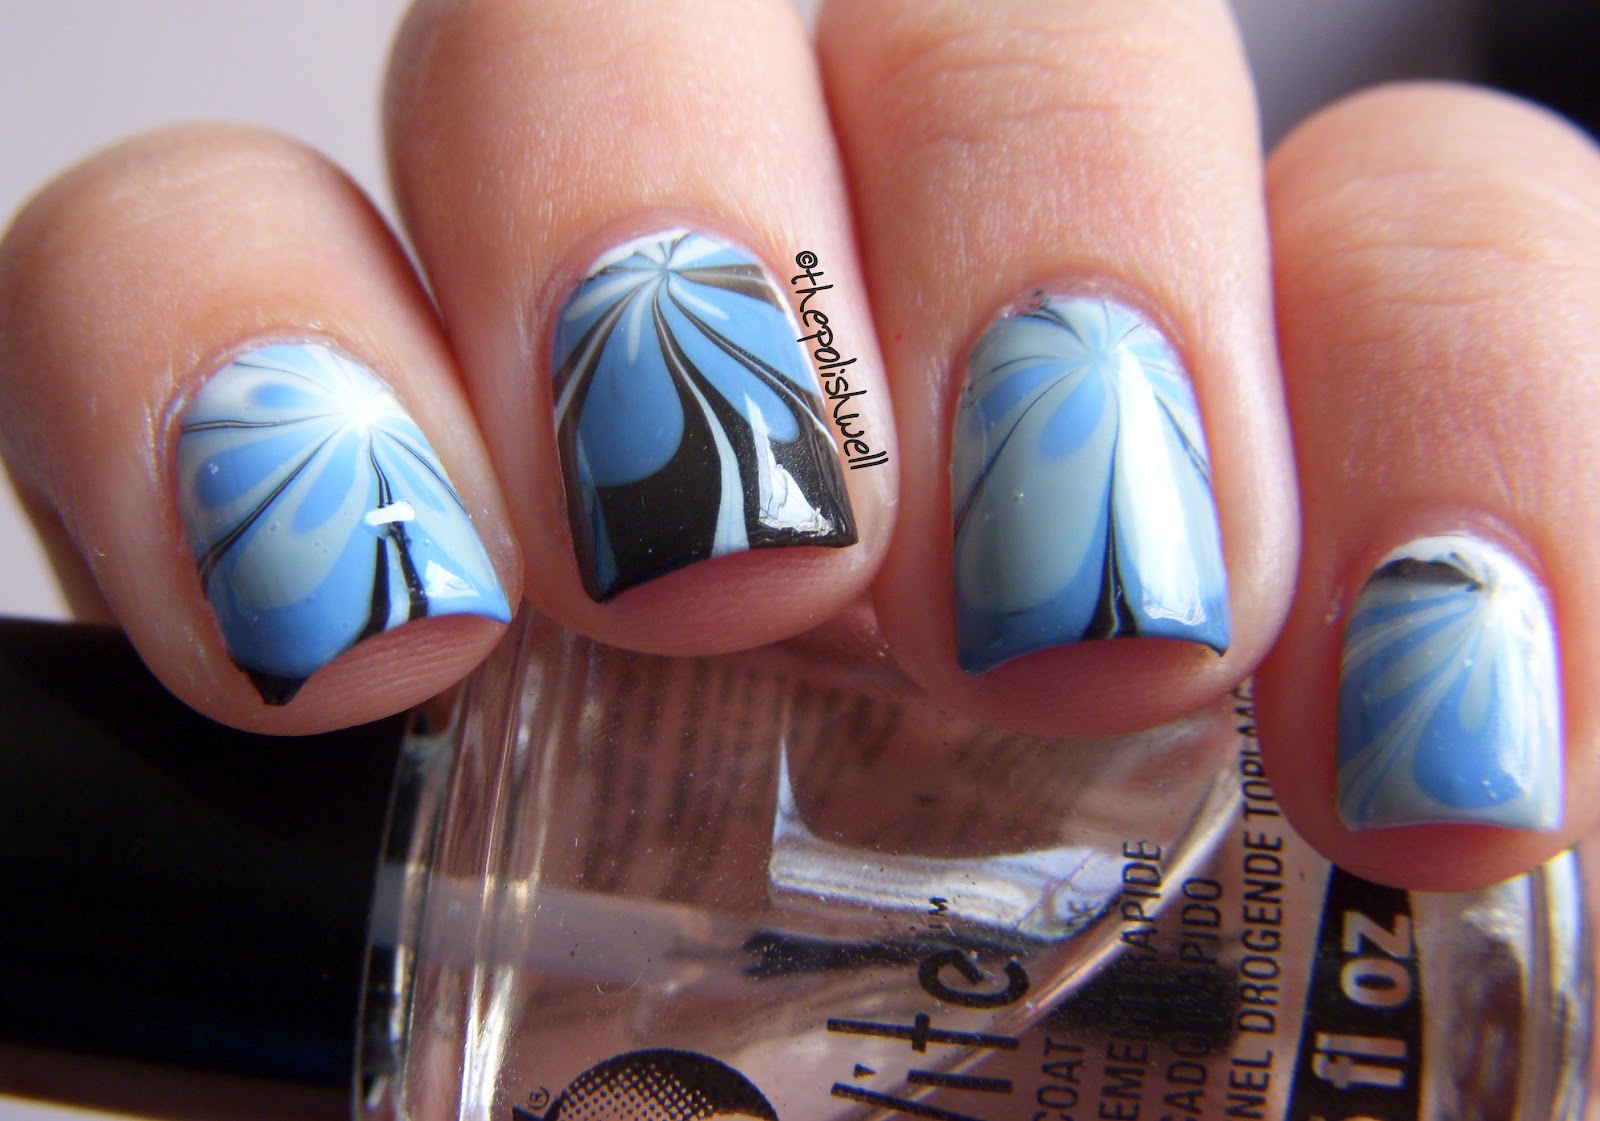
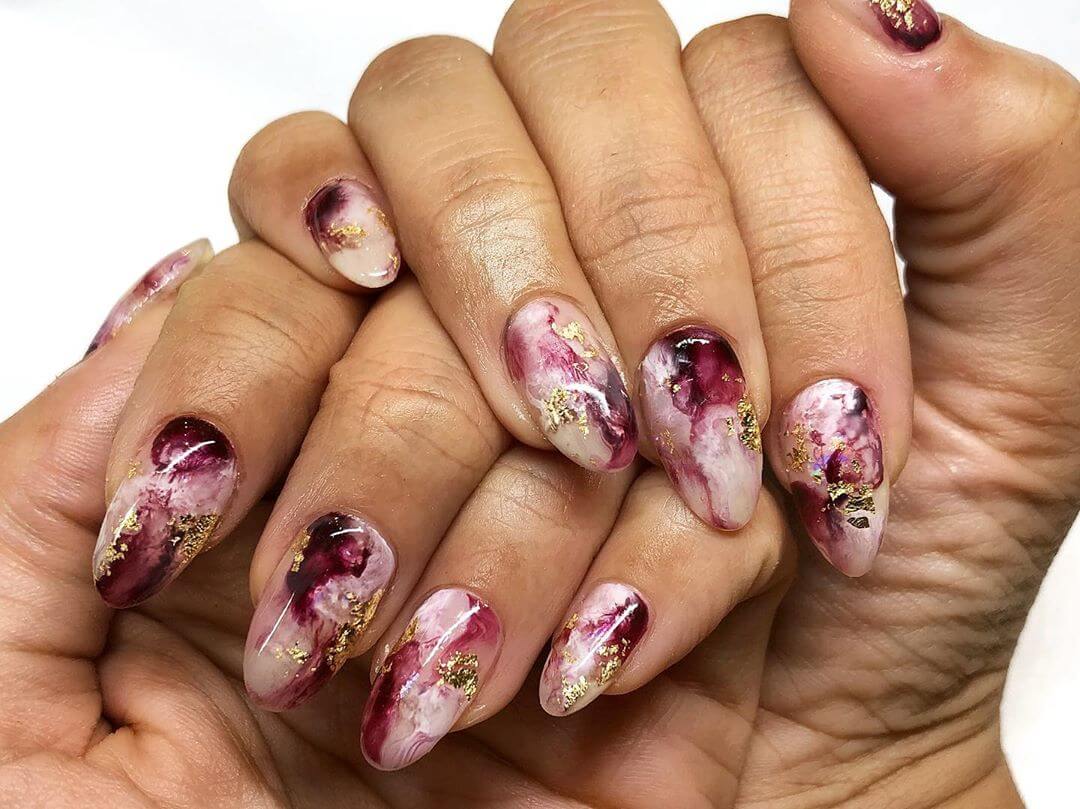
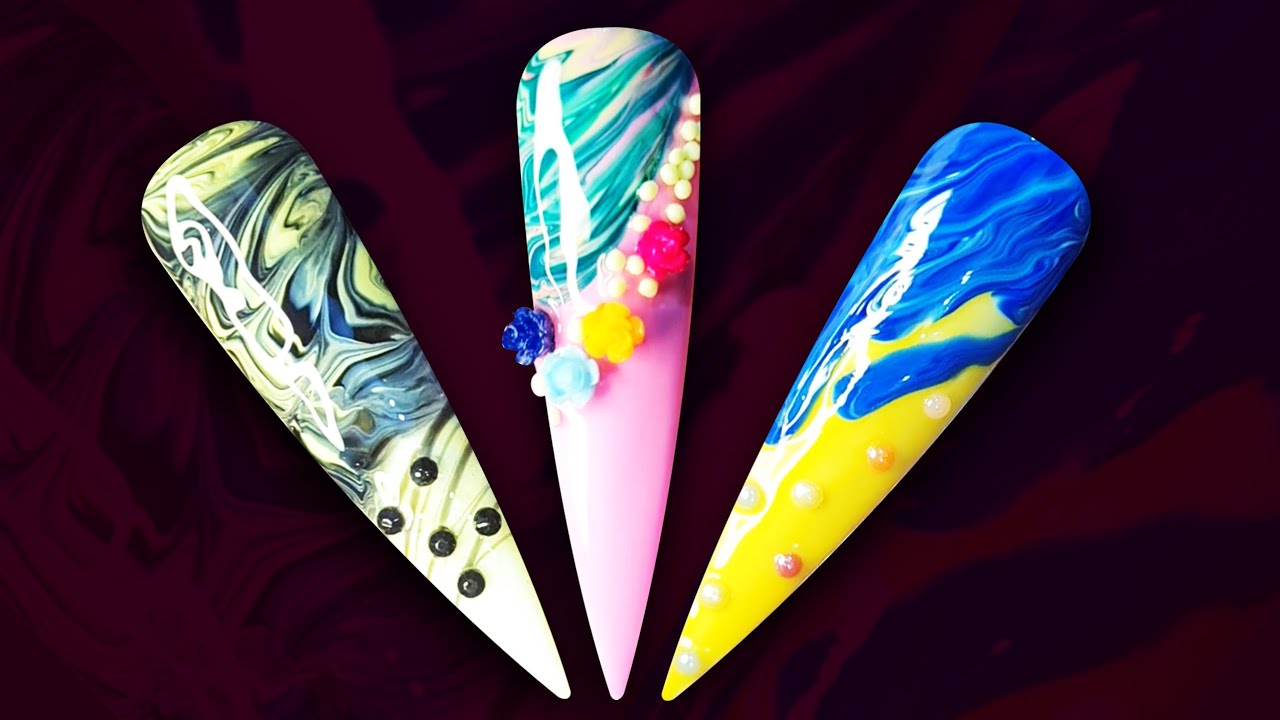
One of the most fun parts of water marble nail art is picking out your colors. Bold and bright colors tend to work best for this technique. You can also choose complementary colors for a more cohesive look. For beginners, it's recommended to stick to 2-3 colors to avoid overwhelming the design.Choose your colors


Choose your colors


Water marble nail art can get messy, and you don't want to end up with polish all over your skin. To prevent this, apply a thin layer of petroleum jelly around your nails and fingers. This will make it easier to clean up any excess polish after the process.Protect your skin


Protect your skin
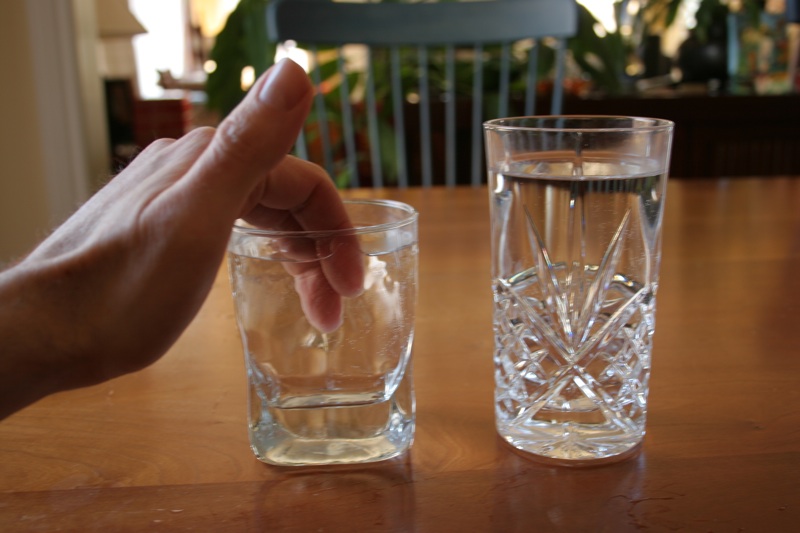
Using room temperature water is crucial for a successful water marble nail art. If the water is too cold, the polish will not spread properly. Fill a cup with water, leaving enough room for your finger to be fully submerged.Fill a cup with room temperature water

Fill a cup with room temperature water


Before you begin creating your design, apply a base coat to your nails. This will protect your nails and help the polish adhere better. Make sure the base coat is fully dry before moving on to the next step.Apply a base coat

Apply a base coat


Now comes the fun part - creating the design! Start by dropping a small amount of nail polish onto the surface of the water. Use a toothpick or needle to drag the polish and create a bullseye shape. Repeat this step with your chosen colors, creating multiple rings within the bullseye.Create a bullseye

Create a bullseye


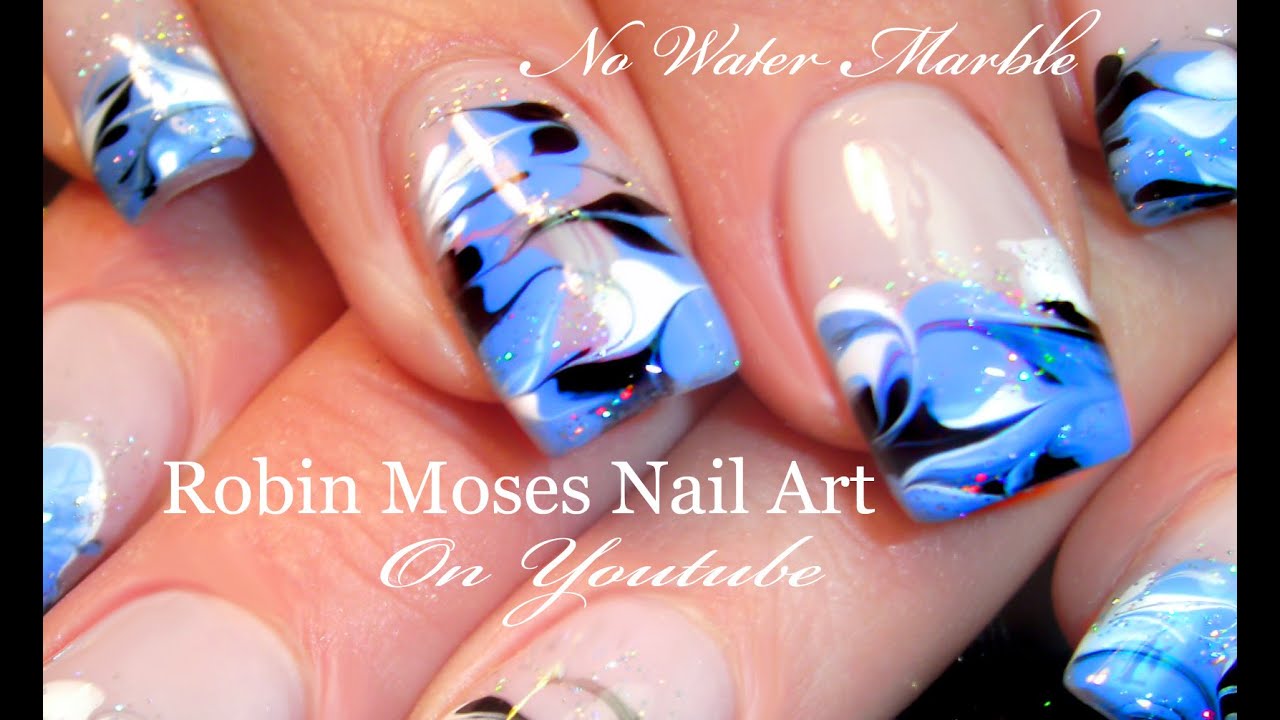
Once you have your bullseye, use a toothpick or needle to create a design by dragging it through the rings of polish. This will create a unique and intricate pattern. You can experiment with different patterns and techniques to achieve your desired look.Drag a toothpick through the design


Drag a toothpick through the design


Now it's time to transfer the design onto your nail. Slowly dip your nail into the water, making sure to fully submerge it. Use a toothpick to clean up any excess polish floating on the surface of the water before removing your finger.Dip your nail into the water


Dip your nail into the water


After removing your finger from the water, you may notice some excess polish around your finger and nail. Use a toothpick or cotton swab dipped in nail polish remover to clean up any excess polish. Be gentle to avoid smudging the design.Clean up any excess polish
Clean up any excess polish


To seal in your design and add shine, apply a top coat over your nail. This will also help smooth out any imperfections and make your water marble nail art last longer. Allow the top coat to fully dry before touching anything to prevent smudging.Apply a top coat

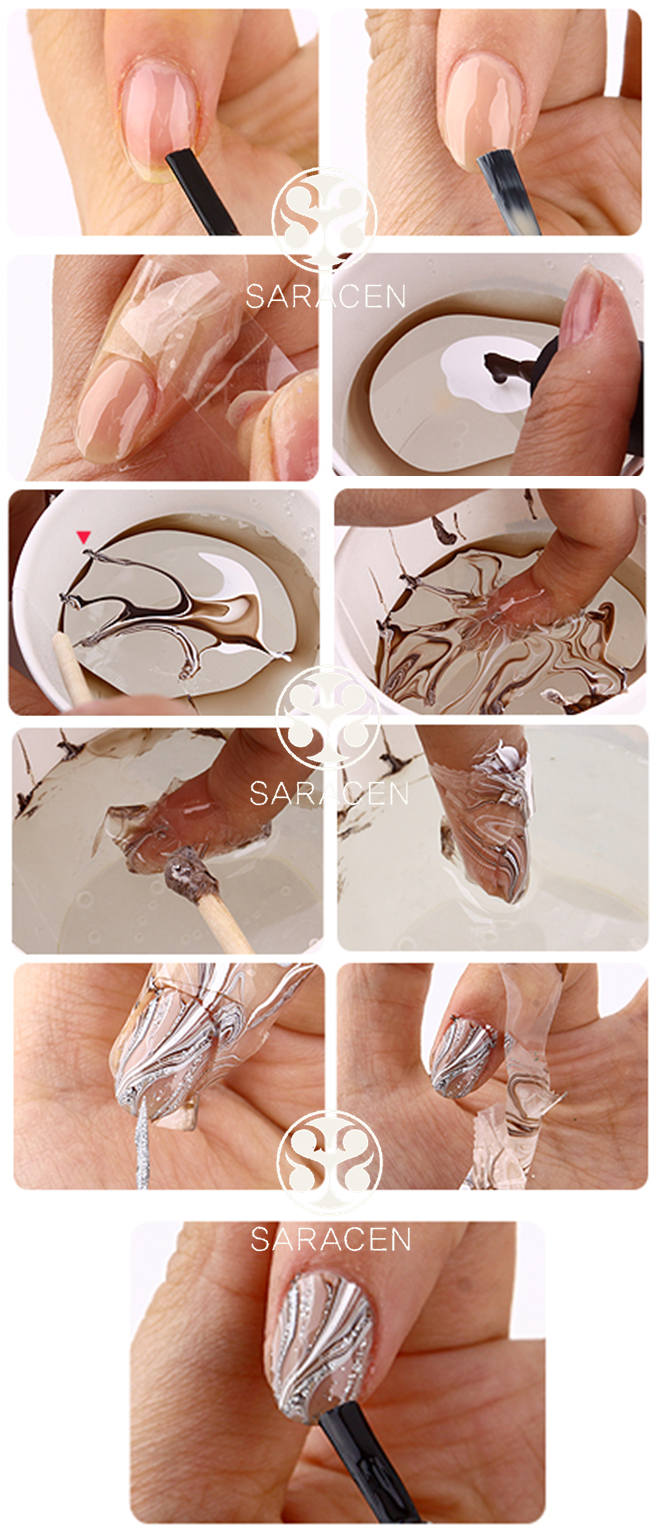
Apply a top coat
Step 4: Dip and Marble
 Now that you have your colors and design ready, it's time to start the water marble process. Fill a small cup or bowl with room temperature filtered water and let it sit for a few minutes to reach room temperature. This will help the polish spread more easily. Then, using a dropper or toothpick,
drop one drop of your first color onto the surface of the water
. It should spread out and create a thin layer.
Quickly drop another color on top of the first drop
, and continue this process until you have several concentric rings of color on the surface of the water.
Now that you have your colors and design ready, it's time to start the water marble process. Fill a small cup or bowl with room temperature filtered water and let it sit for a few minutes to reach room temperature. This will help the polish spread more easily. Then, using a dropper or toothpick,
drop one drop of your first color onto the surface of the water
. It should spread out and create a thin layer.
Quickly drop another color on top of the first drop
, and continue this process until you have several concentric rings of color on the surface of the water.
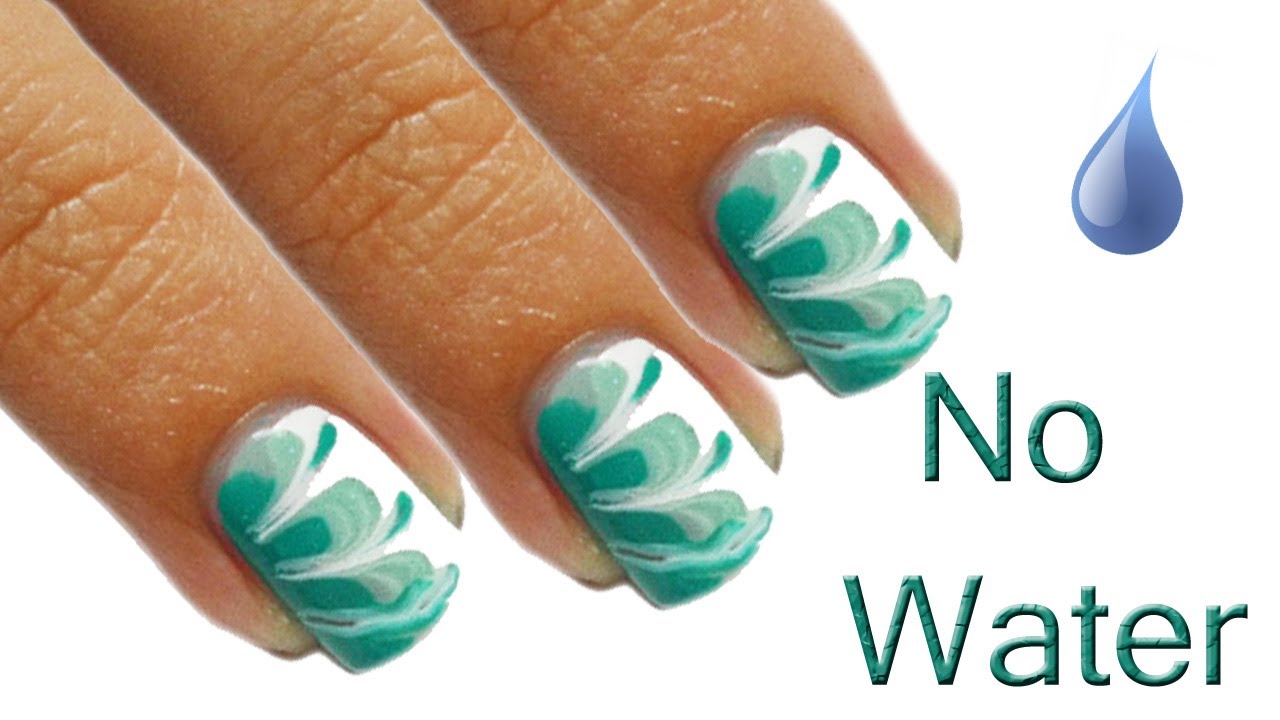
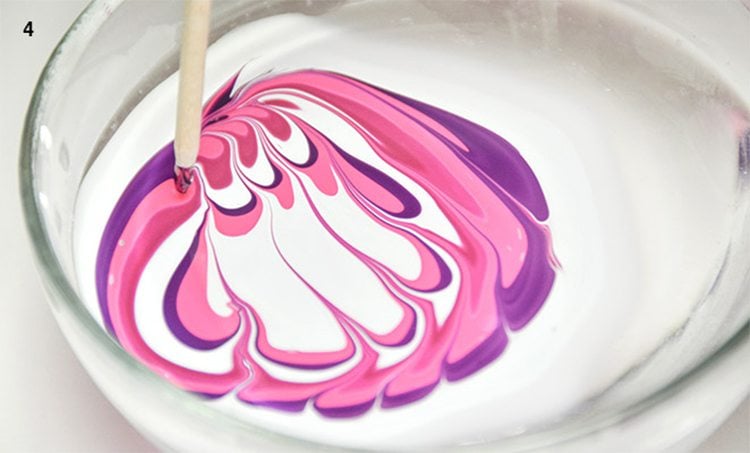
Tip: Use a toothpick to create a design
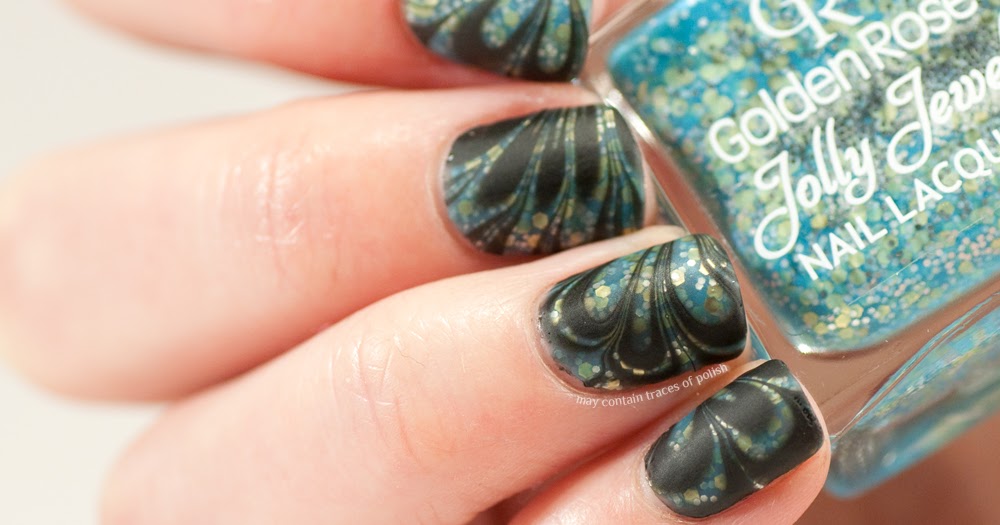
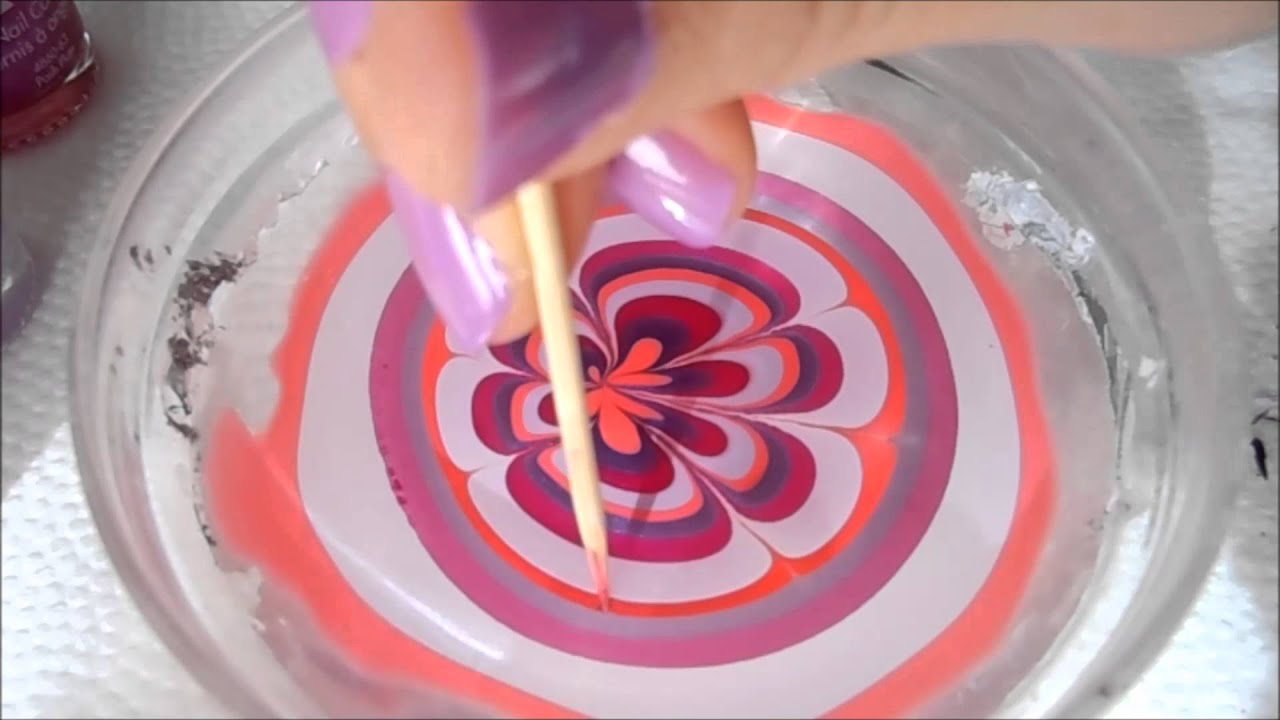 To create a design, take a toothpick and drag it through the rings of color on the surface of the water. This will create a swirled effect.
Be sure to work quickly so the polish doesn't dry before you can create your design.
You can also experiment with different patterns and techniques, such as dragging the toothpick from the center outwards or creating a zigzag pattern.
To create a design, take a toothpick and drag it through the rings of color on the surface of the water. This will create a swirled effect.
Be sure to work quickly so the polish doesn't dry before you can create your design.
You can also experiment with different patterns and techniques, such as dragging the toothpick from the center outwards or creating a zigzag pattern.
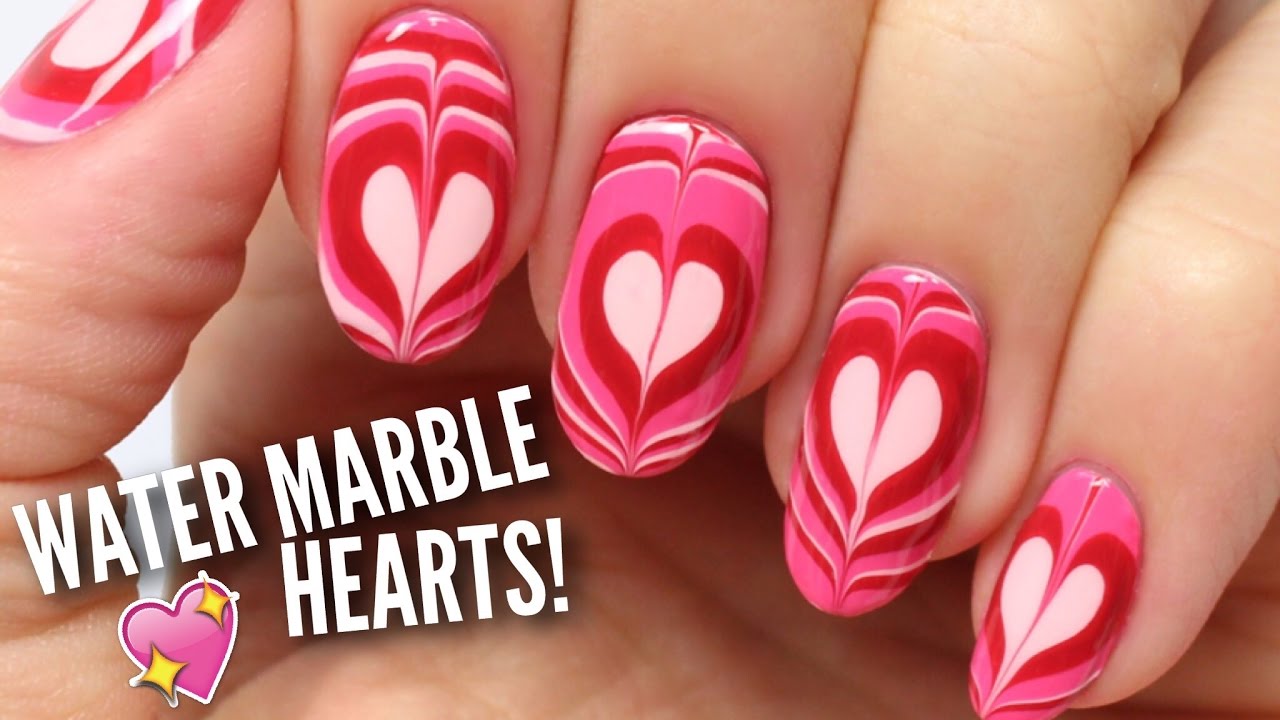
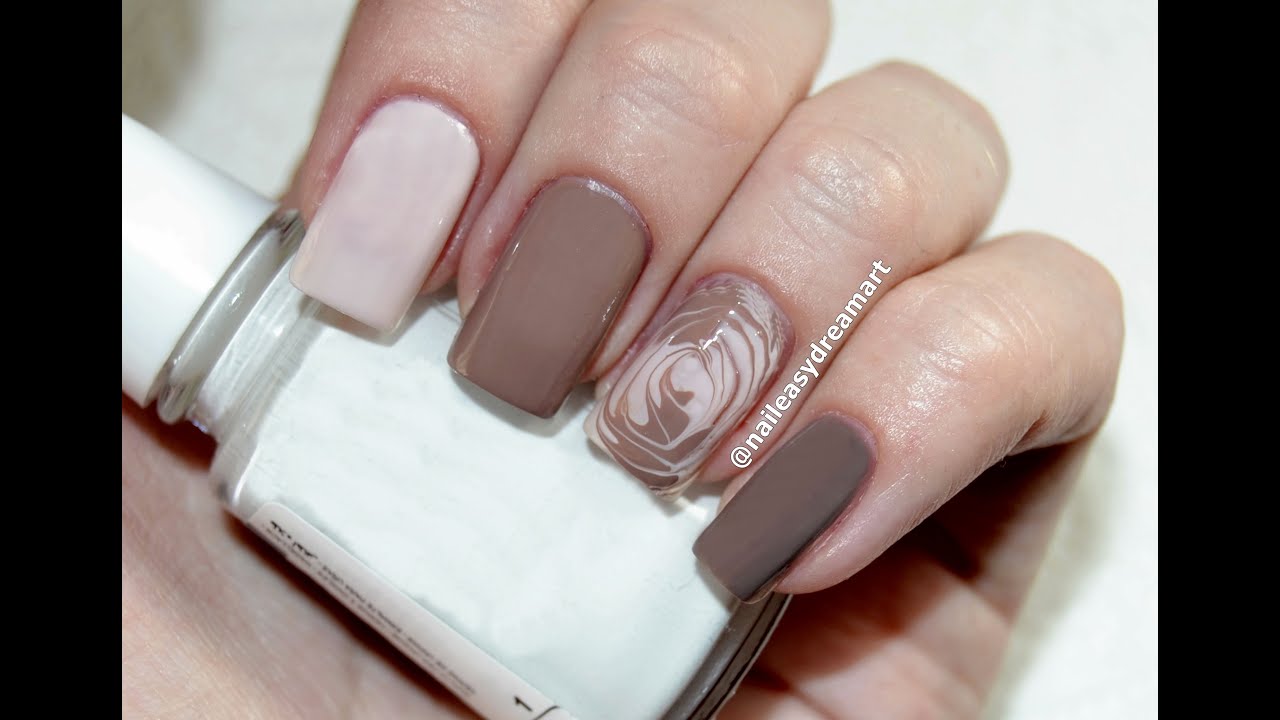
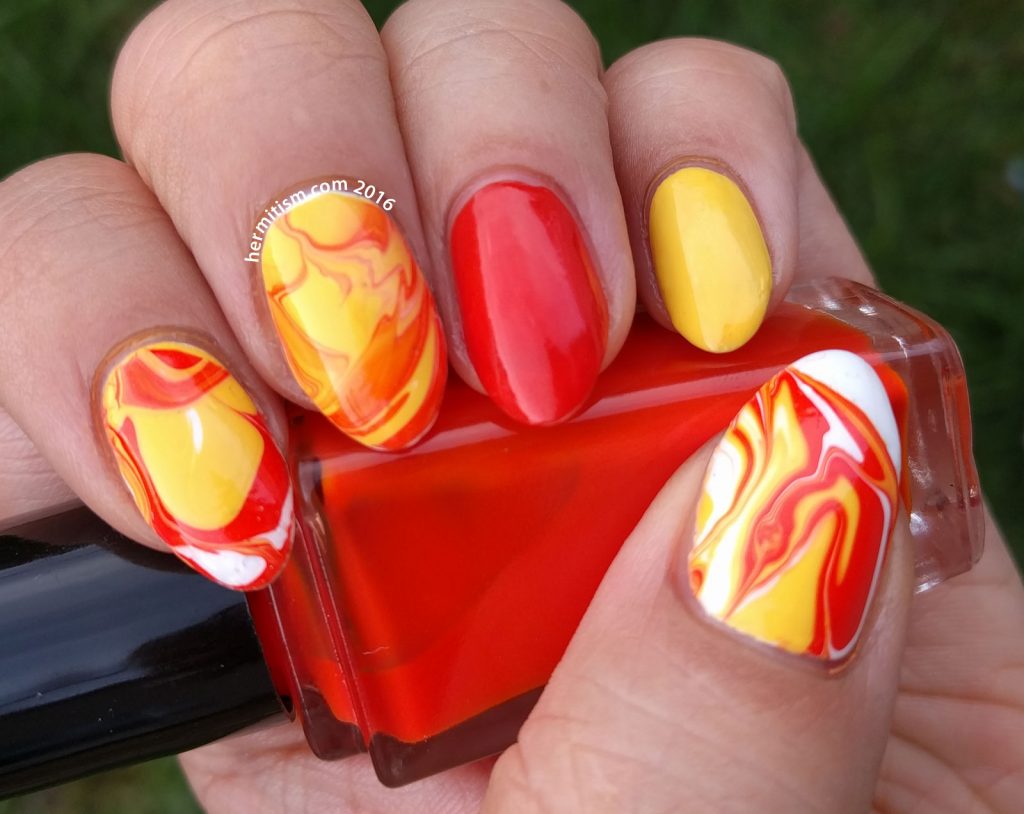
Tip: Create a bullseye design
 For a different effect, you can create a bullseye design by
dropping one color in the center of the rings and then alternating colors around it
. This will create a more defined pattern and can be a great option for beginners.
For a different effect, you can create a bullseye design by
dropping one color in the center of the rings and then alternating colors around it
. This will create a more defined pattern and can be a great option for beginners.
Step 5: Dip and Transfer
 Once you have your desired design, it's time to transfer it onto your nail.
Place a piece of tape around your nail, leaving only the tip exposed
. This will help protect your finger from getting polish on it. Then,
dip your nail into the water at a 45-degree angle
and
hold it under the water for a few seconds
. When you bring your nail out of the water,
use a toothpick to clean up any excess polish on the surface
.
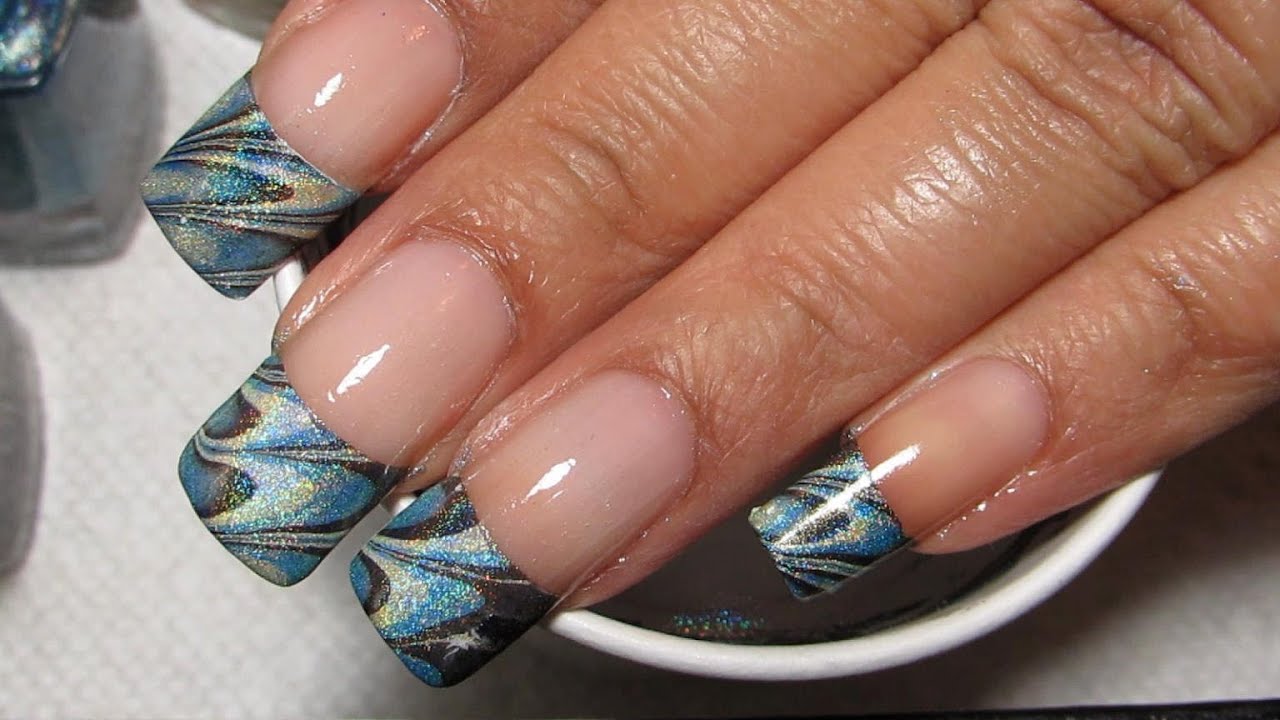
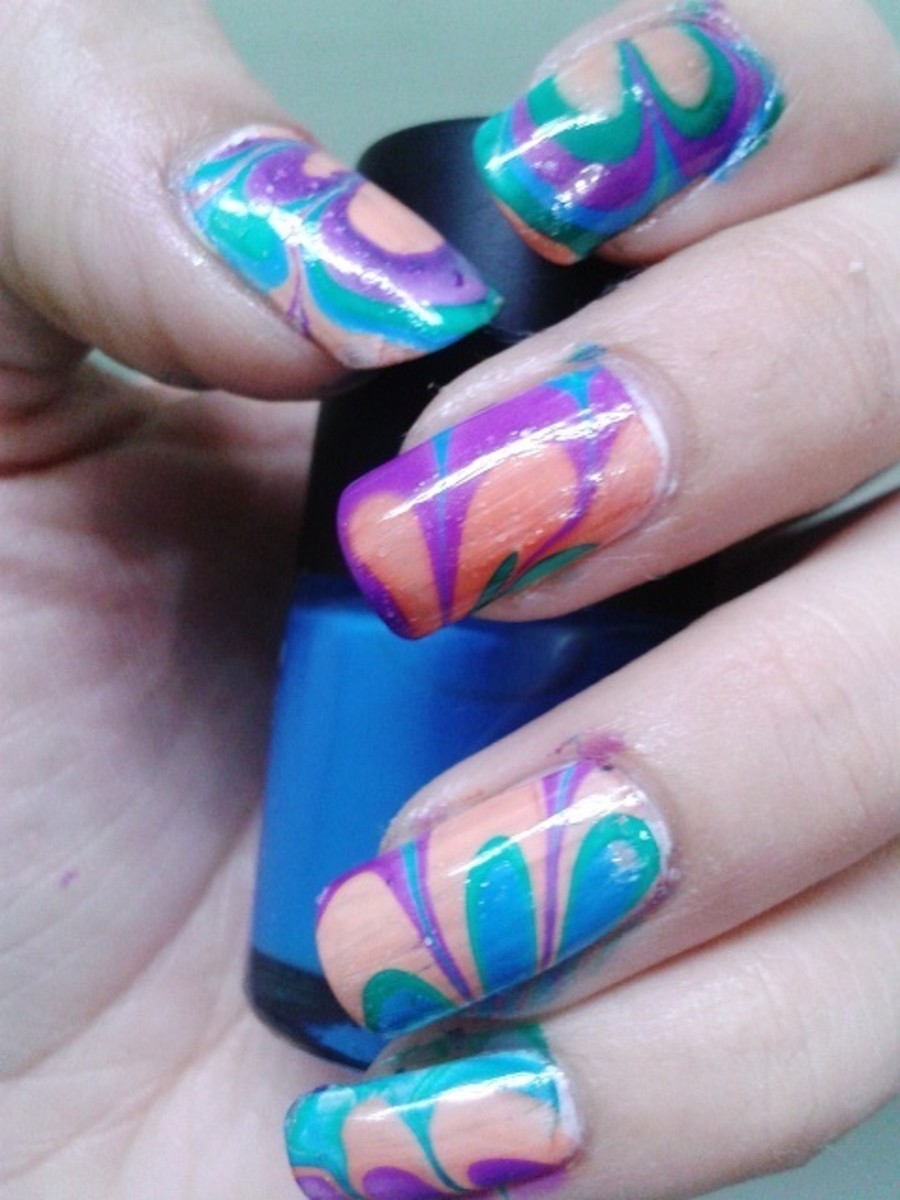
Remove the tape and voila, you have a beautifully marbled nail!
Once you have your desired design, it's time to transfer it onto your nail.
Place a piece of tape around your nail, leaving only the tip exposed
. This will help protect your finger from getting polish on it. Then,
dip your nail into the water at a 45-degree angle
and
hold it under the water for a few seconds
. When you bring your nail out of the water,
use a toothpick to clean up any excess polish on the surface
.
Remove the tape and voila, you have a beautifully marbled nail!
Tip: Use a cotton swab to clean up
 If you have any polish on your skin or cuticles, use a cotton swab dipped in nail polish remover to clean it up before it dries.
Step 6: Seal and Protect
 Once your design is completely dry, apply a clear top coat to seal and protect your masterpiece.
Be sure to cover the entire nail, including the tips, to prevent chipping.
Let it dry completely before doing any activities that may damage your nails, such as washing dishes or gardening.
Once your design is completely dry, apply a clear top coat to seal and protect your masterpiece.
Be sure to cover the entire nail, including the tips, to prevent chipping.
Let it dry completely before doing any activities that may damage your nails, such as washing dishes or gardening.
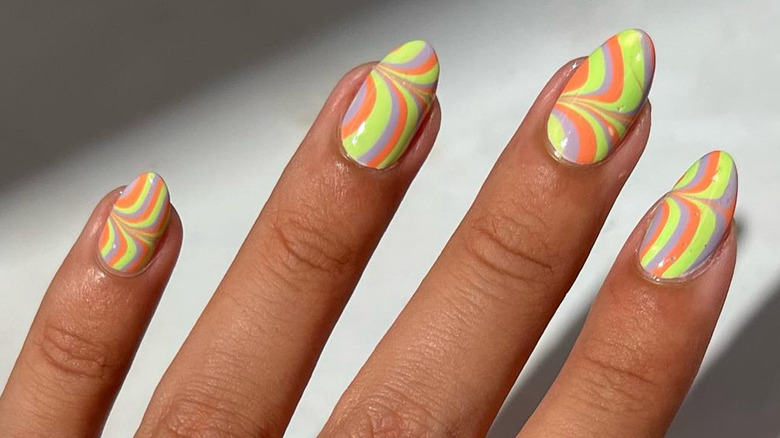
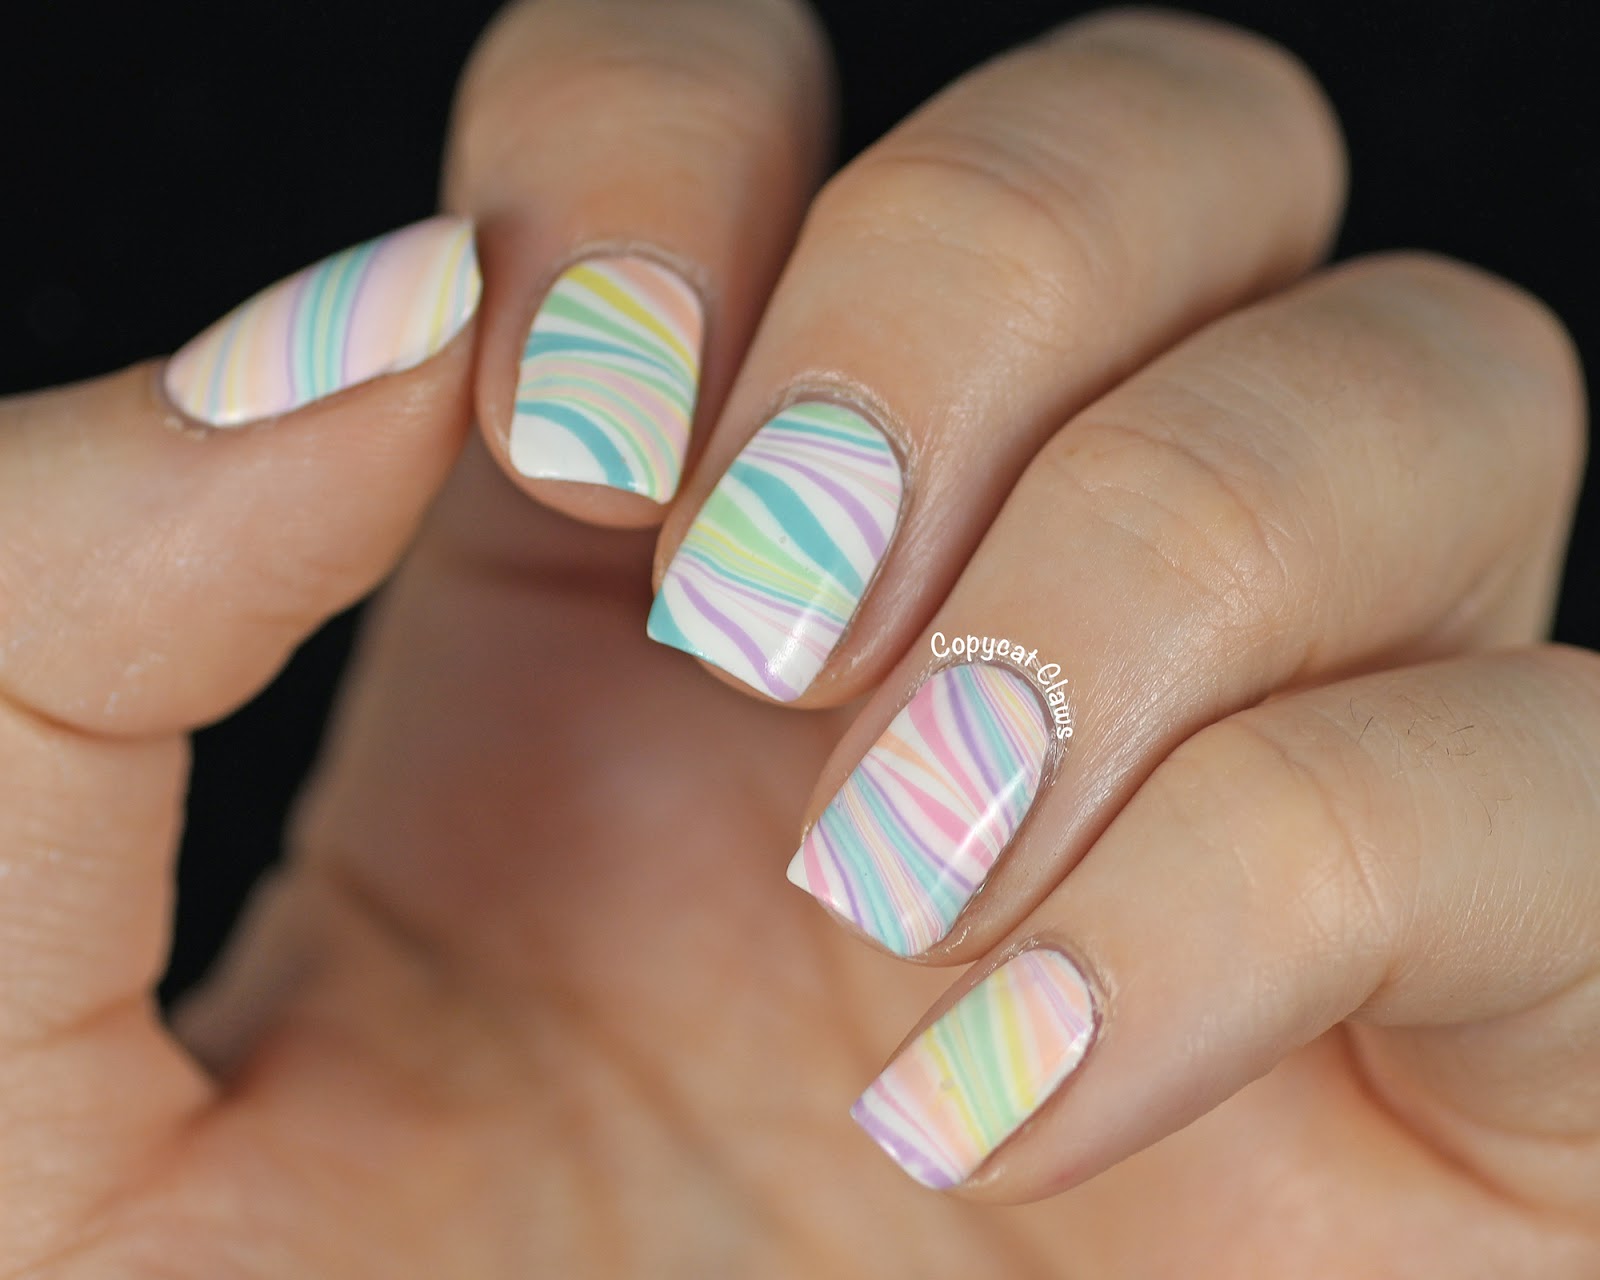
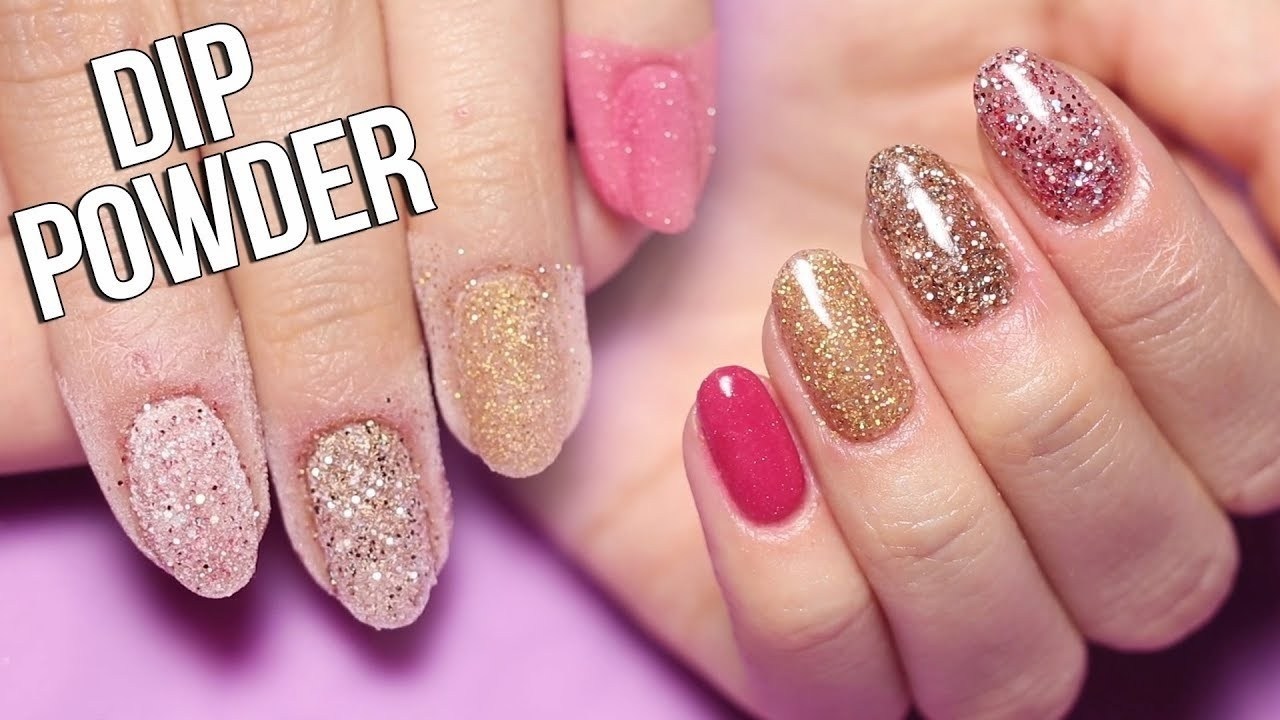
Tip: Experiment with different color combinations
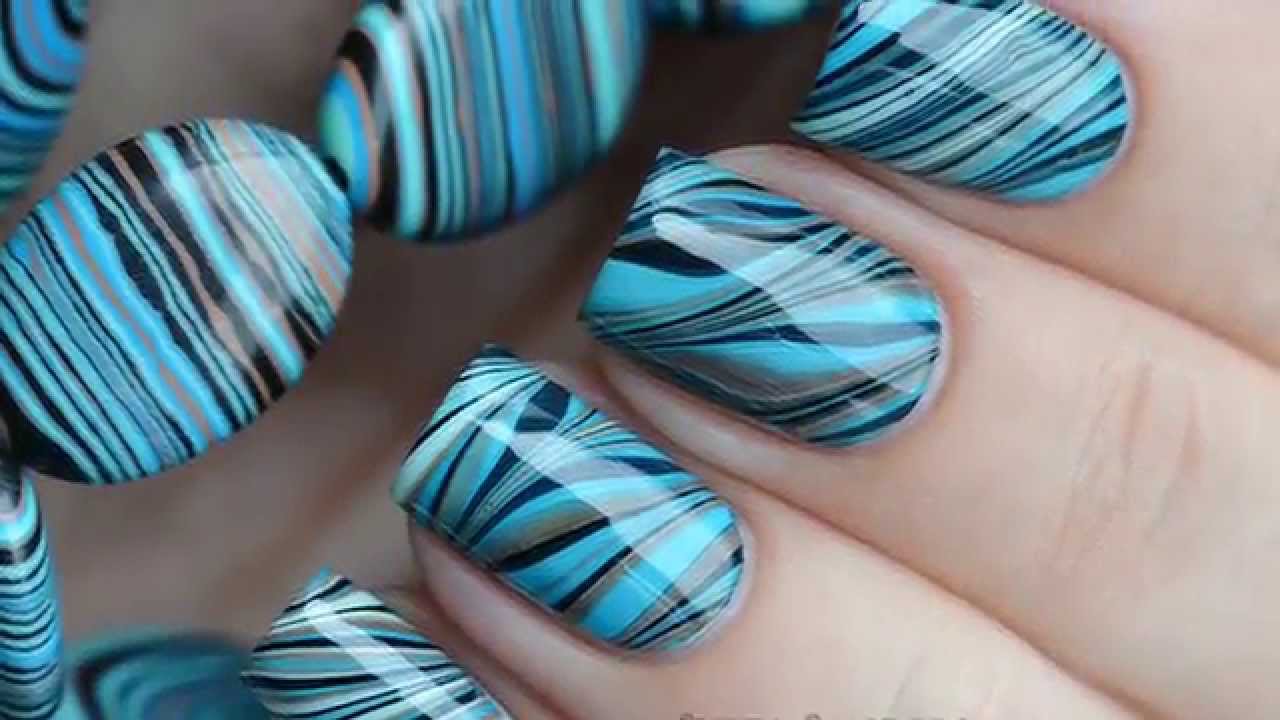 Water marble nail art is all about creativity and experimentation. Don't be afraid to try out different color combinations and designs to create unique and eye-catching nails. With practice, you'll become a pro at this fun and beautiful nail art technique.


