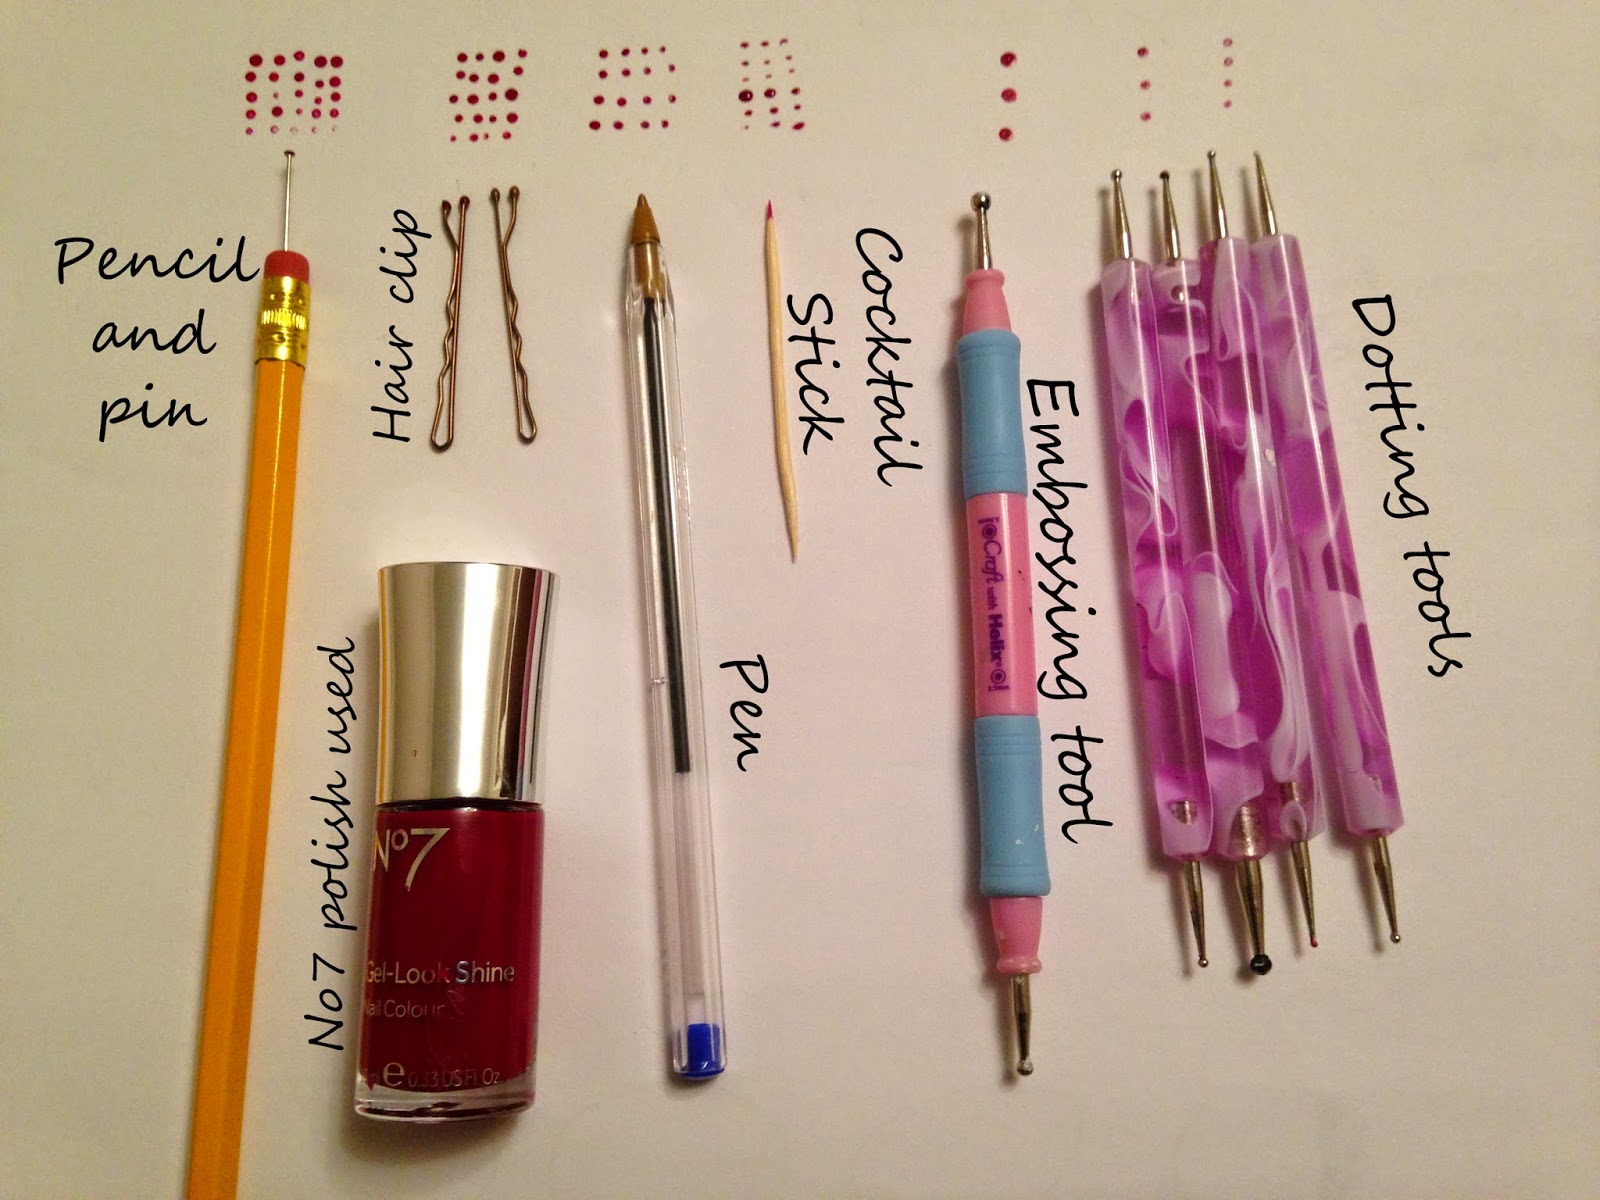
Before you can create an awesome Batman nail art design, you'll need to gather all the necessary supplies. This includes a black nail polish, yellow nail polish, white nail polish, a fine detail brush, a dotting tool, and a top coat. You can also use nail polish remover and cotton swabs for any clean-up. Make sure all your supplies are within reach before starting the design.1. Gather Supplies


1. Gather Supplies


Before applying any polish, it's important to prep your nails. This means trimming and shaping them to your desired length and filing away any rough edges. You can also use a cuticle pusher to push back your cuticles for a clean canvas to work on. Make sure to wash your hands and dry them thoroughly to remove any oils or residue that may affect the polish application.2. Prep Your Nails


2. Prep Your Nails


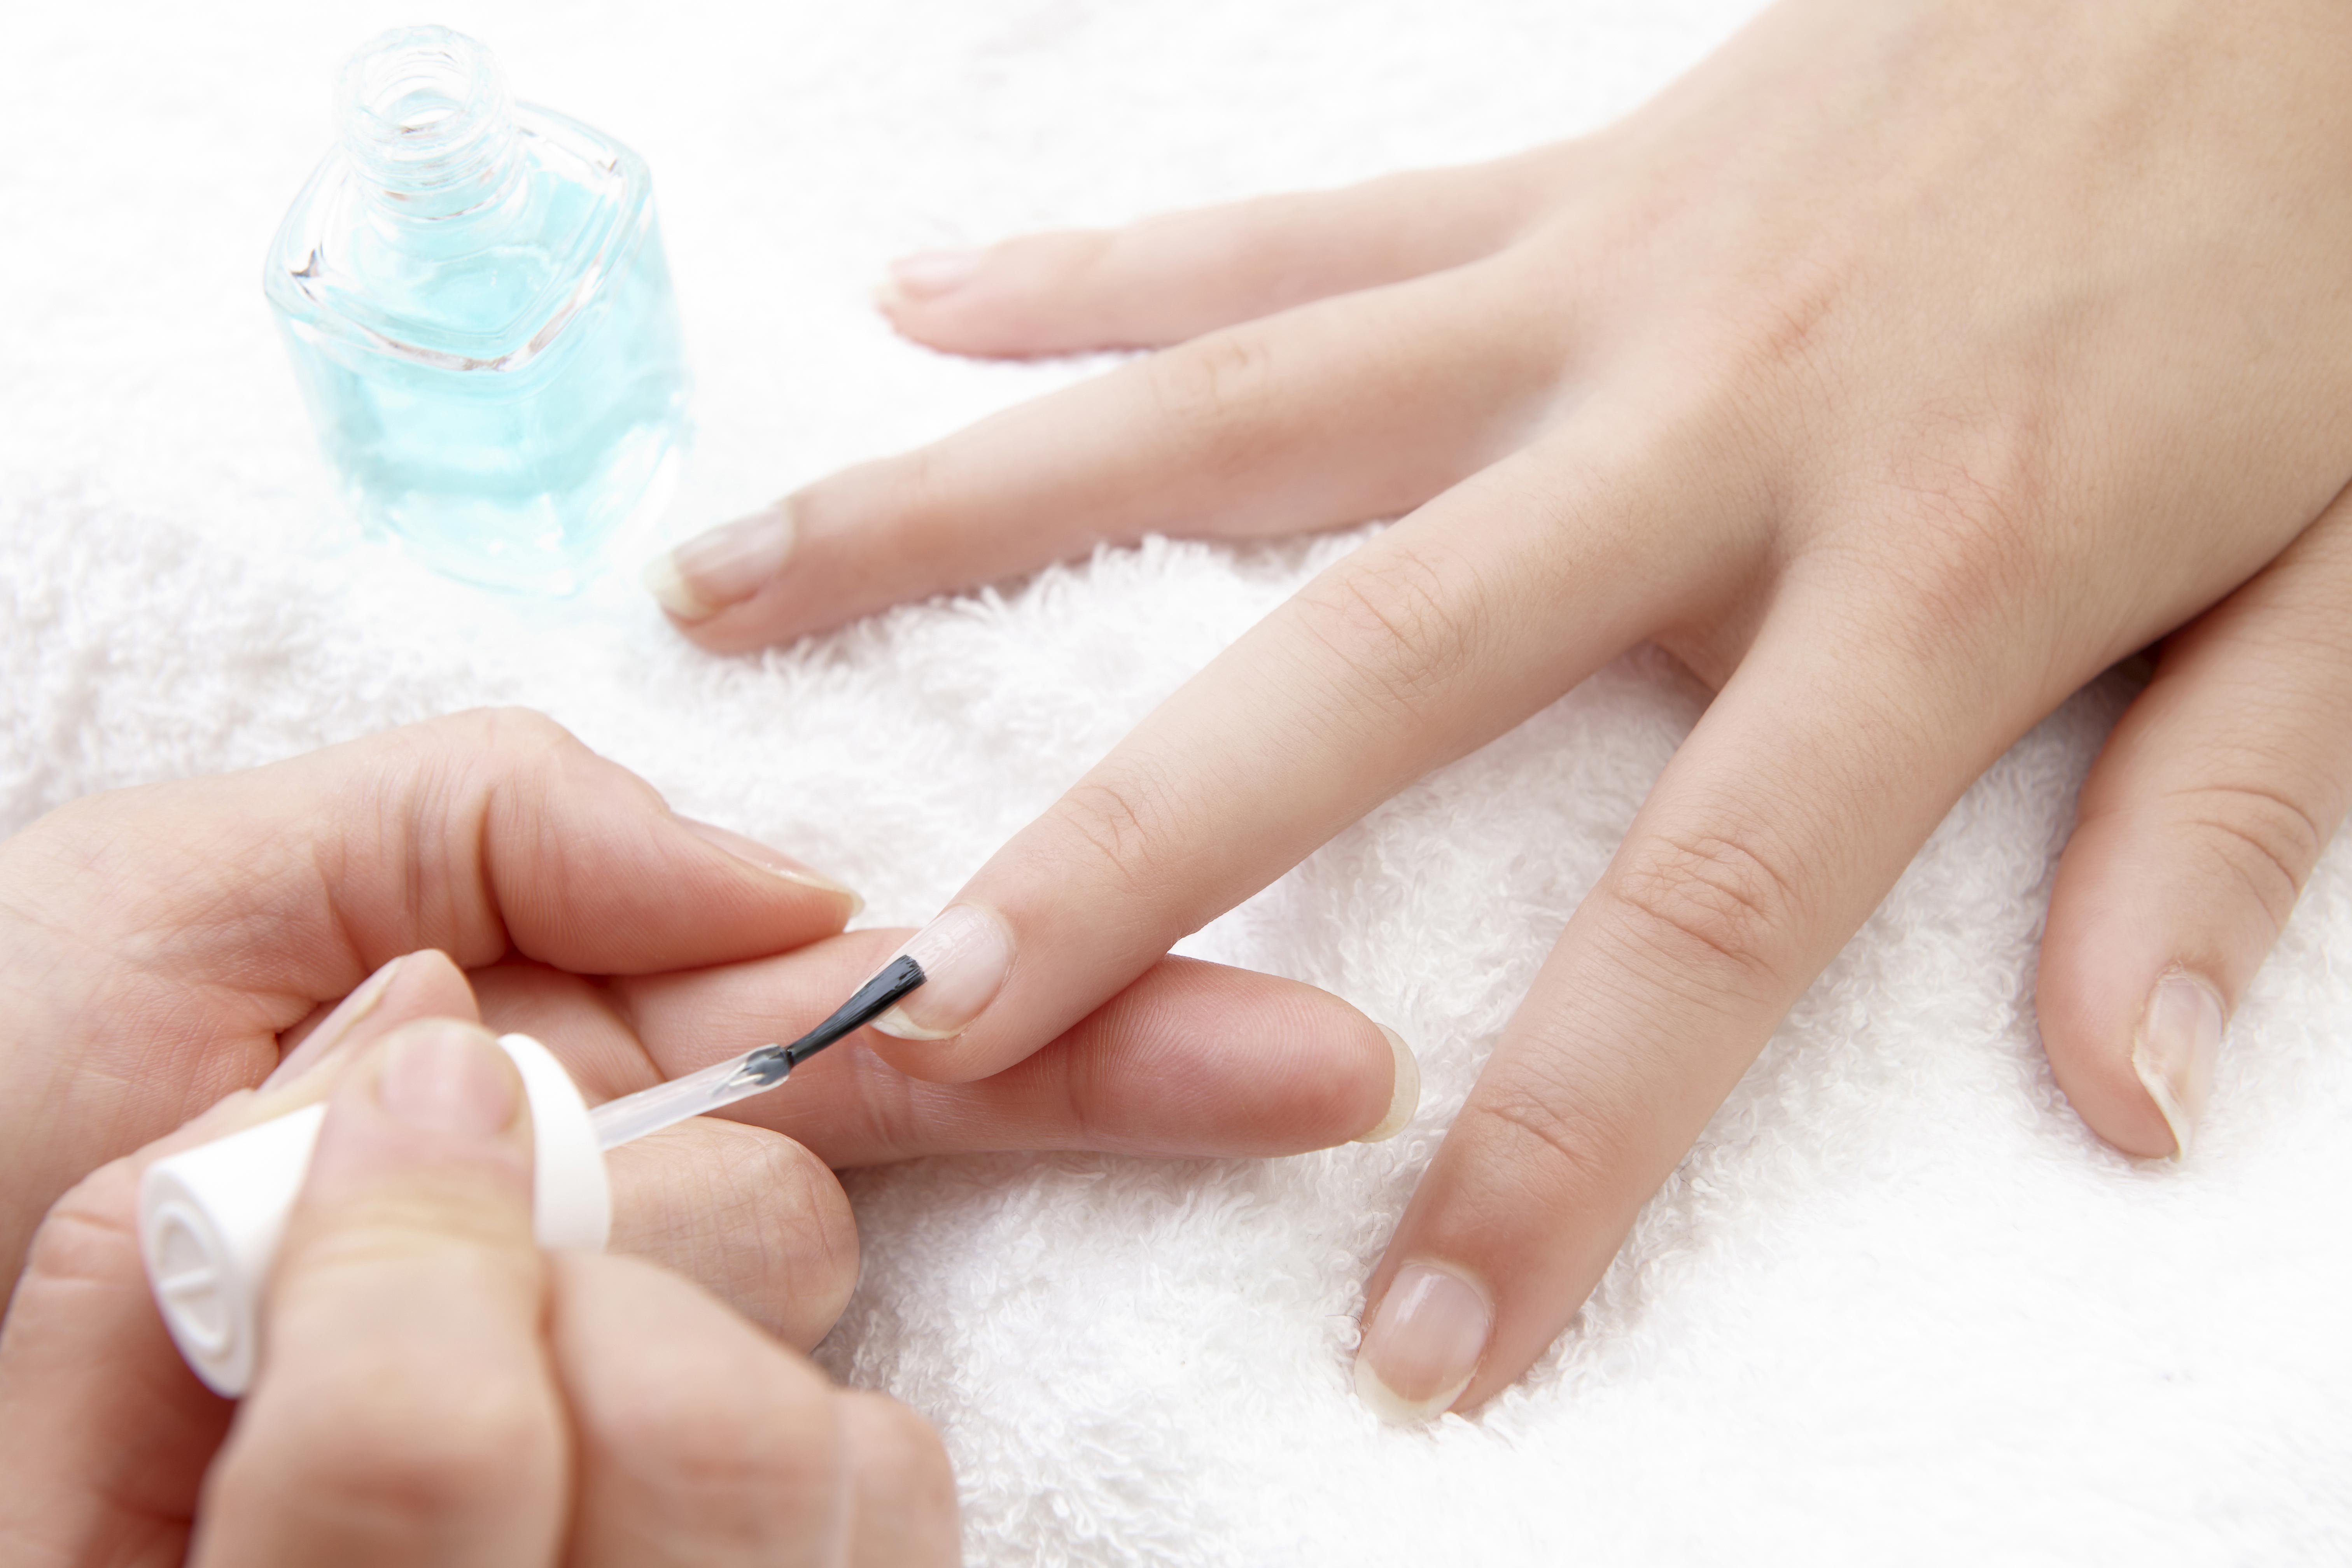
Applying a base coat is an important step in any nail art design. It not only helps the polish adhere better to your nails, but it also protects them from staining. Apply a thin layer of base coat and let it dry completely before moving on to the next step.3. Apply Base Coat


3. Apply Base Coat


Using your black nail polish, paint all your nails in two coats for a solid black base. Make sure to let the first coat dry completely before applying the second coat. This will ensure an even and opaque coverage. Allow the polish to dry completely before moving on to the next step.4. Paint Nails Black


4. Paint Nails Black


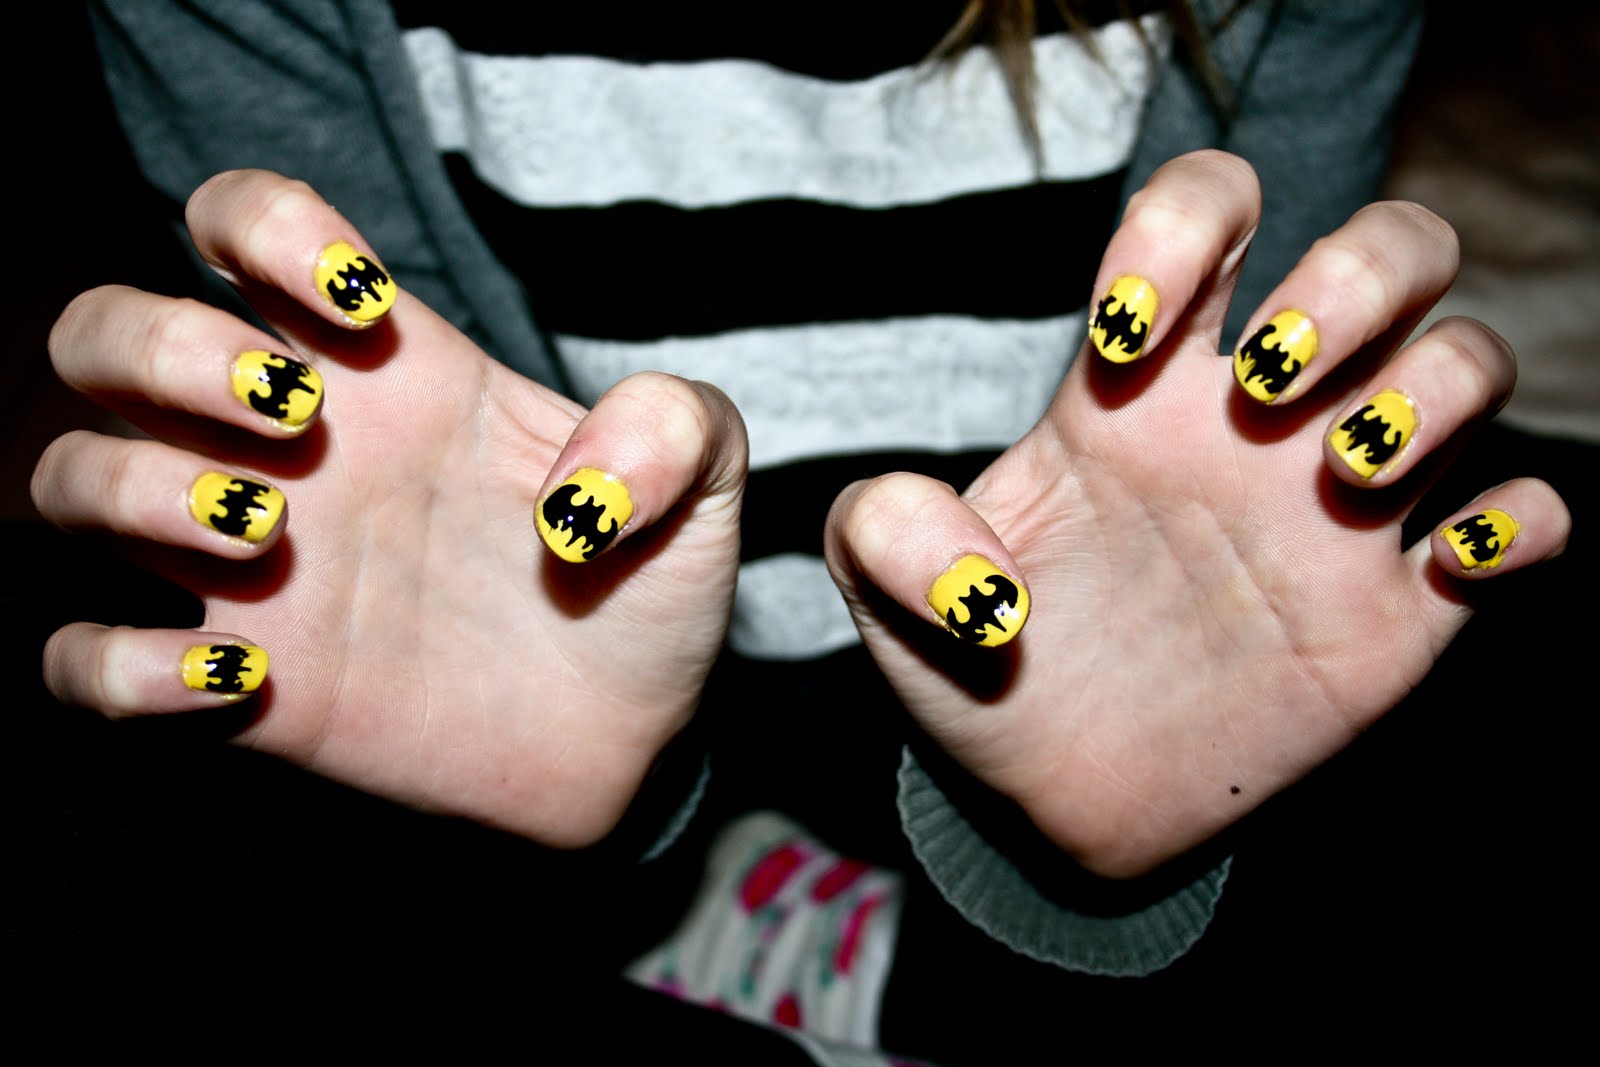

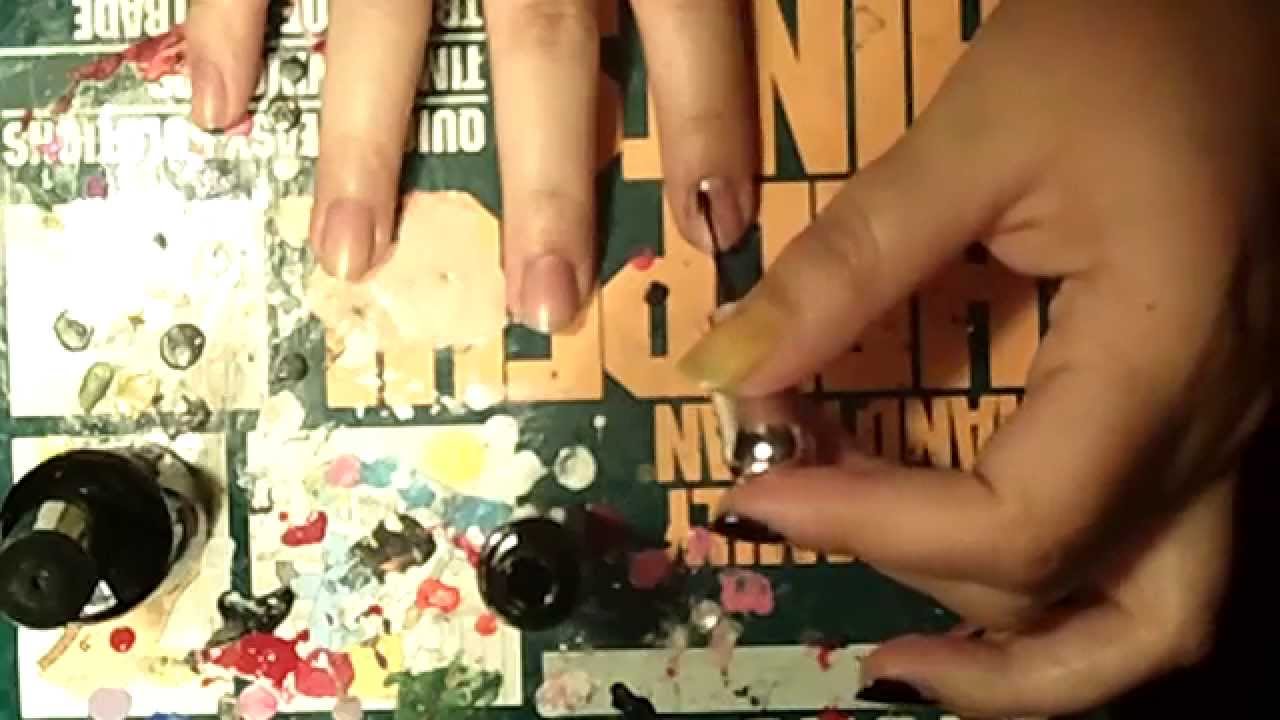
This is the fun part! Using your fine detail brush and yellow nail polish, carefully draw the iconic Batman logo on your nails. Start with the bat wings on both sides and then fill in the center with yellow. You can also use a small piece of tape or a stencil to help guide your lines if needed. Let the design dry completely before proceeding.5. Create Batman Logo

5. Create Batman Logo


To make your Batman logo stand out even more, use your fine detail brush and white nail polish to add small details such as the bat ears and the outline of the logo. This will add dimension and make your design pop. You can also use a toothpick or a small brush if you don't have a fine detail brush. Let the design dry completely.6. Add Details

6. Add Details
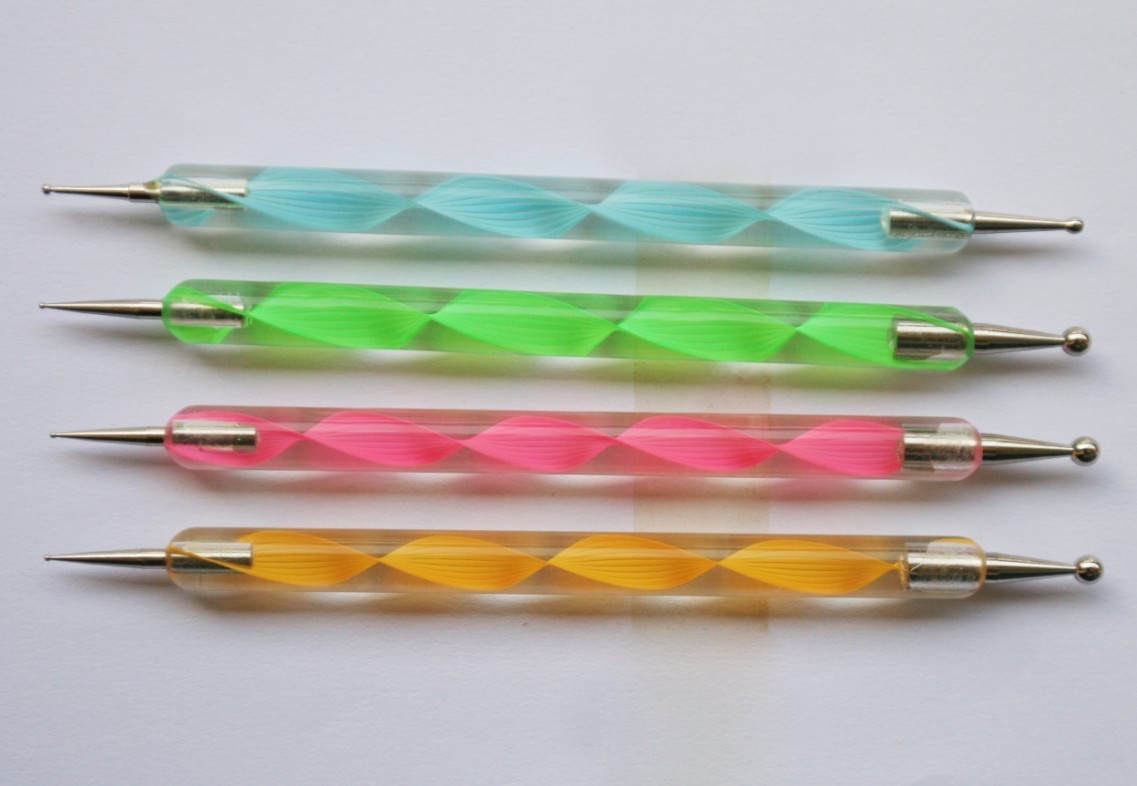
To add some extra flair to your Batman nail art, use a dotting tool and white nail polish to create polka dots on your nails. You can also use the dotting tool to create small stars or other Batman-inspired designs. Get creative and have fun with it!7. Use a Dotting Tool
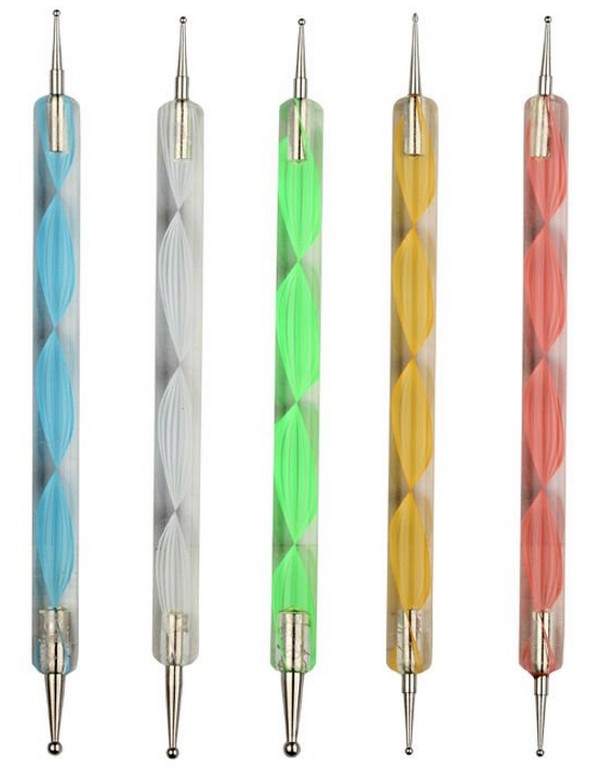

7. Use a Dotting Tool
Once your design is completely dry, it's time to seal it with a top coat. This will not only add shine to your nails but also help protect your design from chipping. Apply a generous layer of top coat and make sure to seal the edges of your nails as well. Let the top coat dry completely.8. Apply Top Coat
8. Apply Top Coat
After applying the top coat, you may notice some excess polish around the edges of your nails. Use a cotton swab and some nail polish remover to clean up any mistakes or smudges. This will give your nails a clean and polished finish.9. Clean Up Edges


9. Clean Up Edges
Finally, allow your nails to dry completely before going about your day. It's important to be patient to avoid any smudges or smears. Once your nails are completely dry, you can show off your amazing Batman nail art to all your friends and enjoy your awesome design!10. Let Dry and Enjoy!
10. Let Dry and Enjoy!
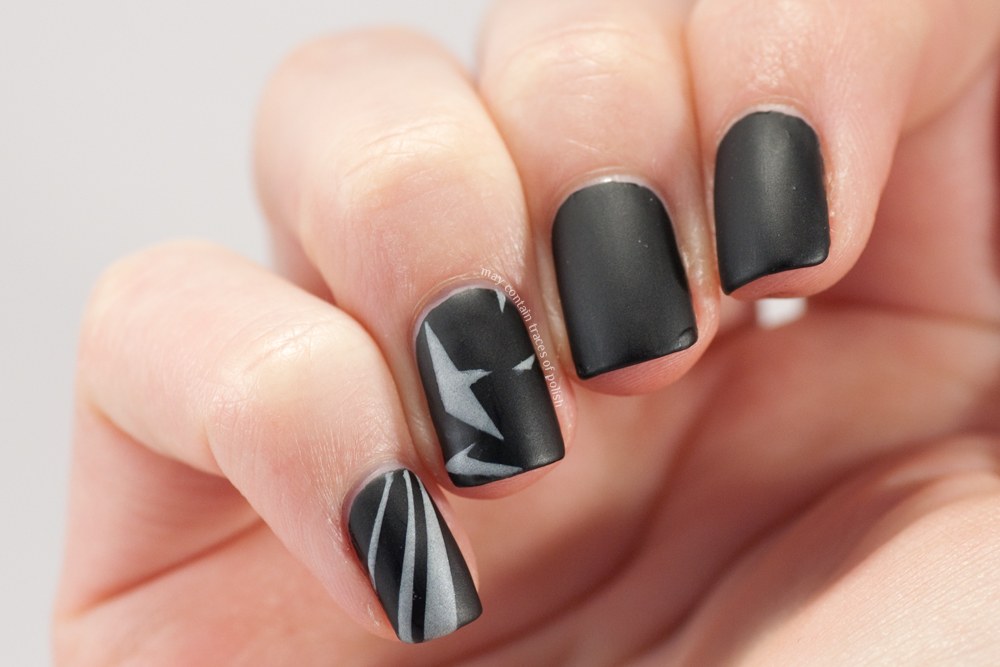
Step 4: Add Detail and Depth to Your Design
 Once you have the base of your Batman nail art, it's time to add some details and depth to really bring your design to life. You can use a thin brush and black nail polish to carefully outline the shape of Batman's mask, ears, and eyes. This will give your design a more defined and polished look. You can also use a white nail polish to add highlights and shine to certain areas, such as the eyes or the Bat symbol. Don't be afraid to get creative and add your own personal touch to the design. You can also use different shades of blue or gray to create shadows and give your design more dimension. Remember to take your time and be patient, as adding these small details can make a big difference in the overall look of your Batman nail art.
For a more advanced design, you can also add tiny bats flying around the design or incorporate other iconic elements from the Batman universe.
Have fun with it and let your imagination run wild! Once you're happy with the design, let the polish dry completely before moving on to the next step.
Once you have the base of your Batman nail art, it's time to add some details and depth to really bring your design to life. You can use a thin brush and black nail polish to carefully outline the shape of Batman's mask, ears, and eyes. This will give your design a more defined and polished look. You can also use a white nail polish to add highlights and shine to certain areas, such as the eyes or the Bat symbol. Don't be afraid to get creative and add your own personal touch to the design. You can also use different shades of blue or gray to create shadows and give your design more dimension. Remember to take your time and be patient, as adding these small details can make a big difference in the overall look of your Batman nail art.
For a more advanced design, you can also add tiny bats flying around the design or incorporate other iconic elements from the Batman universe.
Have fun with it and let your imagination run wild! Once you're happy with the design, let the polish dry completely before moving on to the next step.


