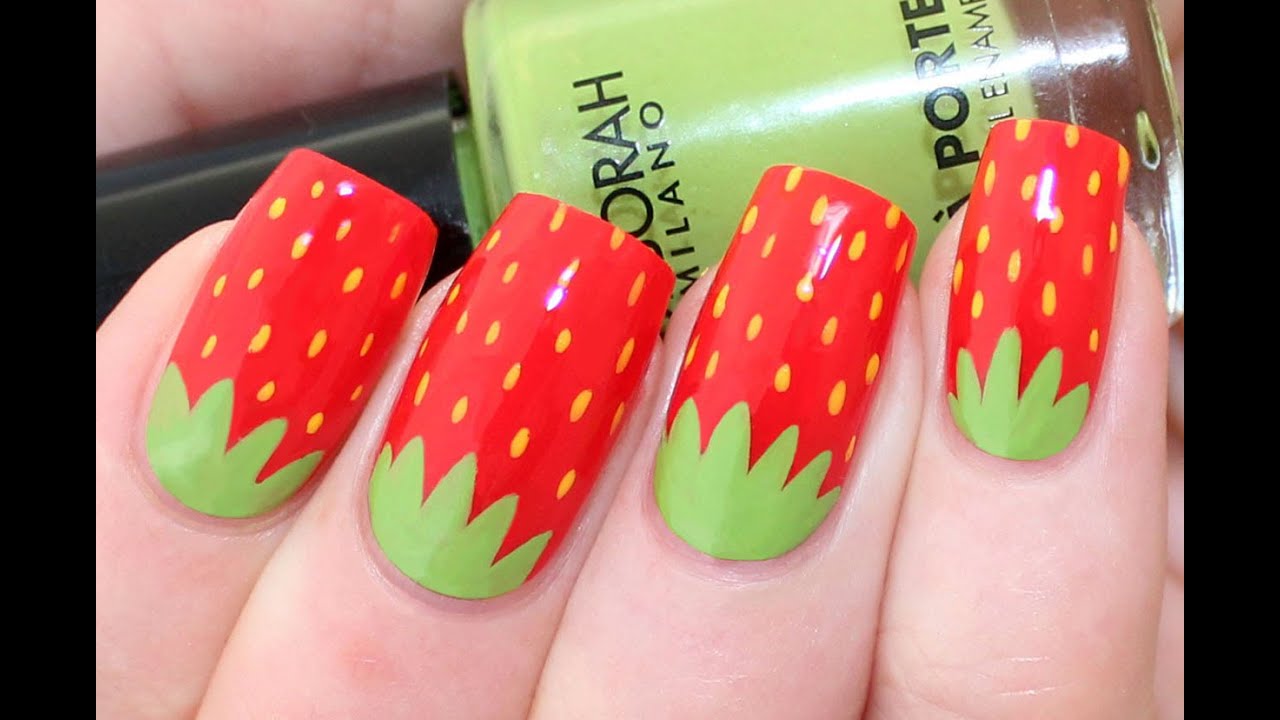
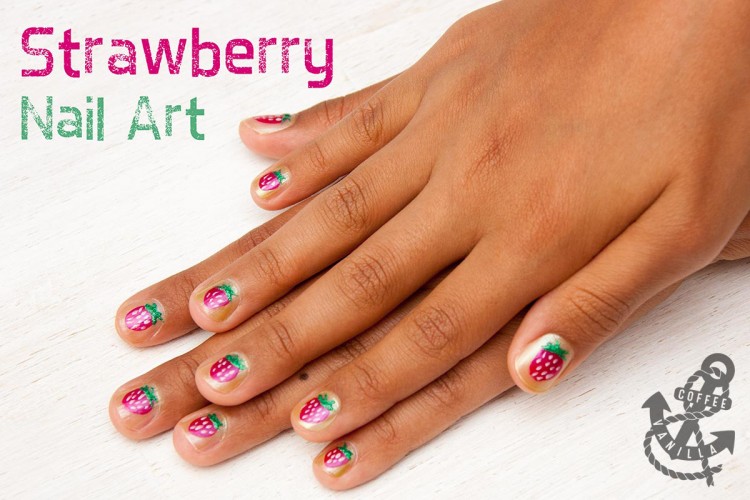
Are you looking for a fun and playful nail art design? Look no further than strawberry nail art! This cute and summery design is perfect for anyone looking to add a pop of color to their nails. Follow our step by step tutorial to create your own strawberry nail art.Strawberry Nail Art Tutorial


Strawberry Nail Art Tutorial


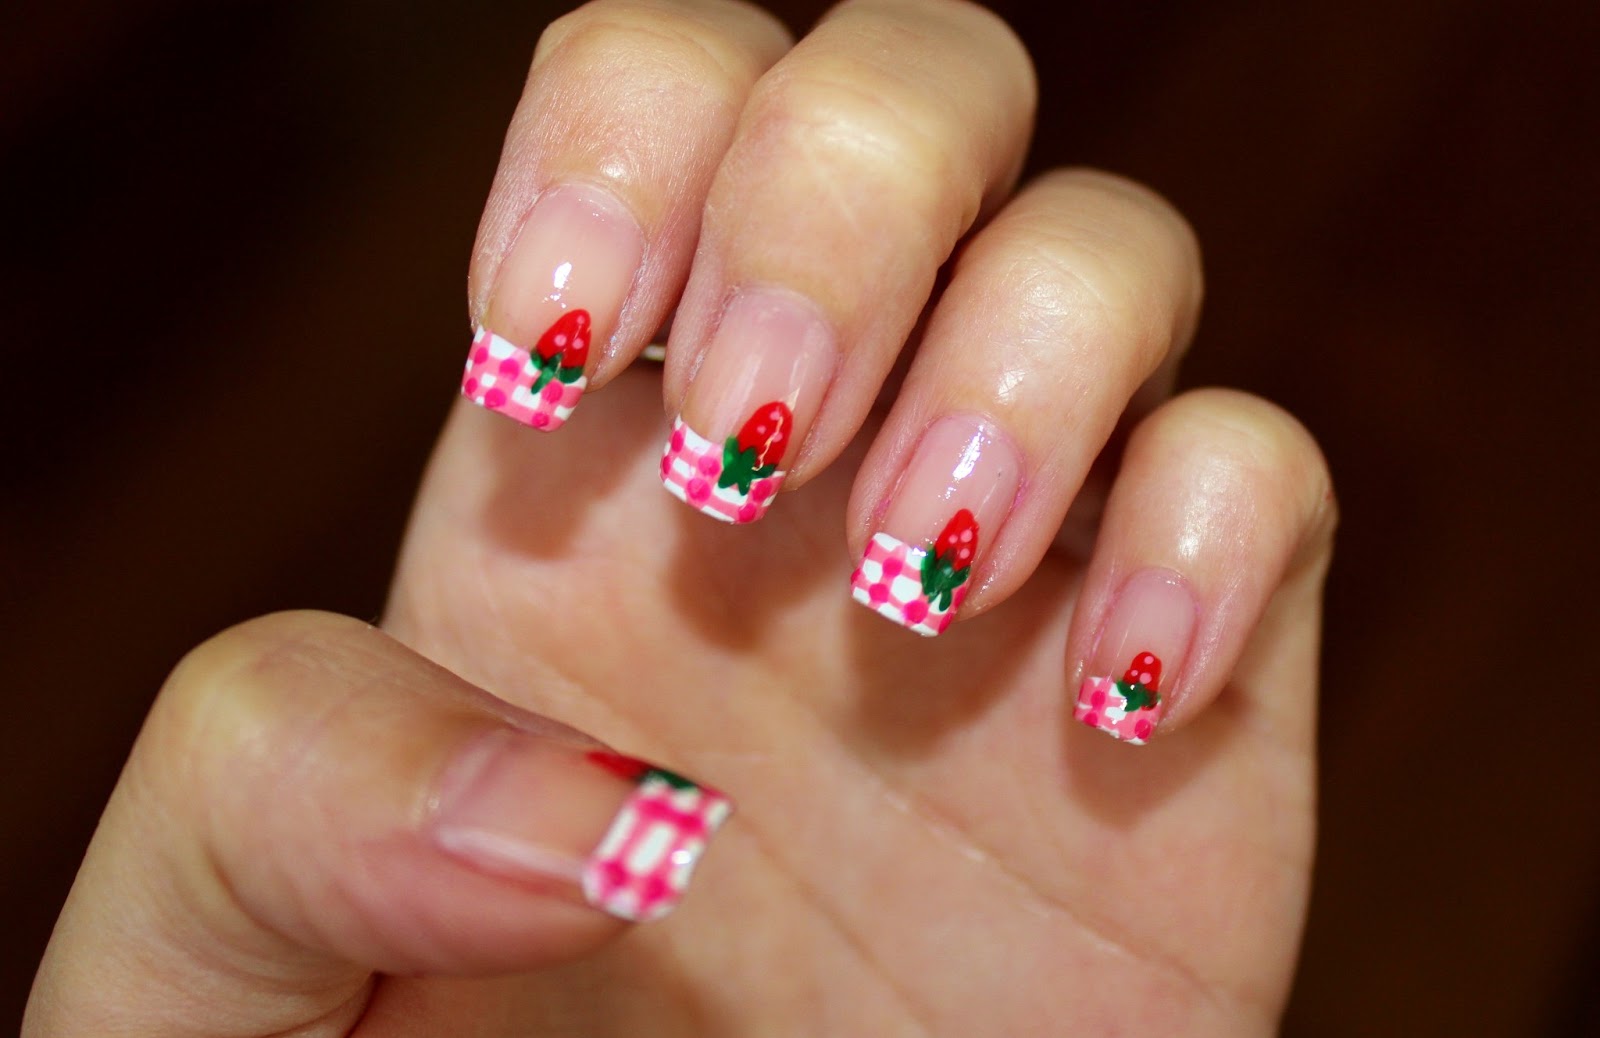
If you're new to nail art, don't worry! This strawberry design is easy to recreate and doesn't require any special tools or skills. All you need is some nail polish in the right colors and a steady hand. Let's get started!Easy Strawberry Nail Art


Easy Strawberry Nail Art


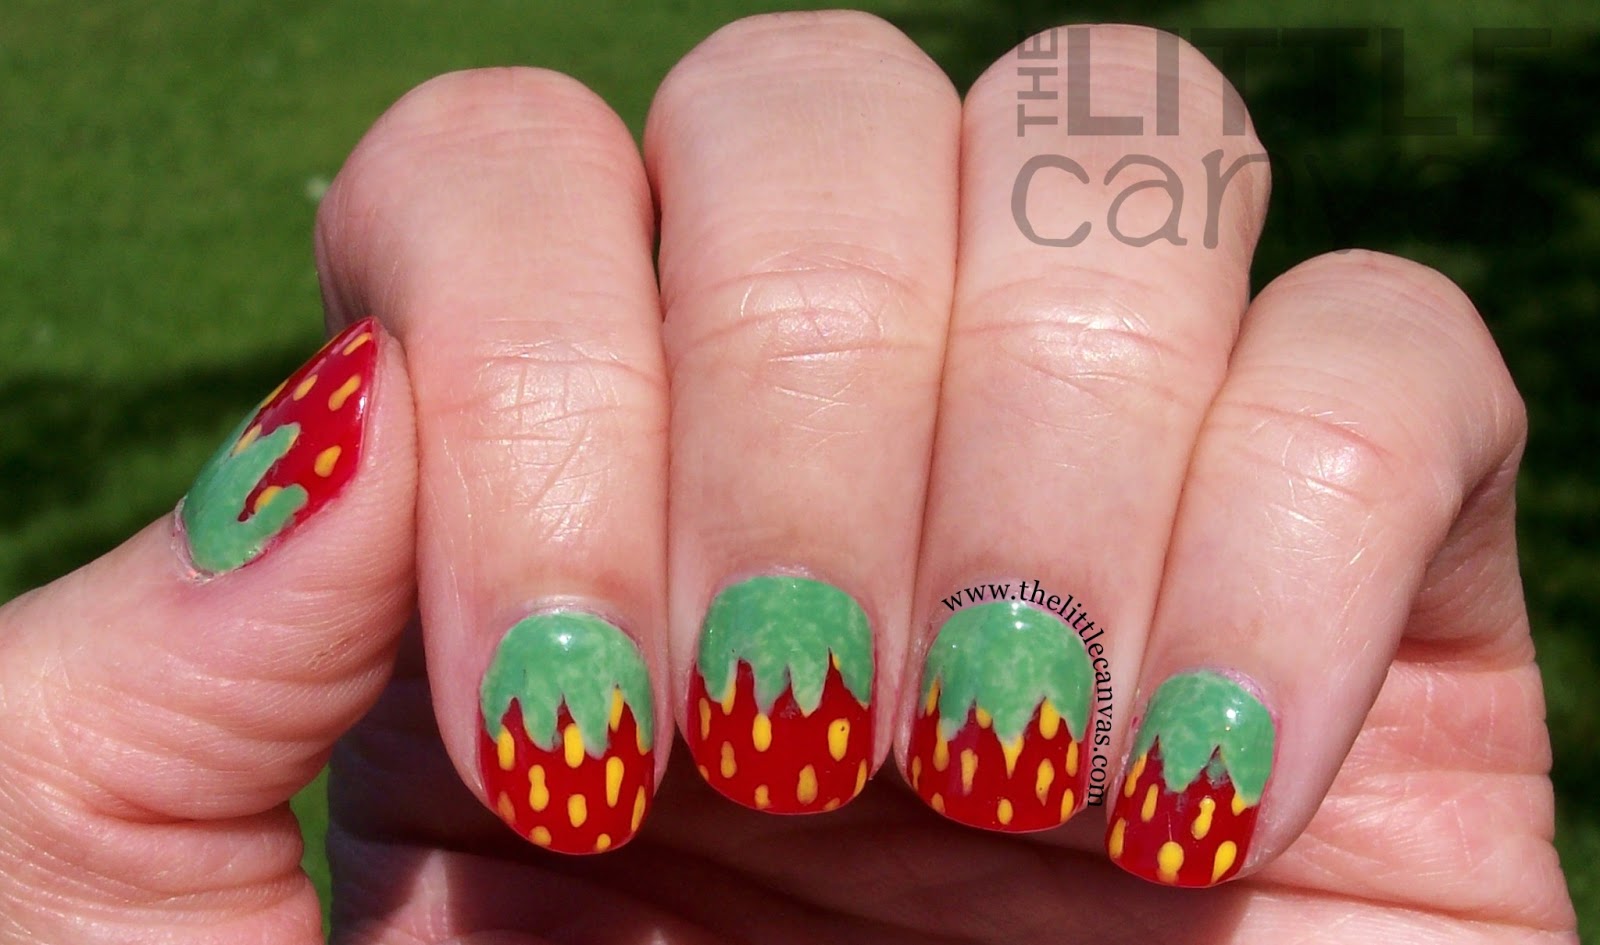
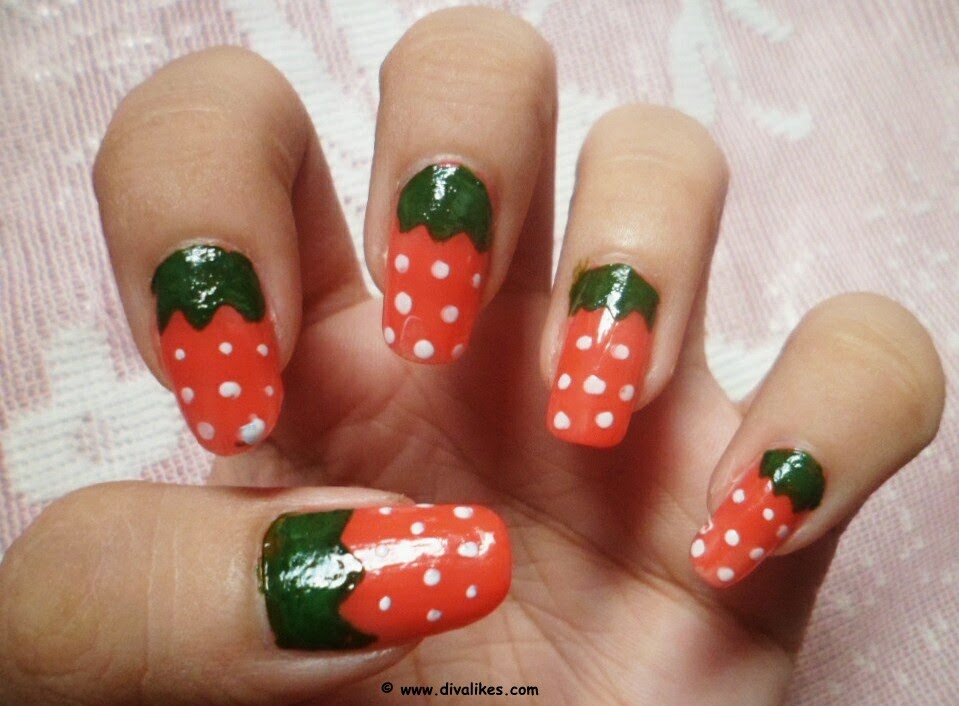
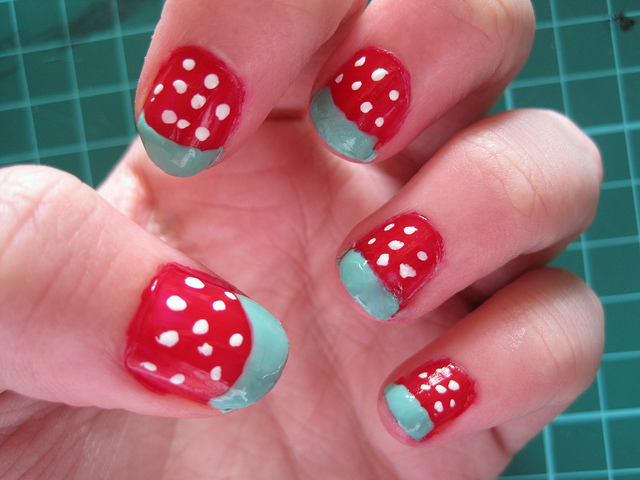
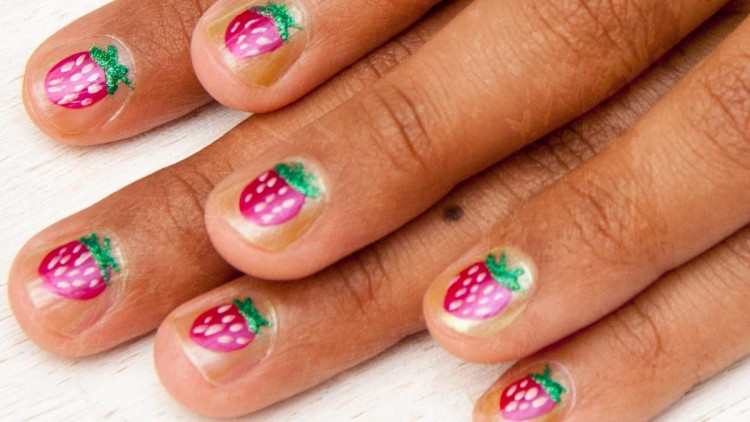
To start, you'll need to gather your supplies. You'll need a base coat, a red nail polish, a green nail polish, a white nail polish, a small brush or toothpick, and a top coat. Once you have everything ready, follow these steps: Step 1: Begin by applying a base coat to protect your nails and help the polish last longer. Step 2: Paint your nails with a bright red polish. You may need two coats to get a solid, opaque color. Step 3: Using a small brush or toothpick, create small white dots on your nails. These will be the seeds of the strawberry. Step 4: Take a green polish and carefully paint a small stem at the top of the nail. Step 5: To add some dimension, use the green polish to create thin lines coming out from the stem to represent the leaves of the strawberry. Step 6: Finish off with a top coat to seal in your design and add shine. Congratulations, you now have a cute and easy strawberry nail art design!Step by Step Strawberry Nail Art


Step by Step Strawberry Nail Art


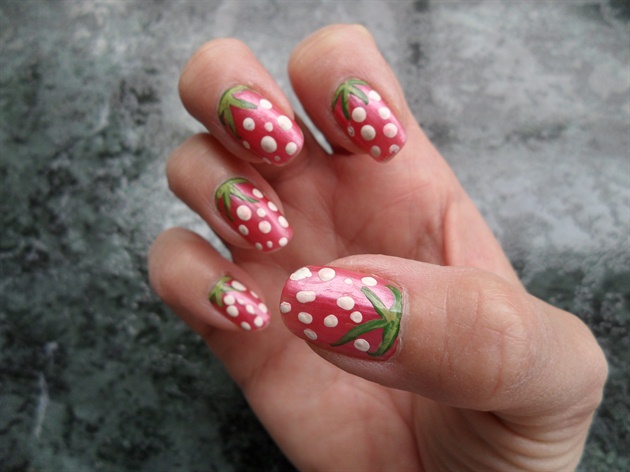
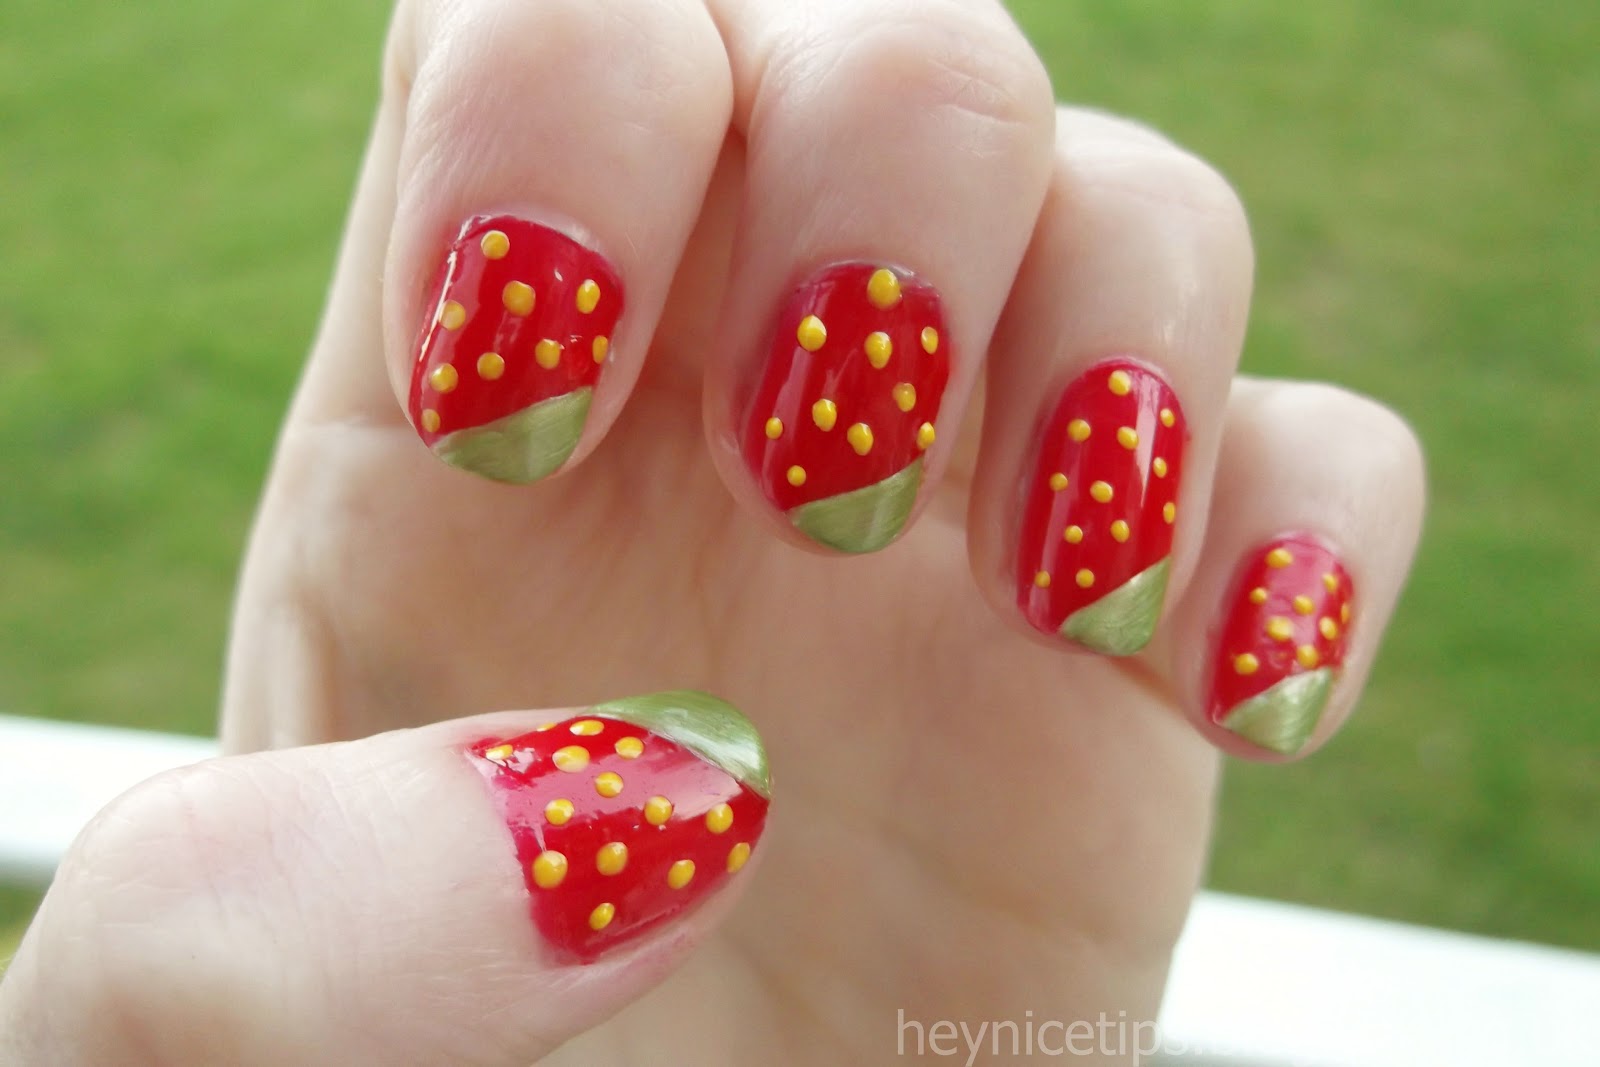
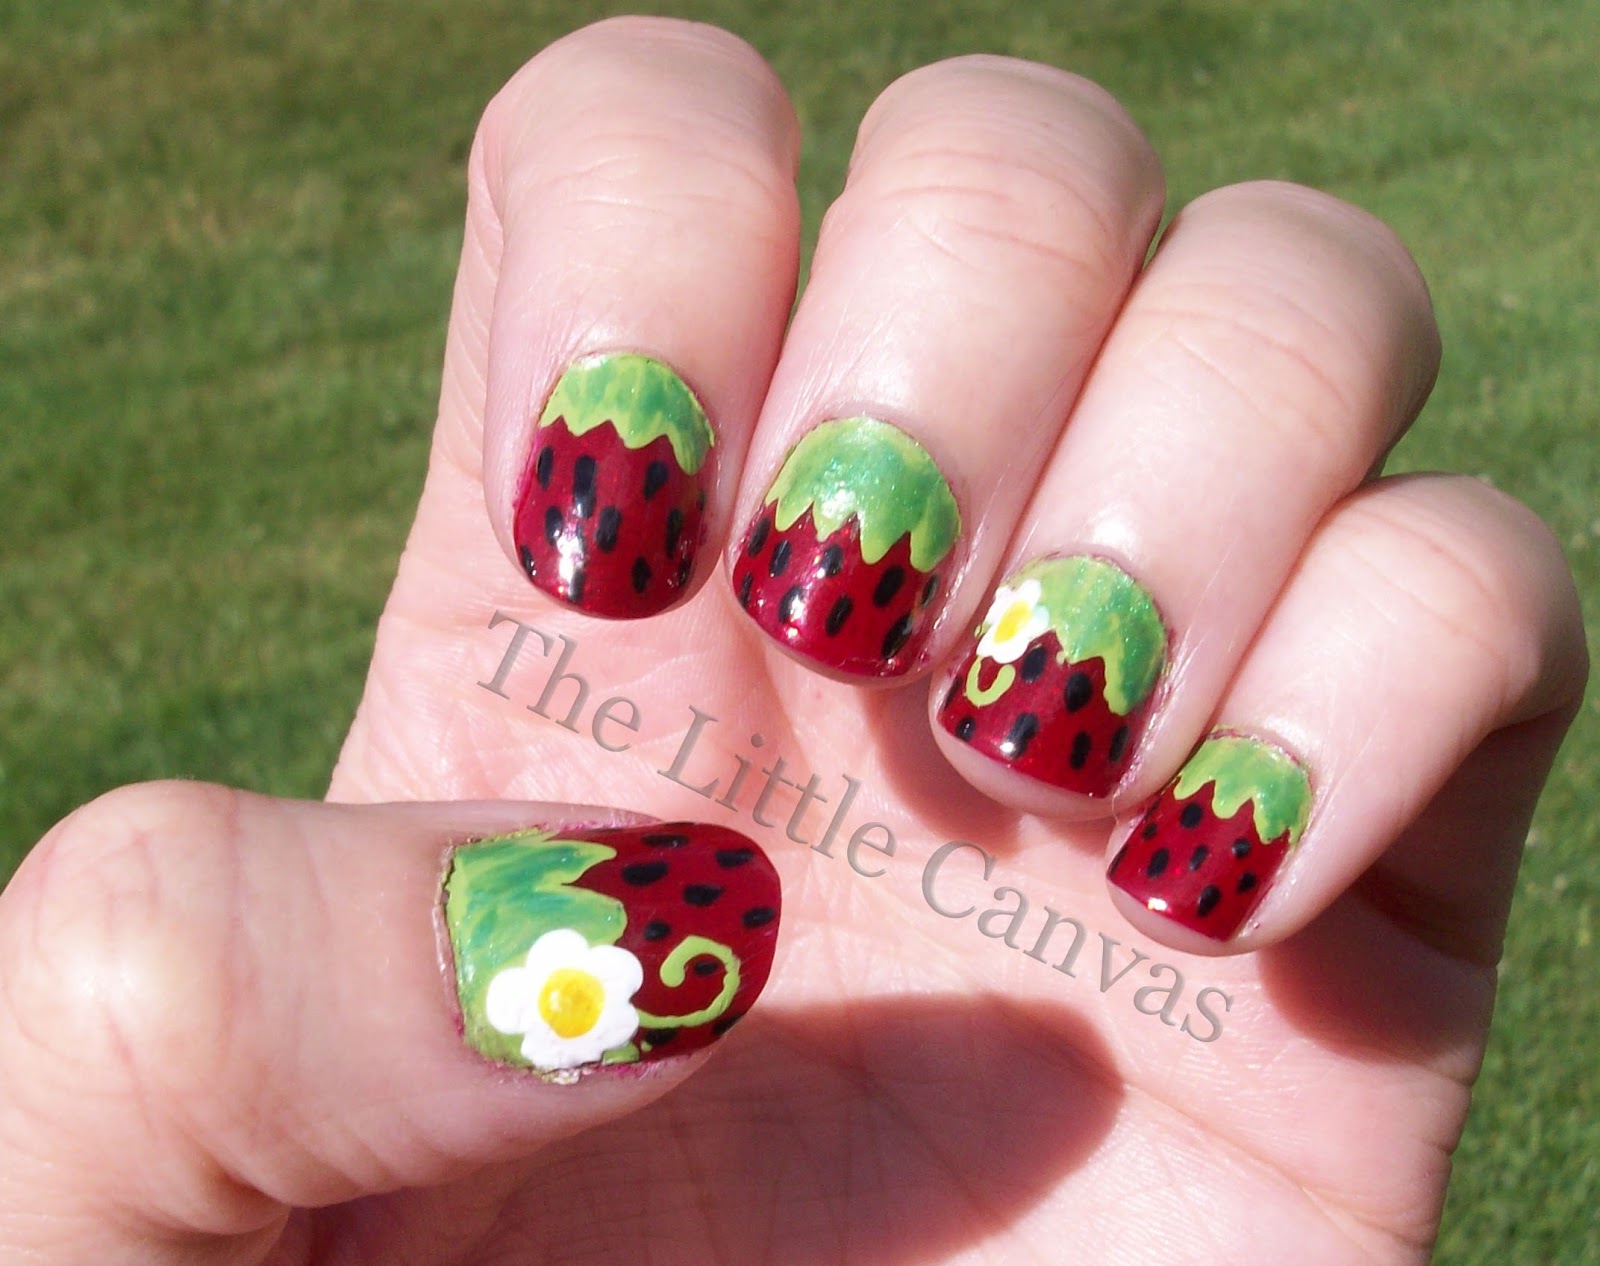
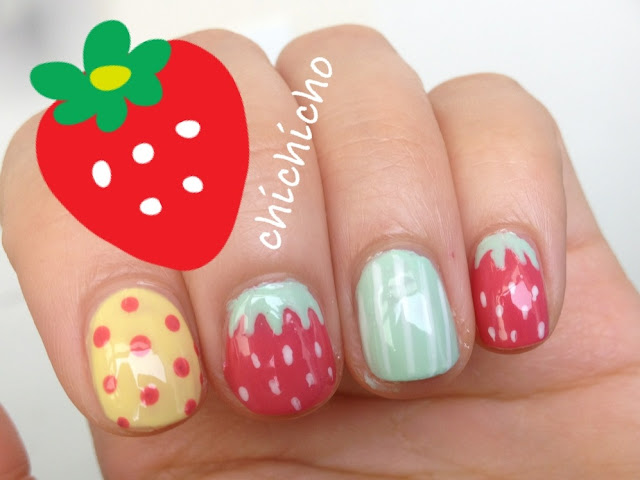
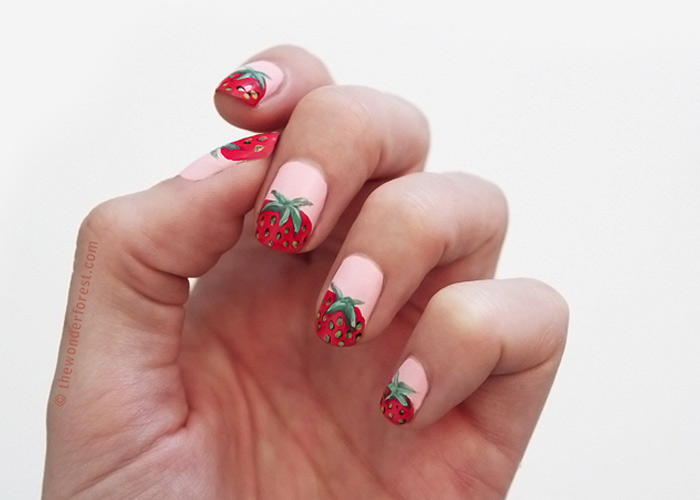
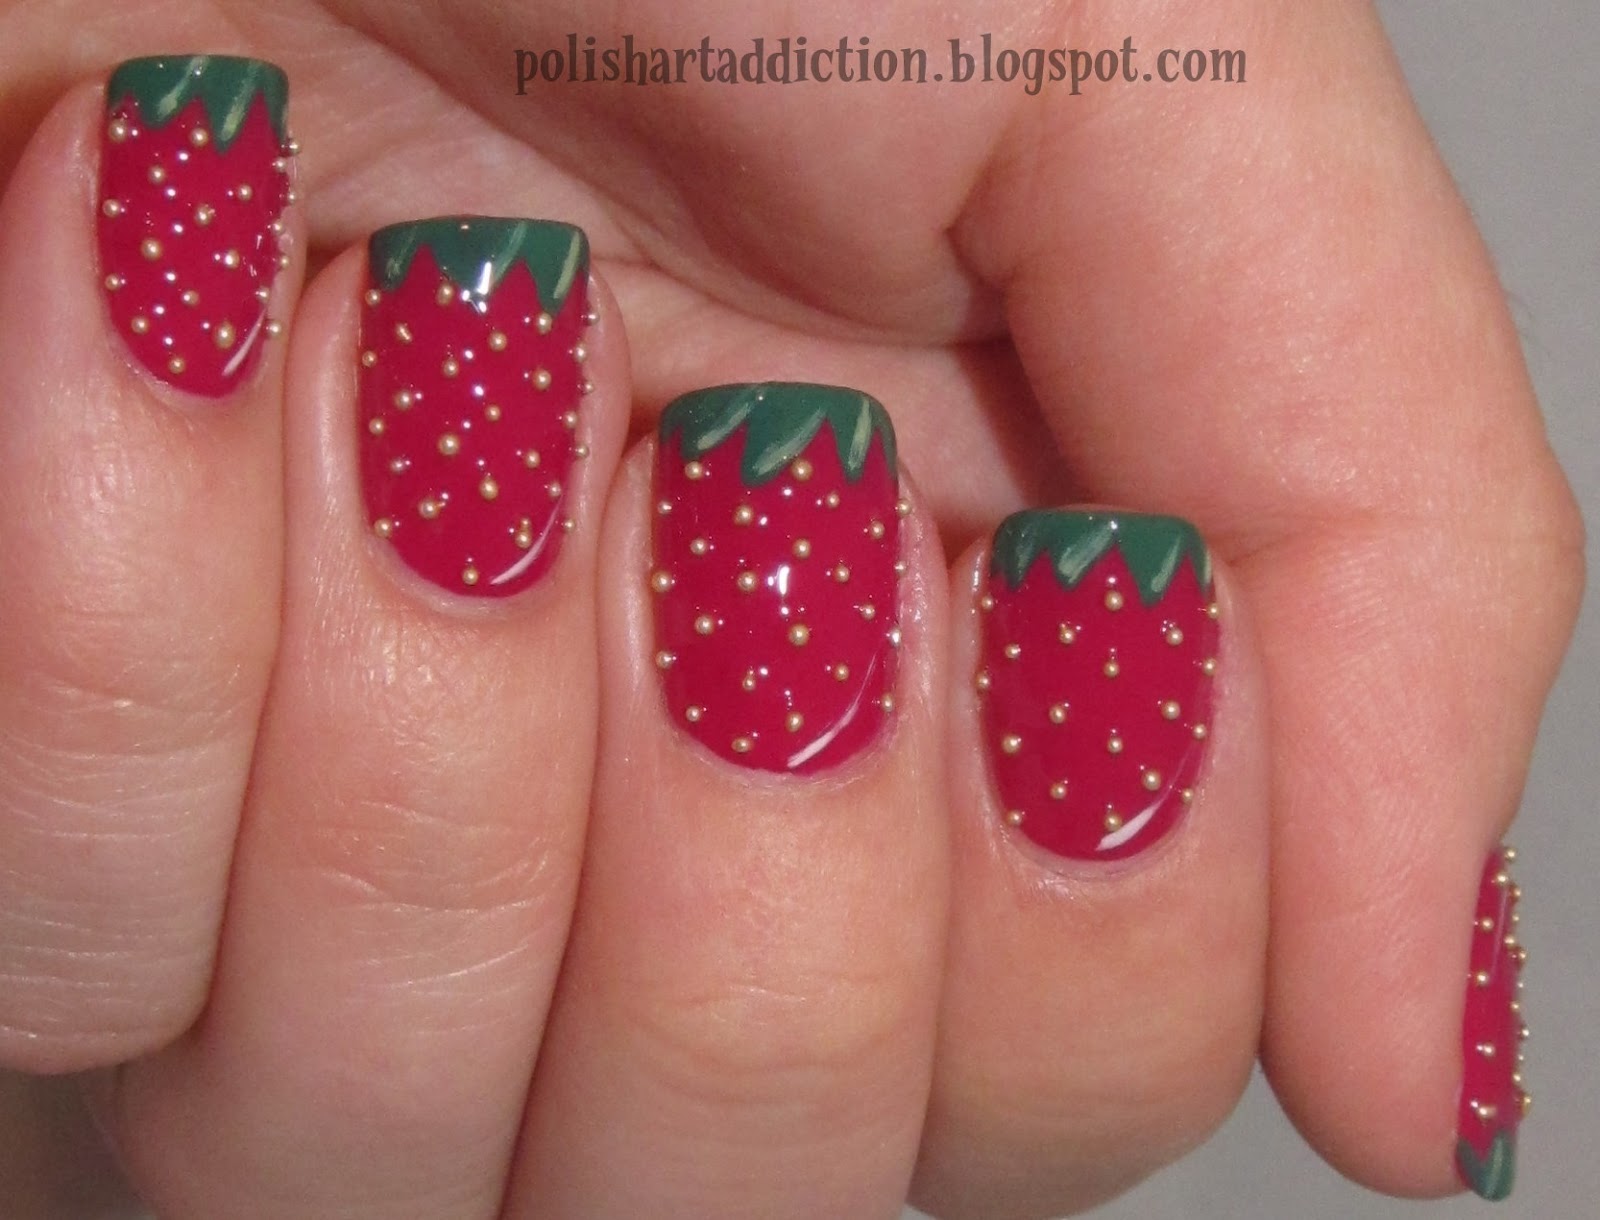
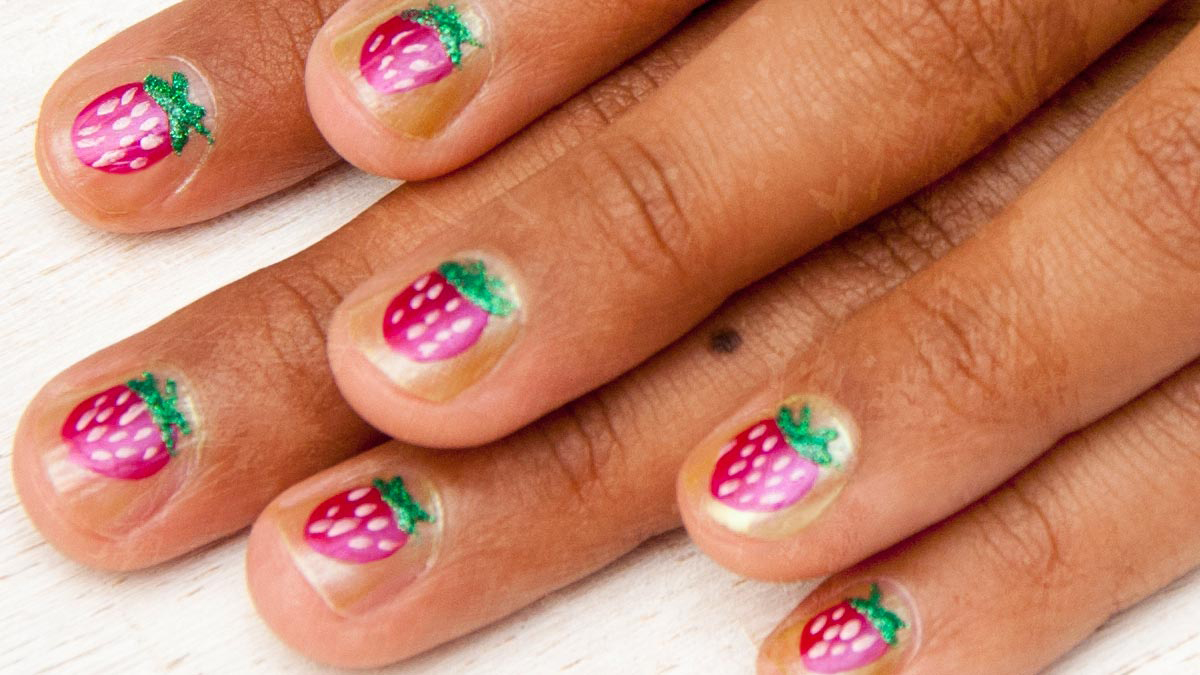
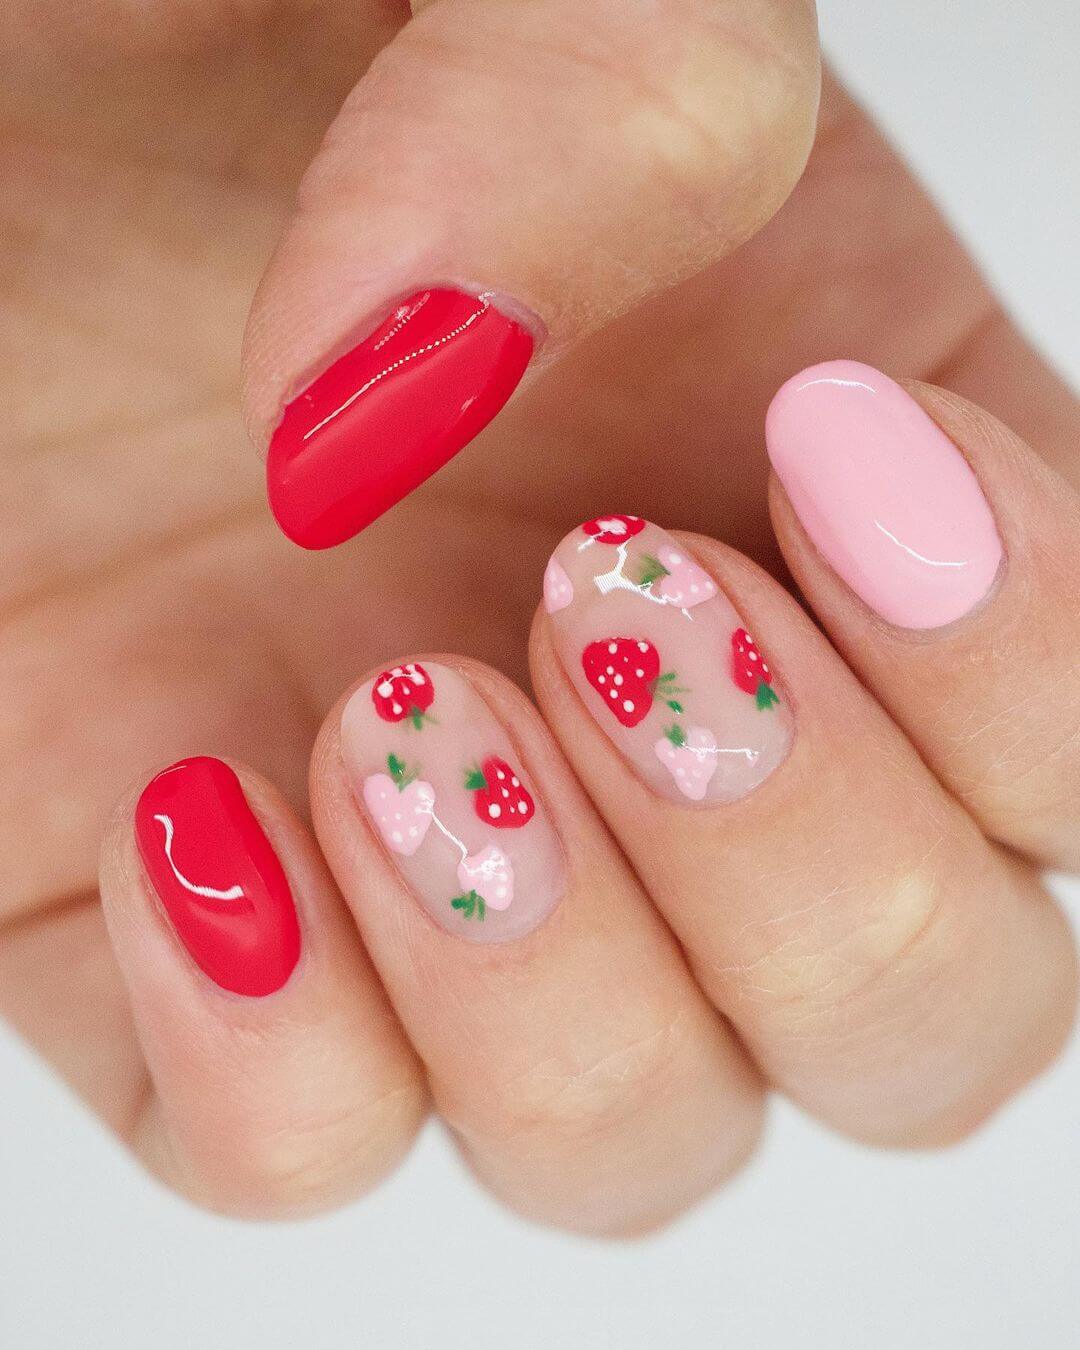
There are many variations of strawberry nail art that you can try. If you want a more realistic look, you can use a darker red polish for the body of the strawberry and a lighter shade for the seeds. You can also add some white polish to create a juicy effect. For a more whimsical design, you can paint the strawberries on a pastel or glitter background. You can also add other fruits like pineapples or bananas for a fun summer fruit salad theme. Get creative and make this design your own!Strawberry Nail Art Design


Strawberry Nail Art Design

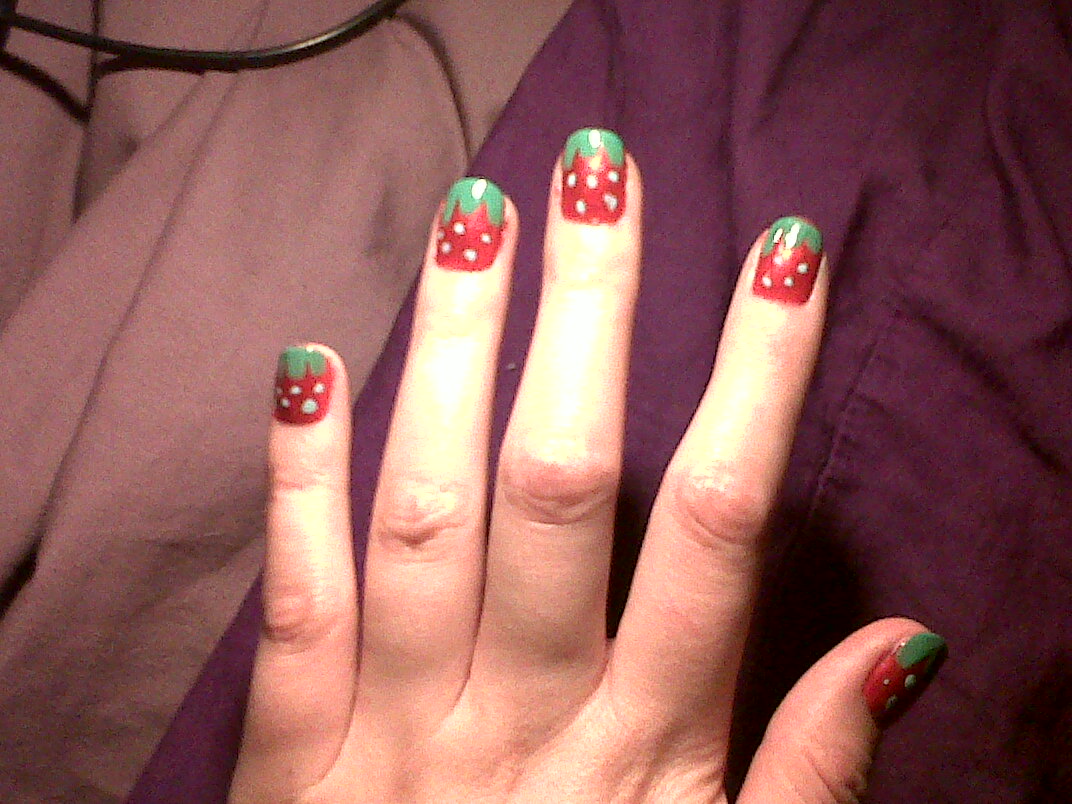
Not only is this strawberry nail art easy to do, but it's also affordable. You probably already have most of the supplies at home, and you can find affordable nail polish at your local drugstore or beauty supply store. If you don't have a small brush or toothpick, you can use a bobby pin or the end of a makeup brush to create your dots and lines. Don't be afraid to improvise and use what you have on hand!DIY Strawberry Nail Art

DIY Strawberry Nail Art

There's no denying it, strawberry nail art is just adorable. It's a fun and playful design that will definitely catch people's attention. You can even match your nails to your outfit or accessories for a coordinated look. This design is perfect for any occasion, from a day at the beach to a summer wedding. You can even add some gems or glitter for a more glamorous and elevated look.Cute Strawberry Nail Art


Cute Strawberry Nail Art
If you're new to nail art, don't be intimidated by this design. With our step by step tutorial, anyone can create a cute strawberry nail art design. Just take your time and have fun with it! If you're still feeling unsure, you can also find plenty of video tutorials online that will guide you through the process. Practice makes perfect, and soon you'll be a pro at strawberry nail art.Strawberry Nail Art for Beginners


Strawberry Nail Art for Beginners
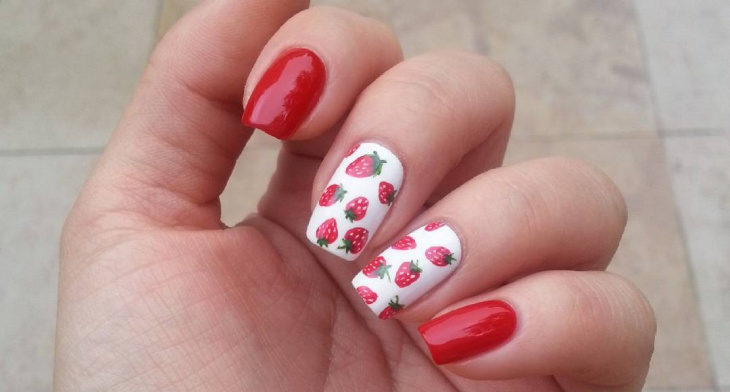
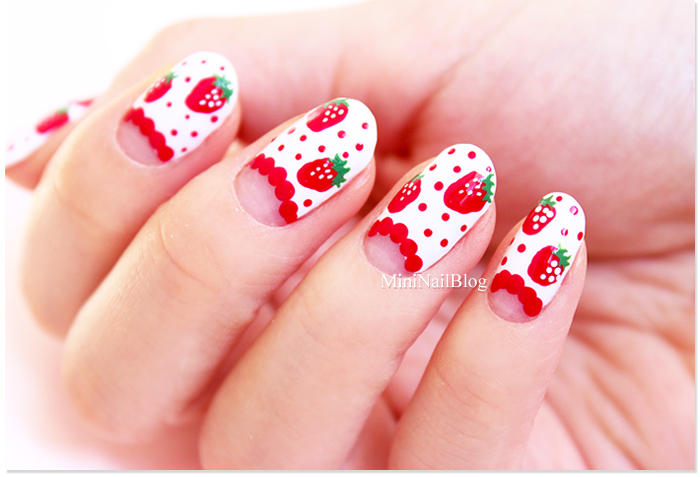
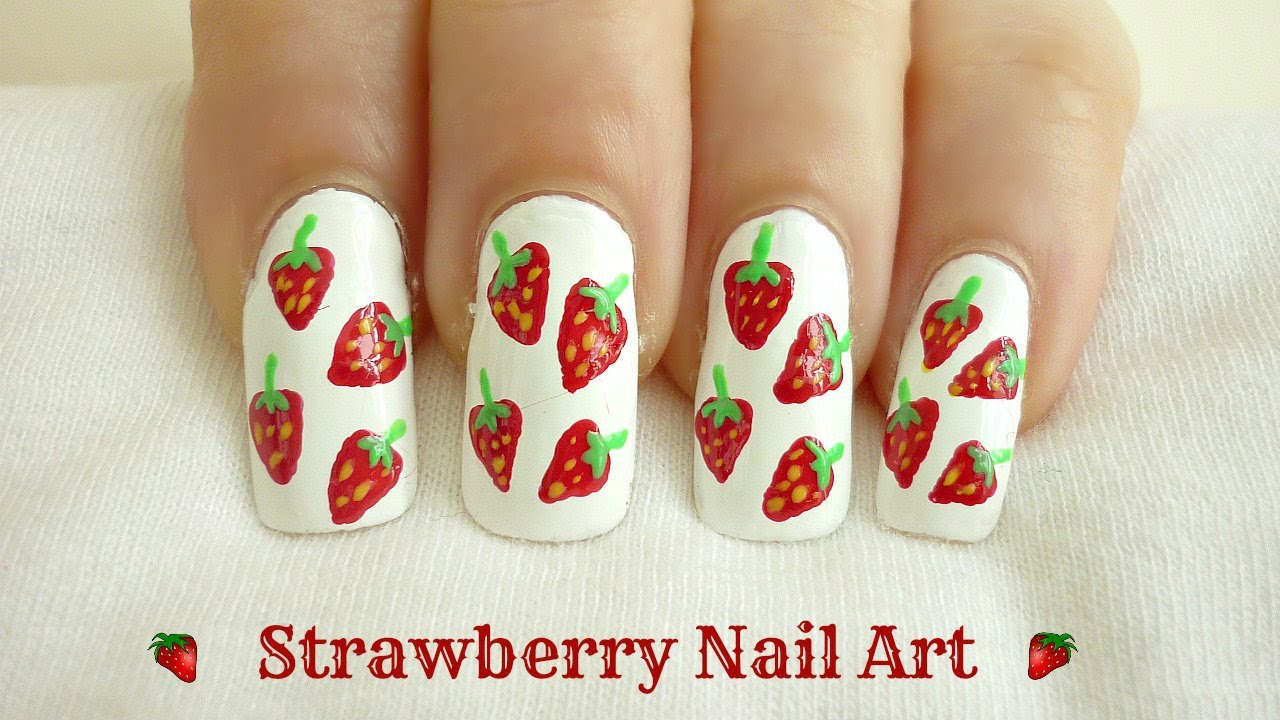
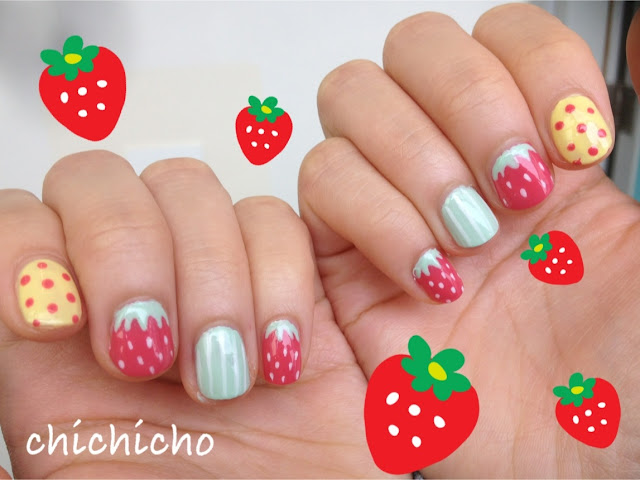
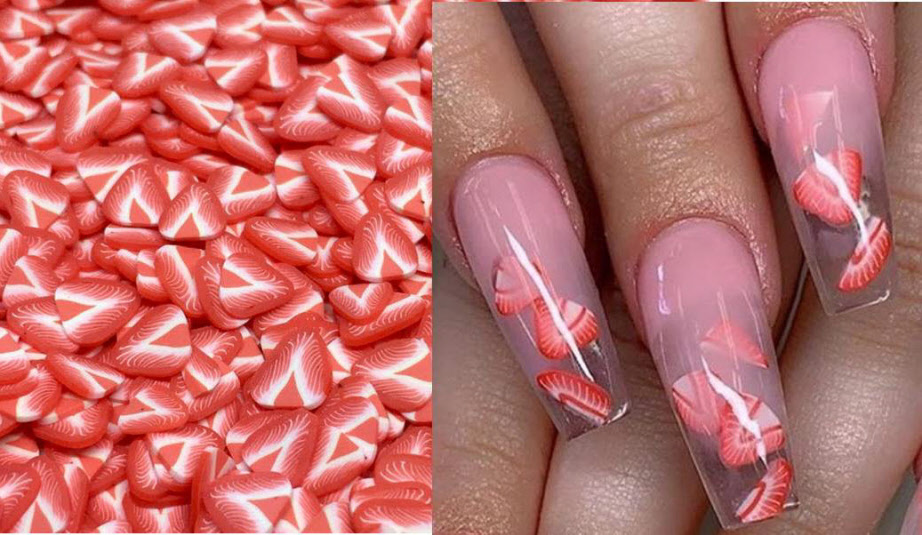
There are so many creative ways to incorporate strawberries into your nail art. You can paint them on all of your nails, or just on an accent nail. You can also mix and match with other nail designs, like stripes or polka dots. For a more subtle look, you can paint just the tips of your nails with a strawberry design. Or, you can create a whole garden of strawberries by painting different sizes and shapes on each nail. Let your imagination run wild and experiment with different ideas until you find the perfect strawberry nail art for you.Strawberry Nail Art Ideas


Strawberry Nail Art Ideas
Don't let short nails stop you from trying this adorable strawberry nail art. You can still create a cute and fun design on shorter nails by using smaller dots and thinner lines for the seeds and stems. You can also paint the strawberries diagonally on your nails to create the illusion of longer nails. Just adjust the size and placement of the strawberries to fit your nails.Strawberry Nail Art Tutorial for Short Nails


Strawberry Nail Art Tutorial for Short Nails

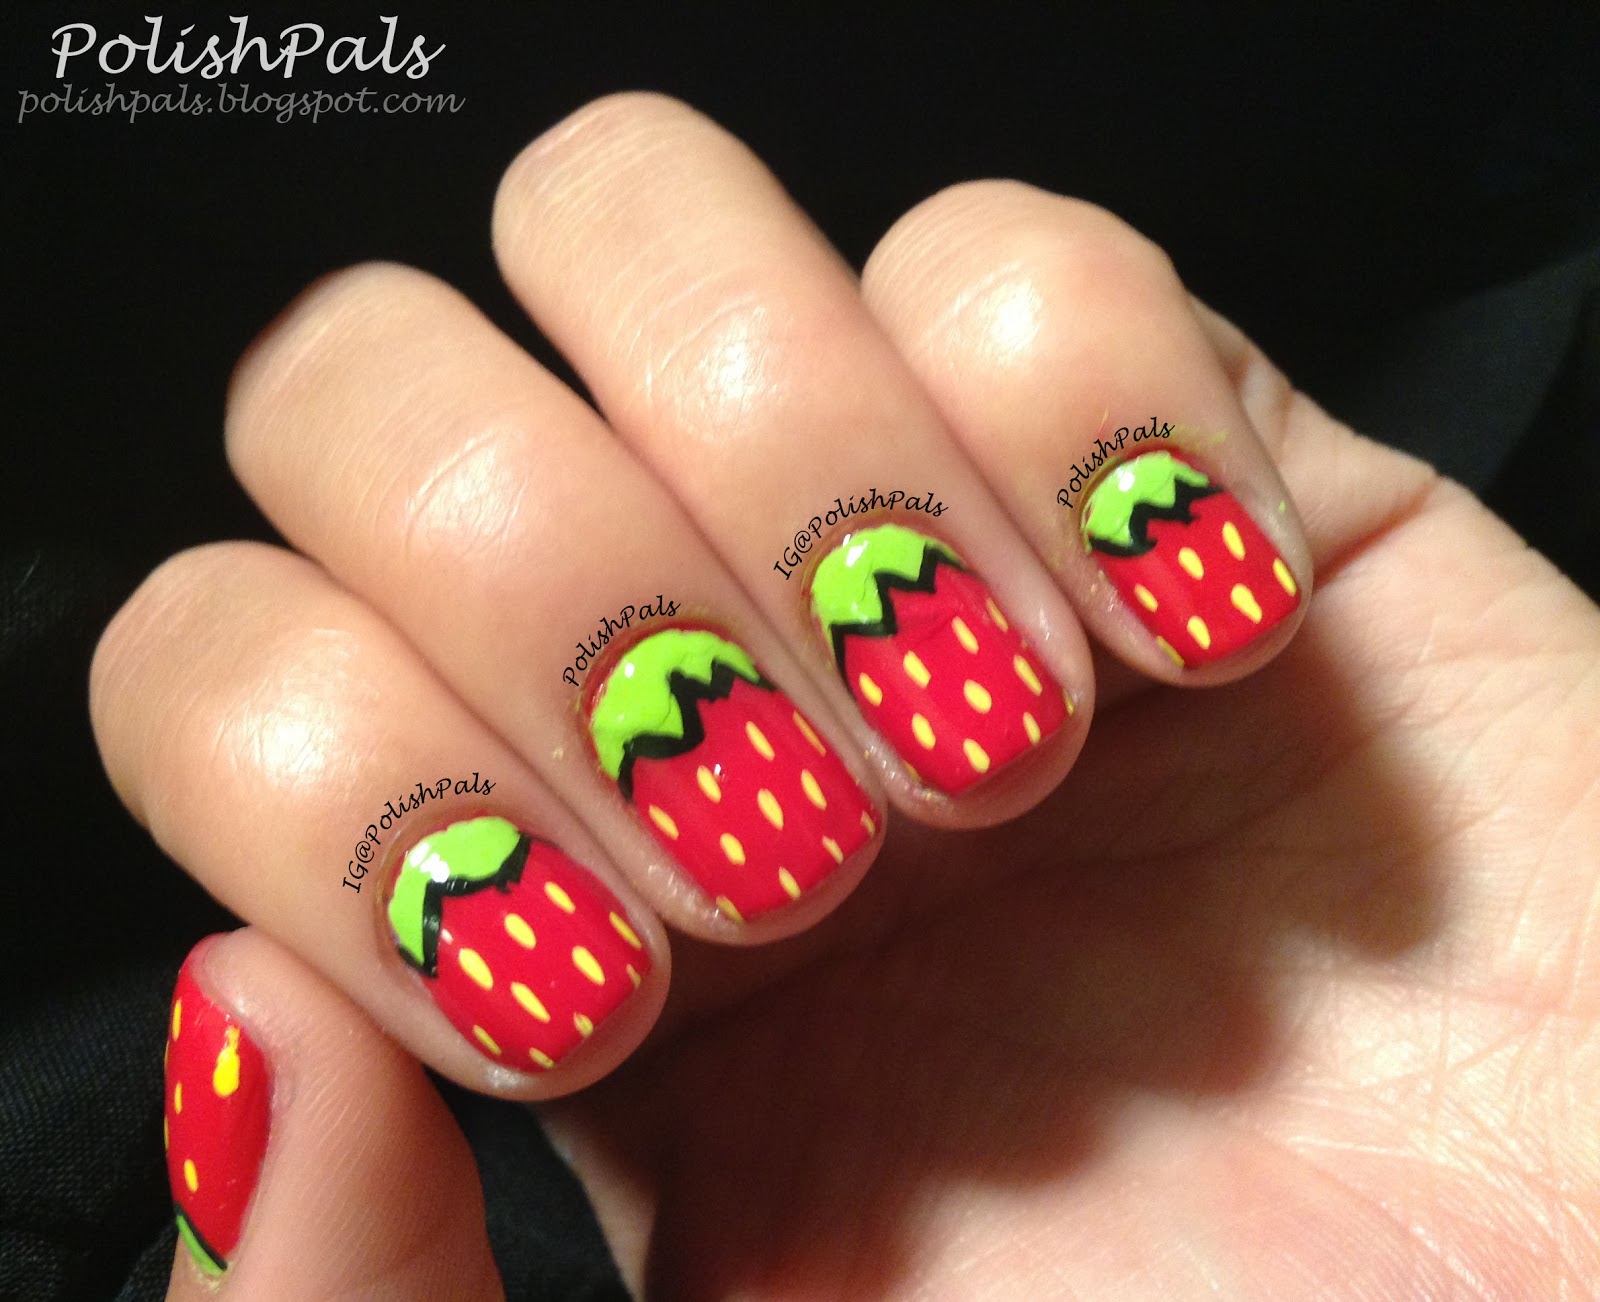
If you're more of a visual learner, here's a step by step guide for creating strawberry nail art: Step 1: Apply a base coat to protect your nails and help the polish last longer. Step 2: Paint your nails with a bright red polish. You may need two coats to get a solid, opaque color. Step 3: Use a small brush or toothpick to create small white dots on your nails. These will be the seeds of the strawberry. Step 4: Using a green polish, paint a small stem at the top of your nail. Step 5: To add some dimension, use the green polish to create thin lines coming out from the stem to represent the leaves of the strawberry. Step 6: Finish off with a top coat to seal in your design and add shine. And that's it! You now have a cute and easy strawberry nail art design.Strawberry Nail Art Step by Step Guide


Strawberry Nail Art Step by Step Guide
Creating the Perfect Strawberry Nail Art

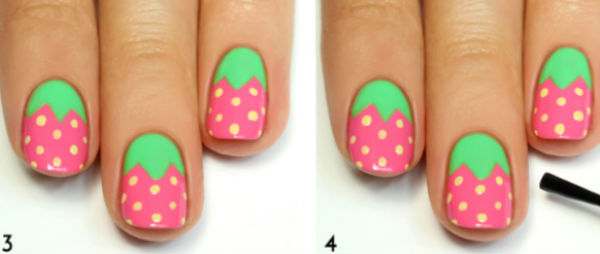
Step 3: Adding the Details
 Now that you have the base of your strawberry nail art, it's time to add the details that will make your design really stand out. Start by taking your
red nail polish
and using a thin brush, draw small
triangles
on the tip of your nail. These will be the strawberry seeds. Next, take your
green nail polish
and draw small
leaves
on the top of the strawberries. You can also use a
dotting tool
to add tiny
dots
on the leaves for added texture. Finally, take your
white nail polish
and use it to create
highlights
on the strawberries. This will give them a shiny and realistic look.
Now that you have the base of your strawberry nail art, it's time to add the details that will make your design really stand out. Start by taking your
red nail polish
and using a thin brush, draw small
triangles
on the tip of your nail. These will be the strawberry seeds. Next, take your
green nail polish
and draw small
leaves
on the top of the strawberries. You can also use a
dotting tool
to add tiny
dots
on the leaves for added texture. Finally, take your
white nail polish
and use it to create
highlights
on the strawberries. This will give them a shiny and realistic look.
Step 4: Finishing Touches
 To complete your strawberry nail art, add a
clear top coat
to seal in your design and add shine. You can also use a
small brush
dipped in
nail polish remover
to clean up any mistakes or smudges around your nails. Once your nails are dry, you'll have a beautiful and
sweet
strawberry nail art design that is perfect for any occasion.
To complete your strawberry nail art, add a
clear top coat
to seal in your design and add shine. You can also use a
small brush
dipped in
nail polish remover
to clean up any mistakes or smudges around your nails. Once your nails are dry, you'll have a beautiful and
sweet
strawberry nail art design that is perfect for any occasion.
Final Thoughts
 Creating your own strawberry nail art may seem intimidating, but with these easy step-by-step instructions, you can achieve a professional-looking design in no time. Remember to have fun and get creative with your designs. You can also experiment with different colors and shapes to make your strawberry nail art truly unique. So grab your
nail art tools
and get ready to show off your strawberry-inspired nails!
Creating your own strawberry nail art may seem intimidating, but with these easy step-by-step instructions, you can achieve a professional-looking design in no time. Remember to have fun and get creative with your designs. You can also experiment with different colors and shapes to make your strawberry nail art truly unique. So grab your
nail art tools
and get ready to show off your strawberry-inspired nails!


