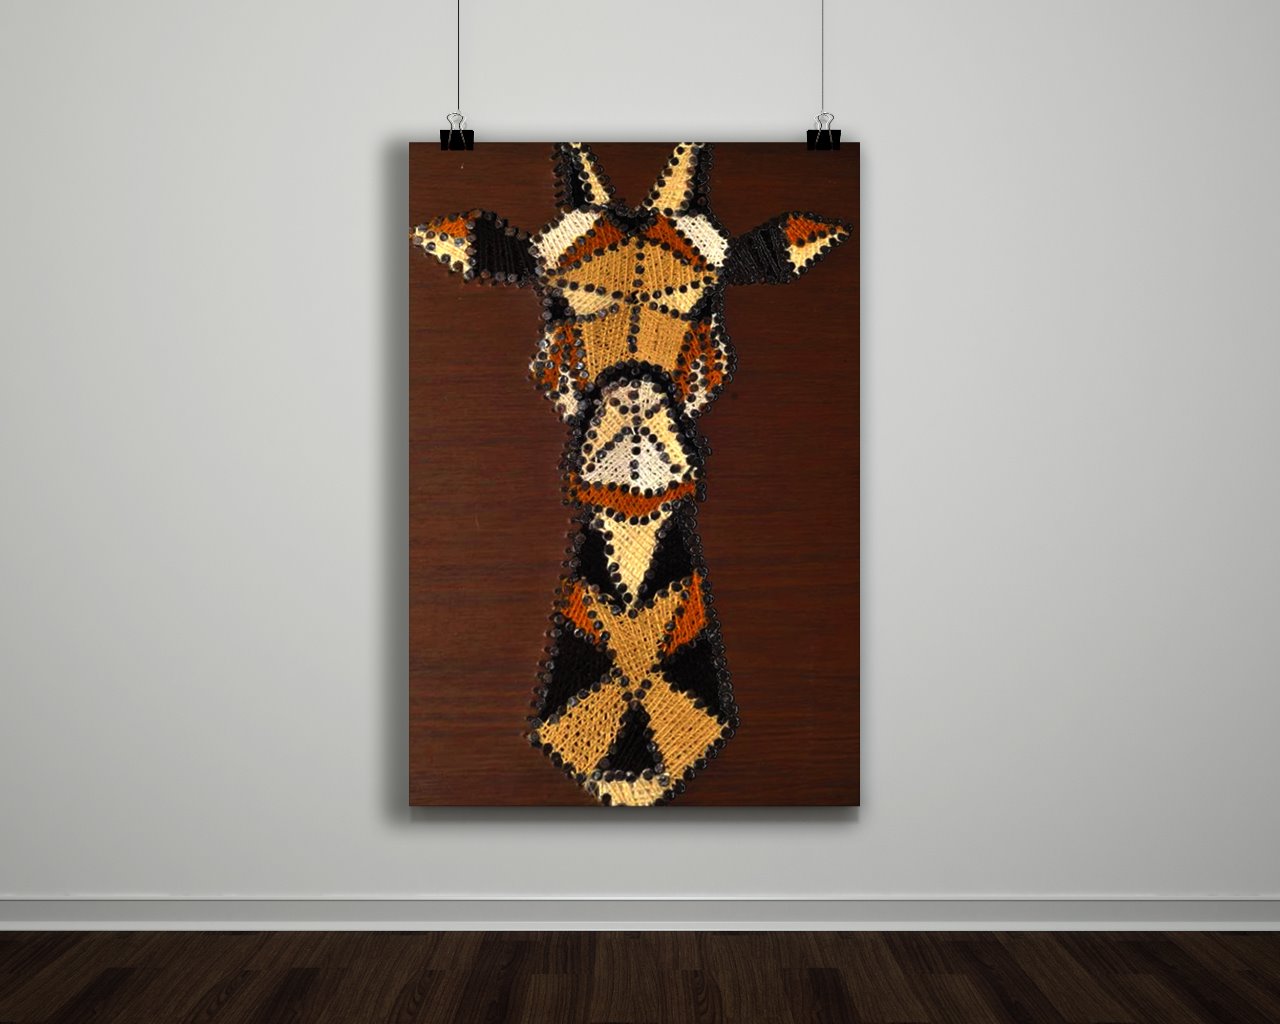
String art has been around for decades, but it has recently gained popularity as a trendy DIY project. With just a few simple materials, you can create beautiful and unique designs that are sure to impress. One of the key elements of string art is the use of nails to create depth and dimension in the design. In this article, we will explore the top 10 string art nail depths that will take your designs to the next level.How to Create Stunning String Art with Nails and Thread


How to Create Stunning String Art with Nails and Thread


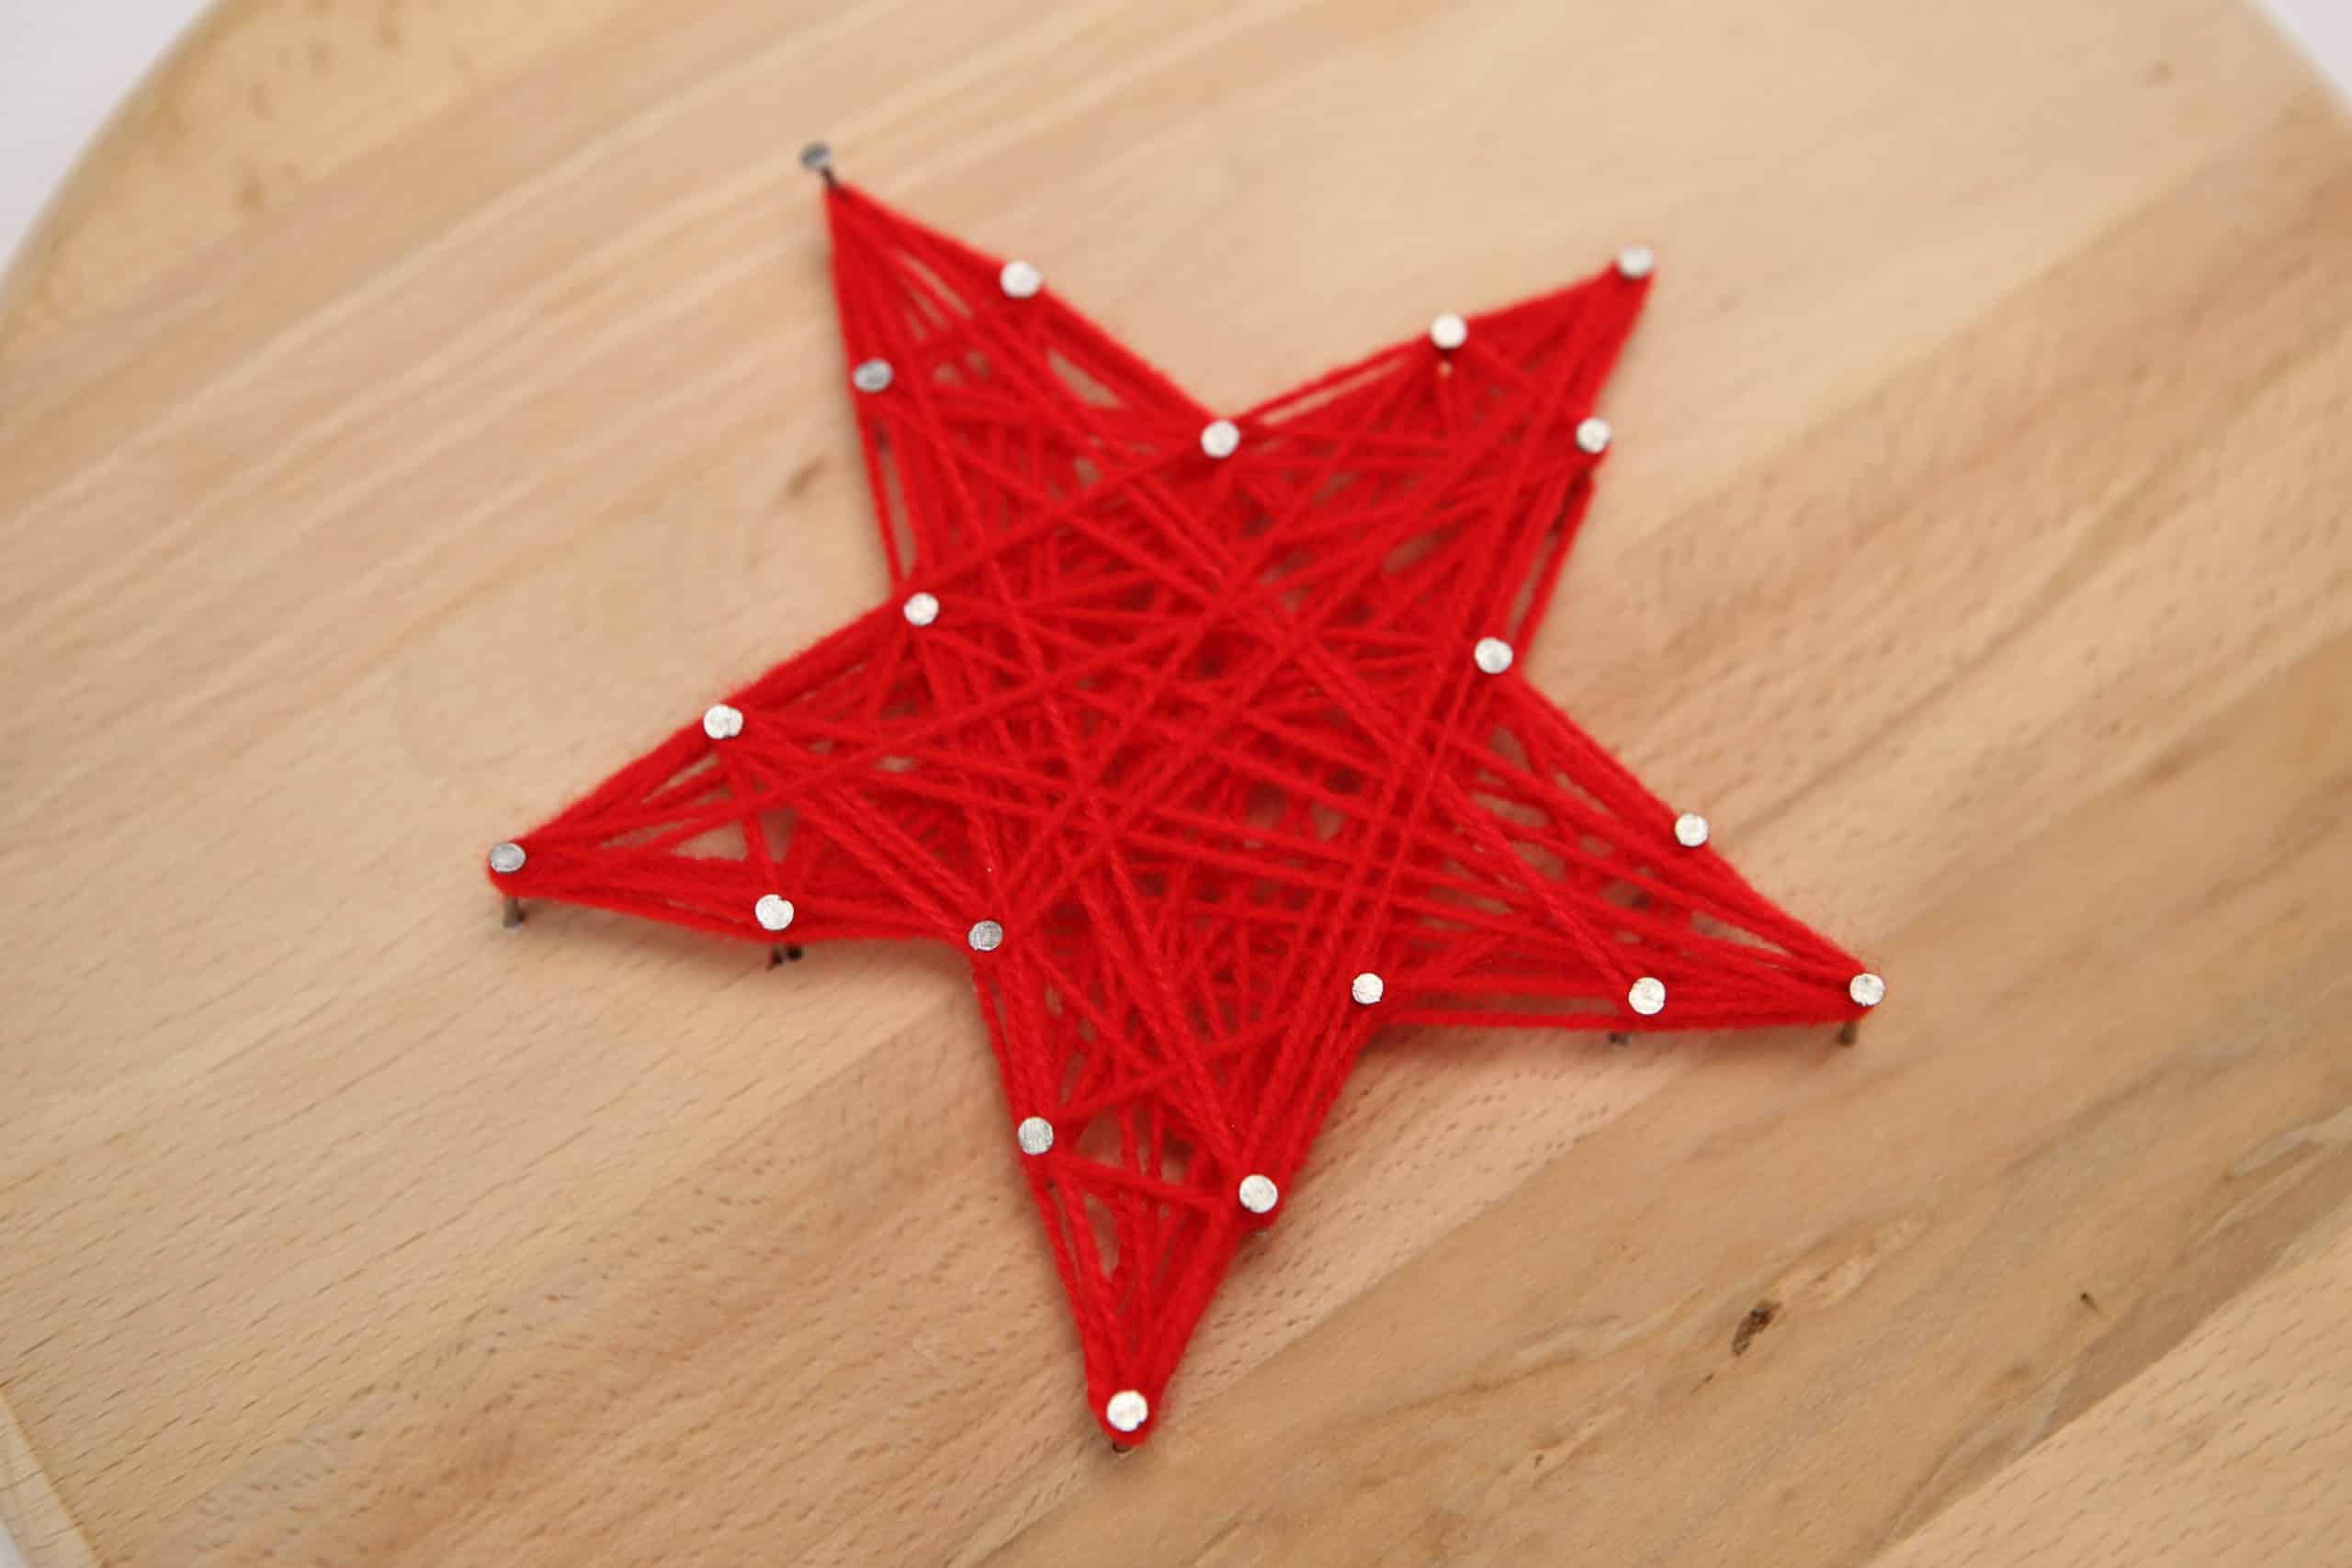


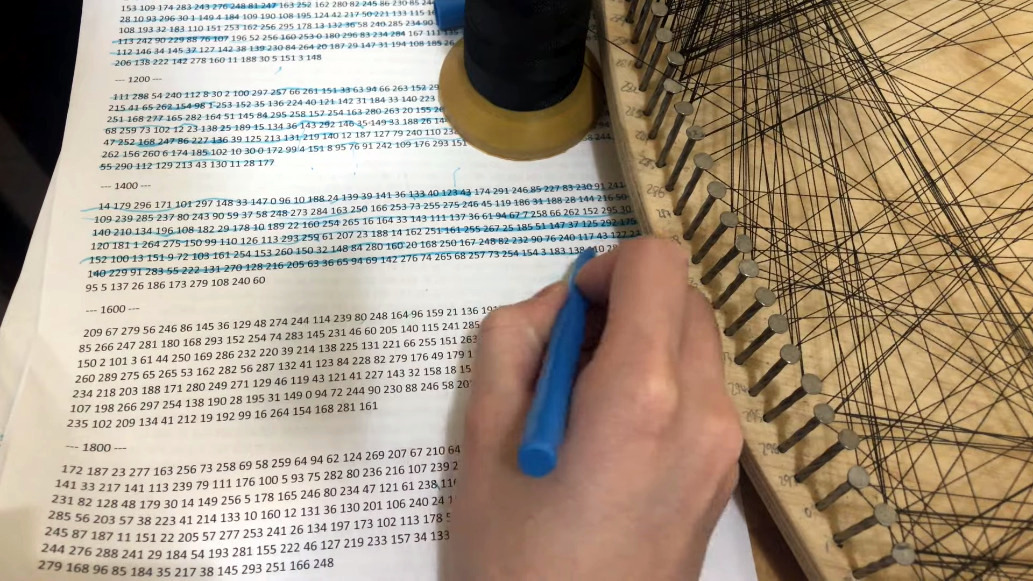
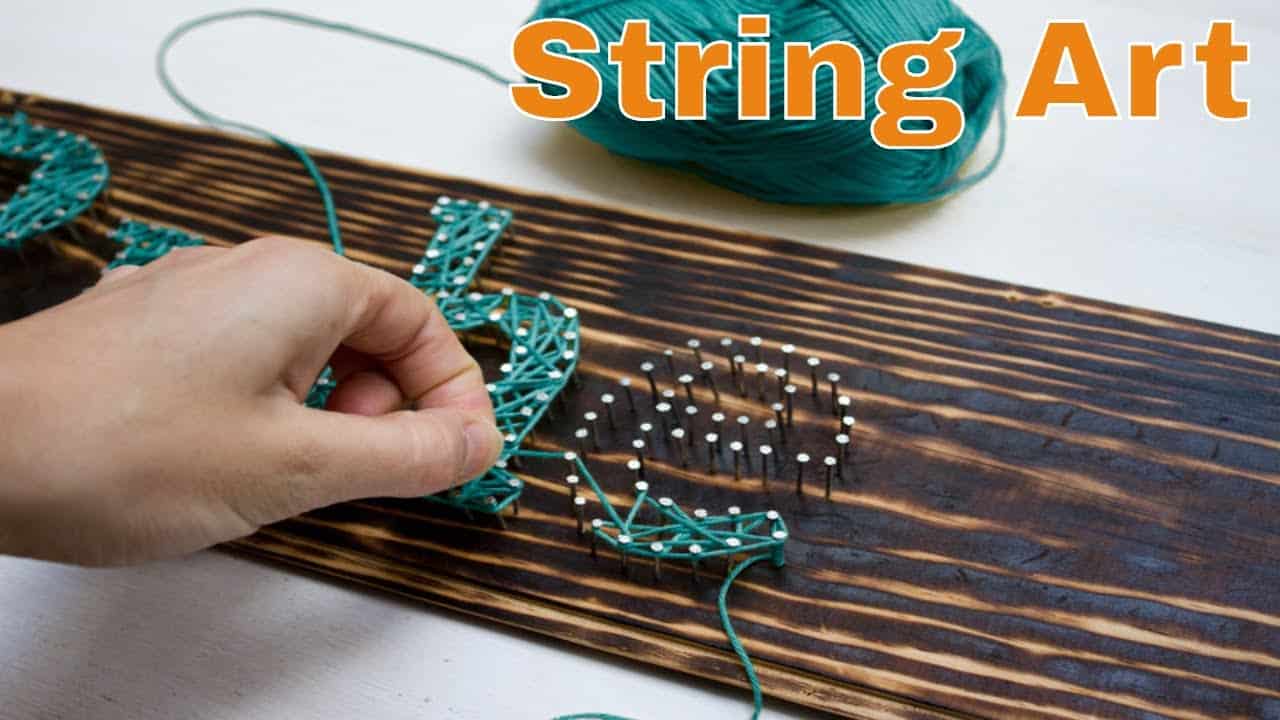
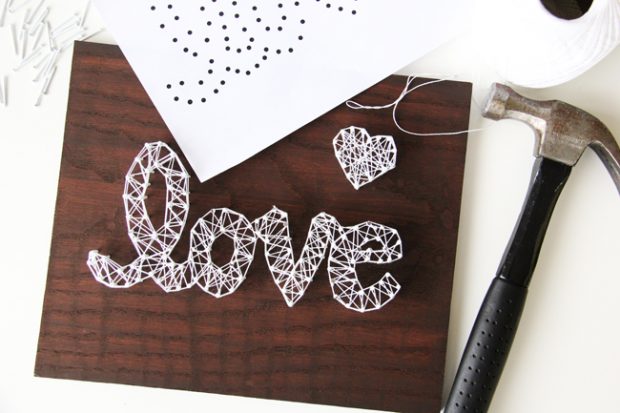
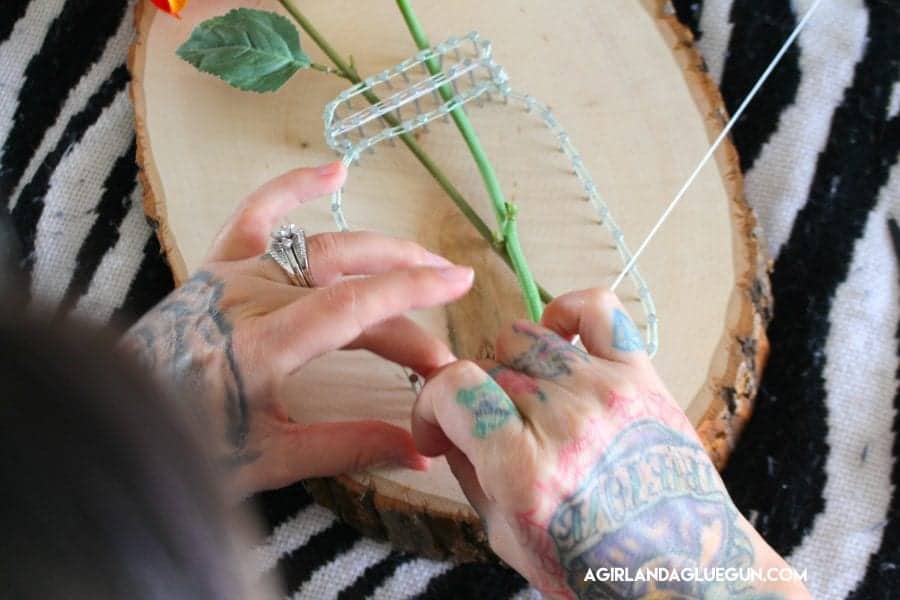
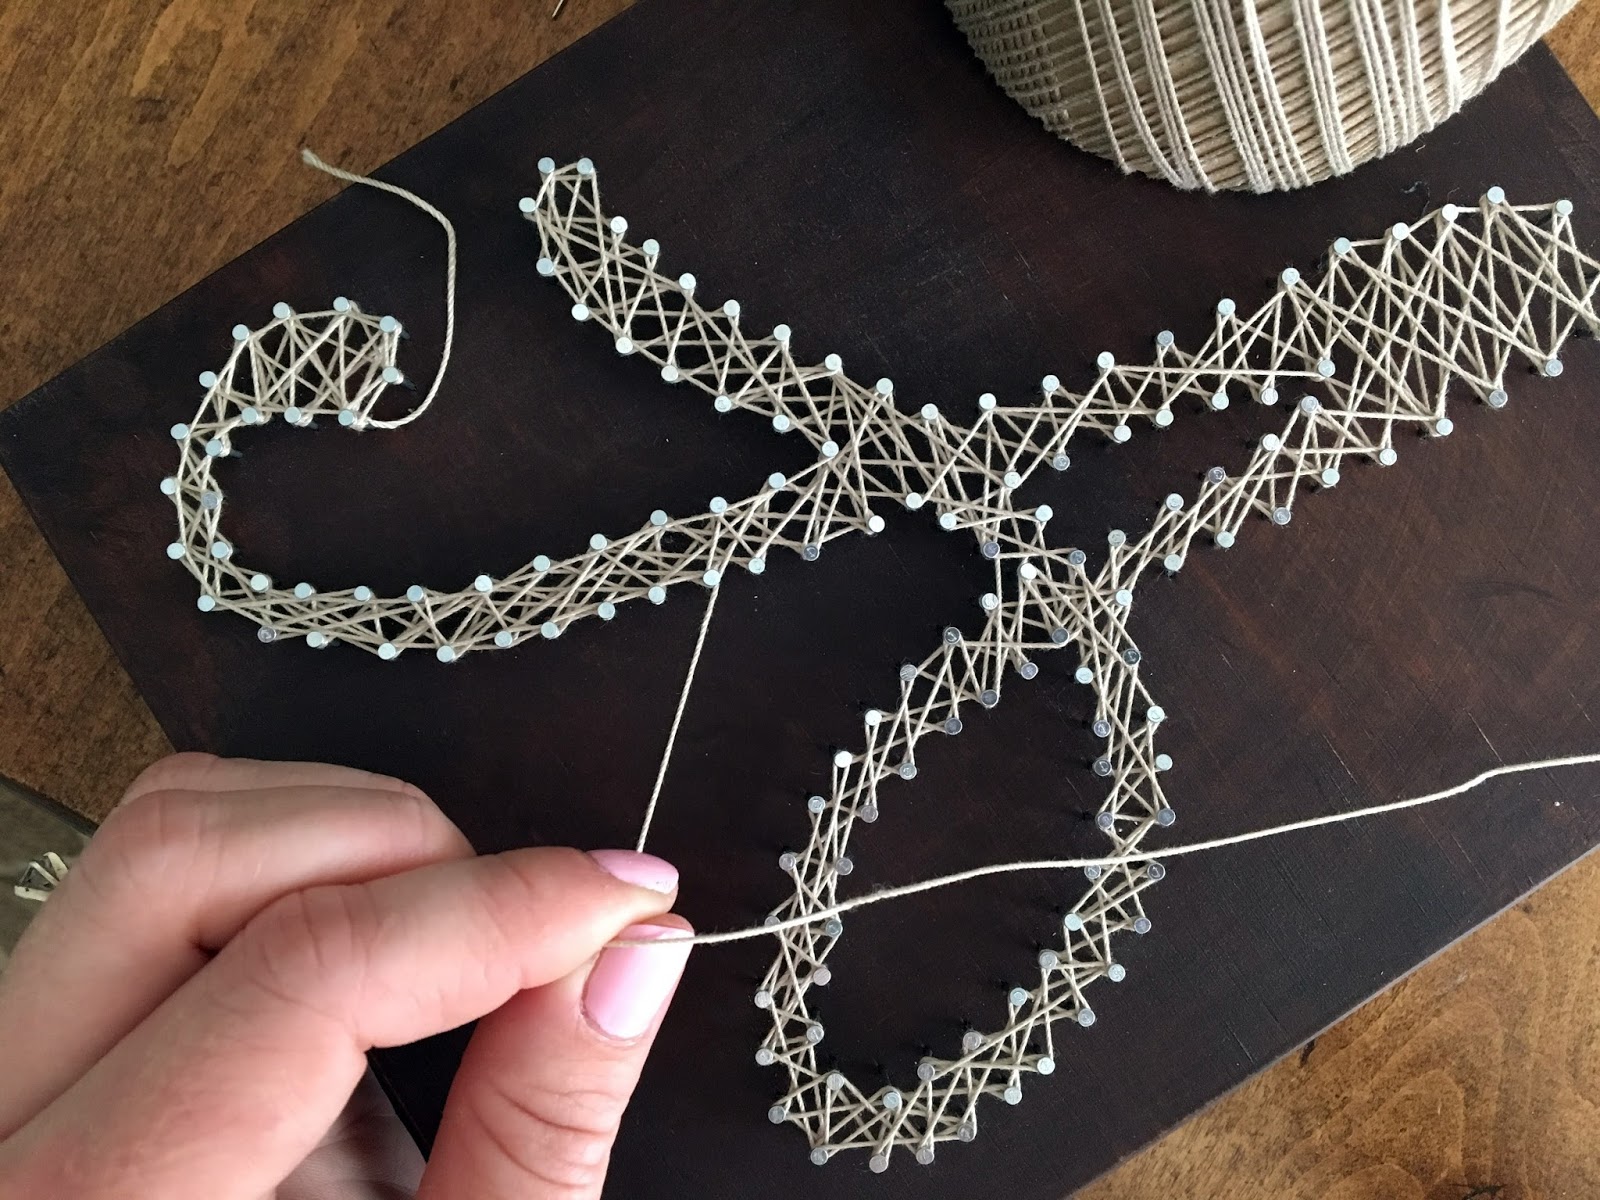
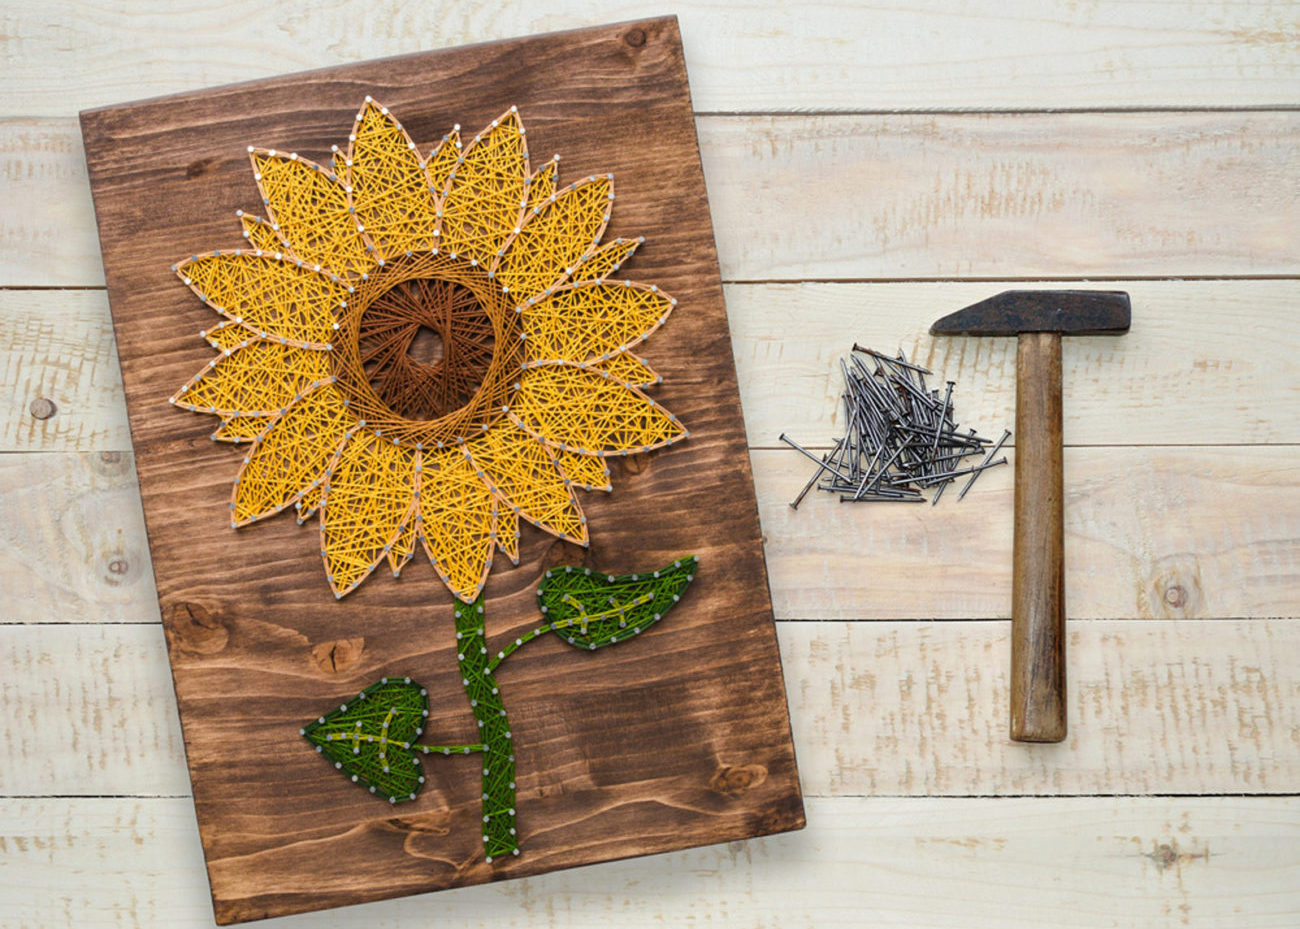
If you're new to string art, don't worry! It's a fun and easy craft that anyone can learn. To create a string art design, you will need a wooden board, nails, hammer, and embroidery thread. First, draw or print out your desired design onto the wooden board. Then, using a hammer, carefully nail the outline of your design onto the board. Once all the nails are in place, start wrapping the thread around the nails, creating a pattern or filling in the design. The end result will be a stunning piece of art that you can proudly display in your home.String Art Tutorial: How to Make a Nail and Thread Design


String Art Tutorial: How to Make a Nail and Thread Design


While string art may seem simple, there are some tips and tricks that can help you achieve the perfect nail depth for your design. One important step is to ensure that the nails are evenly spaced and at a consistent depth. This will create a more uniform and professional look. You can use a ruler or measuring tape to help with this process. Additionally, be sure to hammer the nails in at a 90-degree angle to the board to prevent them from bending or breaking.String Art: A Step-by-Step Guide to Creating Nail and Thread Designs


String Art: A Step-by-Step Guide to Creating Nail and Thread Designs


So, what is the perfect nail depth for string art? It ultimately depends on the design and the look you are going for. Generally, the nails should be at least half the length of the thread used to wrap around them. This will ensure that the thread stays secure and doesn't slip off the nails. However, you can also experiment with different nail depths to create a more textured or layered look in your design.String Art: Tips and Tricks for Achieving the Perfect Nail Depth


String Art: Tips and Tricks for Achieving the Perfect Nail Depth


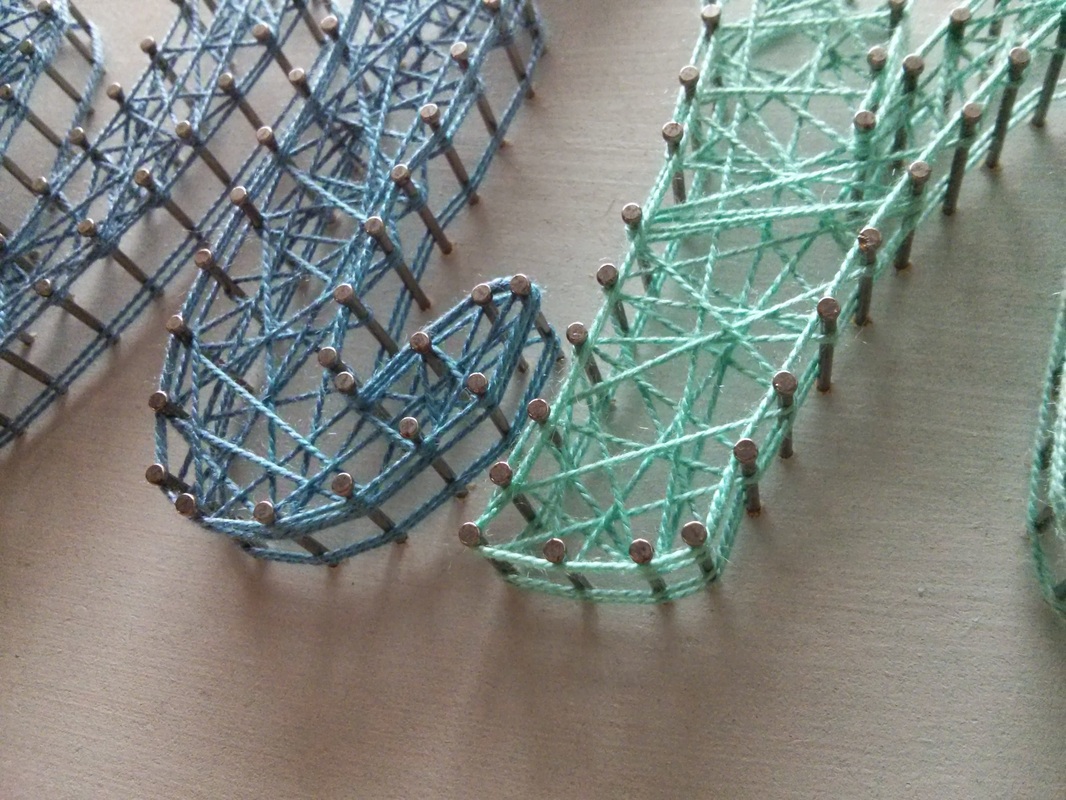
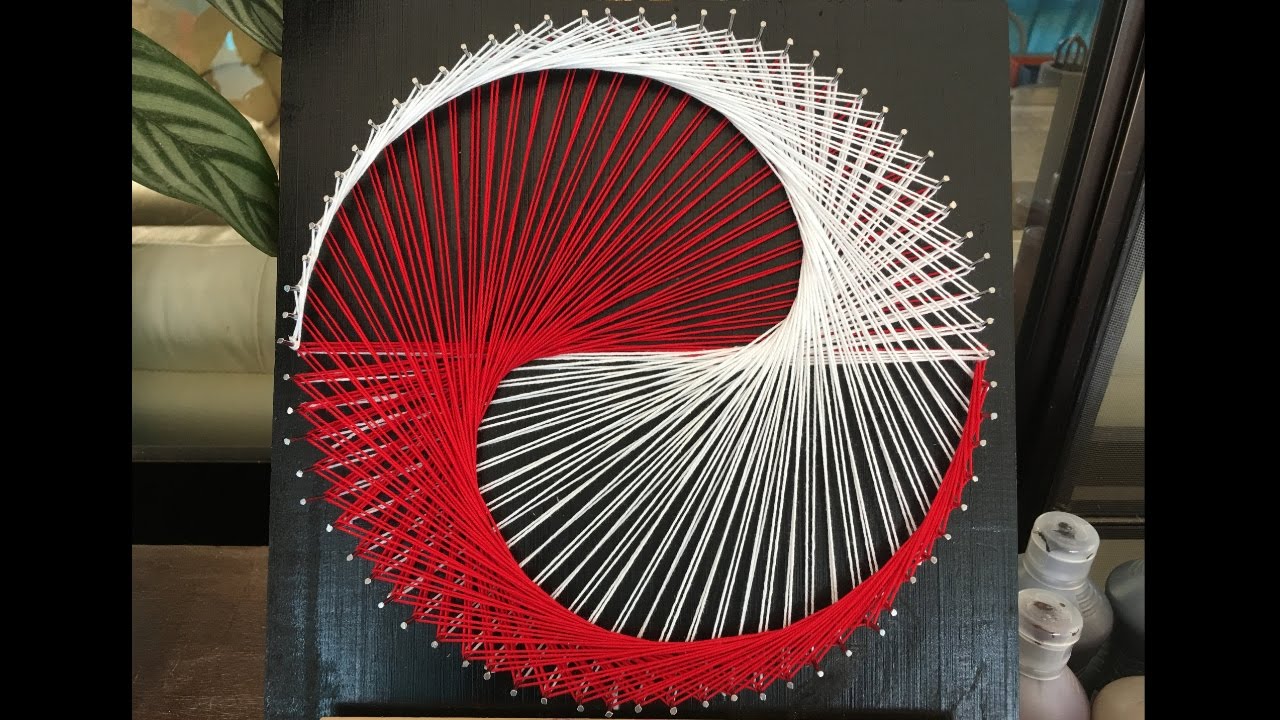
One of the great things about string art is its versatility. With different nail depths, you can create a variety of designs and effects. For a more subtle look, use nails with a shorter depth and keep the thread close to the board. This will create a more delicate design. On the other hand, if you want to make a bold statement, try using nails with a longer depth and wrapping the thread around them multiple times. This will add more dimension and texture to your design.String Art: Exploring Different Nail Depths for Unique Designs
String Art: Exploring Different Nail Depths for Unique Designs


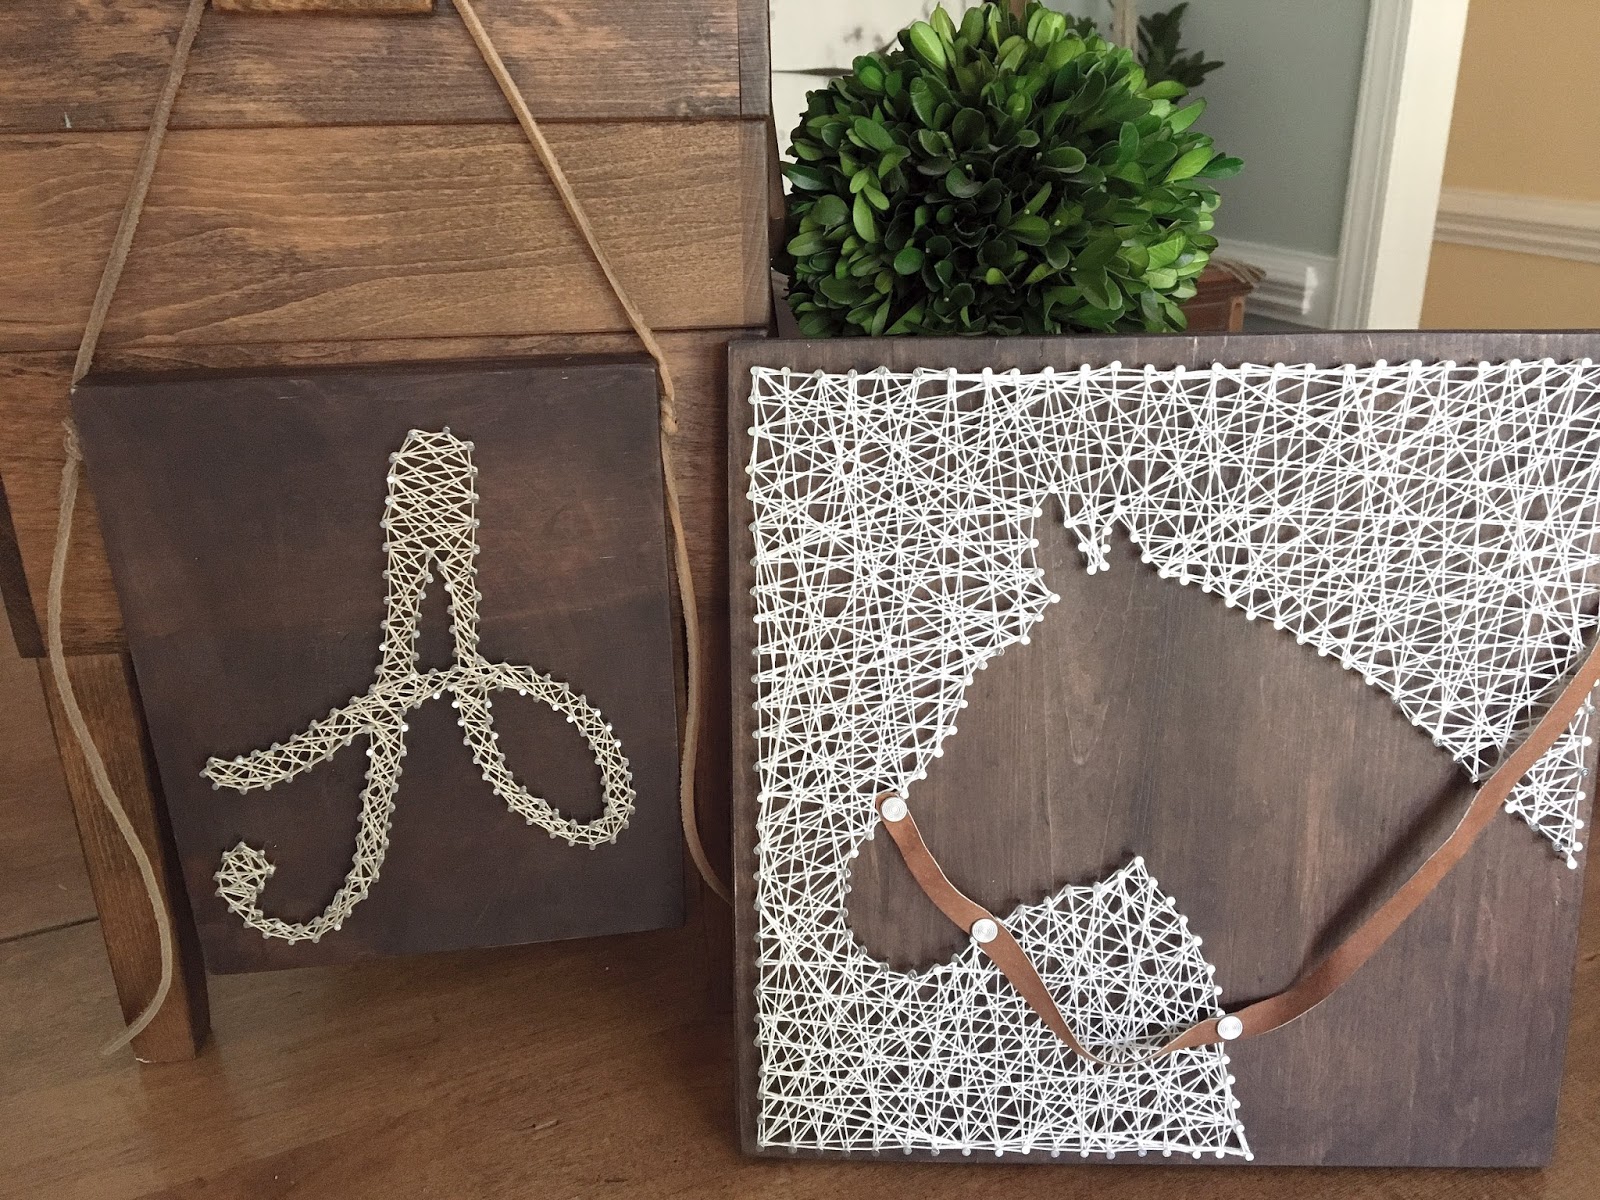
In addition to varying the nail depth, you can also play around with different nail sizes to create depth and dimension in your string art. Using a variety of nail sizes will create an interesting and eye-catching design. For example, you can use larger nails for the outline of your design and smaller nails for the details. This will add a unique touch to your string art and make it stand out.String Art: Using Different Nail Sizes to Create Depth and Dimension

String Art: Using Different Nail Sizes to Create Depth and Dimension


Choosing the right nails for your string art design is crucial. Not only do they need to be the right size and depth, but they should also be strong enough to withstand the tension of the thread. Flat head nails are typically the best choice for string art because they have a larger surface area for the thread to wrap around. Additionally, they are less likely to bend or break compared to other types of nails.String Art: How to Choose the Right Nails for Your Design


String Art: How to Choose the Right Nails for Your Design
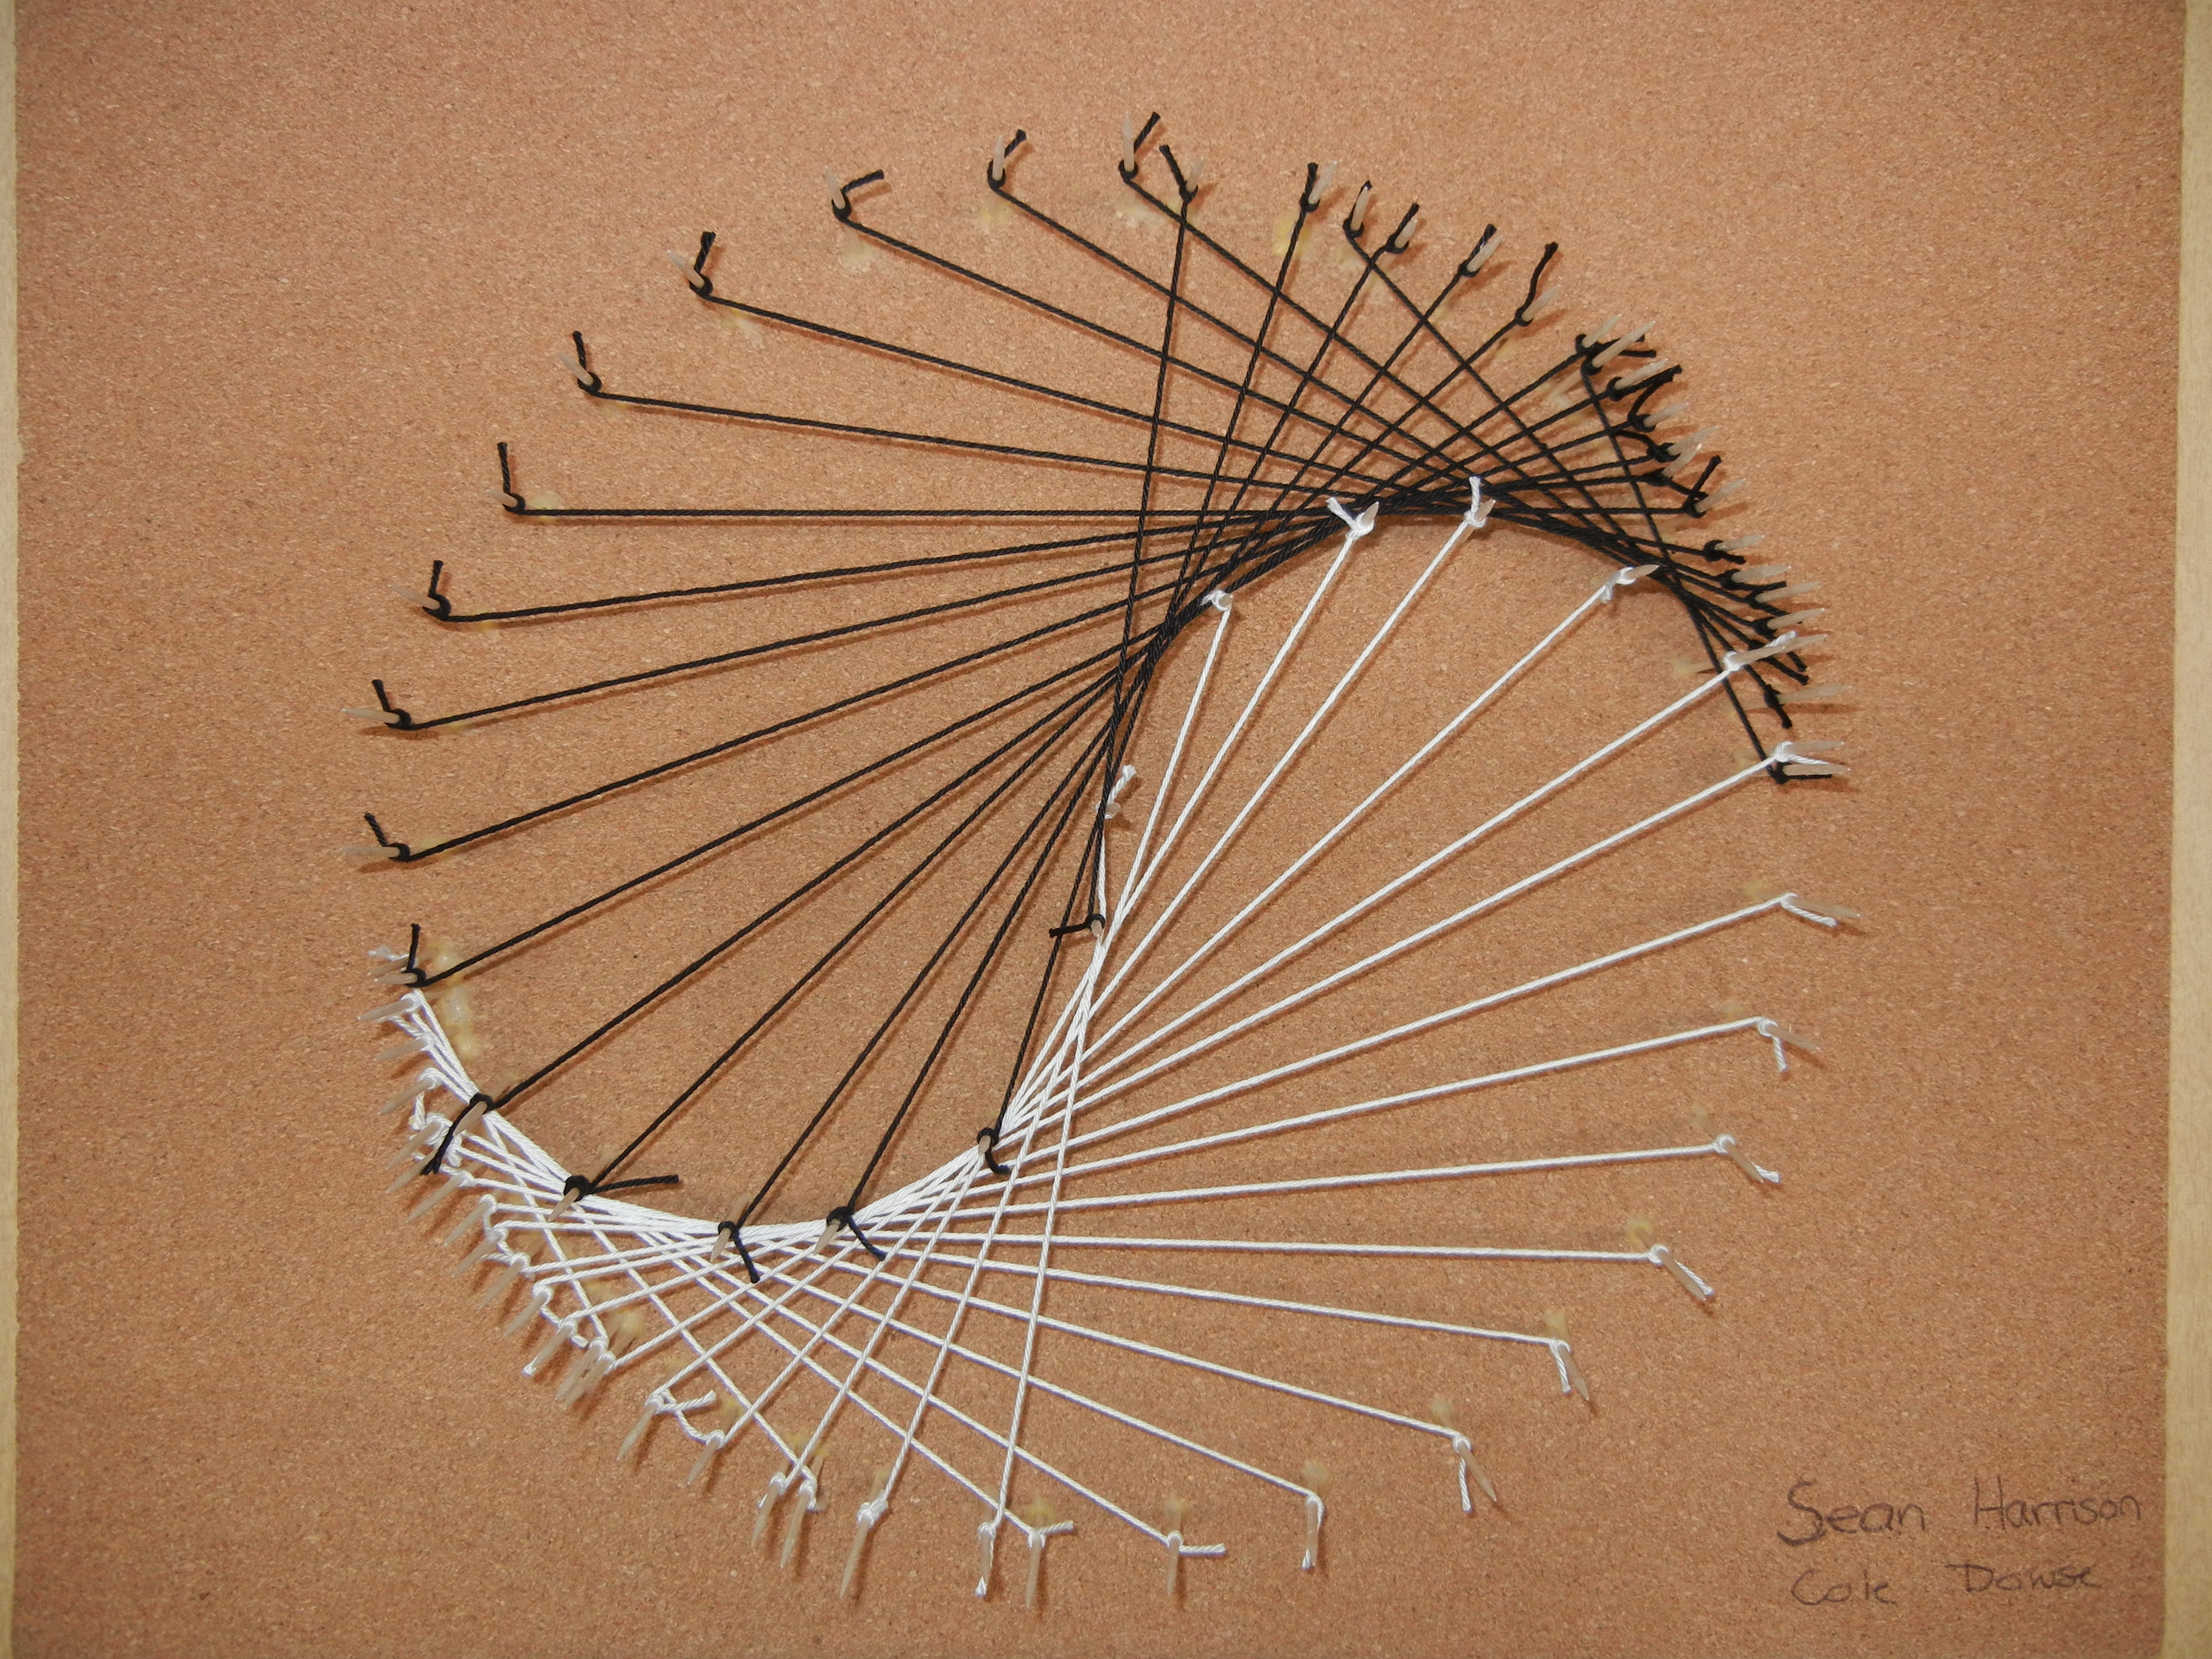
Another way to add depth and texture to your string art is by varying the placement of the nails. Instead of having them all in a straight line, try staggering them or placing them at different angles. This will create a more dynamic design and add visual interest. You can also experiment with creating patterns or geometric shapes with the nail placement to make your string art truly unique.String Art: Adding Depth and Texture with Different Nail Placement

String Art: Adding Depth and Texture with Different Nail Placement
If you want to take your string art to the next level, consider creating a 3D effect by using varying nail depths. By strategically placing nails at different depths, you can create a design that appears to pop off the board. This technique works especially well for designs with multiple layers or intricate details. It may take some practice to get the nail depths just right, but the end result will be worth it.String Art: Creating a 3D Effect with Varying Nail Depths

String Art: Creating a 3D Effect with Varying Nail Depths
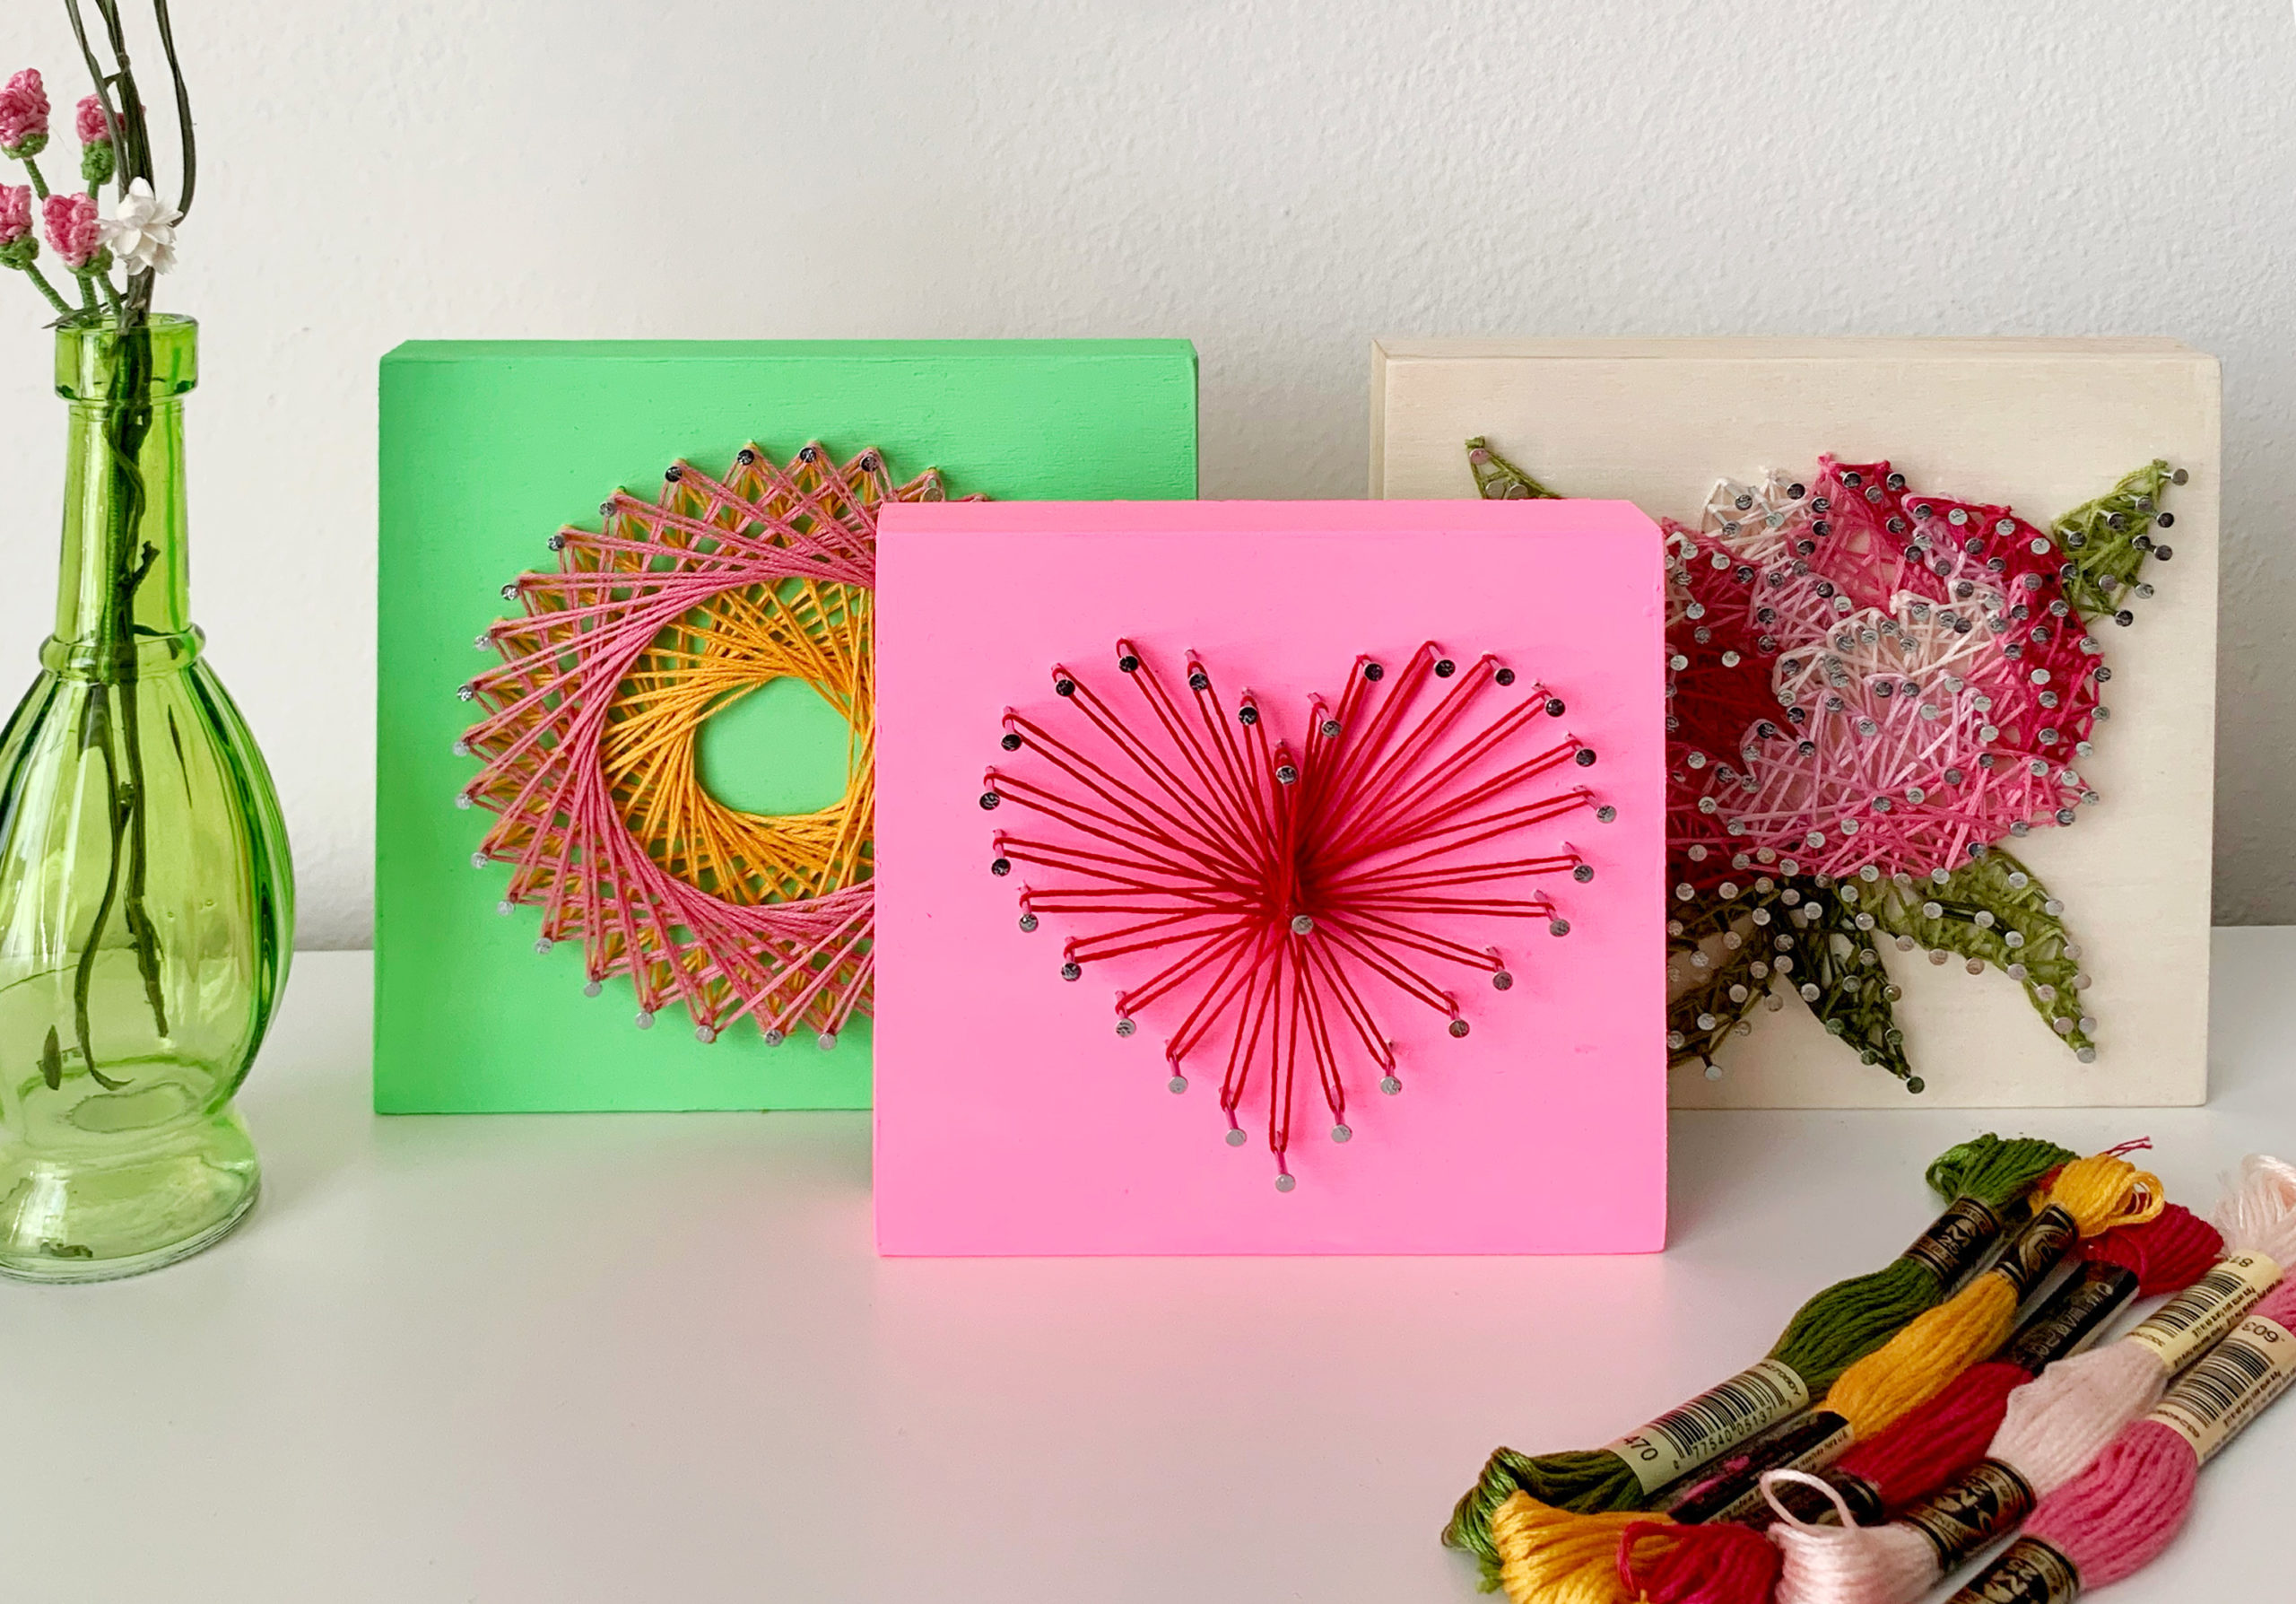
Lastly, don't be afraid to get creative with the color and finish of your nails. While traditional silver nails may be the most commonly used, you can also find nails in different colors such as gold or black. You can even paint the nails yourself to match the color scheme of your design. Additionally, adding a coat of clear nail polish to the nails can give them a glossy finish and prevent them from rusting over time. In conclusion, the depth of the nails used in string art can greatly impact the overall look of your design. By following these top 10 string art nail depths and tips, you can create stunning and unique designs that will impress everyone who sees them. So grab your materials and get started on your next string art project today!String Art: Enhancing Your Design with Nail Color and Finishes


String Art: Enhancing Your Design with Nail Color and Finishes


How String Art Nail Depth Can Transform Your House Design
What is String Art?
 String art
is a unique form of
decorative art
that uses strings, nails, and a wooden board to create intricate and eye-catching designs. This
DIY
craft has been gaining popularity in recent years due to its versatility and ability to add a personalized touch to any space.
String art
is a unique form of
decorative art
that uses strings, nails, and a wooden board to create intricate and eye-catching designs. This
DIY
craft has been gaining popularity in recent years due to its versatility and ability to add a personalized touch to any space.
The Importance of Nail Depth in String Art
 While string art may seem simple at first glance, there is a key element that can greatly impact the final result –
nail depth
. The depth at which the nails are placed in the wooden board can greatly affect the overall look and feel of the piece.
Proper nail depth
is crucial for creating a clean and polished string art design. If the nails are not inserted deep enough, the string may slip off or the final piece may look uneven and messy. On the other hand, if the nails are inserted too deeply, the string may not have enough tension, resulting in a flimsy and lackluster design.
While string art may seem simple at first glance, there is a key element that can greatly impact the final result –
nail depth
. The depth at which the nails are placed in the wooden board can greatly affect the overall look and feel of the piece.
Proper nail depth
is crucial for creating a clean and polished string art design. If the nails are not inserted deep enough, the string may slip off or the final piece may look uneven and messy. On the other hand, if the nails are inserted too deeply, the string may not have enough tension, resulting in a flimsy and lackluster design.
How String Art Nail Depth Can Transform Your House Design
 String art is not only a fun and creative activity, but it can also add a unique and personal touch to your home
decor
. By experimenting with different nail depths, you can create a variety of designs and effects that can completely transform the look of your space.
For instance, using
shallow nail depth
can create a subtle and delicate design, while
deeper nail depth
can create a bolder and more dramatic effect. You can also play around with different nail depths to create texture and dimension in your string art design.
Moreover, string art can be used in various areas of your home, such as the living room, bedroom, or even in the kitchen. It can be used as a statement piece on a blank wall or as a decorative accent on a shelf or mantel. The possibilities are endless, and with the right nail depth, you can create a truly unique and personalized addition to your home.
String art is not only a fun and creative activity, but it can also add a unique and personal touch to your home
decor
. By experimenting with different nail depths, you can create a variety of designs and effects that can completely transform the look of your space.
For instance, using
shallow nail depth
can create a subtle and delicate design, while
deeper nail depth
can create a bolder and more dramatic effect. You can also play around with different nail depths to create texture and dimension in your string art design.
Moreover, string art can be used in various areas of your home, such as the living room, bedroom, or even in the kitchen. It can be used as a statement piece on a blank wall or as a decorative accent on a shelf or mantel. The possibilities are endless, and with the right nail depth, you can create a truly unique and personalized addition to your home.
In Conclusion
 Incorporating string art into your home design not only adds a touch of creativity and personalization, but it also allows you to experiment with different nail depths to achieve different effects and styles. So, why not give string art a try and see how it can transform your house design?


