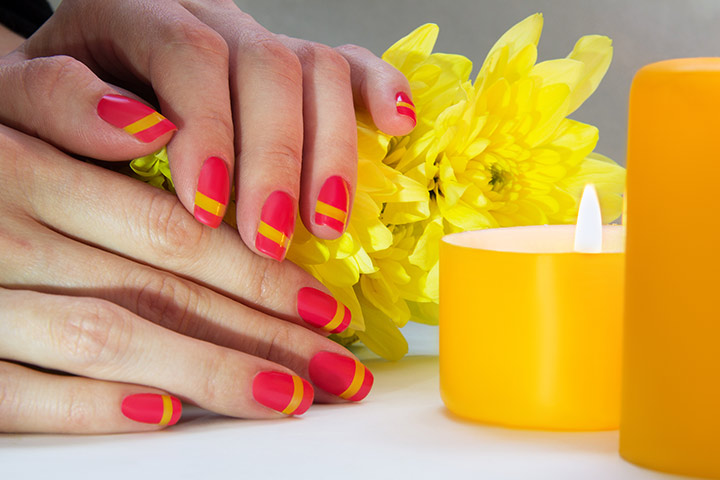
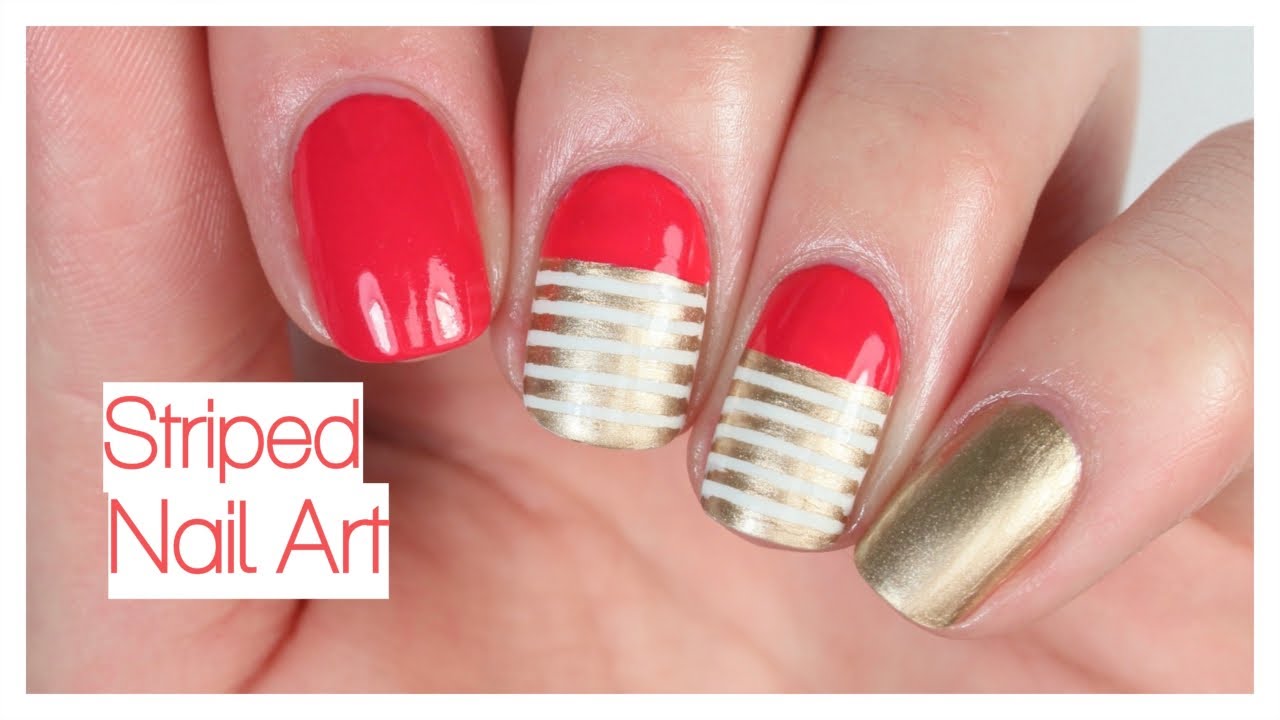
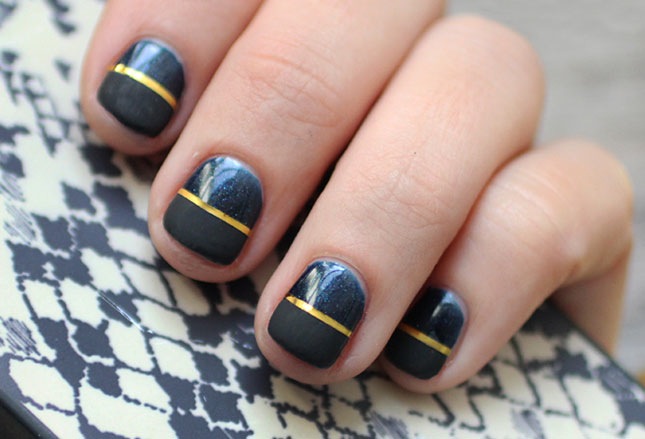
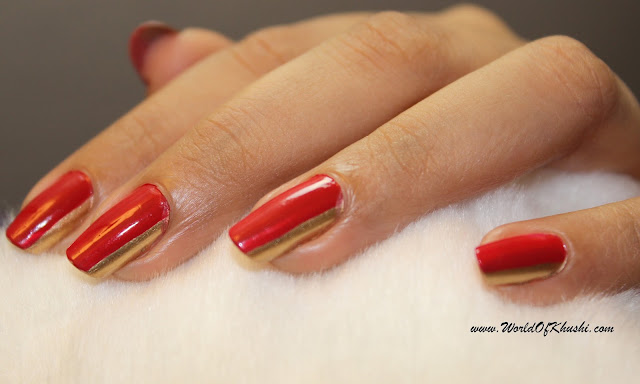
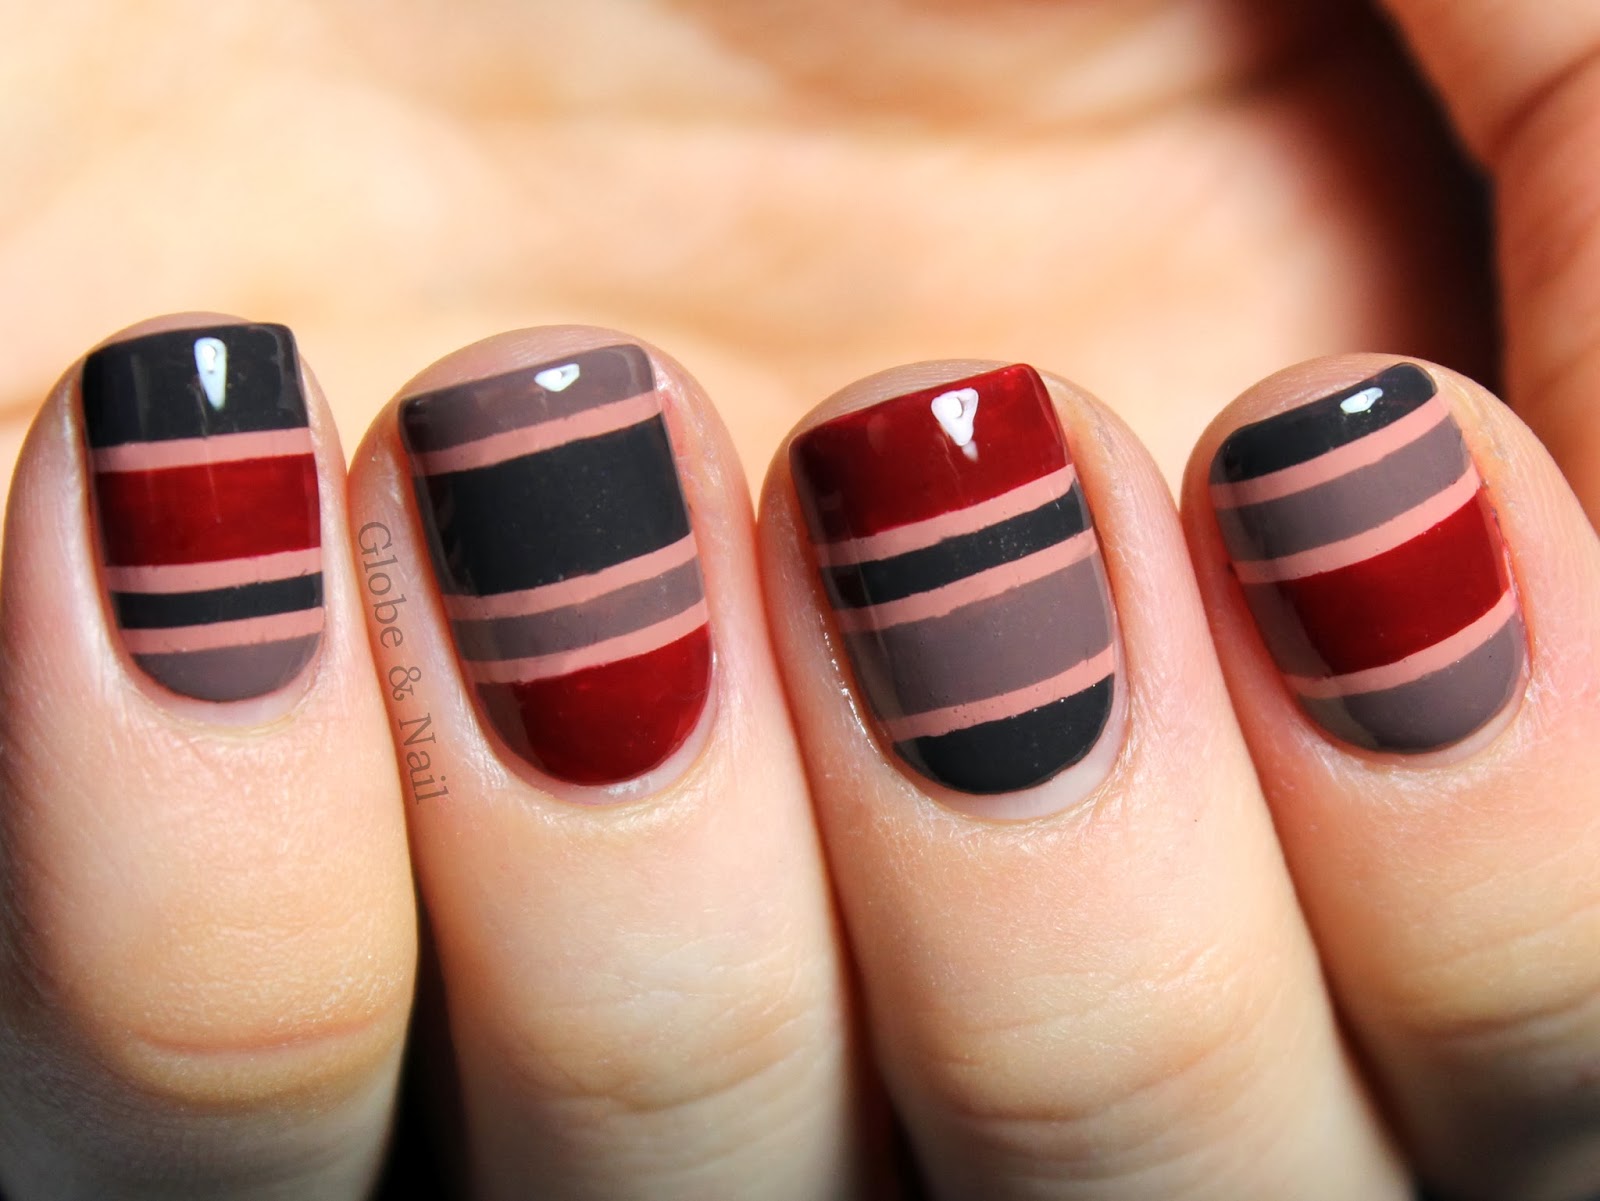
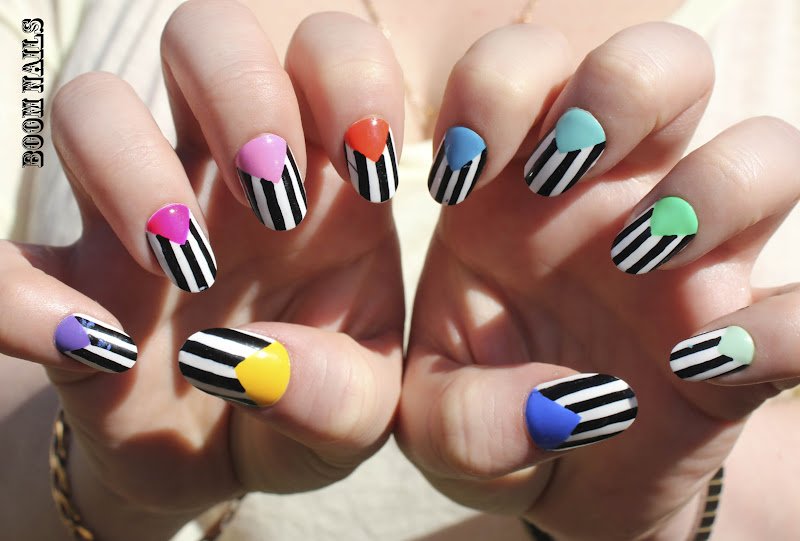
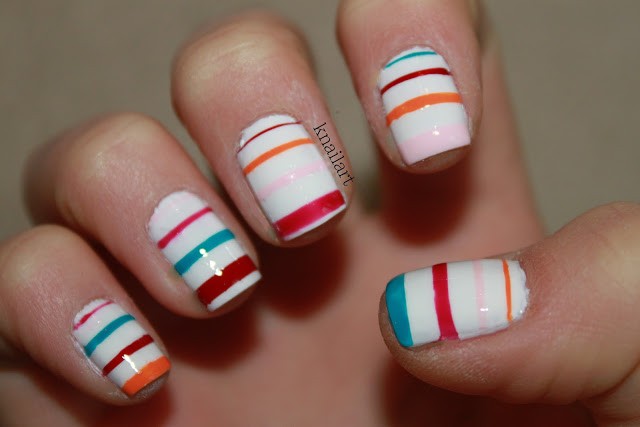
Are you tired of the same old nail designs and looking for a fun and creative way to spice up your manicure? Look no further than striped nail art with floss! This tutorial will show you just how easy it is to achieve a unique and eye-catching look using regular dental floss. First, gather your materials. You will need your choice of nail polish colors, a top coat, and some dental floss. You can also use embroidery floss for a more colorful look. Make sure your nails are clean and dry before starting. Next, apply a base coat to protect your nails and allow it to dry completely. Then, choose your first nail polish color and apply two coats for a solid base. Let the polish dry for a few minutes. Now comes the fun part – the floss! Take a small piece of floss and lay it over your nail in a diagonal or horizontal direction, leaving a small gap between each line. Gently press the floss onto your nail to create stripes. You can overlap the floss for a thicker stripe or use multiple colors for a more intricate design. Once you're happy with the placement of the floss, carefully remove it from your nail. Be sure to do this before the polish dries to avoid any smudging. Then, apply a top coat to seal in the design and give your nails a glossy finish. Voila, you now have a beautiful striped nail art design!1. Striped Nail Art with Floss Tutorial


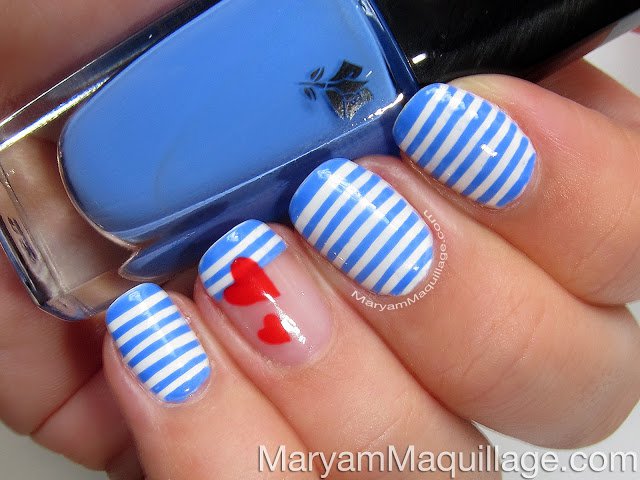
1. Striped Nail Art with Floss Tutorial
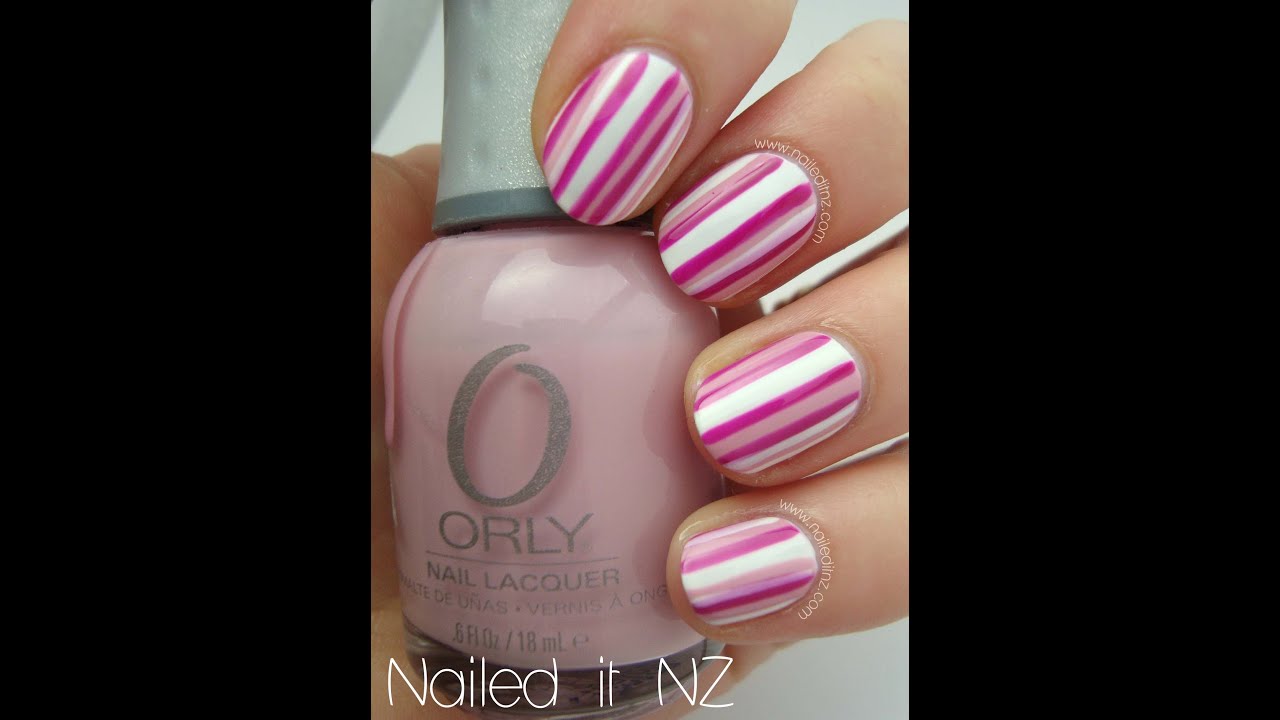


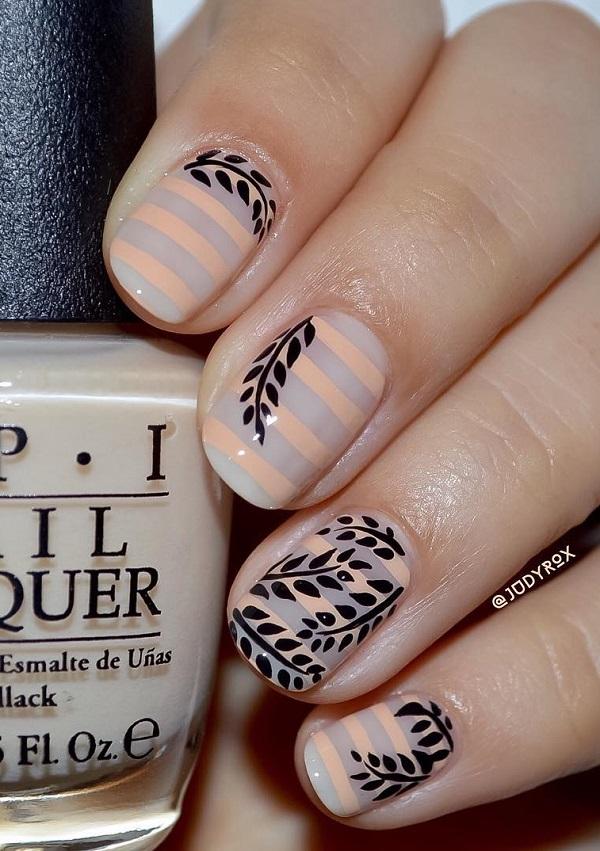
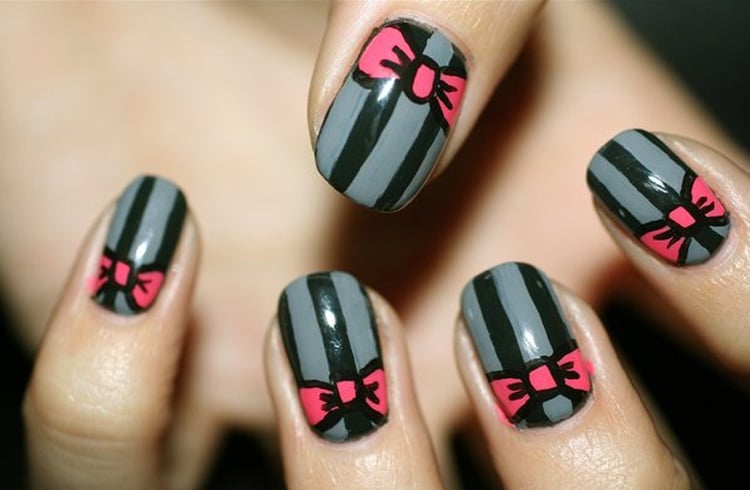
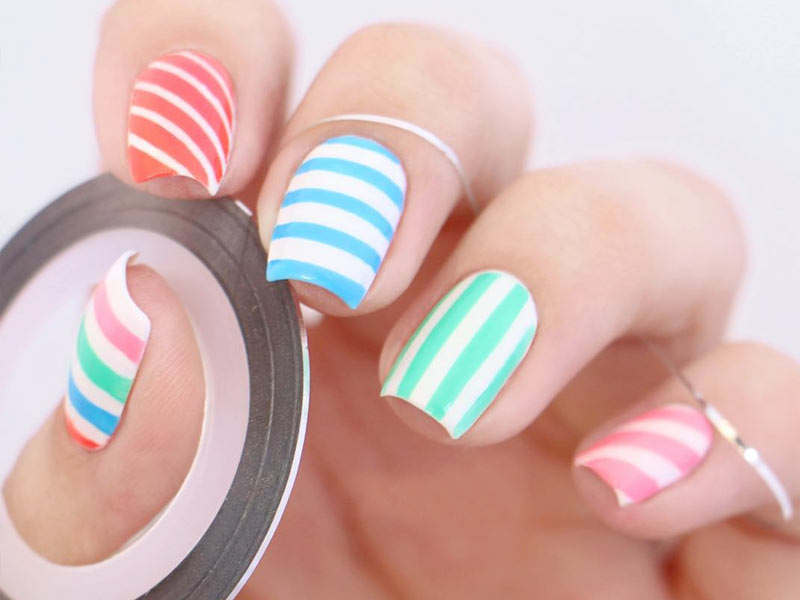
Are you searching for a simple and affordable way to achieve striped nails without having to buy expensive tools? Look no further than this easy DIY striped nail art with floss! With just a few household items, you can create a unique and trendy nail design in no time. Start by choosing your desired nail polish colors and apply a base coat to your clean, dry nails. Once the base coat is dry, choose your first color and apply two coats for a solid base. Let the polish dry for a few minutes. Next, take a small piece of dental floss and wrap it tightly around your index finger. This will create a makeshift nail art tool. Dip the floss into your second nail polish color and gently press it onto your nail in a diagonal or horizontal direction. You can experiment with different angles and overlap the lines for a unique look. Once you're satisfied with the design, carefully remove the floss from your nail. If there are any areas that need touch-ups, you can use a small brush or toothpick to clean up the edges. Finish off with a top coat for a shiny finish and to seal in your design. This DIY striped nail art is not only easy, but also budget-friendly!2. Easy DIY Striped Nail Art with Floss


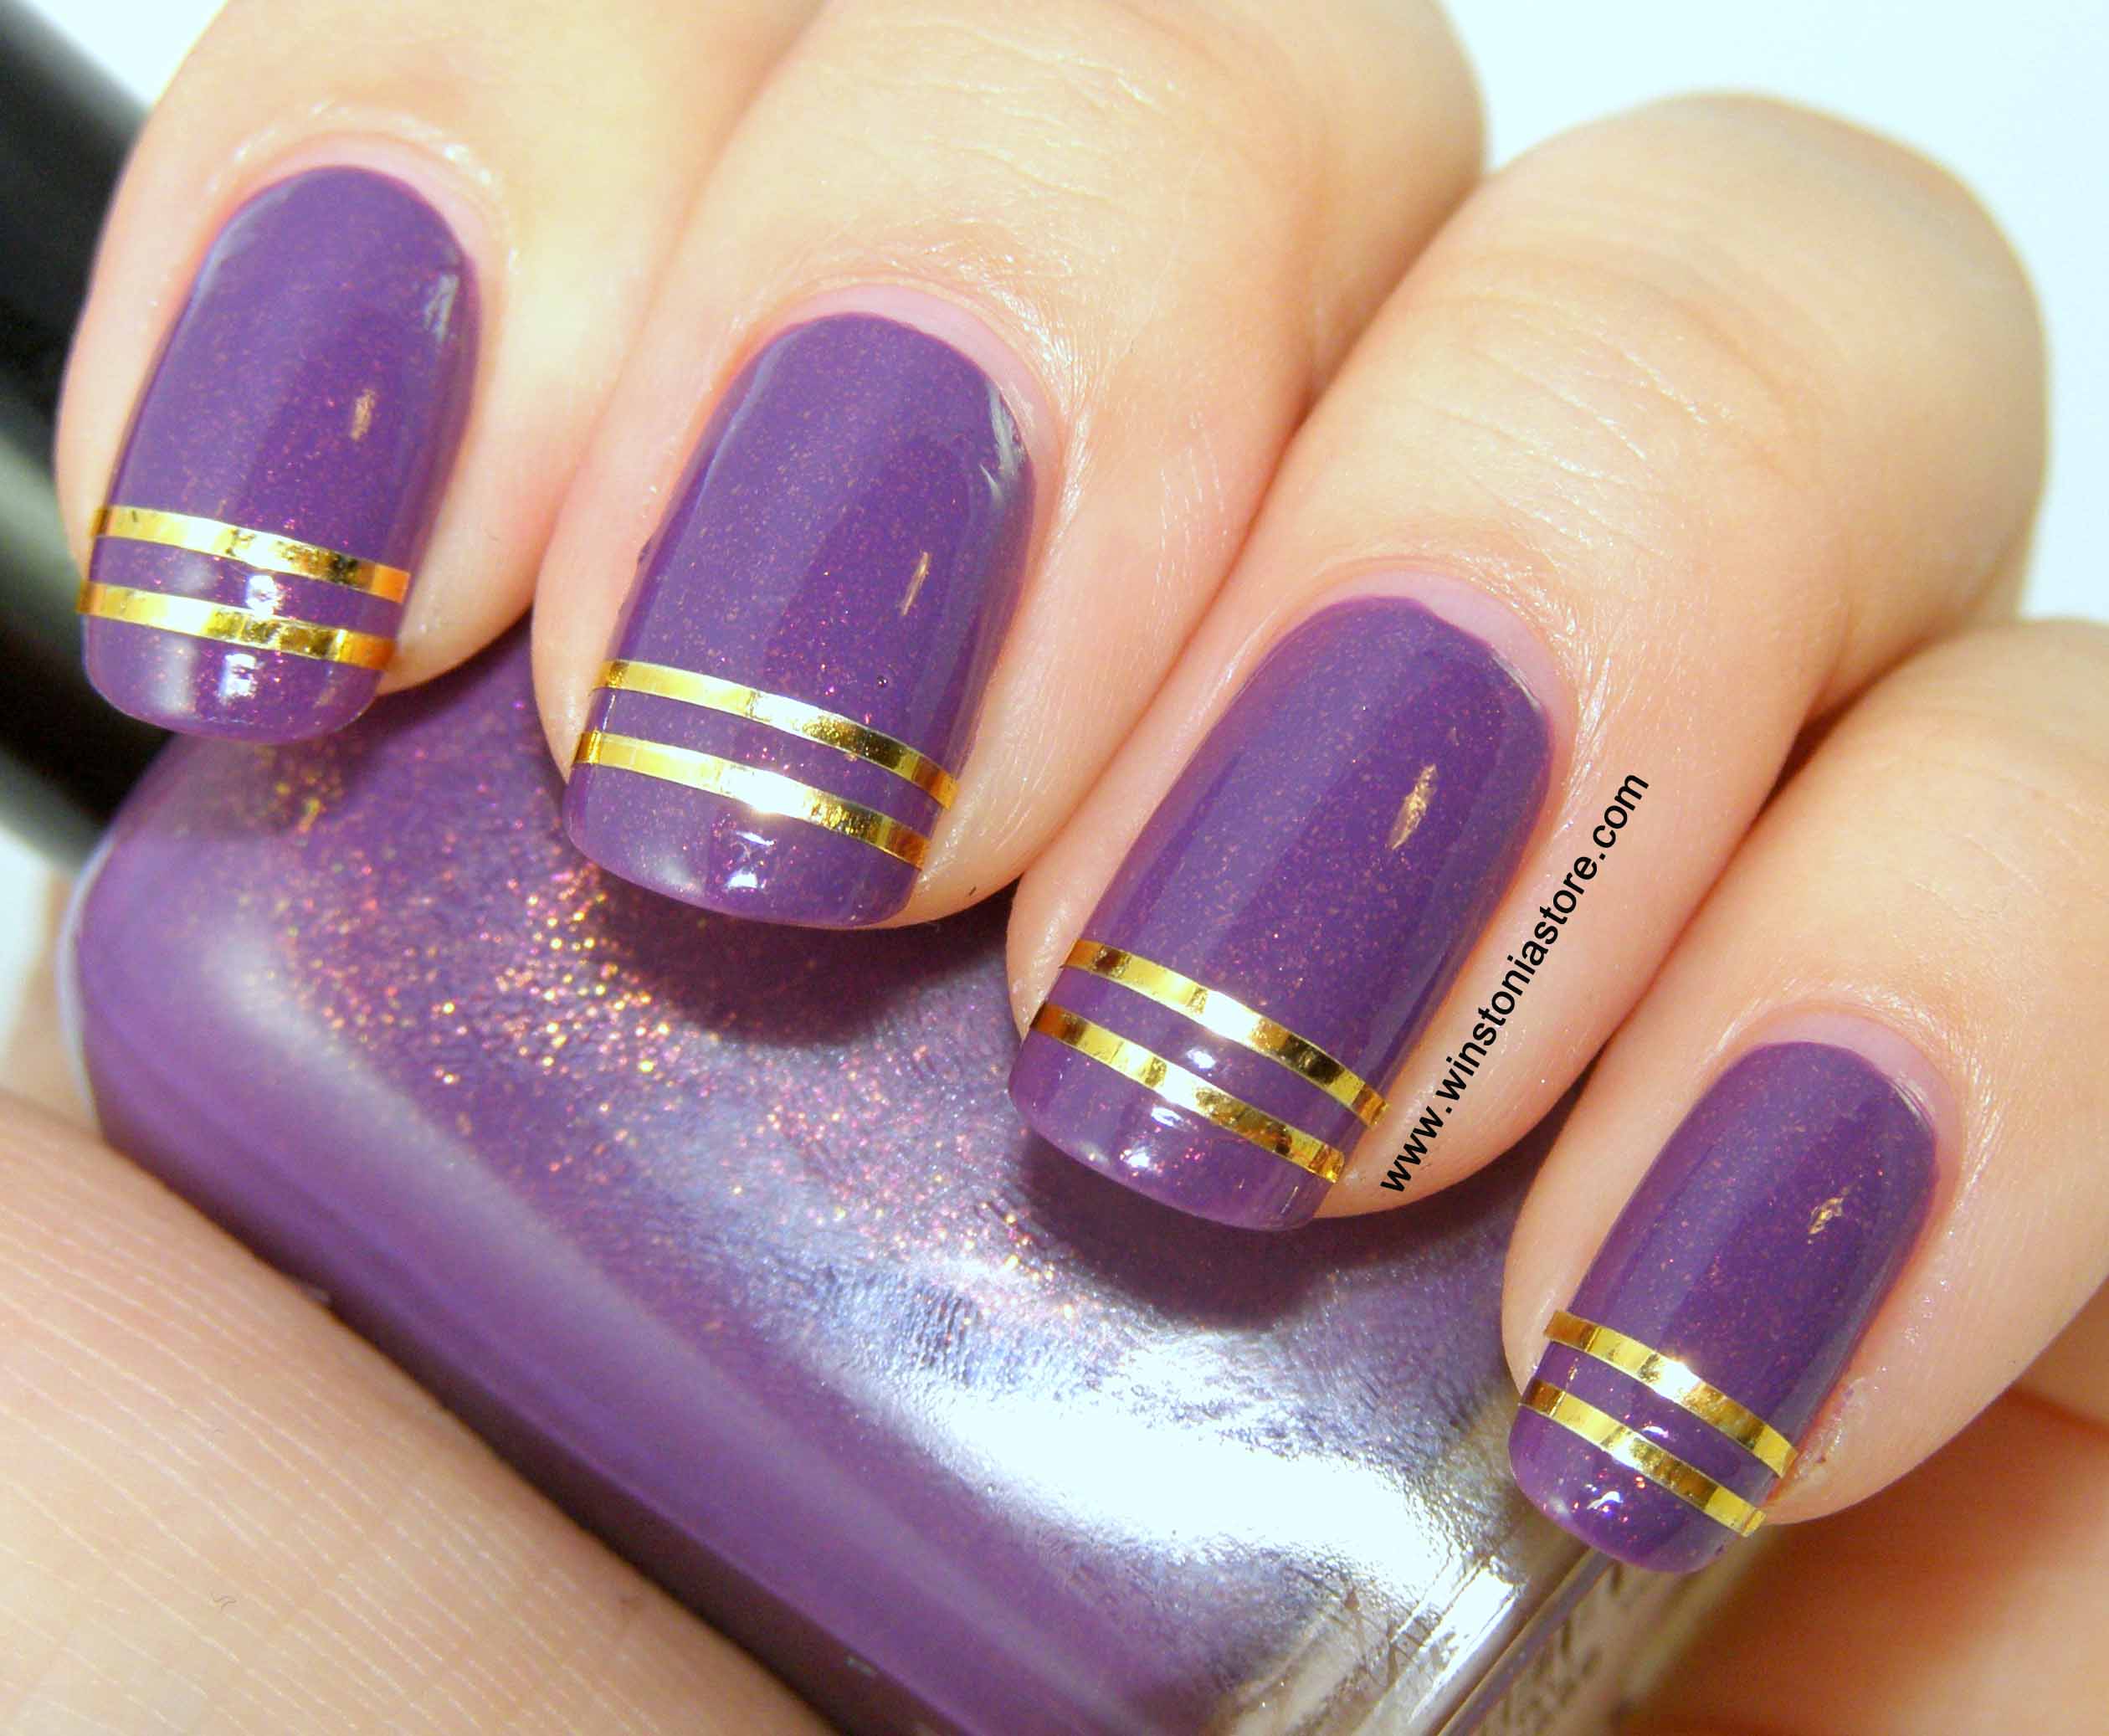
2. Easy DIY Striped Nail Art with Floss


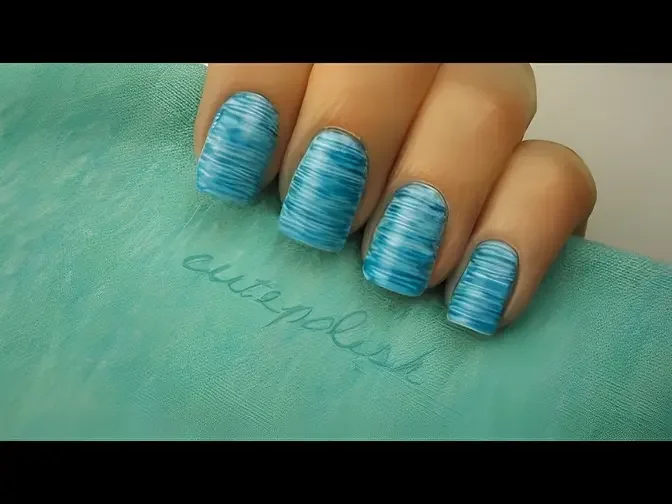
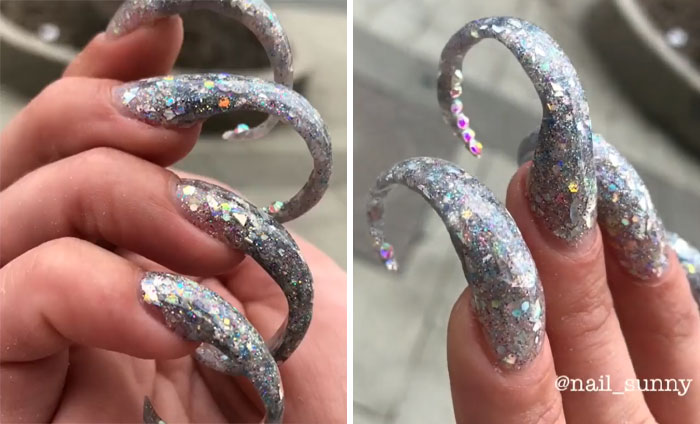
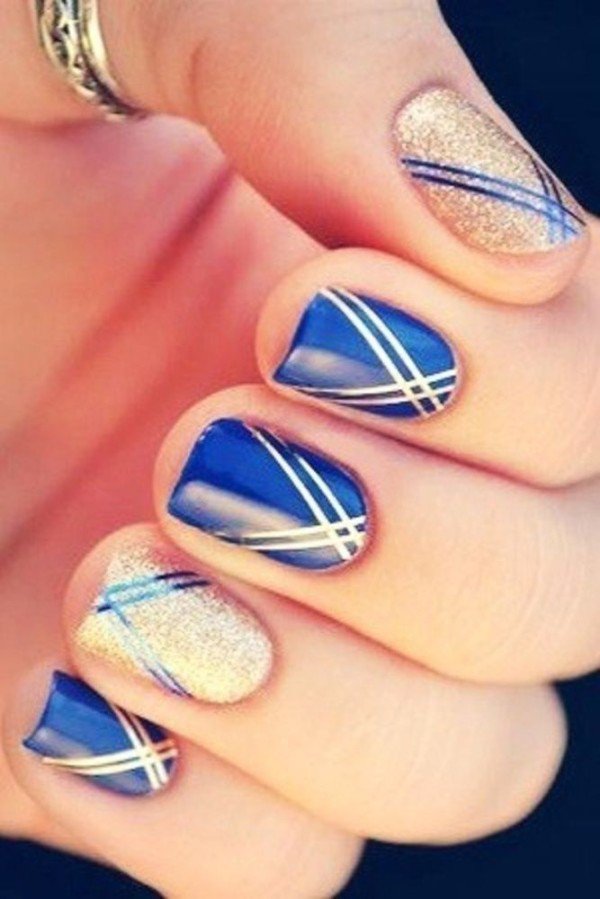
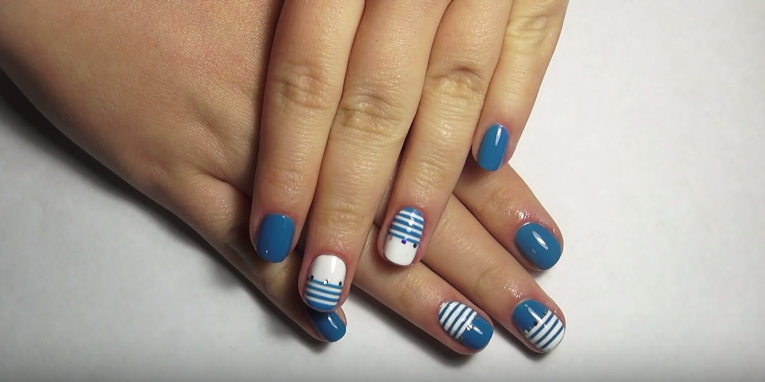
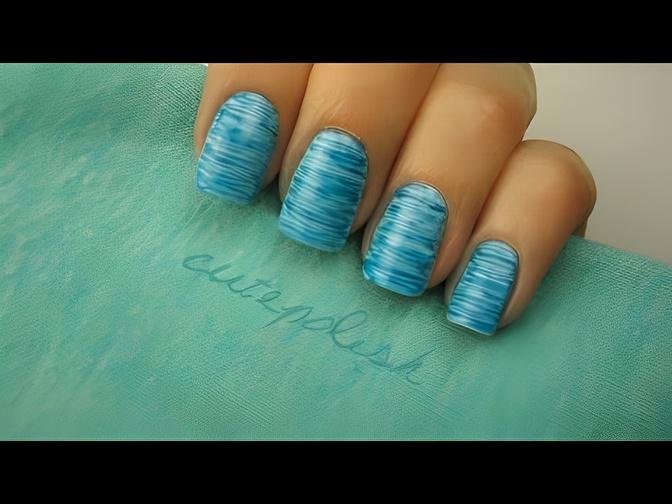
If you're tired of the same old stripes on your nails, it's time to get creative and try out some unique striped nail art designs using floss! With just a few simple techniques, you can achieve a variety of fun and eye-catching designs to show off on your nails. For a more intricate look, try using multiple colors of dental floss to create a plaid or criss-cross pattern on your nails. You can also experiment with different textures by using embroidery floss or adding glitter to your design. The possibilities are endless! If you want to take your striped nail art to the next level, try incorporating different shapes and patterns into your design. Use the floss to create geometric shapes, polka dots, or even a chevron pattern. You can also use the floss to create negative space designs by leaving gaps between the lines. Don't be afraid to get creative and have fun with your striped nail art designs using floss. With a little bit of experimentation, you can achieve a unique and personalized look that will make your nails stand out.3. Creative Striped Nail Art Designs Using Floss


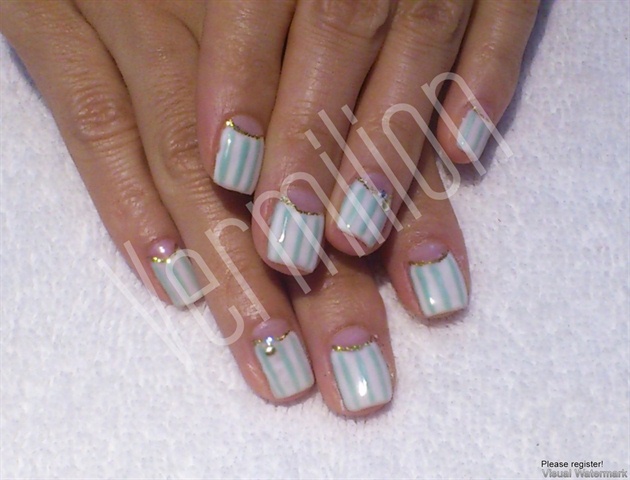
3. Creative Striped Nail Art Designs Using Floss

Want to achieve professional-looking striped nail art without having to spend a fortune on fancy tools? Look no further than dental floss! This household item can easily be used to achieve clean and precise lines on your nails. Start by applying a base coat to your clean, dry nails and letting it dry completely. Then, choose your first nail polish color and apply two coats for a solid base. Once the polish is dry, take a small piece of dental floss and wrap it tightly around your index finger. Dip the floss into your second nail polish color and gently press it onto your nail in a diagonal or horizontal direction. Make sure to leave a small gap between each line for a clean and defined look. You can also use the floss to create different patterns and shapes on your nails. Once you're happy with the design, carefully remove the floss from your nail. Use a small brush or toothpick to clean up any edges or touch up any areas that need it. Finish off with a top coat for a shiny and long-lasting finish. With this simple technique, you can create stunning striped nail art using dental floss without breaking the bank.4. How to Create Striped Nail Art with Dental Floss


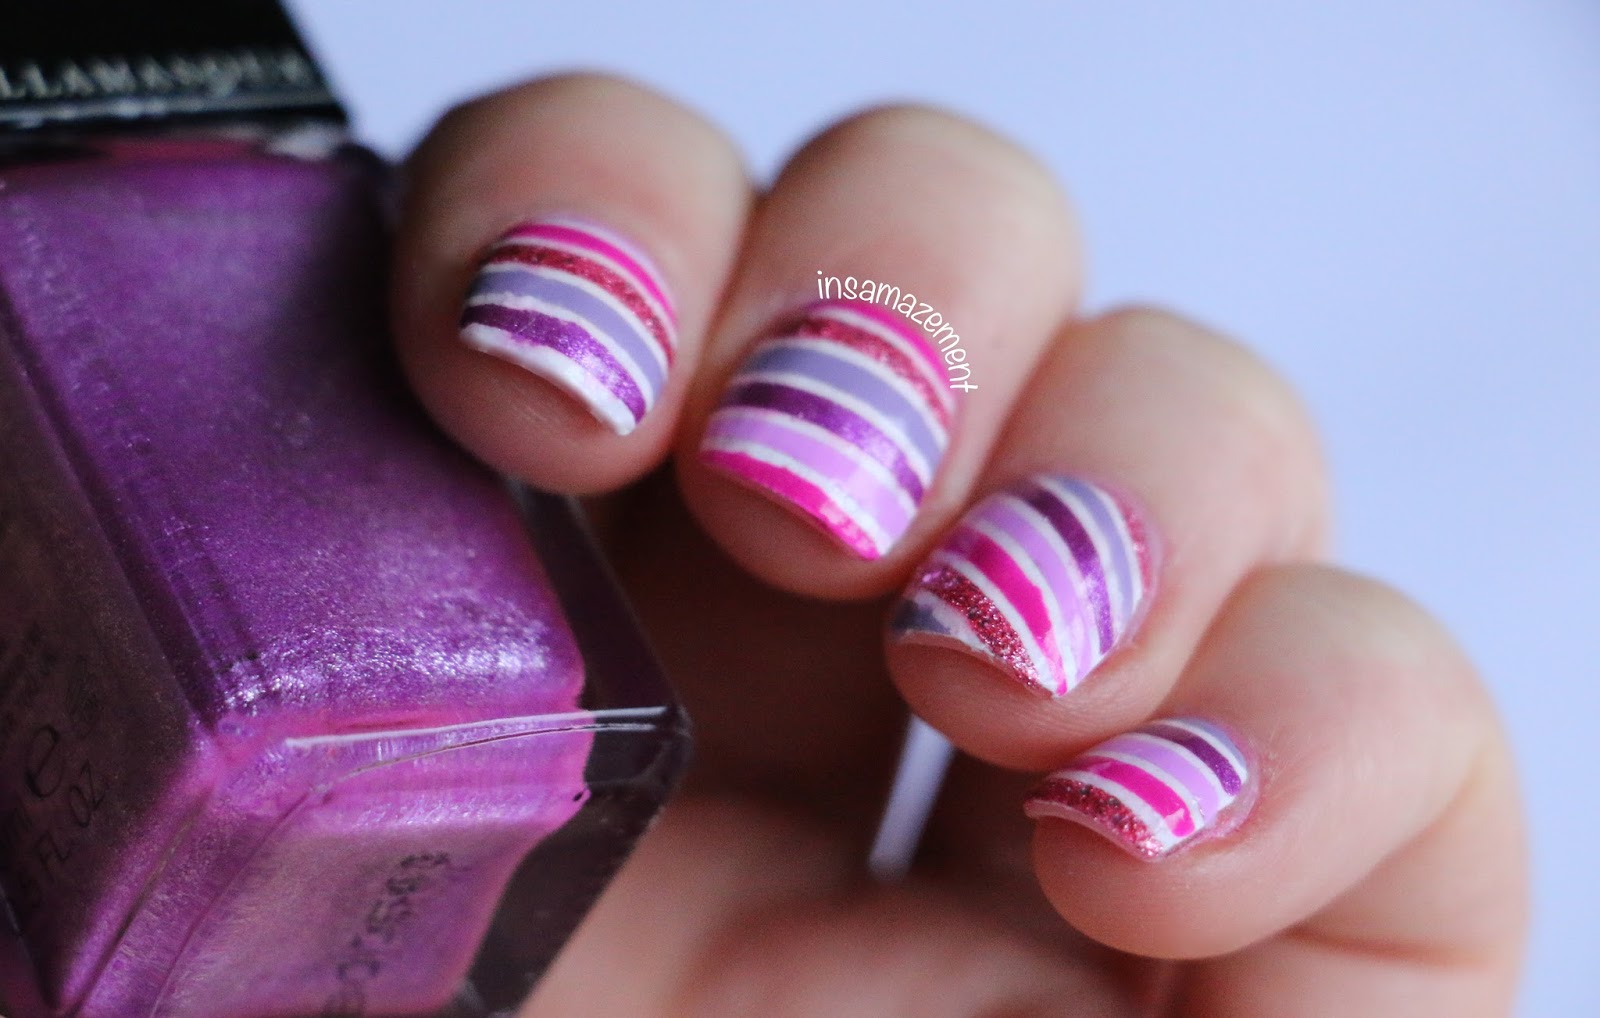
4. How to Create Striped Nail Art with Dental Floss


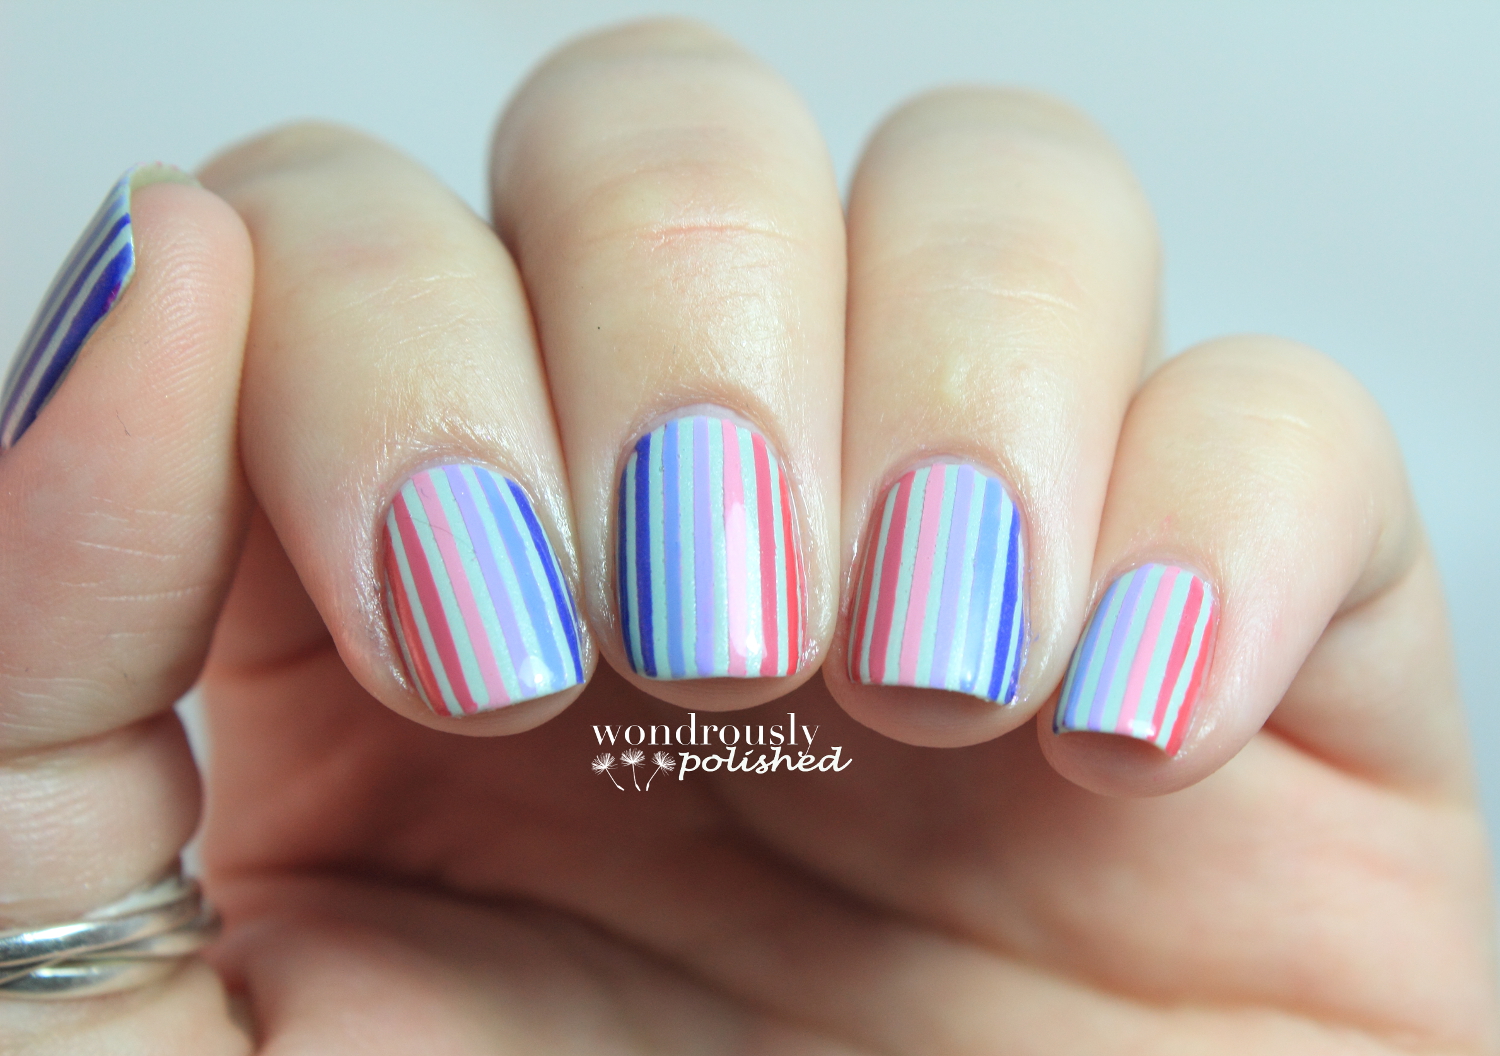
Looking for a way to add a pop of color to your striped nail art? Consider using embroidery floss! This versatile material comes in a variety of vibrant colors and can easily be incorporated into your nail designs. Start by choosing your desired nail polish colors and applying a base coat to your clean and dry nails. Once the base coat is dry, apply two coats of your first nail polish color and let it dry for a few minutes. Next, take a small piece of embroidery floss and tie it tightly around your index finger. Dip the floss into your second nail polish color and gently press it onto your nail in a diagonal or horizontal direction. The embroidery floss will create thicker and more textured lines compared to using dental floss. You can also experiment with different colors and patterns by using multiple strands of embroidery floss. This will give your striped nail art a more intricate and unique look. Finish off with a top coat to seal in your design and give your nails a glossy finish. With embroidery floss, you can achieve colorful and eye-catching striped nail art that will make your nails stand out.5. Colorful Striped Nail Art with Embroidery Floss
5. Colorful Striped Nail Art with Embroidery Floss


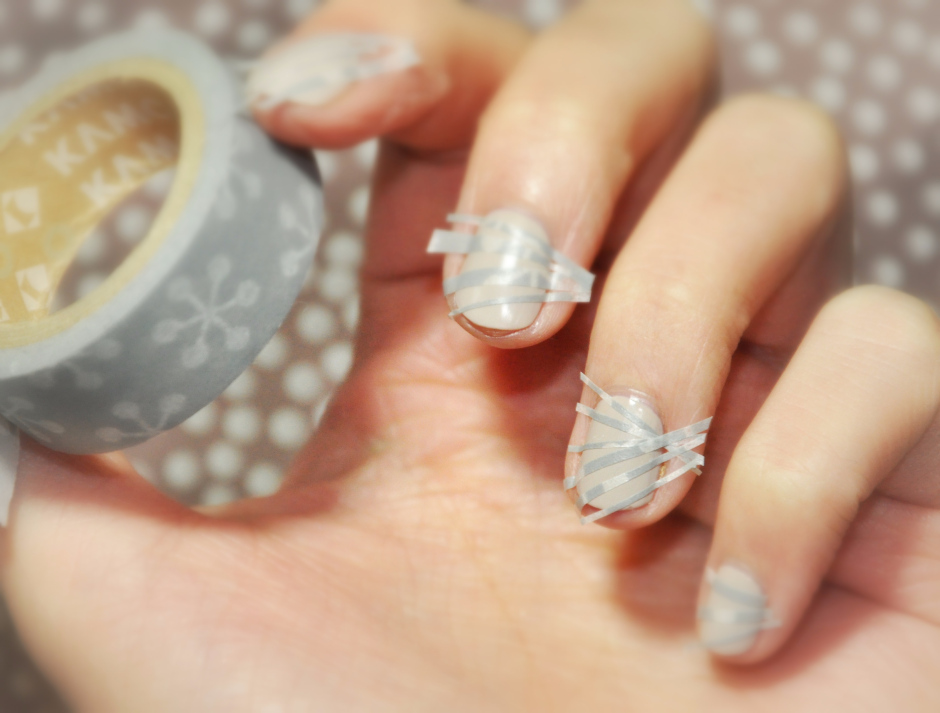
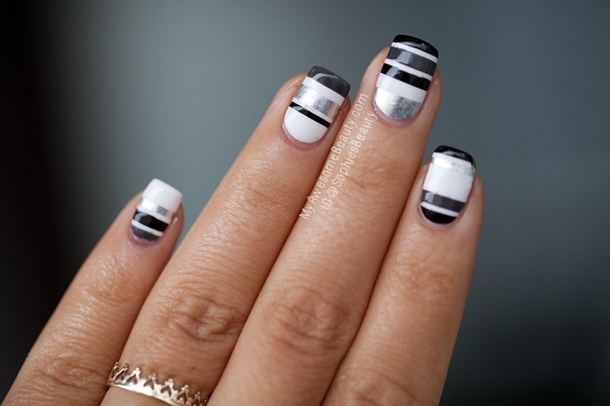
If you want to achieve clean and precise lines on your nails, using floss and tape is a great option. This technique allows you to create perfectly straight stripes without the hassle of trying to freehand them. Start by applying a base coat to your clean and dry nails and letting it dry completely. Then, choose your first nail polish color and apply two coats for a solid base. Once the polish is dry, place a strip of tape in the desired direction on your nail. You can use regular tape or washi tape for a fun and colorful look. Next, take a small piece of dental floss and wrap it tightly around your index finger. Dip the floss into your second nail polish color and gently press it onto your nail, making sure to cover the tape. Carefully remove the floss and tape, and let the polish dry for a few minutes. Finish off with a top coat to seal in your design and give your nails a glossy finish. This technique is also great for creating negative space designs by leaving gaps between the tape and floss lines. With floss and tape, you can achieve flawless and precise striped nail art designs without any hassle.6. Striped Nail Art with Floss and Tape


6. Striped Nail Art with Floss and Tape


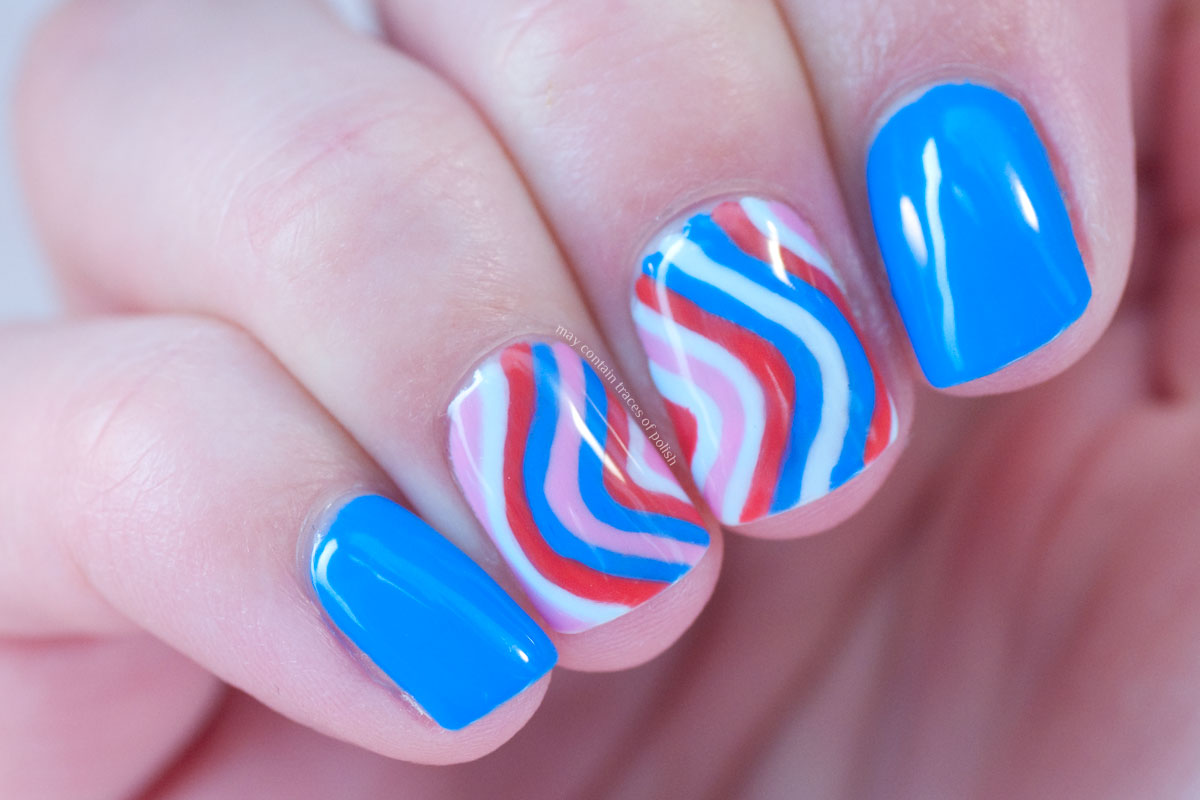
Looking for a way to add some personality and flair to your striped nail art? Try incorporating different colors and patterns using floss for a fun and funky look! Start by choosing your desired nail polish colors and applying a base coat to your clean and dry nails. Once the base coat is dry, apply two coats of your first nail polish color and let it dry for a few minutes. Next, take a small piece of dental floss and wrap it tightly around your index finger. Dip the floss into your second nail polish color and gently press it onto your nail in a diagonal or horizontal direction. You can also use multiple colors of floss for a more colorful and eye-catching design. For a funky twist, try using the floss to create different patterns and shapes on your nails. You can even add some glitter or rhinestones for some extra sparkle. Finish off with a top coat to seal in your design and give your nails a glossy finish. With this technique, you can have fun and experiment with different colors and patterns to achieve a unique and funky striped nail art design.7. Fun and Funky Striped Nail Art with Floss


7. Fun and Funky Striped Nail Art with Floss

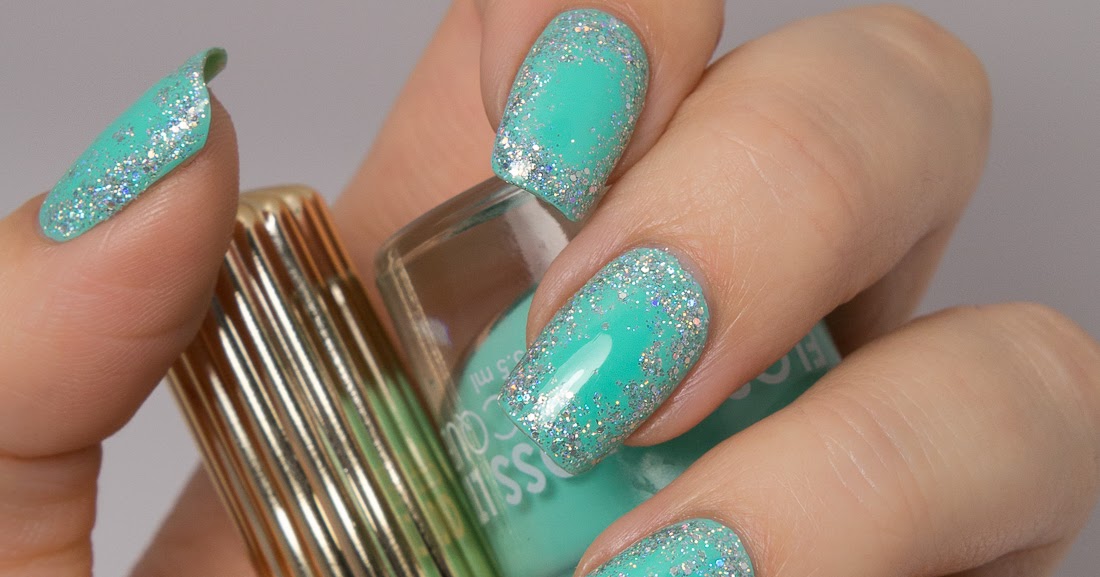
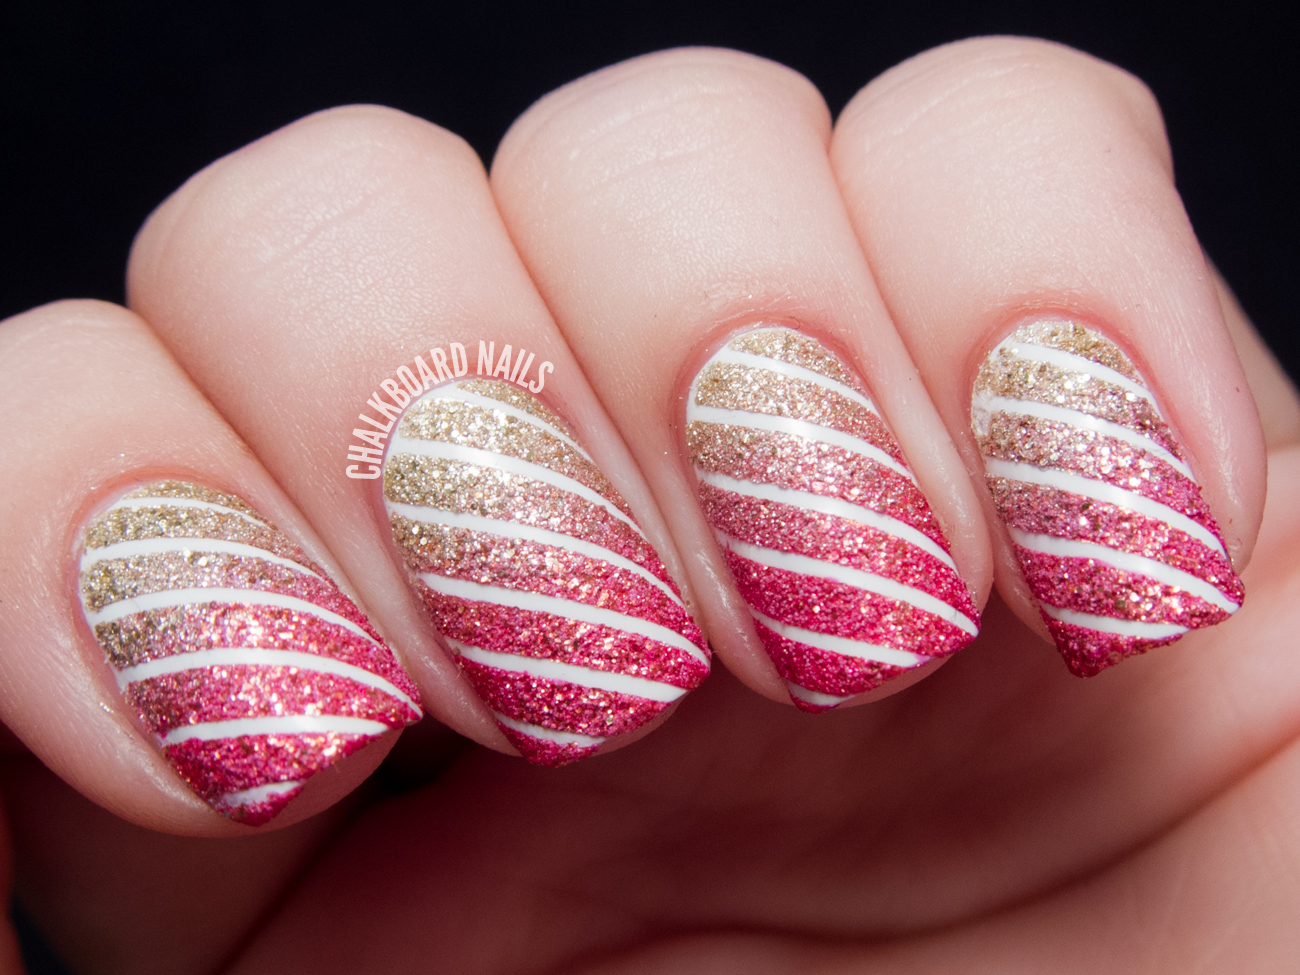
Want to add some sparkle and shine to your striped nail art? Incorporate some glitter into your design for a dazzling and eye-catching look! Start by applying a base coat to your clean and dry nails and letting it dry completely. Then, choose your first nail polish color and apply two coats for a solid base. Once the polish is dry, take a small piece of dental floss and wrap it tightly around your index finger. Dip the floss into your second nail polish color and gently press it onto your nail in a diagonal or horizontal direction. While the polish is still wet, sprinkle some glitter over the top of the floss lines. You can also use a small brush to apply the glitter for more precision. Once the glitter is in place, carefully remove the floss from your nail. Finish off with a top coat to seal in your design and give your nails a glossy finish. With this technique, you can achieve a glamorous and sparkly striped nail art design.8. Striped Nail Art with Floss and Glitter

8. Striped Nail Art with Floss and Glitter
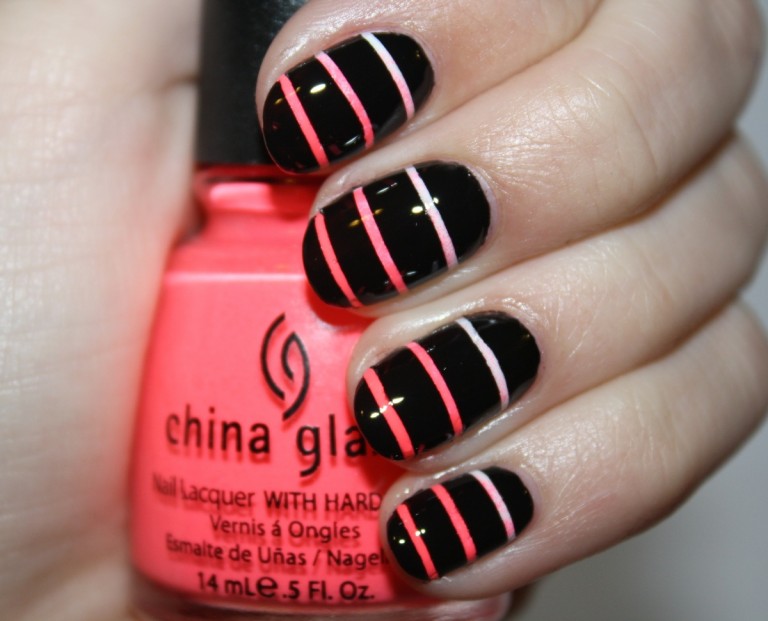
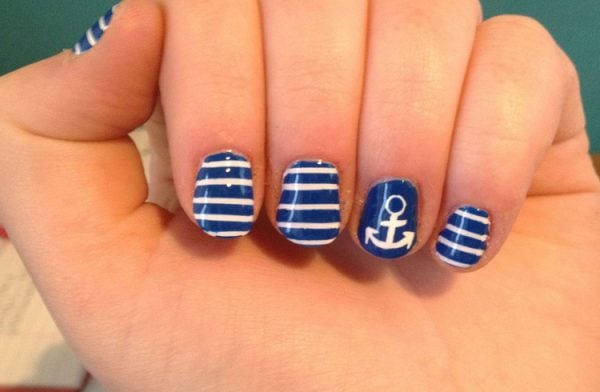
Looking to make a statement with your striped nail art? Go for a bold and beautiful look by using bright and contrasting colors of floss to create a striking design. Start by choosing your desired nail polish colors and applying a base coat to your clean and dry nails. Once the base coat is dry, apply two coats of your first nail polish color and let it dry for a few minutes. Next, take a small piece of dental floss and wrap it tightly around your index finger. Dip the floss into your second nail polish color and gently press it onto your nail in a diagonal or horizontal direction. You can experiment with different angles and patterns for a bold and unique look. For an extra pop of color, use multiple strands of floss or add some glitter or rhinestones. Finish off with a top coat to seal in your design and give your nails a glossy finish. With this technique, you can achieve a bold and beautiful striped nail art design that will turn heads.9. Bold and Beautiful Striped Nail Art with Floss


9. Bold and Beautiful Striped Nail Art with Floss

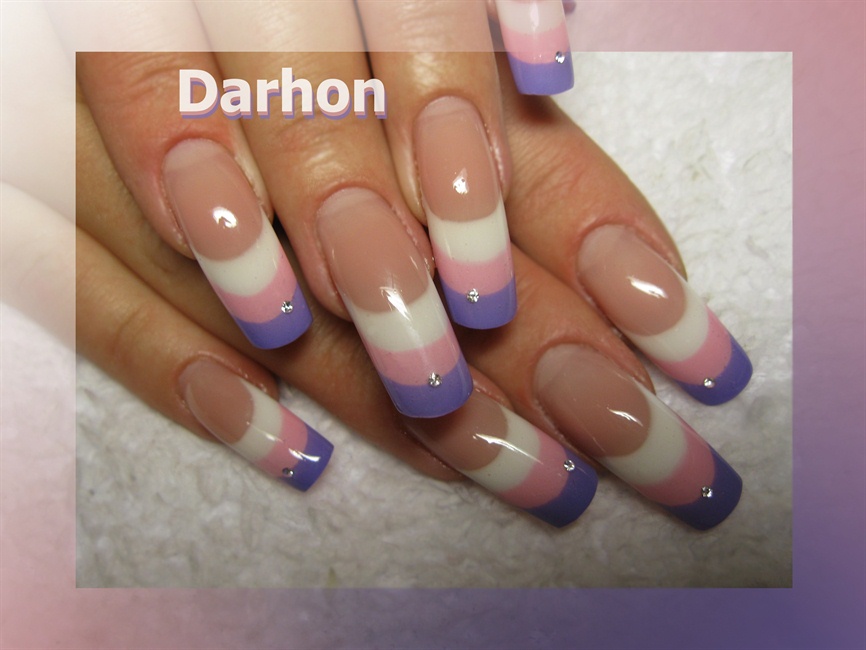
Looking for some inspiration for your next striped nail art design? Get creative and try out these unique ideas using floss to achieve a one-of-a-kind look on your nails. For a twist on traditional stripes, try using multiple colors of floss to create a gradient or ombre effect on your nails. You can also use the floss to create a plaid or criss-cross pattern for a more intricate design. If you want to add some texture to your stripes, try using textured floss or adding some studs or beads to your design. You can also experiment with different shapes and patterns by using the floss to create geometric shapes or negative space designs. The possibilities are endless when it comes to unique striped nail art ideas using floss. Don't be afraid to get creative and try out different techniques and combinations to achieve a truly one-of-a-kind look on your nails.10. Unique Striped Nail Art Ideas Using Floss
10. Unique Striped Nail Art Ideas Using Floss


Striped Nail Art with Floss: An Easy and Unique Way to Elevate Your Nail Game

Introduction
 When it comes to nail art, the possibilities are endless. From intricate designs to bold colors, there are so many ways to express your personal style through your nails. But have you ever thought about using
floss
to create unique and eye-catching striped nail art? Yes, you read that right – floss! This unconventional technique is gaining popularity in the world of nail art and for good reason. Not only is it easy and affordable, but it also allows for endless creativity and customization. In this article, we'll explore everything you need to know about creating
striped nail art with floss
and how it can elevate your nail game to the next level.
When it comes to nail art, the possibilities are endless. From intricate designs to bold colors, there are so many ways to express your personal style through your nails. But have you ever thought about using
floss
to create unique and eye-catching striped nail art? Yes, you read that right – floss! This unconventional technique is gaining popularity in the world of nail art and for good reason. Not only is it easy and affordable, but it also allows for endless creativity and customization. In this article, we'll explore everything you need to know about creating
striped nail art with floss
and how it can elevate your nail game to the next level.
What You'll Need
 Before we dive into the step-by-step process of creating
striped nail art with floss
, let's first go over the materials you'll need. The main tool you'll be using is, of course,
floss
. Any type of floss will work, but for best results, it's recommended to use waxed floss as it is less likely to fray. You'll also need a base and top coat, a nail polish color of your choice, and a pair of scissors. Optionally, you can also use a nail art brush or toothpick for more precise designs.
Before we dive into the step-by-step process of creating
striped nail art with floss
, let's first go over the materials you'll need. The main tool you'll be using is, of course,
floss
. Any type of floss will work, but for best results, it's recommended to use waxed floss as it is less likely to fray. You'll also need a base and top coat, a nail polish color of your choice, and a pair of scissors. Optionally, you can also use a nail art brush or toothpick for more precise designs.
The Step-by-Step Process
 Now that you have all your materials ready, let's get to the fun part – creating
striped nail art with floss
! Follow these simple steps for a flawless and professional-looking design:
Now that you have all your materials ready, let's get to the fun part – creating
striped nail art with floss
! Follow these simple steps for a flawless and professional-looking design:
Step 1: Prep Your Nails
Start by removing any old nail polish and shaping your nails to your desired length and shape. Then, apply a base coat to protect your nails and prevent staining.Step 2: Paint Your Nails
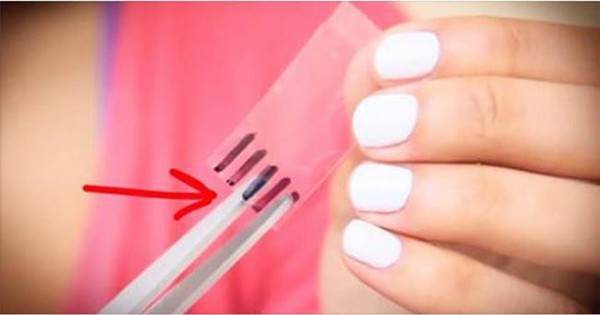
Choose a nail polish color that you want to use as the base for your striped design. Apply two coats of the polish and let it dry completely.Step 3: Cut the Floss
Take a piece of floss and cut it into small strips, about 1-2 inches in length. The number of strips you'll need will depend on the width and design of your stripes.Step 4: Place the Floss
Dip one end of the floss strip into your chosen nail polish color and place it on your nail. You can place it in a straight line or create a curved pattern – the possibilities are endless! Gently press down on the floss to ensure it adheres to your nail.Step 5: Remove the Floss
Once the floss is in place, carefully lift it off your nail using a pair of tweezers or your fingers. This will leave behind a clean and crisp stripe on your nail.Step 6: Repeat and Seal
Repeat the previous steps to create as many stripes as you'd like on each nail. Once you're satisfied with your design, let it dry for a few minutes and then seal it with a top coat to protect and give it a glossy finish.Final Thoughts
 Using floss to create striped nail art may seem unconventional, but the end result is nothing short of stunning. The best part? You can play around with different colors and patterns to create unique and personalized designs. So next time you're looking to elevate your nail game, remember to reach for some floss and get creative!


