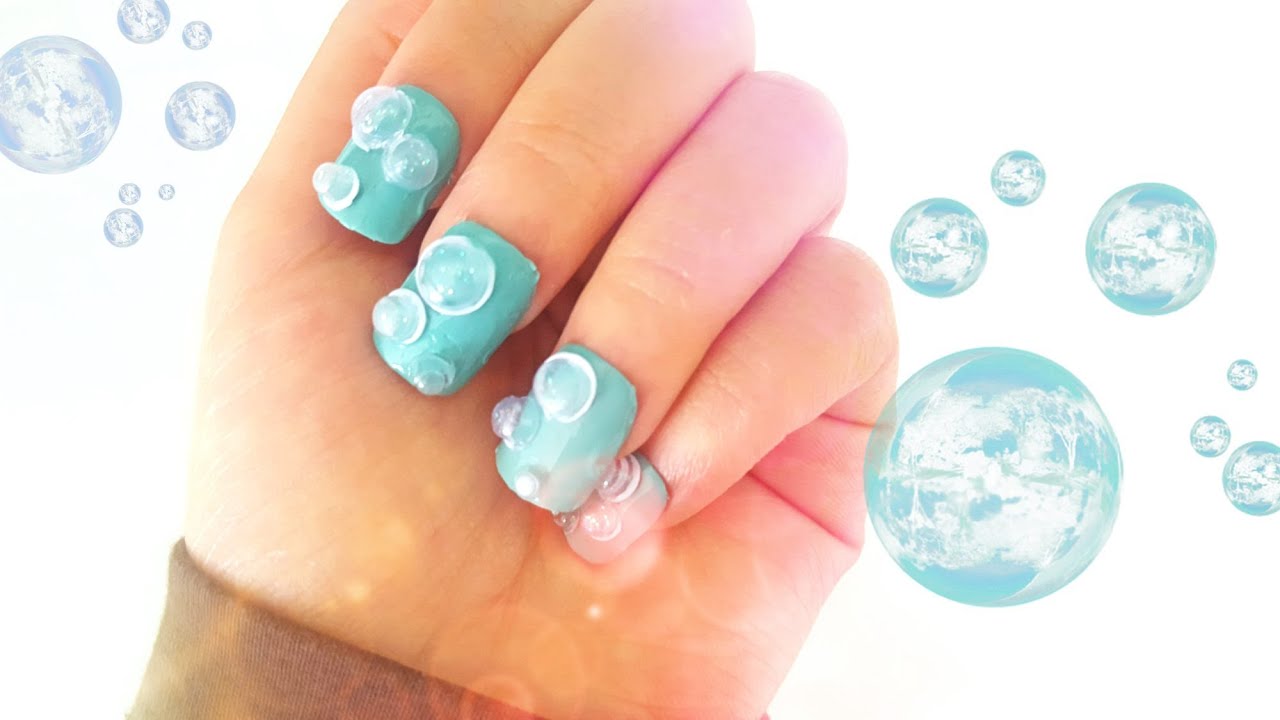
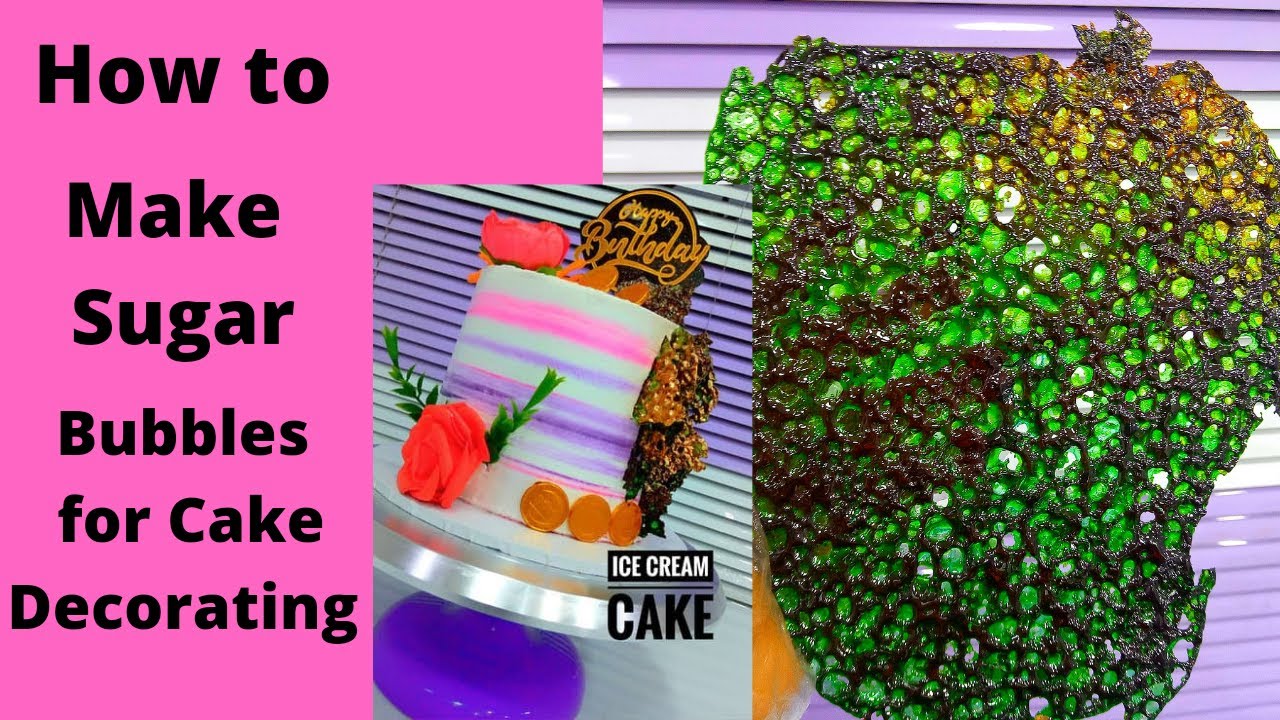
Are you looking for a fun and unique way to spice up your nail game? Look no further than sugar bubbles nail art! This trendy nail design involves creating a textured, bubbly effect on your nails using small sugar beads. It's surprisingly easy to achieve and the end result is absolutely stunning. Follow along with our tutorial to learn how to create your own sugar bubbles nail art at home.1. Sugar Bubbles Nail Art Tutorial


1. Sugar Bubbles Nail Art Tutorial


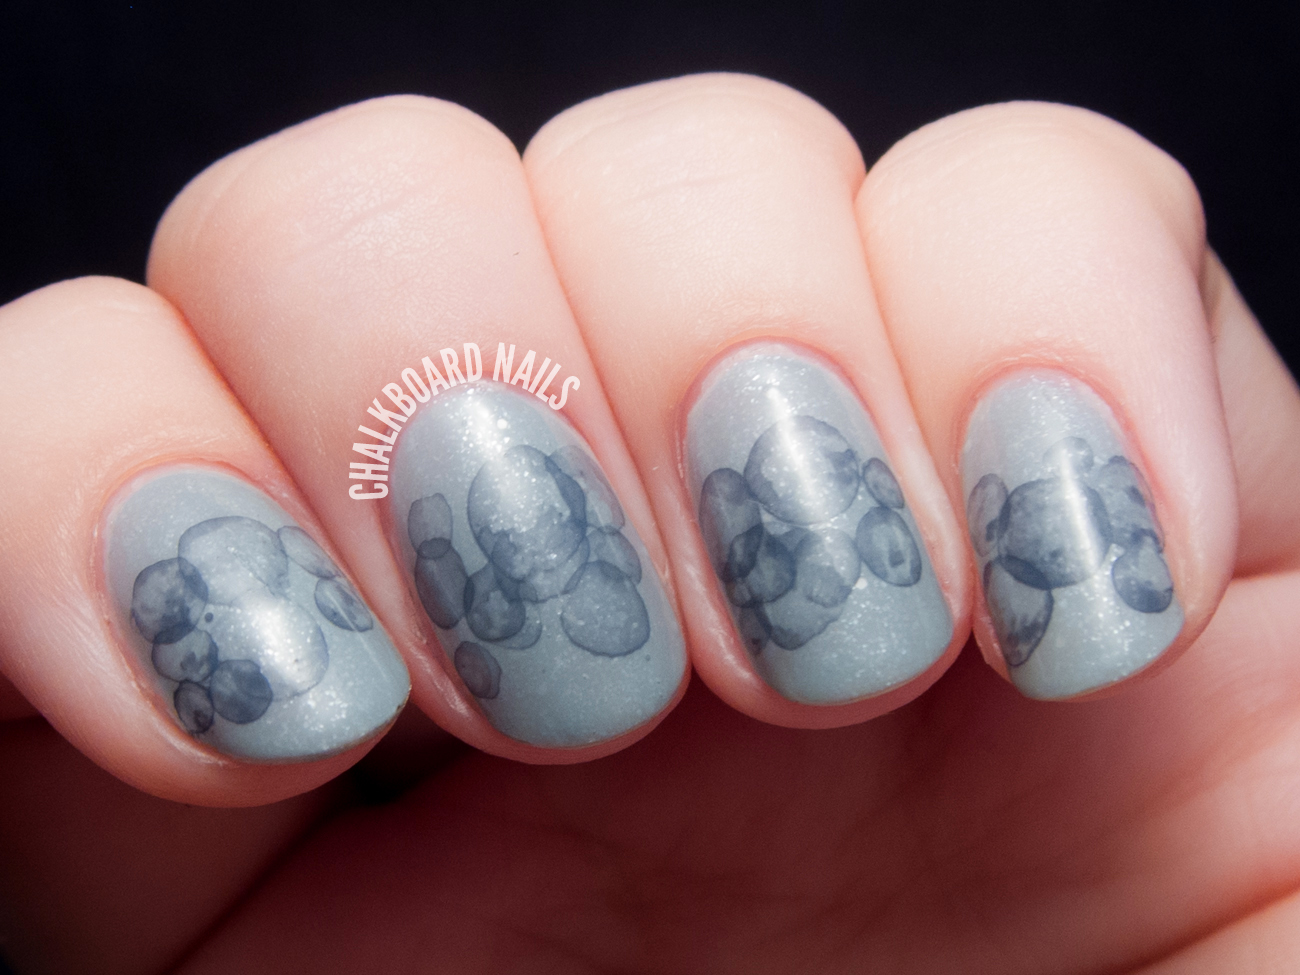
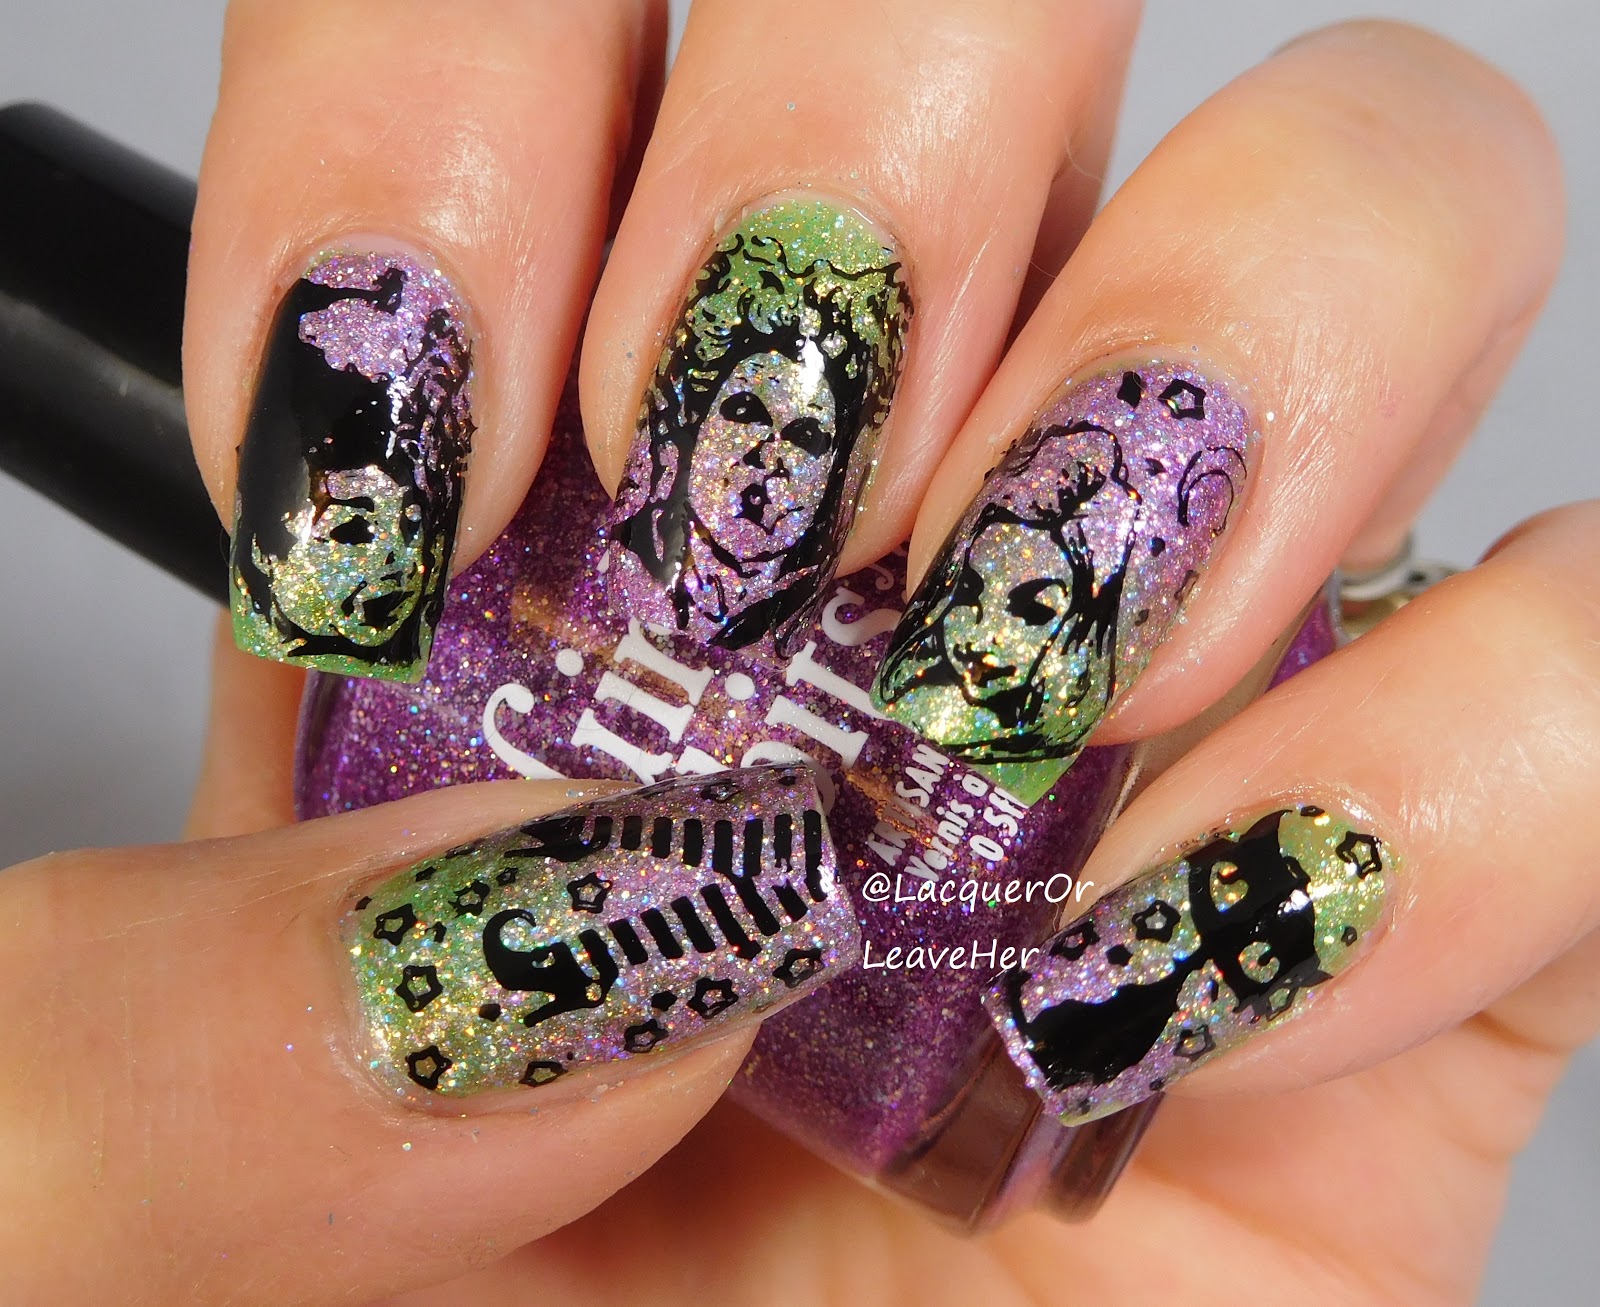
The key to creating sugar bubbles nail art is starting with a clean, dry base. Begin by applying a base coat to your nails to protect them from any potential staining. Once the base coat is dry, apply two coats of your desired nail polish color and let it dry completely. Next, it's time to add the sugar bubbles. Take a small amount of clear nail polish and apply it to one nail at a time. Immediately after, use a pair of tweezers to carefully place the sugar beads onto the wet polish. Continue this process until all of your nails are covered in sugar bubbles. Once all of the beads are in place, wait for the clear polish to dry completely. This will take a bit longer than usual since the sugar beads add some extra texture to the nails. Once dry, seal in your design with a top coat and voila - you have stunning sugar bubbles nail art!2. How to Create Sugar Bubbles Nail Art

2. How to Create Sugar Bubbles Nail Art

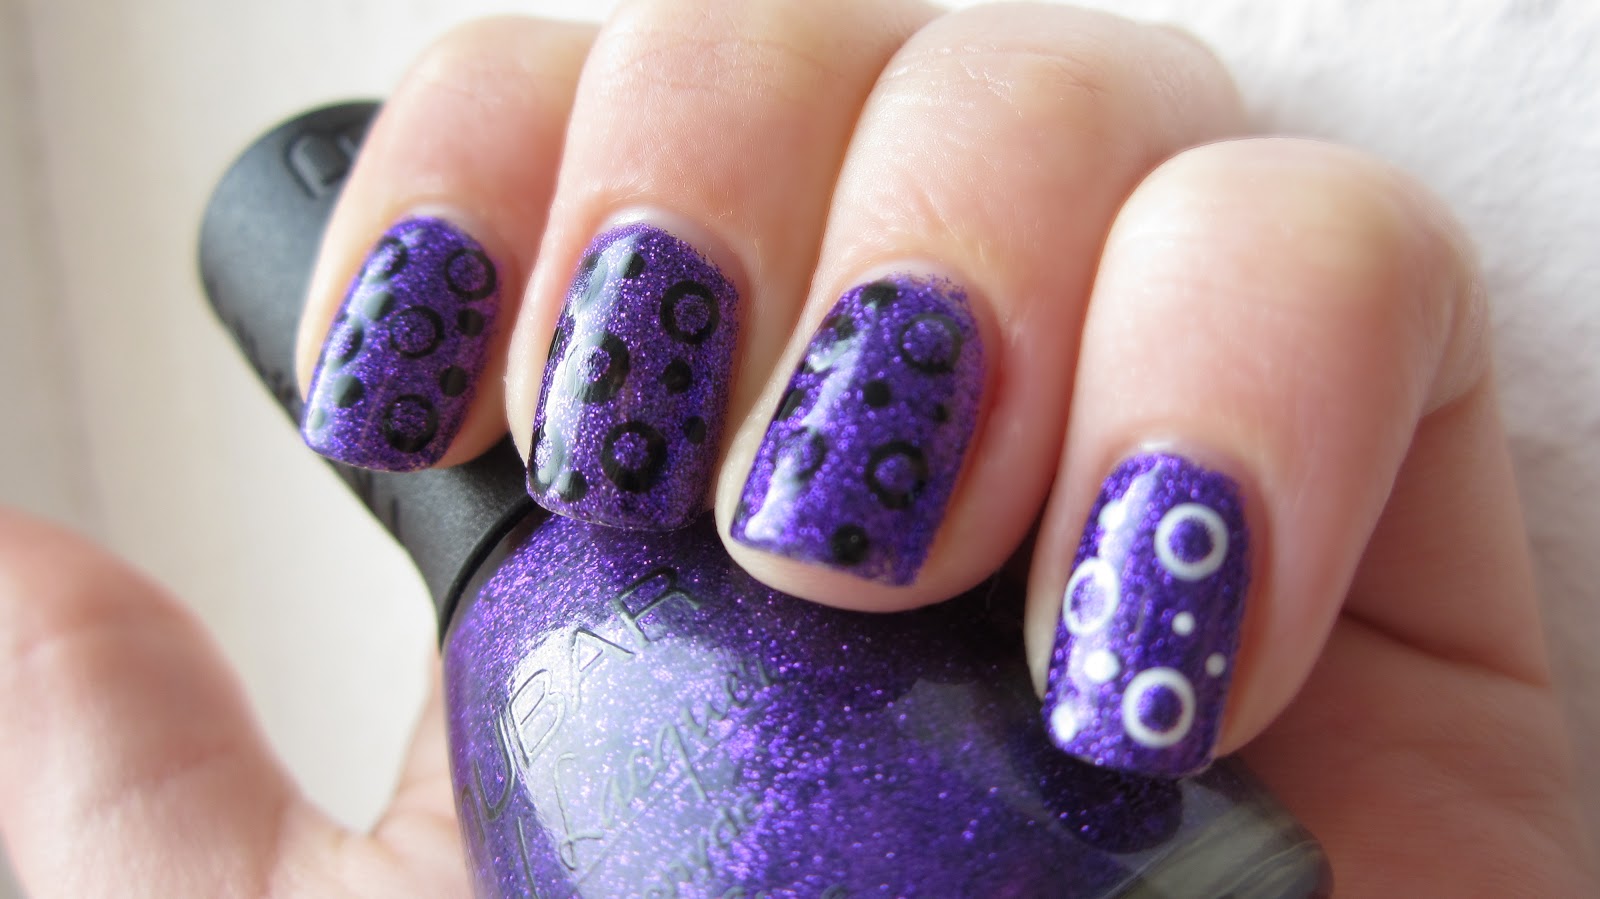

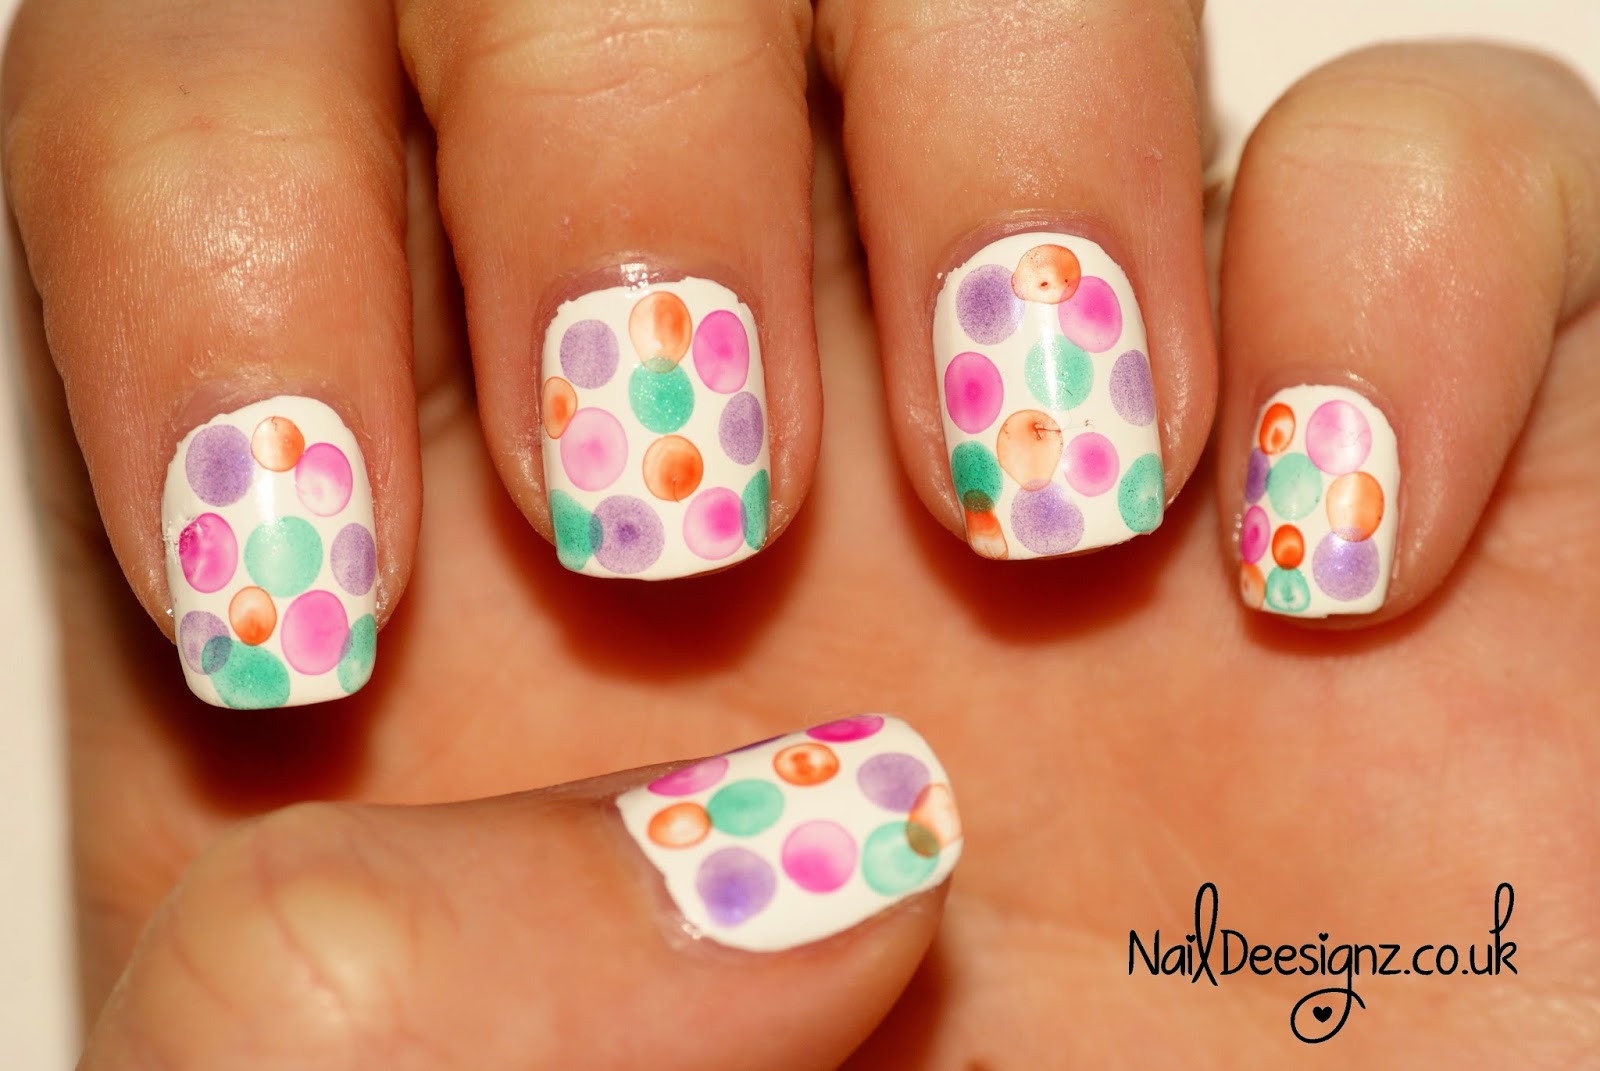
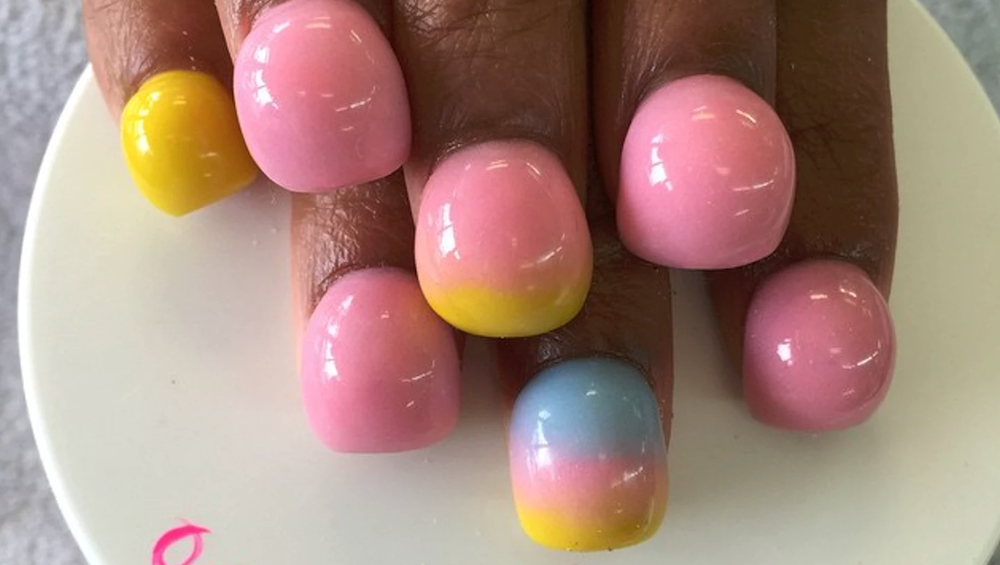
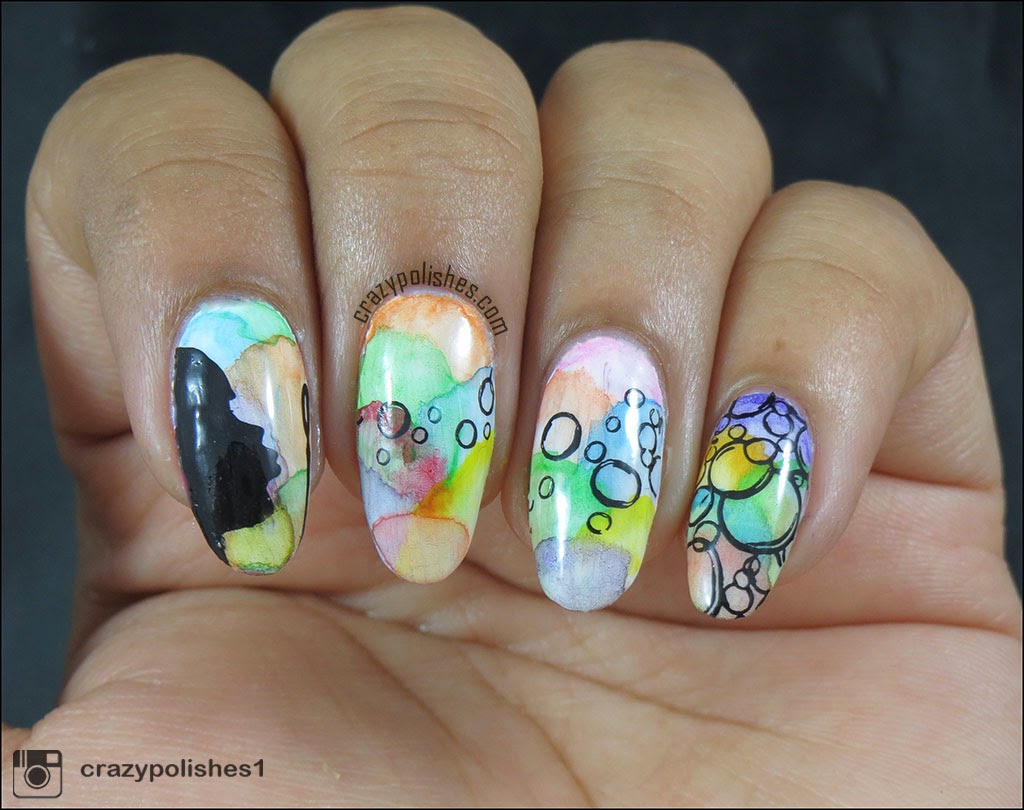
The beauty of sugar bubbles nail art is that the design possibilities are endless. You can use a variety of nail polish colors and different sizes and colors of sugar beads to create unique and eye-catching designs. Some popular designs include ombre sugar bubbles, geometric patterns, and using multiple colors for a vibrant look. For a more subtle look, you can also create a single accent nail with sugar bubbles while keeping the other nails a solid color. This adds a touch of texture and dimension to your manicure without being too overwhelming.3. Best Sugar Bubbles Nail Art Designs


3. Best Sugar Bubbles Nail Art Designs


If you're new to sugar bubbles nail art, it may seem a bit daunting at first. But with our step-by-step guide, you'll be a pro in no time! Step 1: Prep your nails by cleaning and shaping them. Apply a base coat to protect your nails. Step 2: Apply two coats of your desired nail polish color and let it dry completely. Step 3: Take a small amount of clear nail polish and apply it to one nail at a time. Step 4: Use a pair of tweezers to carefully place the sugar beads onto the wet polish. Continue this process until all of your nails are covered in sugar bubbles. Step 5: Allow the clear polish to dry completely. Step 6: Seal in your design with a top coat and let it dry. Step 7: Clean up any excess beads around the edges of your nails with a small brush dipped in nail polish remover. Step 8: Admire your beautiful sugar bubbles nail art!4. Step-by-Step Guide to Sugar Bubbles Nail Art


4. Step-by-Step Guide to Sugar Bubbles Nail Art


If you're in need of some inspiration for your next sugar bubbles nail art design, look no further. Instagram and Pinterest are great places to find endless ideas and inspiration. Search for hashtags like #sugarbubblesnails or #sugarbubblenailart to see what other nail artists have created. You can also take inspiration from everyday objects or patterns, such as a marble countertop or a colorful scarf. The possibilities are truly endless when it comes to sugar bubbles nail art!5. Sugar Bubbles Nail Art Inspiration


5. Sugar Bubbles Nail Art Inspiration

While sugar bubbles nail art is relatively easy to create, there are a few tips and tricks that will help you achieve the best results. Firstly, make sure to work quickly when placing the sugar beads onto the wet polish. If the polish starts to dry, the beads won't stick as well. Also, be sure to use a top coat to seal in your design. This will help the sugar beads stay in place and prevent them from falling off throughout the day. If you're having trouble picking up the sugar beads with tweezers, try using a toothpick or a small dotting tool instead.6. Tips for Perfecting Sugar Bubbles Nail Art


6. Tips for Perfecting Sugar Bubbles Nail Art


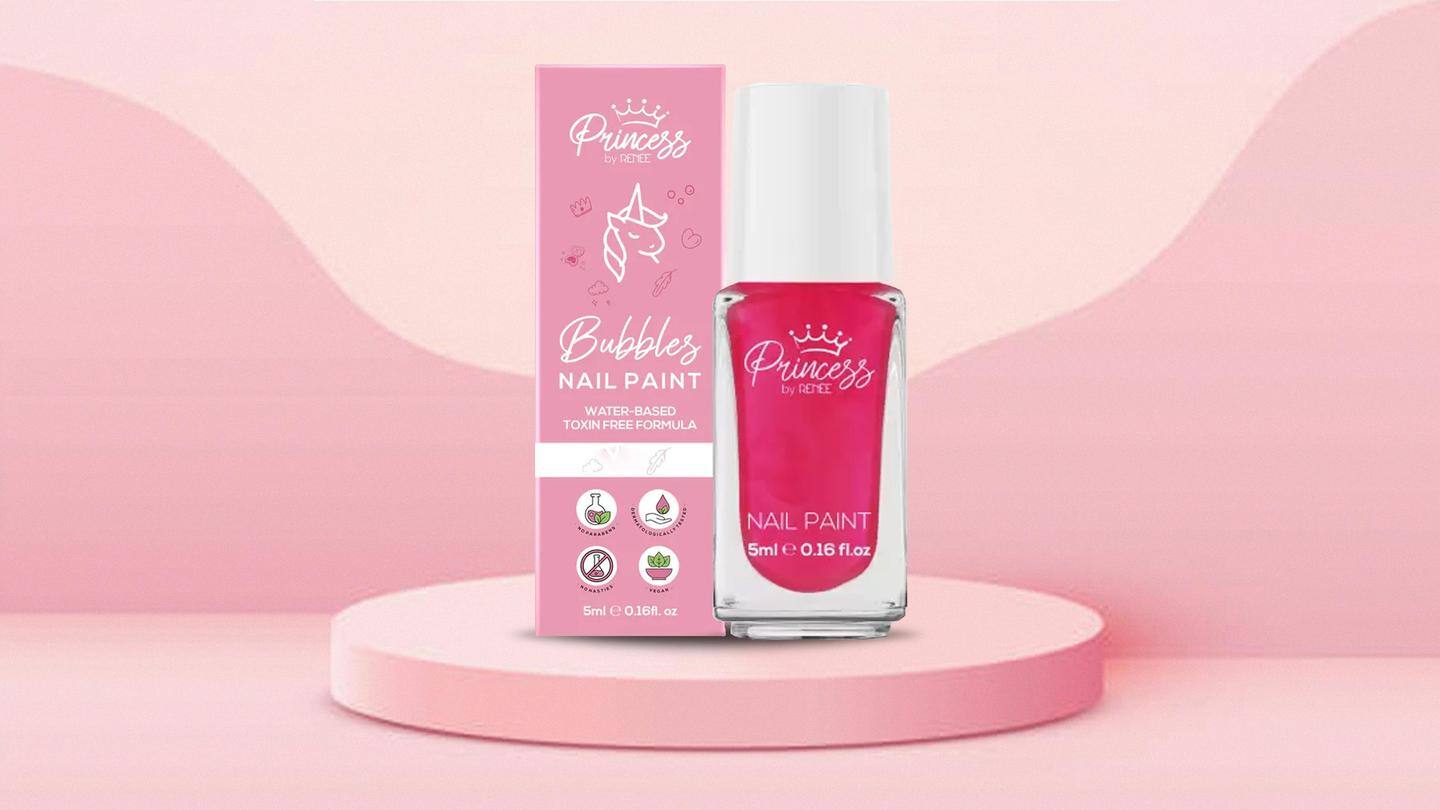
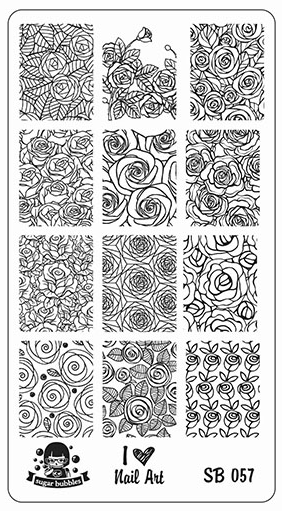
To create sugar bubbles nail art, you'll need a few key supplies: - Nail polish in your desired color(s) - Clear nail polish - Sugar beads (these can be found at craft stores or online) - Tweezers or other small tools for placing the beads - A top coat - Nail polish remover and a small brush for clean up7. Sugar Bubbles Nail Art Supplies


7. Sugar Bubbles Nail Art Supplies

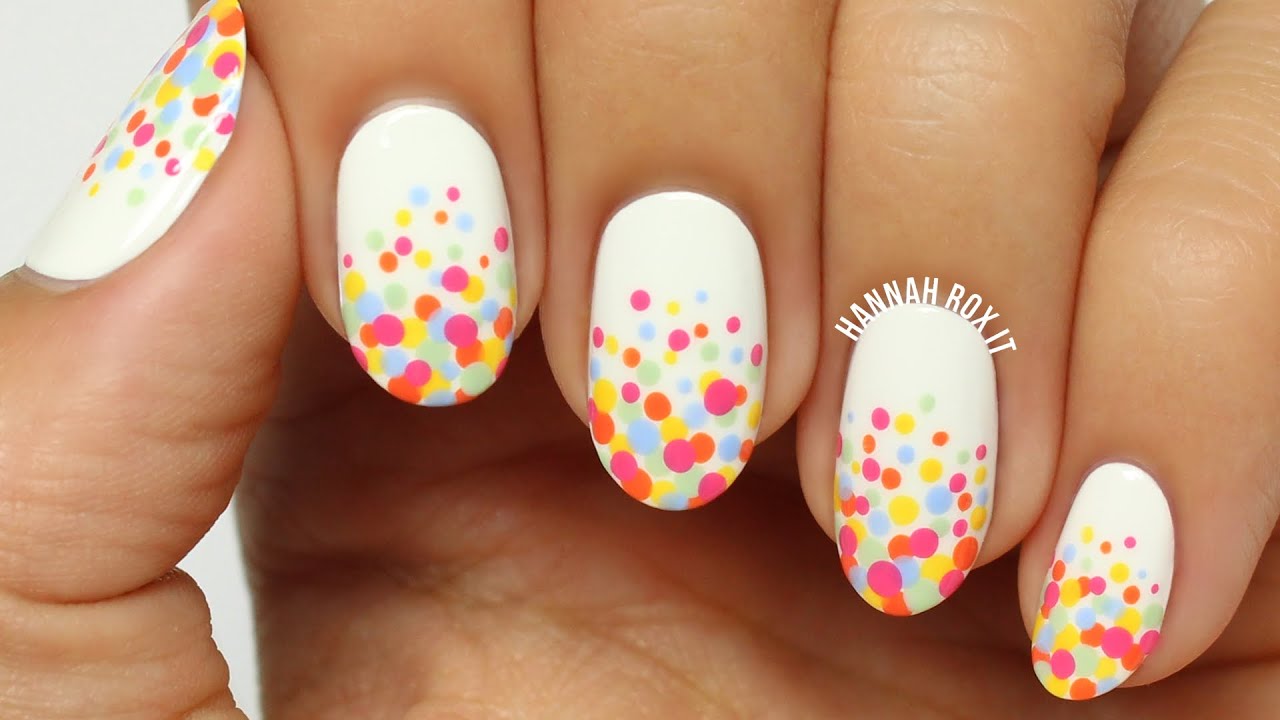
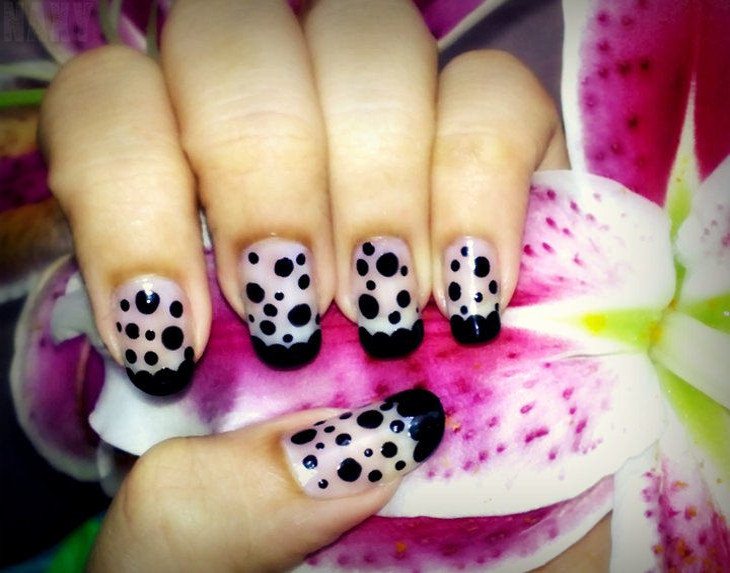
While sugar bubbles nail art is typically used as a full nail design, there are other creative ways to incorporate it into your manicure. You can use sugar beads as an accent on one nail, as mentioned before, or you can create a gradient effect by placing the beads only at the tip of the nail. You can also try using different sizes and colors of sugar beads to create a more dynamic design. Another fun idea is to use sugar beads to create a 3D effect on top of a flat design, such as a floral pattern or a geometric design.8. Creative Ways to Use Sugar Bubbles in Nail Art
8. Creative Ways to Use Sugar Bubbles in Nail Art

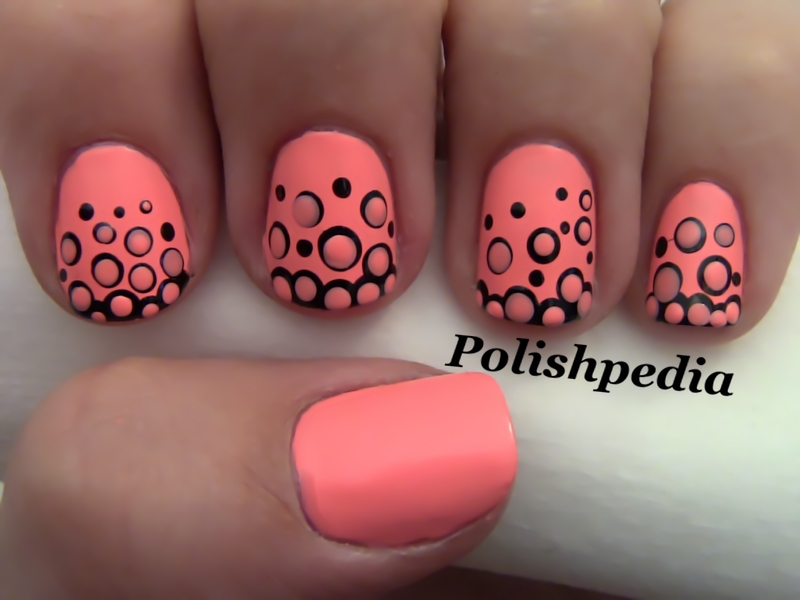
If you're new to nail art and feeling a bit intimidated by sugar bubbles, don't worry. There are plenty of simple and easy designs that are perfect for beginners. Try using a single color for the base and sugar beads, or creating a simple pattern with the beads, such as a diagonal stripe or a polka dot design. This will give you a taste of sugar bubbles without being too complex.9. Sugar Bubbles Nail Art Ideas for Beginners

9. Sugar Bubbles Nail Art Ideas for Beginners
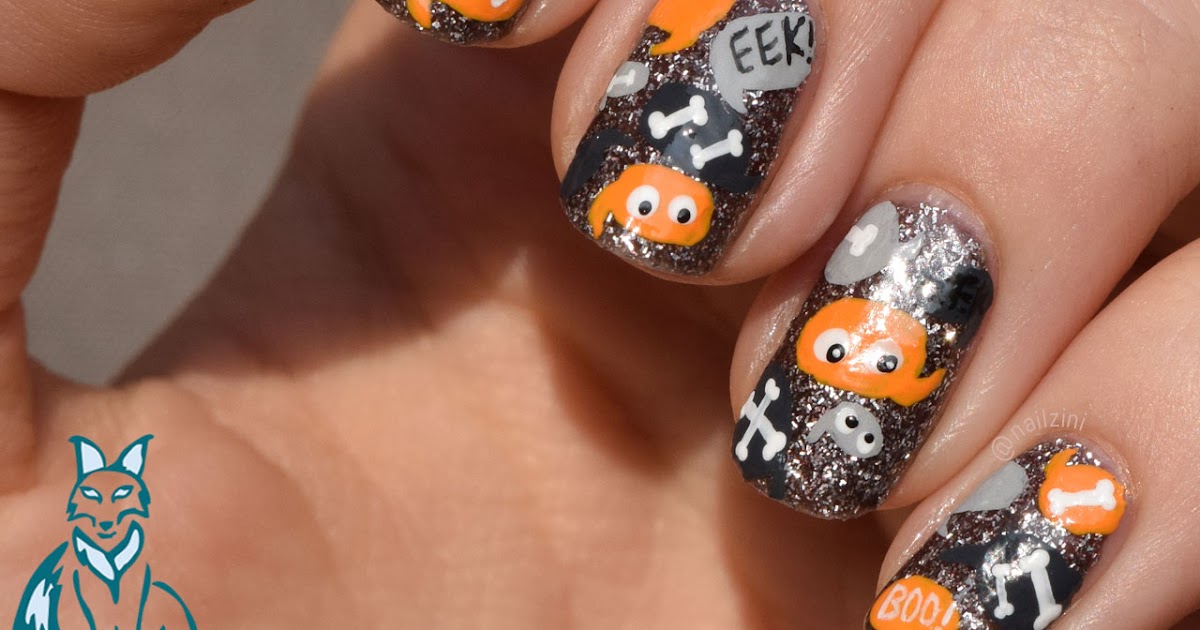
Sugar bubbles nail art is definitely having a moment in the beauty world. It's a unique and eye-catching design that is perfect for any occasion. You can even mix and match different nail art trends, such as combining sugar bubbles with negative space or incorporating them into a French manicure. No matter what design you choose, sugar bubbles nail art is sure to make a statement and elevate your manicure to the next level.10. Nail Art Trends: Sugar Bubbles Edition

10. Nail Art Trends: Sugar Bubbles Edition
The Sweetest Trend: Sugar Bubbles Nail Art

Adding a Touch of Sparkle to Your Nails
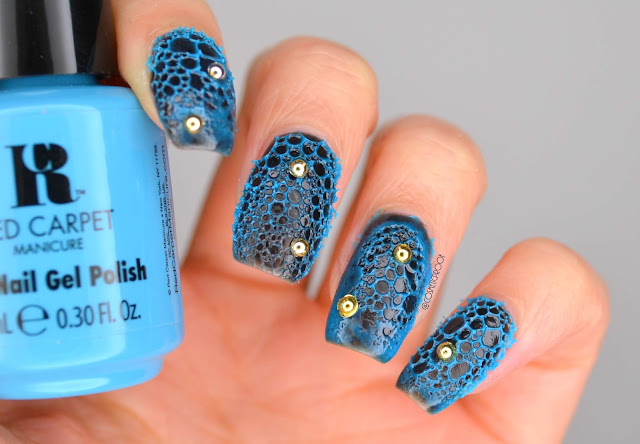
 When it comes to nail art, there is always a new trend popping up. From intricate designs to bold colors, there is no limit to how creative you can get with your nails. One of the latest trends to hit the nail art scene is sugar bubbles nail art. This unique technique adds a touch of sparkle and texture to your nails, creating a fun and playful look that is perfect for any occasion.
Sugar bubbles nail art
involves using tiny sugar beads to create a bubbly effect on your nails. The beads come in a variety of colors, allowing you to customize your design to match your personal style. The best part? You don't need any special tools or skills to achieve this look. All you need is some polish, sugar beads, and a little bit of patience.
To create the perfect sugar bubbles nail art, start by applying a base coat to your nails. This will help the polish adhere better and prevent chipping. Next, choose your desired nail color and apply two coats, making sure to let each coat dry completely. Once your nails are dry, it's time to add the sugar beads.
Sugar beads
can be found at most craft stores in the jewelry-making section. They come in a variety of sizes and colors, so you can mix and match to create your desired look. To apply the beads, simply dip your finger into a bowl of them while the polish is still wet. Gently press the beads onto your nail, using a toothpick or small brush to adjust them if needed. Once your nails are covered in beads, gently press them down with your finger to ensure they are securely attached.
To finish off your sugar bubbles nail art, apply a top coat to seal in the beads and give your nails a glossy finish. Not only does this add an extra layer of protection, but it also helps the beads stay in place longer. With proper care, your sugar bubbles nail art can last up to a week before needing to be touched up.
Whether you're headed to a special event or just want to add some fun to your everyday look,
sugar bubbles nail art
is the perfect way to show off your creativity and add some sparkle to your nails. So why not give it a try and see what kind of bubbly designs you can come up with? Your nails will thank you.
When it comes to nail art, there is always a new trend popping up. From intricate designs to bold colors, there is no limit to how creative you can get with your nails. One of the latest trends to hit the nail art scene is sugar bubbles nail art. This unique technique adds a touch of sparkle and texture to your nails, creating a fun and playful look that is perfect for any occasion.
Sugar bubbles nail art
involves using tiny sugar beads to create a bubbly effect on your nails. The beads come in a variety of colors, allowing you to customize your design to match your personal style. The best part? You don't need any special tools or skills to achieve this look. All you need is some polish, sugar beads, and a little bit of patience.
To create the perfect sugar bubbles nail art, start by applying a base coat to your nails. This will help the polish adhere better and prevent chipping. Next, choose your desired nail color and apply two coats, making sure to let each coat dry completely. Once your nails are dry, it's time to add the sugar beads.
Sugar beads
can be found at most craft stores in the jewelry-making section. They come in a variety of sizes and colors, so you can mix and match to create your desired look. To apply the beads, simply dip your finger into a bowl of them while the polish is still wet. Gently press the beads onto your nail, using a toothpick or small brush to adjust them if needed. Once your nails are covered in beads, gently press them down with your finger to ensure they are securely attached.
To finish off your sugar bubbles nail art, apply a top coat to seal in the beads and give your nails a glossy finish. Not only does this add an extra layer of protection, but it also helps the beads stay in place longer. With proper care, your sugar bubbles nail art can last up to a week before needing to be touched up.
Whether you're headed to a special event or just want to add some fun to your everyday look,
sugar bubbles nail art
is the perfect way to show off your creativity and add some sparkle to your nails. So why not give it a try and see what kind of bubbly designs you can come up with? Your nails will thank you.


