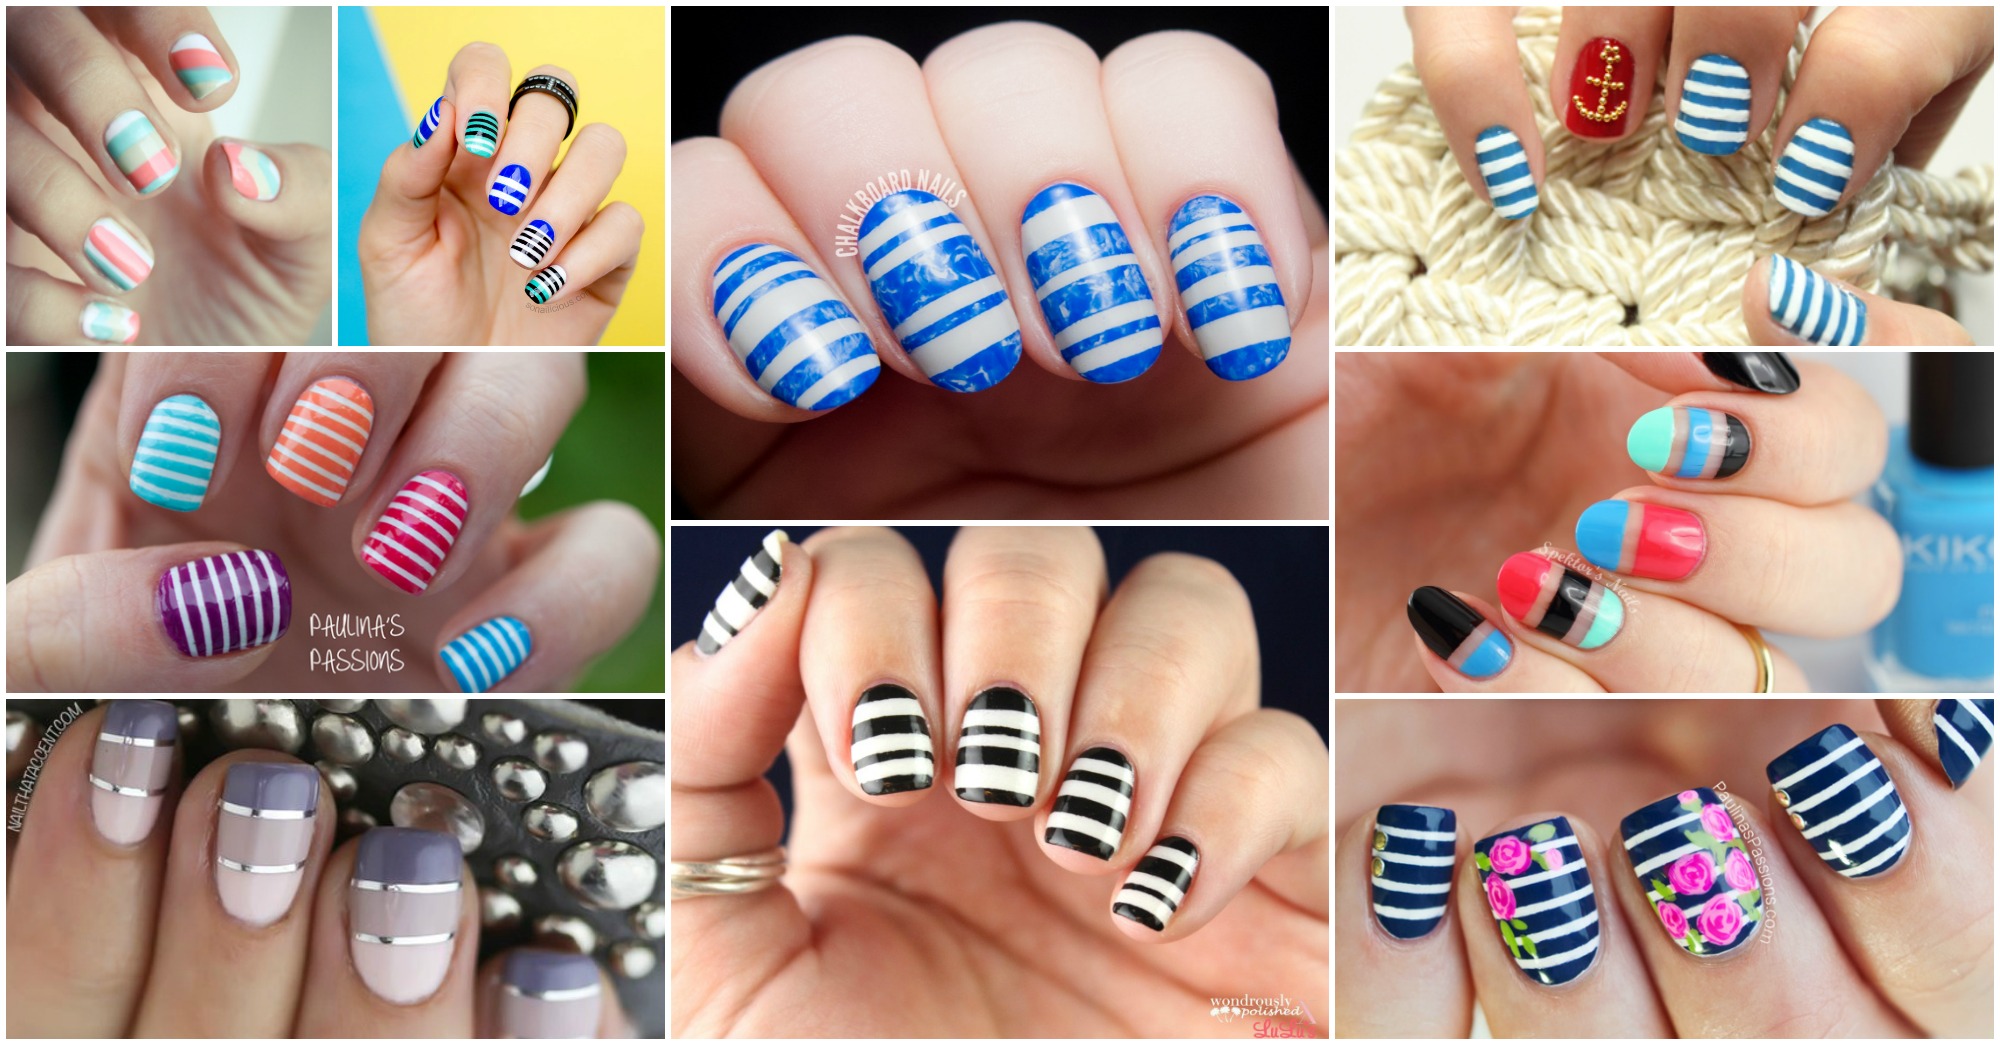
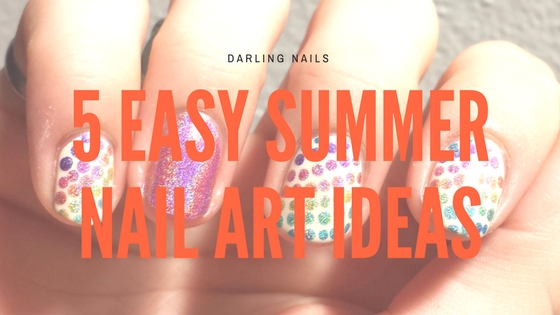
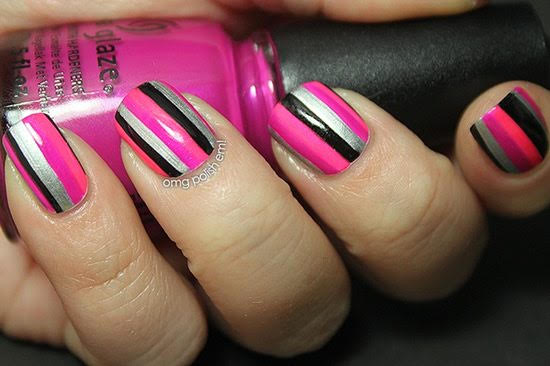
Summer is the perfect time to experiment with fun and colorful nail art designs, and what better way to do it than with stripes? With this easy tutorial, you can achieve a chic striped nail look in no time. Start by applying a base coat to protect your nails and let it dry completely. Next, take your favorite summer shades and paint each nail with a different color. You can go for bold and bright neon hues or opt for softer pastel tones for a more subtle look. Let the polish dry completely before moving on to the next step. Using a thin nail art brush or a striping tape, create vertical lines on your nails. You can stick to a single color or mix and match different shades for a playful look. Make sure to let the lines dry before removing the striping tape or moving on to the next nail. Finish off with a top coat to seal in your design and add a glossy shine. And there you have it, a simple yet stunning striped nail art look perfect for summer!1. "Easy Summer Striped Nail Art Tutorial"
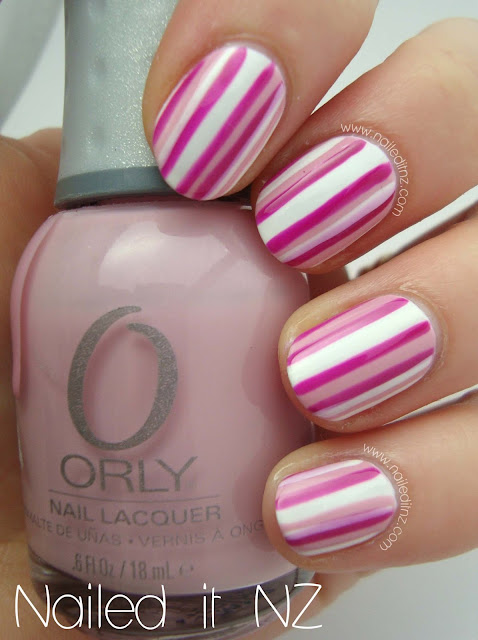

1. "Easy Summer Striped Nail Art Tutorial"


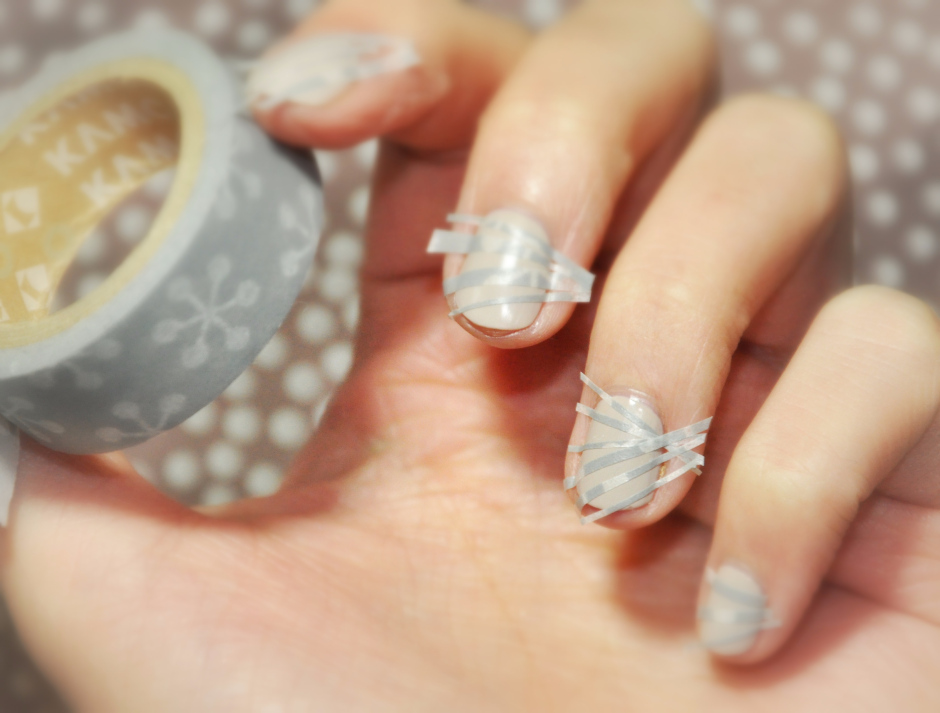
If you're feeling extra creative, why not try your hand at creating your own striped nail art look? All you need is a few nail polishes, a thin brush or toothpick, and some patience. Start by applying a base coat and letting it dry completely. Next, take your chosen colors and paint each nail with a different one. You can follow a specific color pattern or go for a rainbow effect by using all the colors of the rainbow. Once the polish has dried, take your thin brush or toothpick and create horizontal lines across your nails. This may take a bit of practice, but don't worry if your lines aren't perfectly straight – it adds to the charm of this DIY nail art. Let the lines dry and finish off with a top coat. Your unique and colorful striped nail design is now ready to show off this summer!2. "DIY Striped Nail Art for Summer"


2. "DIY Striped Nail Art for Summer"


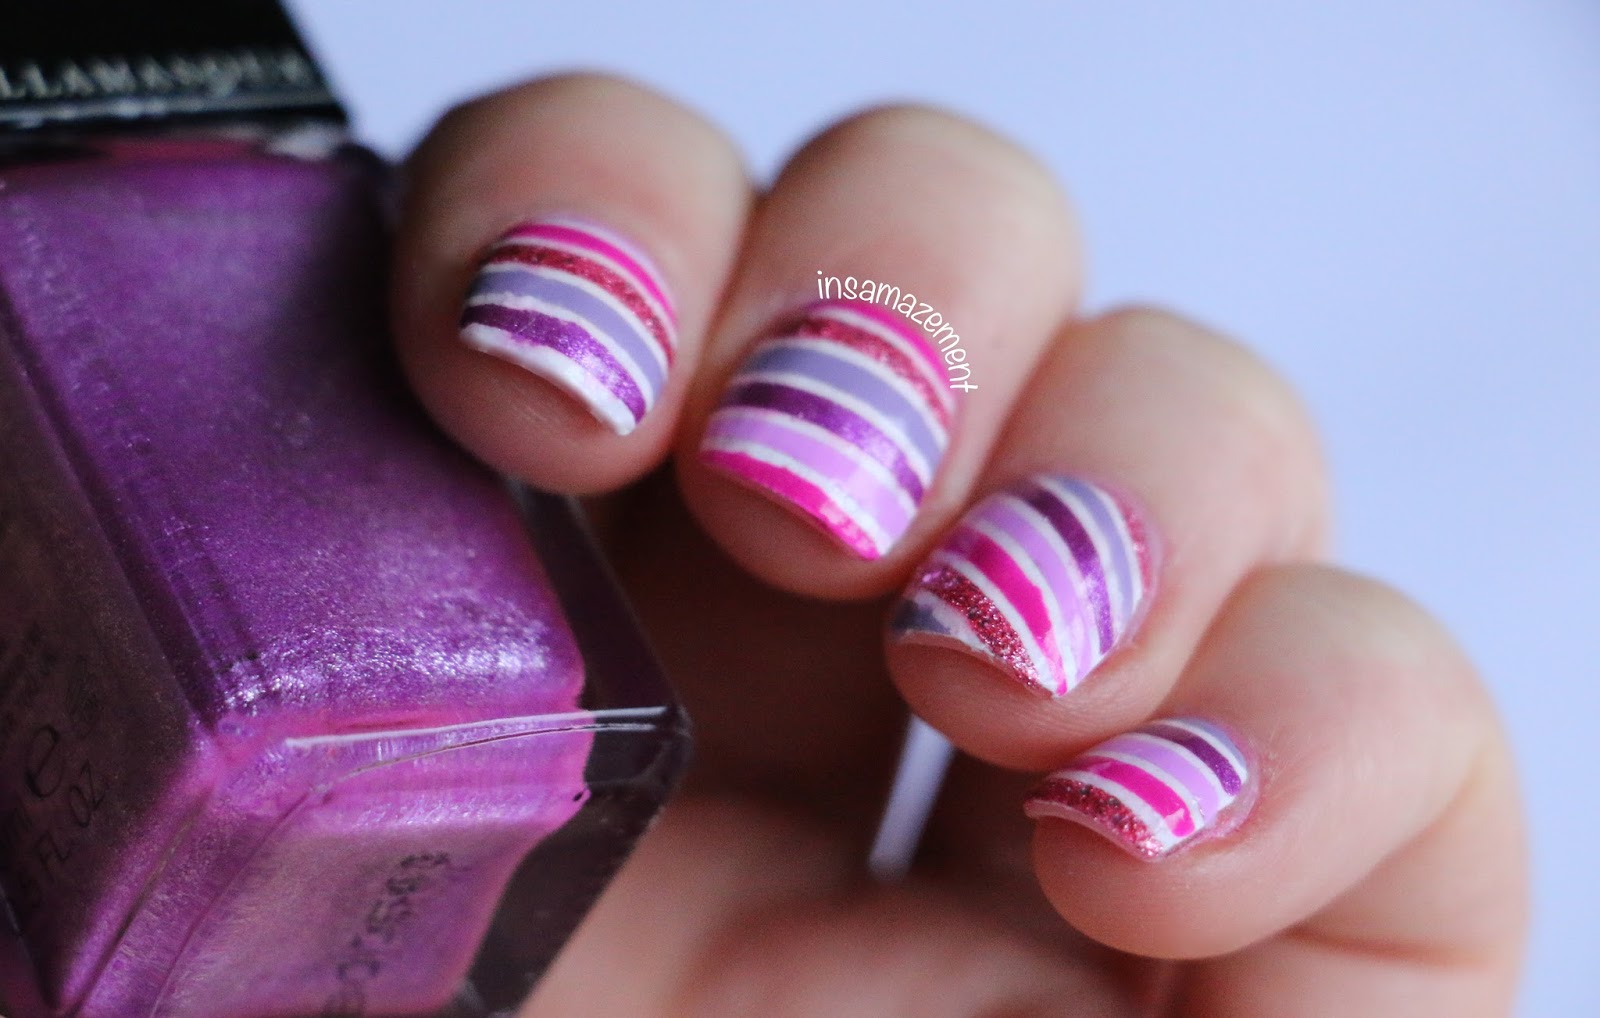
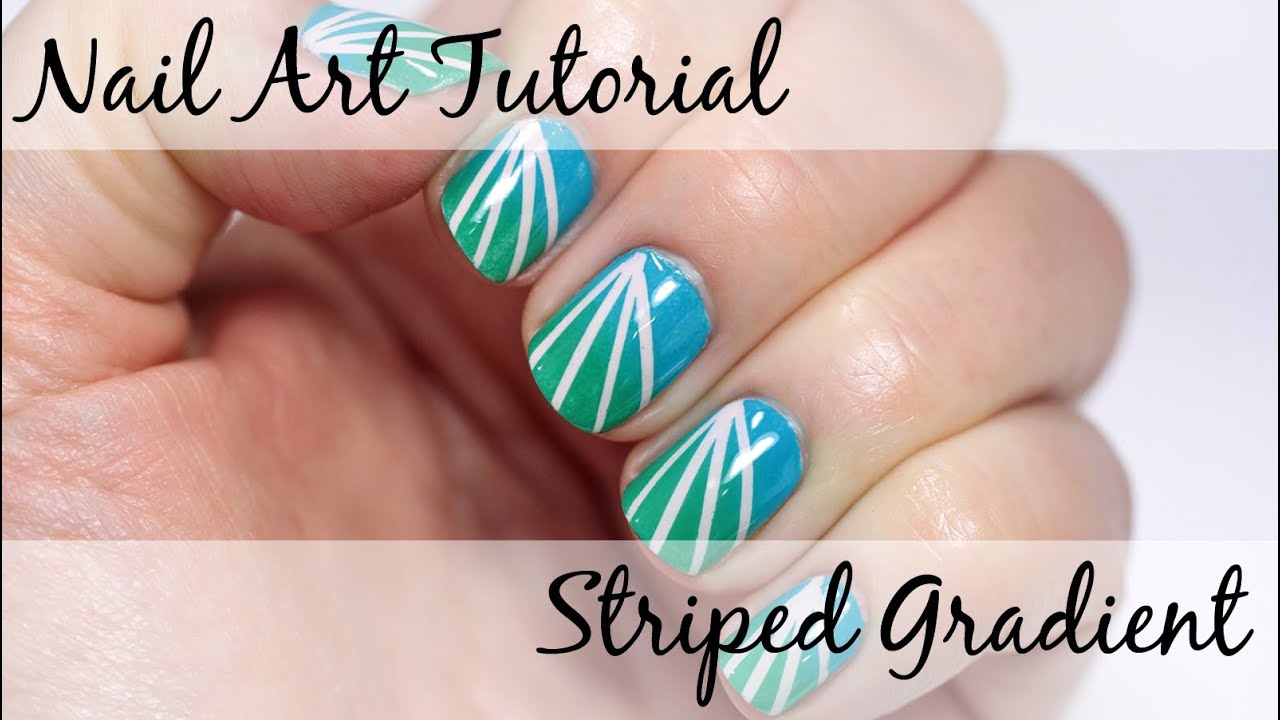
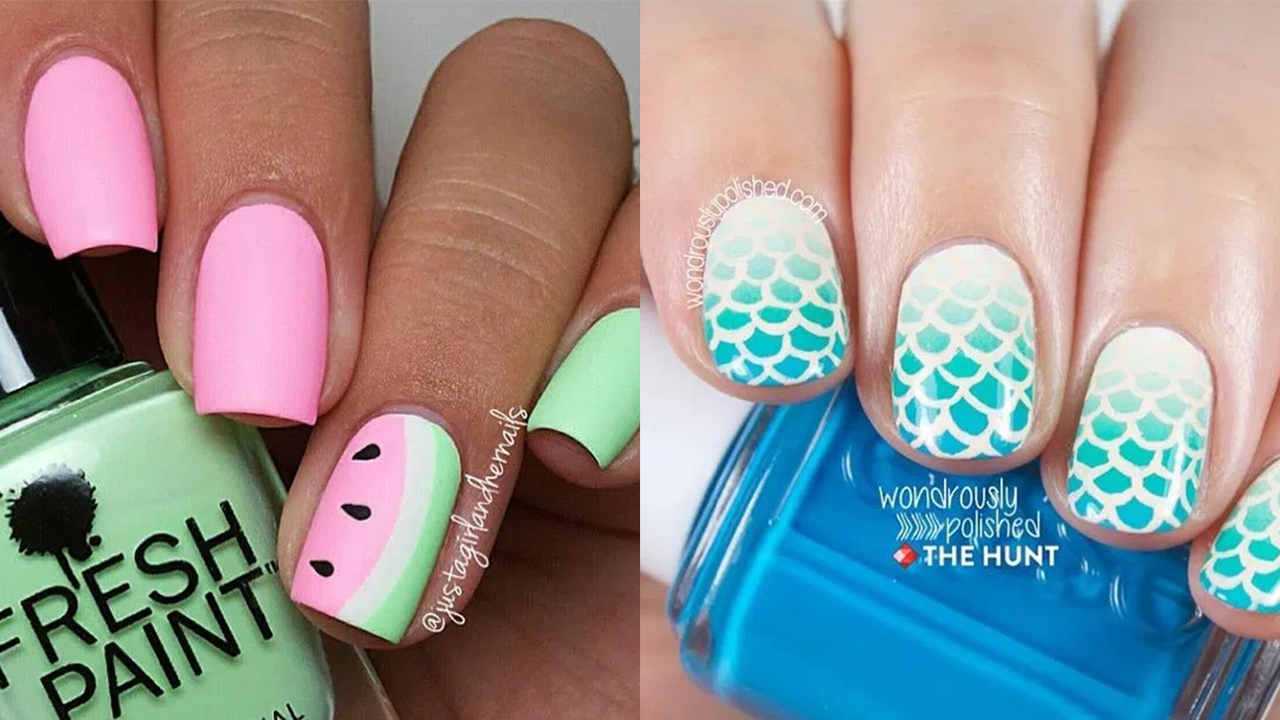
Looking for more colorful striped nail art inspiration? Look no further! There are endless possibilities when it comes to creating striped nail designs with different colors. You can go for a ombre effect by using varying shades of the same color, or mix and match contrasting colors for a bold look. If you want a more subtle design, you can use pastel shades or stick to a single color and create different patterns with your stripes. Don't be afraid to get creative and experiment with different color combinations to find the perfect look for you. Remember to always let each layer of polish dry completely before moving on to the next step, and finish off with a top coat for a long-lasting and eye-catching manicure.3. "Colorful Striped Nail Designs for Summer"


3. "Colorful Striped Nail Designs for Summer"


Still not sure which striped nail art design to try this summer? Check out some compilation videos on YouTube for even more inspiration. You'll find a wide range of styles and techniques, from simple and elegant to bold and intricate. Some popular nail art channels to check out include Cutepolish, Simply Nailogical, and Nail Career Education. You can also search for specific keywords such as "summer striped nail art" or "striping tape nail art" to find tutorials that match your desired look. Watching videos can also give you a better idea of how to create certain designs and techniques, making it easier for you to recreate them on your own nails. So grab your popcorn and start binge-watching some summer striped nail art videos for endless inspiration.4. "Summer Stripes Nail Art Compilation"


4. "Summer Stripes Nail Art Compilation"


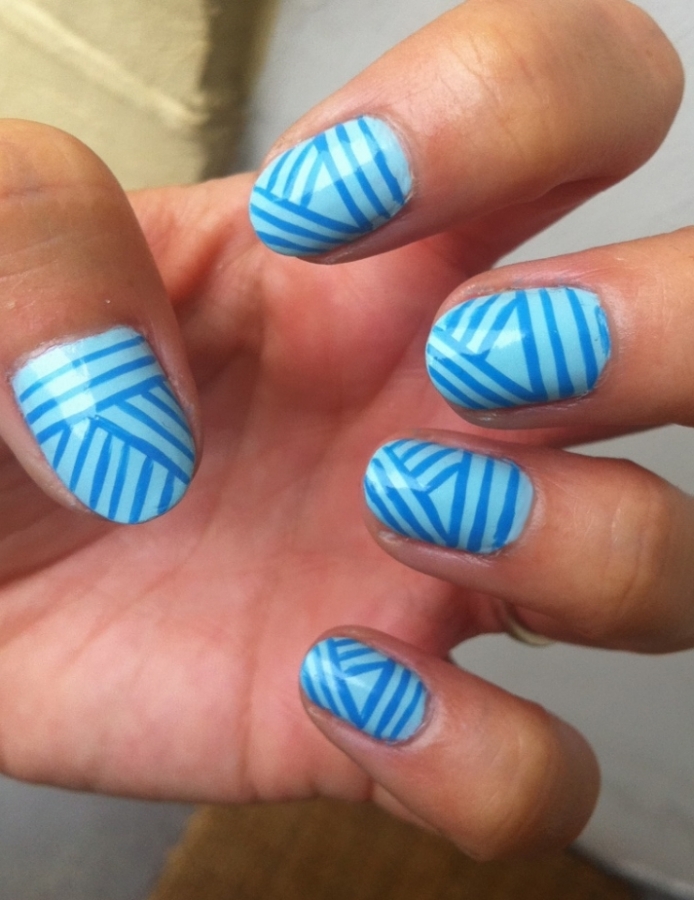
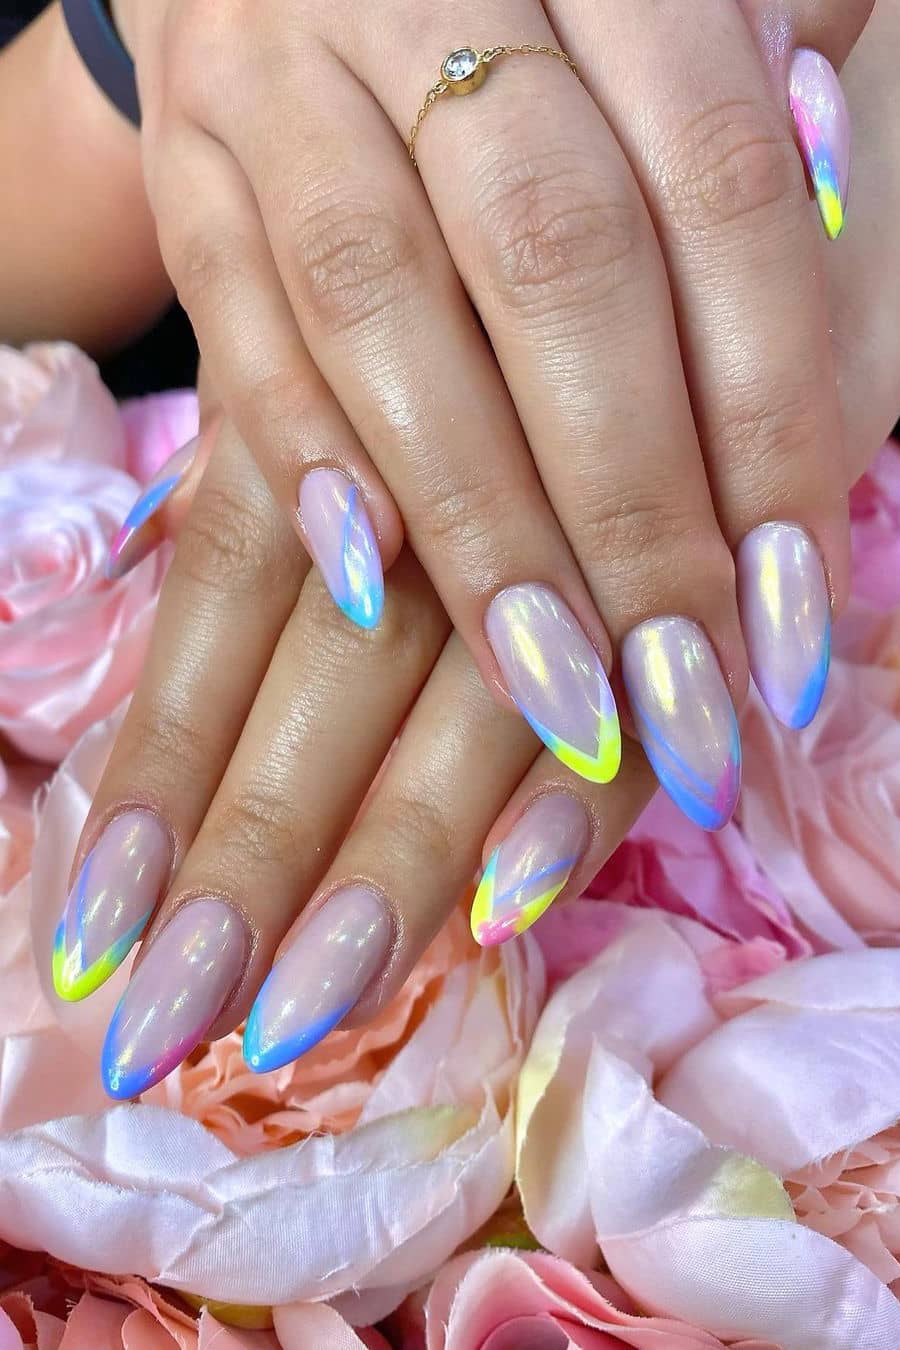
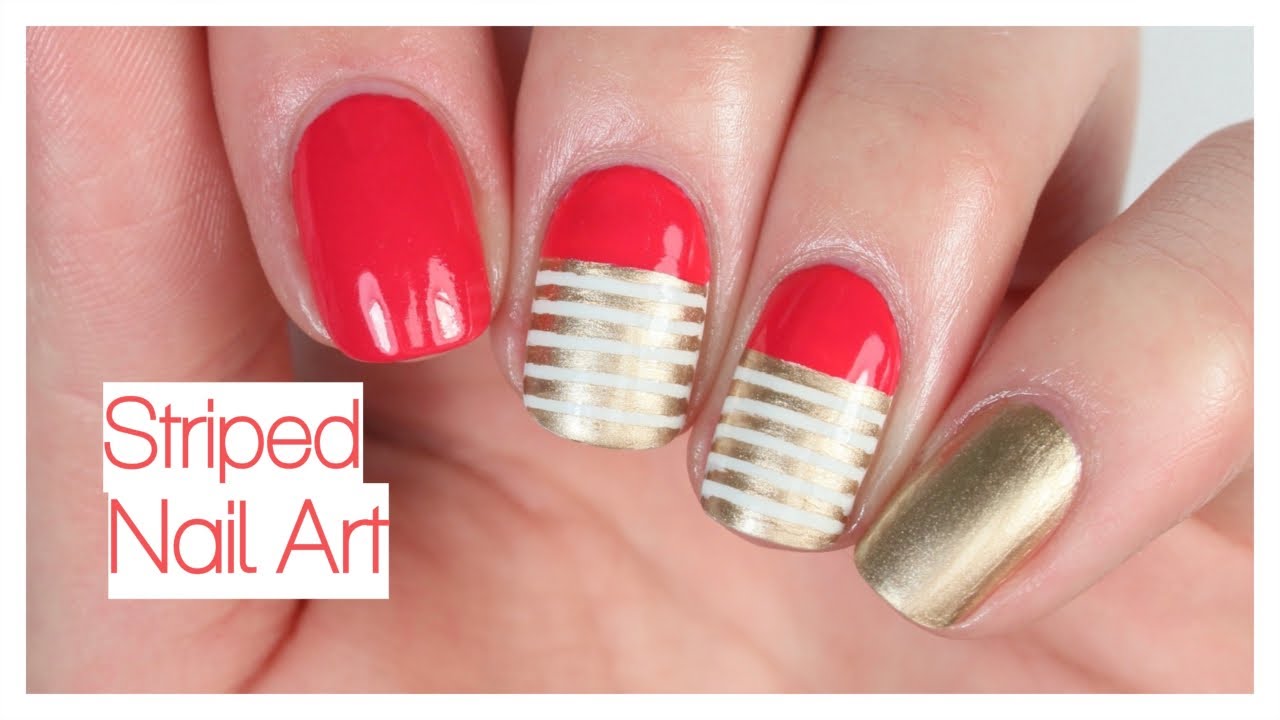
If you're looking for some unique and creative nail art ideas for summer, incorporating stripes is a must. There are so many ways to incorporate stripes into your nail design, from using different colors to playing with different thicknesses and patterns. You can create stripes using a variety of tools, such as a striping brush, tape, or even a toothpick. You can also use different nail art techniques such as gradient, stamping, or water marble to add a twist to your striped design. Don't be afraid to mix and match different ideas and techniques to create a truly unique and stunning nail art look for summer.5. "Striped Nail Art Ideas for Summer"


5. "Striped Nail Art Ideas for Summer"

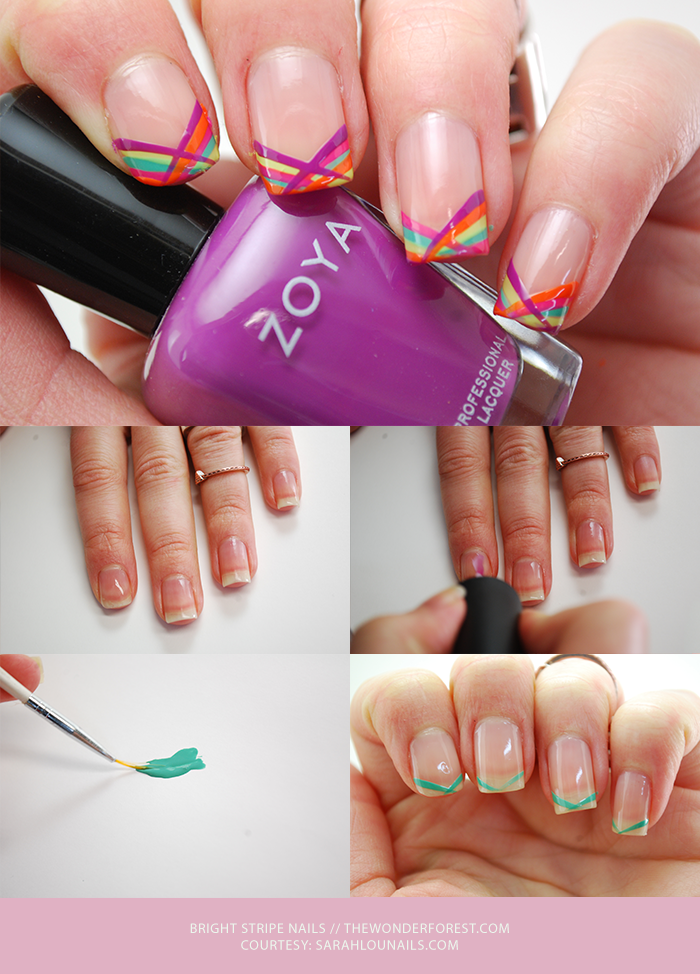
What's more summer-appropriate than a rainbow striped nail art look? It's fun, colorful, and perfect for warm sunny days. Start by applying a base coat and letting it dry completely. Next, paint each of your nails with a different rainbow color. You can use a thin brush to create the stripes or use striping tape for more precise lines. Once your base color has dried, create horizontal stripes in a rainbow pattern on each nail. Let the stripes dry before removing the tape or moving on to the next nail. Finish off with a top coat for a shiny and long-lasting finish. This rainbow striped nail art is sure to brighten up any summer outfit.6. "Rainbow Striped Nail Art Tutorial for Summer"


6. "Rainbow Striped Nail Art Tutorial for Summer"

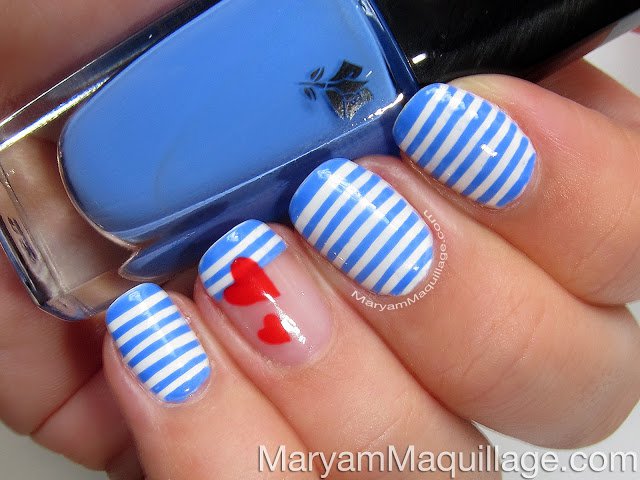
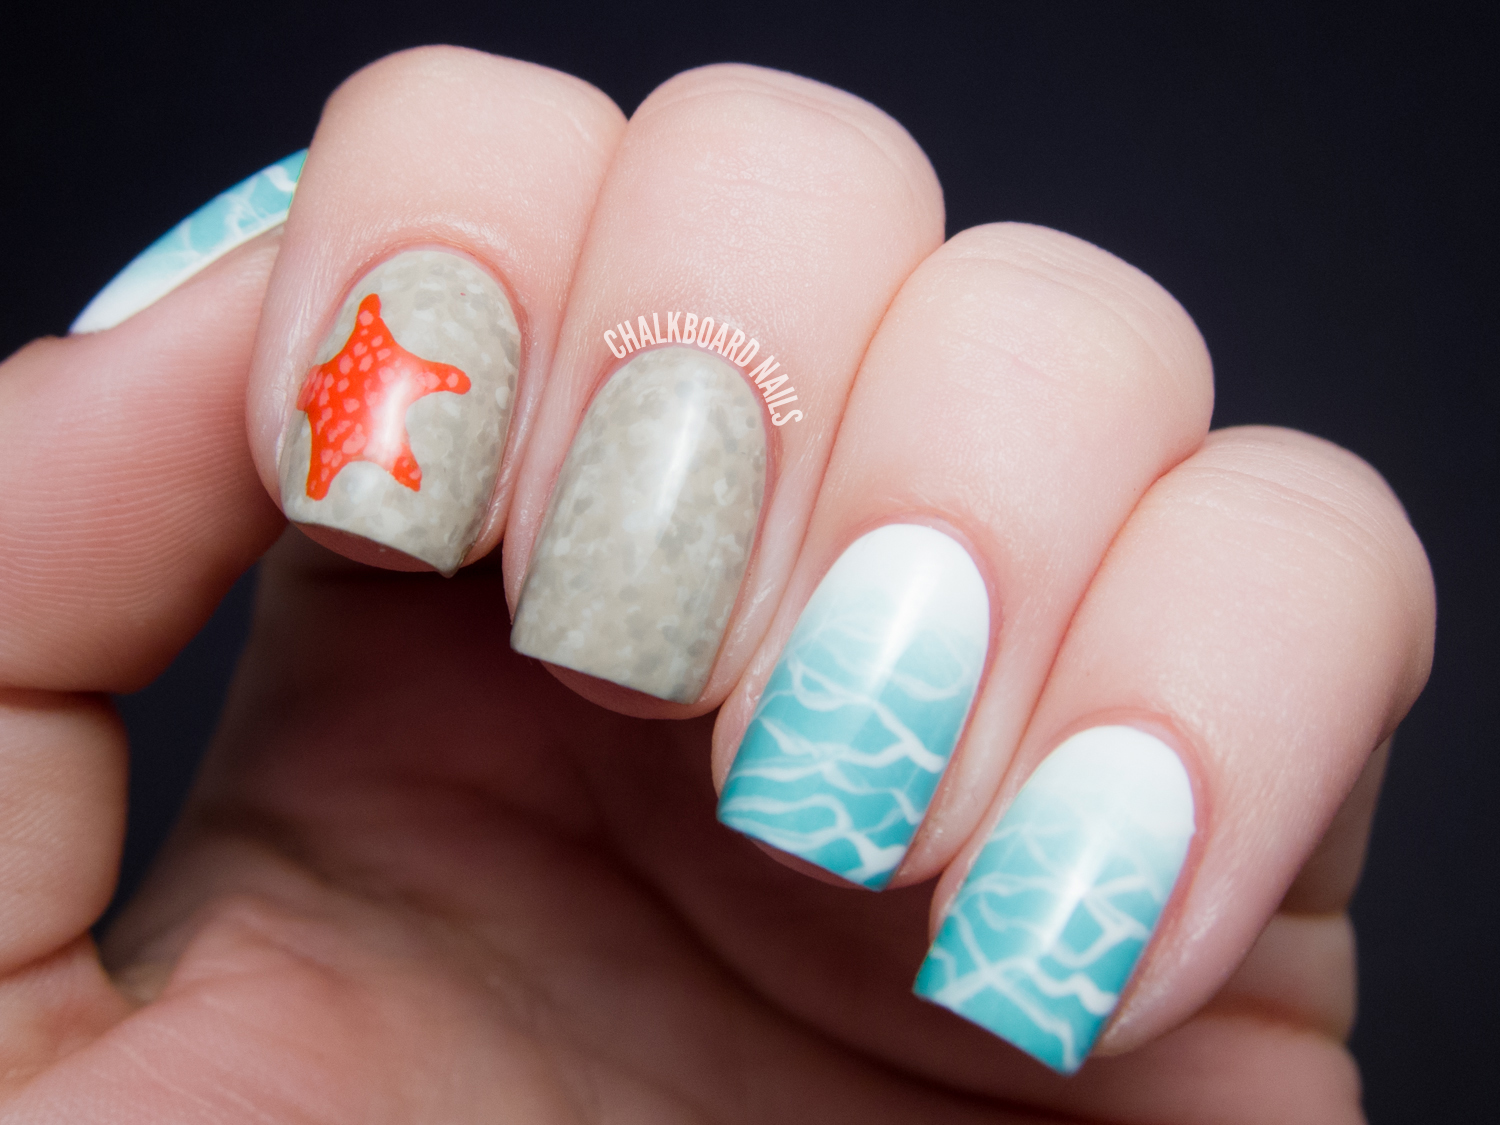
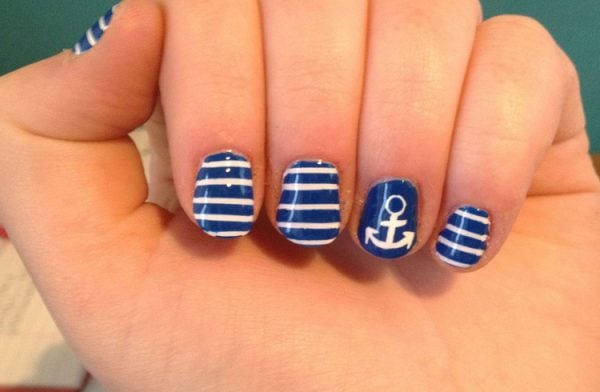
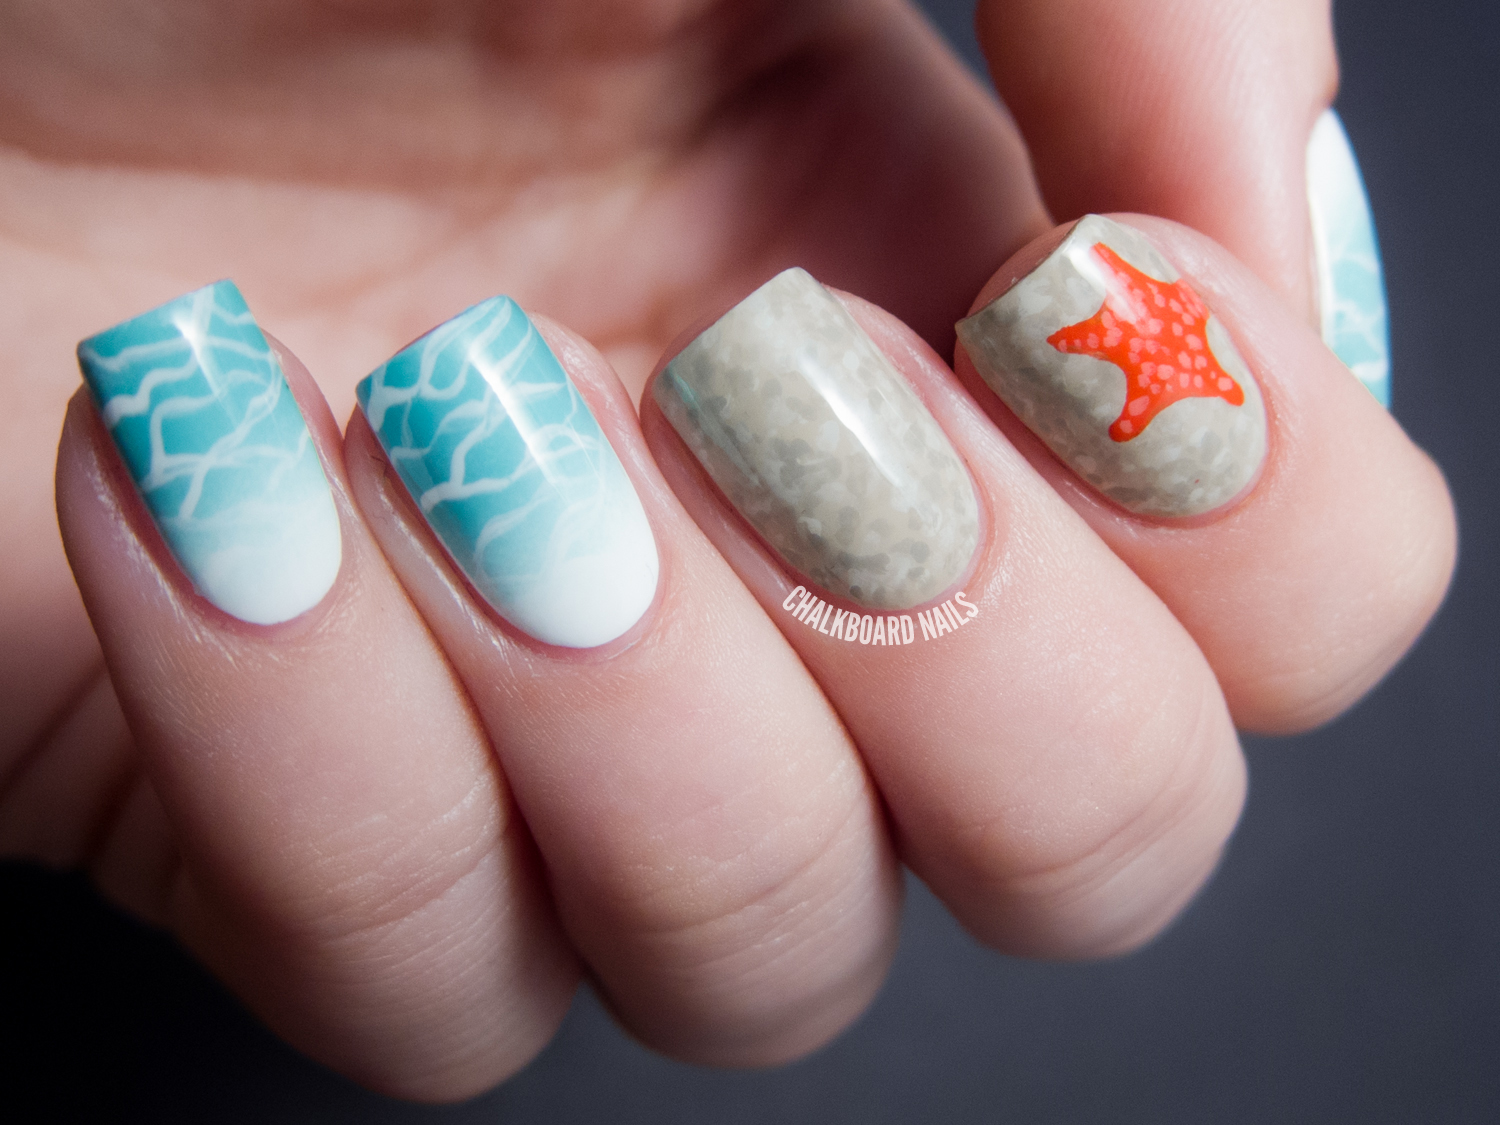
Bring the beach to your nails with this beachy striped nail art tutorial. Start by applying a base coat and letting it dry completely. Next, take a light blue polish and paint all your nails with it. Using a thin brush, create white stripes on each nail to represent waves. You can also add some glitter or rhinestones for a sparkly touch. Once the stripes have dried, create a horizontal line of sand-colored polish at the bottom of each nail. Finish off with a top coat and you'll have a tropical-inspired nail look perfect for the summer season.7. "Beachy Striped Nail Art for Summer"


7. "Beachy Striped Nail Art for Summer"

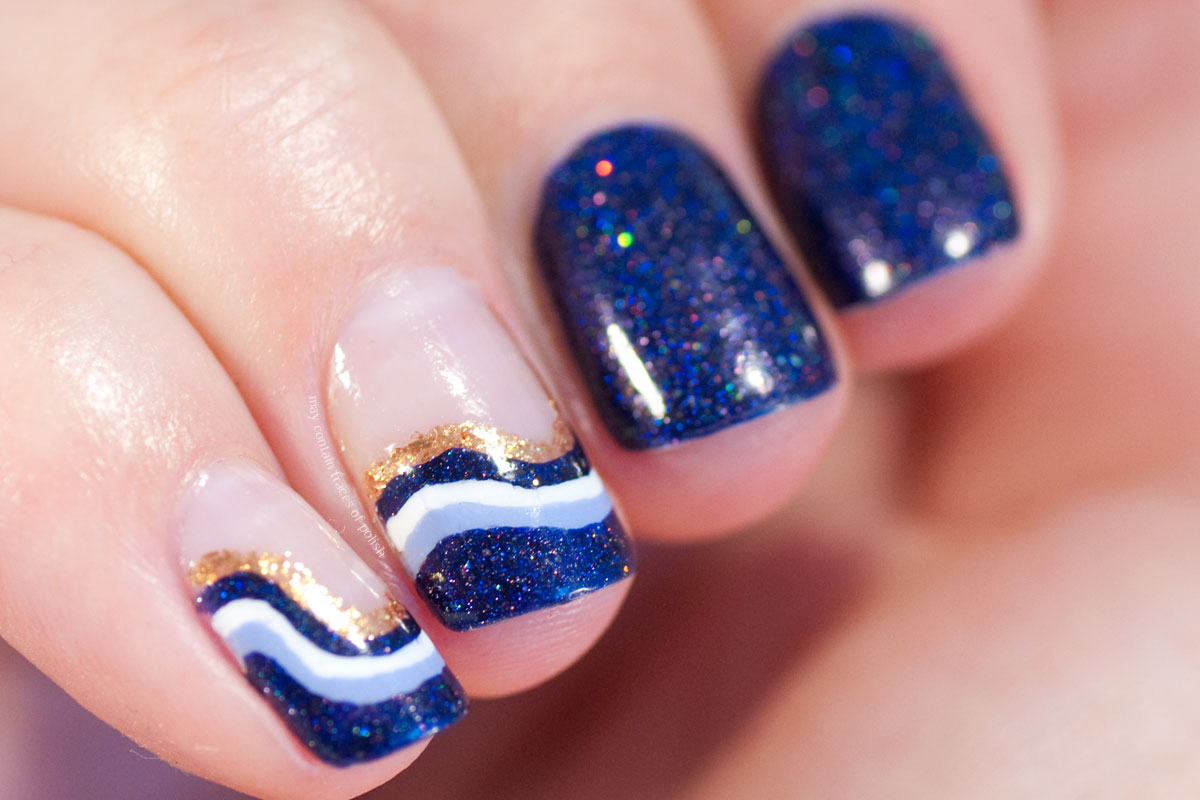
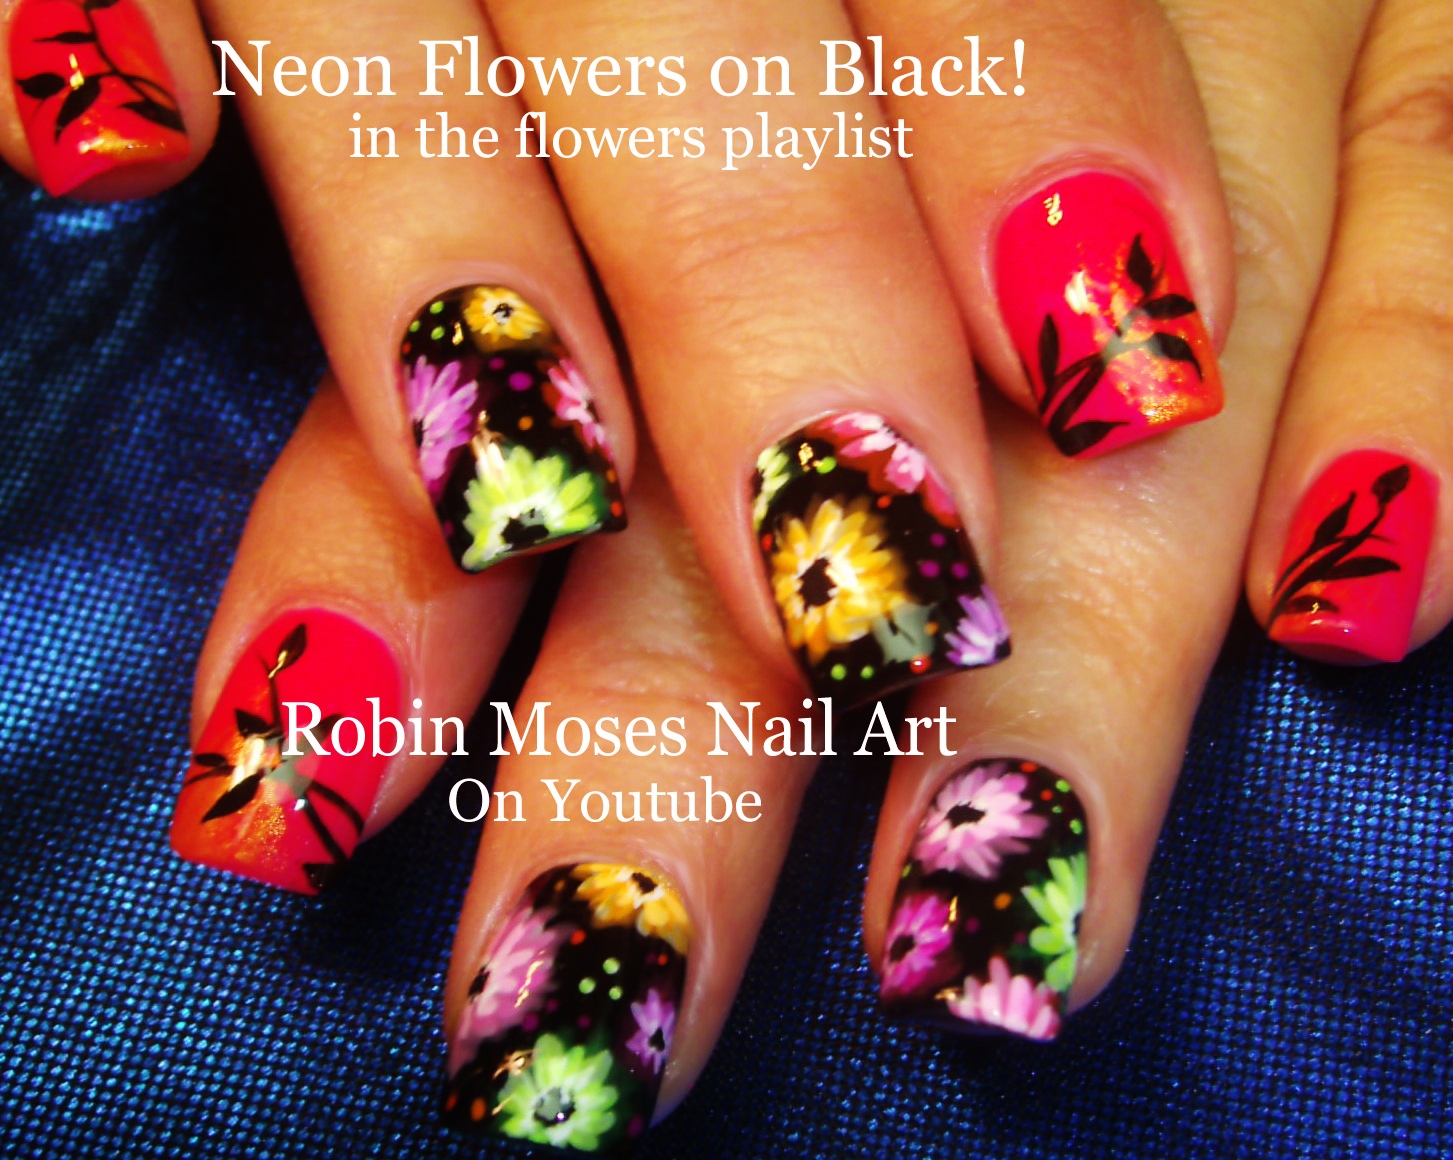
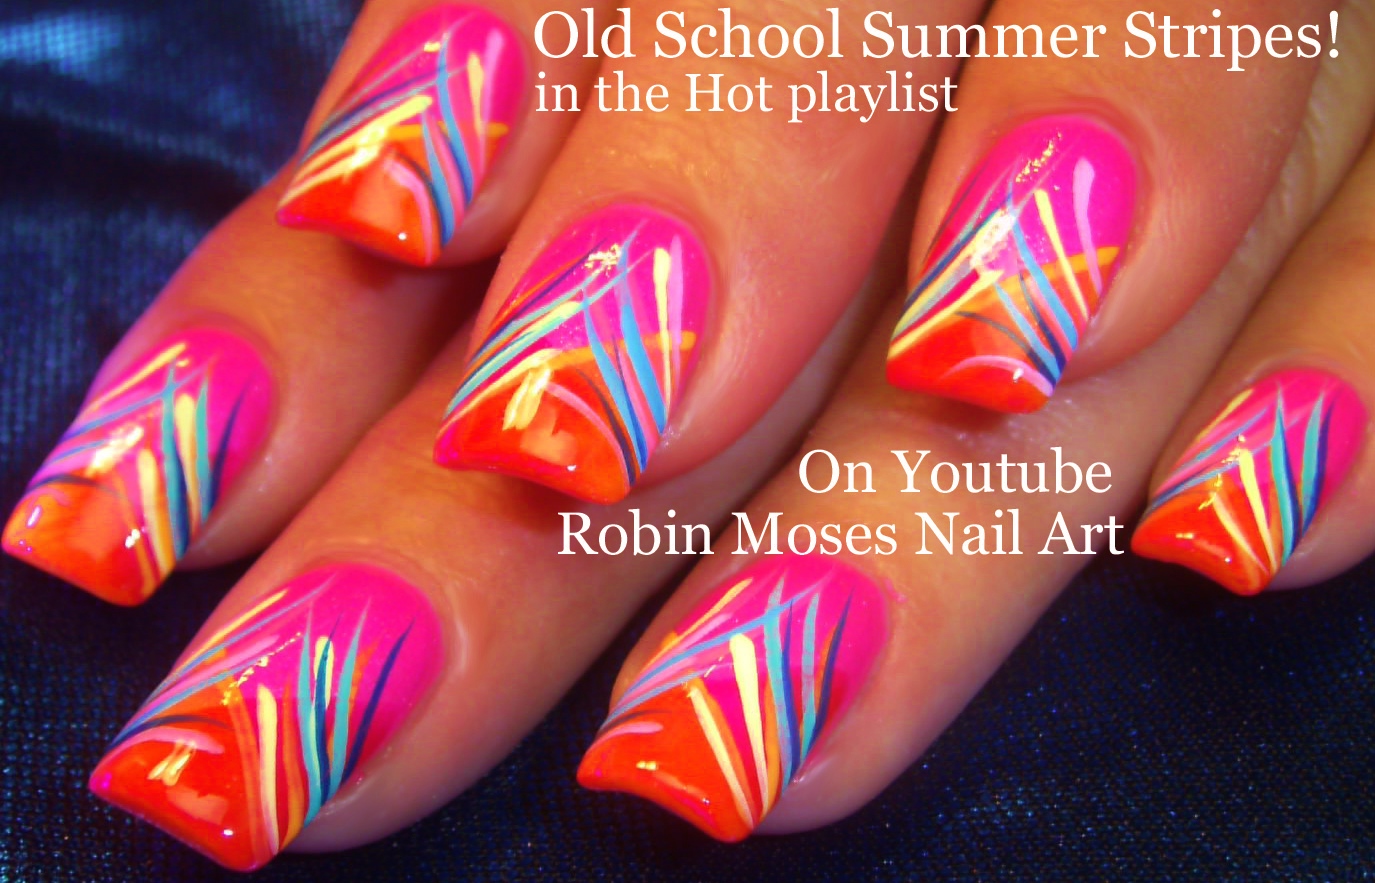
Neon colors are a staple for summer, and they look even more stunning when incorporated into a striped nail art design. Start by applying a base coat and letting it dry. Next, take your chosen neon colors and paint each nail with a different one. Using a thin brush or striping tape, create vertical stripes on each nail. You can go for a single color or mix and match different neon shades. Let the stripes dry before removing the tape or moving on to the next nail. Finish off with a top coat for a bright and bold neon striped manicure that is perfect for summer parties and festivals.8. "Neon Striped Nail Art for Summer"
8. "Neon Striped Nail Art for Summer"

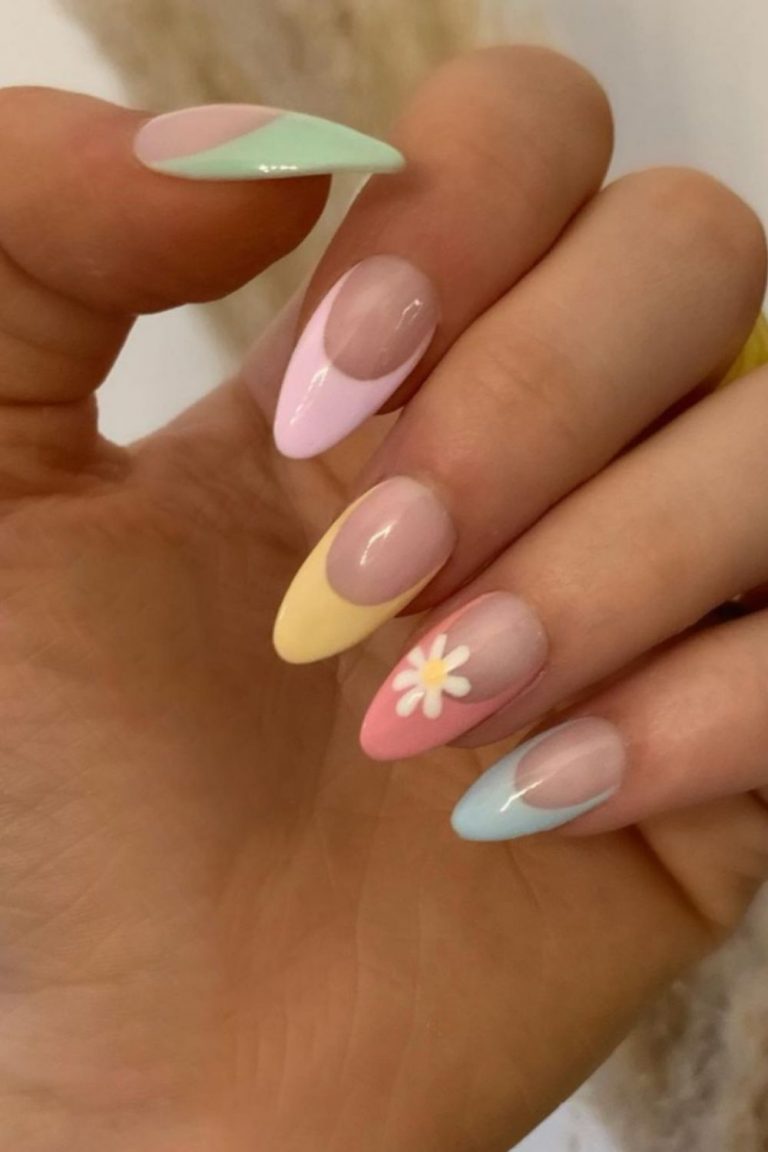
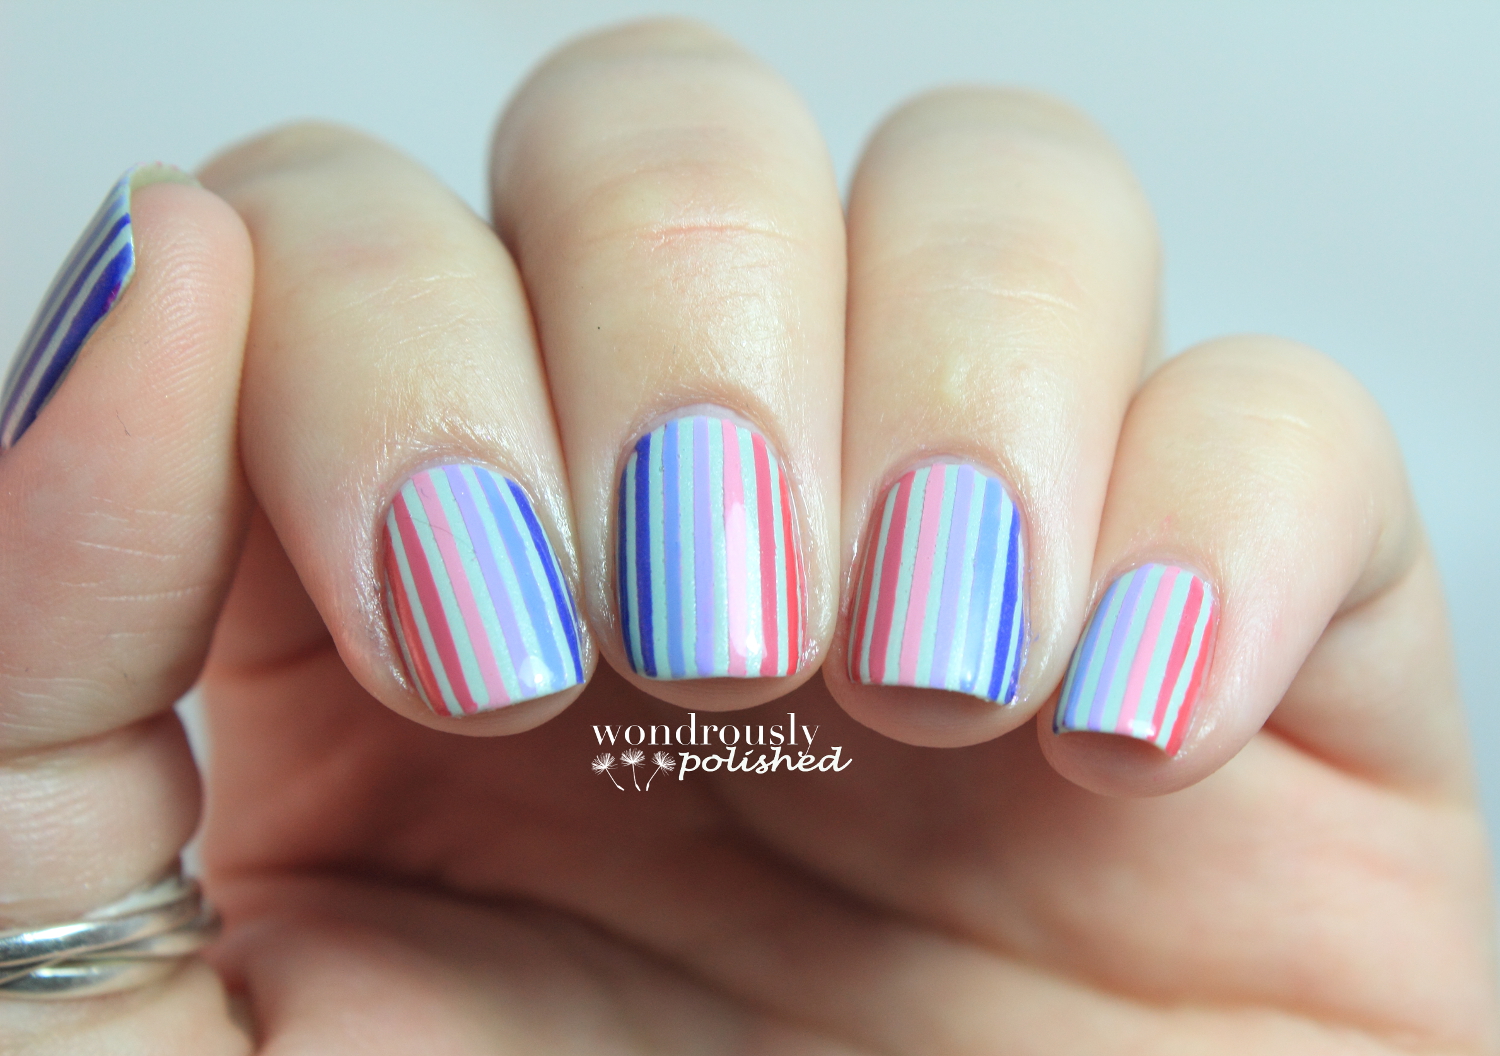
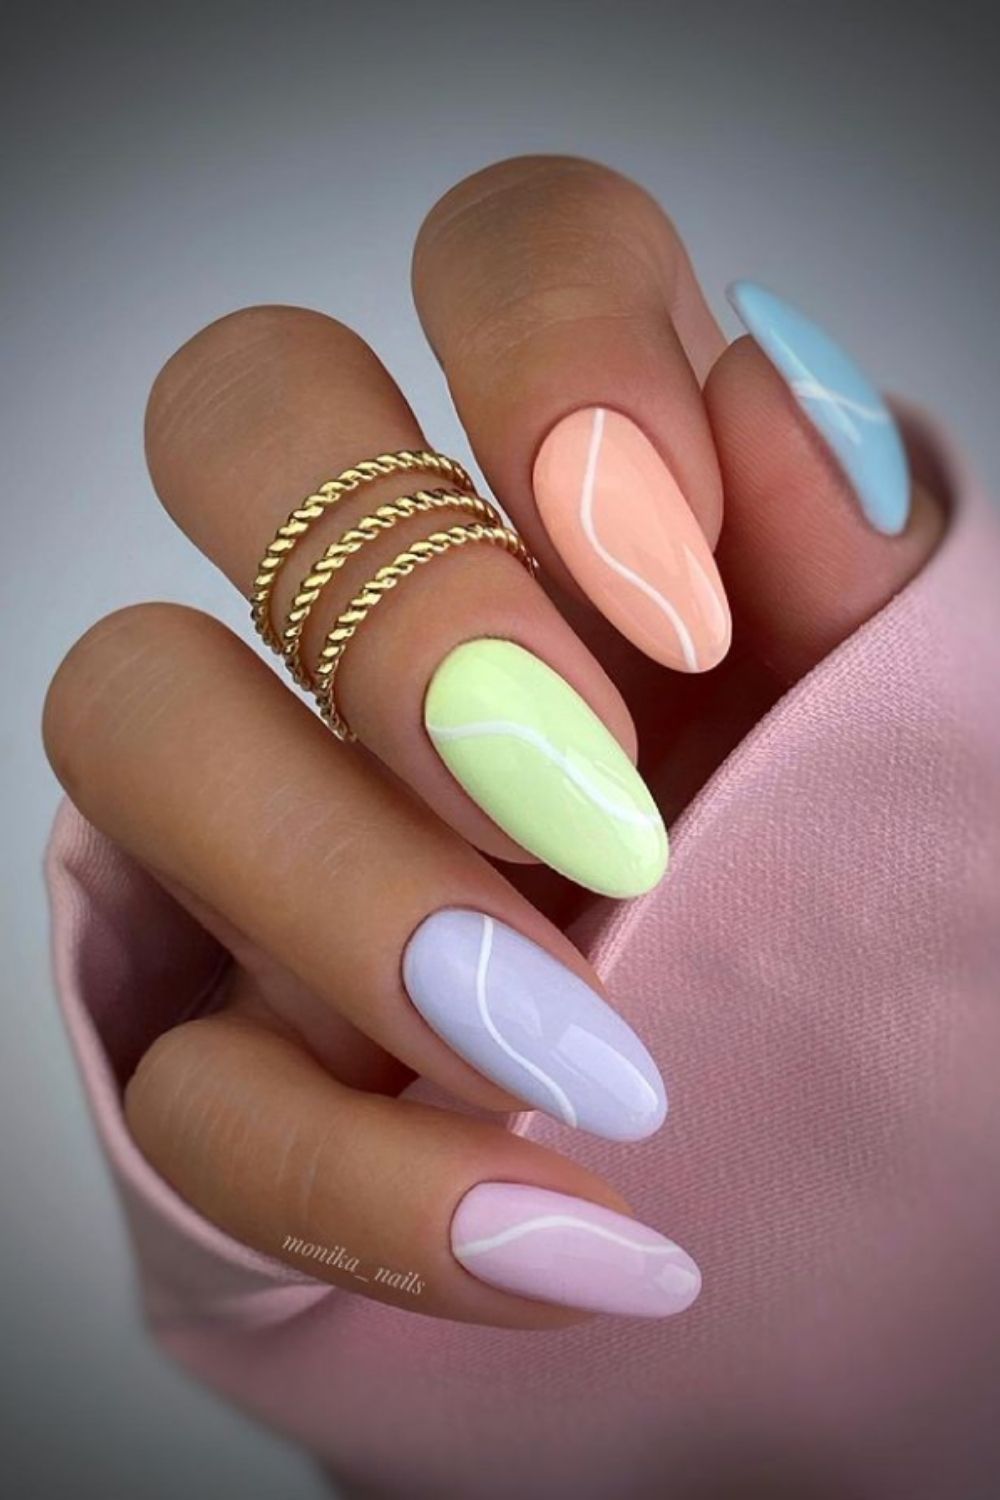
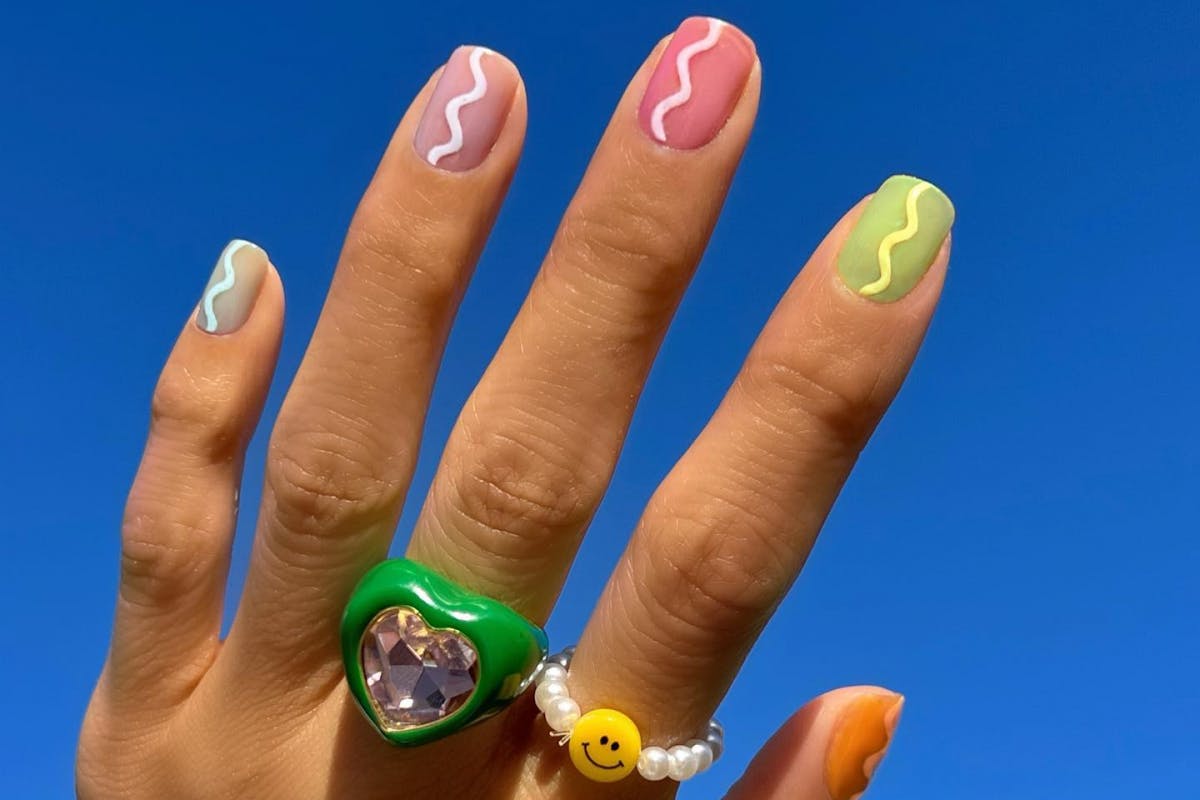
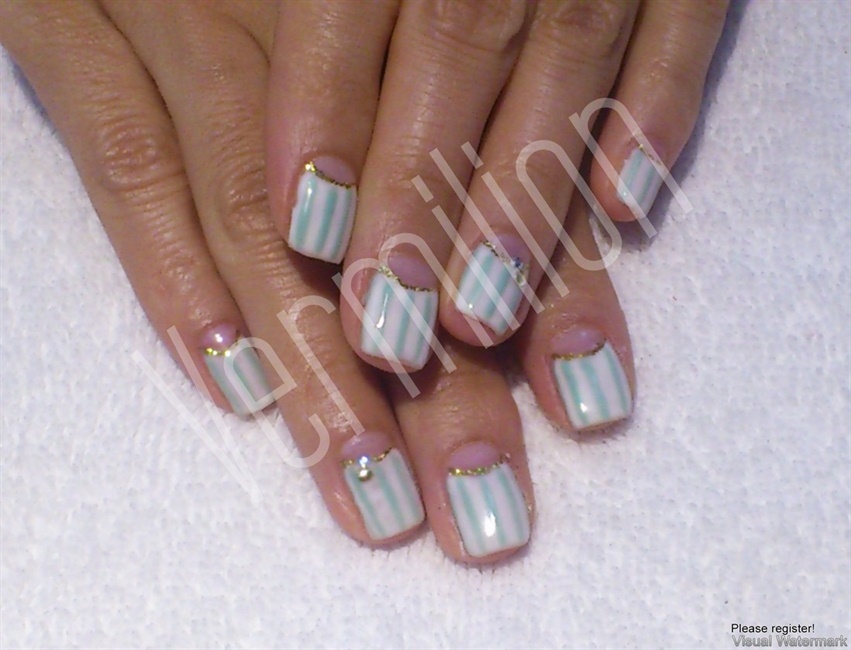
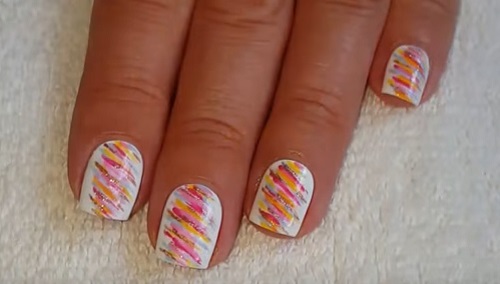
Pastel colors are a popular choice for summer nail art, and they look even more stunning when combined with stripes. Start by applying a base coat and letting it dry. Next, paint each nail with a different pastel color. Using a thin brush or striping tape, create horizontal stripes in a pastel rainbow pattern on each nail. Let the stripes dry before removing the tape or moving on to the next nail. Finish off with a top coat for a dreamy and summery striped nail look.9. "Pastel Striped Nail Art for Summer"

9. "Pastel Striped Nail Art for Summer"


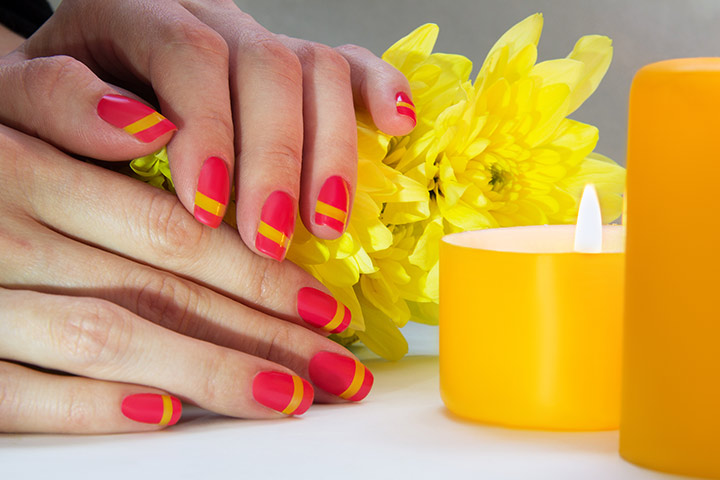
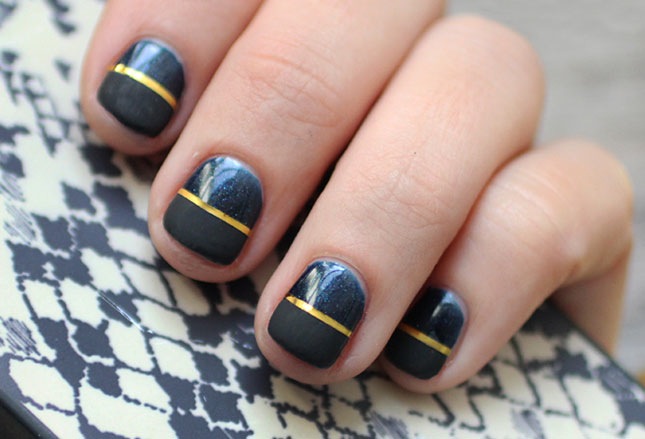
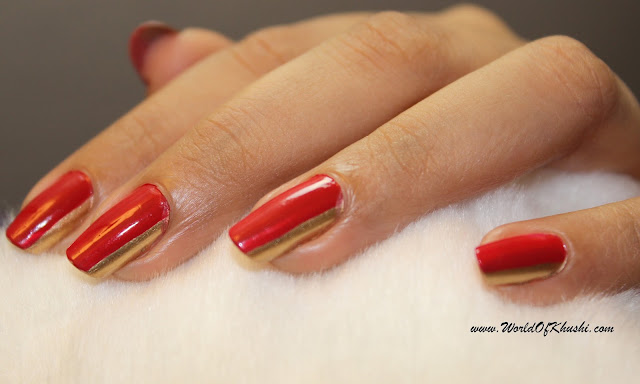
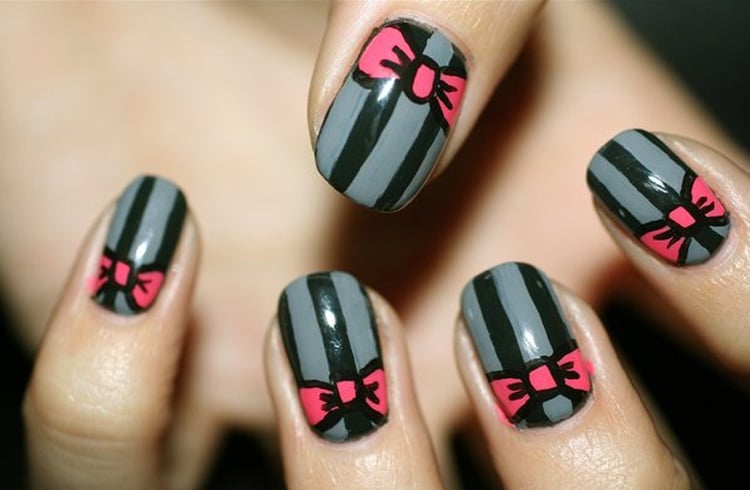
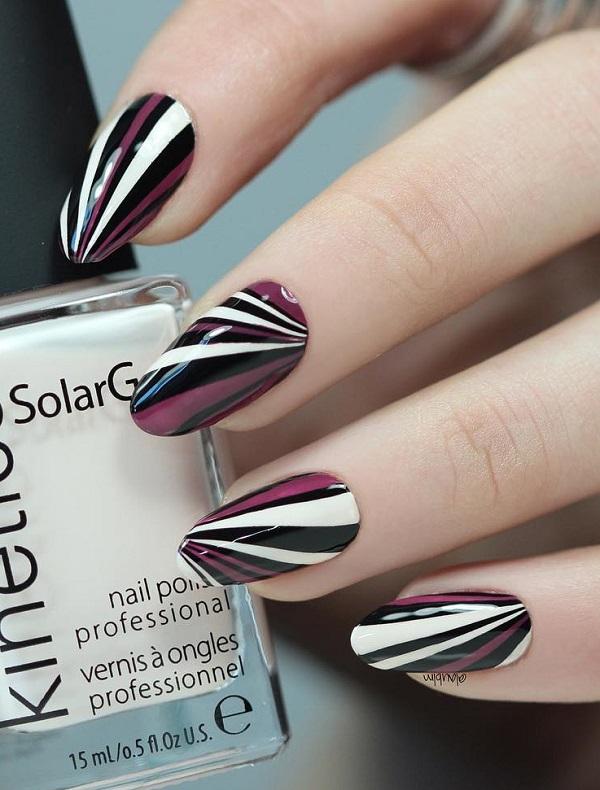
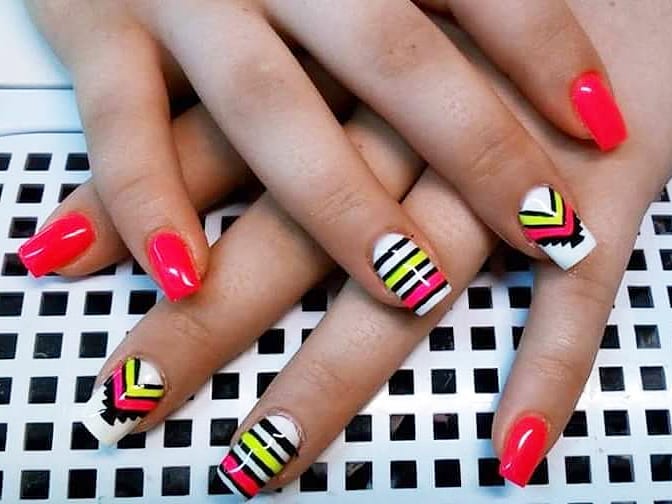
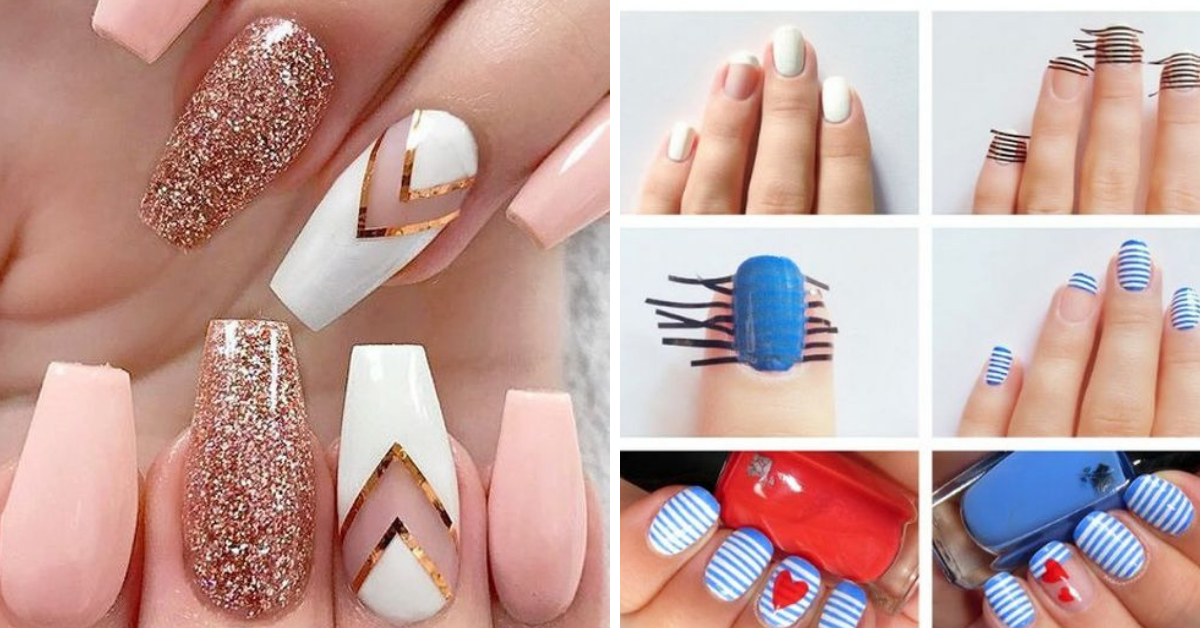
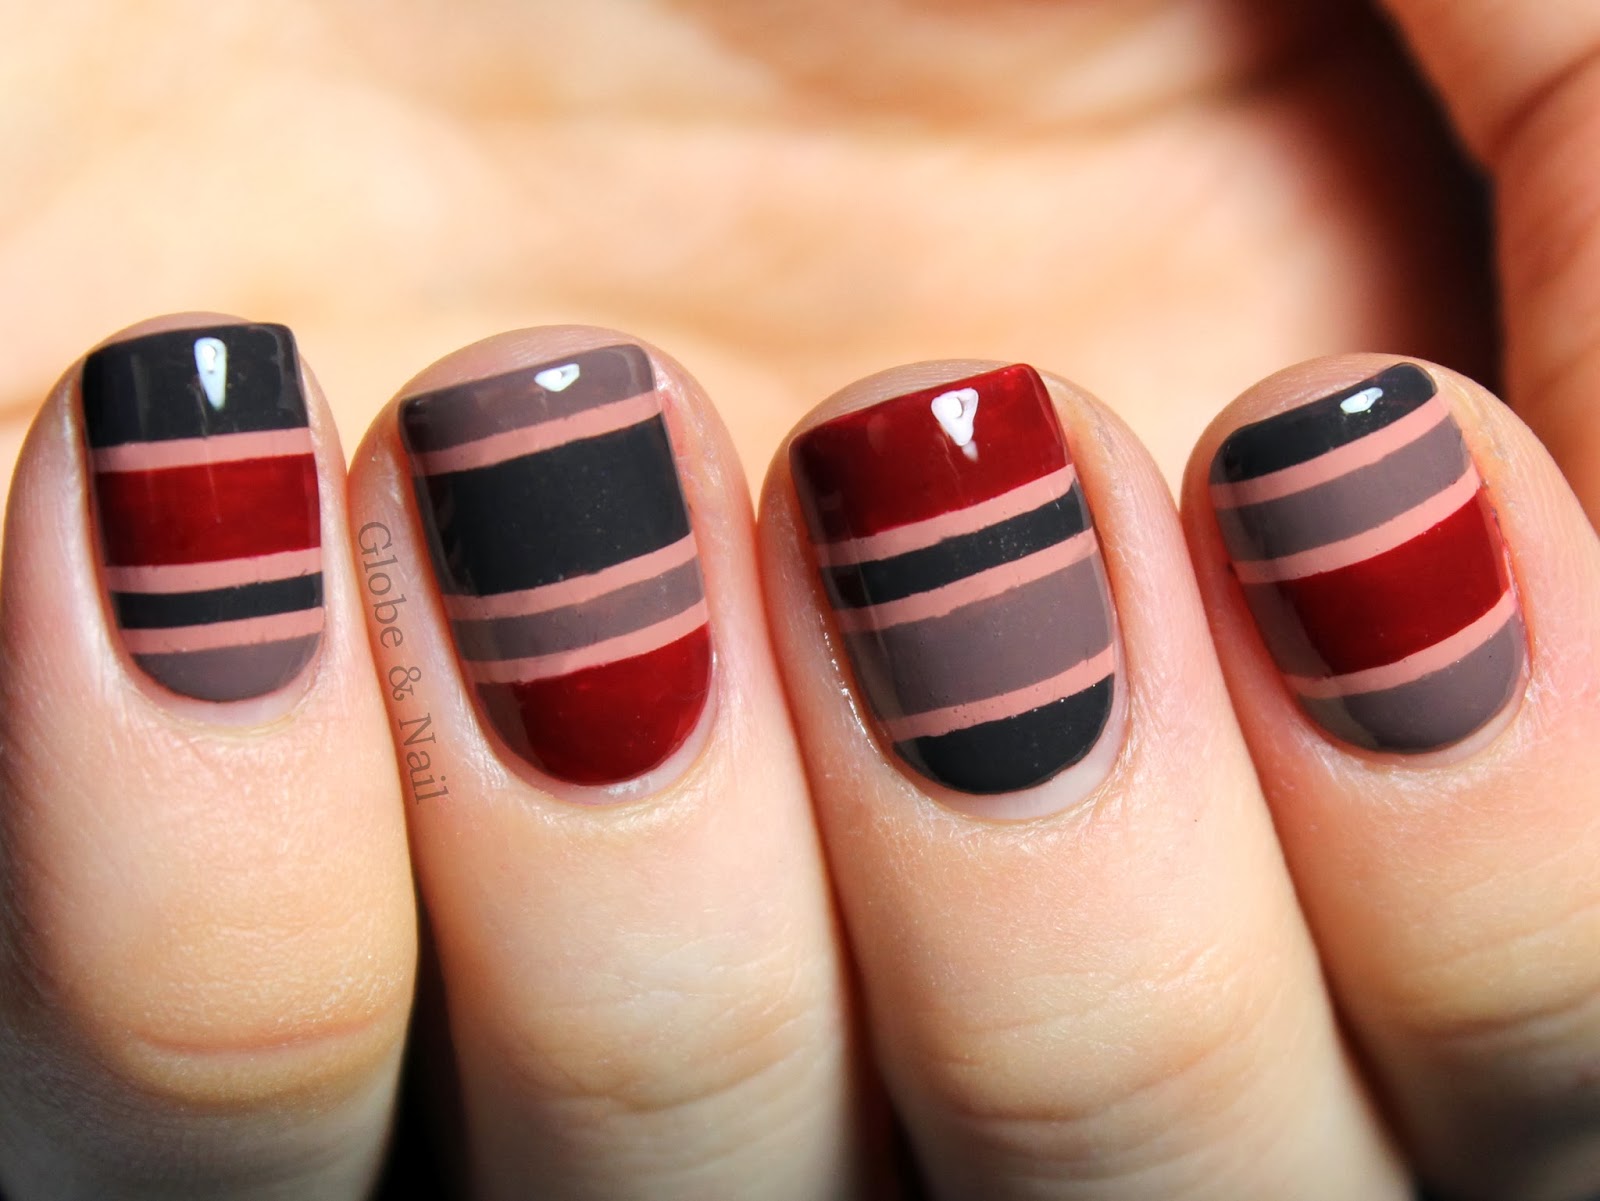
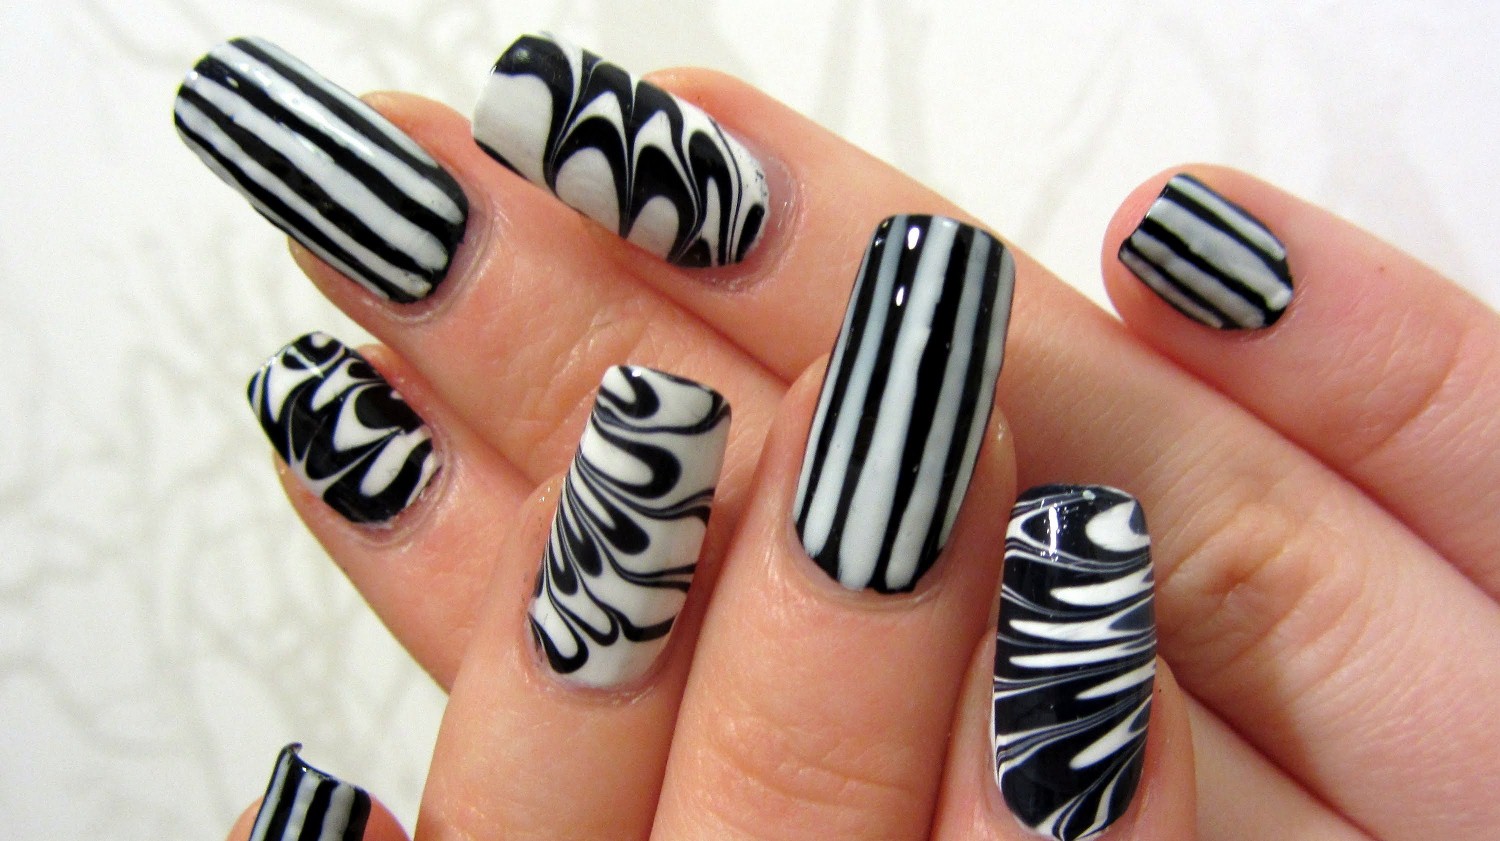
For a more chic and sophisticated take on striped nail art, try a black and white design. Start by applying a base coat and letting it dry. Next, paint all your nails with a white polish. Using a thin brush or striping tape, create vertical stripes with black polish on each nail. You can also mix and match different patterns such as zig-zag or diagonal lines. Let the stripes dry before removing the tape or moving on to the next nail. Finish off with a top coat for a classic and stylish black and white striped manicure perfect for any summer occasion.10. "Black and White Striped Nail Art for Summer"


10. "Black and White Striped Nail Art for Summer"
Revamp Your Summer Look with Striped Nail Art
Add a Fun and Stylish Touch to Your Nails
 Summer is the perfect time to experiment with different nail art designs and show off your creativity. And what better way to do that than with
striped nail art
? This
summer
, let your nails do the talking with vibrant and eye-catching stripes that will add a fun and stylish touch to your overall look.
Summer is the perfect time to experiment with different nail art designs and show off your creativity. And what better way to do that than with
striped nail art
? This
summer
, let your nails do the talking with vibrant and eye-catching stripes that will add a fun and stylish touch to your overall look.
Why Stripes?
 Stripes have always been a popular pattern in fashion, and now they have made their way into the world of nail art. This classic pattern is versatile and can be used in a variety of ways to create unique and stunning designs. Whether you prefer bold and colorful stripes or simple and elegant ones, there is a striped nail art design to suit everyone's taste.
Get Creative with Colors
 One of the best things about
summer striped nail art
is the endless possibilities when it comes to colors. You can go for bright and bold colors like
neon
or
pastels
to give your nails a playful and summery look. Or you can opt for
classic
colors like
black and white
for a more sophisticated and chic style. You can also mix and match different colors to create a fun and unique striped design.
One of the best things about
summer striped nail art
is the endless possibilities when it comes to colors. You can go for bright and bold colors like
neon
or
pastels
to give your nails a playful and summery look. Or you can opt for
classic
colors like
black and white
for a more sophisticated and chic style. You can also mix and match different colors to create a fun and unique striped design.
Stripes for Every Occasion
 Striped nail art is not just limited to casual summer days. It can also be a perfect choice for special occasions such as weddings or parties. You can dress up your nails with delicate and intricate striped designs using
metallic
or
glitter
nail polish for a touch of glamour. Or you can keep it simple yet elegant with
subtle
and
thin
stripes in neutral colors.
Striped nail art is not just limited to casual summer days. It can also be a perfect choice for special occasions such as weddings or parties. You can dress up your nails with delicate and intricate striped designs using
metallic
or
glitter
nail polish for a touch of glamour. Or you can keep it simple yet elegant with
subtle
and
thin
stripes in neutral colors.
DIY Striped Nail Art
 Creating striped nail art may seem daunting, but with a little practice and patience, you can easily achieve salon-worthy results at home. All you need is a few nail polishes,
nail striping tape
, and a steady hand. There are also plenty of tutorials and
summer striped nail art videos
available online that can guide you step by step.
Creating striped nail art may seem daunting, but with a little practice and patience, you can easily achieve salon-worthy results at home. All you need is a few nail polishes,
nail striping tape
, and a steady hand. There are also plenty of tutorials and
summer striped nail art videos
available online that can guide you step by step.
Final Thoughts
 Striped nail art is a fun and easy way to add some personality to your nails and elevate your summer look. With endless color combinations and design options, you can let your creativity run wild. So, why not give
summer striped nail art
a try and see how it can transform your nails into a stylish and eye-catching accessory?
Striped nail art is a fun and easy way to add some personality to your nails and elevate your summer look. With endless color combinations and design options, you can let your creativity run wild. So, why not give
summer striped nail art
a try and see how it can transform your nails into a stylish and eye-catching accessory?


