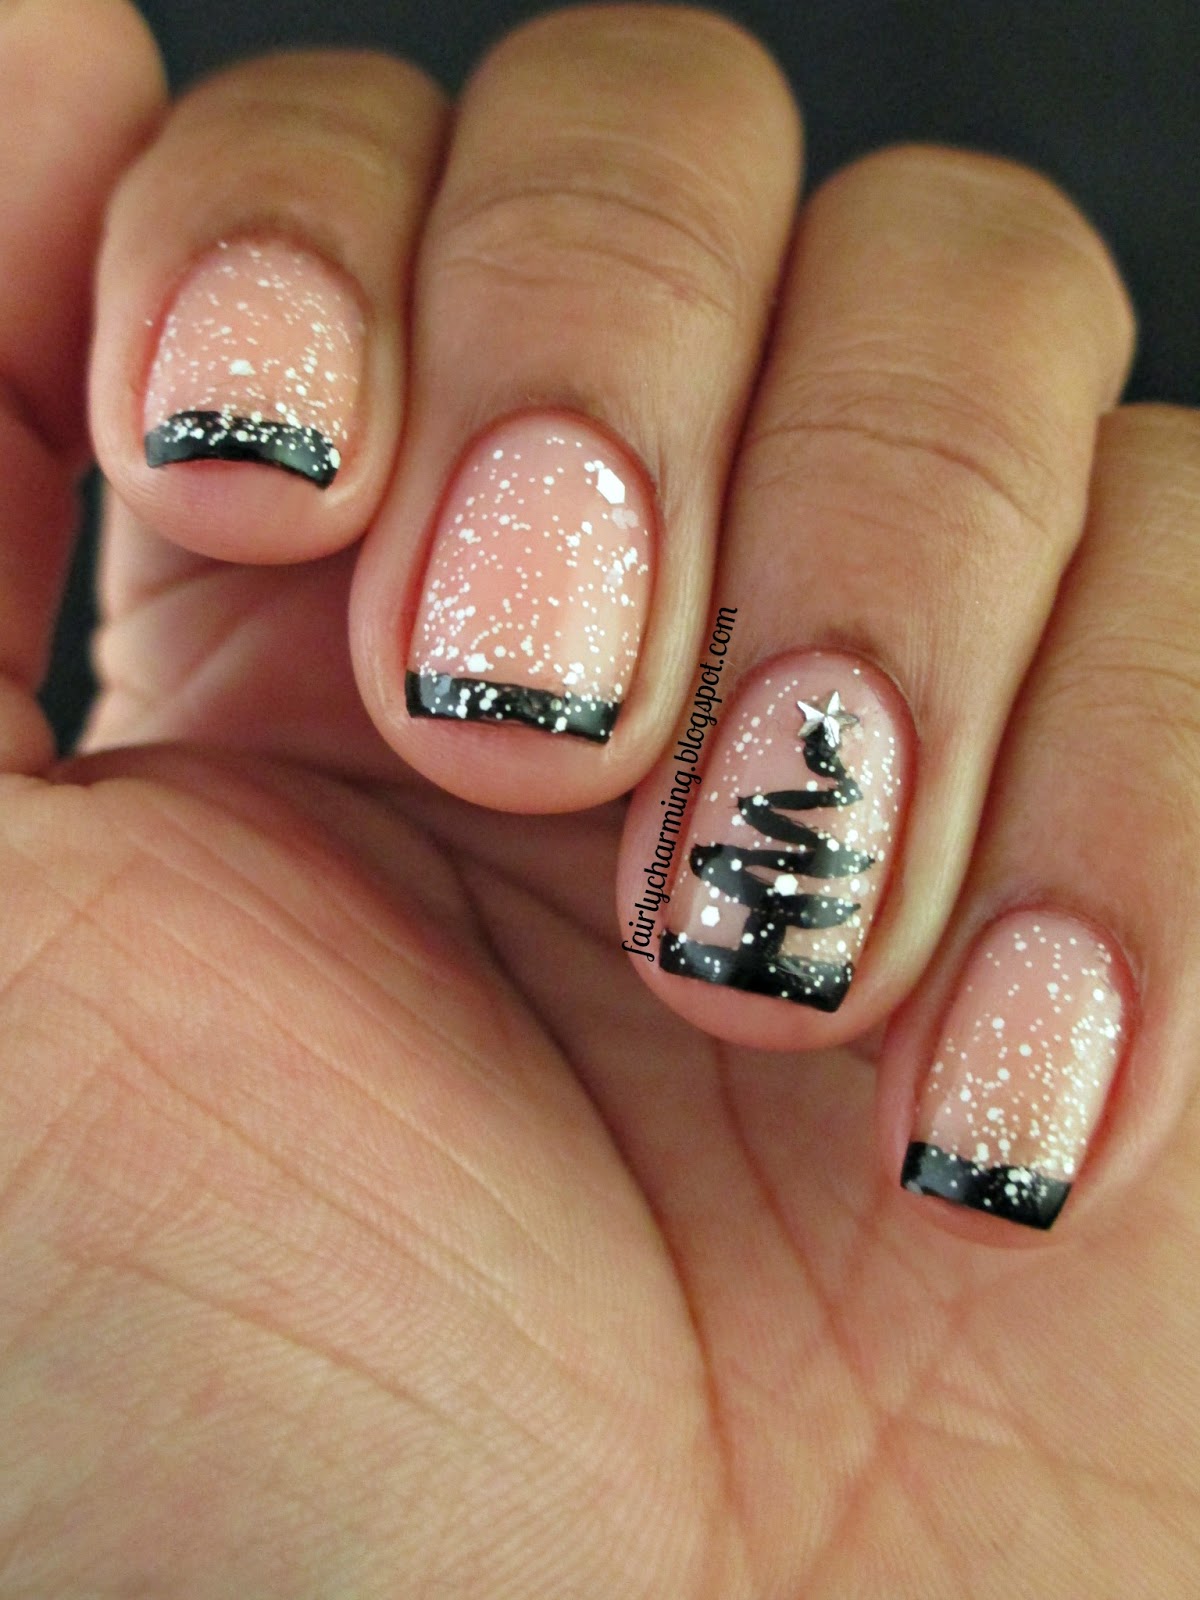
Get ready to add some festive flair to your nails with this swirl Christmas tree nail art tutorial. With just a few simple steps, you can create a beautiful and unique holiday design that is perfect for any Christmas party or gathering. To begin, you will need a few basic nail art supplies including a base coat, top coat, green and white nail polish, a small brush or dotting tool, and a toothpick. You can also add some glitter or other embellishments for some extra sparkle. Start by applying a base coat to protect your nails and allow it to dry completely. Then, using the green nail polish, create a swirl design on your nails. You can either use a small brush or a dotting tool to create the swirls. Next, use the white nail polish to create the outline of a Christmas tree on your nails. You can use a toothpick to carefully draw the lines or use a small brush if you prefer. Make sure to leave a small space at the top of the tree for the star. Once you have the outline of the tree, fill it in with the green polish. You can add a few coats to make the color more vibrant. Then, using the toothpick, create small swirls within the tree branches to add some extra dimension and texture. Now it's time to add the finishing touches. Using the white polish, add a small dot at the top of the tree to create the star. You can also add some glitter or other embellishments to the tree for some added sparkle. Finally, seal in your design with a top coat to make it last and shine. And there you have it, a beautiful swirl Christmas tree nail art design that is perfect for the holiday season.Swirl Christmas Tree Nail Art Tutorial


Swirl Christmas Tree Nail Art Tutorial
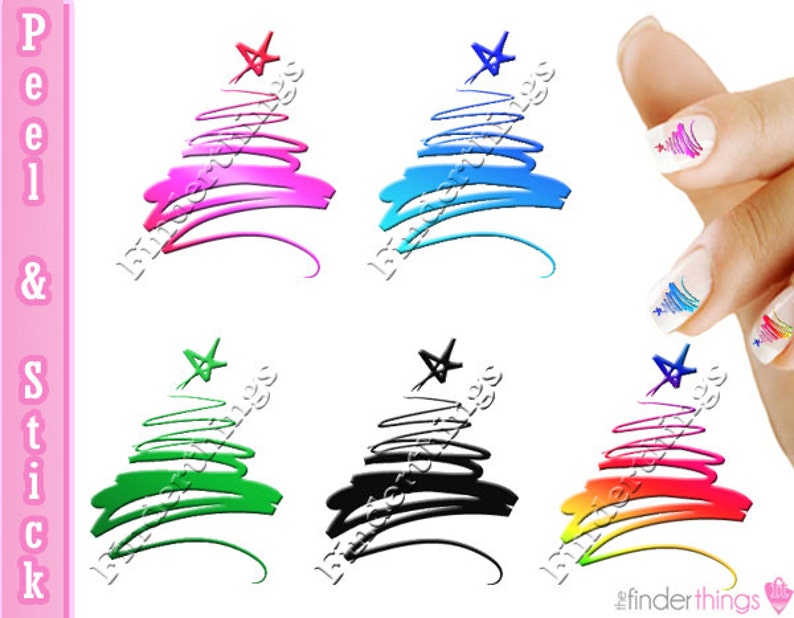


If you're looking for a fun and unique Christmas tree nail art design, look no further than this swirl design. It's easy to create and adds a touch of whimsy to your holiday nails. To create this design, start by painting your nails with a base coat and allowing it to dry completely. Then, using a green nail polish, create swirls on your nails using a small brush or dotting tool. Next, using a white nail polish, create the outline of a Christmas tree on your nails. You can use a toothpick or small brush to carefully draw the lines. Leave a small space at the top of the tree for the star. Fill in the tree with the green polish, adding a few coats for a more vibrant color. Then, using a toothpick, create swirls within the tree branches to add some texture and dimension. For the final touch, add a small dot of white polish at the top of the tree to create the star. You can also add some glitter or other embellishments for some extra sparkle. Finish off with a top coat to seal in your design and make it last. With this swirl Christmas tree design, your nails will be the talk of any holiday party or gathering.Christmas Tree Nail Art Swirl Design


Christmas Tree Nail Art Swirl Design


Don't have a lot of time, but still want to add some holiday cheer to your nails? This easy swirl Christmas tree nail art is perfect for you. With just a few simple steps, you can create a beautiful and festive design in no time. As always, start with a base coat to protect your nails and allow it to dry completely. Then, using a green nail polish, create swirls on your nails using a small brush or dotting tool. Next, use a white polish to create the outline of a Christmas tree on your nails. You can use a toothpick or small brush to carefully draw the lines. Leave a small space at the top of the tree for the star. Fill in the tree with the green polish, adding a few coats for a more vibrant color. Then, using a toothpick, create swirls within the tree branches to add some texture and dimension. Finish off with a top coat to seal in your design and add some shine. And there you have it, an easy swirl Christmas tree nail art design that is perfect for the busy holiday season.Easy Swirl Christmas Tree Nail Art
Easy Swirl Christmas Tree Nail Art


If you love the look of swirls and want to incorporate them into your holiday nail art, this swirly Christmas tree design is just what you need. It's fun, festive, and easy to create. To start, apply a base coat to your nails and allow it to dry completely. Then, using a green nail polish, create swirls on your nails using a small brush or dotting tool. You can create as many or as few swirls as you like, depending on the size of your nails. Next, using a white polish, draw the outline of a Christmas tree on your nails. You can use a toothpick or small brush to carefully create the lines. Leave a small space at the top of the tree for the star. Fill in the tree with the green polish, adding a few coats for a more vibrant color. Then, using a toothpick, create swirls within the tree branches to add some texture and dimension. For the final touch, add a small dot of white polish at the top of the tree to create the star. Finish off with a top coat to seal in your design and make it last. This swirly Christmas tree nail art is sure to make a statement and add some holiday cheer to your nails.Swirly Christmas Tree Nail Art


Swirly Christmas Tree Nail Art


If you want to take your Christmas tree nail art to the next level, why not add some swirls? This design combines the classic holiday tree with fun and whimsical swirls for a unique and eye-catching look. Start by painting your nails with a base coat and allowing it to dry completely. Then, using a green nail polish, create swirls on your nails using a small brush or dotting tool. Next, use a white polish to create the outline of a Christmas tree on your nails. You can use a toothpick or small brush to carefully draw the lines. Leave a small space at the top of the tree for the star. Fill in the tree with the green polish, adding a few coats for a more vibrant color. Then, using a toothpick, create swirls within the tree branches to add some texture and dimension. For an extra touch, you can add some glitter or other embellishments to the tree for some added sparkle. Finish off with a top coat to seal in your design and make it last. This Christmas tree nail art with swirls is perfect for those who want a fun and unique holiday design.Christmas Tree Nail Art with Swirls

Christmas Tree Nail Art with Swirls
If you're new to nail art or just want some guidance, this step by step tutorial for swirl Christmas tree nail art is here to help. It breaks down the process into easy to follow steps so you can create a beautiful holiday design with ease. Step 1: Start by applying a base coat to your nails and allowing it to dry completely. Step 2: Using a green nail polish, create swirls on your nails using a small brush or dotting tool. Step 3: Next, use a white polish to create the outline of a Christmas tree on your nails. You can use a toothpick or small brush to carefully draw the lines. Leave a small space at the top of the tree for the star. Step 4: Fill in the tree with the green polish, adding a few coats for a more vibrant color. Step 5: Using a toothpick, create swirls within the tree branches to add some texture and dimension. Step 6: Add a small dot of white polish at the top of the tree to create the star. Step 7: Finish off with a top coat to seal in your design and make it last. With this simple step by step guide, you'll have a beautiful swirl Christmas tree nail art design in no time.Swirl Christmas Tree Nail Art Step by Step


Swirl Christmas Tree Nail Art Step by Step


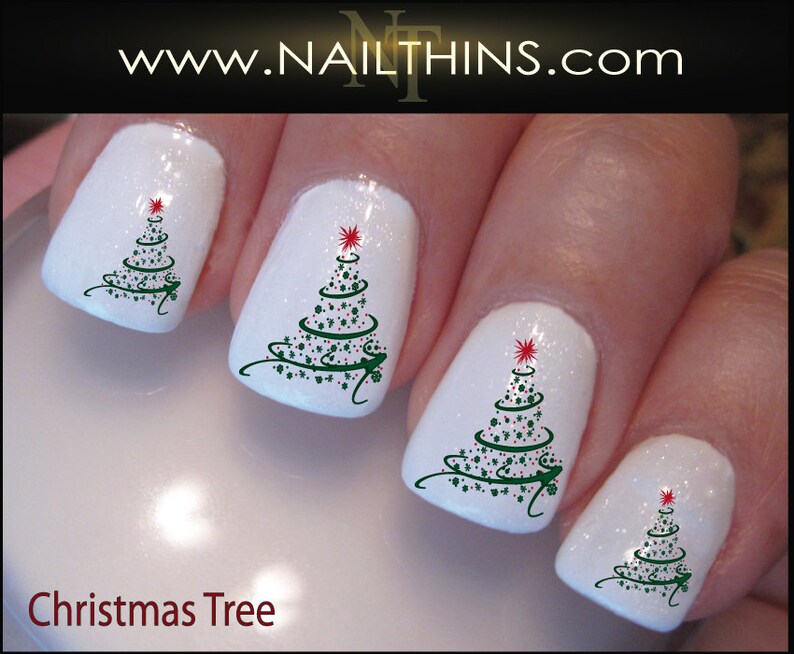
If you're new to nail art or just want a simple and easy design, this swirl Christmas tree nail art is perfect for beginners. With just a few steps, you can create a beautiful holiday design that is sure to impress. Start by applying a base coat to your nails and allowing it to dry completely. Then, using a green nail polish, create swirls on your nails using a small brush or dotting tool. Next, use a white polish to create the outline of a Christmas tree on your nails. You can use a toothpick or small brush to carefully draw the lines. Leave a small space at the top of the tree for the star. Fill in the tree with the green polish, adding a few coats for a more vibrant color. Then, using a toothpick, create swirls within the tree branches to add some texture and dimension. For the final touch, add a small dot of white polish at the top of the tree to create the star. Finish off with a top coat to seal in your design and make it last. This swirl Christmas tree nail art is perfect for beginners who want to add some holiday cheer to their nails.Swirl Christmas Tree Nail Art for Beginners

Swirl Christmas Tree Nail Art for Beginners


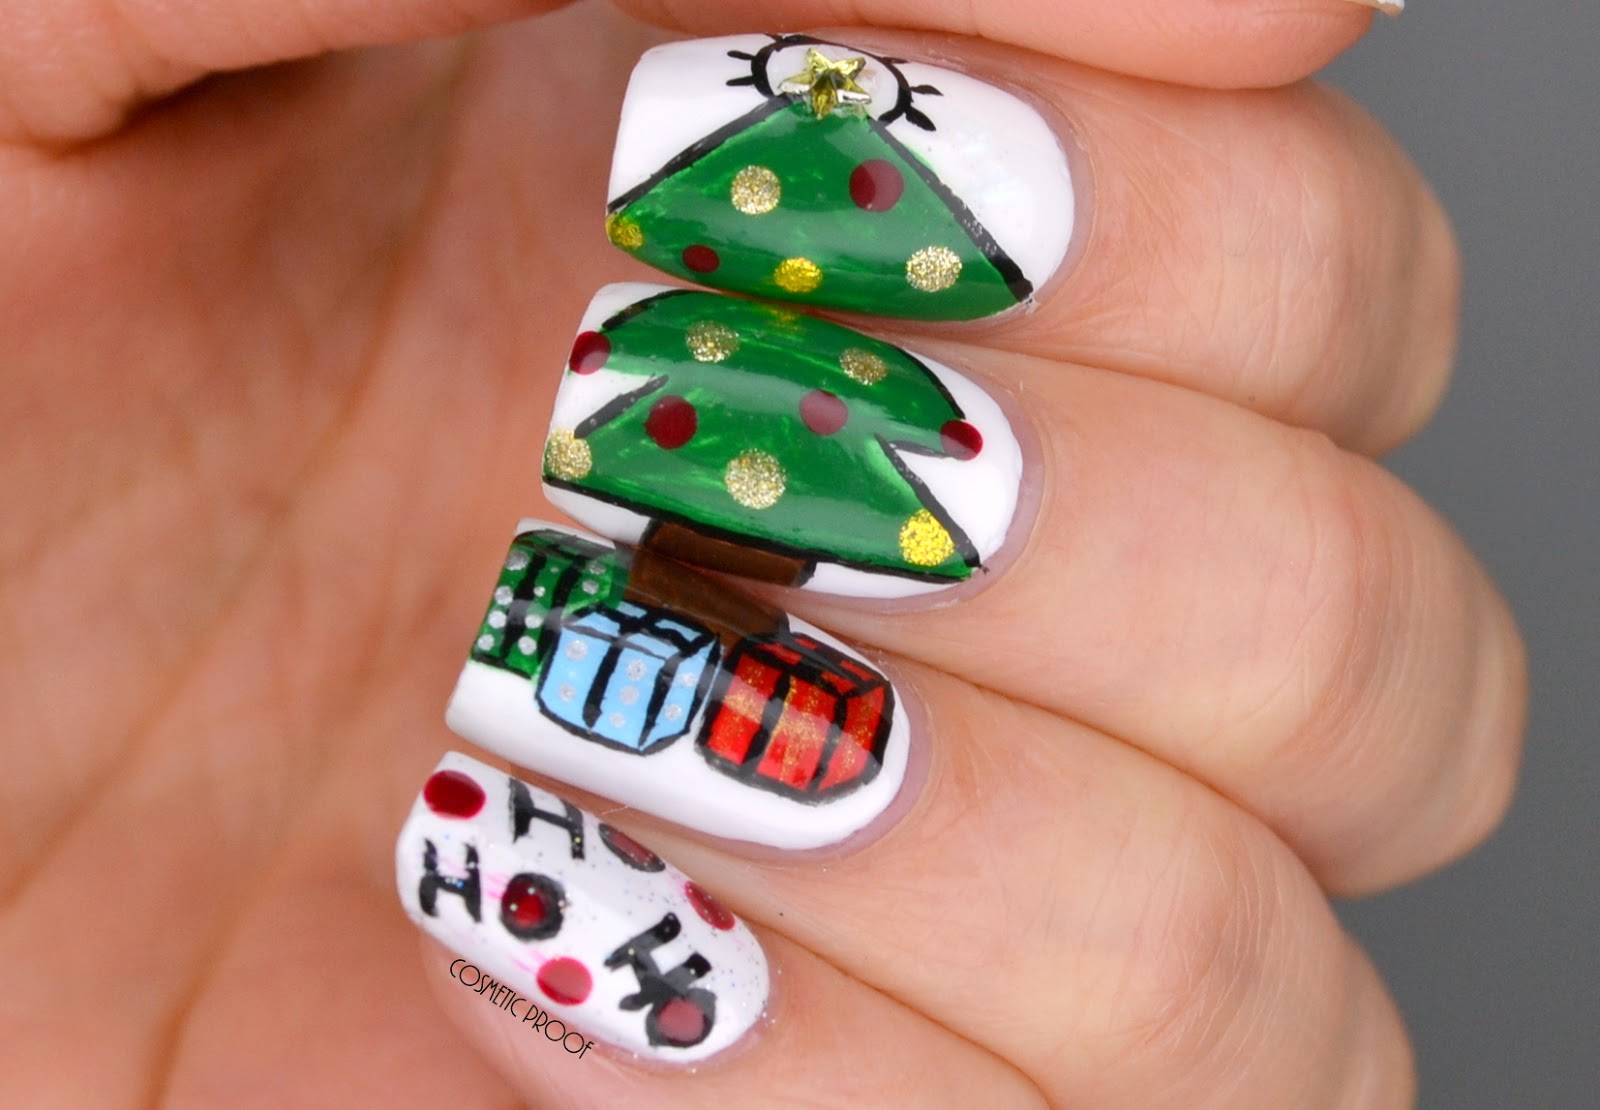
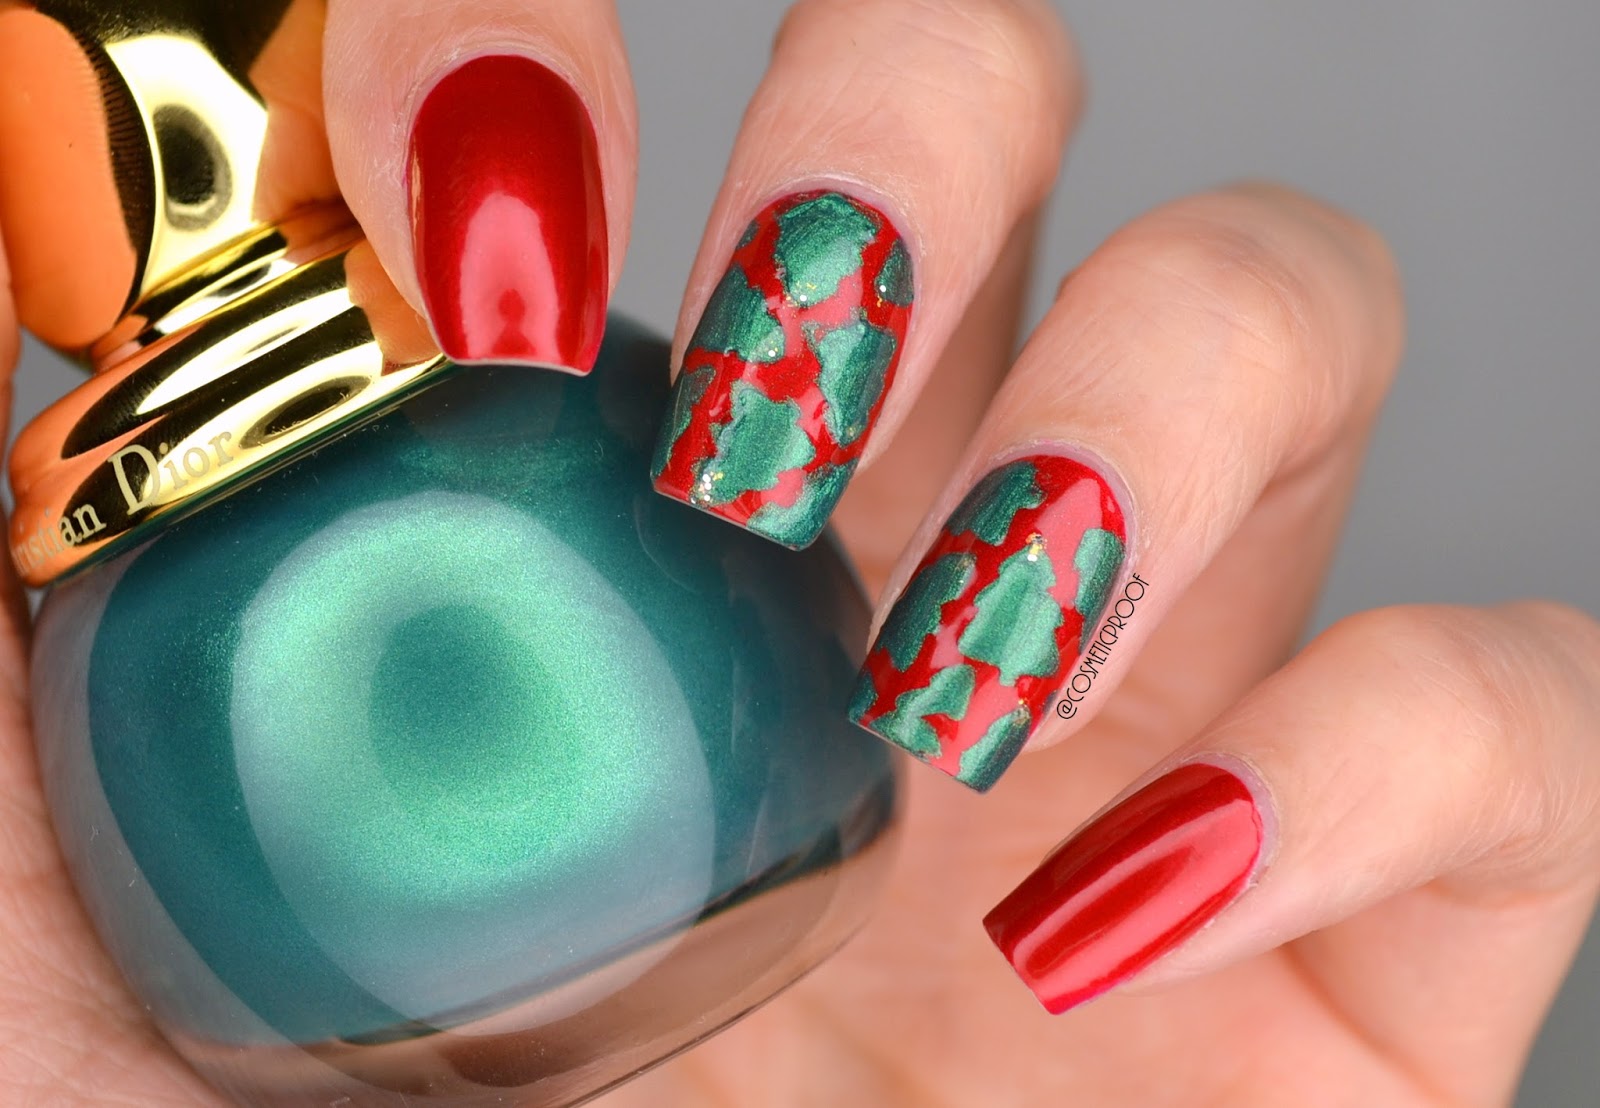
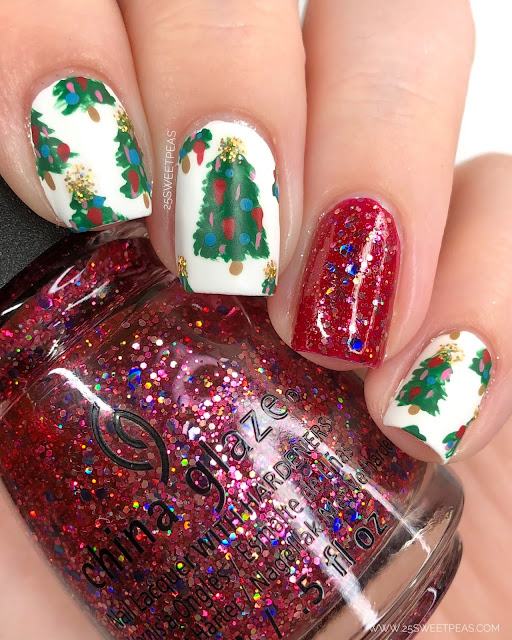
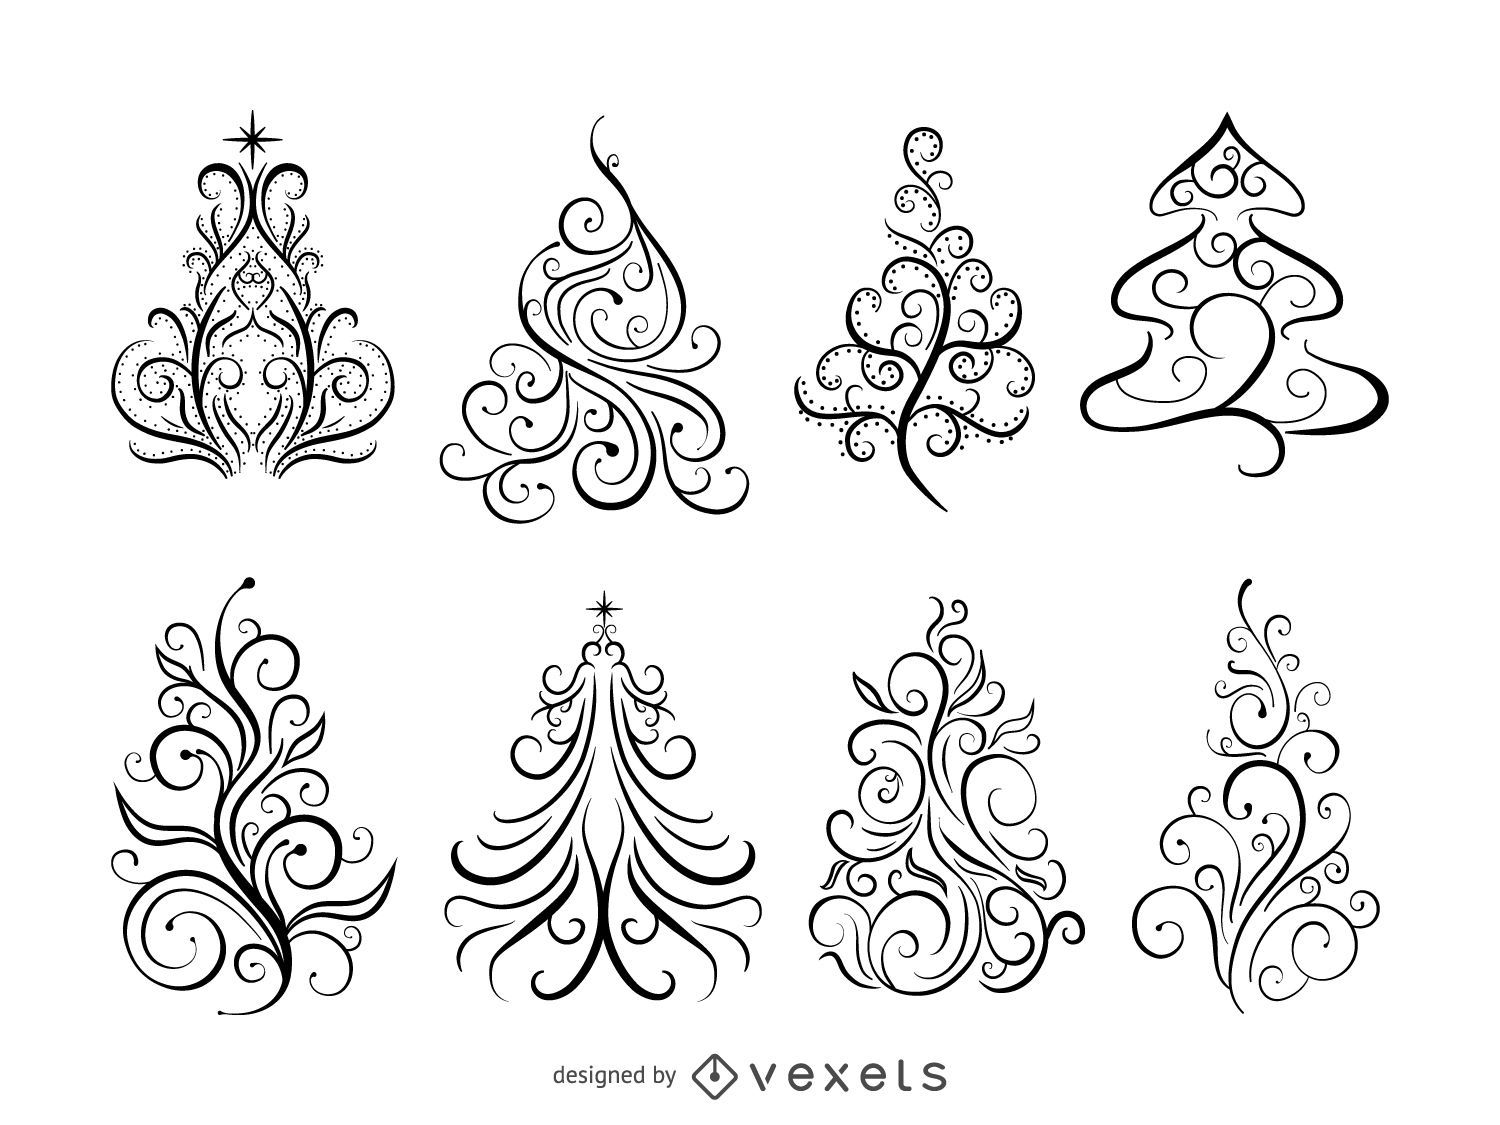
The possibilities are endless when it comes to swirl Christmas tree nail art designs. You can create a variety of unique and creative designs by simply changing up the colors, adding different embellishments, or using different techniques. For a more minimalist design, you can opt for a simple white swirl on a green background, creating a subtle and elegant look. Or, for a bolder look, you can use multiple colors for the swirls and add some glitter or rhinestones for some extra sparkle. You can also experiment with different swirl patterns, such as creating a spiral tree or a tree with multiple swirls coming out of it. The key is to have fun and let your creativity run wild. With so many options, you can create a swirl Christmas tree nail art design that is uniquely yours.Swirl Christmas Tree Nail Art Designs

Swirl Christmas Tree Nail Art Designs
If you're looking for some inspiration for your swirl Christmas tree nail art, we've got you covered. Here are some fun and unique ideas to help you create the perfect holiday design. 1. Candy Cane Swirls: Add some festive flair to your swirl Christmas tree design by incorporating red and white stripes for a candy cane-inspired look. 2. Snowflake Swirls: Use a toothpick to create swirls in the shape of snowflakes for a winter wonderland feel. 3. Ombre Swirls: Use different shades of green to create an ombre effect with your swirls for a modern twist. 4. Reindeer Antlers: Create a swirl design on your nails and add small red dots at the top to represent Rudolph's nose. 5. Striped Swirls: Combine stripes and swirls for a fun and unique design that will make your nails stand out. Get creative and mix and match these ideas to create your own unique swirl Christmas tree nail art design.Swirl Christmas Tree Nail Art Ideas
Swirl Christmas Tree Nail Art Ideas

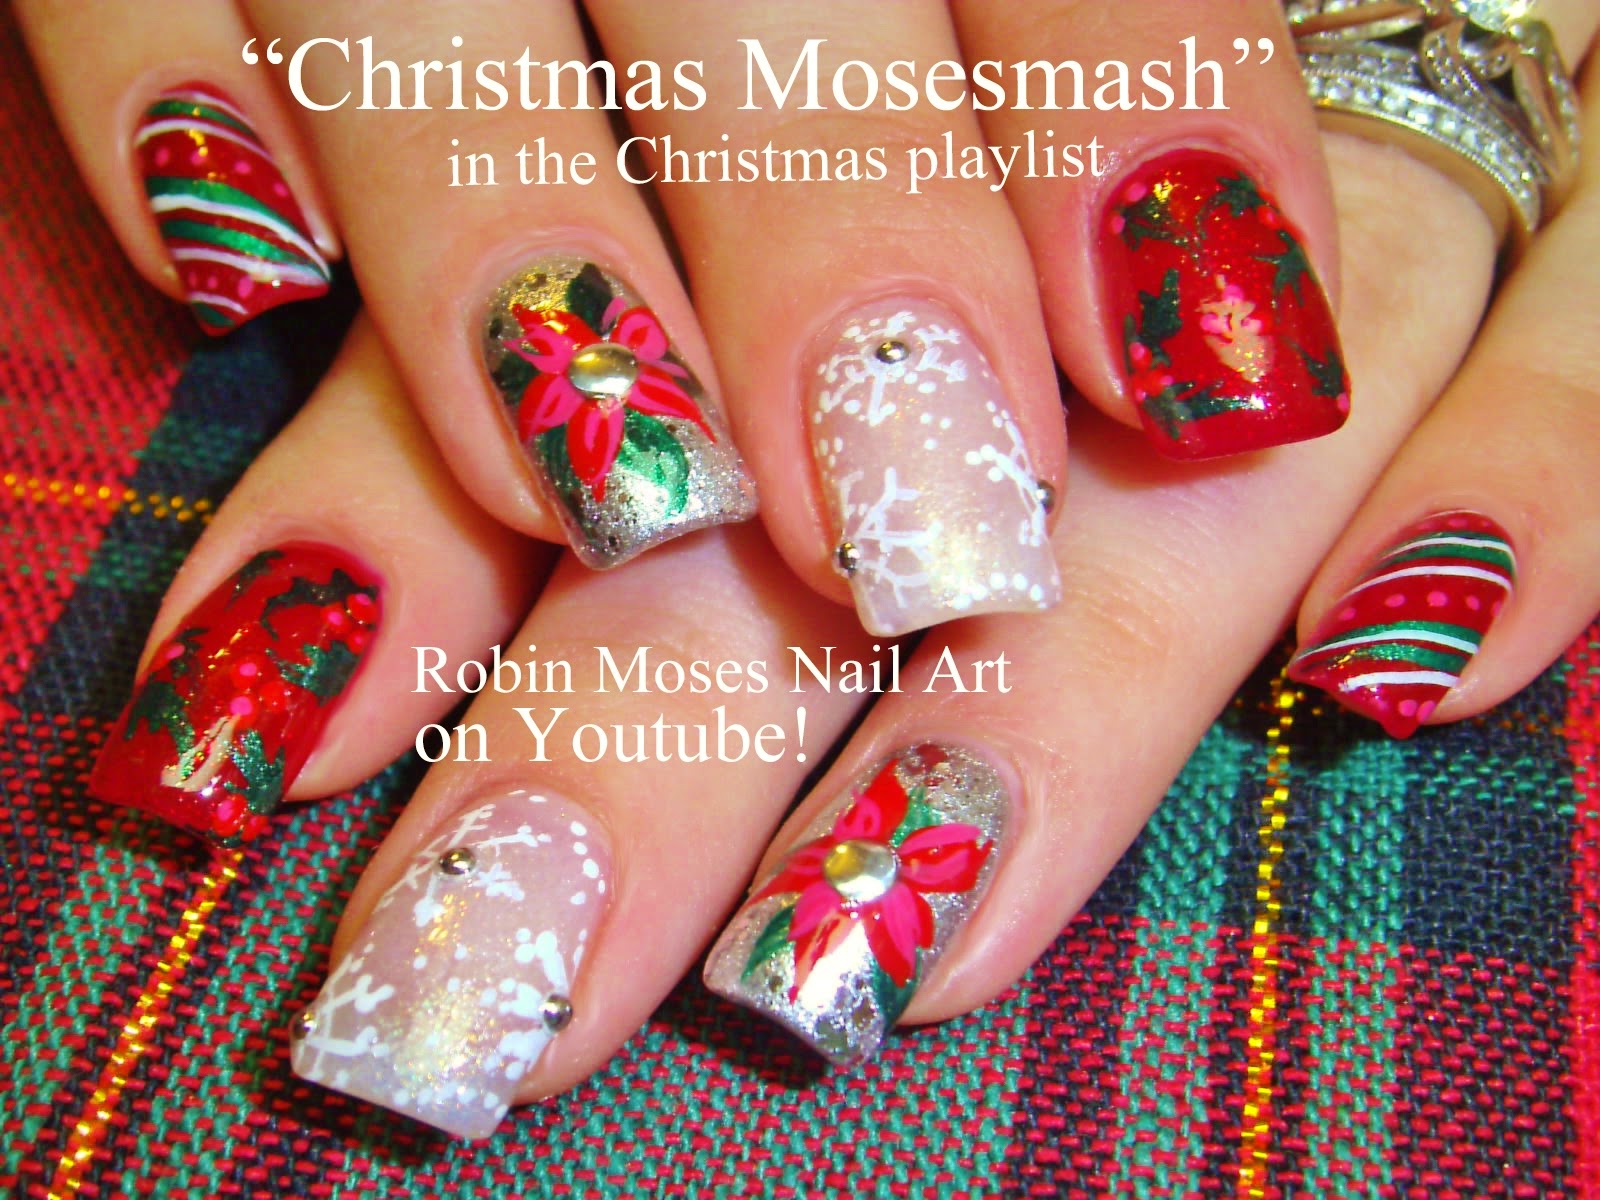
If you need some inspiration to get started on your swirl Christmas tree nail art, look no further than these beautiful designs. From simple and elegant to bold and colorful, these designs are sure to inspire you to create your own festive and unique holiday nail art. Don't be afraid to try something new and make the design your own. Whether you prefer a more minimalist look or love to go all out with glitter and rhinestones, there's no wrong way to create swirl Christmas tree nail art. So gather your supplies and let these designs inspire you to create a beautiful and festive holiday look for your nails. Happy holidays and happy nail art-ing! Swirl Christmas Tree Nail Art Inspiration

Swirl Christmas Tree Nail Art Inspiration

Create Festive Nail Art with Swirl.Christmas Tree Design

Transform Your Nails into a Winter Wonderland
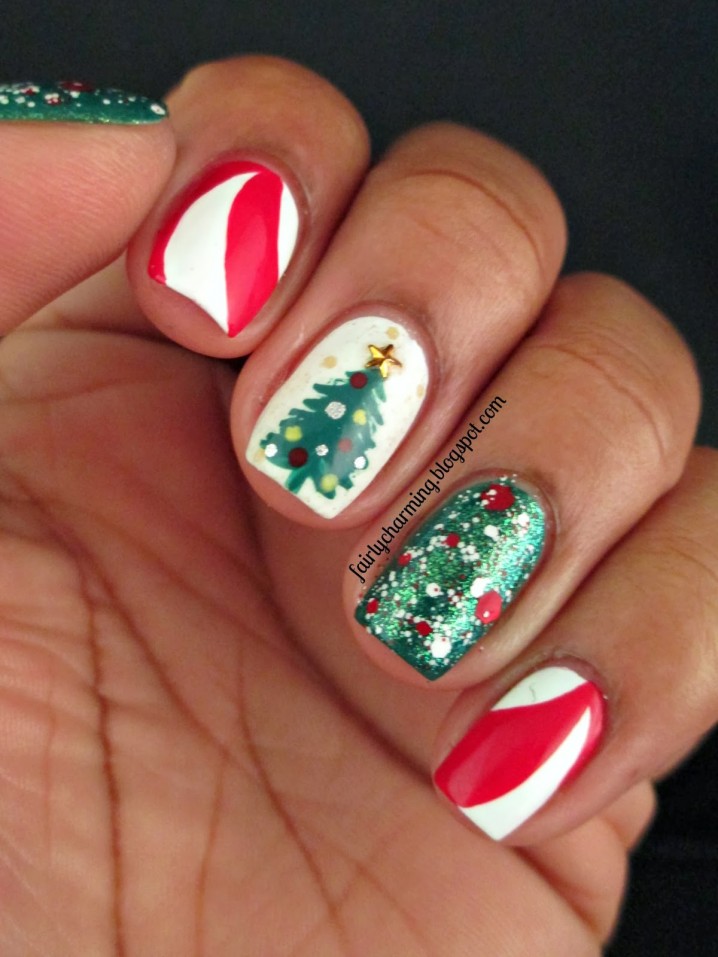
 Are you looking to add a touch of festive cheer to your nail game this holiday season? Look no further than the swirl.christmas tree nail art design. This whimsical and eye-catching design is the perfect way to showcase your holiday spirit and add some sparkle to your look.
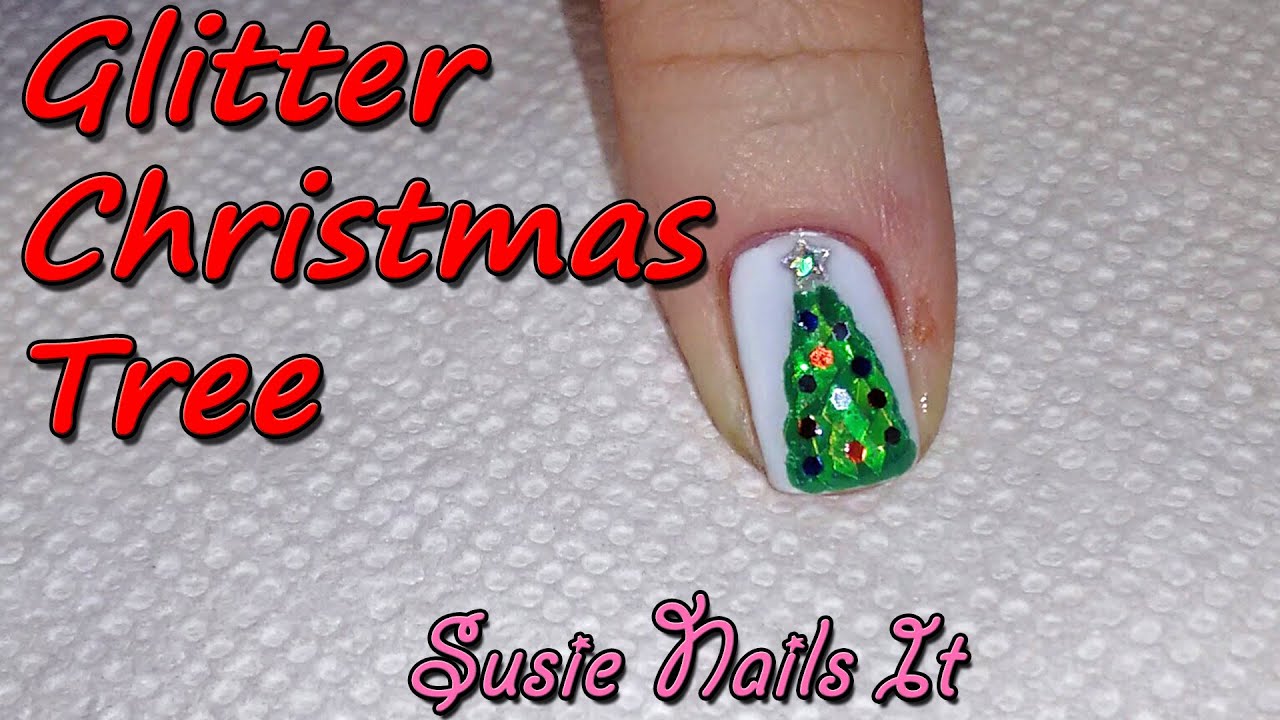
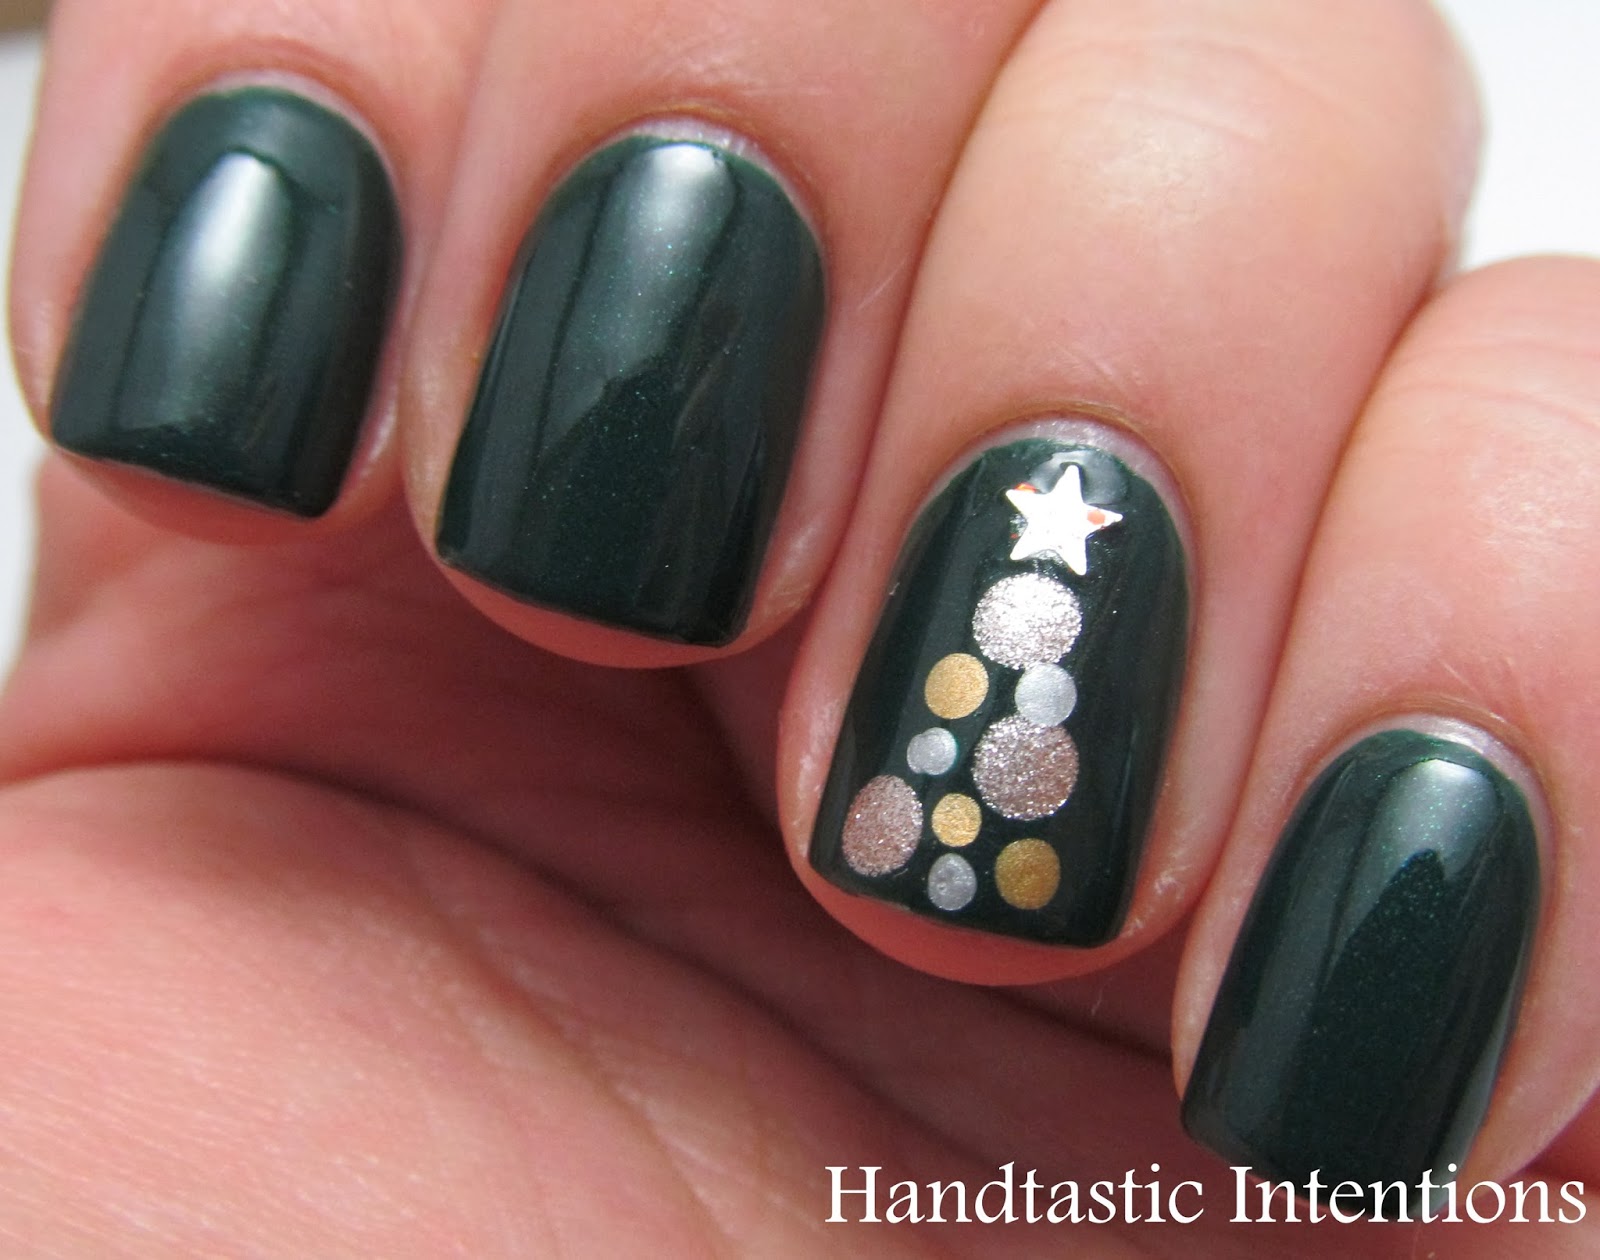
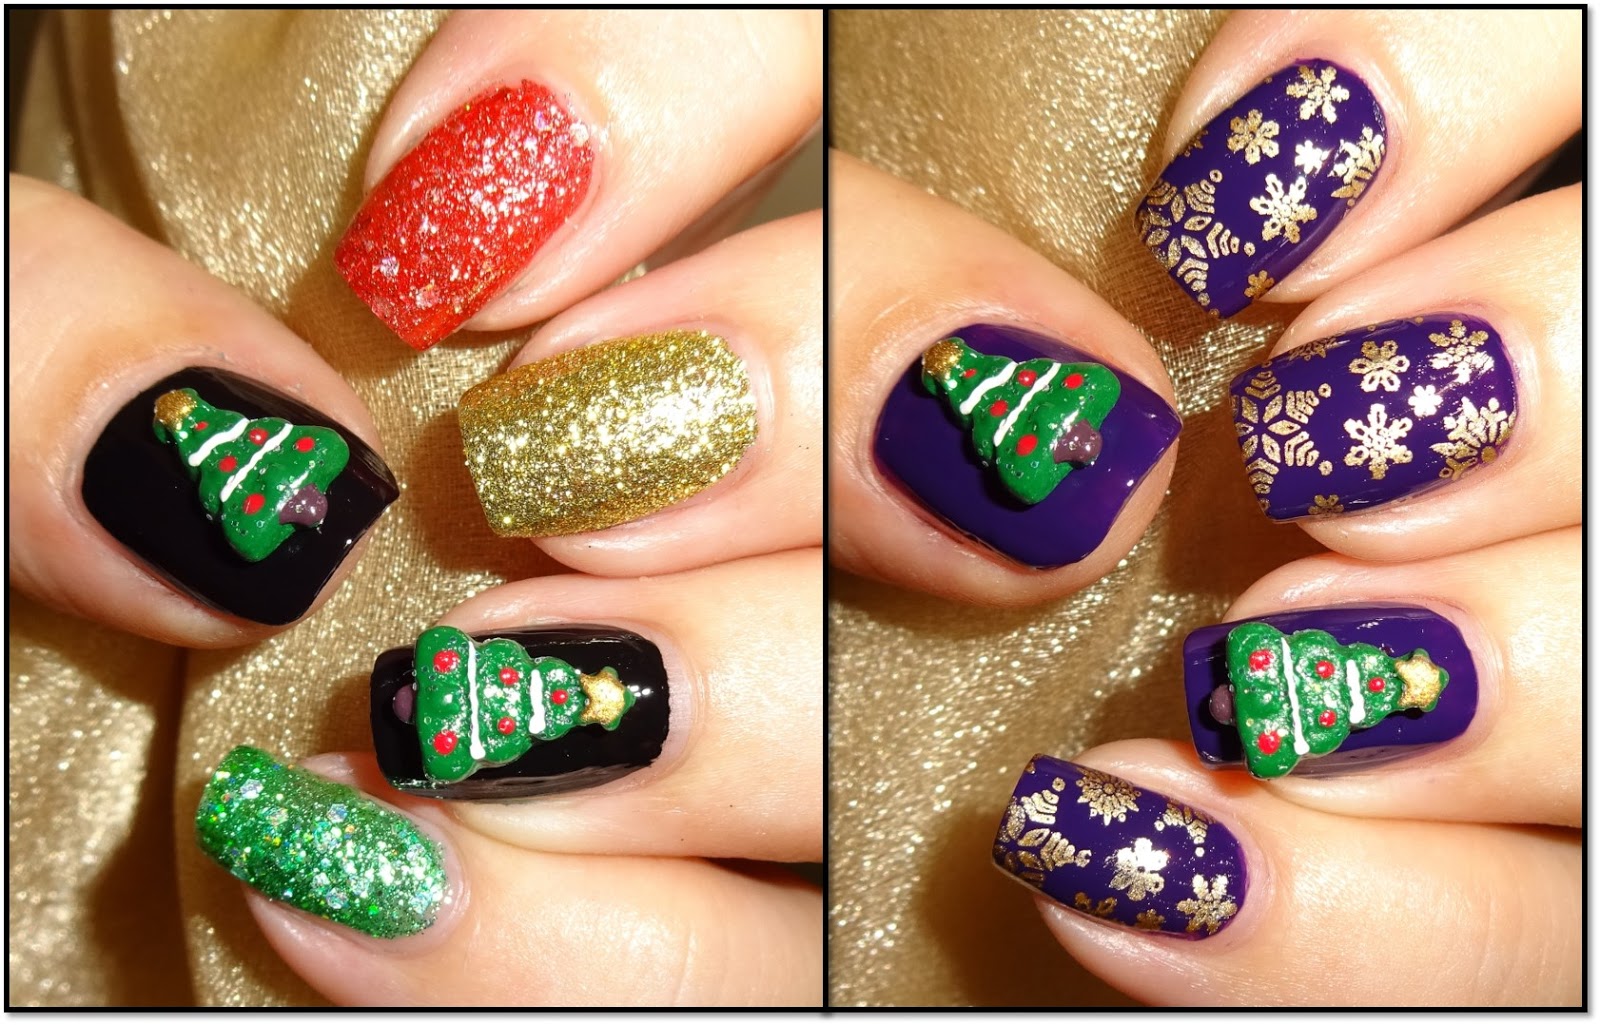
Swirl.christmas tree nail art is a popular trend in the world of nail design, and for good reason. This design features a delicate swirl pattern in the shape of a Christmas tree, complete with colorful ornaments and a shining star on top. The result is a stunning and unique look that will surely turn heads at any holiday party.
To achieve this design, you will need a few basic tools such as a dotting tool, thin brush, and various nail polish colors. You can choose to stick with traditional holiday colors like red, green, and gold, or get creative and add some unexpected hues to your design. The possibilities are endless!
Now, for the fun part – creating your swirl.christmas tree nail art. Start by painting your nails with a base color of your choice. Once dry, use a thin brush to create the swirl pattern on each nail. This may take some practice, but don't worry, the imperfections will only add to the charm of the design. Next, use a dotting tool to add the colorful ornaments and top off your tree with a glittery star. Finish off with a top coat to seal in your design and add some extra shine.
Not only is this design perfect for the holiday season, but it also gives you the opportunity to let your creativity shine. You can switch up the colors, add some glitter, or even add some nail stickers for a more personalized touch. The swirling pattern also allows for a lot of room for variation, making each nail unique and one-of-a-kind.
In addition to being a fun and festive addition to your holiday ensemble, swirl.christmas tree nail art is also a great conversation starter. You'll be sure to receive compliments and questions about your beautiful nails, giving you the opportunity to spread some holiday cheer and share your love for nail art.
In conclusion, swirl.christmas tree nail art is a must-try design for anyone looking to add some holiday spirit to their nails. It's easy to create, versatile, and guaranteed to make a statement. So why not give it a try and turn your nails into a winter wonderland this holiday season? Happy painting!
Are you looking to add a touch of festive cheer to your nail game this holiday season? Look no further than the swirl.christmas tree nail art design. This whimsical and eye-catching design is the perfect way to showcase your holiday spirit and add some sparkle to your look.
Swirl.christmas tree nail art is a popular trend in the world of nail design, and for good reason. This design features a delicate swirl pattern in the shape of a Christmas tree, complete with colorful ornaments and a shining star on top. The result is a stunning and unique look that will surely turn heads at any holiday party.
To achieve this design, you will need a few basic tools such as a dotting tool, thin brush, and various nail polish colors. You can choose to stick with traditional holiday colors like red, green, and gold, or get creative and add some unexpected hues to your design. The possibilities are endless!
Now, for the fun part – creating your swirl.christmas tree nail art. Start by painting your nails with a base color of your choice. Once dry, use a thin brush to create the swirl pattern on each nail. This may take some practice, but don't worry, the imperfections will only add to the charm of the design. Next, use a dotting tool to add the colorful ornaments and top off your tree with a glittery star. Finish off with a top coat to seal in your design and add some extra shine.
Not only is this design perfect for the holiday season, but it also gives you the opportunity to let your creativity shine. You can switch up the colors, add some glitter, or even add some nail stickers for a more personalized touch. The swirling pattern also allows for a lot of room for variation, making each nail unique and one-of-a-kind.
In addition to being a fun and festive addition to your holiday ensemble, swirl.christmas tree nail art is also a great conversation starter. You'll be sure to receive compliments and questions about your beautiful nails, giving you the opportunity to spread some holiday cheer and share your love for nail art.
In conclusion, swirl.christmas tree nail art is a must-try design for anyone looking to add some holiday spirit to their nails. It's easy to create, versatile, and guaranteed to make a statement. So why not give it a try and turn your nails into a winter wonderland this holiday season? Happy painting!


