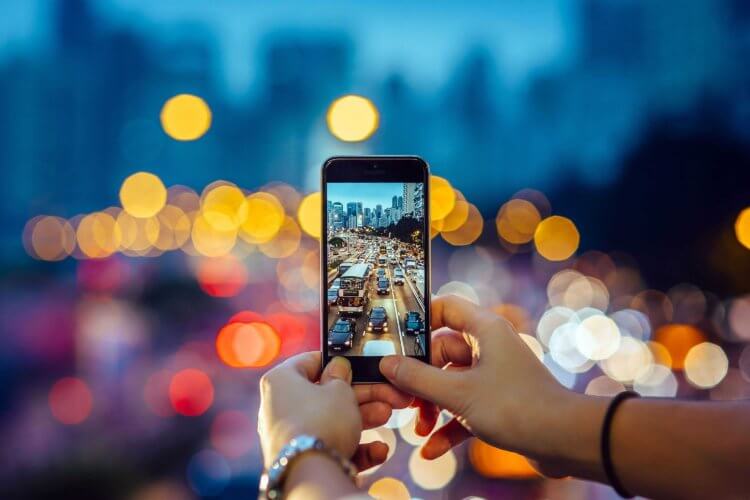
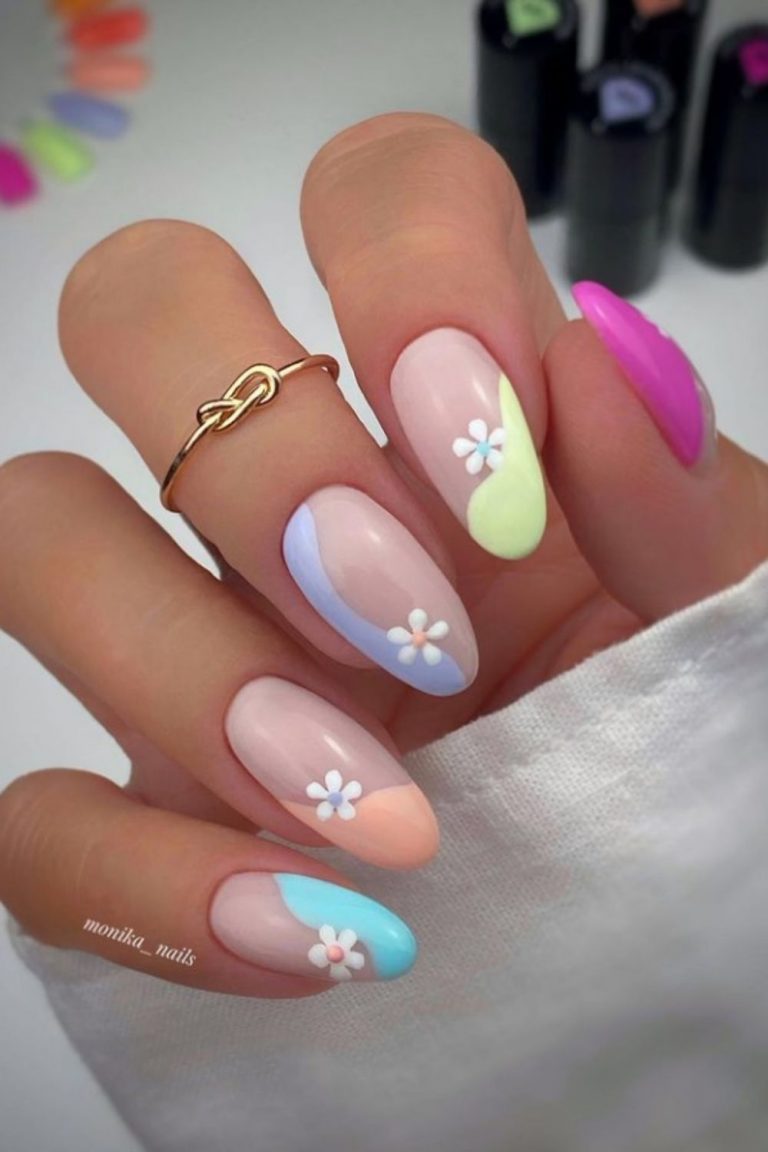
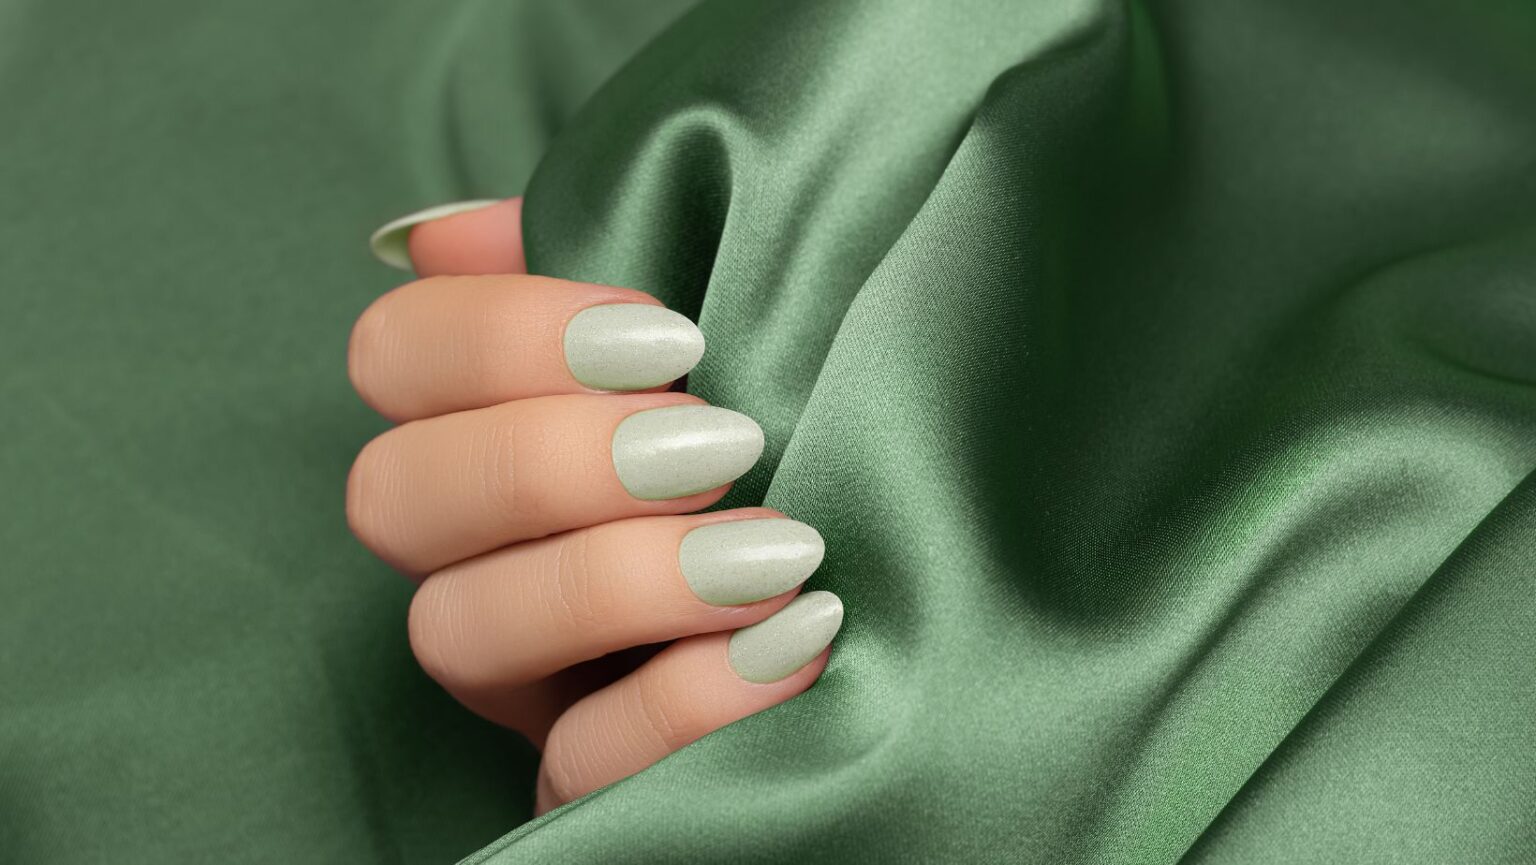
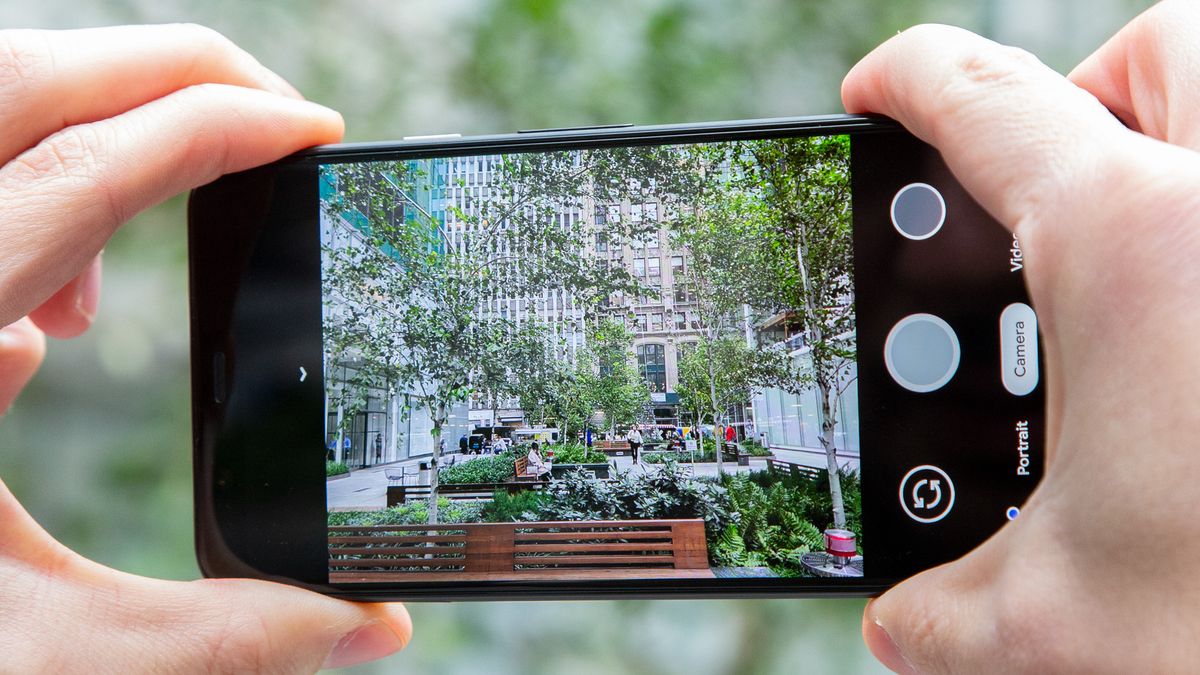
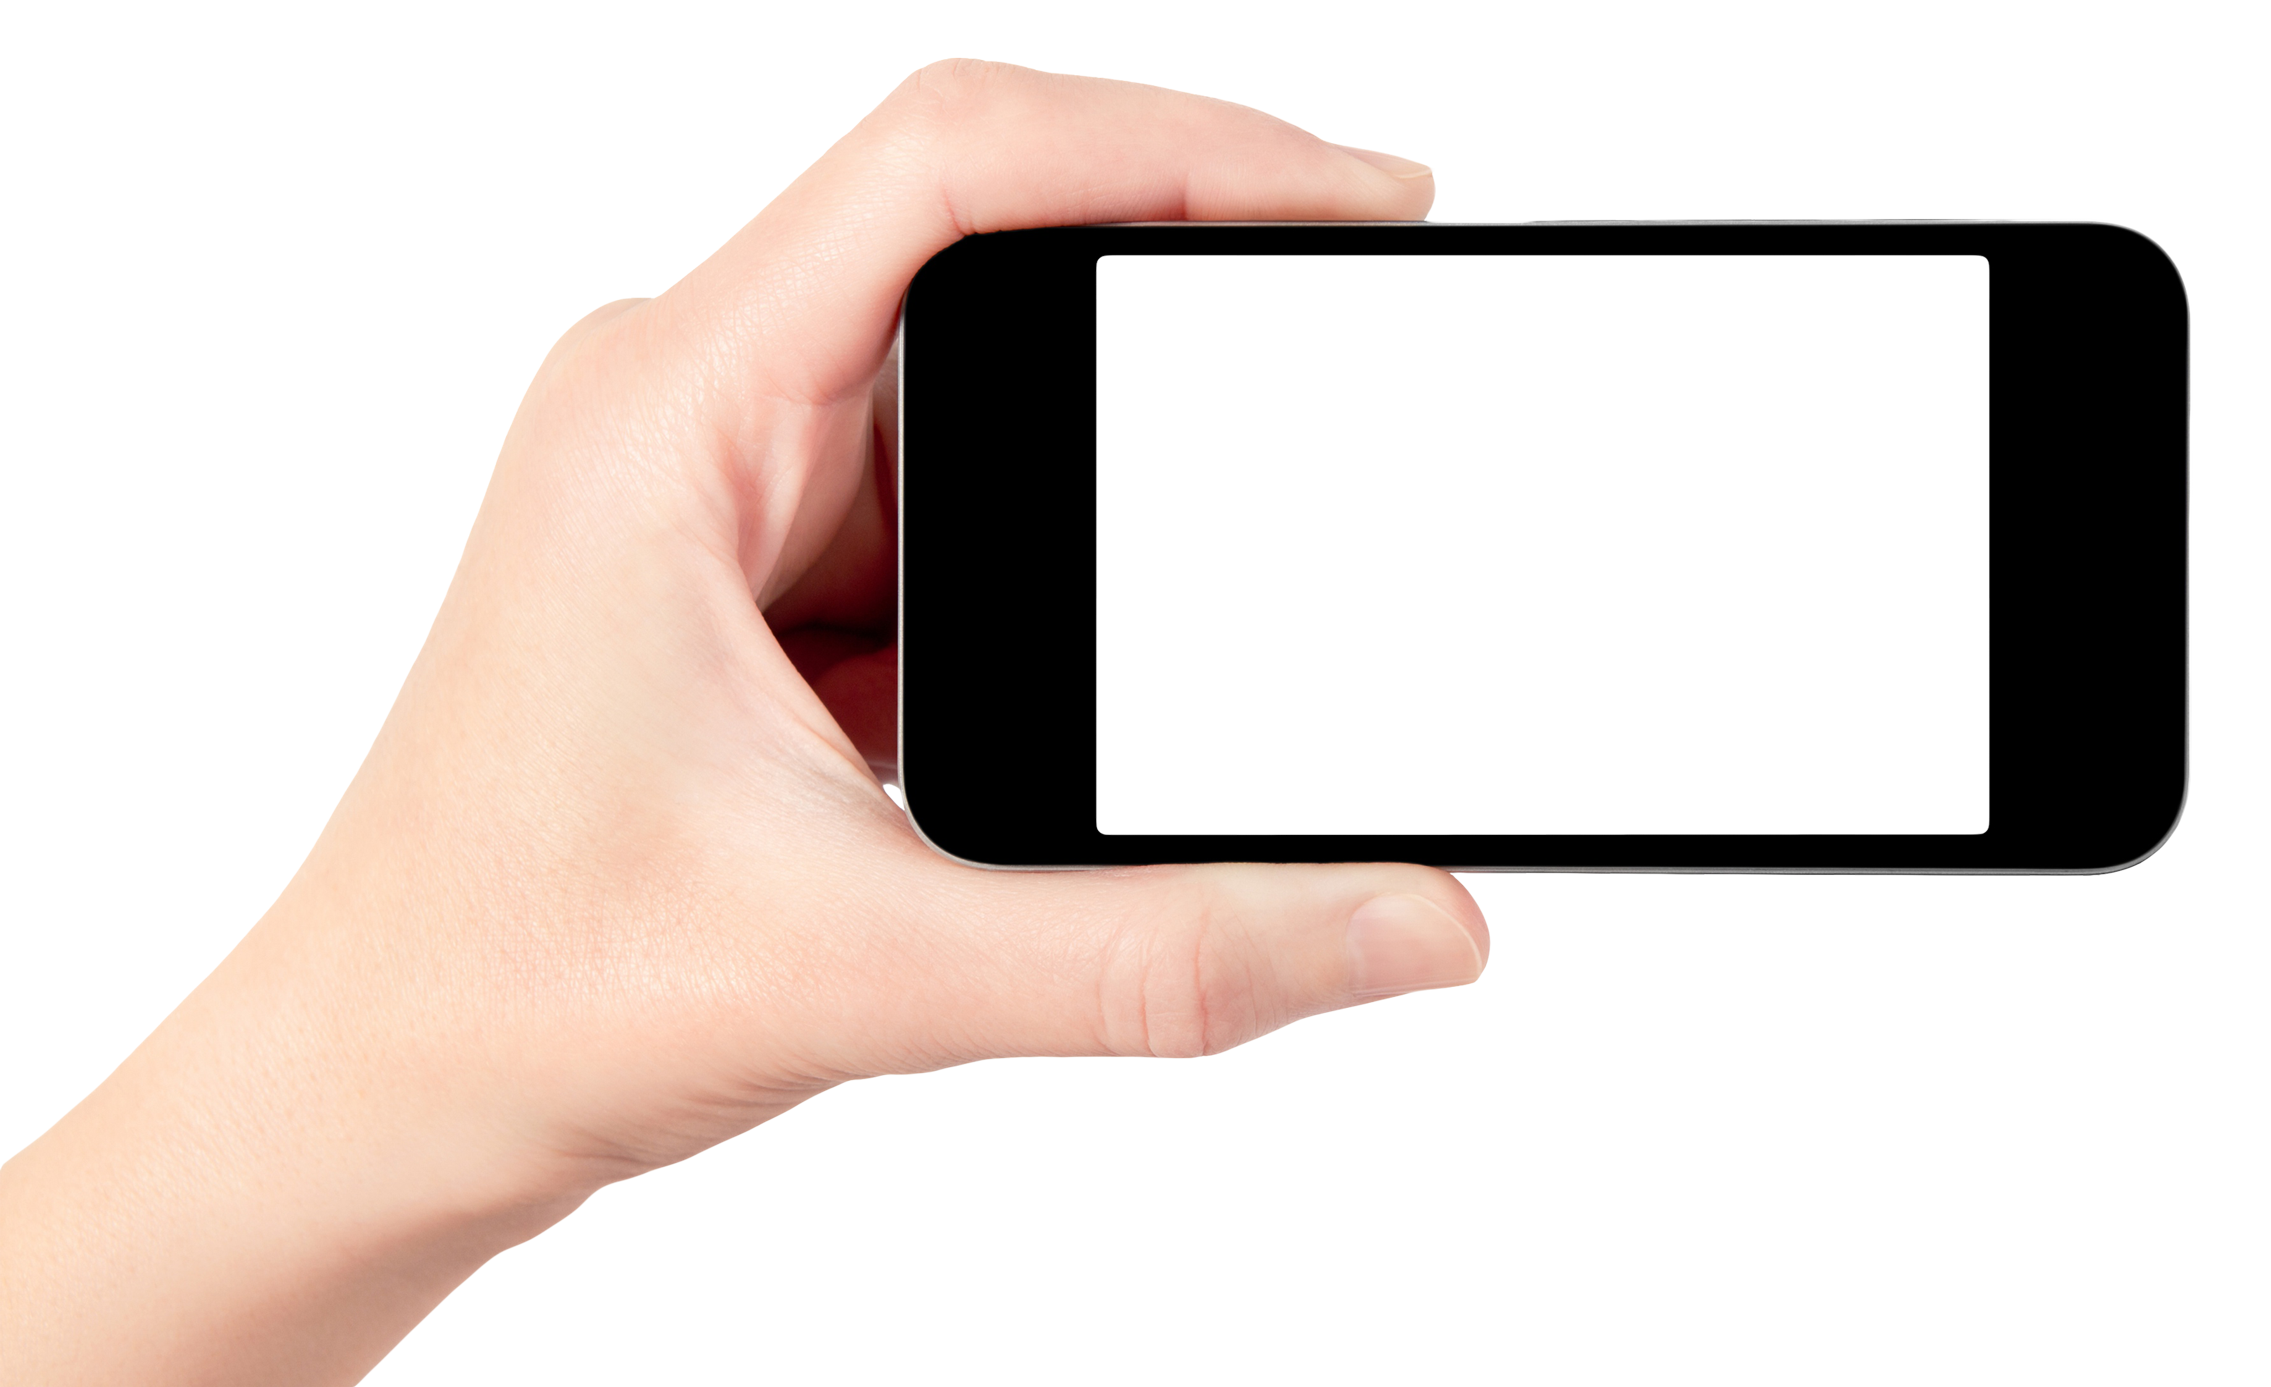
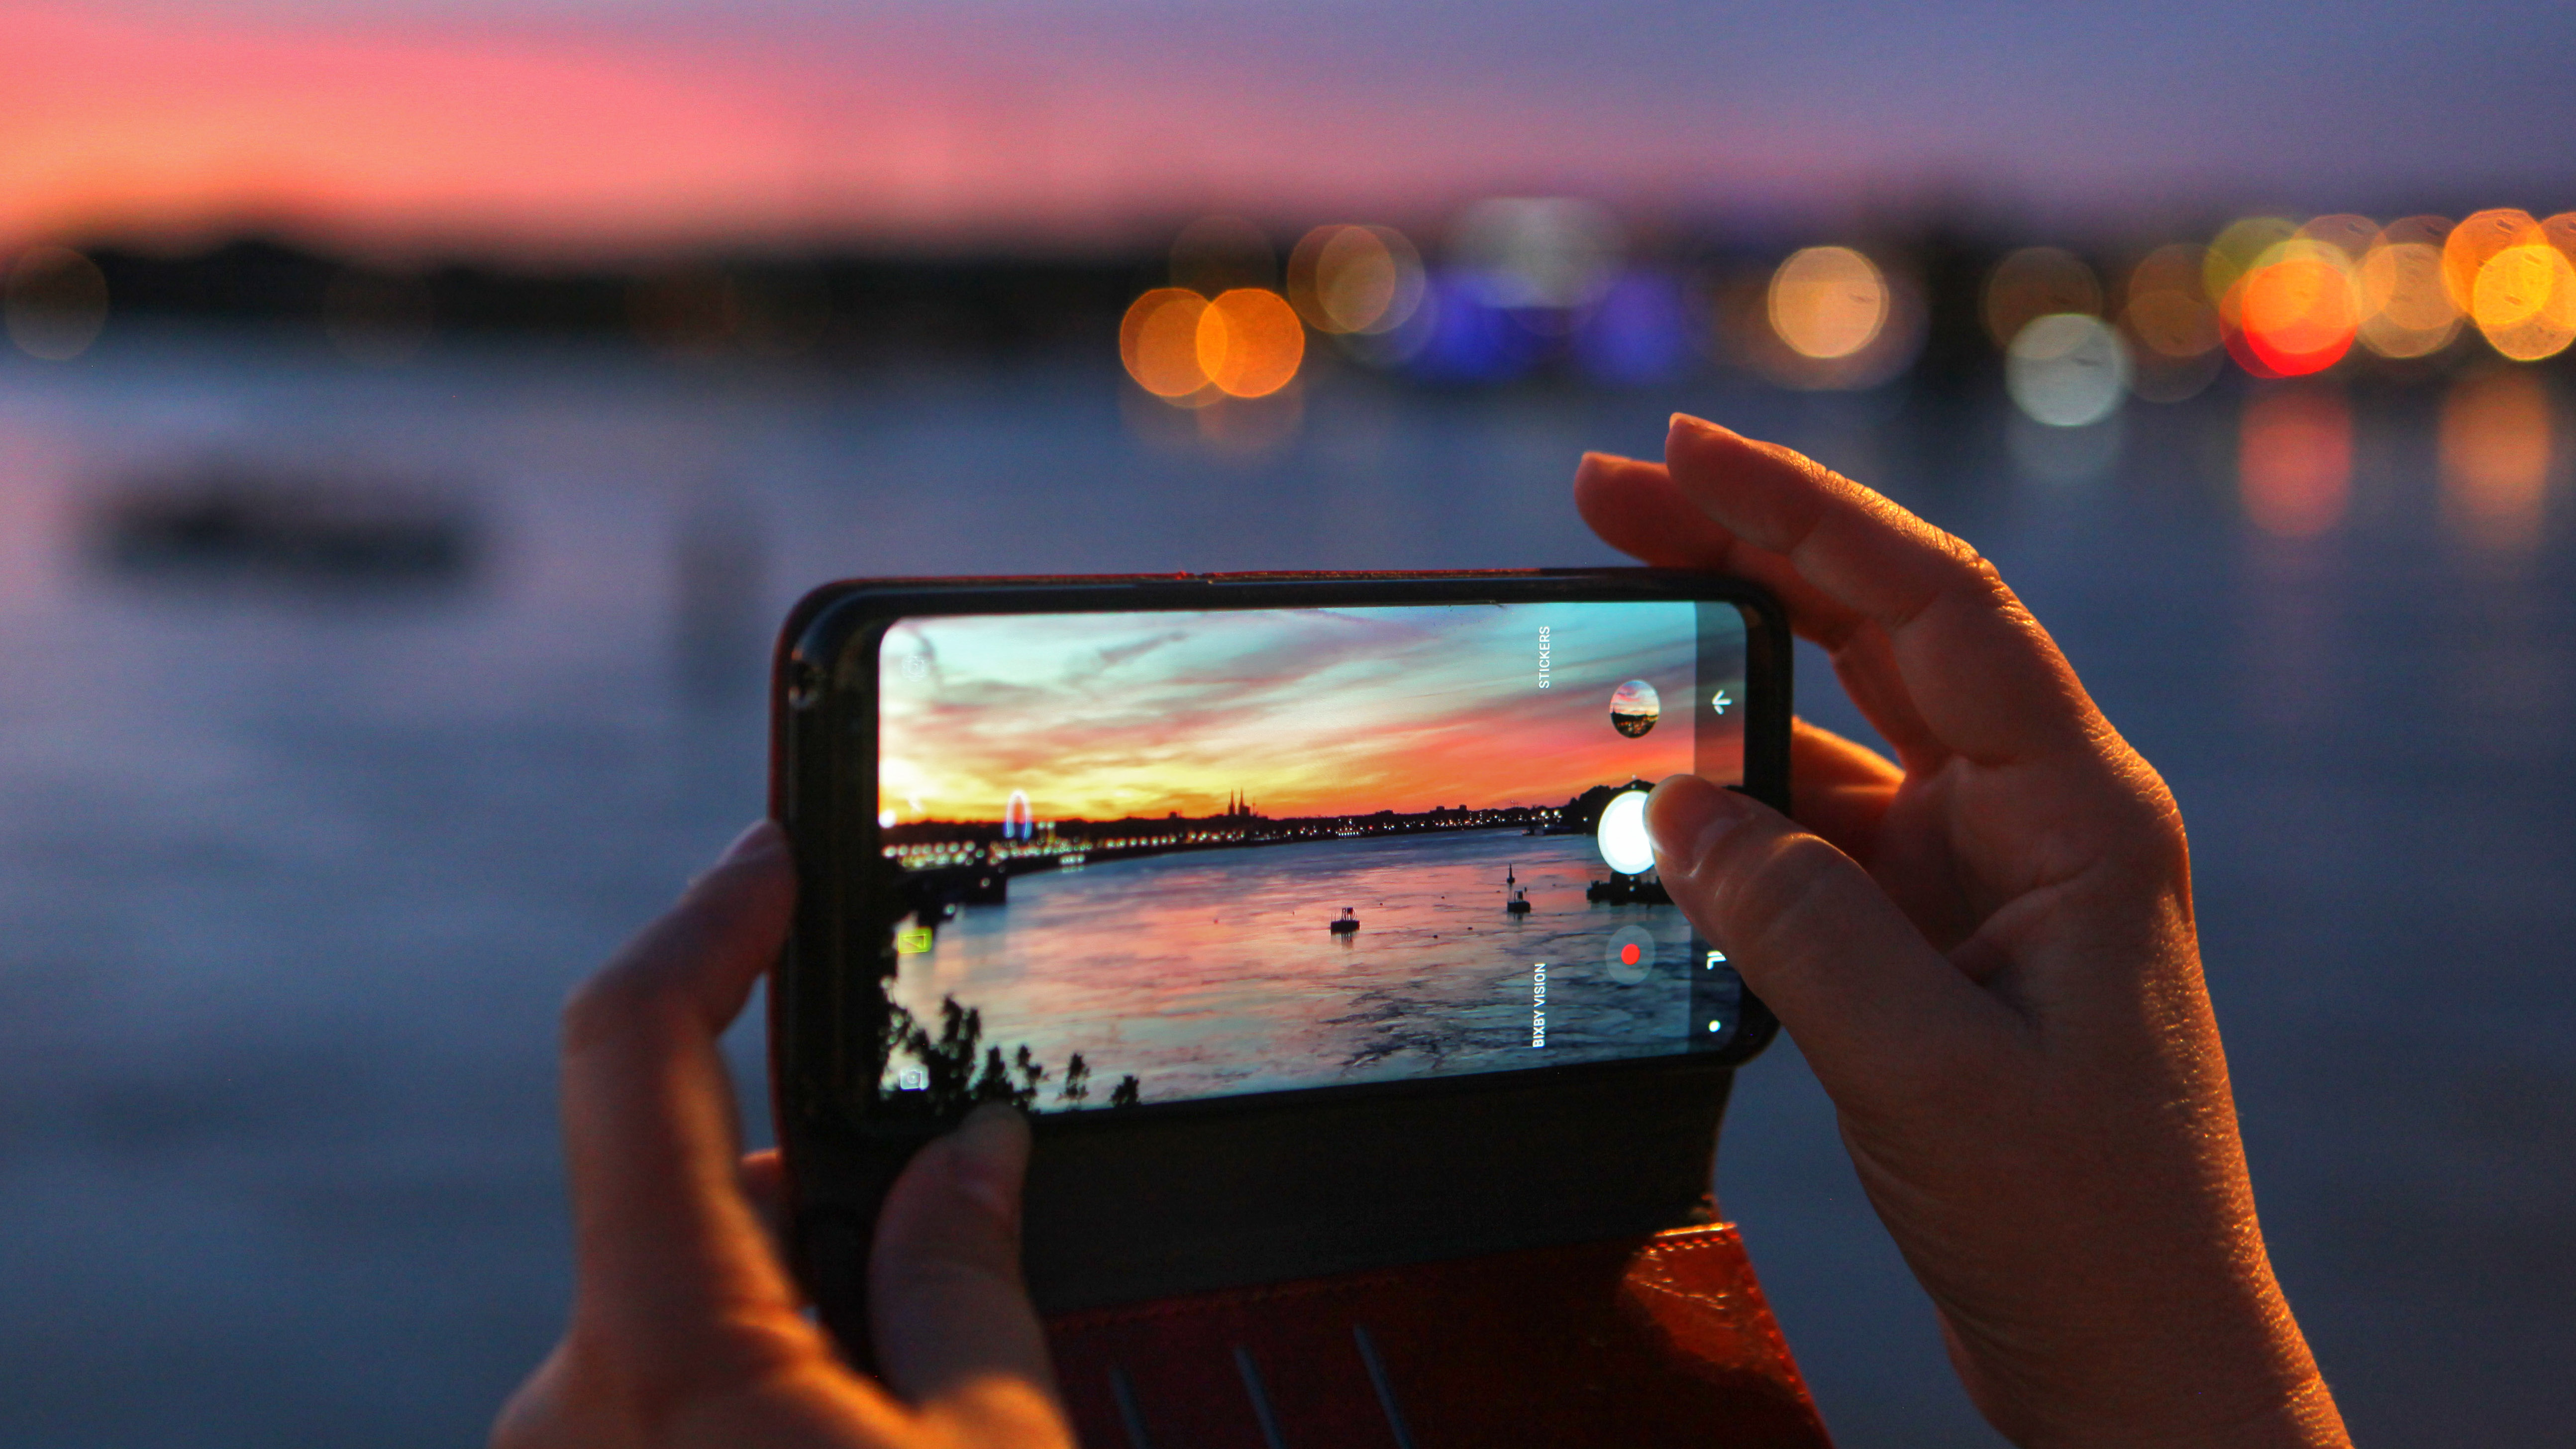
Are you tired of trying to capture the perfect shot of your stunning nail art, only to end up with a blurry or poorly lit photo? Look no further! With the advancements in cell phone camera technology, you can now take professional-quality pictures of your nail art right from your own device. Follow these simple tips to master the art of taking nail art photos with your cell phone. First and foremost, make sure your nails are in tip-top shape. This means no chips or smudges and a clean, well-manicured appearance. If you're planning on taking a close-up shot of your nails, consider applying a fresh coat of nail polish to ensure a flawless finish. Next, find a well-lit area to take your photos. Natural light is always the best option, so try to take your pictures near a window or outside. Avoid using flash as it can create harsh shadows and alter the true color of your nail art. When positioning your hands for the photo, make sure your fingers are spread apart to fully showcase your nail art. You can also try different angles and poses to find the most flattering shot. Experimentation is key! Now it's time to focus. Most cell phones have a feature where you can tap the screen to adjust the focus of the camera. Make sure the focus is on your nails and not the background. Once you have the perfect shot, don't be afraid to edit it using apps or filters on your cell phone. We'll go into more detail about this later on in the article.1. How to Take the Perfect Picture of Your Nail Art Using Your Cell Phone
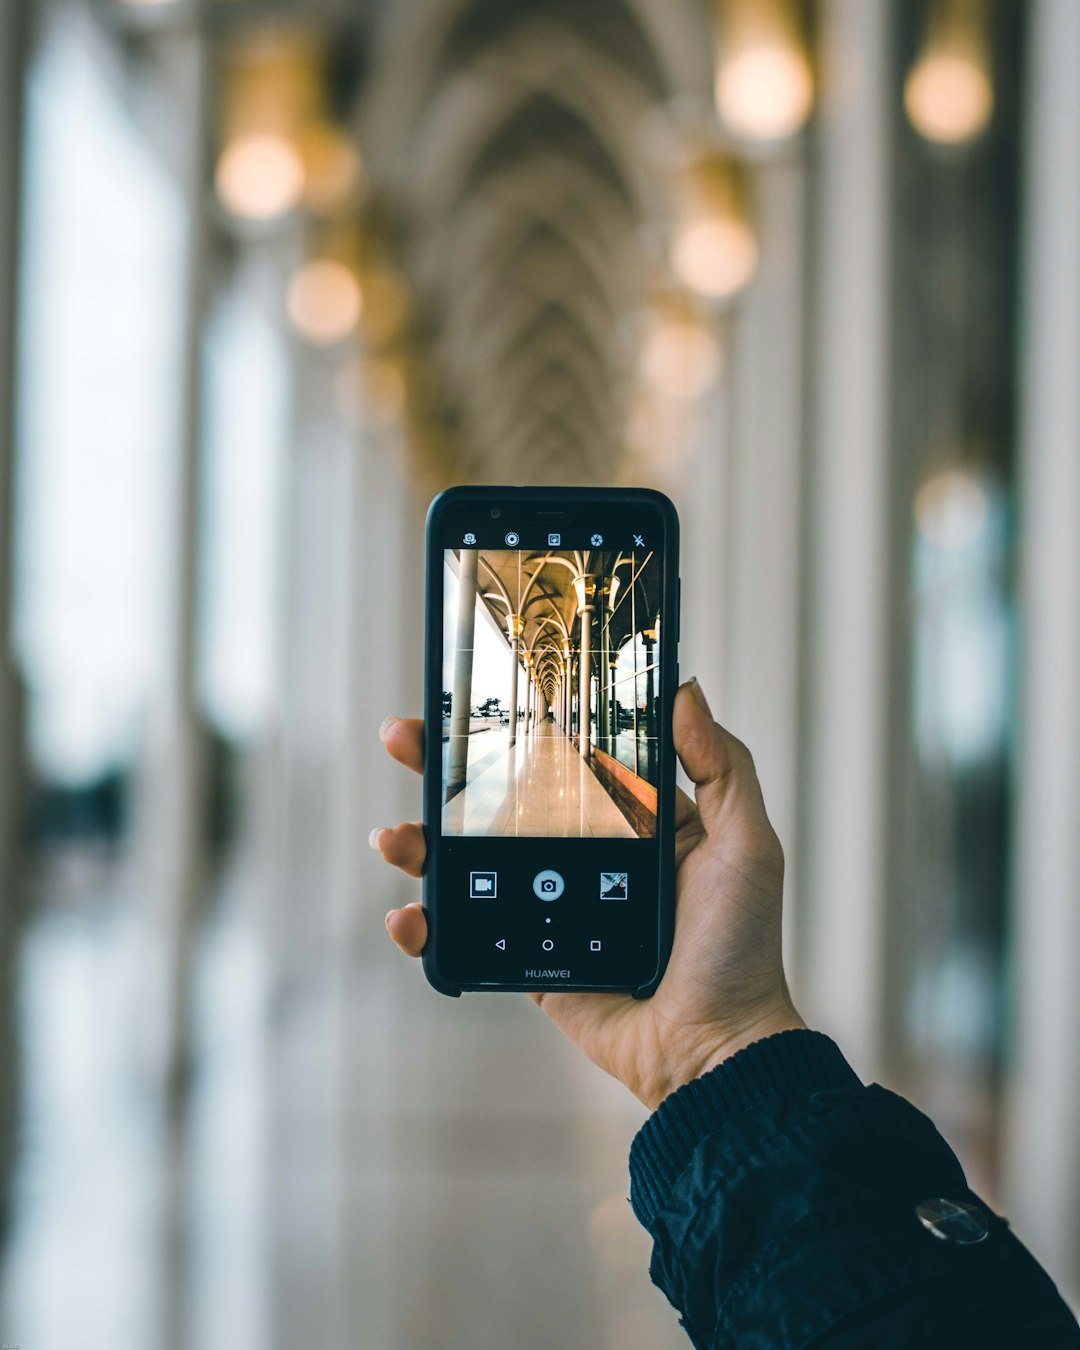

1. How to Take the Perfect Picture of Your Nail Art Using Your Cell Phone


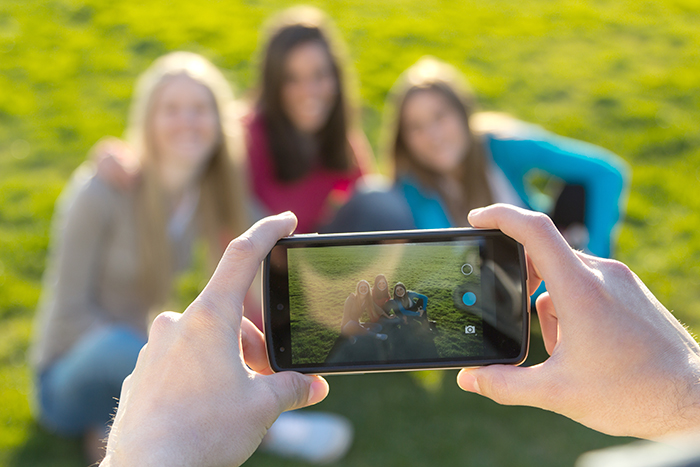

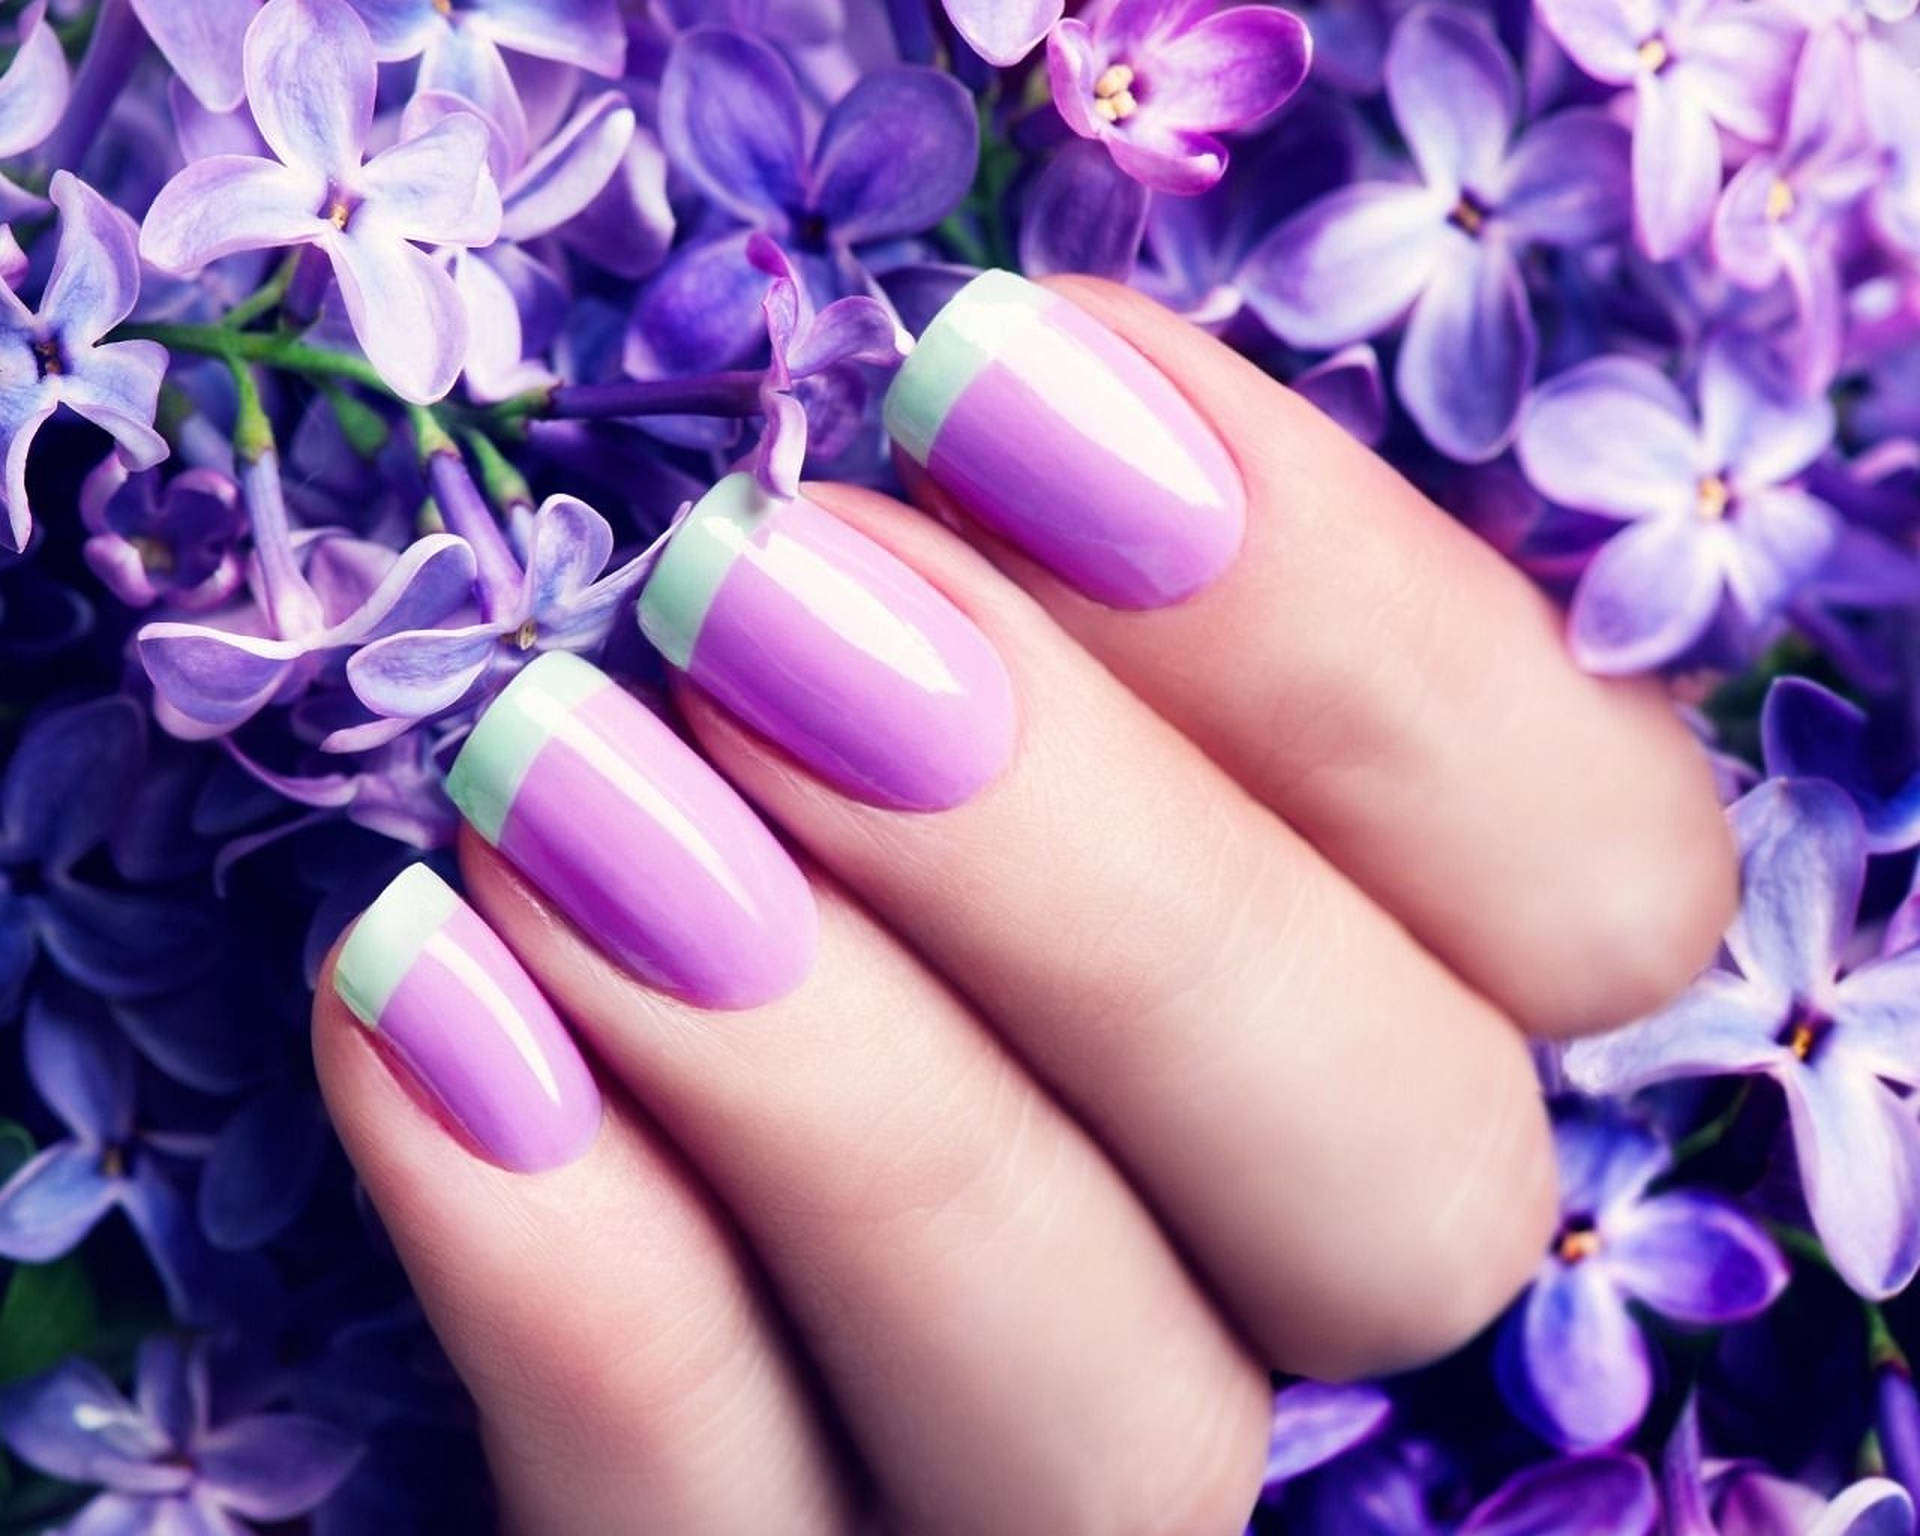
Aside from the basics of lighting and positioning, there are a few other tips you can follow to capture stunning nail art photos with your cell phone. Take advantage of the macro setting on your cell phone camera. This will allow you to take close-up shots of your nails without them appearing blurry or out of focus. For a unique and eye-catching photo, try using different backgrounds or props. A solid color backdrop, such as a piece of colored paper or fabric, can make your nail art stand out. You can also use your favorite nail polish bottles or other nail-related items to add interest to your photo. Another tip is to keep your hands and fingers relaxed. Tense hands and fingers can make the photo look unnatural and stiff. Take a deep breath and try to relax before snapping the shot. Lastly, don't be afraid to take multiple shots from different angles and distances. This will give you more options to choose from and increase your chances of getting that perfect shot.2. Tips for Capturing Stunning Nail Art Photos with Your Cell Phone


2. Tips for Capturing Stunning Nail Art Photos with Your Cell Phone


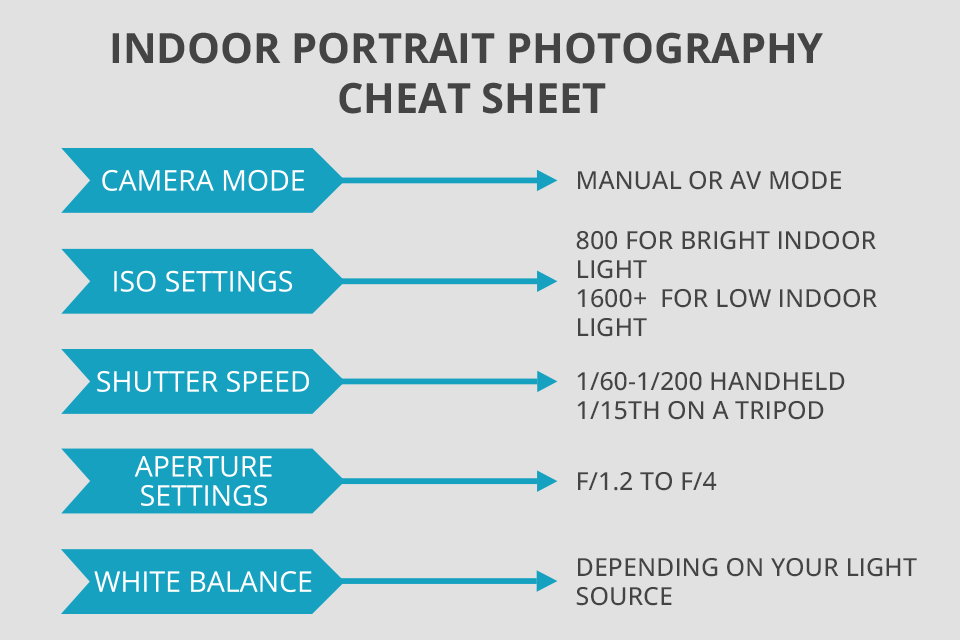
Now that you have some general tips for taking nail art photos with your cell phone, let's discuss the best camera settings to use for the most professional-looking results. The first setting to consider is the resolution of your camera. Higher resolution means better quality photos, so make sure to adjust your camera to the highest possible resolution. Next, turn off any filters or effects your camera may have on by default. These can alter the colors and appearance of your nail art and may not accurately represent the true look. Adjusting the exposure can also make a big difference in the quality of your photos. You can manually adjust the exposure by tapping on the screen and sliding the exposure bar that appears. This will help prevent overexposed or underexposed photos. If your camera has the option, try using the grid feature. This will help you align your nails and keep them centered in the photo. Lastly, turn off the auto-focus feature and manually focus on your nails. This will give you more control over the focus and ensure your nails are the main focus of the photo.3. The Best Camera Settings for Taking Pictures of Nail Art with Your Cell Phone


3. The Best Camera Settings for Taking Pictures of Nail Art with Your Cell Phone


With practice and patience, you can master the art of taking nail art photos with your cell phone. As mentioned earlier, don't be afraid to experiment with different angles, backgrounds, and lighting. You may even want to try taking photos at different times of the day to see how the natural light affects your photos. It's also helpful to take a look at other nail art photos for inspiration. See what angles and poses other nail artists are using and try to incorporate them into your own photos. Remember, practice makes perfect, so keep snapping photos and don't get discouraged if they don't turn out exactly how you want them to at first. With time and effort, you'll be taking professional-quality nail art photos in no time!4. Mastering the Art of Taking Nail Art Photos with Your Cell Phone


4. Mastering the Art of Taking Nail Art Photos with Your Cell Phone


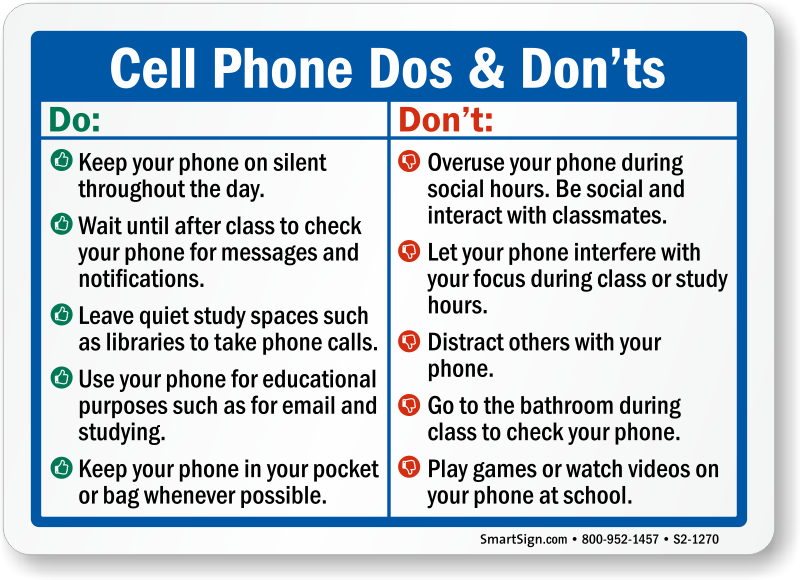
Now that you have a good understanding of how to take the perfect nail art photo with your cell phone, let's go over some dos and don'ts to keep in mind. Do: Take photos in natural light. As mentioned earlier, natural light is always the best option for capturing the true colors and details of your nail art. Don't: Use flash. As tempting as it may be to use flash to brighten up a dark photo, it can alter the colors and create harsh shadows. Do: Experiment with different angles and poses. This will give you a variety of photos to choose from and help you find the most flattering angle for your nails. Don't: Over-edit your photos. While editing can enhance the overall look of your photos, don't go overboard with filters or effects. Your nail art should be the star of the photo, not the editing. Do: Use props or backgrounds to add interest to your photos. This can make your photos more unique and eye-catching. Don't: Overthink it. Remember, taking photos of your nail art should be fun and creative. Don't stress too much about getting the perfect shot, just have fun with it!5. The Dos and Don'ts of Taking Pictures of Nail Art with Your Cell Phone


5. The Dos and Don'ts of Taking Pictures of Nail Art with Your Cell Phone


Now that you have all the tips and tricks for taking the perfect nail art photo with your cell phone, it's time to put them into action. Remember to always start with clean, well-manicured nails and find a well-lit area to take your photos. Experiment with different settings and don't be afraid to get creative with your poses and backgrounds. Once you have your shot, don't forget to edit it using apps or filters on your cell phone. This will help enhance the overall look of the photo and make it Instagram-worthy. With practice and patience, you'll soon be taking professional-quality nail art photos that will impress all your friends and followers.6. Nail Art Photography 101: How to Get the Perfect Shot with Your Cell Phone


6. Nail Art Photography 101: How to Get the Perfect Shot with Your Cell Phone

.jpg)


If you're serious about perfecting your nail art photography skills, why not create your own ultimate guide? This can be a great way to showcase your knowledge and share your tips with others. You can include step-by-step tutorials, before and after photos, and even video demonstrations. With the popularity of nail art on social media, your guide is sure to be a hit among fellow nail enthusiasts.7. The Ultimate Guide to Taking Pictures of Nail Art with Your Cell Phone


7. The Ultimate Guide to Taking Pictures of Nail Art with Your Cell Phone


We briefly mentioned editing your nail art photos earlier, but let's dive a little deeper into the editing process. There are many apps available for editing photos on your cell phone, both free and paid. Some popular options include VSCO, Snapseed, and Adobe Lightroom. These apps allow you to adjust the brightness, contrast, saturation, and other aspects of your photo to achieve the desired look. When editing, it's important to keep the focus on your nail art. Avoid over-editing and making your nails look unnatural. Remember, the goal is to enhance the photo, not alter it completely.8. How to Edit Your Nail Art Photos on Your Cell Phone for Instagram-Worthy Results

8. How to Edit Your Nail Art Photos on Your Cell Phone for Instagram-Worthy Results


In addition to editing apps, there are also apps specifically designed for enhancing nail art photos. These apps offer features such as nail templates, filters, and stickers to add a unique touch to your photos. Some popular options include NailSnaps, Nail Art Gallery, and Nail Art Fashion Salon.9. The Top Apps for Enhancing Your Nail Art Photos Taken with Your Cell Phone

9. The Top Apps for Enhancing Your Nail Art Photos Taken with Your Cell Phone


With all the tips and tricks discussed in this article, you'll be well on your way to taking professional-quality nail art photos with your cell phone. Remember to always start with clean, well-manicured nails, find good lighting, and experiment with different angles and poses. Don't be afraid to get creative and have fun with your photos. Share your beautiful nail art with the world and inspire others to do the same!10. From Amateur to Pro: Tips for Taking Professional-Quality Nail Art Photos with Your Cell Phone


10. From Amateur to Pro: Tips for Taking Professional-Quality Nail Art Photos with Your Cell Phone


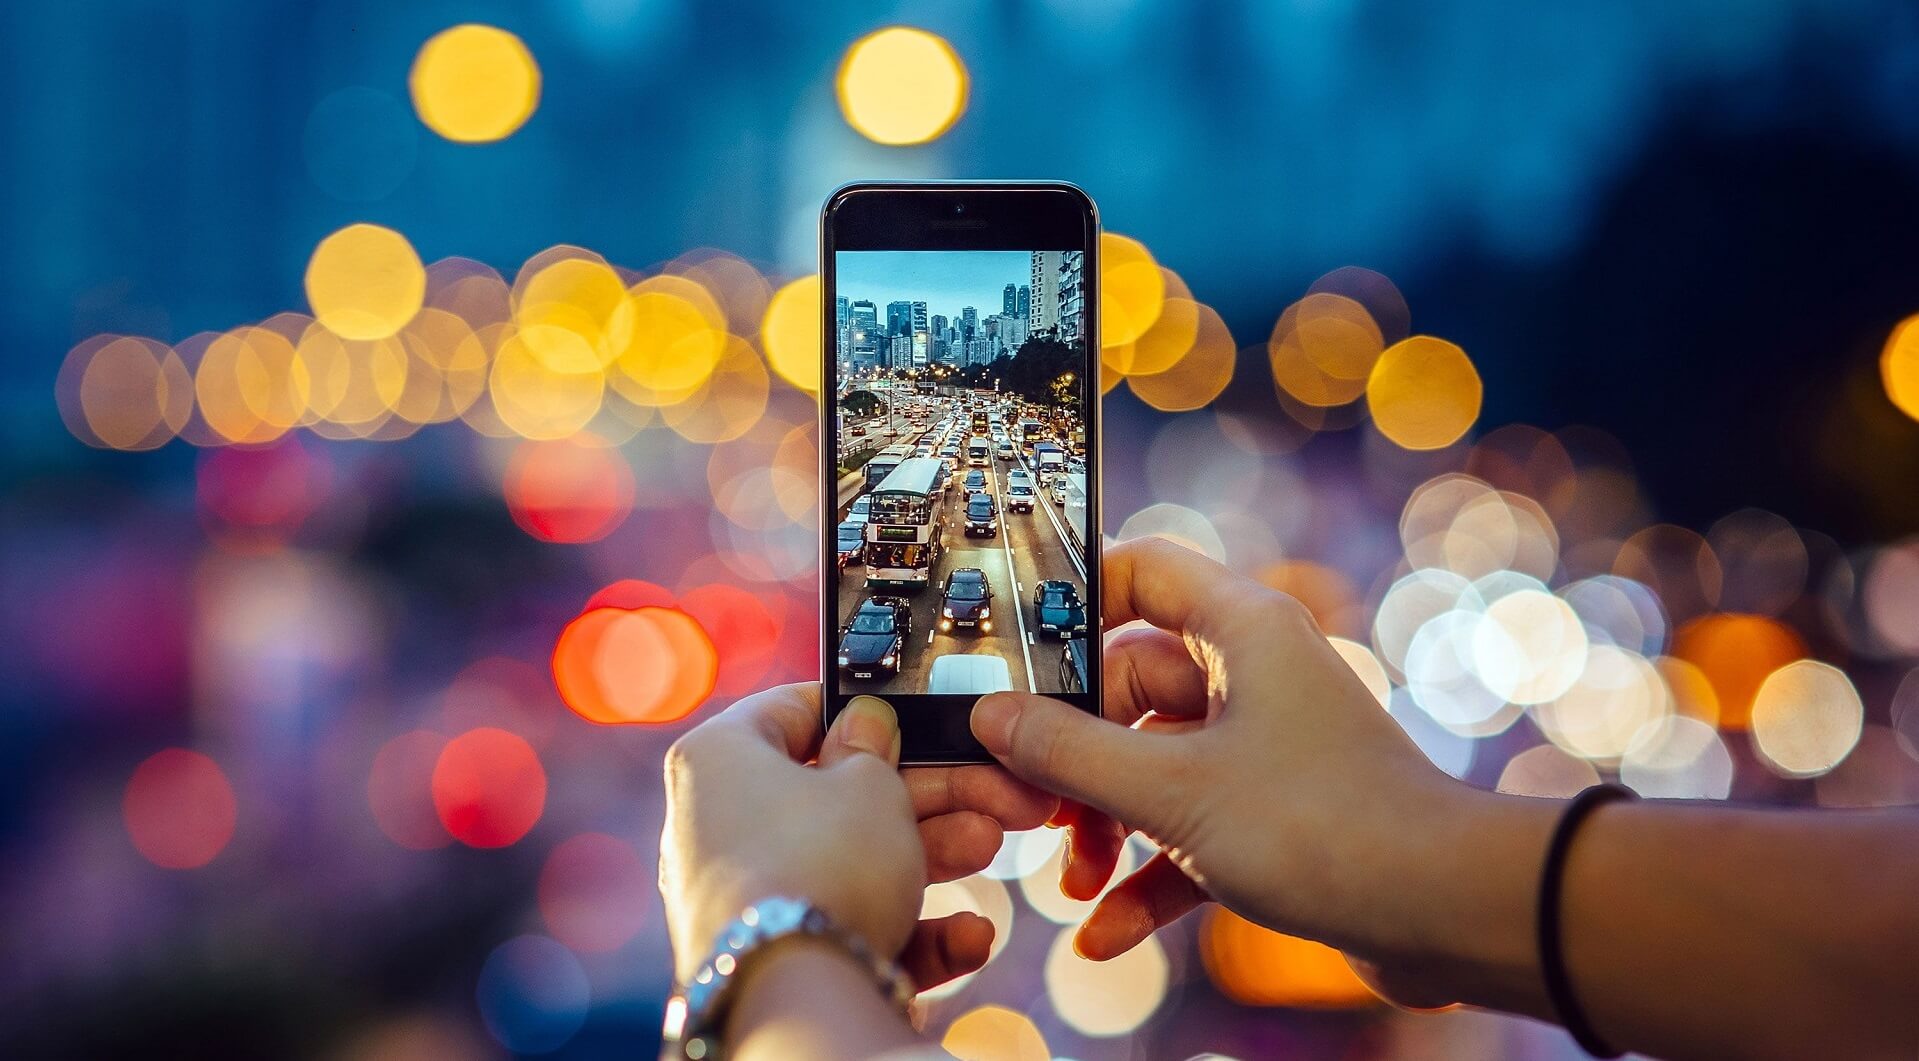
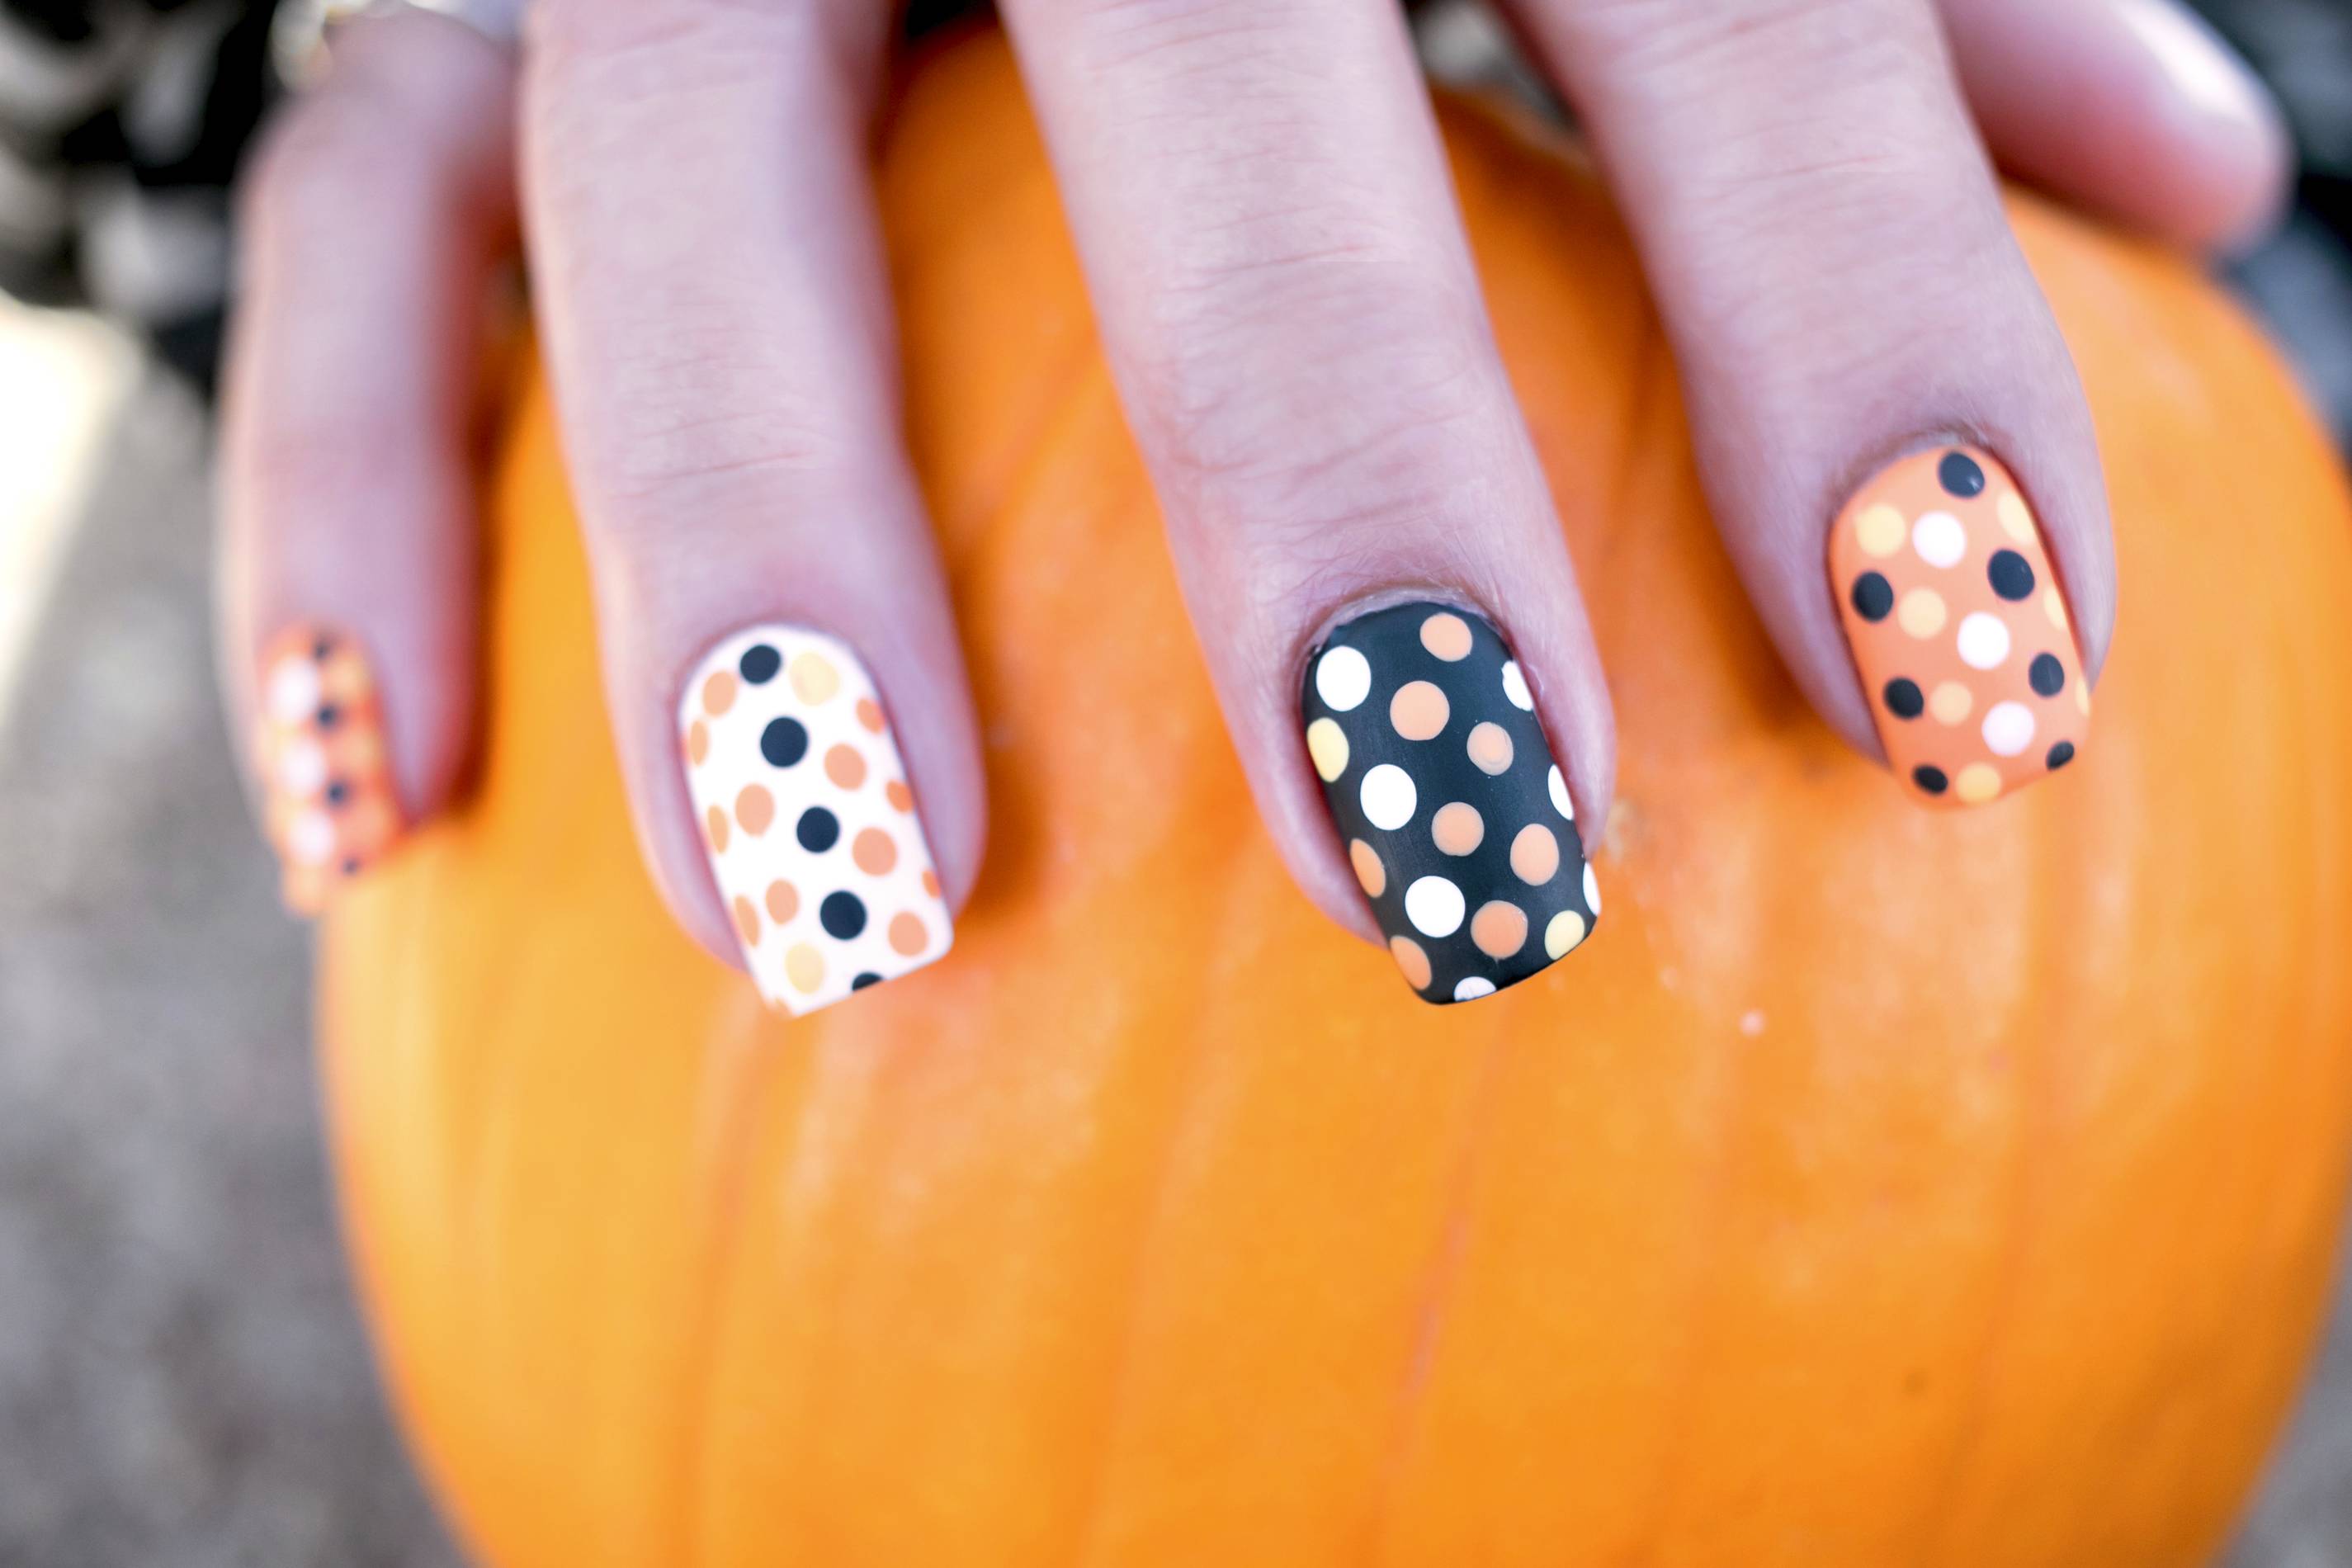
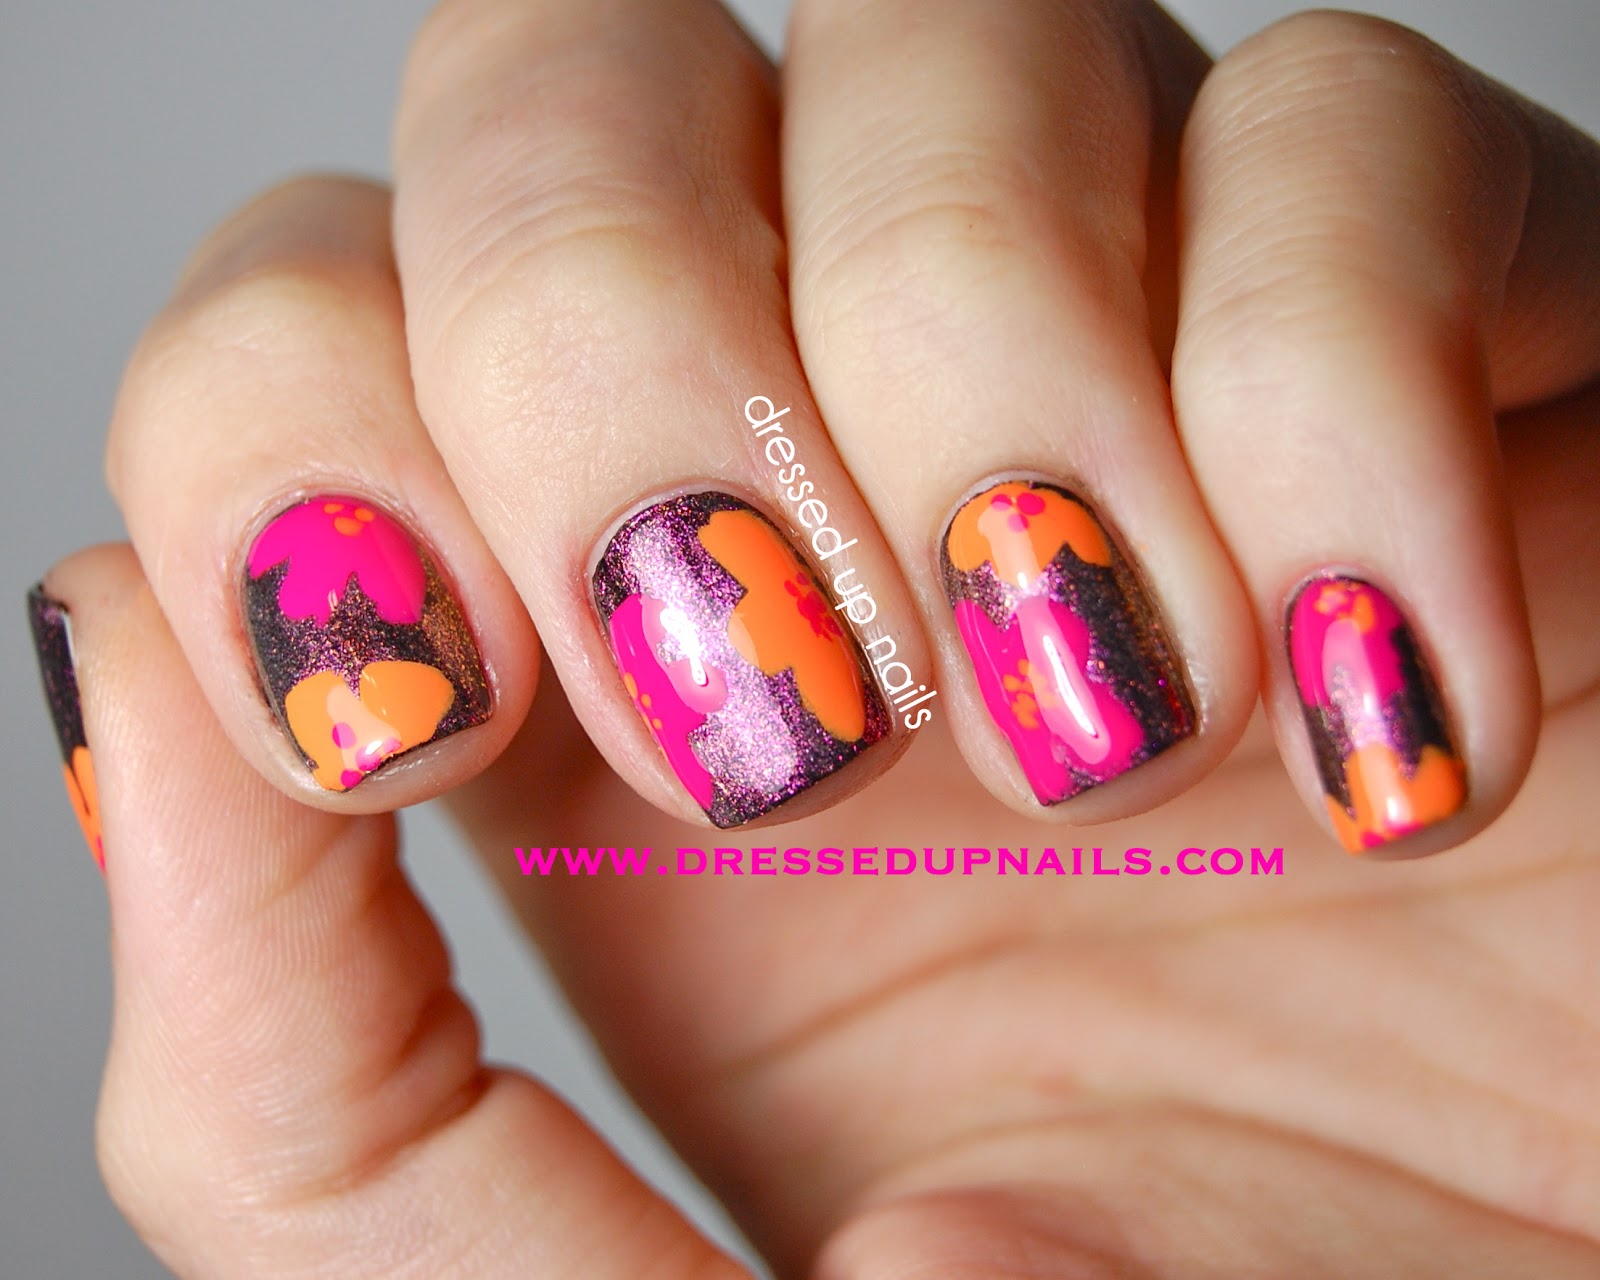
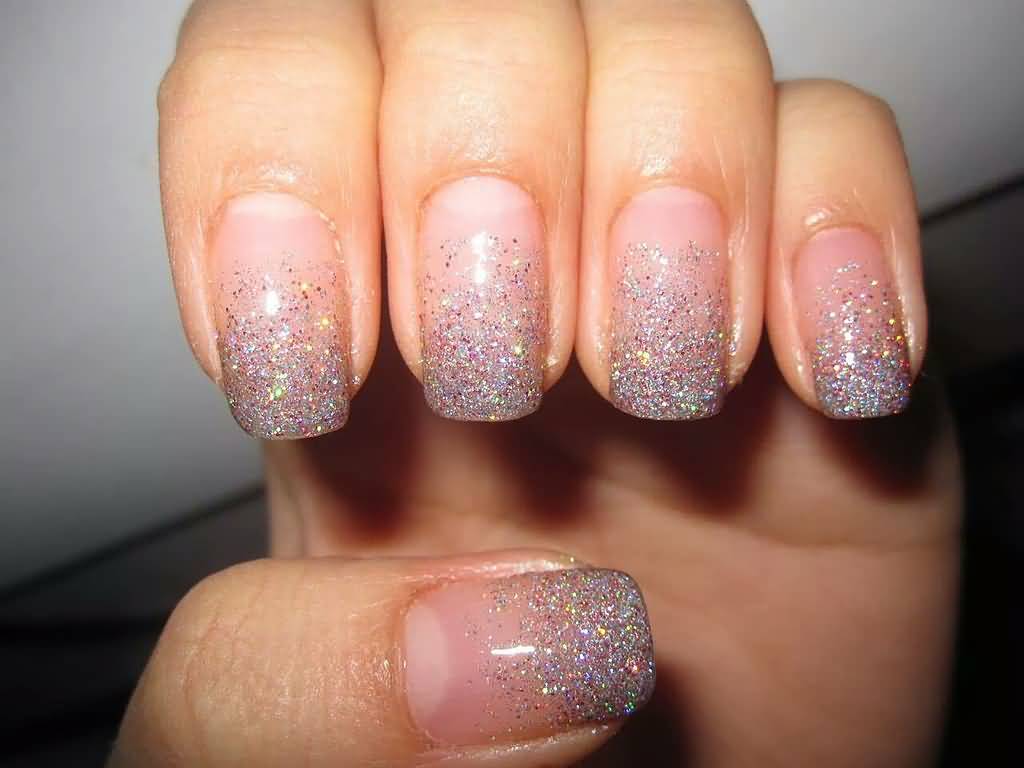
The Rising Trend of Taking Pictures of Nail Art with Cell Phones

The Convenience and Creativity of Cell Phone Photography
 In this digital age,
cell phone photography
has become the go-to method for capturing everyday moments. From snapping photos of delicious meals to scenic landscapes, our cell phones have become our trusty tools for documenting our experiences. However, one surprising trend that has taken the beauty world by storm is the increasing popularity of taking pictures of
nail art
with cell phones.
With the rise of social media platforms like Instagram and Pinterest, people are constantly looking for new and creative ways to express themselves through their
nail designs
. And with the convenience of cell phone cameras, anyone can easily capture and share their perfect nail art with the world. No longer do we have to rely on professional photographers or expensive cameras to showcase our
nail art designs
.
In this digital age,
cell phone photography
has become the go-to method for capturing everyday moments. From snapping photos of delicious meals to scenic landscapes, our cell phones have become our trusty tools for documenting our experiences. However, one surprising trend that has taken the beauty world by storm is the increasing popularity of taking pictures of
nail art
with cell phones.
With the rise of social media platforms like Instagram and Pinterest, people are constantly looking for new and creative ways to express themselves through their
nail designs
. And with the convenience of cell phone cameras, anyone can easily capture and share their perfect nail art with the world. No longer do we have to rely on professional photographers or expensive cameras to showcase our
nail art designs
.
The Evolution of Nail Art Photography
 Gone are the days of awkwardly posing our hands for a nail salon's camera. With the advancement of cell phone cameras, we now have the ability to capture every intricate detail of our
nail art
in high resolution. We can experiment with different angles, lighting, and editing techniques to truly bring our
nail designs
to life.
But it's not just about capturing the final result.
Nail art
enthusiasts are also using their cell phone cameras to document the entire process of creating their
nail designs
. From choosing the perfect color and design to the finishing touches, every step of the way is now being documented and shared on social media.
Gone are the days of awkwardly posing our hands for a nail salon's camera. With the advancement of cell phone cameras, we now have the ability to capture every intricate detail of our
nail art
in high resolution. We can experiment with different angles, lighting, and editing techniques to truly bring our
nail designs
to life.
But it's not just about capturing the final result.
Nail art
enthusiasts are also using their cell phone cameras to document the entire process of creating their
nail designs
. From choosing the perfect color and design to the finishing touches, every step of the way is now being documented and shared on social media.
The Impact of Social Media on Nail Art Trends
 The rise of
cell phone photography
in the nail art world can also be attributed to the power of social media. With the ability to easily share our
nail designs
with a global audience, trends spread like wildfire. What was once a niche interest has now become a mainstream phenomenon, with people constantly seeking inspiration and new ideas for their next
nail art
creation.
In addition, social media has made it easier for nail artists to showcase their talent and reach a wider audience. By tagging their creations with relevant hashtags, they can gain recognition and even potential clients from all over the world.
In conclusion, the trend of taking pictures of
nail art
with cell phones has truly revolutionized the way we appreciate and share this form of art. With the convenience and creativity that cell phone photography offers, we can expect to see more and more stunning
nail designs
gracing our social media feeds in the future.
The rise of
cell phone photography
in the nail art world can also be attributed to the power of social media. With the ability to easily share our
nail designs
with a global audience, trends spread like wildfire. What was once a niche interest has now become a mainstream phenomenon, with people constantly seeking inspiration and new ideas for their next
nail art
creation.
In addition, social media has made it easier for nail artists to showcase their talent and reach a wider audience. By tagging their creations with relevant hashtags, they can gain recognition and even potential clients from all over the world.
In conclusion, the trend of taking pictures of
nail art
with cell phones has truly revolutionized the way we appreciate and share this form of art. With the convenience and creativity that cell phone photography offers, we can expect to see more and more stunning
nail designs
gracing our social media feeds in the future.


