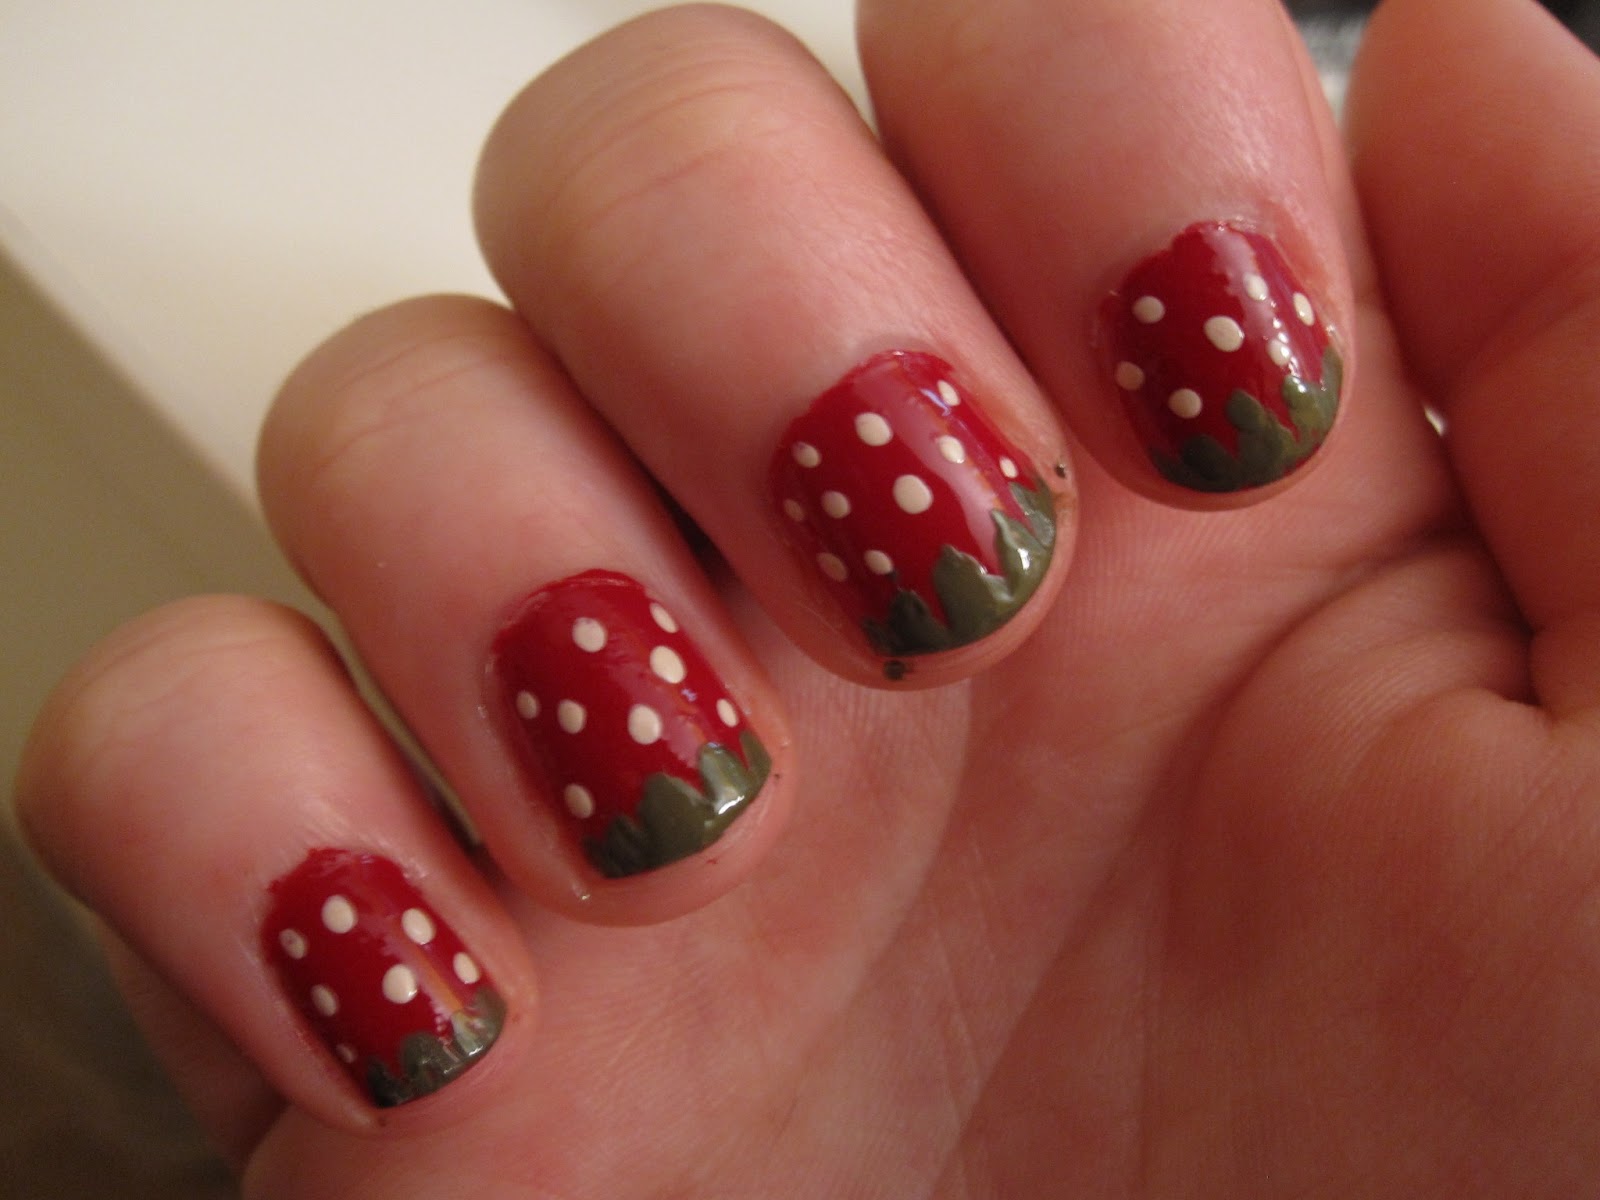
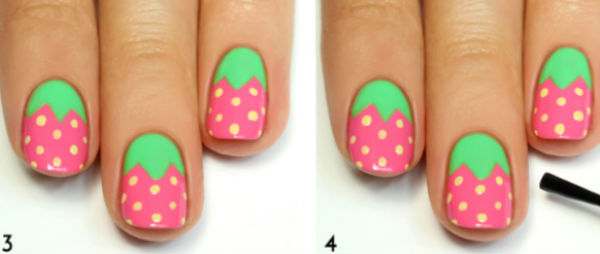
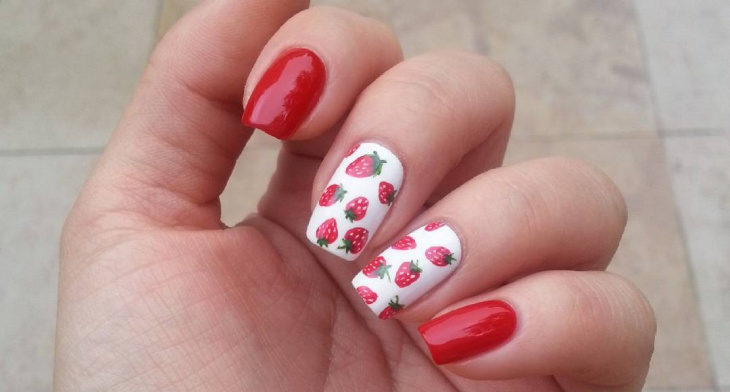
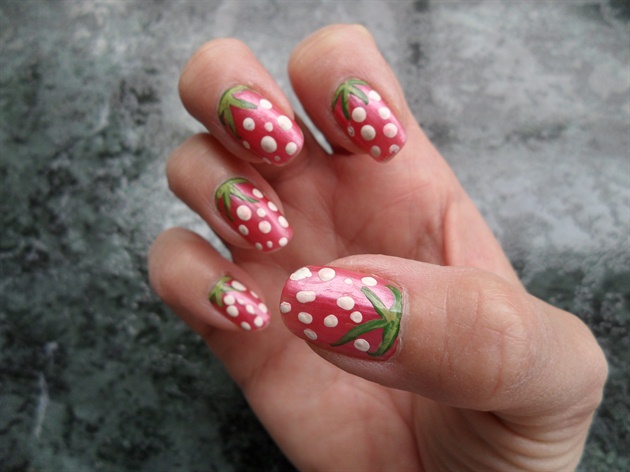
Are you looking for a fun and fruity nail art design? Look no further than this strawberry tart nail art tutorial! With just a few simple steps, you can create a delicious and eye-catching manicure that will have everyone asking for your secret. So grab your nail polishes and let's get started! To begin, apply a base coat to your nails to protect them and help your nail polish last longer. Once the base coat is dry, paint your nails with a light pink polish for the base color. This will mimic the color of the tart's crust. Next, use a dark red polish to create the filling of the tart. Dip a small nail art brush into the polish and carefully draw a curved line at the base of your nail, leaving a gap at the sides to create the crust. Then, fill in the gap with the red polish to create the filling of the tart. You can also use a dotting tool to create smaller dots for a more textured look. Once the filling is dry, use a green polish to add small leaves to the top of the tart. This will give the design a pop of color and make it look even more realistic. You can also add small white dots to the filling to create the appearance of seeds. Finally, seal in your design with a top coat to protect it and give it a glossy finish. And just like that, you have a beautiful and mouth-watering strawberry tart nail art design!Strawberry Tart Nail Art Tutorial
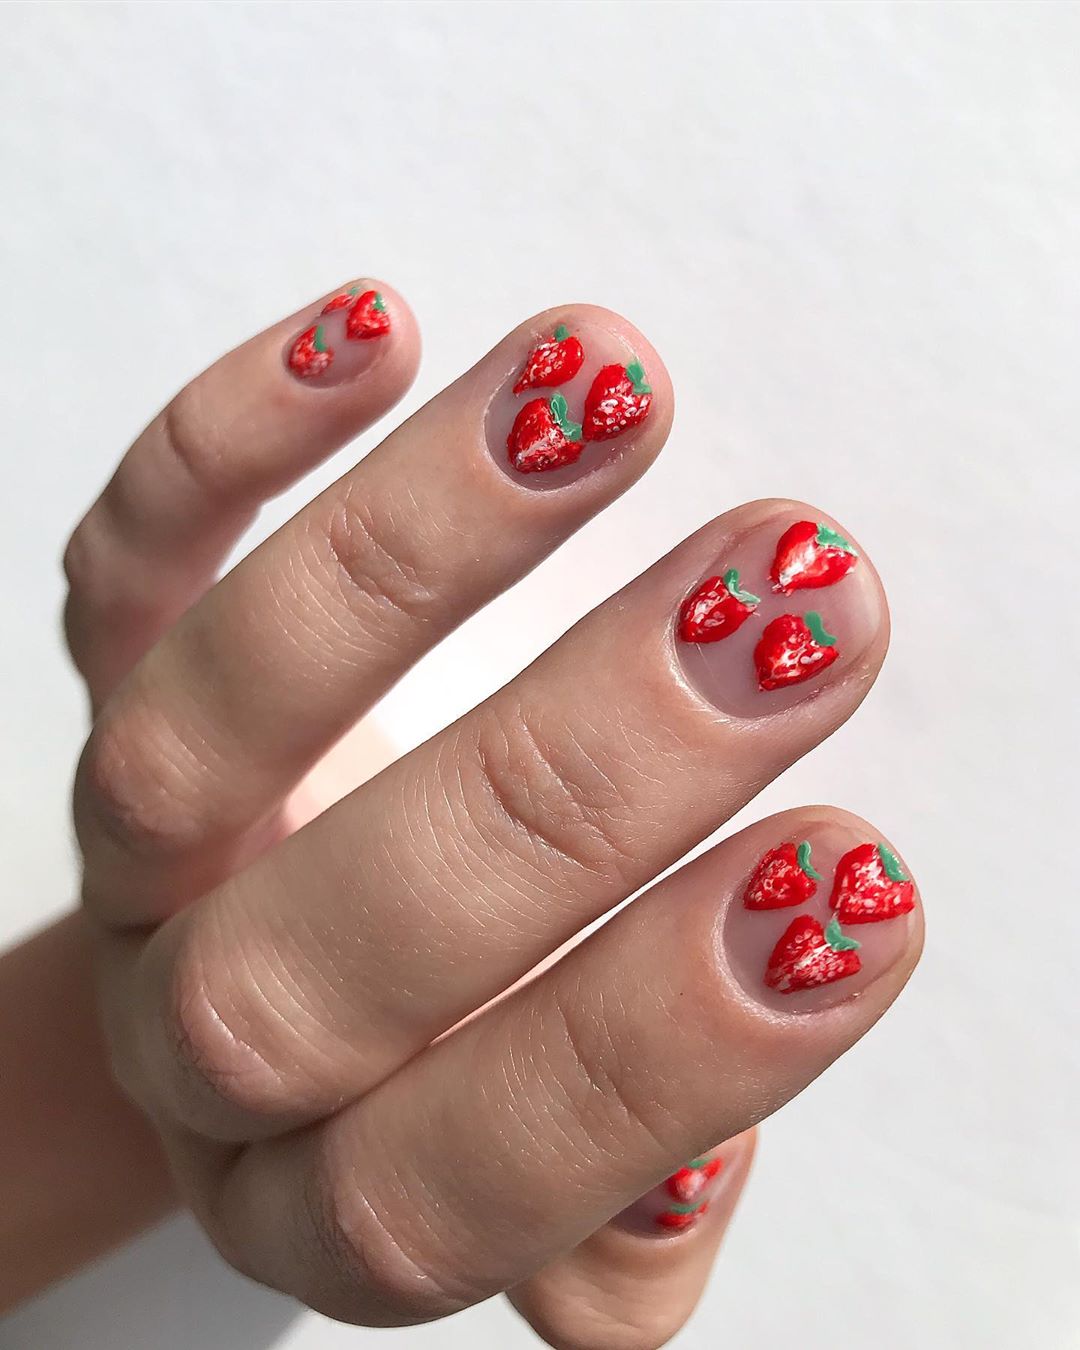


Strawberry Tart Nail Art Tutorial
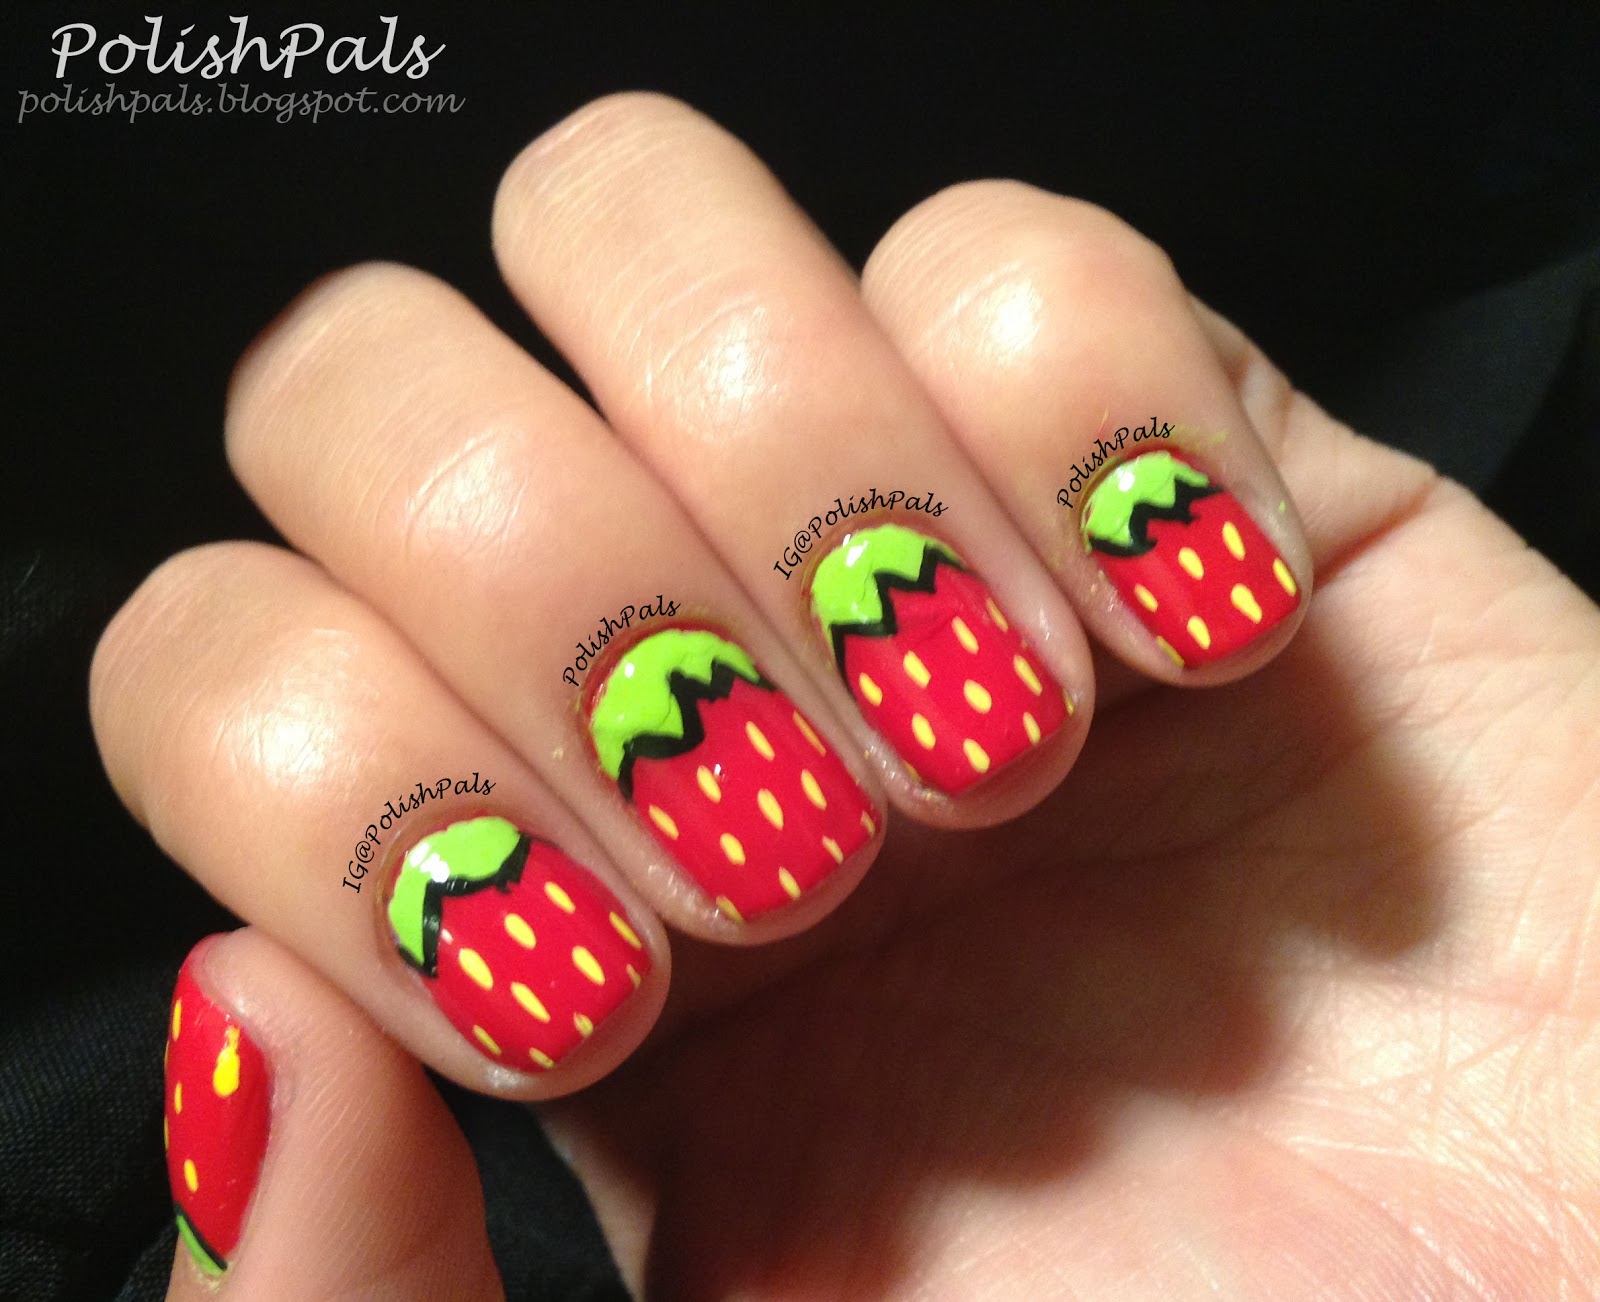


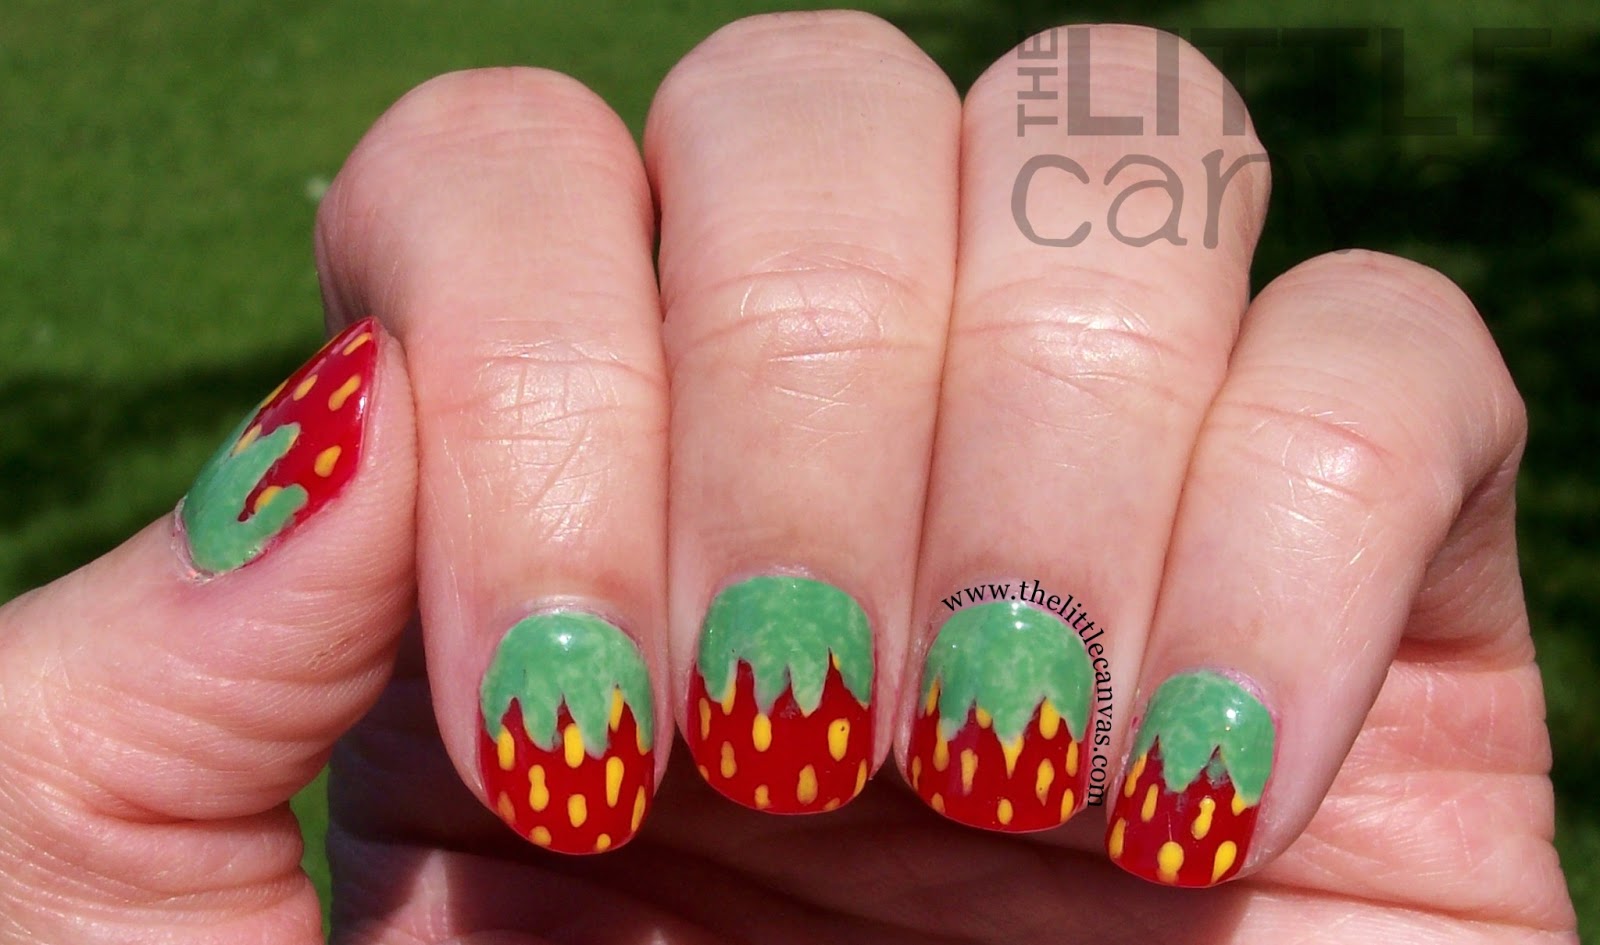
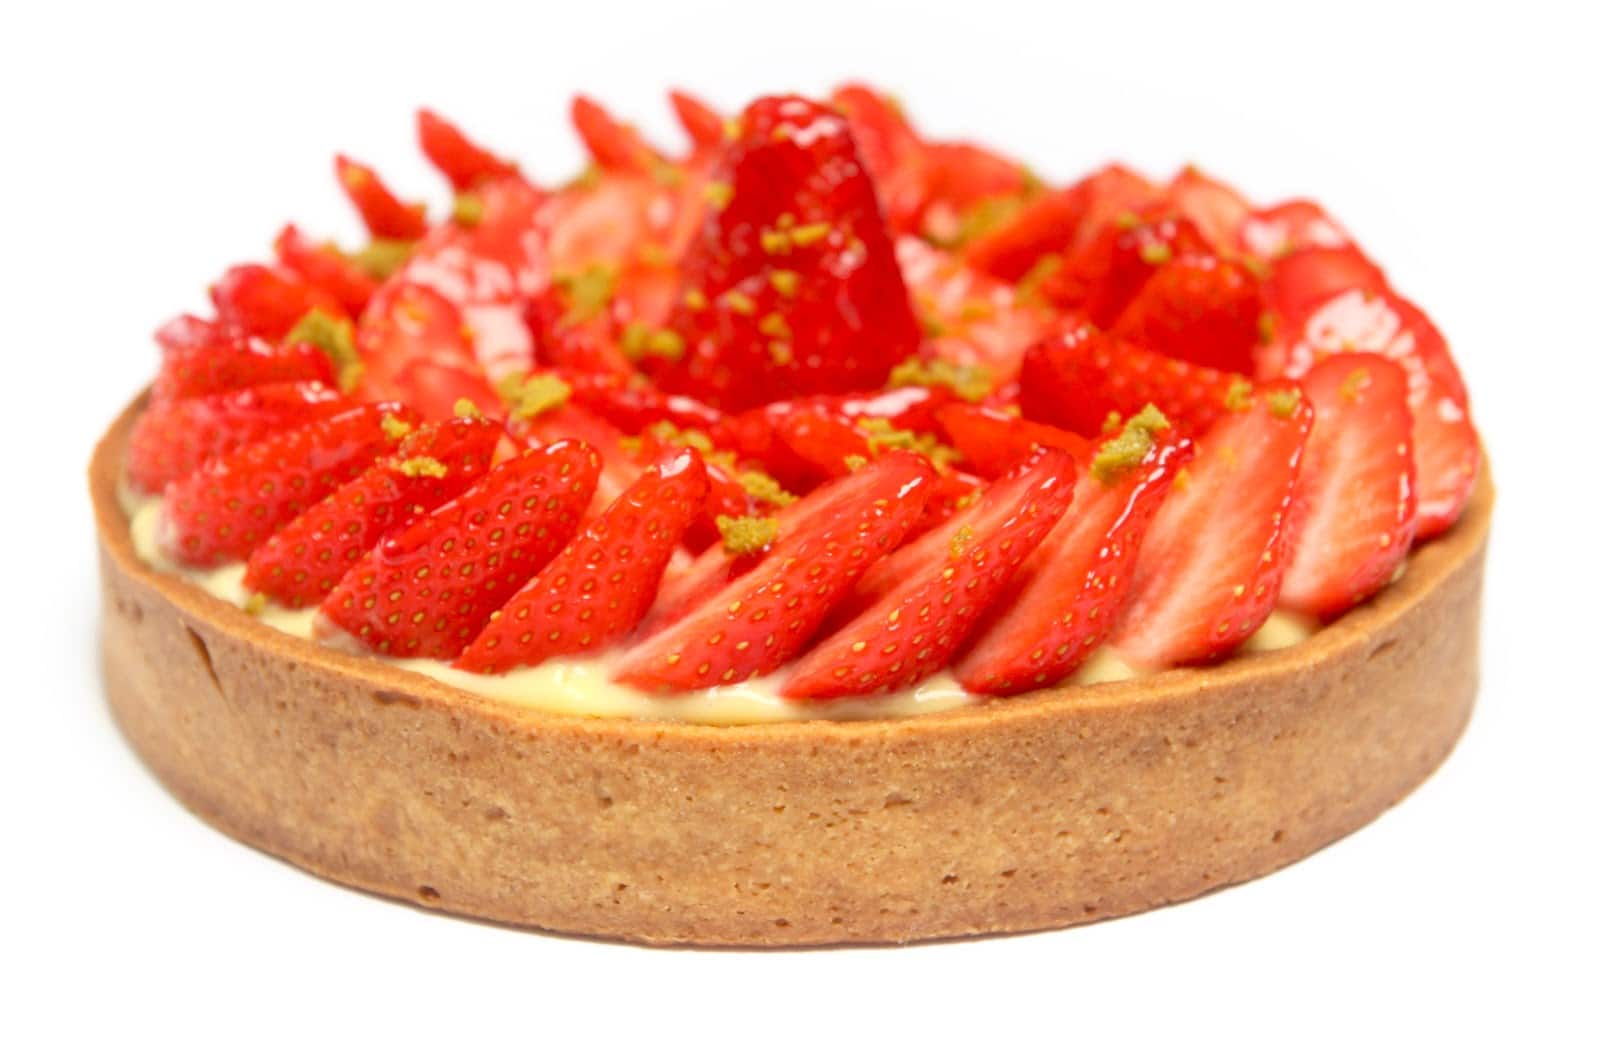
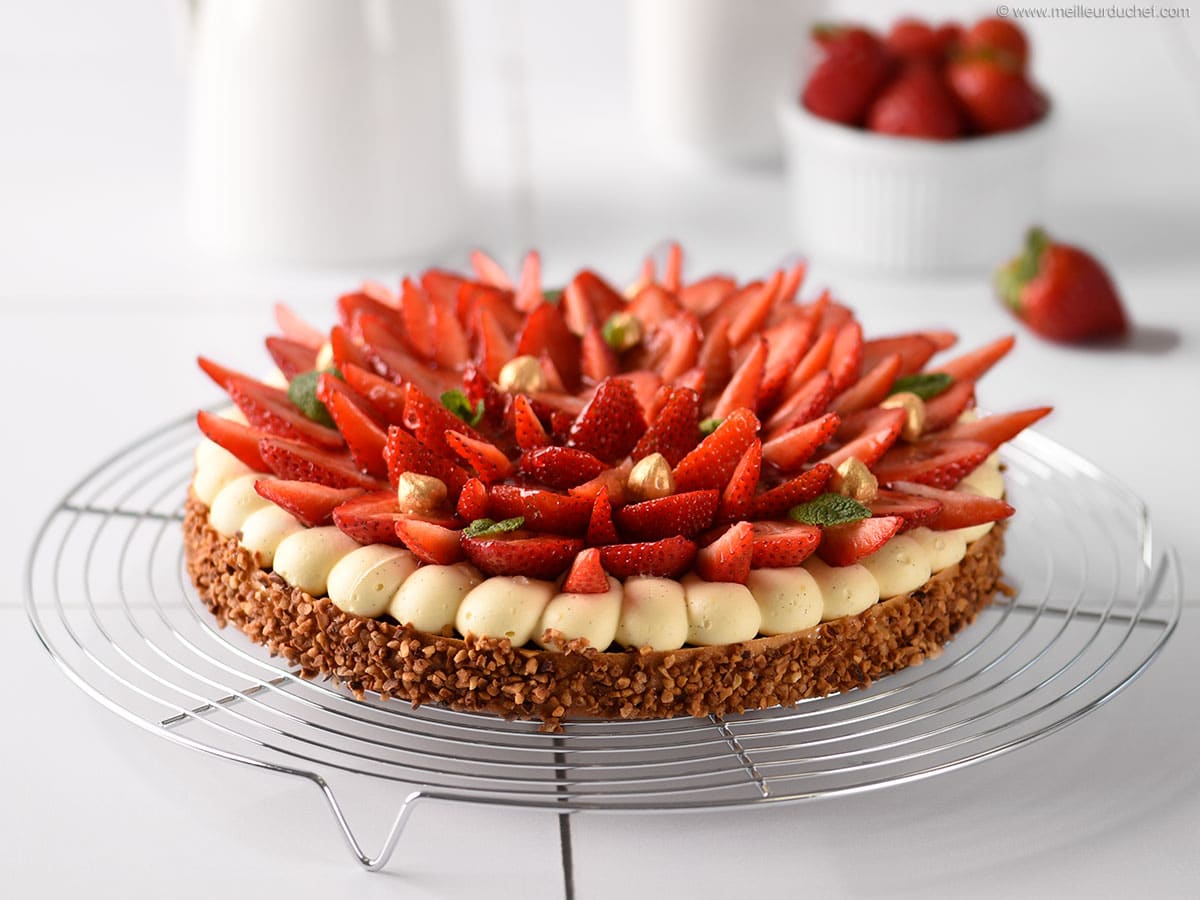
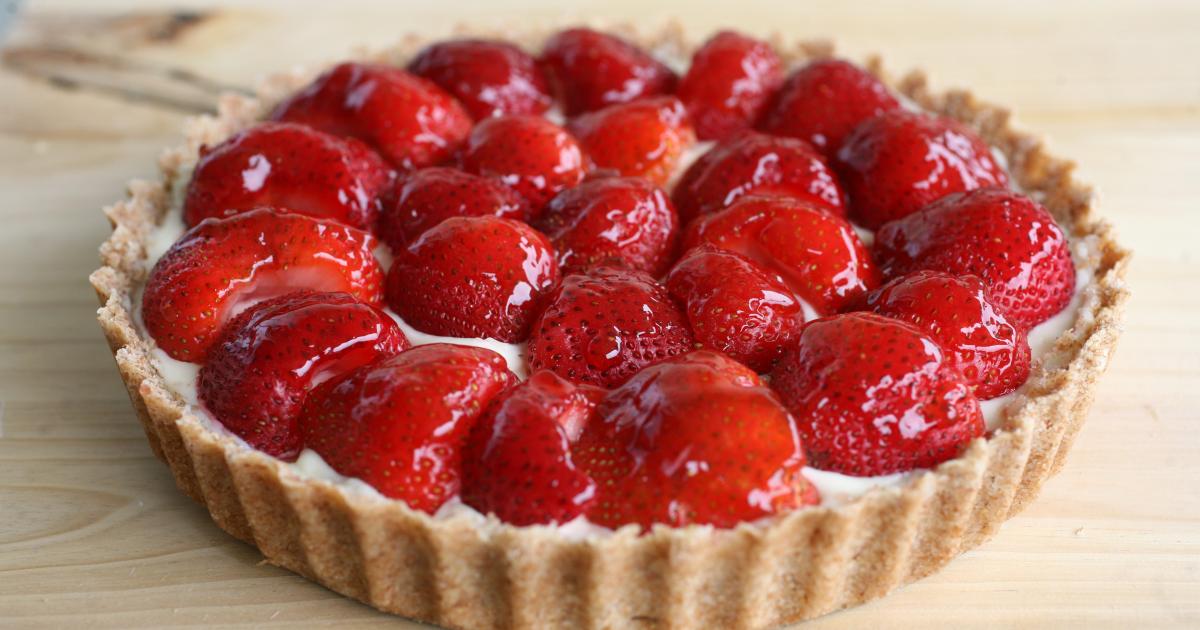
Tarte fraise, or strawberry tart, is a classic French dessert that is loved all around the world. So why not show your love for this delicious treat with a tarte fraise nail art design? This design is perfect for any occasion and is sure to make your nails stand out. To create this design, start by painting your nails with a light green polish for the base color. This will mimic the color of the tart's crust. Then, using a small nail art brush, paint diagonal lines across your nails to create the lattice pattern of the tart's crust. Next, use a dark red polish to create the filling of the tart. Dip a small nail art brush into the polish and carefully draw a curved line at the base of your nail, leaving a gap at the sides to create the crust. Then, fill in the gap with the red polish to create the filling of the tart. You can also use a dotting tool to create smaller dots for a more textured look. To add a touch of realism, use a light green polish to create small leaves at the top of the tart. You can also use a white polish and a dotting tool to add small seeds to the filling. Finish off your design with a top coat to seal in your design and give it a shiny finish. And voila, you have a tarte fraise nail art design that will make your mouth water!Tarte Fraise Nail Art Design


Tarte Fraise Nail Art Design
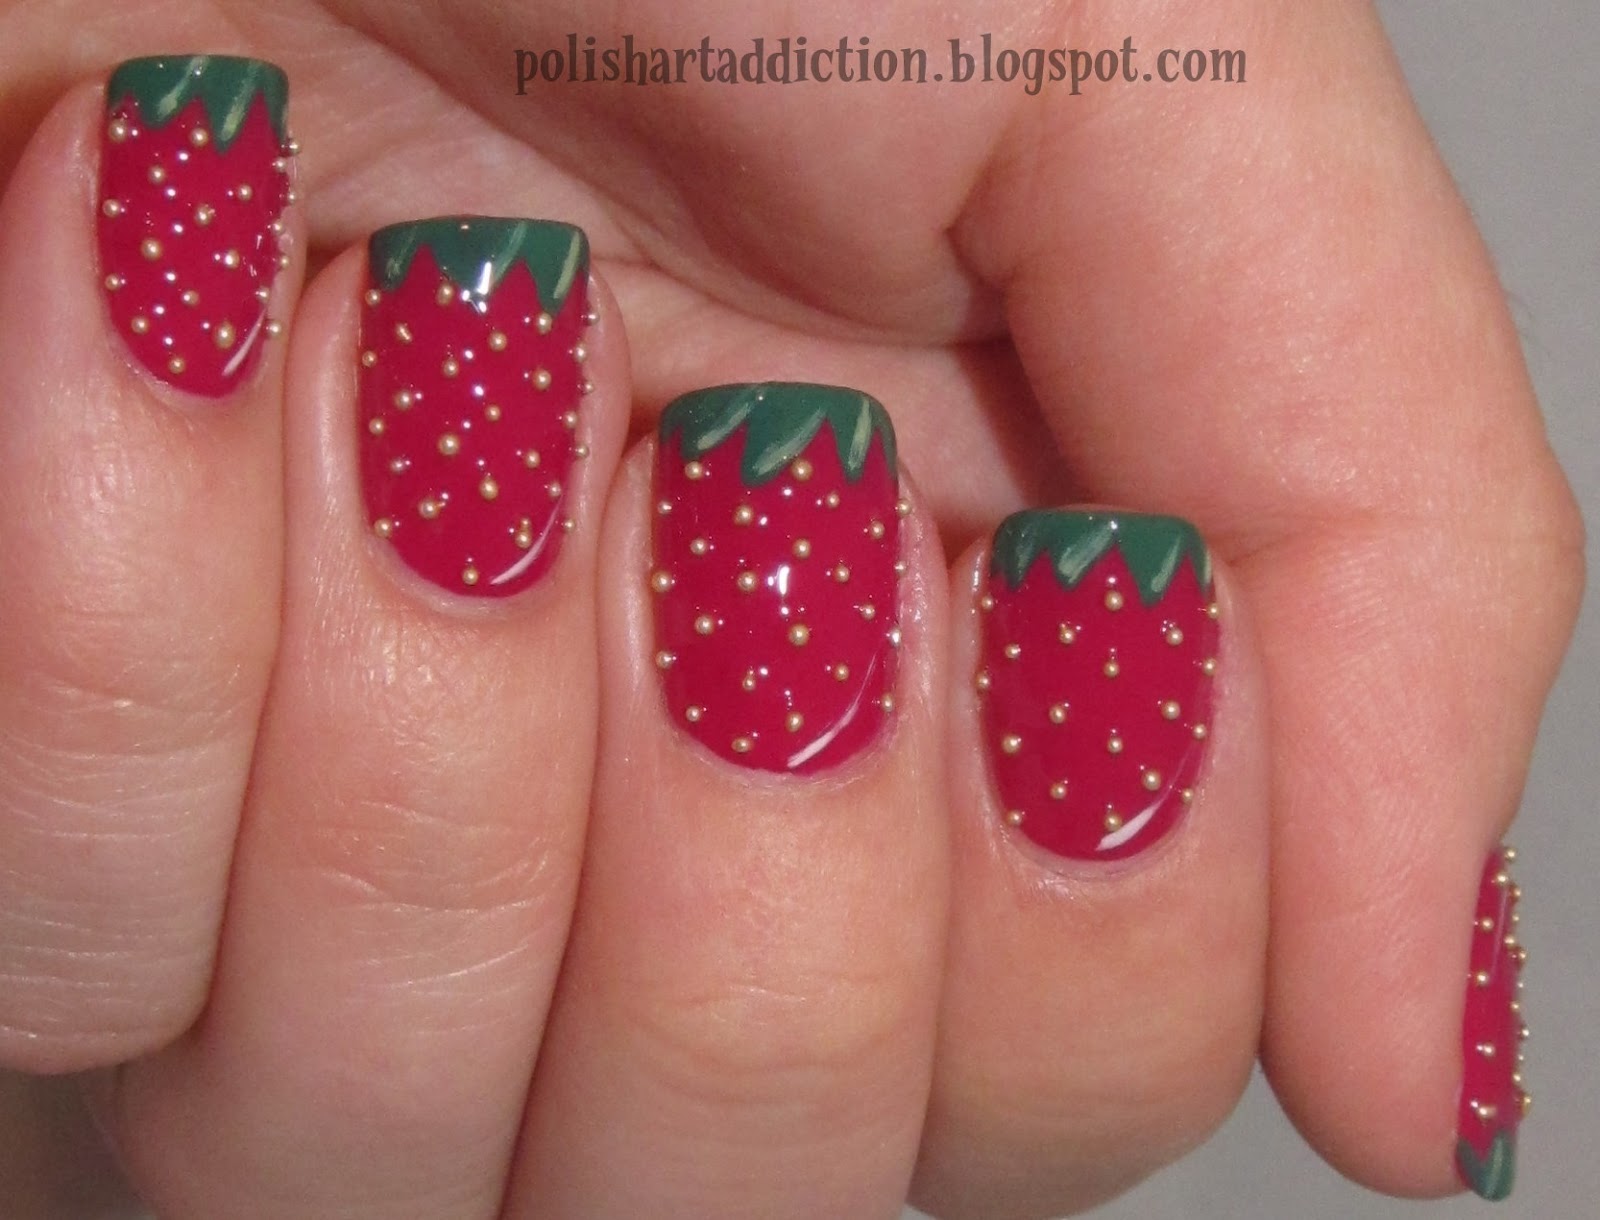
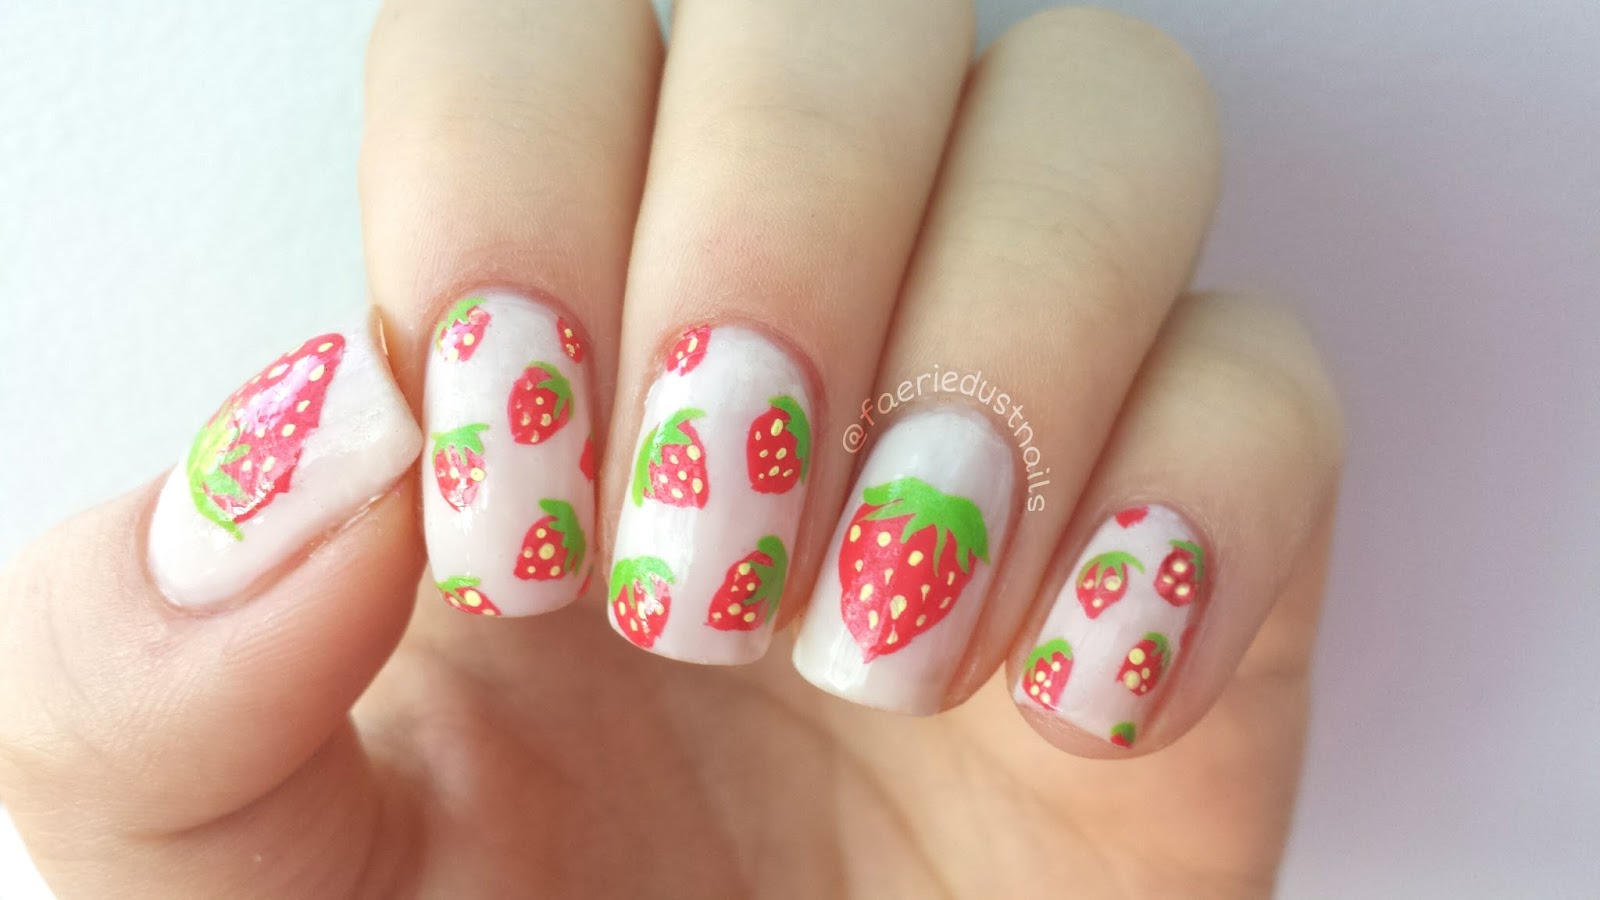
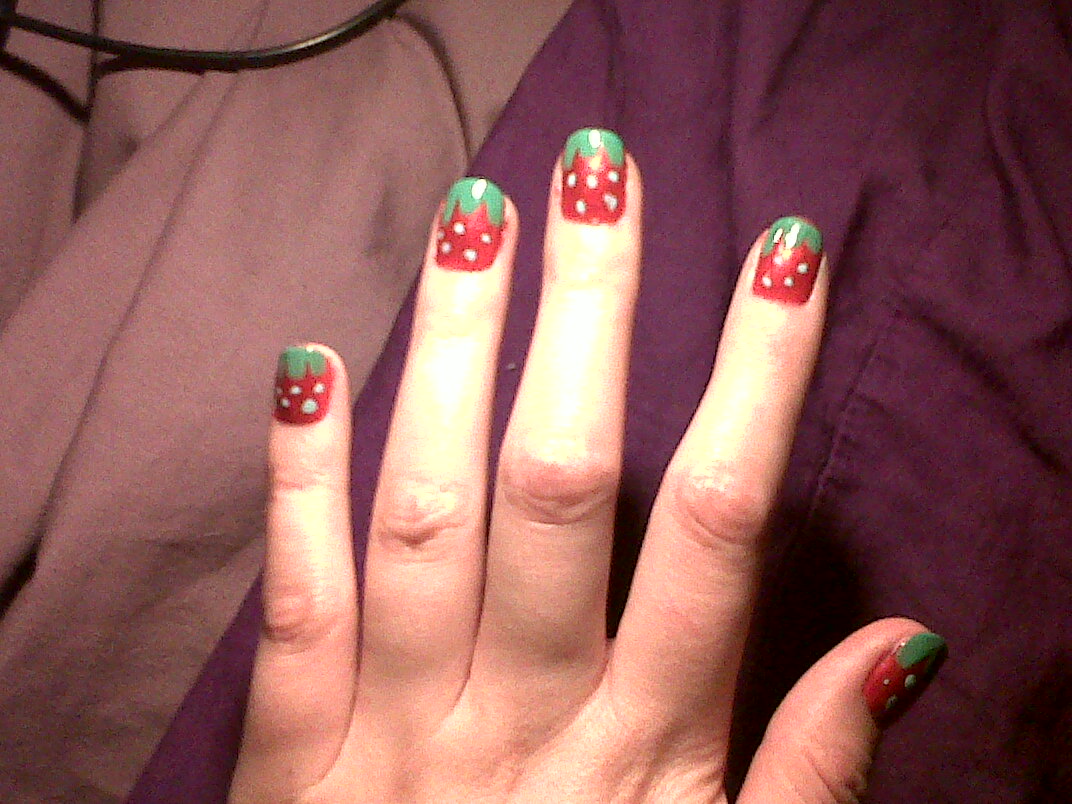
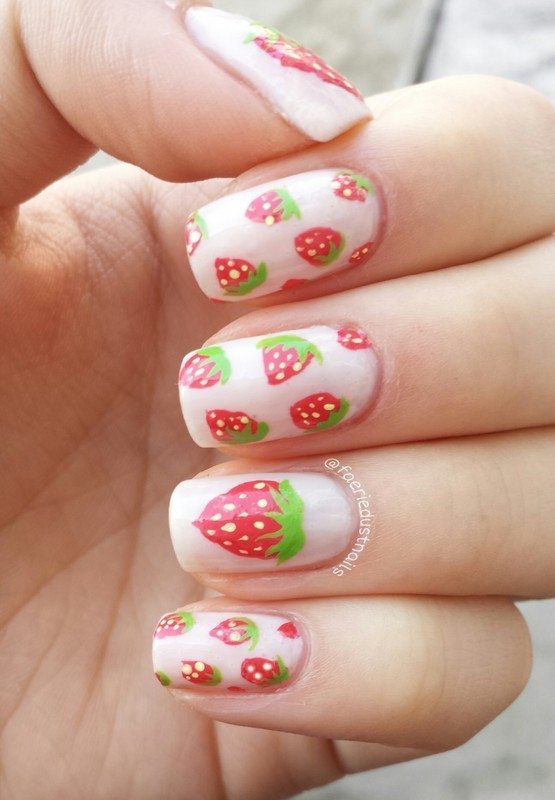
If you're new to nail art, it can be intimidating to try out intricate designs. But don't worry, this easy strawberry nail art is perfect for beginners and will still give you a stunning result. All you need is a few basic nail polish colors and a dotting tool. Start by painting your nails with a light pink polish for the base color. This will mimic the color of the strawberry. Then, using a dotting tool, dip it into a dark red polish and create small dots on your nails. These dots will represent the seeds of the strawberry. To create the strawberry leaves, dip the dotting tool into a green polish and create small leaf shapes at the top of the strawberry. You can also add smaller dots with a white polish to add more dimension to the design. Finish off with a top coat to seal in your design and give it a glossy finish. This easy strawberry nail art is perfect for any occasion and will have everyone asking how you did it!Easy Strawberry Nail Art


Easy Strawberry Nail Art

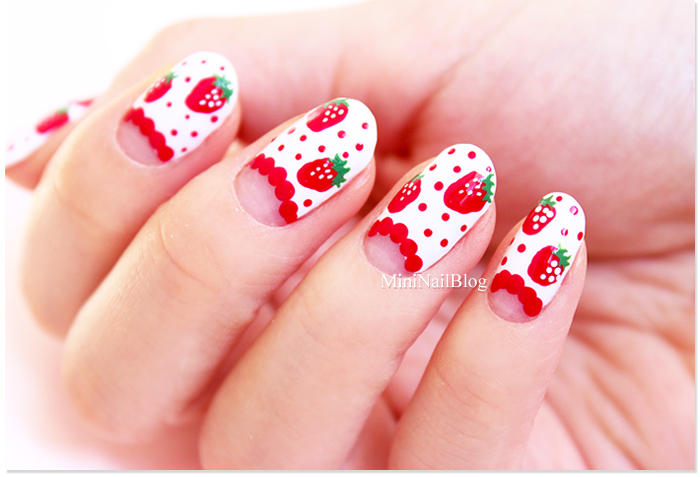


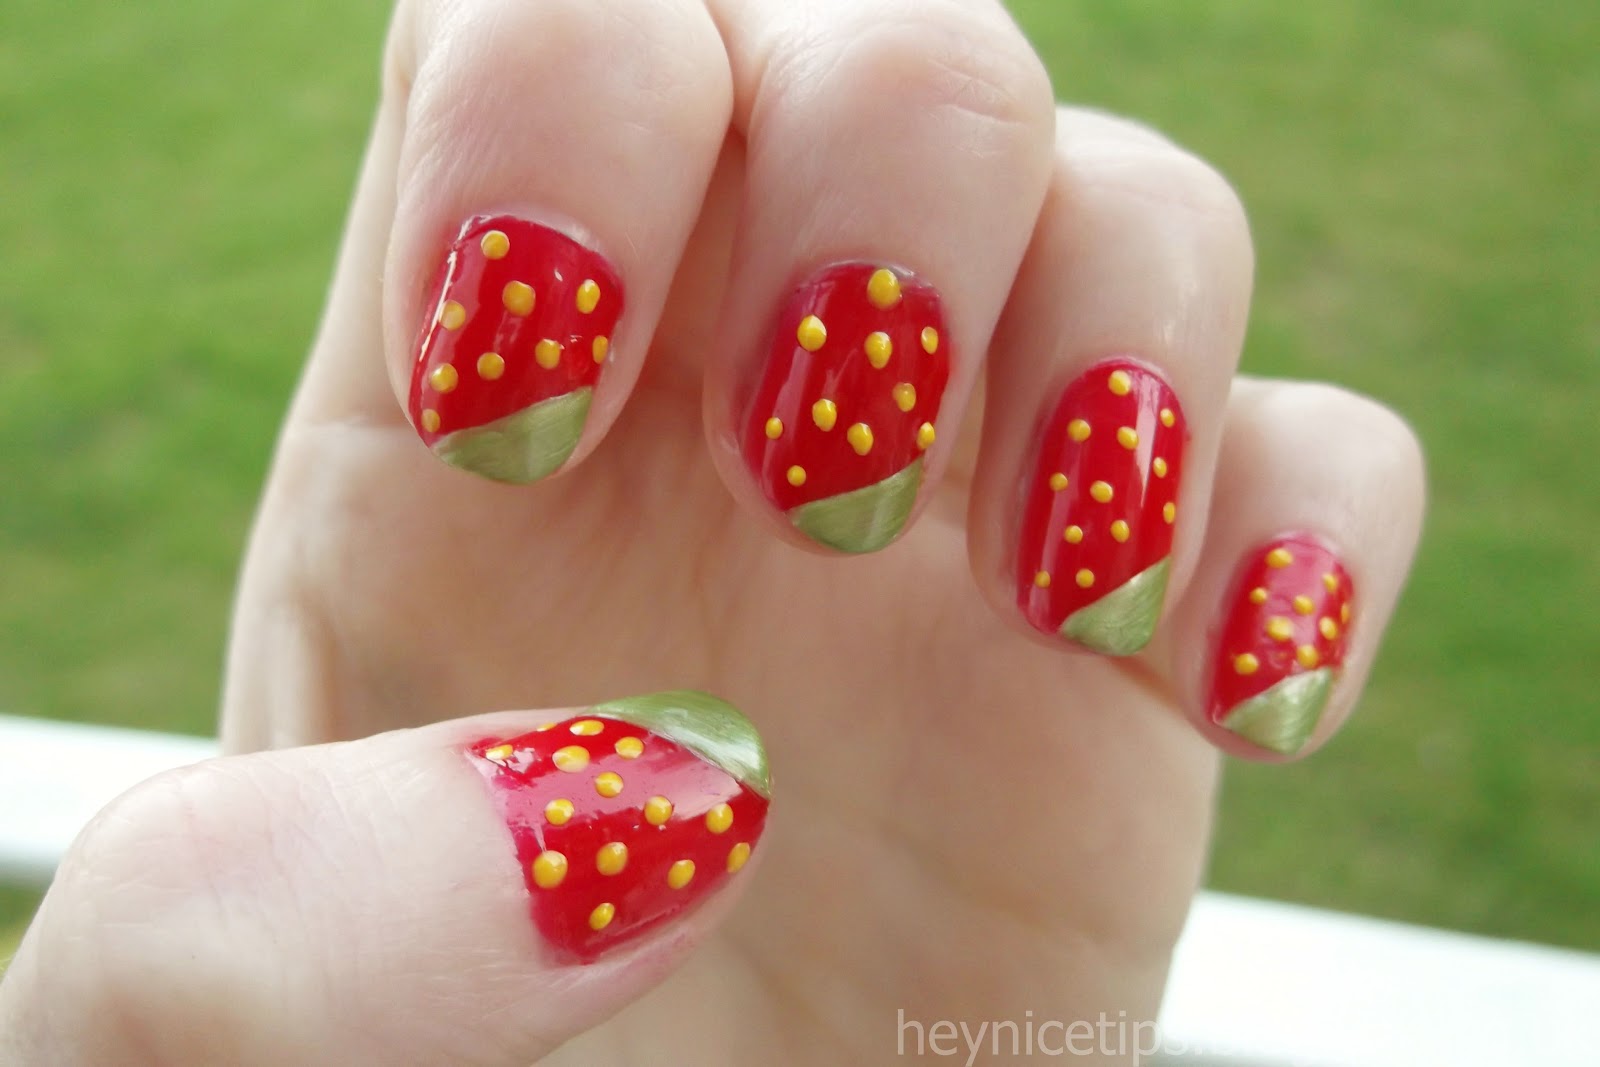
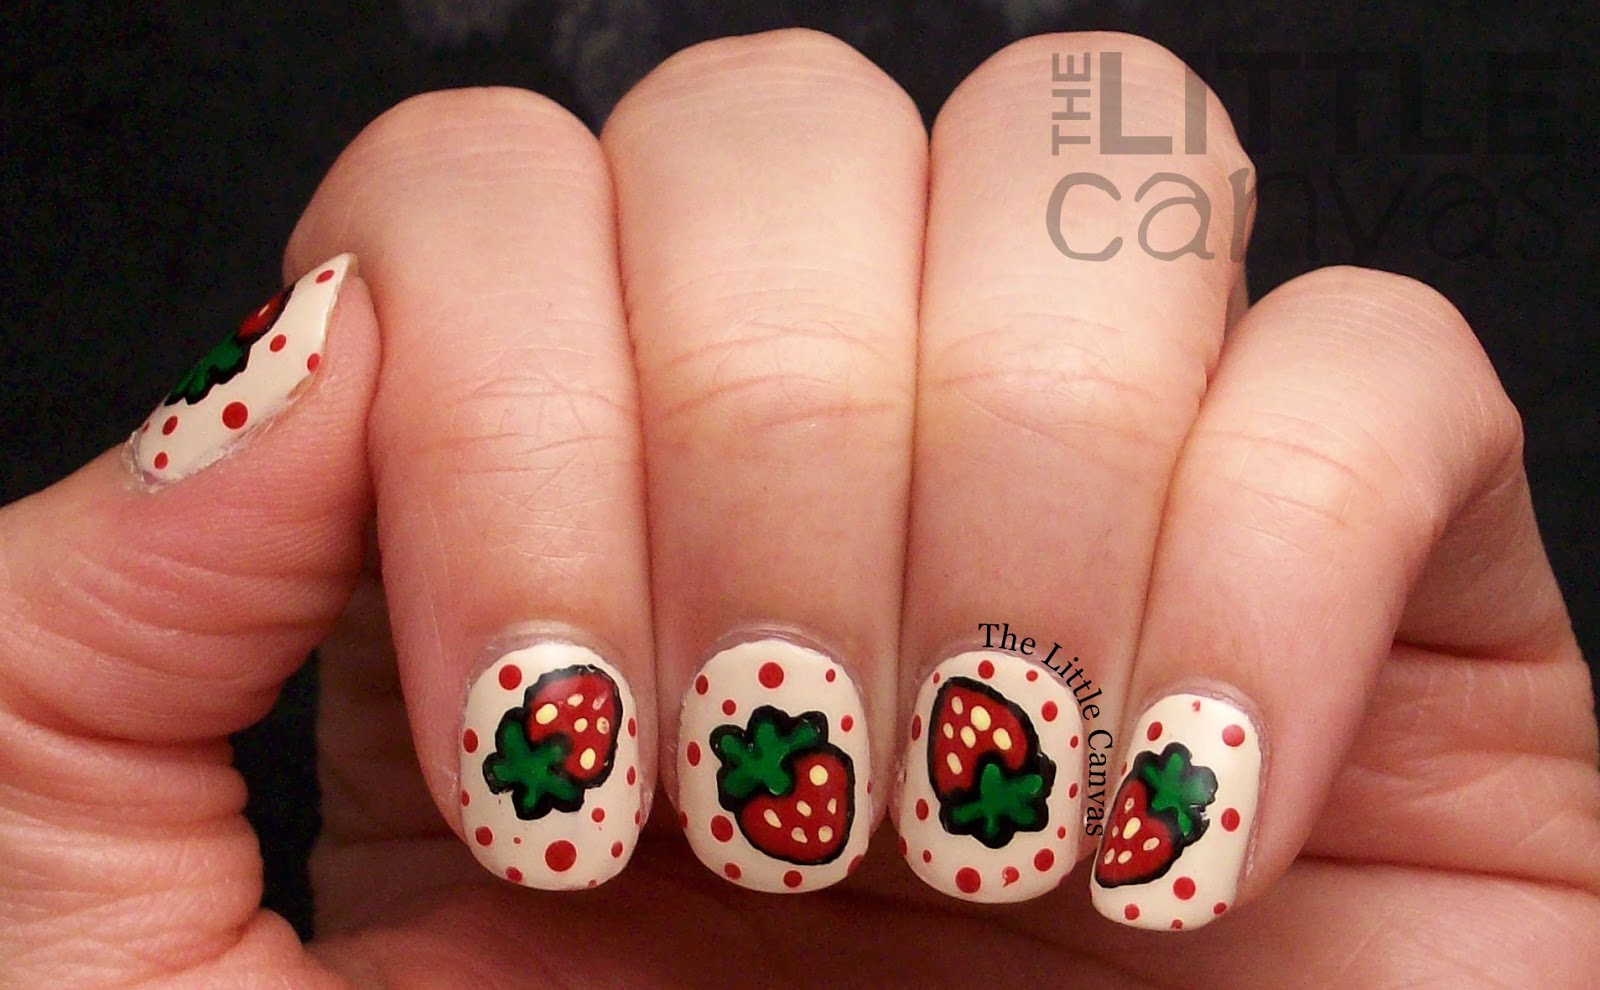
France is known for its delicious cuisine, including their famous tarte fraise. So why not pay homage to this country and dessert with a French strawberry nail art design? This design is elegant and chic, perfect for any fashion-forward individual. Start by painting your nails with a light pink polish for the base color. Then, using a small nail art brush, create a diagonal line across your nail with a darker pink polish. This will represent the slices of strawberry in the tart. Next, add a small green leaf to the top of the diagonal line using a green polish. You can also add small white dots to the filling to represent the seeds of the strawberry. For a more detailed look, use a white polish and a dotting tool to create small polka dots on the base color. This will add a touch of texture and give your design a more realistic look. Finish off with a top coat to seal in your design and give it a glossy finish. This French-inspired strawberry nail art is perfect for any occasion and will have everyone admiring your nails.French Strawberry Nail Art


French Strawberry Nail Art

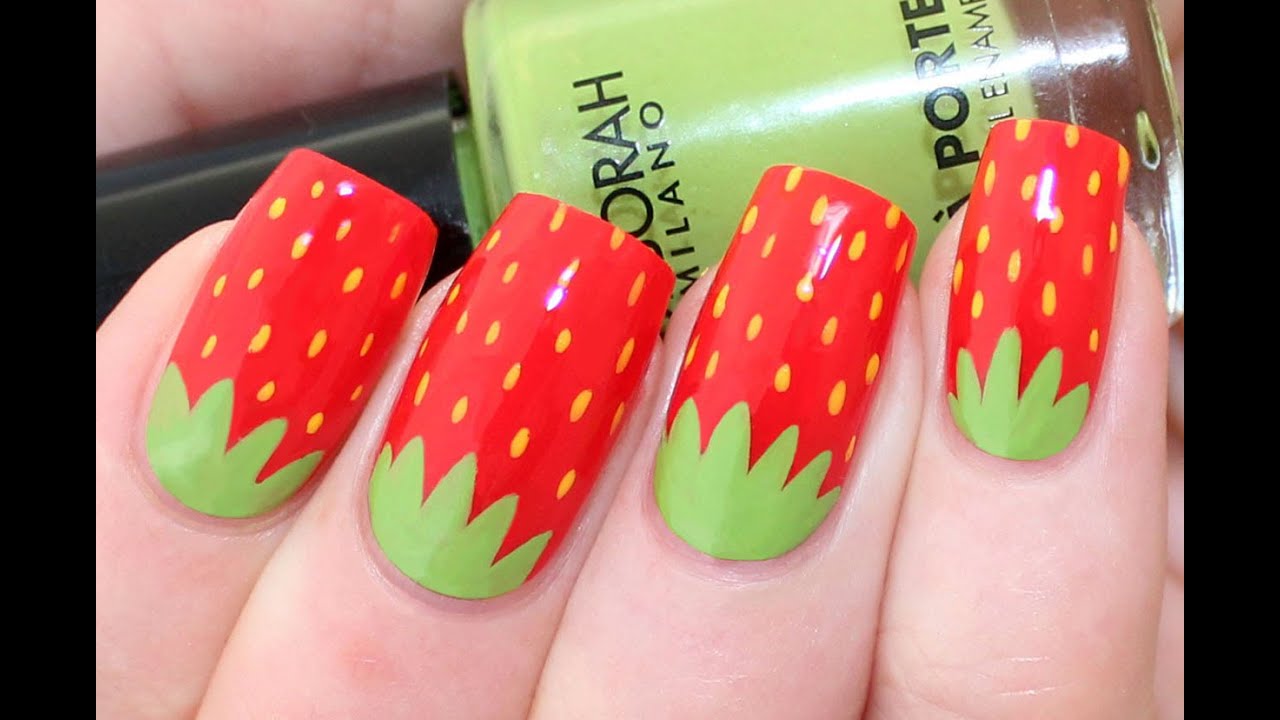
Who doesn't love a delicious strawberry shortcake? Now you can have it on your nails with this cute and playful strawberry shortcake nail art design. This design is perfect for those with shorter nails as it doesn't require much space. Start by painting your nails with a light pink polish for the base color. Then, using a dotting tool, dip it into a dark red polish and create small dots on your nails. These dots will represent the seeds of the strawberry. Next, use a light green polish to create small leaves at the top of the strawberry. You can also use a white polish and a dotting tool to add small dots on the base color for a more textured look. To create the shortcake, use a beige or light brown polish and create a half circle at the tip of your nail. Then, use a small nail art brush to create criss-cross lines on the half circle to represent the cake. Finish off with a top coat and you have a sweet and adorable strawberry shortcake nail art design.Strawberry Shortcake Nail Art


Strawberry Shortcake Nail Art


If you're not confident in your nail art skills, don't worry, there's an easier option – nail art stickers! These pre-made stickers come in a variety of designs, including strawberries. All you have to do is apply them to your nails for a quick and easy strawberry nail art design. Start by painting your nails with a light pink polish for the base color. Then, choose a strawberry nail art sticker that fits your nail size and apply it to your nail. You can also add smaller stickers, such as leaves or seeds, for a more detailed look. Once all the stickers are applied, seal in your design with a top coat to protect it and give it a glossy finish. This is a great option for those who want a fun and cute strawberry nail art design without the hassle of painting it themselves.Strawberry Nail Art Stickers


Strawberry Nail Art Stickers


If you're looking for more inspiration for your strawberry nail art, here are a few ideas to get you started: - Strawberry gradient: Create a gradient effect on your nails using different shades of pink and red to create the look of a ripe strawberry. - Strawberry milkshake: Paint your nails with a light pink polish and add white dots to represent the whipped cream on top of a strawberry milkshake. - Strawberry basket: Create a basket weave pattern on your nails using a light brown polish and add small strawberries using a dotting tool. - Strawberry fields: Use a light green polish to paint your nails and add small red dots to represent strawberries growing in a field. There are endless possibilities when it comes to strawberry nail art, so have fun and get creative!Strawberry Nail Art Ideas

Strawberry Nail Art Ideas

If you're new to nail art, it can be overwhelming to try out intricate designs. But these strawberry nail art designs are perfect for beginners as they are simple and easy to recreate. Here are a few ideas to get you started: - Strawberry accent nail: Paint all your nails with a light pink polish and add a small strawberry design on one nail as an accent. - Half-moon strawberries: Create a half-moon design on your nails using a light pink polish and add small strawberries at the base of your nails. - Polka dot strawberries: Paint your nails with a light green polish and add small red polka dots to represent strawberries on each nail. - Striped strawberries: Use a white polish to create vertical stripes on your nails and add small strawberries on top of the stripes using a dotting tool. These designs are perfect for beginners and can be easily achieved with just a few basic nail polish colors and tools.Strawberry Nail Art Designs for Beginners


Strawberry Nail Art Designs for Beginners


If you really want to take your strawberry nail art to the next level, why not use real strawberries? This may sound strange, but it can create a unique and eye-catching design that will have everyone talking. Start by painting your nails with a light pink or red polish for the base color. Then, cut a small strawberry in half and dab it onto your nail to create a textured look. You can also use a toothpick or small brush to add more details, such as seeds or leaves. Once the strawberry is dry, seal in your design with a top coat to protect it and give it a glossy finish. This strawberry nail art with real strawberries is a unique and fun way to show off your love for this fruit.Strawberry Nail Art with Real Strawberries

Strawberry Nail Art with Real Strawberries
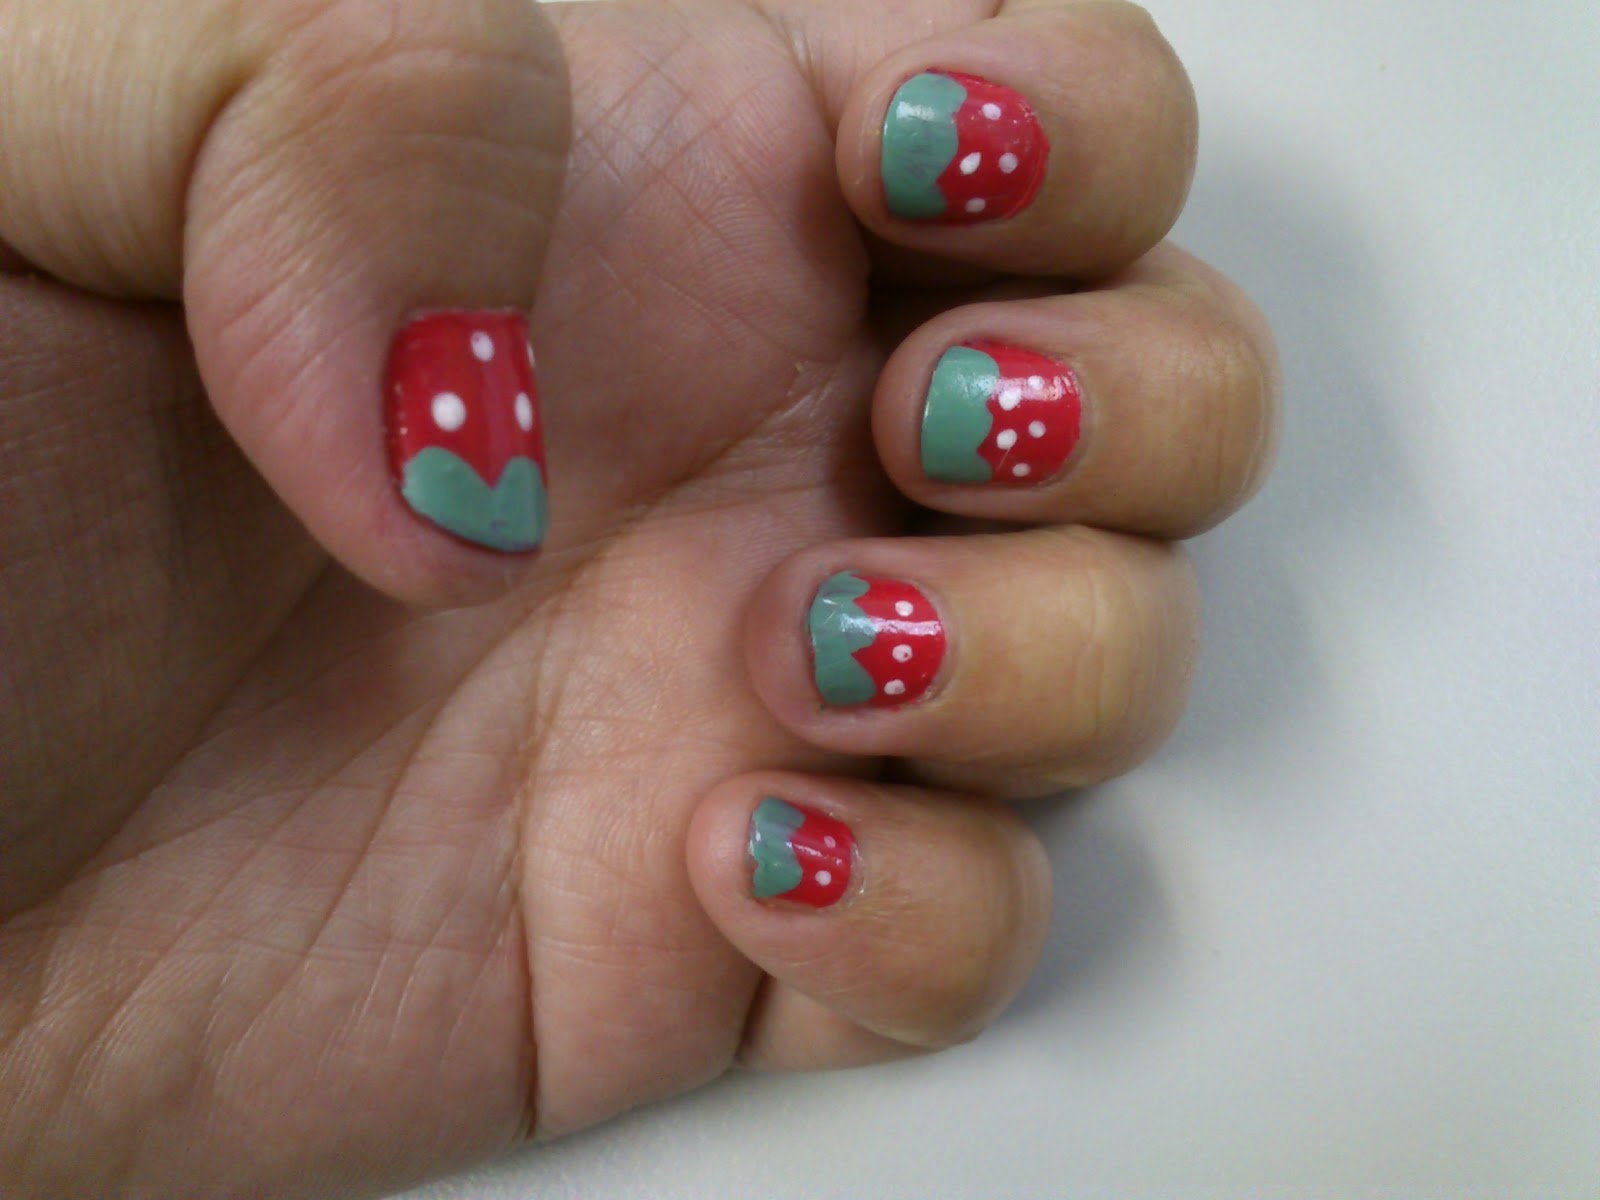
Don't let your shorter nails stop you from creating beautiful and intricate designs. There are plenty of strawberry nail art designs that are perfect for shorter nails. Here are a few ideas to try out: - Strawberry French tips: Paint the tips of your nails with a light pink polish and add small strawberries on top of the tips using a dotting tool. - Minimalist strawberries: Paint your nails with a light green polish and add a small red dot on each nail using a dotting tool to represent a strawberry. - Single strawberry: Paint your nails with a light pink polish and add a small strawberry design on one nail as an accent. - Strawberry ombre: Create an ombre effect on your nails using different shades of pink and add small strawberries on top using a dotting tool. These designs are perfect for shorter nails and will still make a statement. So don't be afraid to show off your strawberry nail art on your shorter nails!Strawberry Nail Art for Short Nails


Strawberry Nail Art for Short Nails


The Delicious and Chic Trend of Tarte Fraise Nail Art

What is Tarte Fraise Nail Art?
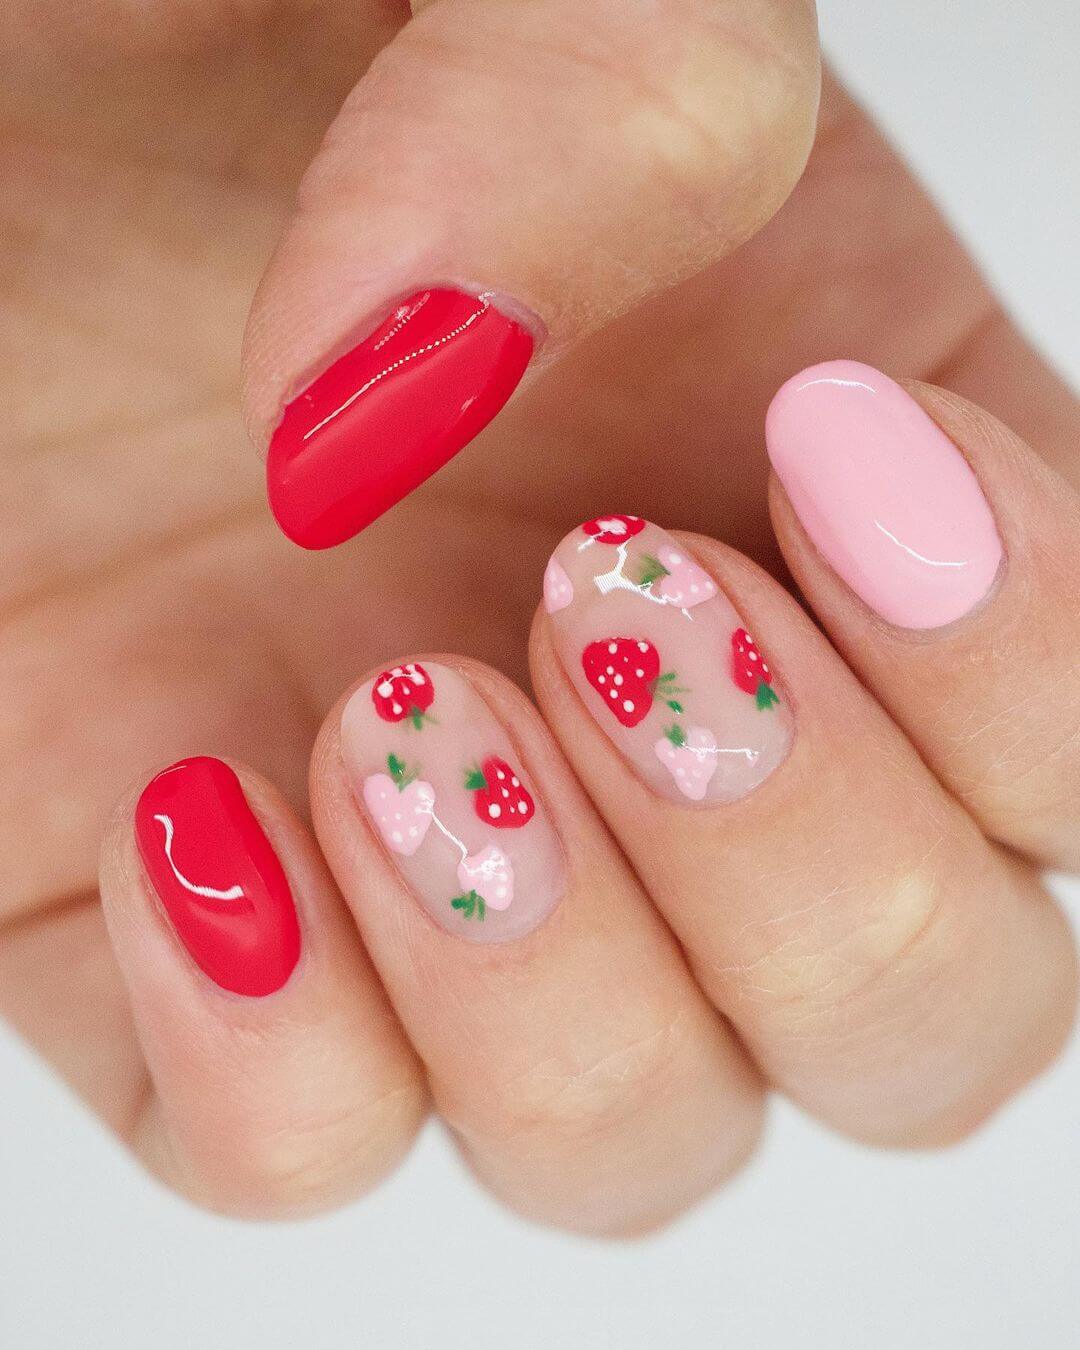
 Tarte Fraise, which translates to "strawberry tart" in French, is a popular dessert-inspired nail art trend that has taken the world by storm. This delicate and delicious design features a base color of light pink, mimicking the color of a sweet strawberry filling, and is adorned with intricate strawberry designs and glitter accents to represent the tart's crust. This charming and playful nail art has become a must-try for fashion-forward individuals and has been spotted on the runways, red carpets, and social media feeds.
The Rise of Tarte Fraise Nail Art
 In recent years, there has been a growing trend of incorporating food-inspired elements into fashion and beauty. From fruit prints on clothing to food-shaped accessories, people are embracing their love for food and incorporating it into their personal style. Tarte Fraise nail art is a perfect example of this trend, with its whimsical and eye-catching design that pays homage to one of the most beloved desserts.
How to Achieve the Perfect Tarte Fraise Nail Art
 Creating a beautiful and delectable Tarte Fraise nail art may seem daunting, but with the right tools and techniques, anyone can achieve it. Start by choosing a light pink nail polish as the base color, and then use a thin brush to create small strawberry shapes using red and green polishes. You can also add glitter or rhinestones to add a touch of sparkle and texture to your design. For those who prefer a simpler look, you can opt for a French tip design with a light pink base and a red tip to represent the strawberry filling. The possibilities are endless!
The Versatility of Tarte Fraise Nail Art
 One of the best things about Tarte Fraise nail art is its versatility. This design can be customized to fit any occasion or personal style. For a more elegant look, you can use pastel colors and add delicate details like gold foil or lace. On the other hand, if you want a bold and playful look, you can use bright colors and add fun elements like cartoon strawberries or sprinkles. With Tarte Fraise nail art, you can let your creativity run wild and create a unique and stunning design.
In conclusion, Tarte Fraise nail art is a fun and delicious trend that has captured the hearts and nails of many. With its charming and versatile design, it's no wonder why it has become a must-try for both professional nail technicians and DIY enthusiasts. So why not give it a try and add a touch of sweetness and style to your next manicure?
One of the best things about Tarte Fraise nail art is its versatility. This design can be customized to fit any occasion or personal style. For a more elegant look, you can use pastel colors and add delicate details like gold foil or lace. On the other hand, if you want a bold and playful look, you can use bright colors and add fun elements like cartoon strawberries or sprinkles. With Tarte Fraise nail art, you can let your creativity run wild and create a unique and stunning design.
In conclusion, Tarte Fraise nail art is a fun and delicious trend that has captured the hearts and nails of many. With its charming and versatile design, it's no wonder why it has become a must-try for both professional nail technicians and DIY enthusiasts. So why not give it a try and add a touch of sweetness and style to your next manicure?


