Looking for a nail art design that's perfect for the fall season? Look no further than "The Fog" nail art! This unique and eerie design mimics the look of fog rolling in over a dark and moody landscape. It's perfect for Halloween, but can also be worn year-round for a bold and mysterious statement. To achieve this look, you'll need a few key products and some patience. But don't worry, we've got you covered with a step-by-step tutorial on how to create "The Fog" nail art.1. "The Fog" Nail Art Tutorial


1. "The Fog" Nail Art Tutorial


Can't get enough of "The Fog" nail art? Take inspiration from this design and create your own unique spin on it. Swap out the colors, add some glitter, or even incorporate other elements like mountains or trees. The possibilities are endless and the results will be stunning! Don't be afraid to experiment and make this design your own. After all, that's the beauty of nail art - it's all about self-expression.2. "The Fog" Inspired Nail Designs


2. "The Fog" Inspired Nail Designs


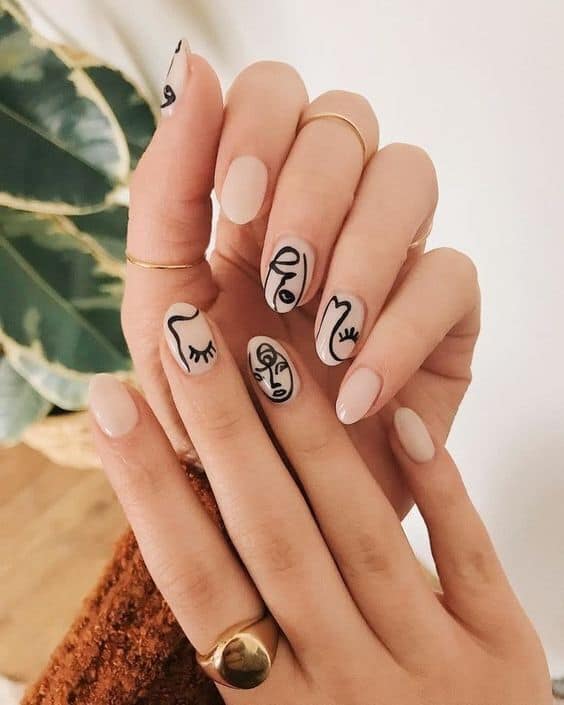
Looking for some ideas on how to incorporate "The Fog" nail art into your daily style? We've got you covered. This design looks great on all nail lengths and shapes, so whether you prefer short and square or long and pointed nails, you can still rock this look. For a subtle take on "The Fog" nail art, try using light and muted colors like soft greys and blues. Or, go bold with dark and dramatic shades like deep purples and blacks.3. "The Fog" Nail Art Ideas

3. "The Fog" Nail Art Ideas


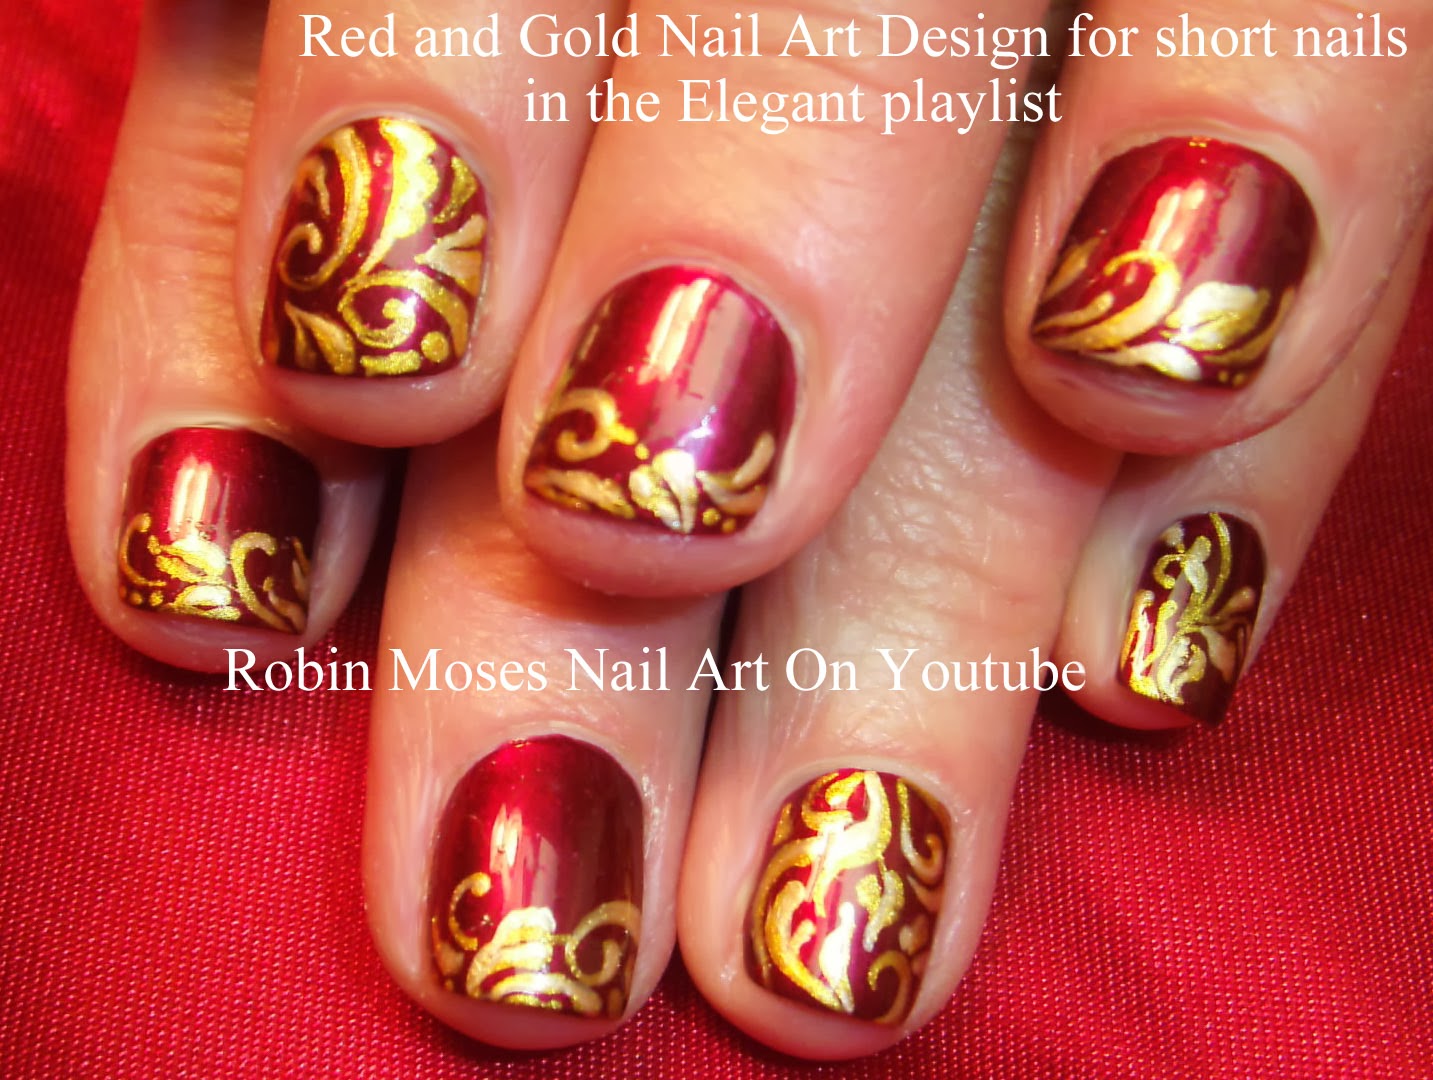
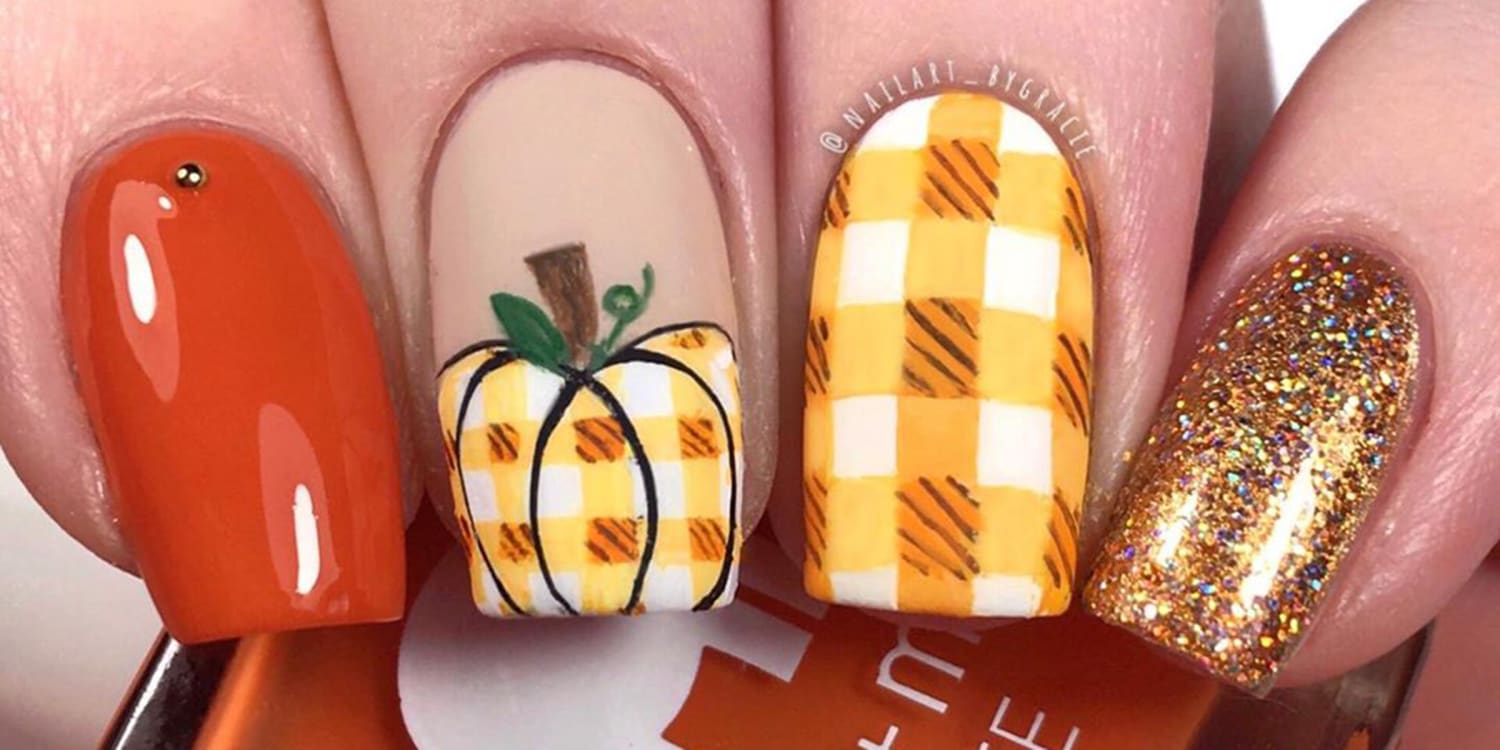
As the leaves start to change and the weather gets cooler, it's the perfect time to switch up your nail art game. "The Fog" nail art is the perfect addition to any fall-inspired manicure. Pair it with warm and cozy sweaters and a pumpkin spice latte for the ultimate autumn look. For a twist on traditional fall colors, try incorporating rich jewel tones like emerald green or ruby red into your "The Fog" nail art design. These colors will add a touch of sophistication to your manicure.4. "The Fog" Nail Art Designs for Fall


4. "The Fog" Nail Art Designs for Fall


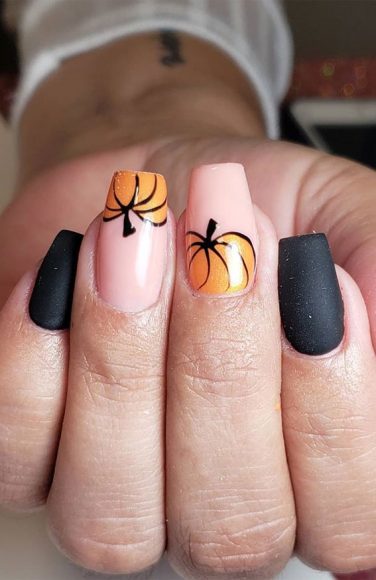
Halloween is the perfect time to get creative with your nail art, and "The Fog" design is no exception. Add some spooky elements like bats, ghosts, or pumpkins to your nails for a fun and festive twist on this design. Or, for a more subtle Halloween look, try using a glow-in-the-dark top coat on your "The Fog" nails. It will add an unexpected surprise and make your manicure stand out in the dark.5. "The Fog" Nail Art for Halloween

5. "The Fog" Nail Art for Halloween


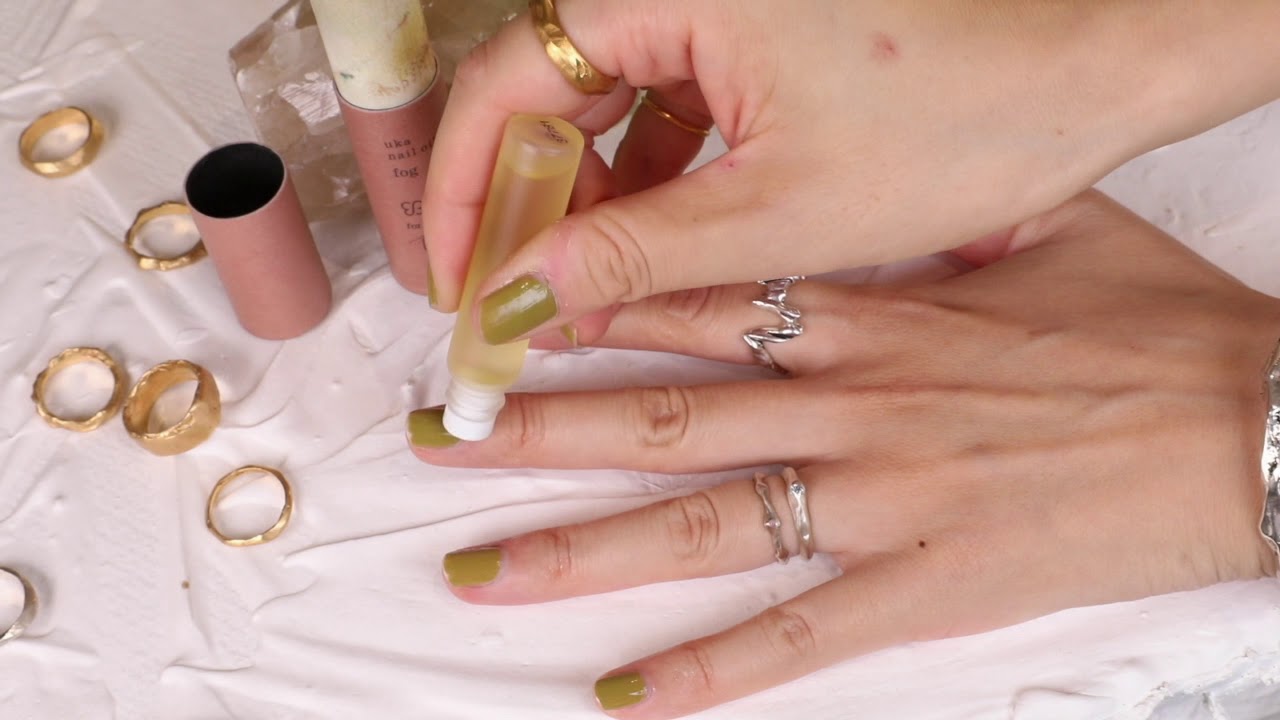
Ready to try your hand at "The Fog" nail art? Follow these steps for a flawless and professional-looking manicure: Step 1: Start by prepping your nails. File them into your desired shape and gently push back your cuticles. Step 2: Apply a base coat to protect your nails and help your manicure last longer. Step 3: Using a light grey polish, paint your nails and let them dry completely. Step 4: Using a makeup sponge, dab on a darker grey or black polish to create the fog effect. Start at the tip of your nail and dab upwards, gradually decreasing the amount of polish as you go up. Step 5: Using a fine brush or toothpick, create swirls and wisps in the fog using a white polish. This will add depth and dimension to the design. Step 6: Allow your nails to dry completely before sealing in your design with a top coat.6. "The Fog" Nail Art Step-by-Step Guide

6. "The Fog" Nail Art Step-by-Step Guide
The key to creating a stunning "The Fog" nail art design is to use different techniques to achieve the desired effect. From sponging to freehand painting, there are many ways to create the perfect foggy look on your nails. Experiment with different techniques and see which one works best for you. You may find that you prefer one over the others, or a combination of techniques for a truly unique and beautiful manicure.7. "The Fog" Nail Art Techniques


7. "The Fog" Nail Art Techniques


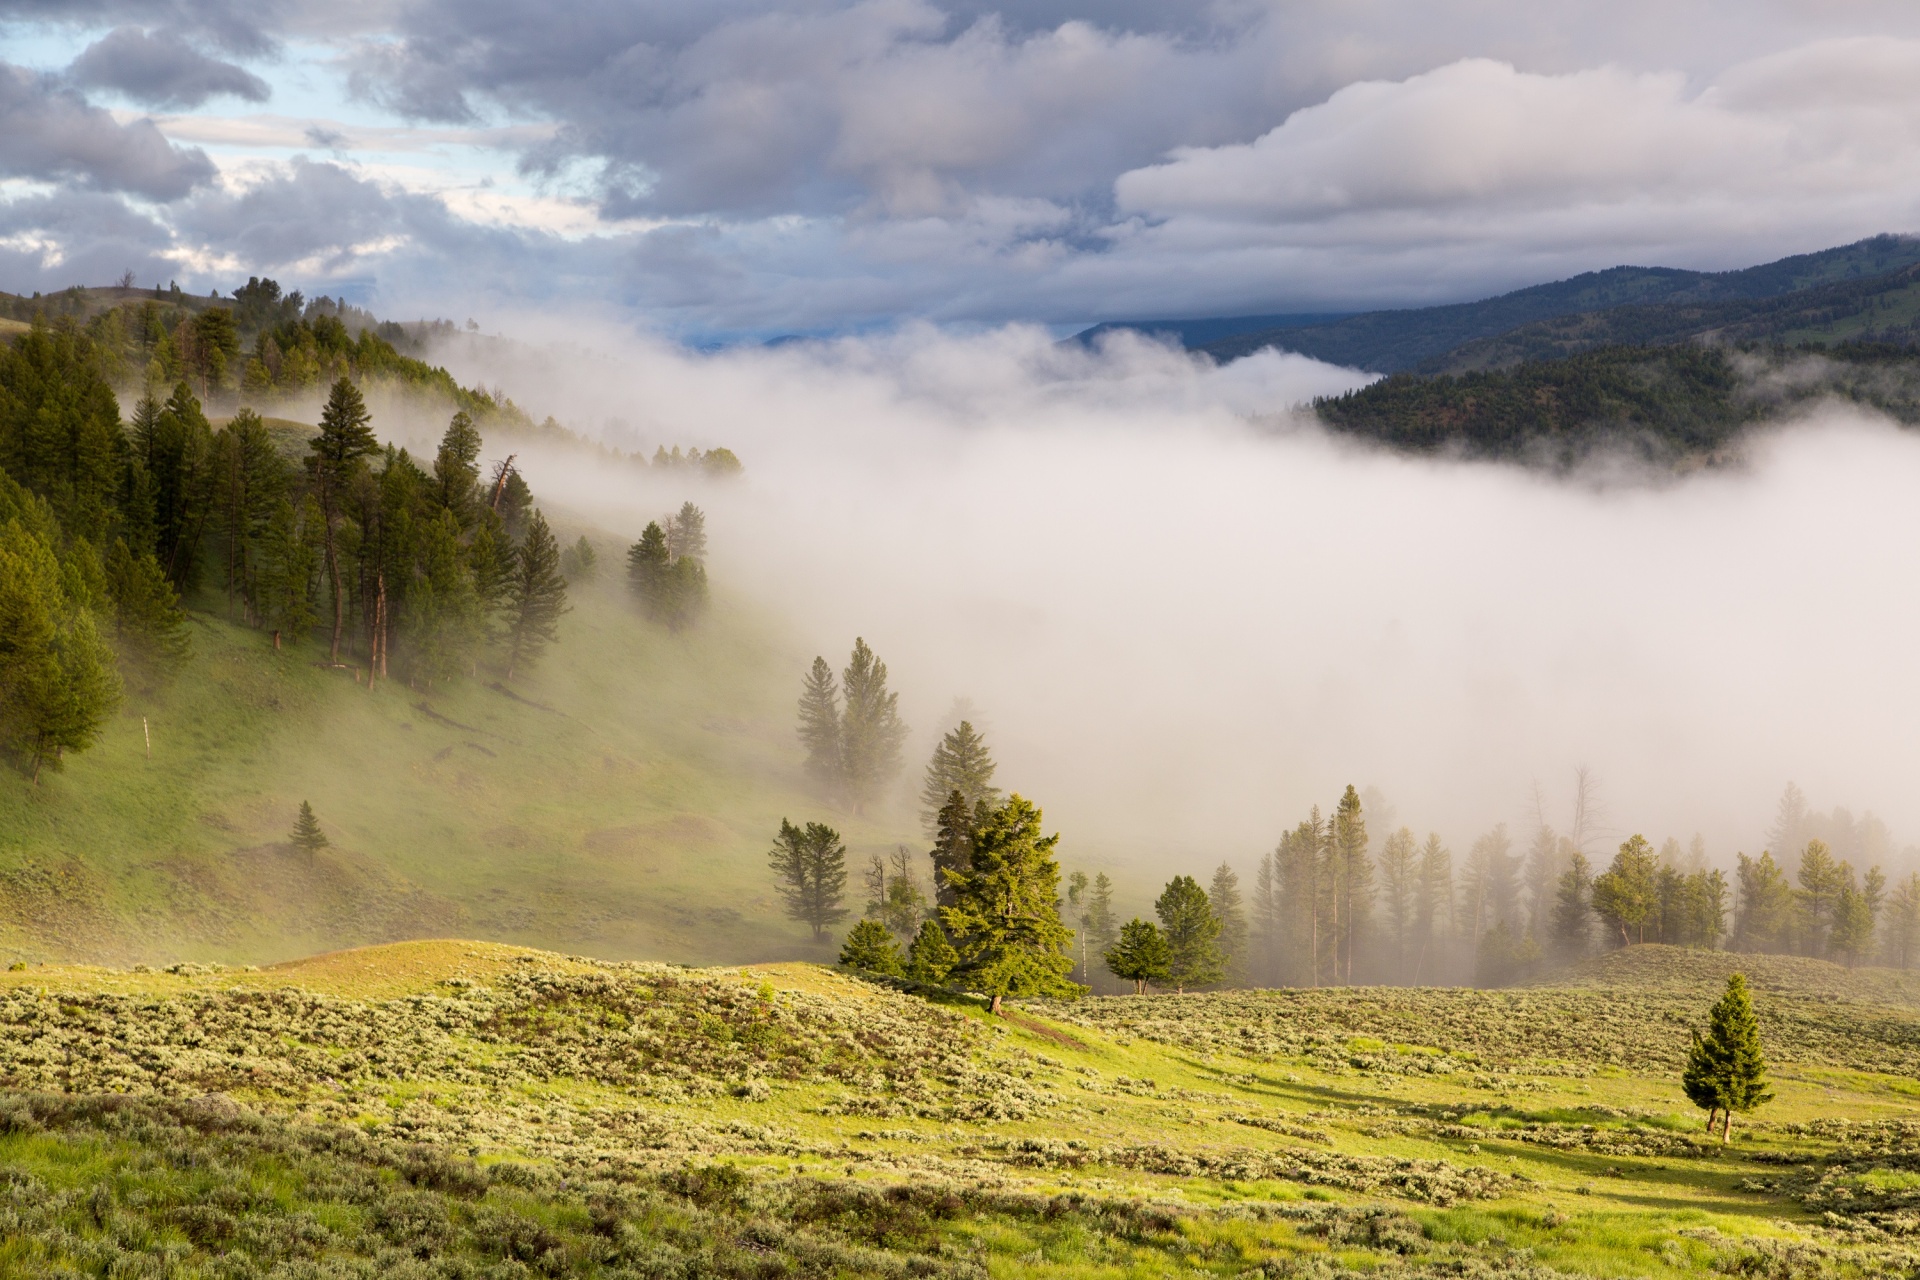
Need some inspiration for your next "The Fog" nail art design? Look to nature for ideas. Take a walk on a foggy morning and pay attention to the colors and textures of the fog. You may be surprised at the beauty and inspiration you can find in something as simple as foggy weather. You can also search for "The Fog" nail art on social media platforms like Instagram and Pinterest for more ideas and inspiration from other nail artists.8. "The Fog" Nail Art Inspiration


8. "The Fog" Nail Art Inspiration


Nail art trends come and go, but "The Fog" nail art is here to stay. This design is versatile and can be adapted to fit any season or occasion, making it a timeless and classic nail art trend. Don't be afraid to try new techniques or add your own personal touch to this design to keep it fresh and on-trend.9. "The Fog" Nail Art Trends

9. "The Fog" Nail Art Trends

To achieve the perfect "The Fog" nail art, you'll need a few key products and supplies: Base coat: This will help protect your nails and create a smooth base for your design. Light grey polish: This will serve as the base color for your design. Dark grey or black polish: This will be used to create the fog effect. White polish: This will be used to add highlights and depth to your design. Makeup sponge: This will be used to create the fog effect. Fine brush or toothpick: This will be used to create swirls and wisps in the fog. Top coat: This will seal in your design and give your nails a glossy finish.10. "The Fog" Nail Art Products and Supplies
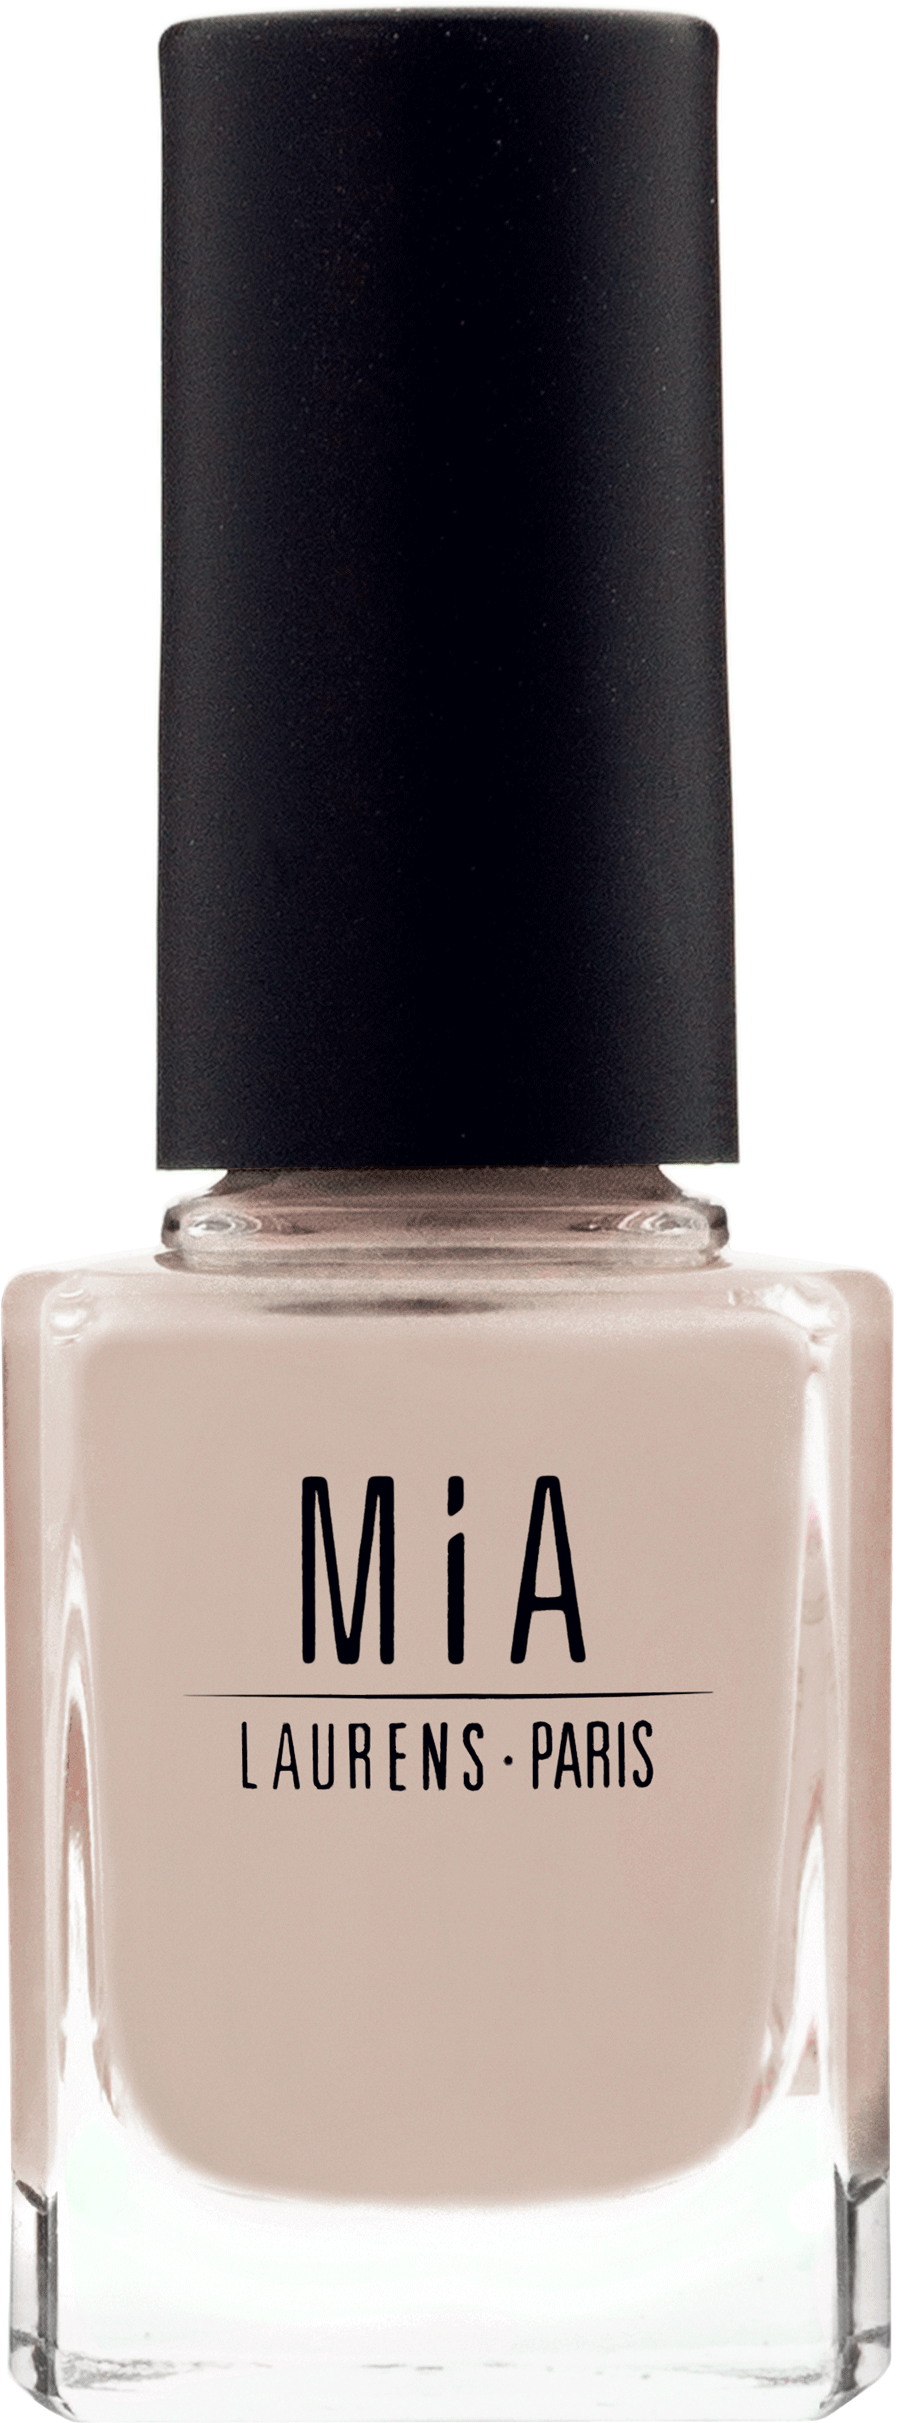

10. "The Fog" Nail Art Products and Supplies


The Beauty of Fog Nail Art: A Unique Addition to Your House Design

What is Fog Nail Art?
 Fog nail art is a trendy and innovative way to add a touch of beauty and uniqueness to your house design. It involves creating a fog-like effect on your nails, mimicking the mysterious and ethereal appearance of fog. This unique style is created by using a combination of nail polish, water, and a special top coat to achieve the desired effect. The end result is a mesmerizing and dreamy look that will surely catch the attention of anyone who sees it.
Why Should You Consider Incorporating Fog Nail Art into Your House Design?
 Fog nail art is not just a passing trend, but a timeless and versatile addition to any house design. It offers a wide range of possibilities and can be customized to suit any style or theme. Whether you prefer a minimalist and modern look, or a more whimsical and bohemian vibe, fog nail art can easily be incorporated to complement your overall house design. It is also a great way to add a pop of color and texture to your space without being too overpowering.
How to Incorporate Fog Nail Art into Your House Design?
 The best thing about fog nail art is its versatility and flexibility in design. You can choose to have a full set of fog nails, or just add accents to a few nails for a subtle but impactful look. It can also be incorporated into different areas of your house, such as your walls, furniture, or decor pieces. You can even create a DIY fog nail art project to add a personal touch to your house design.
The Benefits of Using Fog Nail Art in Your House Design
 Apart from its aesthetic appeal, fog nail art also offers practical benefits for your house design. It is a cost-effective way to add a unique and eye-catching element to your space. It can also help create an illusion of depth and dimension, making your space appear bigger and more dynamic. Additionally, fog nail art is easy to maintain and can last for weeks, making it a long-lasting and low-maintenance addition to your house design.
In conclusion,
fog nail art is a beautiful and innovative way to add a touch of creativity and personality to your house design. Its versatility, practicality, and unique aesthetic make it a must-try for anyone looking to elevate their space. So why not give fog nail art a try and see how it can transform your house into a dreamy and enchanting haven.
Apart from its aesthetic appeal, fog nail art also offers practical benefits for your house design. It is a cost-effective way to add a unique and eye-catching element to your space. It can also help create an illusion of depth and dimension, making your space appear bigger and more dynamic. Additionally, fog nail art is easy to maintain and can last for weeks, making it a long-lasting and low-maintenance addition to your house design.
In conclusion,
fog nail art is a beautiful and innovative way to add a touch of creativity and personality to your house design. Its versatility, practicality, and unique aesthetic make it a must-try for anyone looking to elevate their space. So why not give fog nail art a try and see how it can transform your house into a dreamy and enchanting haven.


