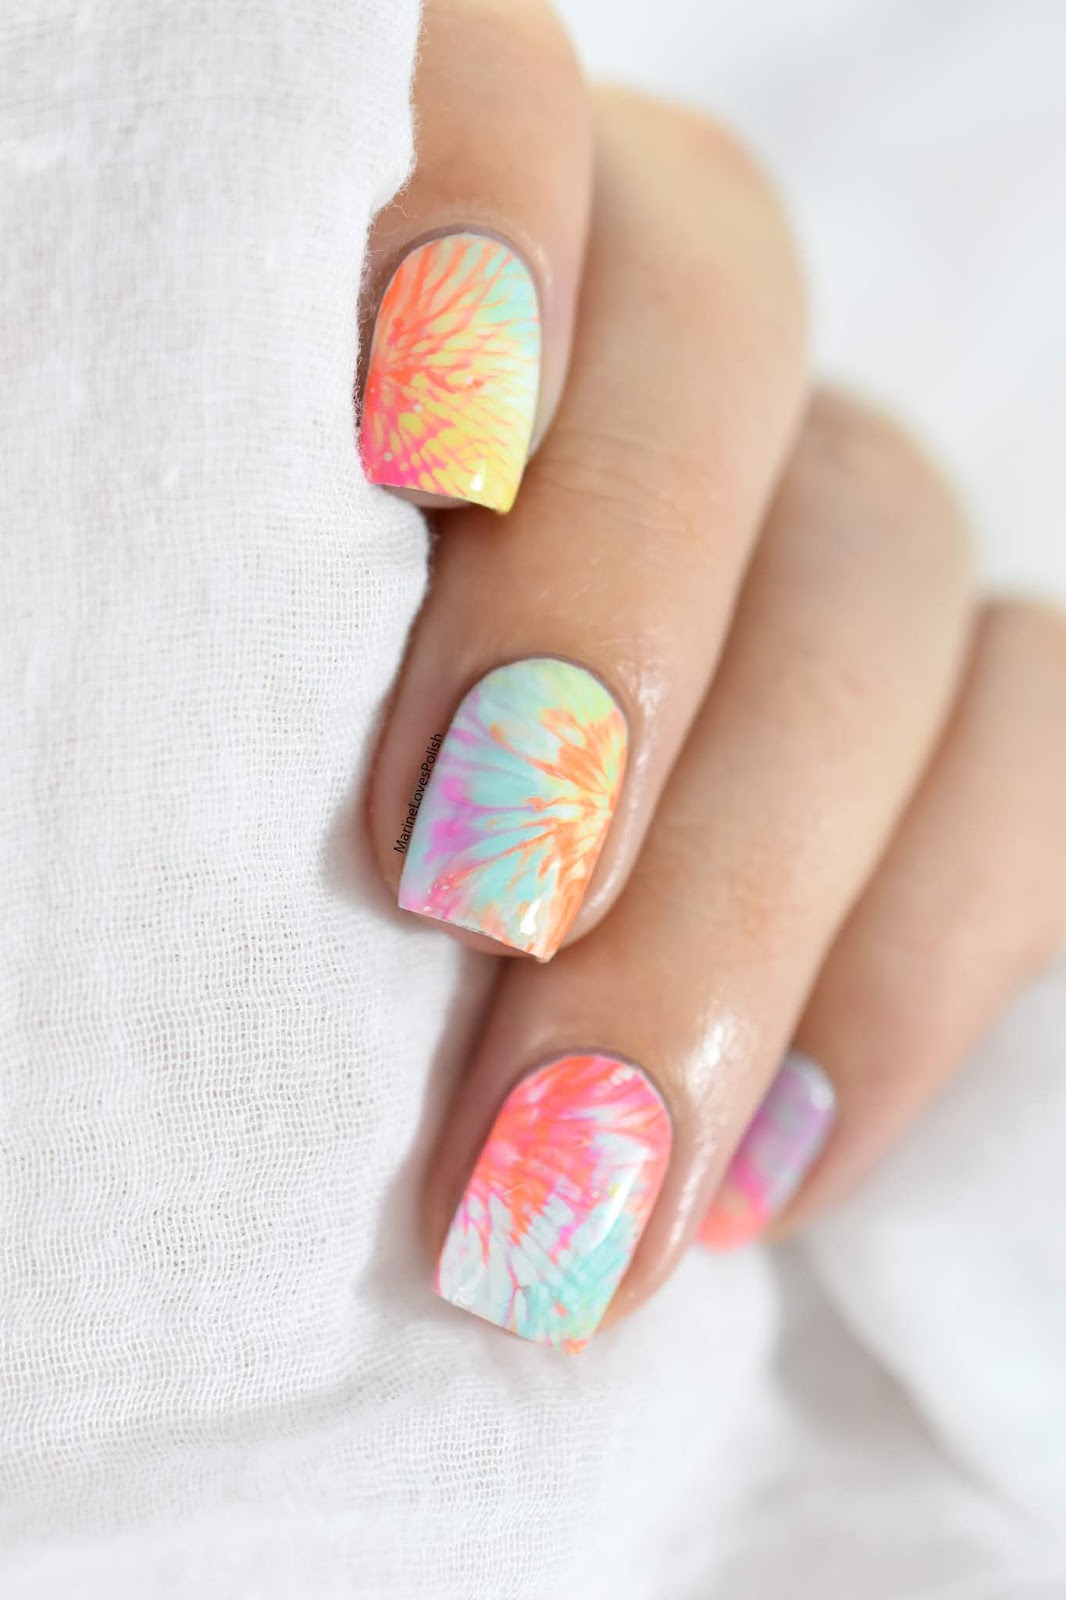
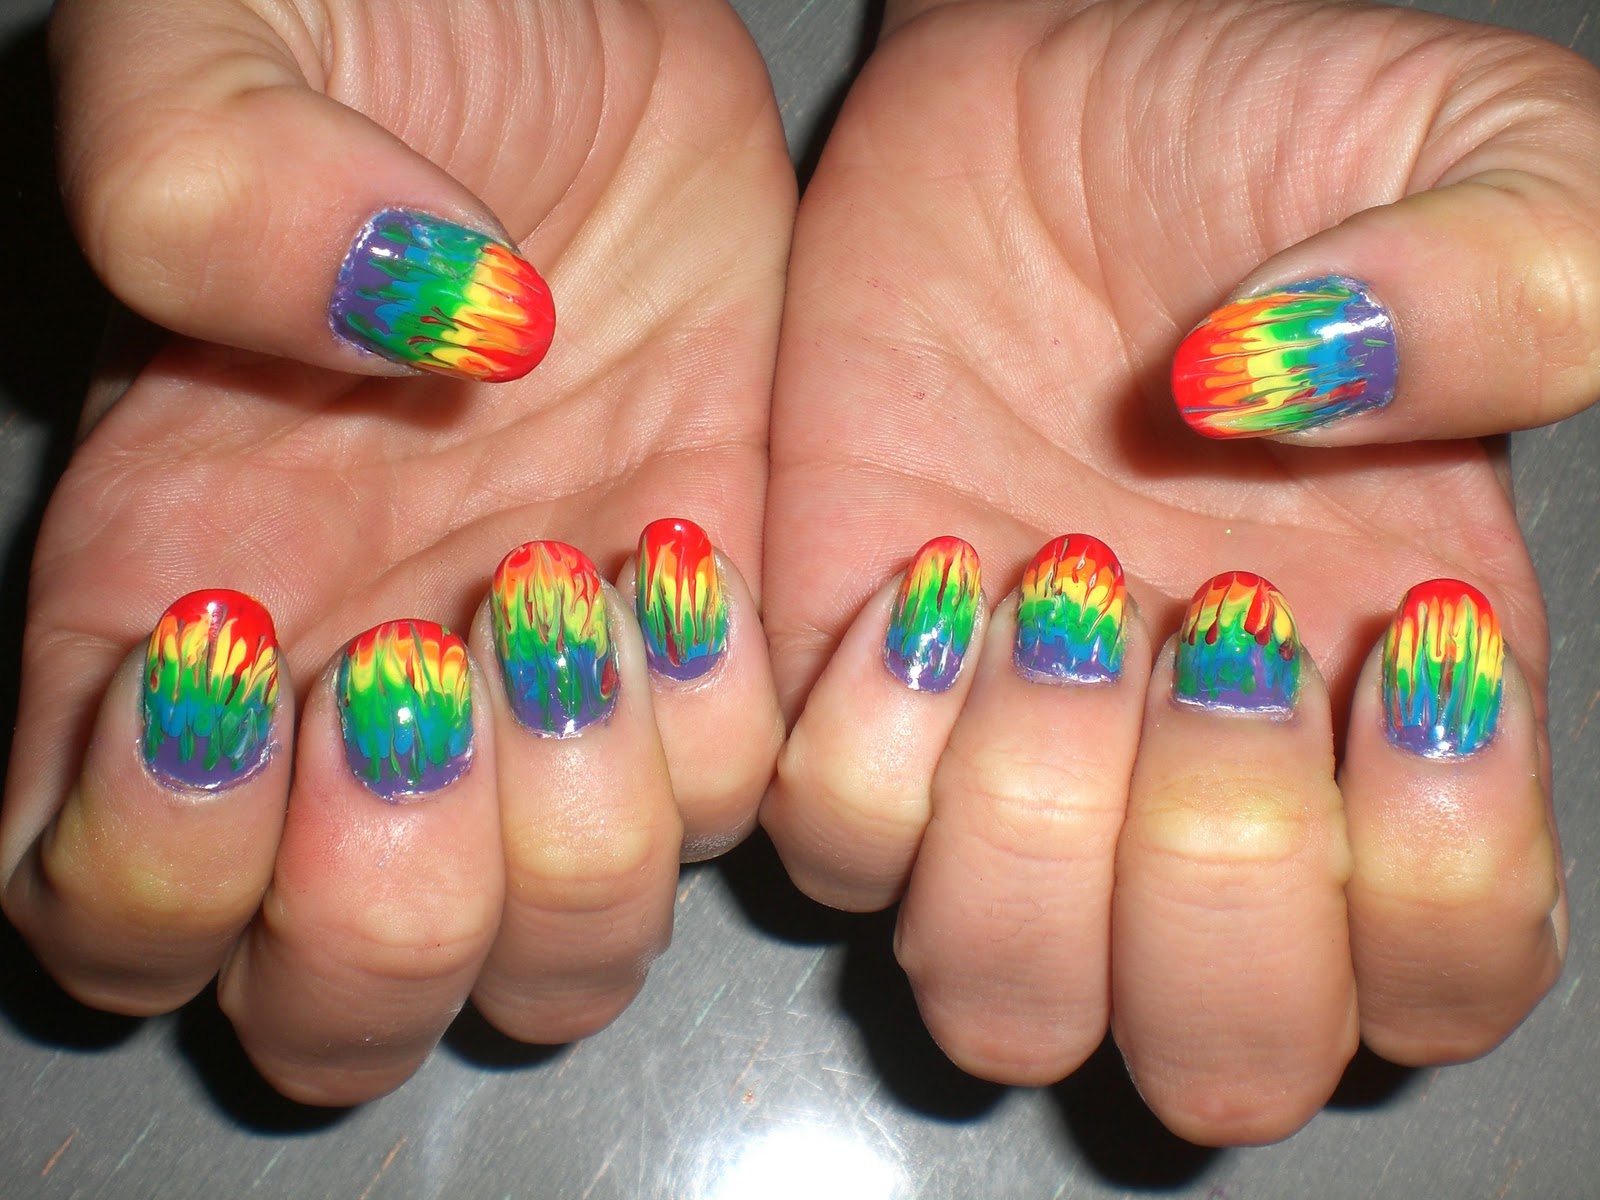
If you're looking to add some funky and colorful vibes to your nails, tie dye nail art with gel polish is the way to go! Not only is this design fun and eye-catching, but it also lasts longer thanks to the durability of gel polish. Here's a step-by-step tutorial to achieve this trendy look. To begin, start with clean and prepped nails. Apply a base coat and cure it under a UV or LED light. This will create a smooth base for the gel polish to adhere to and also protect your natural nails. Next, apply a white gel polish as your base color. This will help the tie dye colors pop and create a vibrant contrast. Cure the white polish under the light. Now comes the fun part - creating the tie dye effect! Choose a few colors of gel polish that you want to use for your design. You can use a toothpick or a small brush to dab the colors onto your nails in a random pattern. Be sure to blend the colors together for a seamless tie dye look. Cure the colors under the light. For an extra touch, you can also use a thin brush to add some lines or swirls to the design. This will give your tie dye nails more dimension and detail. Cure the final design under the light. Finish off with a layer of top coat to seal in your design and give it a glossy finish. Cure the top coat under the light and then use a nail cleanser to remove any sticky residue. And there you have it, a gorgeous tie dye nail art look that will last for weeks! Feel free to experiment with different color combinations and patterns to create your own unique tie dye designs.1. Tie Dye Nail Art Tutorial with Gel Polish


1. Tie Dye Nail Art Tutorial with Gel Polish


If you're new to the world of gel polish and want to try out the tie dye trend, don't worry, it's easier than you think! Here's a simple guide on how to create a tie dye effect with gel polish. Start with clean, prepped nails and apply a base coat to protect your natural nails. Cure the base coat under a UV or LED light. Next, choose your base color. This can be a solid color or a light shade that will help the tie dye colors stand out. Apply the base color and cure it under the light. Now comes the fun part - creating the tie dye effect! You can use a toothpick, small brush, or even a sponge to dab the colors onto your nails in a random pattern. Be sure to blend the colors together for a seamless look. Cure the colors under the light. For a more intricate design, you can also use a thin brush to add lines or swirls with different colors. Cure the final design under the light. Finish off with a layer of top coat to seal in your design and give it a glossy finish. Cure the top coat under the light and then use a nail cleanser to remove any sticky residue. With these simple steps, you can easily achieve a tie dye effect with gel polish. Don't be afraid to get creative and try out different color combinations and techniques!2. How to Create a Tie Dye Effect with Gel Polish


2. How to Create a Tie Dye Effect with Gel Polish
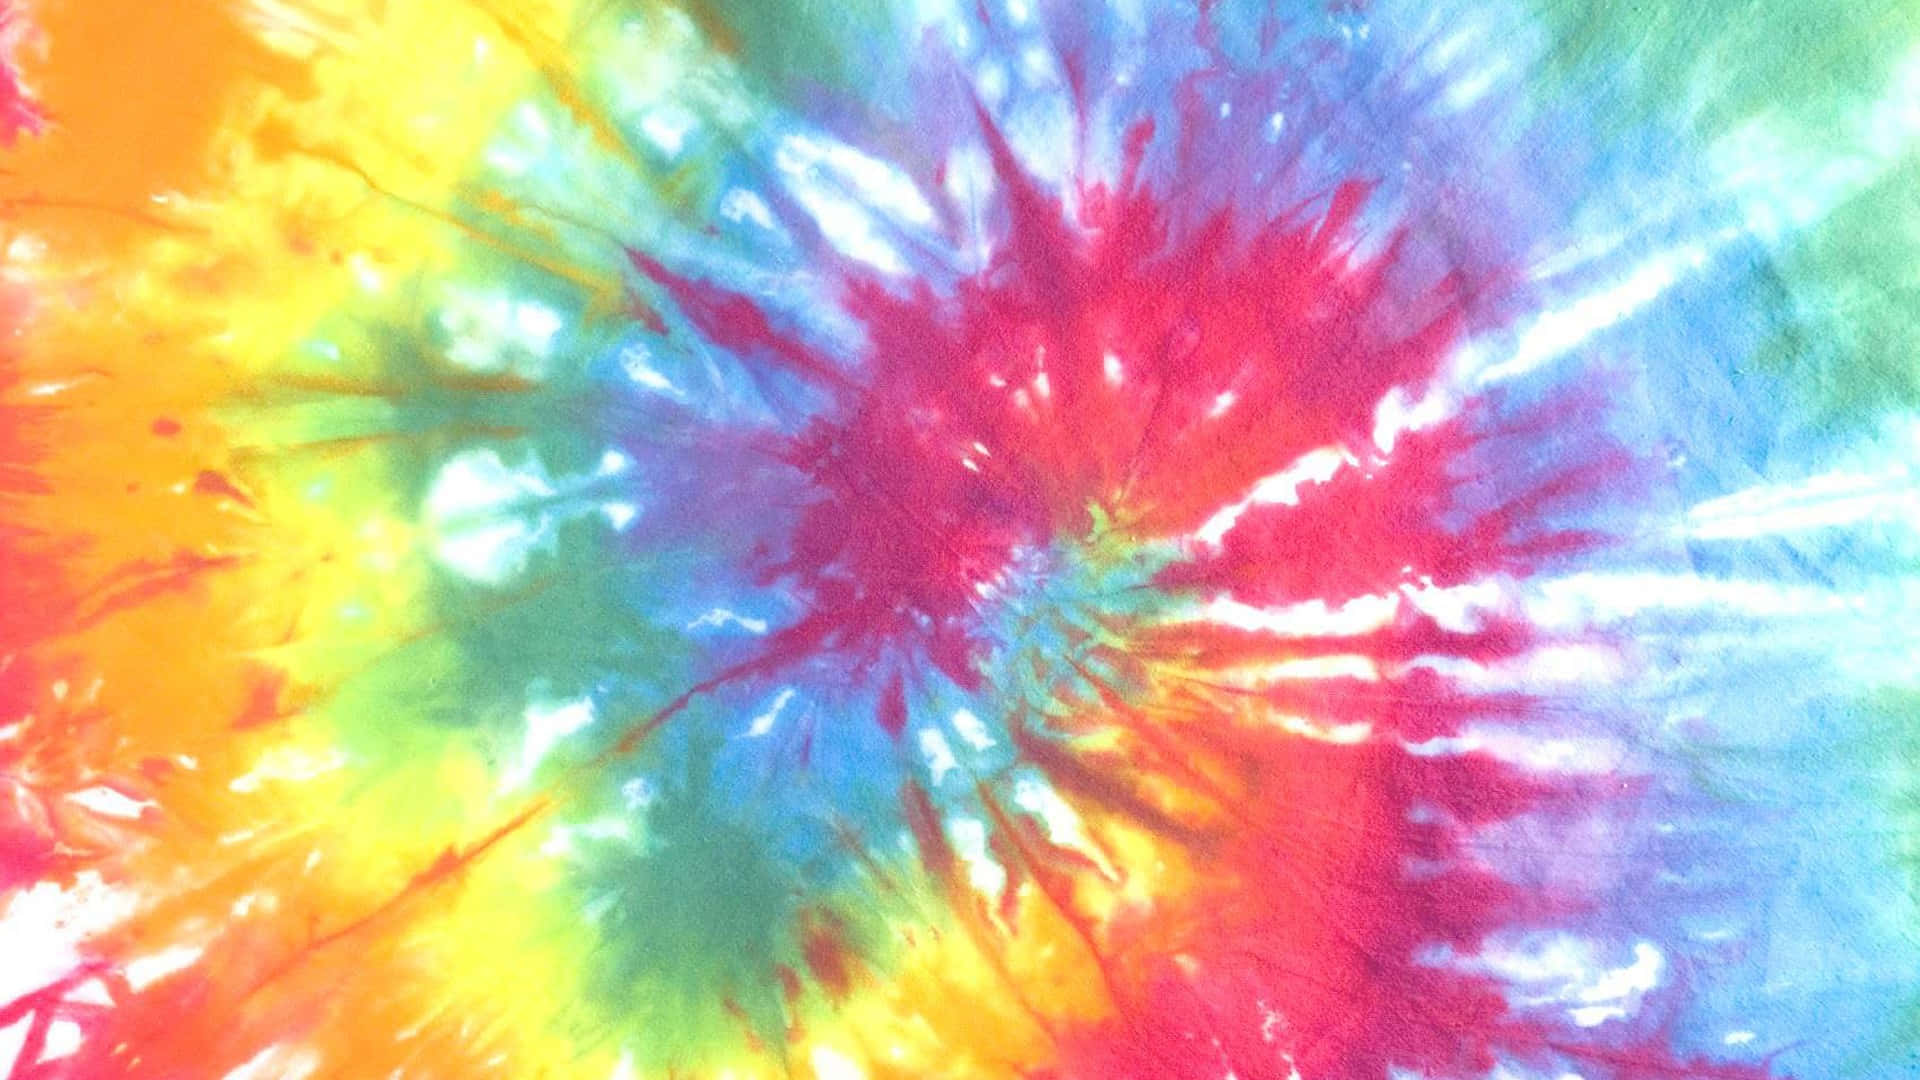
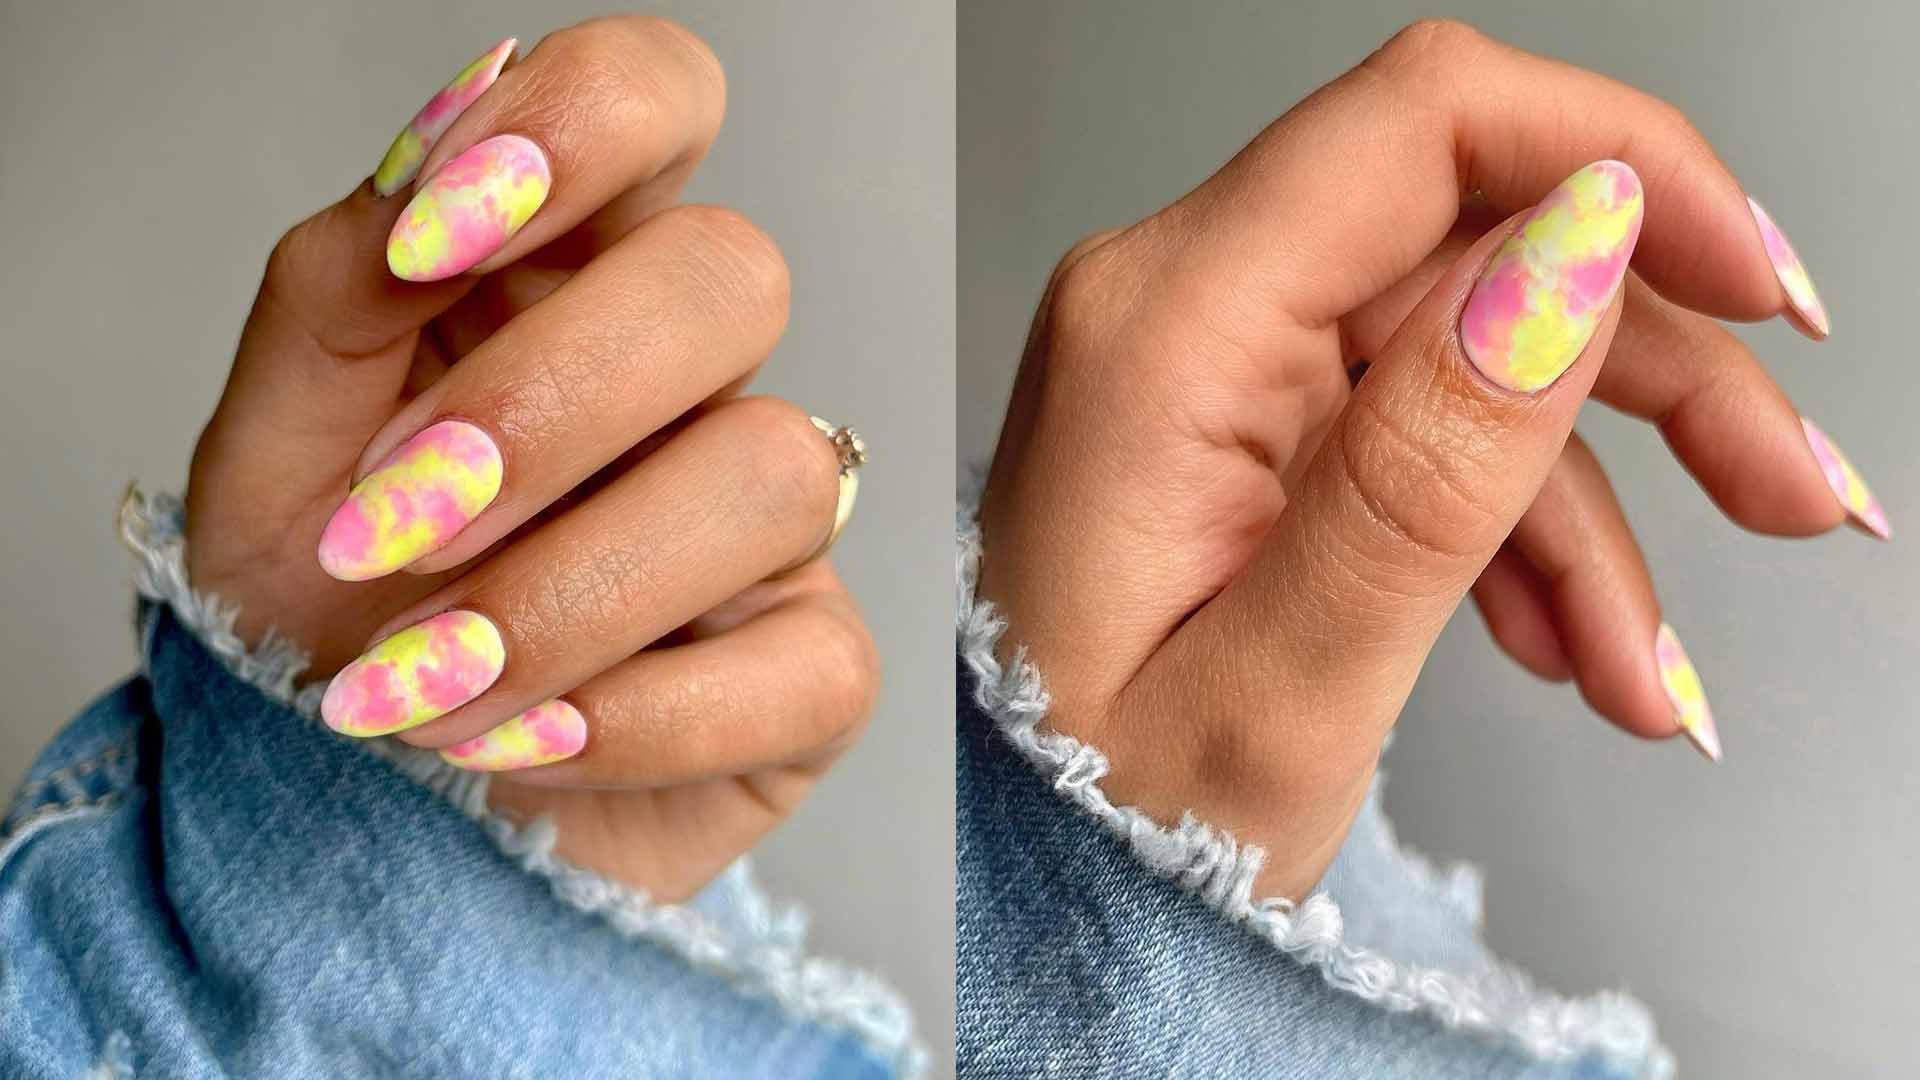
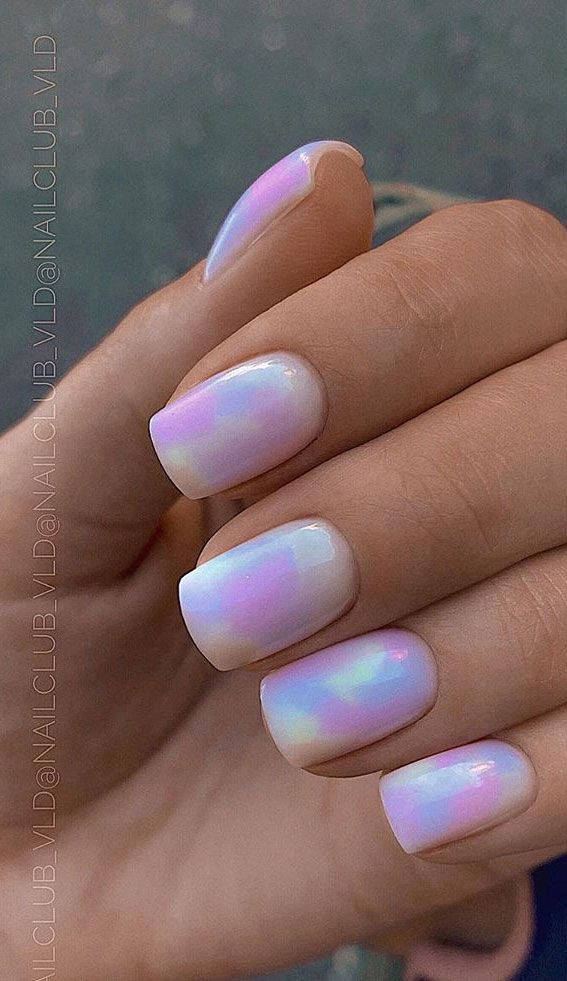
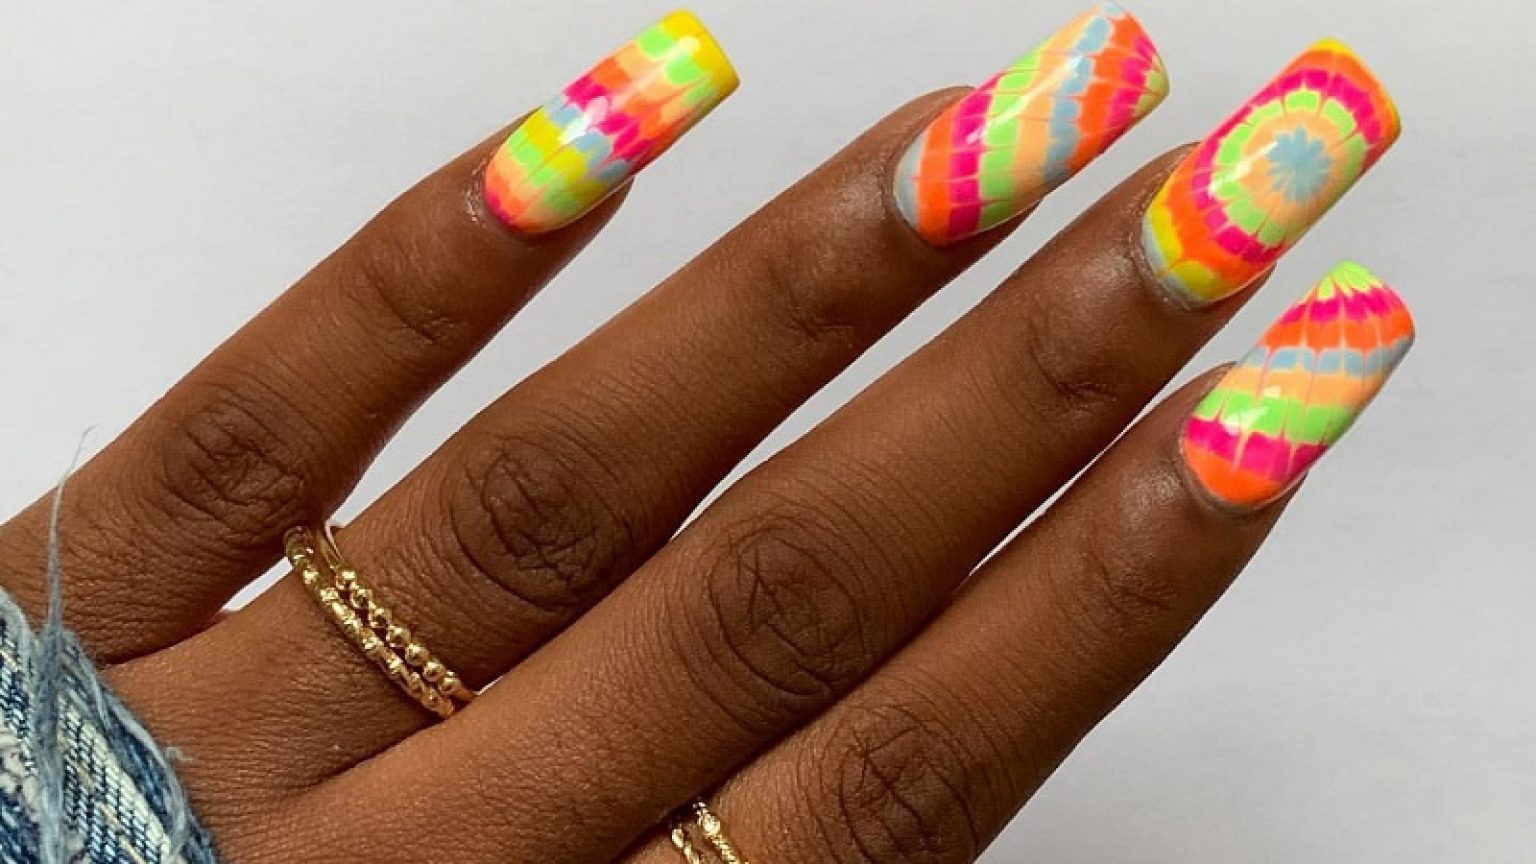
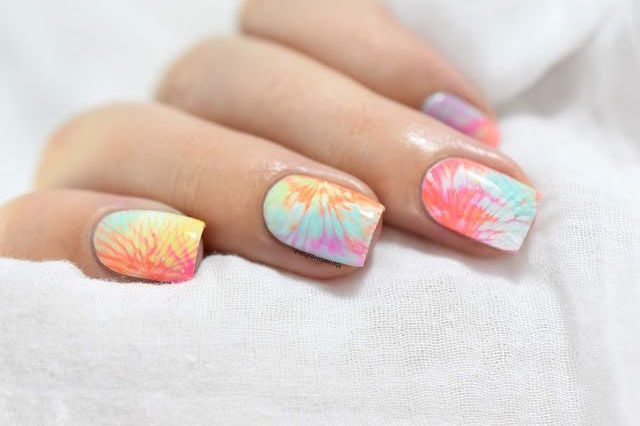
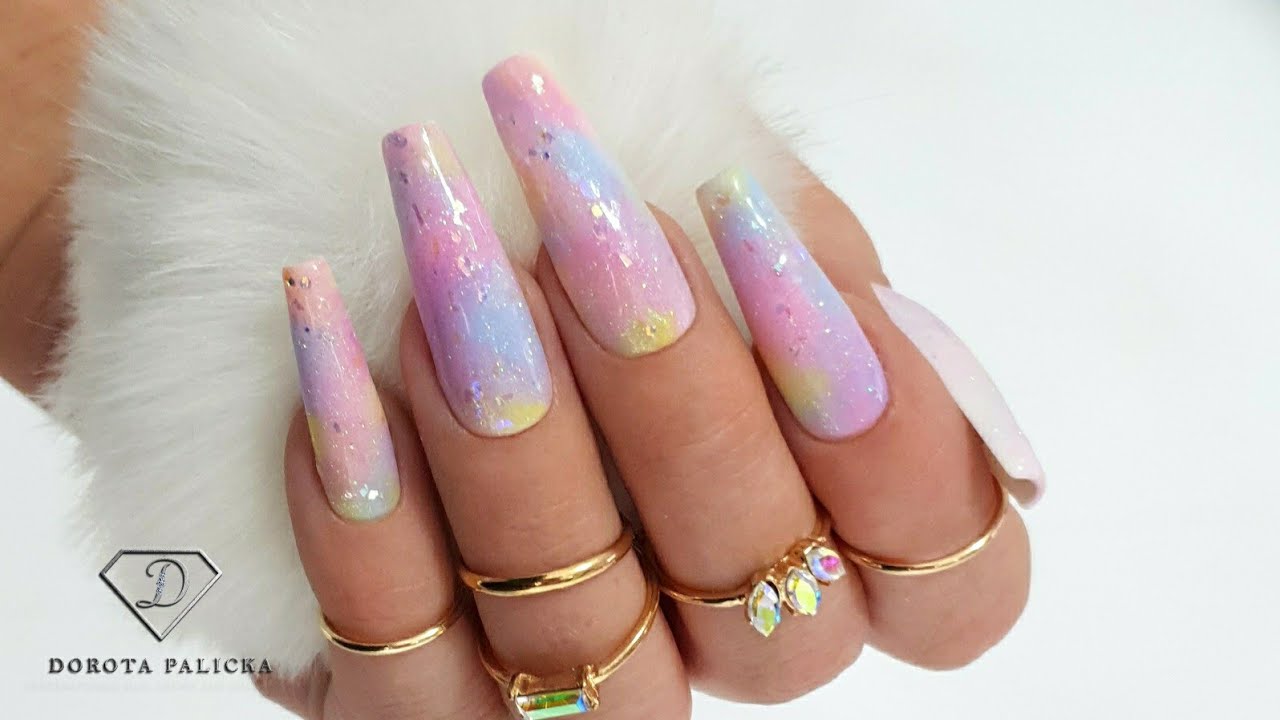
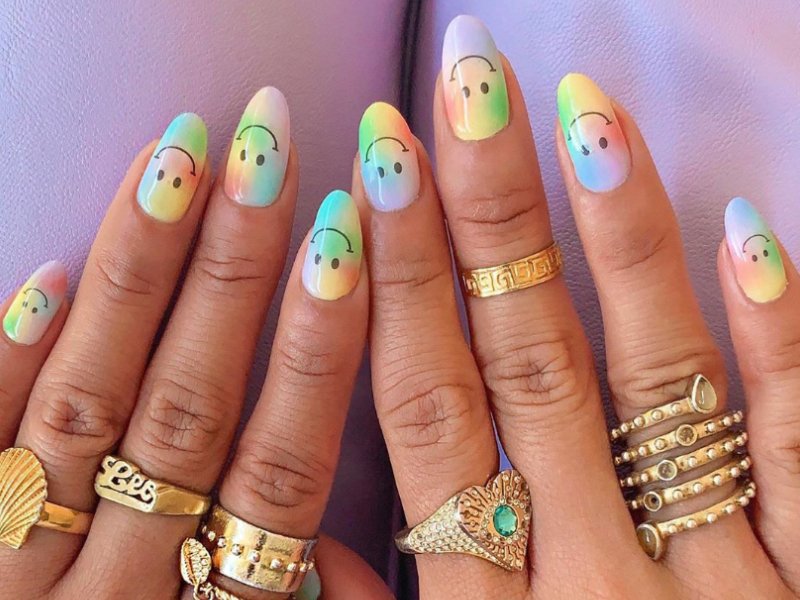
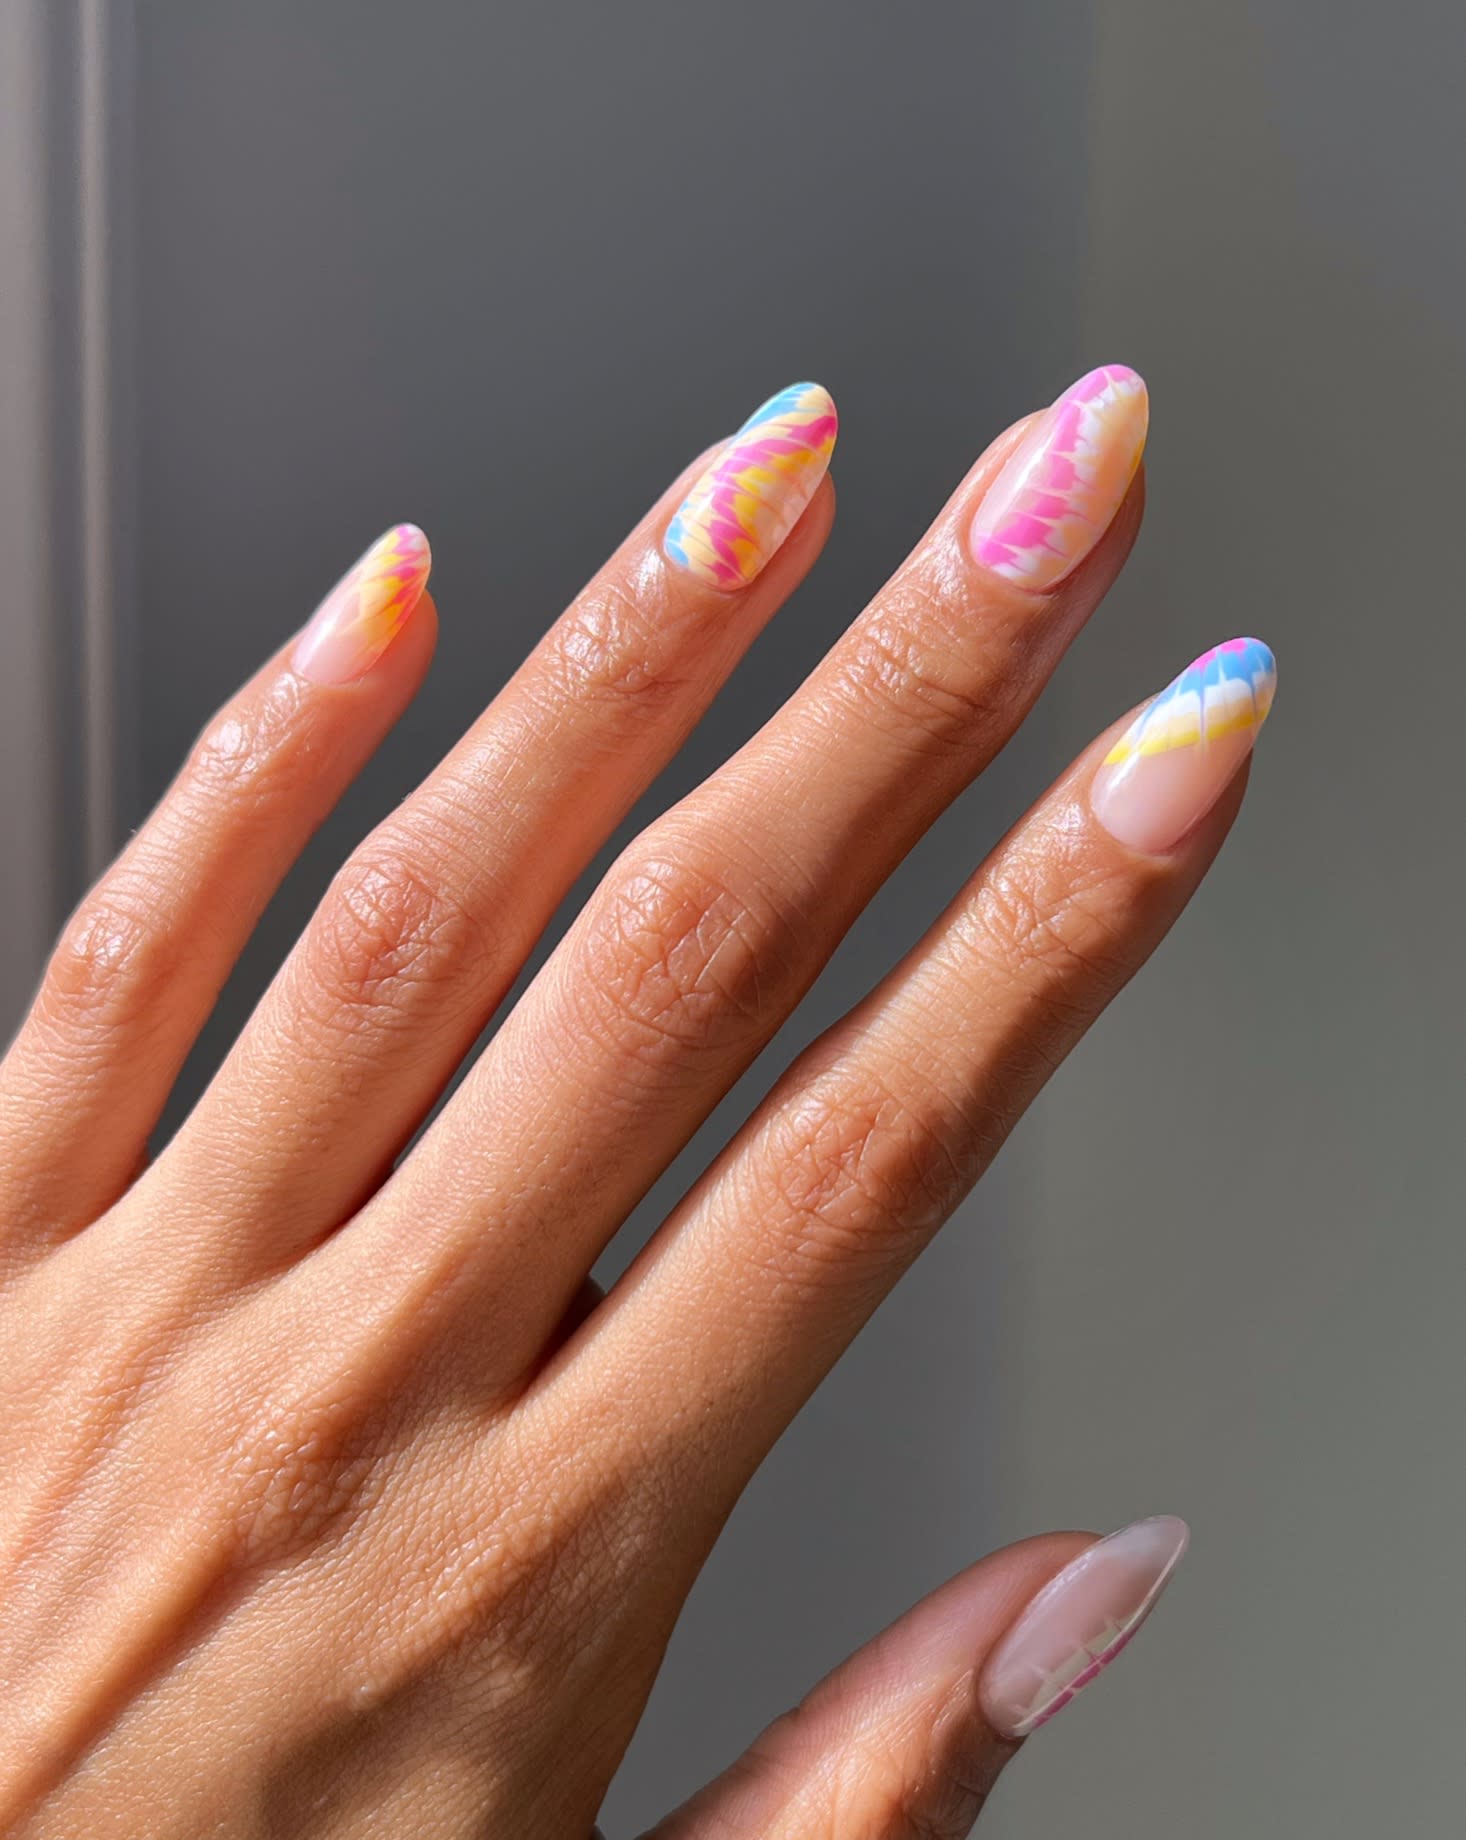
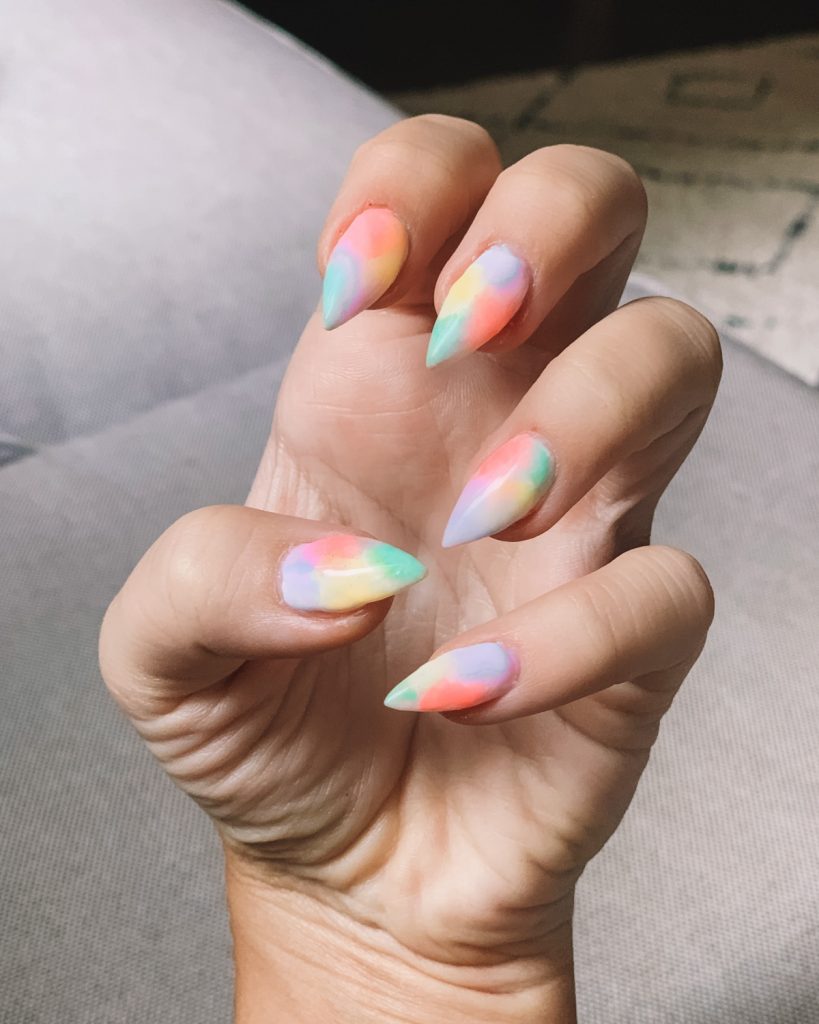
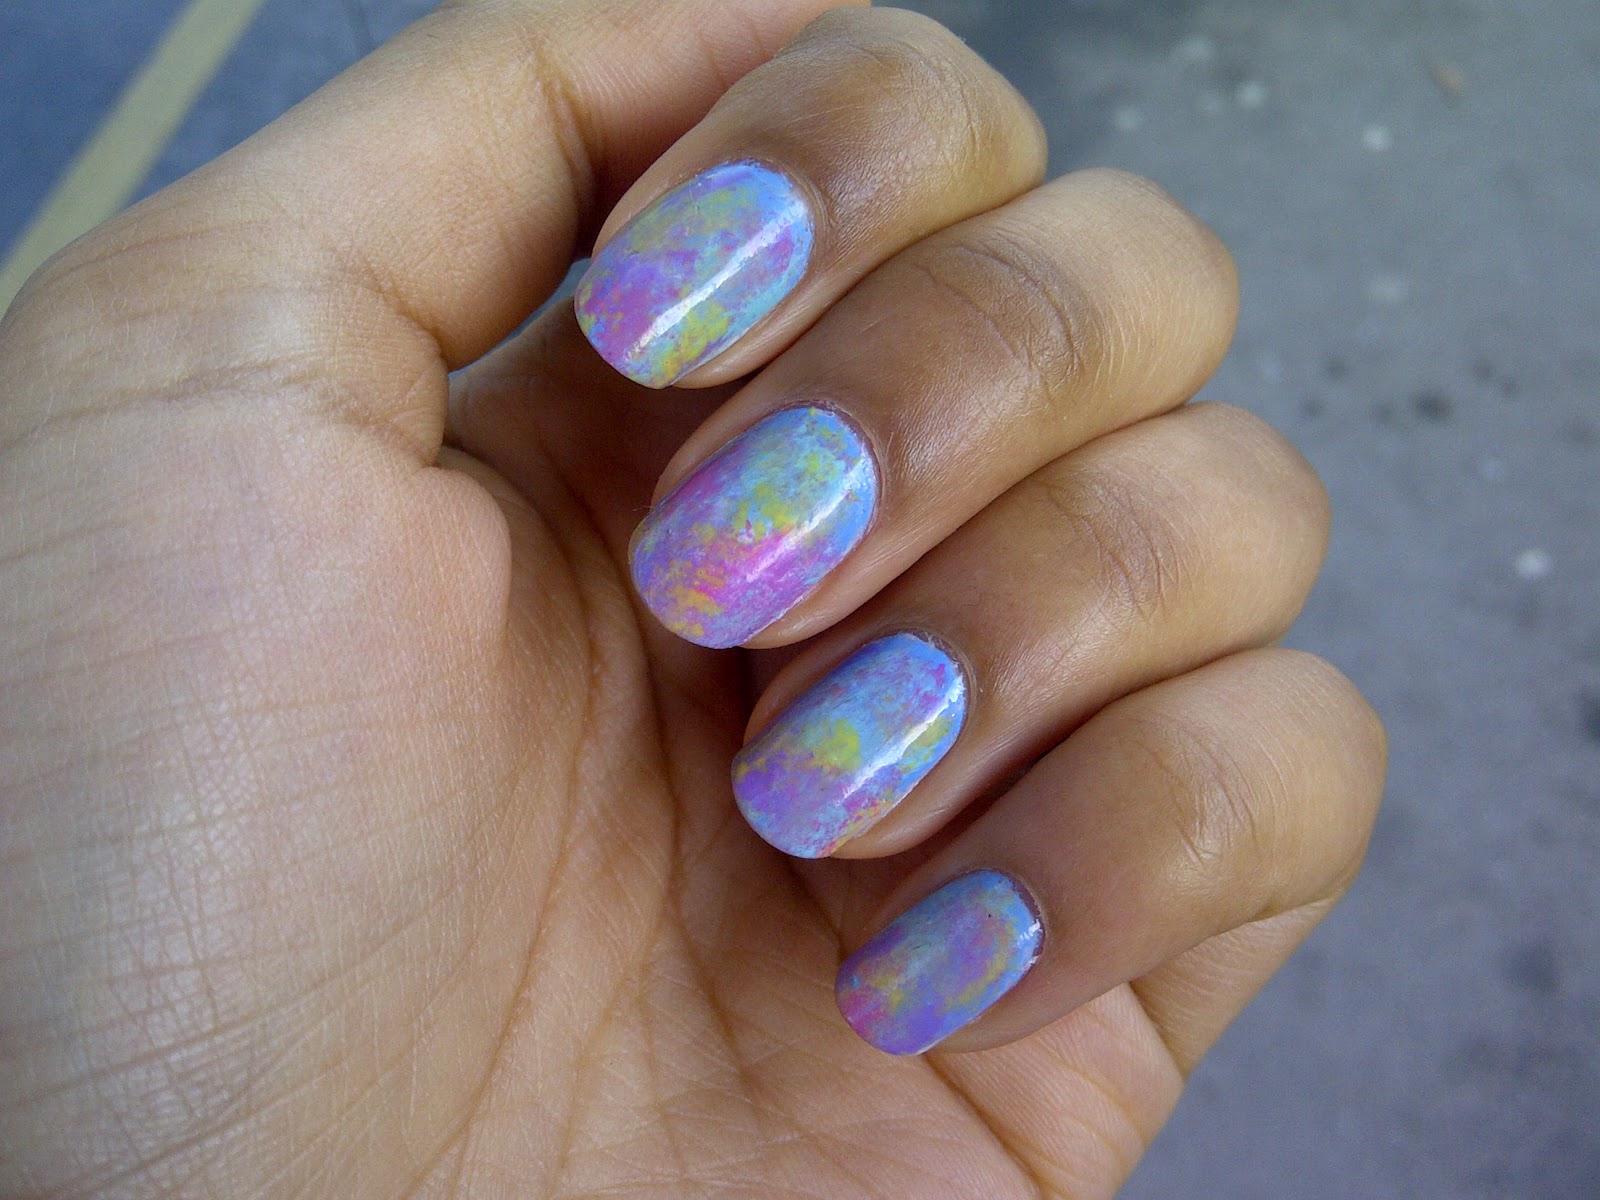
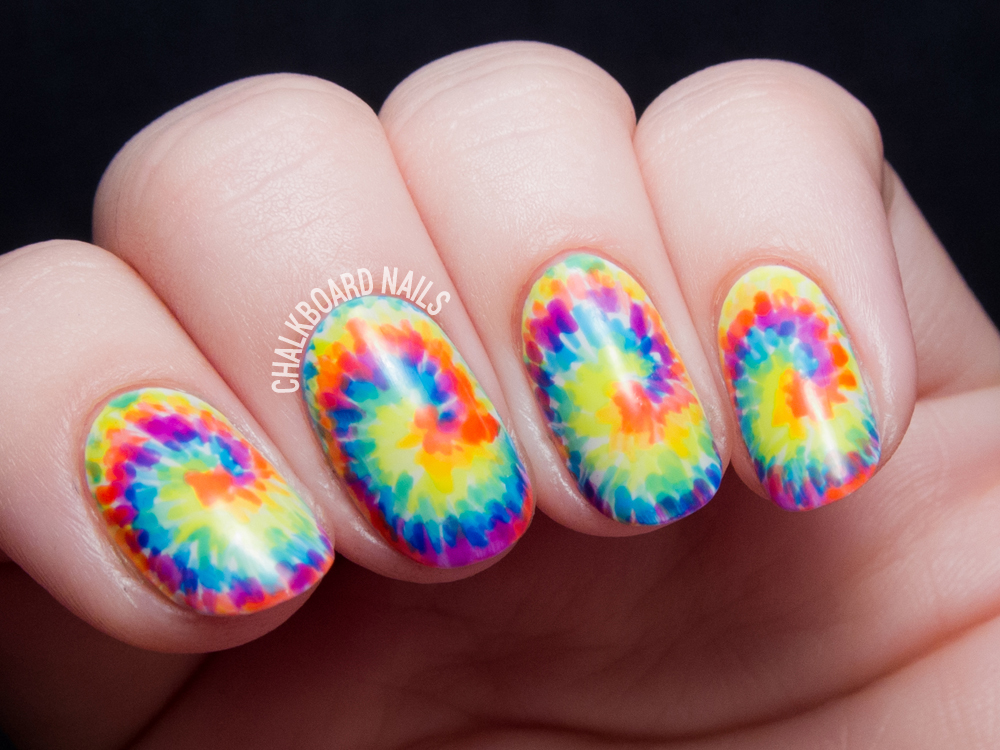
Tie dye nail art has become a popular trend, and it's not hard to see why! The vibrant colors and unique patterns make for a fun and eye-catching design. Here are some tie dye nail designs using gel polish to inspire your next manicure. For a classic tie dye look, opt for a rainbow color palette. You can use a different color for each nail or create a gradient effect by using different shades of the same color on each nail. If you want a more subtle tie dye design, try a pastel color scheme. This will give your nails a softer and more delicate look, perfect for the spring season. For a bold and edgy tie dye design, you can even incorporate black or metallic colors. This will add a unique twist to the traditional tie dye look and give your nails a more dramatic effect. Don't be afraid to experiment with different color combinations and techniques to create your own personalized tie dye nail designs. With gel polish, your manicure will last longer and look more vibrant!3. Tie Dye Nail Designs Using Gel Polish


3. Tie Dye Nail Designs Using Gel Polish


If you're new to gel polish or nail art in general, creating a tie dye design may seem intimidating. But fear not, here's a step-by-step guide on how to achieve gel polish tie dye nails. Start with clean and prepped nails. Apply a base coat and cure it under a UV or LED light. This will create a smooth base for the gel polish to adhere to and protect your natural nails. Next, choose your base color and apply it to your nails. Cure the base color under the light. Now comes the fun part - creating the tie dye effect! You can use a toothpick, small brush, or even a sponge to dab the colors onto your nails in a random pattern. Be sure to blend the colors together for a seamless look. Cure the colors under the light. For a more intricate design, you can also use a thin brush to add lines or swirls with different colors. Cure the final design under the light. Finish off with a layer of top coat to seal in your design and give it a glossy finish. Cure the top coat under the light and then use a nail cleanser to remove any sticky residue. With these simple steps, you can easily achieve gel polish tie dye nails. Don't be afraid to get creative and try out different color combinations and techniques!4. Gel Polish Tie Dye Nails Step by Step


4. Gel Polish Tie Dye Nails Step by Step


If you're short on time but still want to rock a trendy tie dye manicure, don't worry, there's an easy way to achieve it with gel polish! Here's a quick tutorial on how to create easy tie dye nail art with gel polish. Start with clean and prepped nails. Apply a base coat and cure it under a UV or LED light. Then, apply a white gel polish as your base color and cure it under the light. Next, choose a few colors of gel polish and paint them directly onto a sponge. Dab the sponge onto your nails in a random pattern, making sure to blend the colors together. Cure the colors under the light. For an extra touch, you can use a thin brush to add some lines or swirls using the same colors. Cure the final design under the light. Finish off with a layer of top coat and cure it under the light. Use a nail cleanser to remove any sticky residue and reveal your easy and beautiful tie dye nail art!5. Easy Tie Dye Nail Art with Gel Polish


5. Easy Tie Dye Nail Art with Gel Polish

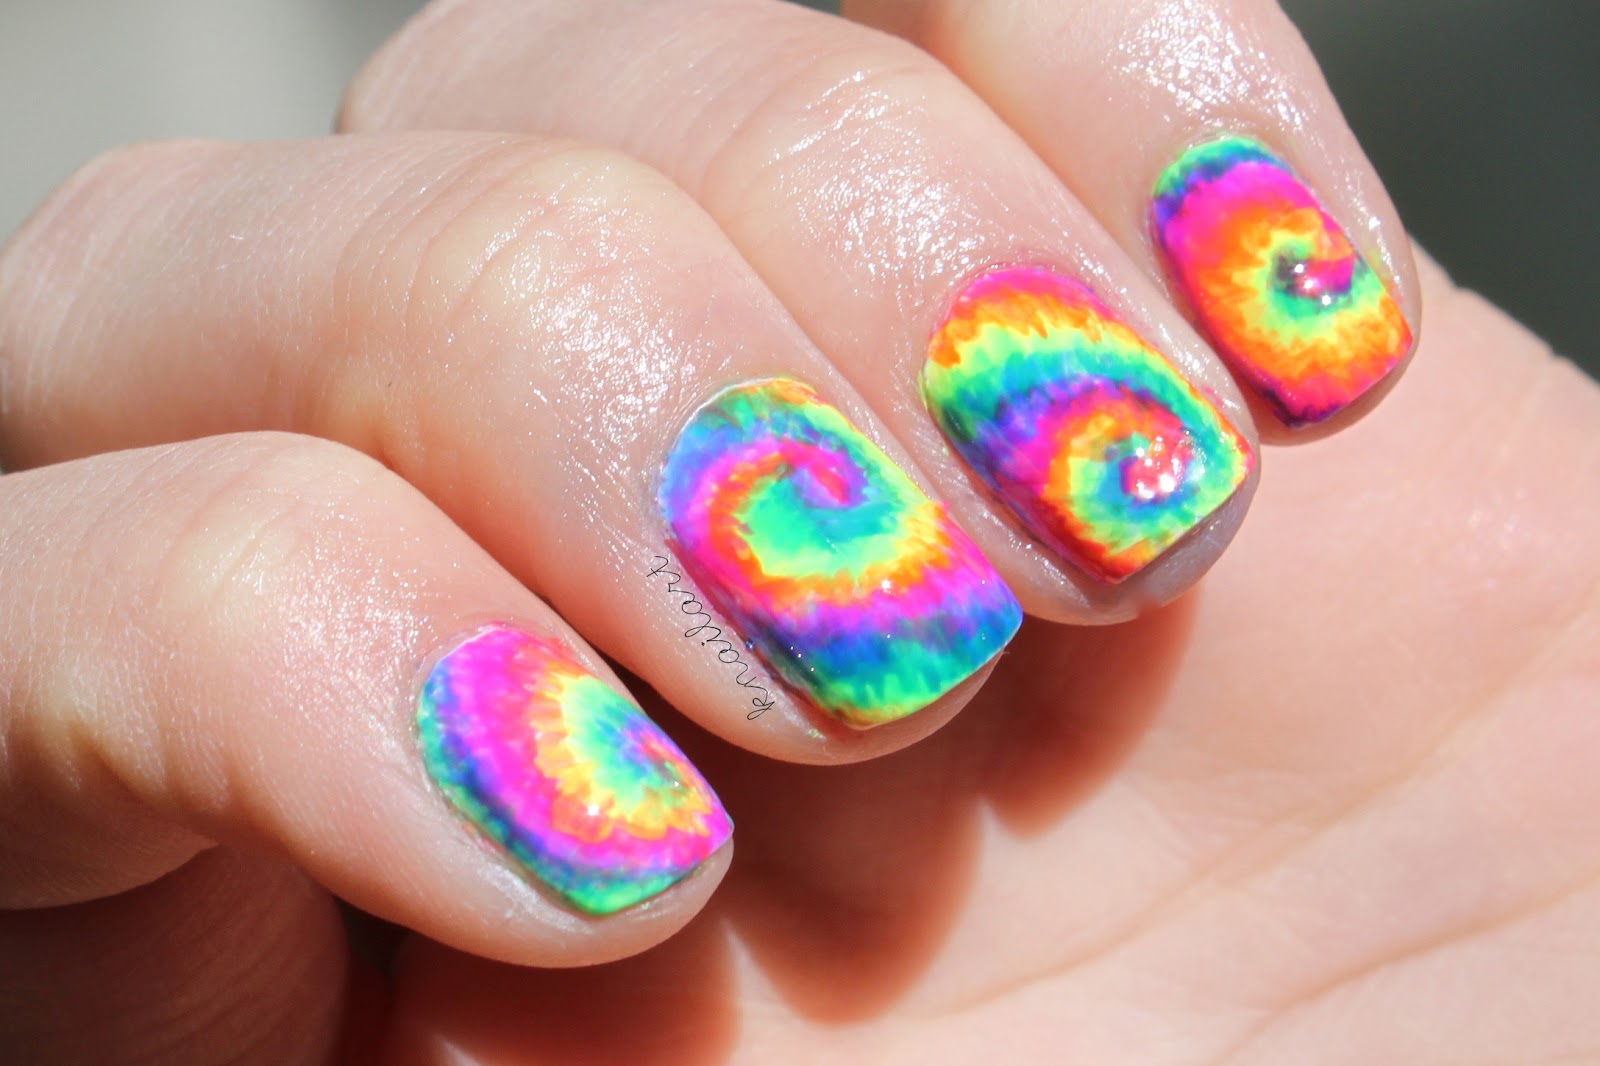
Believe it or not, you can create a tie dye effect on your nails using just gel polish and water! Here's how to achieve this unique and fun nail art design. Start with clean and prepped nails. Apply a base coat and cure it under a UV or LED light. Then, apply a white gel polish as your base color and cure it under the light. Next, choose a few colors of gel polish and drop them onto a small cup of water. Use a toothpick to swirl the colors together. Dip your fingers into the water, swirling them around to pick up the colors. Once your nails are covered in the tie dye design, remove your fingers from the water and cure the design under the light. Finish off with a layer of top coat and cure it under the light. Use a nail cleanser to remove any sticky residue and reveal your unique tie dye nails!6. Tie Dye Nail Art with Gel Polish and Water


6. Tie Dye Nail Art with Gel Polish and Water
If you don't have access to water or don't want to deal with the mess, you can still achieve a tie dye effect on your nails with gel polish. Here's how. Start with clean and prepped nails. Apply a base coat and cure it under a UV or LED light. Then, apply a white gel polish as your base color and cure it under the light. Next, choose a few colors of gel polish and dab them onto your nails in a random pattern. Be sure to blend the colors together for a seamless look. Cure the colors under the light. For an extra touch, you can use a thin brush to add some lines or swirls with different colors. Cure the final design under the light. Finish off with a layer of top coat and cure it under the light. Use a nail cleanser to remove any sticky residue and reveal your beautiful tie dye nails!7. Gel Polish Tie Dye Nails Without Water

7. Gel Polish Tie Dye Nails Without Water


Another easy way to create a tie dye effect on your nails is by using a sponge. This technique allows you to easily blend the colors together for a seamless and unique design. Start with clean and prepped nails. Apply a base coat and cure it under a UV or LED light. Then, apply a white gel polish as your base color and cure it under the light. Next, choose a few colors of gel polish and paint them directly onto a sponge. Dab the sponge onto your nails in a random pattern, making sure to blend the colors together. Cure the colors under the light. For an extra touch, you can use a thin brush to add some lines or swirls using the same colors. Cure the final design under the light. Finish off with a layer of top coat and cure it under the light. Use a nail cleanser to remove any sticky residue and reveal your beautiful tie dye nails!8. Tie Dye Nail Art with Gel Polish and Sponge
8. Tie Dye Nail Art with Gel Polish and Sponge


If you want to add some texture to your tie dye nails, try using plastic wrap to create a unique and abstract design. Start with clean and prepped nails. Apply a base coat and cure it under a UV or LED light. Then, apply a white gel polish as your base color and cure it under the light.9. Gel Polish Tie Dye Nails with Plastic Wrap
9. Gel Polish Tie Dye Nails with Plastic Wrap

Tie Dye Nail Art with Gel Polish: A Fun and Creative Way to Express Yourself
Unleash Your Inner Artist
 Looking for a new and exciting way to spice up your nail game? Look no further than tie dye nail art with gel polish. This trend has taken the nail world by storm, with its colorful and abstract designs that are perfect for any occasion. With gel polish, you can achieve a long-lasting and professional finish that will make your tie dye nails stand out from the crowd. So, why settle for plain nails when you can unleash your inner artist with this fun and creative technique?
How to Achieve the Perfect Tie Dye Nails
 To start, you will need a few basic supplies such as gel base and top coat, gel polish in your desired colors, a fine tip brush, and a small makeup sponge. Begin by applying a base coat to protect your natural nails. Then, choose your colors and paint them in random spots on the sponge. Dab the sponge onto your nails, creating a tie dye effect. Use the fine tip brush to clean up any excess polish around your cuticles. Cure each layer of polish with a UV or LED lamp as directed. Once cured, apply a top coat to seal in your design and give it a glossy finish. Voila! You now have vibrant and trendy tie dye nails.
Endless Possibilities for Your Nails
 The best part about tie dye nail art with gel polish is the endless possibilities for designs. You can mix and match colors, create a gradient effect, or even add glitter for some extra sparkle. The key is to have fun and let your creativity run wild. Plus, gel polish is known for its long-lasting wear, so your tie dye nails will stay vibrant and fresh for weeks to come.
Express Yourself with Tie Dye Nails
 Tie dye nail art is not just a fashion statement, it is also a way to express your individuality and personality through your nails. With the variety of colors and techniques, you can tailor your tie dye nails to fit any mood or occasion. Whether you want a subtle and pastel tie dye or a bold and bright one, this trend allows you to show off your unique style and be the center of attention.
In conclusion, tie dye nail art with gel polish is a fun and creative way to express yourself and add some excitement to your nail routine. With its easy application and long-lasting wear, it is a must-try for any nail enthusiast. So, grab your supplies and let your inner artist shine with this trendy and vibrant nail trend.
Tie dye nail art is not just a fashion statement, it is also a way to express your individuality and personality through your nails. With the variety of colors and techniques, you can tailor your tie dye nails to fit any mood or occasion. Whether you want a subtle and pastel tie dye or a bold and bright one, this trend allows you to show off your unique style and be the center of attention.
In conclusion, tie dye nail art with gel polish is a fun and creative way to express yourself and add some excitement to your nail routine. With its easy application and long-lasting wear, it is a must-try for any nail enthusiast. So, grab your supplies and let your inner artist shine with this trendy and vibrant nail trend.


