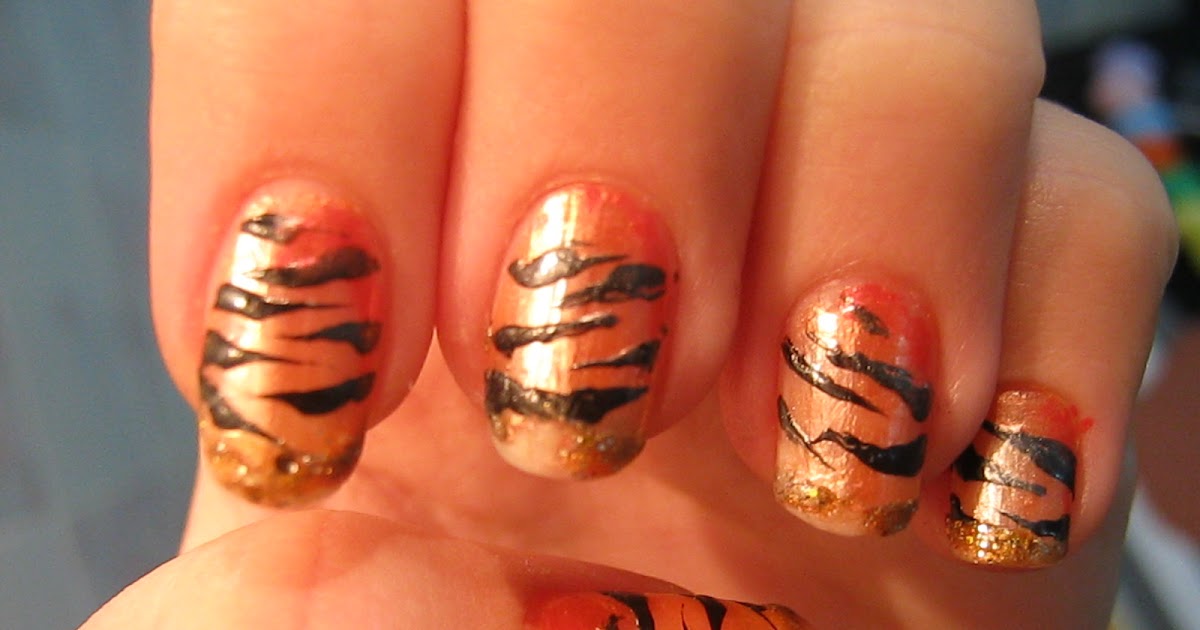
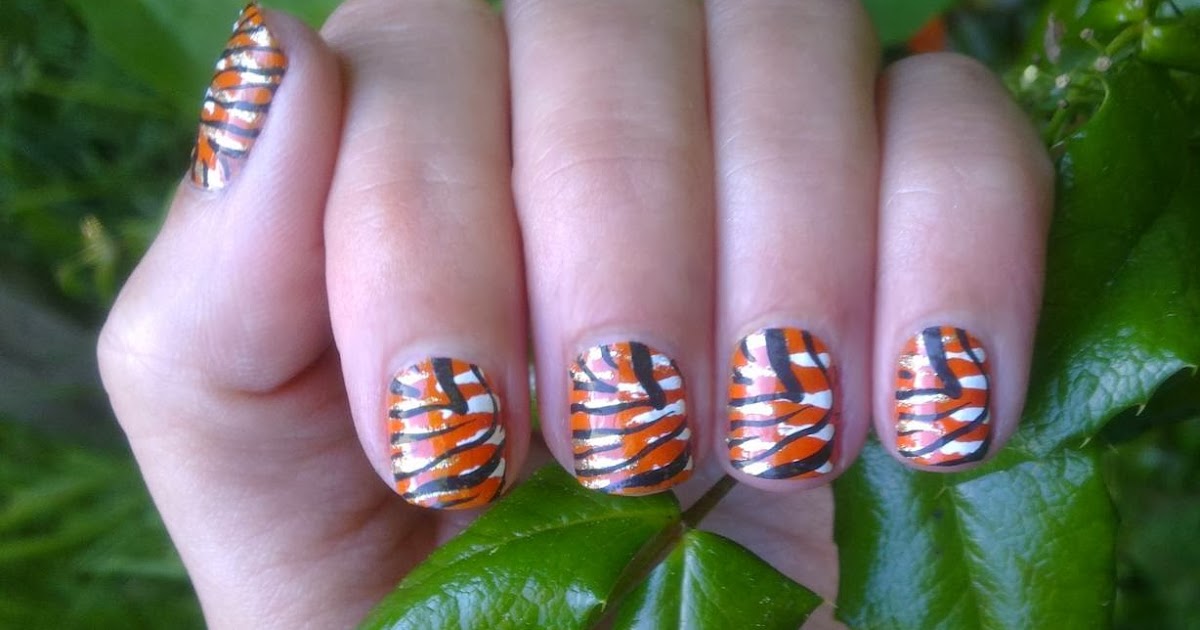
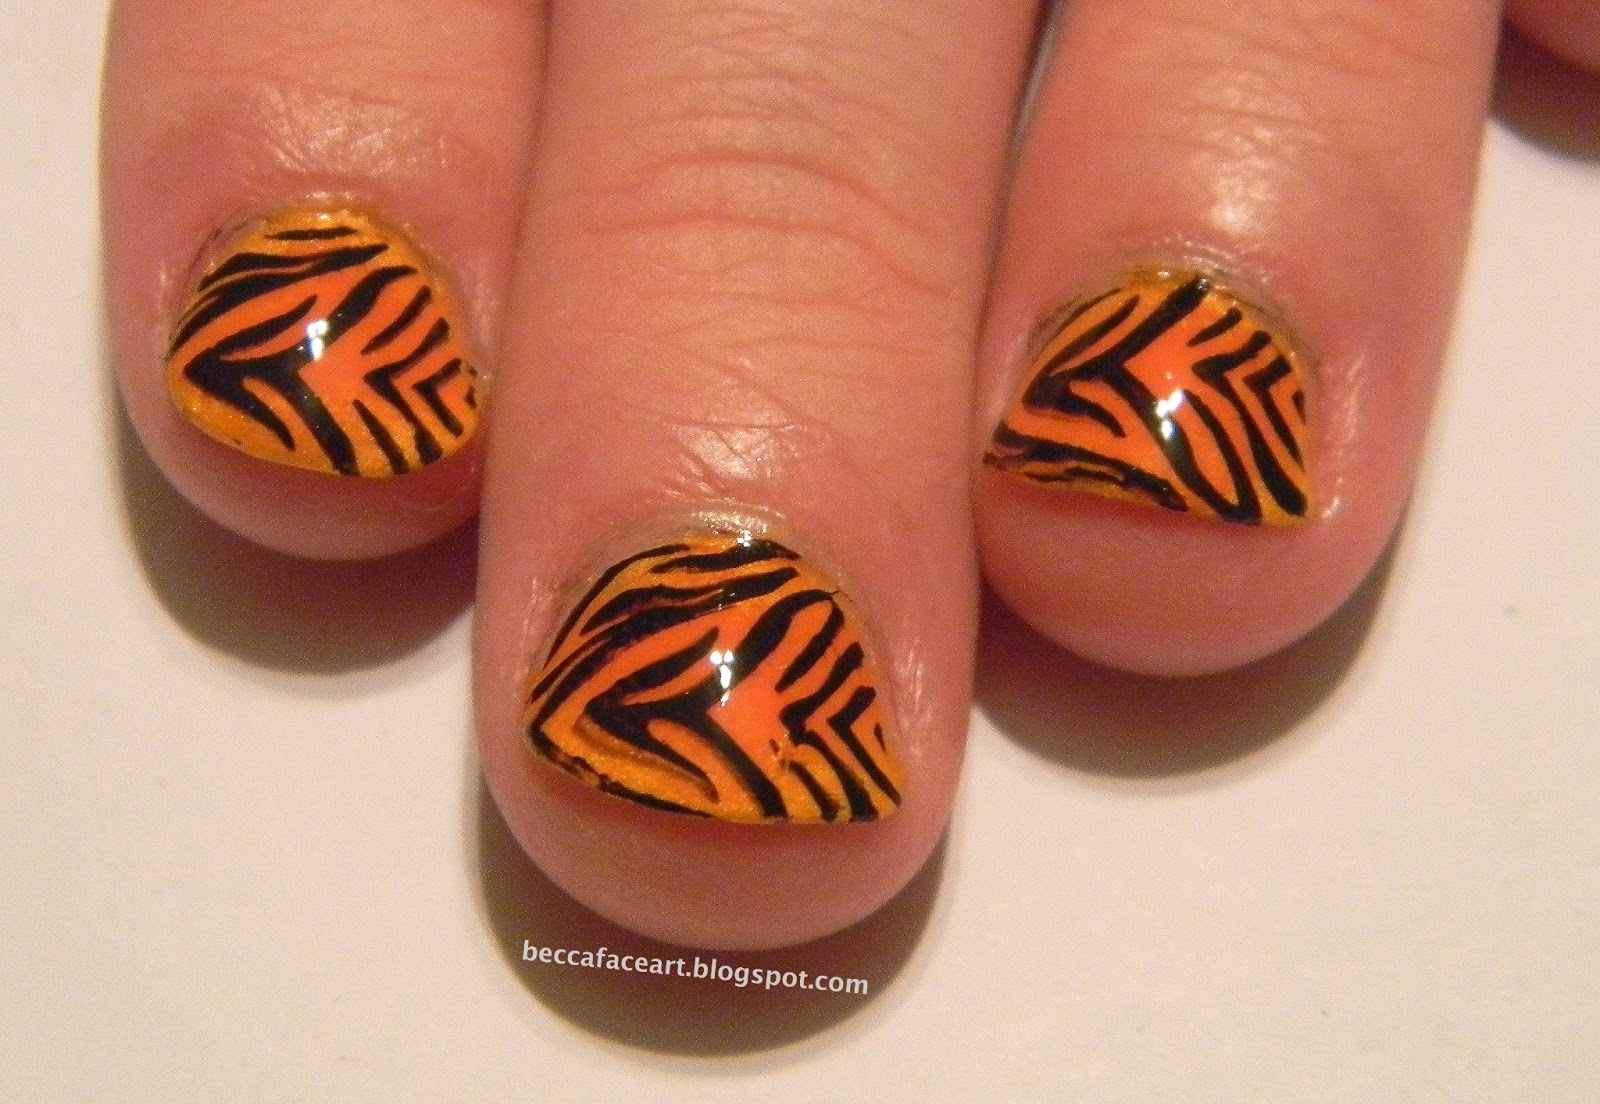
Get ready to unleash your wild side with this fierce tiger stripe nail art tutorial. Animal print is all the rage in the fashion world, and now you can bring it to your nails. Follow these simple steps to achieve a fierce and fabulous look that will make you stand out from the crowd. Start by applying a base coat to protect your nails and let it dry completely. Then, using a black nail polish, paint two coats on all of your nails. This will be the base for your tiger stripes. Next, take a thin nail art brush and dip it into orange nail polish. Carefully draw vertical lines on your nails to create the stripes. You can make them as thin or thick as you like, and they don't have to be perfect. Tigers have unique stripes, so embrace the imperfections. Once the orange stripes are dry, use a small dotting tool to add black dots on the edges of the stripes to give them a more realistic look. This will also add dimension to your design. Finish off your tiger stripe nail art with a clear top coat to seal in your design and give it a shiny finish. And there you have it, a fierce and eye-catching tiger stripe nail art that will make your nails roar with style.1. "Tiger Stripe Nail Art Tutorial"


1. "Tiger Stripe Nail Art Tutorial"


If you're a fan of animal print but want a more subtle look, then this tiger print nail design is perfect for you. It's a fun and trendy way to incorporate animal print into your nail art without going over the top. Start by painting your nails with a light beige nail polish as the base color. Let it dry completely before moving on to the next step. Next, take a small nail art brush and dip it into brown nail polish. Carefully draw random curved lines on your nails to create the tiger print. These lines don't have to be perfect, as the beauty of animal print is in its natural and imperfect look. Once the brown lines are dry, take a dotting tool and add black dots on the edges of the lines. This will add depth and dimension to your design. Finish off with a clear top coat to seal in your design and give it a glossy finish. This tiger print nail design is perfect for those who want to add a touch of wildness to their nails without going too bold.2. "Tiger Print Nail Design"


2. "Tiger Print Nail Design"


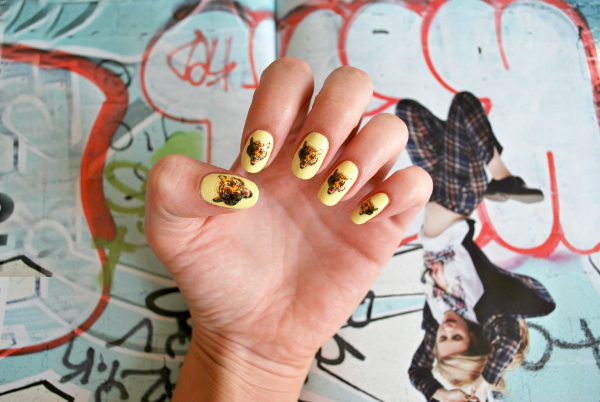
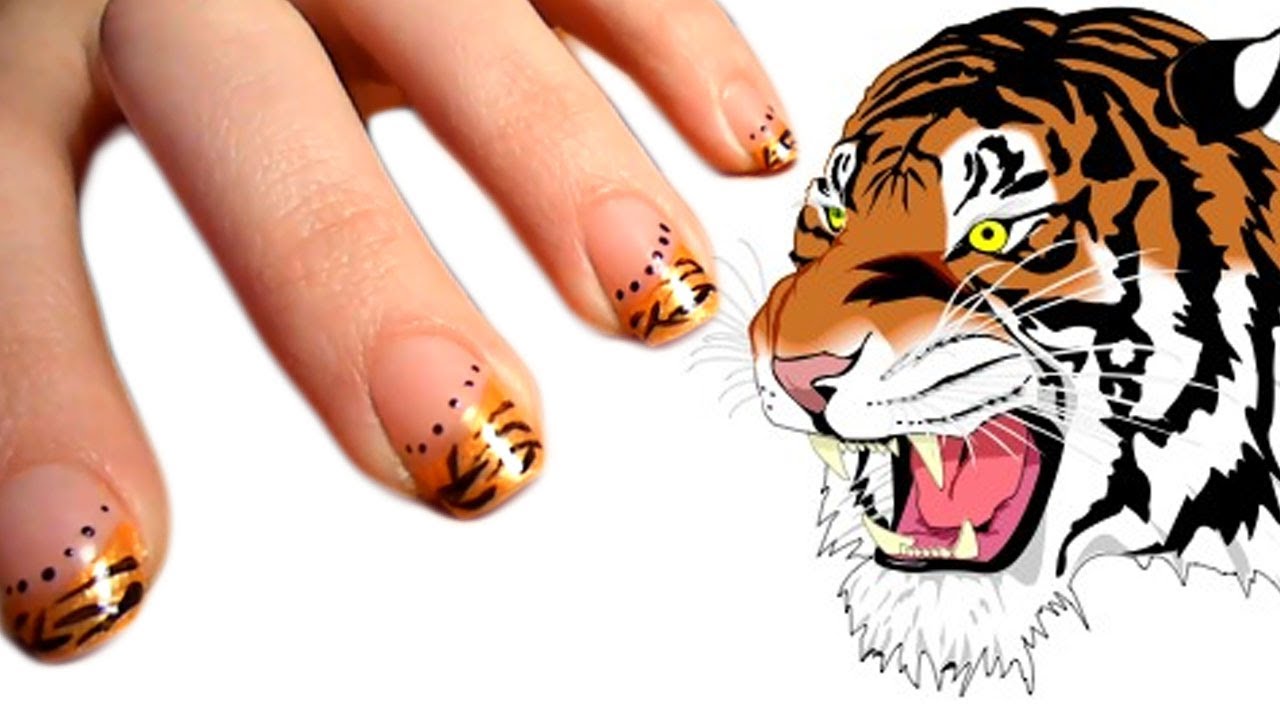
If you're not confident in your nail art skills but still want to rock a tiger face on your nails, then these tiger face nail stickers are the perfect solution. They are easy to apply and give a professional and polished look to your nails. Start by painting your nails with a light yellow nail polish as the base color. Let it dry completely. Next, peel off the tiger face nail sticker from the sheet and carefully place it on your nails. You can either use one sticker on each nail or create a pattern using multiple stickers. Once the stickers are in place, press them down gently to remove any air bubbles and ensure they are securely stuck to your nails. Finish off with a clear top coat to seal in the stickers and give your nails a glossy finish. These tiger face nail stickers are a quick and easy way to achieve a fierce and stylish look without any effort.3. "Tiger Face Nail Stickers"


3. "Tiger Face Nail Stickers"


If you're looking for more ways to incorporate a tiger into your nail art, here are some creative and unique tiger nail art ideas to inspire you. 1. Tiger Stripes and Paws: Combine tiger stripes with cute paw prints for a fun and playful look. 2. Tiger Eye Nails: Paint your nails with a base color and add a tiger eye design using brown, black, and yellow nail polish. 3. Tiger Print French Tips: Add a twist to the classic French manicure by replacing the white tips with a tiger print design. 4. Tiger Print Ombre: Create an ombre effect on your nails using orange and black nail polish and add a tiger print design on top. 5. Tiger Face Accent Nail: Paint all your nails with a light base color and add a tiger face design on one or two accent nails. With these tiger nail art ideas, you can let your creativity run wild and create a unique and fierce look for your nails.4. "Tiger Nail Art Ideas"


4. "Tiger Nail Art Ideas"


Similar to nail stickers, nail decals are another easy and convenient way to add a tiger face to your nails. They come in various designs and sizes, making it easy to customize your look. Start by painting your nails with a light orange nail polish as the base color. Let it dry completely. Next, choose your desired tiger face nail decal and carefully place it on your nail. Use a cuticle pusher or tweezers to press down the decal and remove any air bubbles. Finish off with a clear top coat to seal in the decal and give your nails a glossy finish. These tiger face nail decals are perfect for those who want to achieve a detailed and intricate tiger face design without any effort.5. "Tiger Face Nail Decals"


5. "Tiger Face Nail Decals"


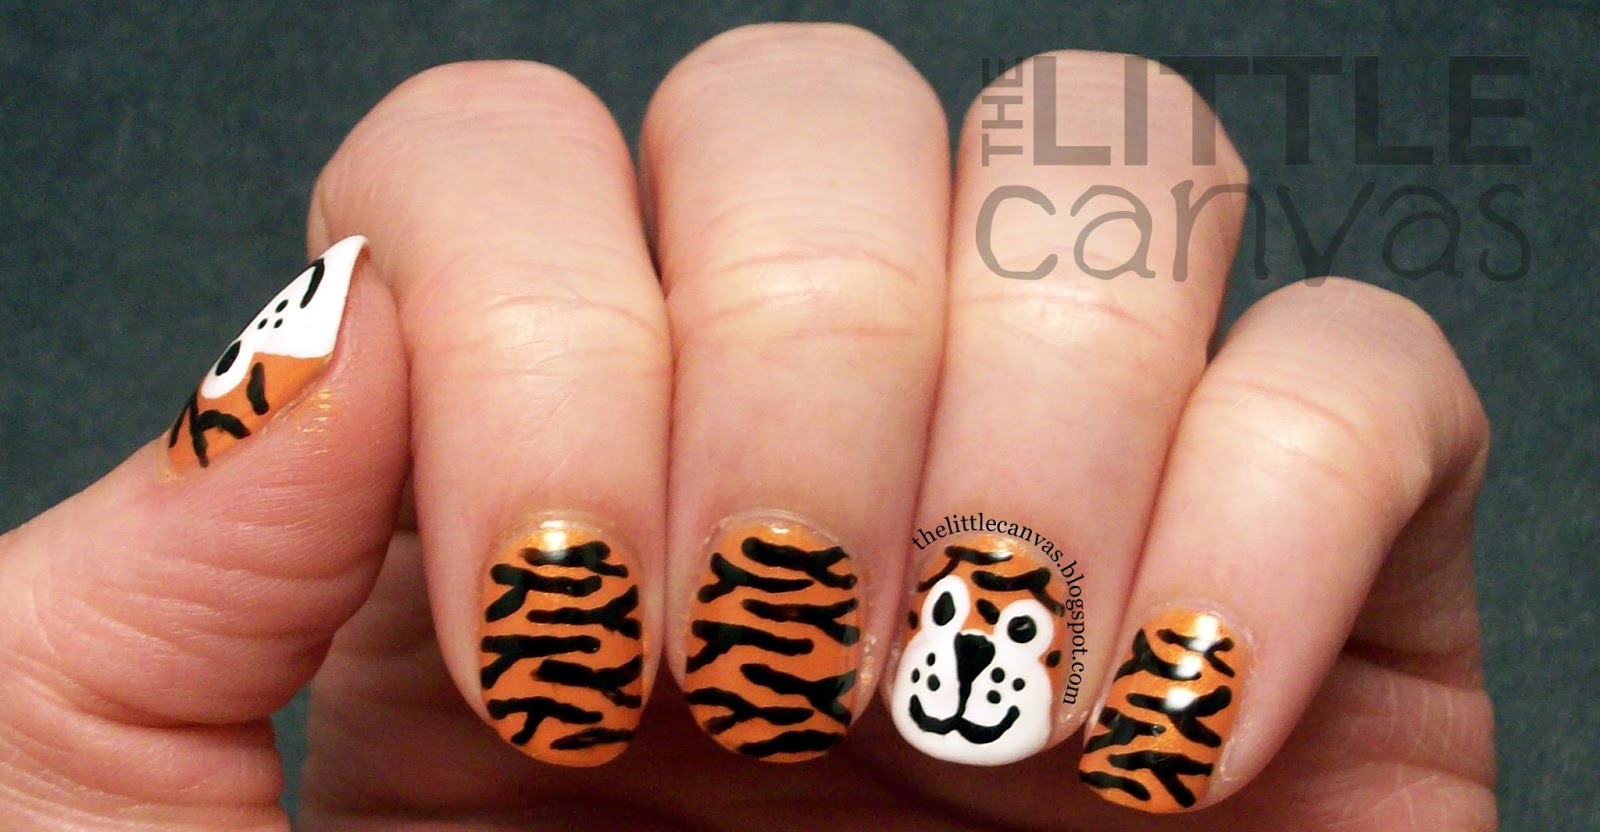
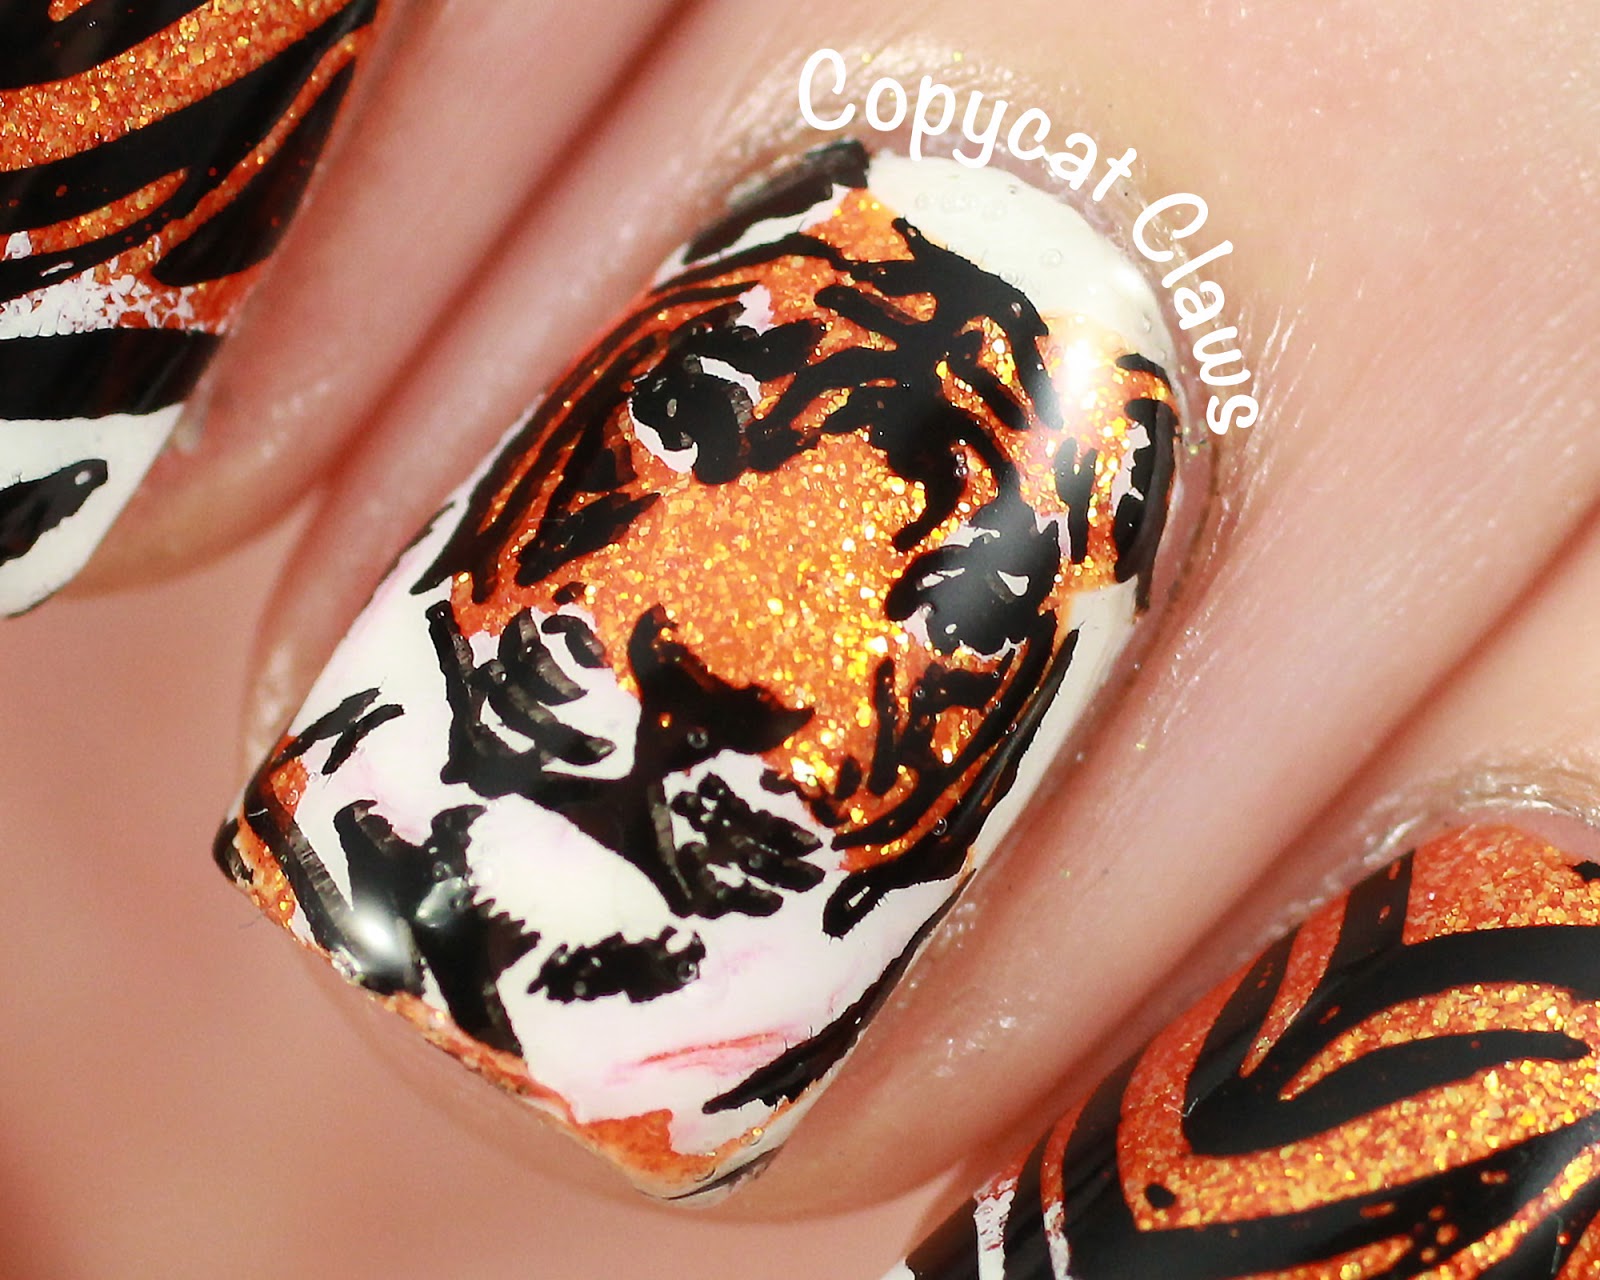
If you want to create a tiger face nail art from scratch, here is a step by step guide to help you achieve a fierce and realistic look. Step 1: Start by painting your nails with a light yellow nail polish as the base color. Let it dry completely. Step 2: Using a thin nail art brush, draw an oval shape on your nail using black nail polish. This will be the outline for the tiger's face. Step 3: Next, draw two triangles on top of the oval shape to create the tiger's ears. Step 4: Using the same black nail polish, draw a small triangle on the bottom half of the oval shape for the tiger's nose. Then, add two small dots for the nostrils. Step 5: Take a dotting tool and create small black dots around the oval shape to create the tiger's fur. Step 6: Using orange nail polish, fill in the space between the oval shape and the dots to create the tiger's face. Step 7: Using a small nail art brush, draw small black stripes on top of the orange to create the tiger's stripes. Step 8: Finish off with a clear top coat to seal in your design and give your nails a shiny finish. And there you have it, a fierce and detailed tiger face nail art.6. "Tiger Face Nail Art Step by Step"


6. "Tiger Face Nail Art Step by Step"


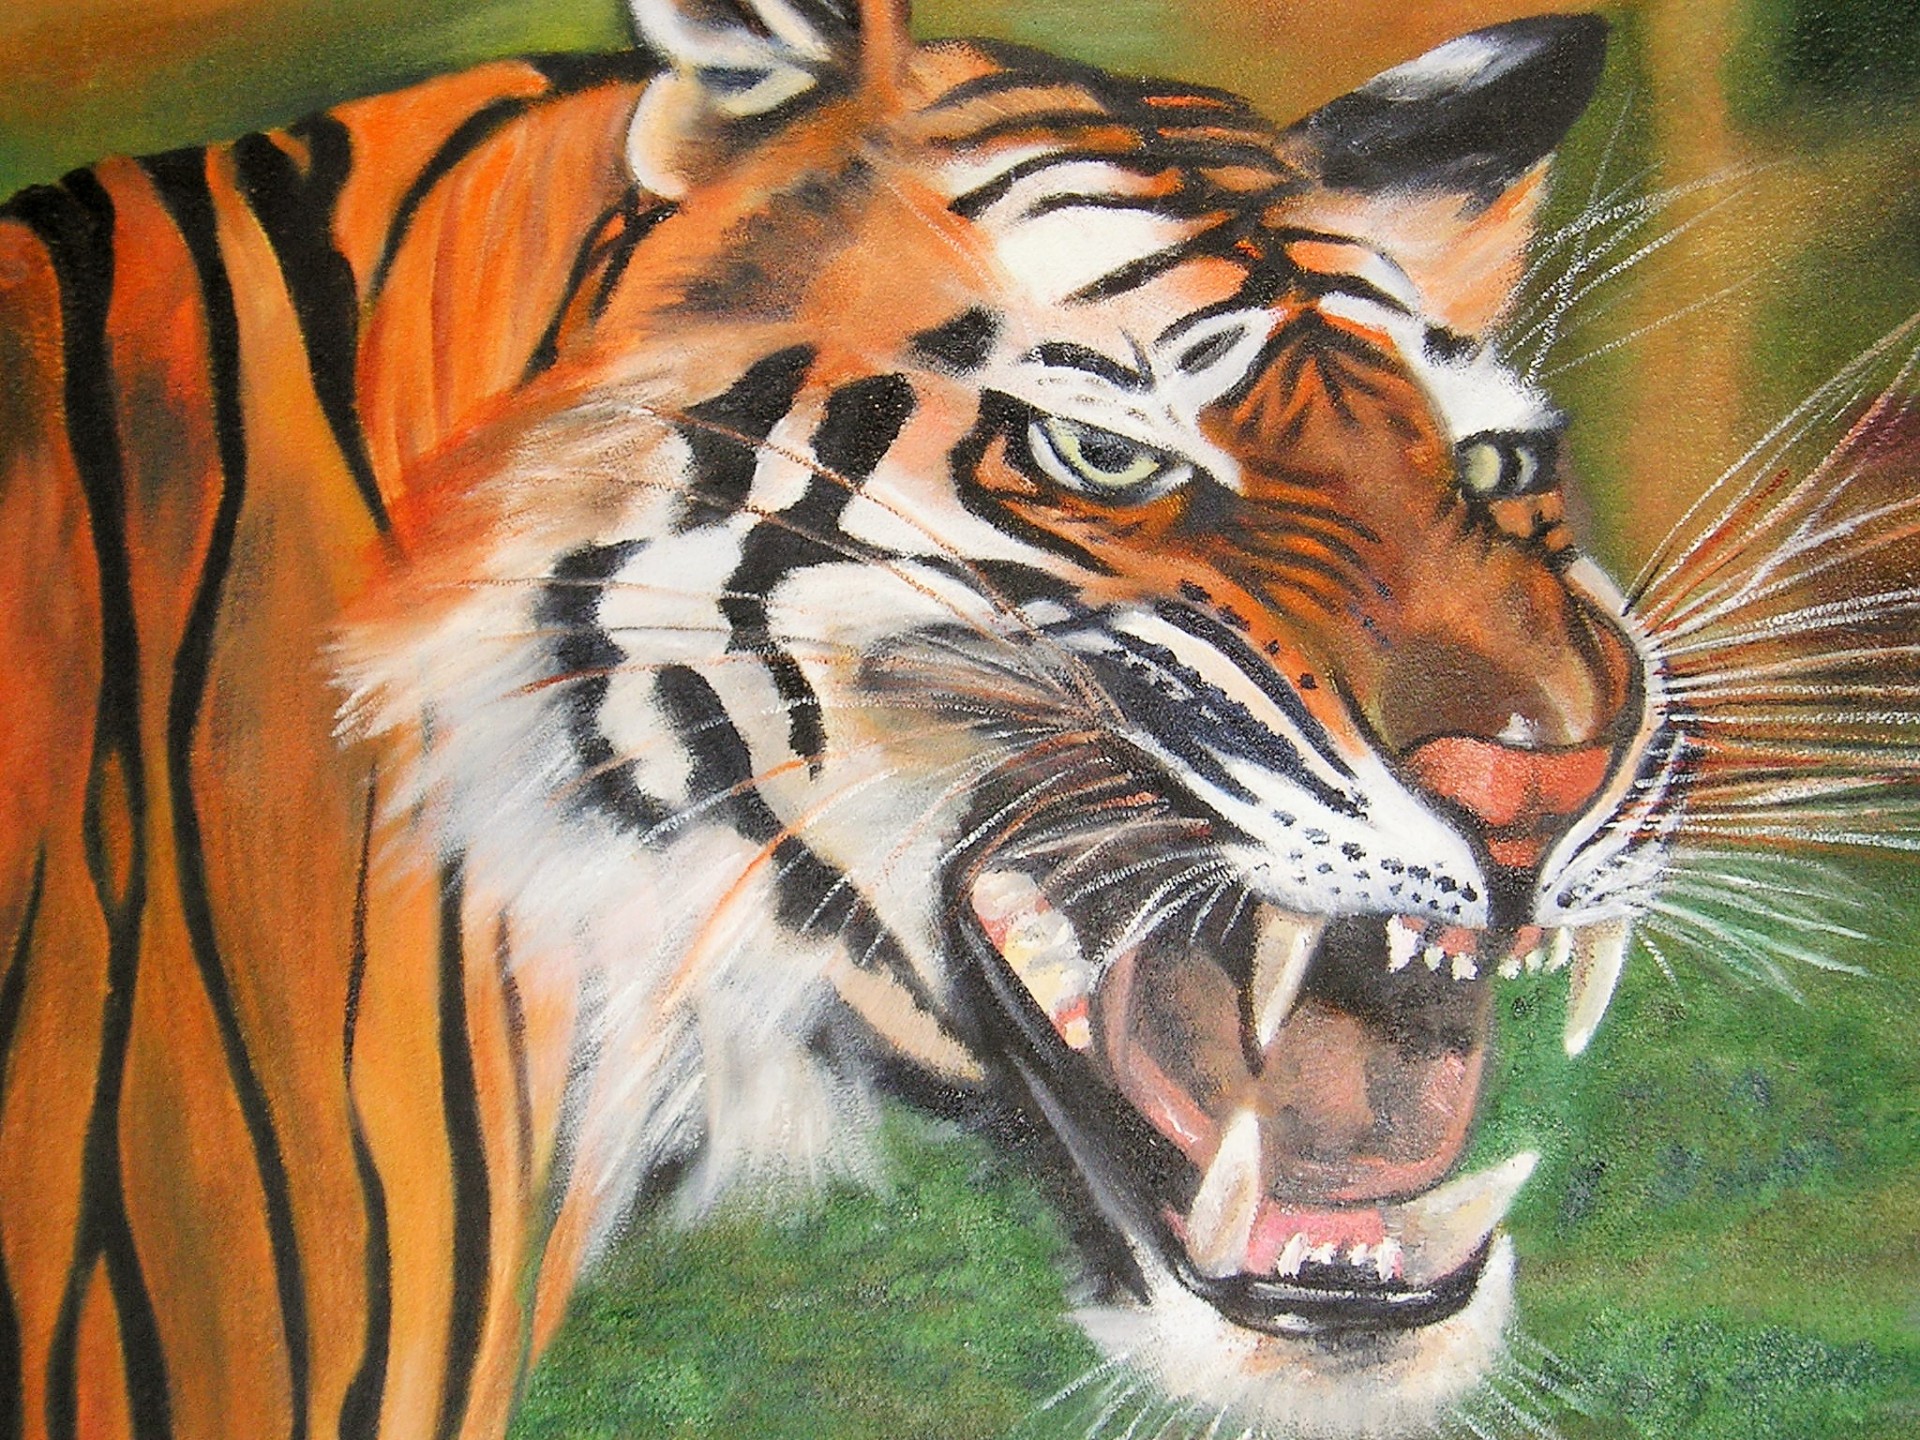
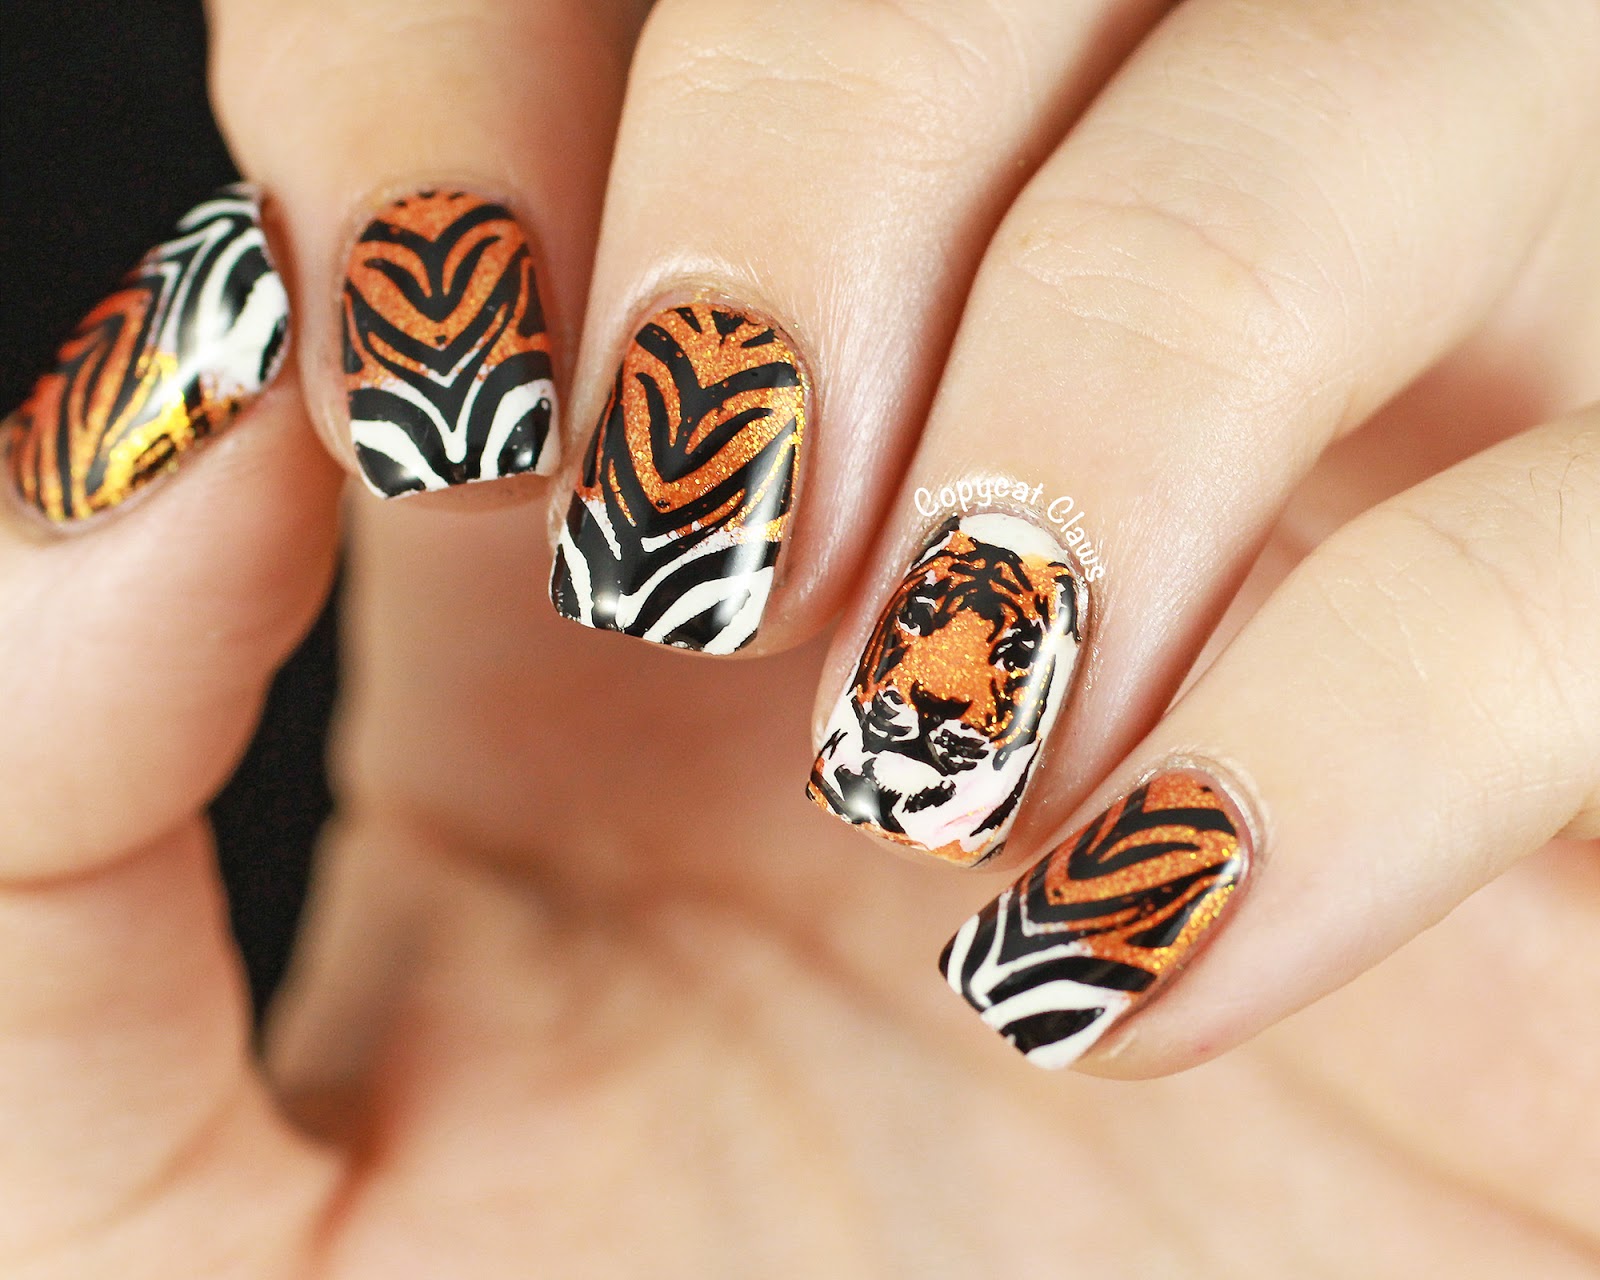
If you're feeling more adventurous and want to experiment with different tiger face nail art designs, here are some ideas to inspire you. 1. Realistic Tiger Face: Create a detailed and realistic tiger face on your nails using various shades of orange, black, and white nail polish. 2. Tribal Tiger Face: Embrace your wild side with a tribal-inspired tiger face design using bold and abstract patterns. 3. Cartoon Tiger Face: Create a fun and playful look with a cartoon-style tiger face design using bright colors and exaggerated features. 4. Minimalist Tiger Face: Keep it simple and chic with a minimalist tiger face design using black and white nail polish. With these tiger face nail art designs, you can let your creativity run wild and create a unique and personalized look for your nails.7. "Tiger Face Nail Art Designs"

7. "Tiger Face Nail Art Designs"


If you're new to nail art and want to try out a tiger face design, here is a beginner-friendly tutorial to help you achieve a simple yet stunning look. Step 1: Start by painting your nails with a light orange nail polish as the base color. Let it dry completely. Step 2: Using a thin nail art brush, draw an oval shape on your nail using black nail polish. This will be the outline for the tiger's face. Step 3: Next, draw two triangles on top of the oval shape to create the tiger's ears. Step 4: Using the same black nail polish, draw a small triangle on the bottom half of the oval shape for the tiger's nose. Then, add two small dots for the nostrils. Step 5: Take a dotting tool and create small black dots around the oval shape to create the tiger's fur. Step 6: Finish off with a clear top coat to seal in your design and give your nails a shiny finish. And there you have it, a simple and easy tiger face nail art that is perfect for beginners.8. "Tiger Face Nail Art Tutorial for Beginners"

8. "Tiger Face Nail Art Tutorial for Beginners"


If you want to add some bling to your tiger face nail art, then rhinestones are the way to go. They will add a touch of glamour and make your design stand out even more. Start by painting your nails with a light yellow nail polish as the base color. Let it dry completely. Next, create a tiger face using the steps mentioned in the "Tiger Face Nail Art Step by Step" heading. Once your design is complete, take a small amount of clear nail polish and use it as a glue to stick the rhinestones on your nails. You can either add rhinestones on the tiger's fur to give it a sparkly effect or use them to outline the tiger's face. Feel free to get creative and experiment with different sizes and colors of rhinestones. Finish off with a clear top coat to seal in your design and give your nails a glossy finish. This tiger face nail art with rhinestones will definitely make your nails roar with style.9. "Tiger Face Nail Art with Rhinestones"


9. "Tiger Face Nail Art with Rhinestones"

If you prefer using acrylic paint instead of nail polish, here is a tutorial on how to create a tiger face nail art using this medium. Step 1: Start by painting your nails with a light yellow nail polish as the base color. Let it dry completely. Step 2: Using a small nail art brush, mix black and white acrylic paint to create a gray color. Use this to paint an oval shape on your nail for the tiger's face. Step 3: Next, add brown acrylic paint on top of the gray to create the tiger's ears and nose. Step 4: Using a small dotting tool, add black dots around the oval shape to create the tiger's fur. Step 5: Finish off with a clear top coat to seal in your design and give your nails a glossy finish. This tiger face nail art with acrylic paint will give your nails a unique and artistic look.10. "Tiger Face Nail Art with Acrylic Paint"


10. "Tiger Face Nail Art with Acrylic Paint"
Unleash Your Wild Side with Tiger Face Nail Art

Take Your Nail Game to the Next Level
 Are you tired of the same old plain nail designs? Want to add some fierce and exotic flair to your manicure? Look no further than tiger face nail art! This trend has been taking the nail world by storm, with its bold and eye-catching designs. Whether you're an animal lover or just looking for something different, tiger face nail art is the perfect way to express your wild side.
Why Tiger Face Nail Art?
 Tigers are known for their strength, elegance, and striking appearance. Incorporating their iconic face into your nail design can add a touch of power and confidence to your look. It's also a great way to show off your love for these majestic creatures.
Not only is tiger face nail art visually appealing, but it also allows for endless creativity. There are various ways to incorporate a tiger's face into your nails, from full-face designs to just the eyes or stripes. You can also customize the colors to match your personal style, making each set of tiger face nails unique.
Tigers are known for their strength, elegance, and striking appearance. Incorporating their iconic face into your nail design can add a touch of power and confidence to your look. It's also a great way to show off your love for these majestic creatures.
Not only is tiger face nail art visually appealing, but it also allows for endless creativity. There are various ways to incorporate a tiger's face into your nails, from full-face designs to just the eyes or stripes. You can also customize the colors to match your personal style, making each set of tiger face nails unique.
How to Achieve the Look
 To achieve the perfect tiger face nails, you'll need some basic tools and materials. This includes a base coat, top coat, nail polish in your desired colors (such as orange, black, and white), a thin brush, and a dotting tool. You can also add some extra sparkle with glitter or rhinestones.
Start by applying a base coat to protect your nails and create a smooth surface. Then, using the orange polish, paint your nails as the base color. Once dry, use the thin brush to create the outline of a tiger's face on each nail. Next, use the dotting tool to add the eyes and stripes, using black and white polish. Finally, seal in your design with a top coat for a long-lasting and professional finish.
To achieve the perfect tiger face nails, you'll need some basic tools and materials. This includes a base coat, top coat, nail polish in your desired colors (such as orange, black, and white), a thin brush, and a dotting tool. You can also add some extra sparkle with glitter or rhinestones.
Start by applying a base coat to protect your nails and create a smooth surface. Then, using the orange polish, paint your nails as the base color. Once dry, use the thin brush to create the outline of a tiger's face on each nail. Next, use the dotting tool to add the eyes and stripes, using black and white polish. Finally, seal in your design with a top coat for a long-lasting and professional finish.
Take Your Nails on a Wild Adventure
 Tiger face nail art is a great way to add some excitement to your everyday look or to stand out at a special event. It's also a fantastic way to showcase your creativity and unique style. So why not take a walk on the wild side and try out this fierce and trendy nail design? Unleash your inner tigress and let your nails do the roaring for you!


