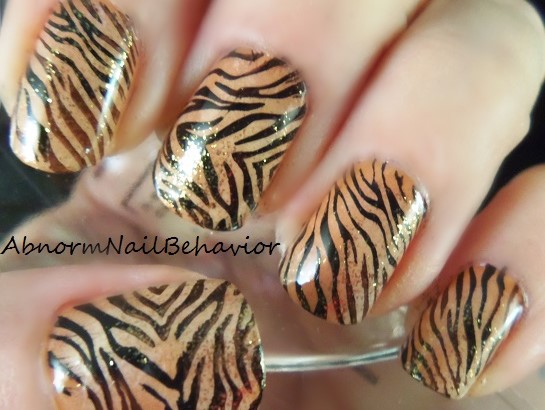
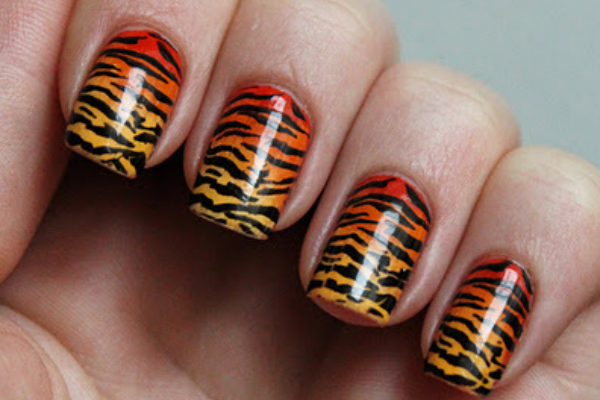
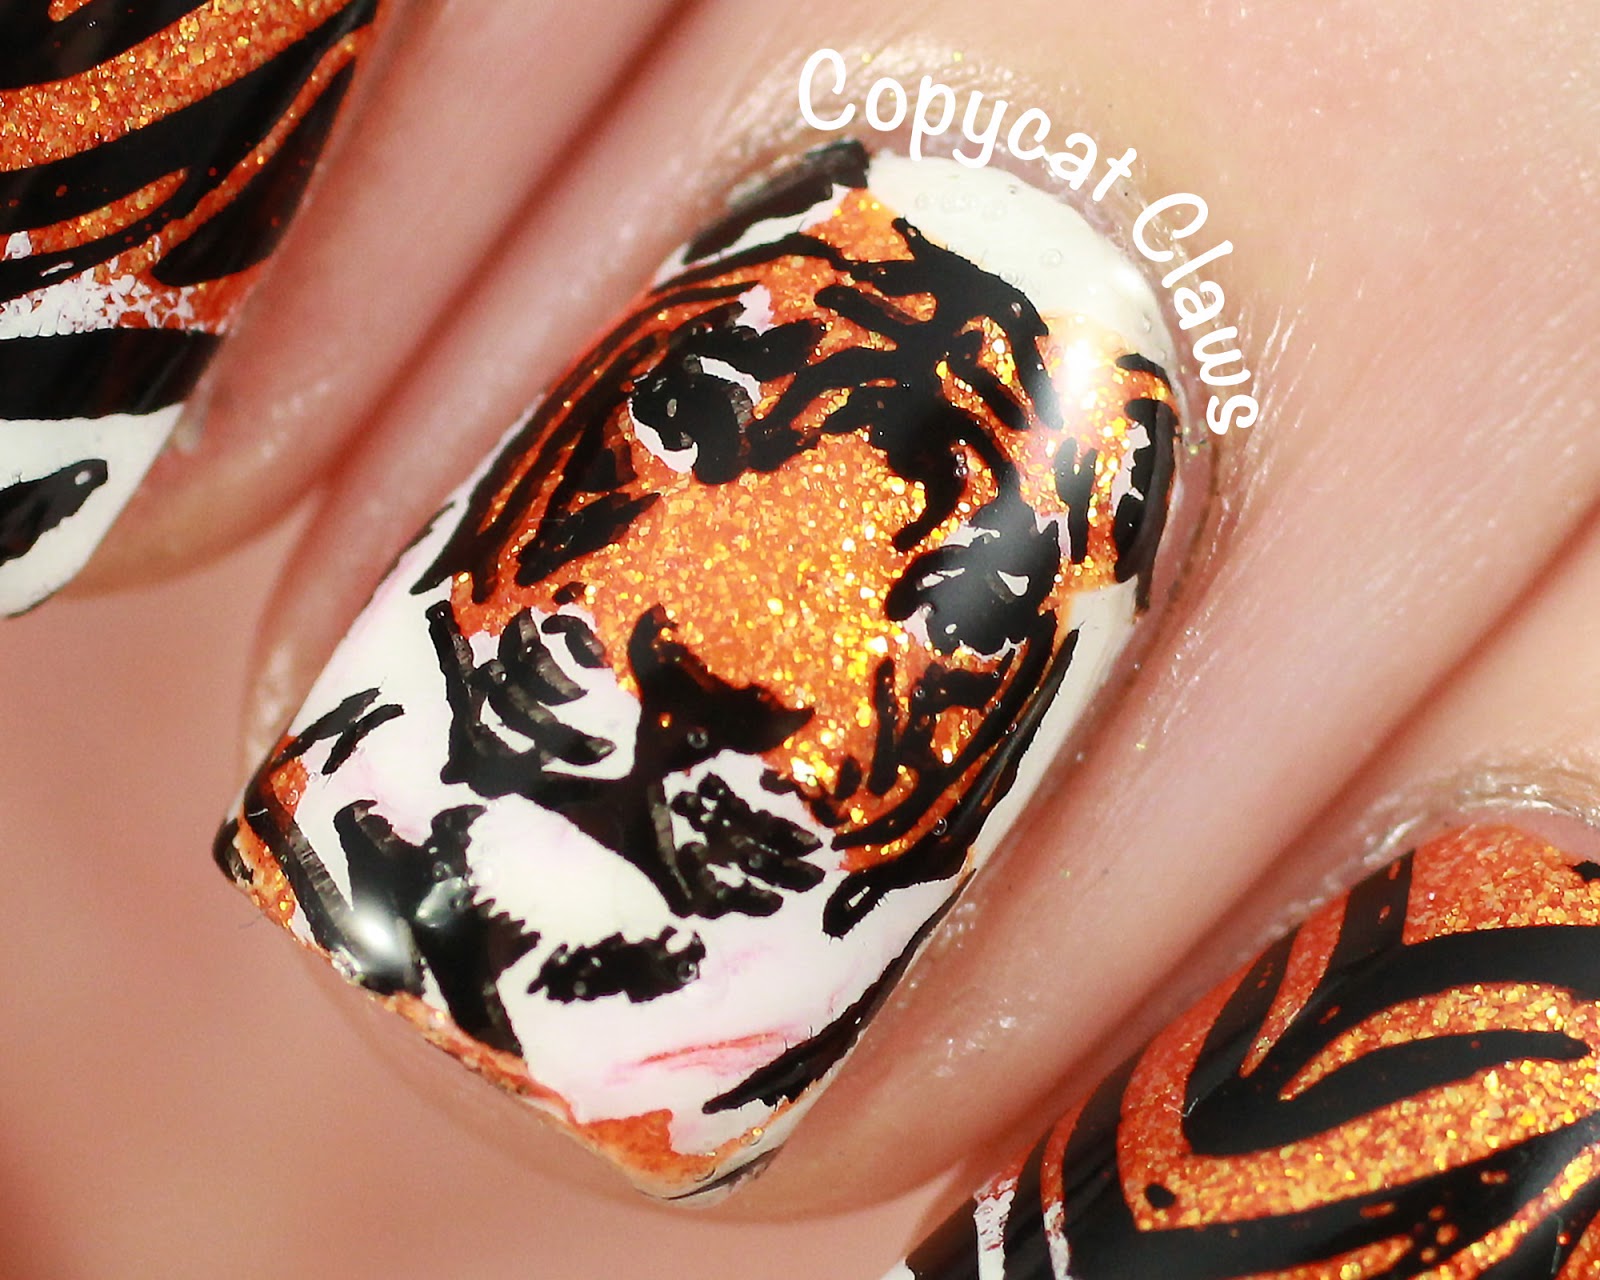
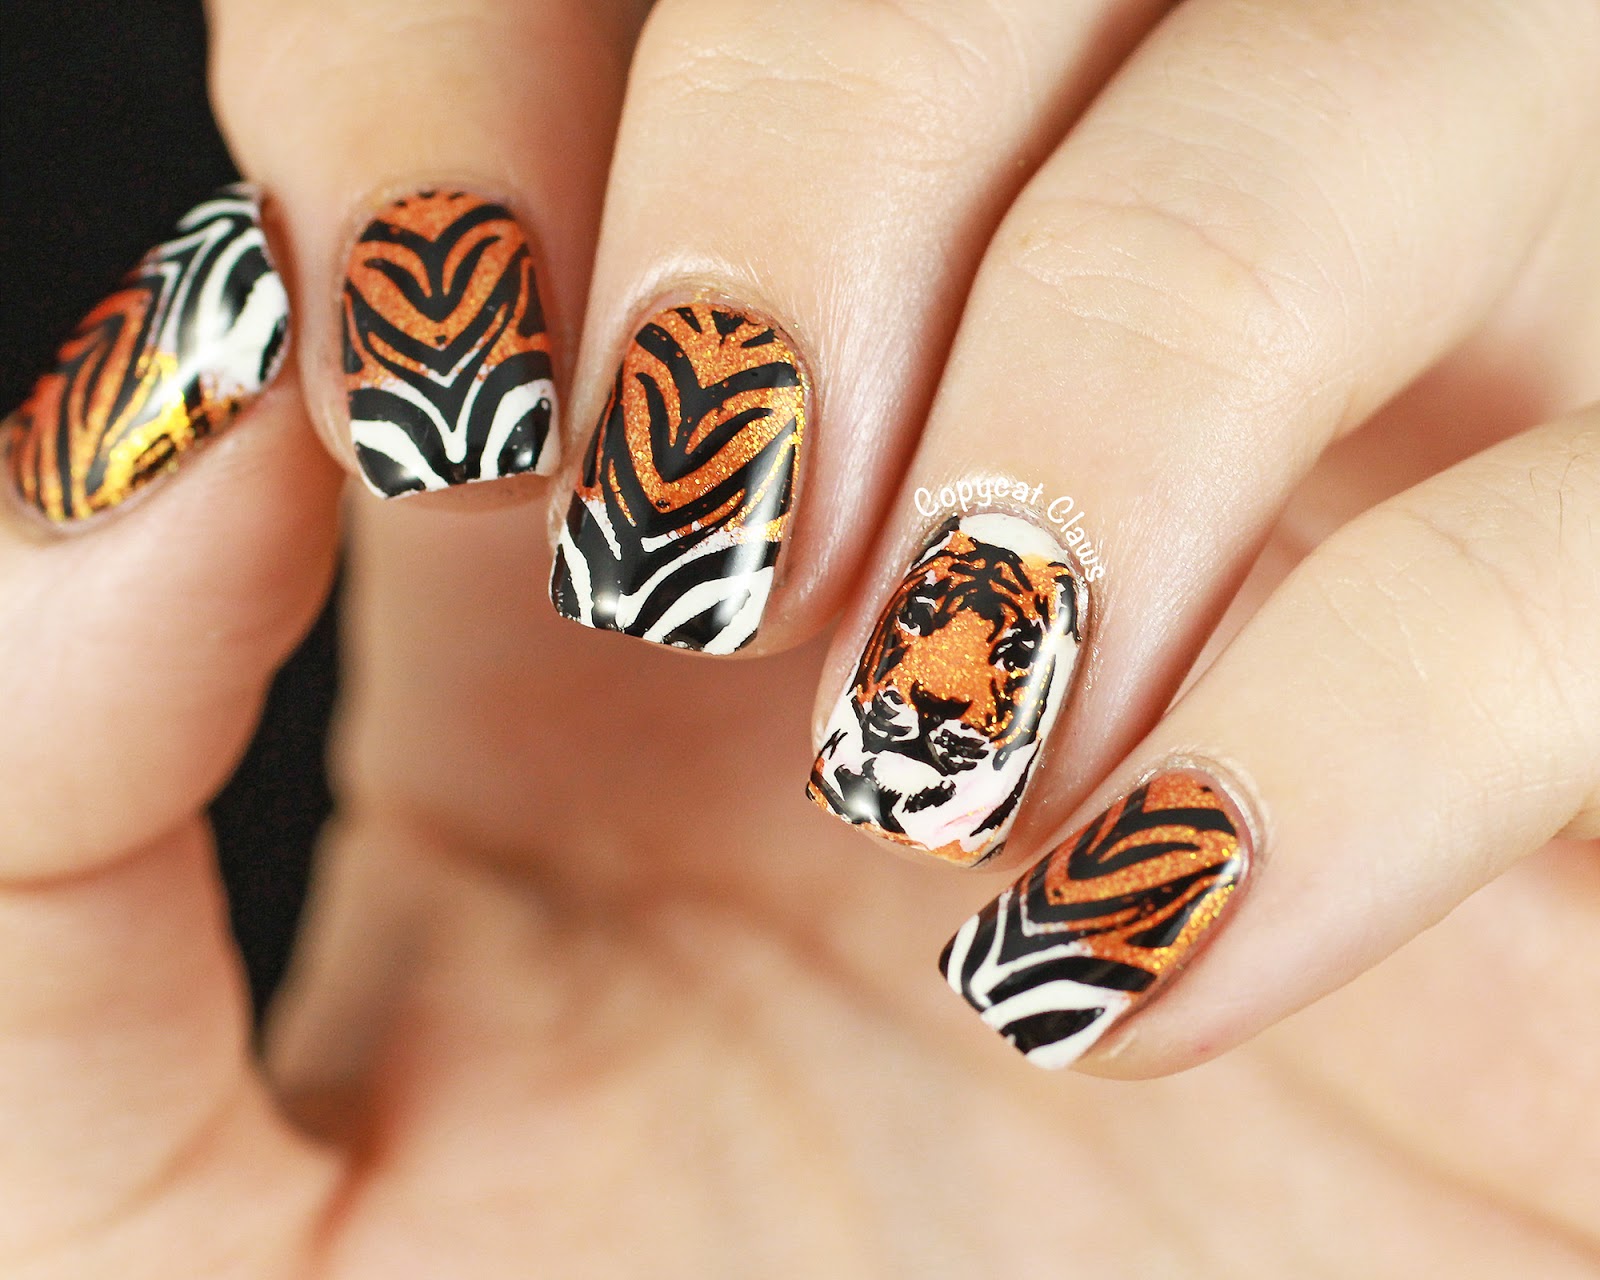
Get ready to unleash your inner fierce with this tiger stripe nail art tutorial. With just a few simple steps, you can create a bold and eye-catching manicure that will have everyone asking for your secrets. To start, you'll need a base coat, tiger print nail polish, black and white nail polish, a thin nail art brush, and a top coat. Begin by applying a base coat to protect your nails and help your manicure last longer. Next, apply two coats of your chosen tiger print nail polish to all of your nails. Let it dry completely before moving on to the next step. Now, take your thin nail art brush and dip it into your black nail polish. Carefully draw thin, curved lines across your nails to create the stripes of a tiger's fur. Don't worry about making them perfect – the beauty of this design is in its imperfections. Using the same brush and black polish, add some small dots along the edges of the stripes to mimic the spots on a tiger's coat. You can also add some random dots to other areas of your nails for a more realistic effect. Next, take your white nail polish and draw a thin line down the center of each black stripe. This will add dimension and make the stripes look more realistic. You can also add some white dots in between the black spots for a more intricate design. Once you're happy with your design, let it dry for a few minutes before applying a top coat to seal in your manicure and give it a glossy finish. And there you have it – a fierce and trendy tiger stripe nail art look that will make a statement wherever you go.1. "Tiger Stripe Nail Art Tutorial"


1. "Tiger Stripe Nail Art Tutorial"

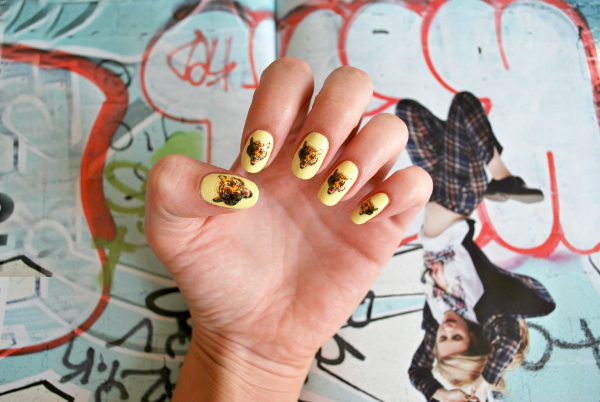


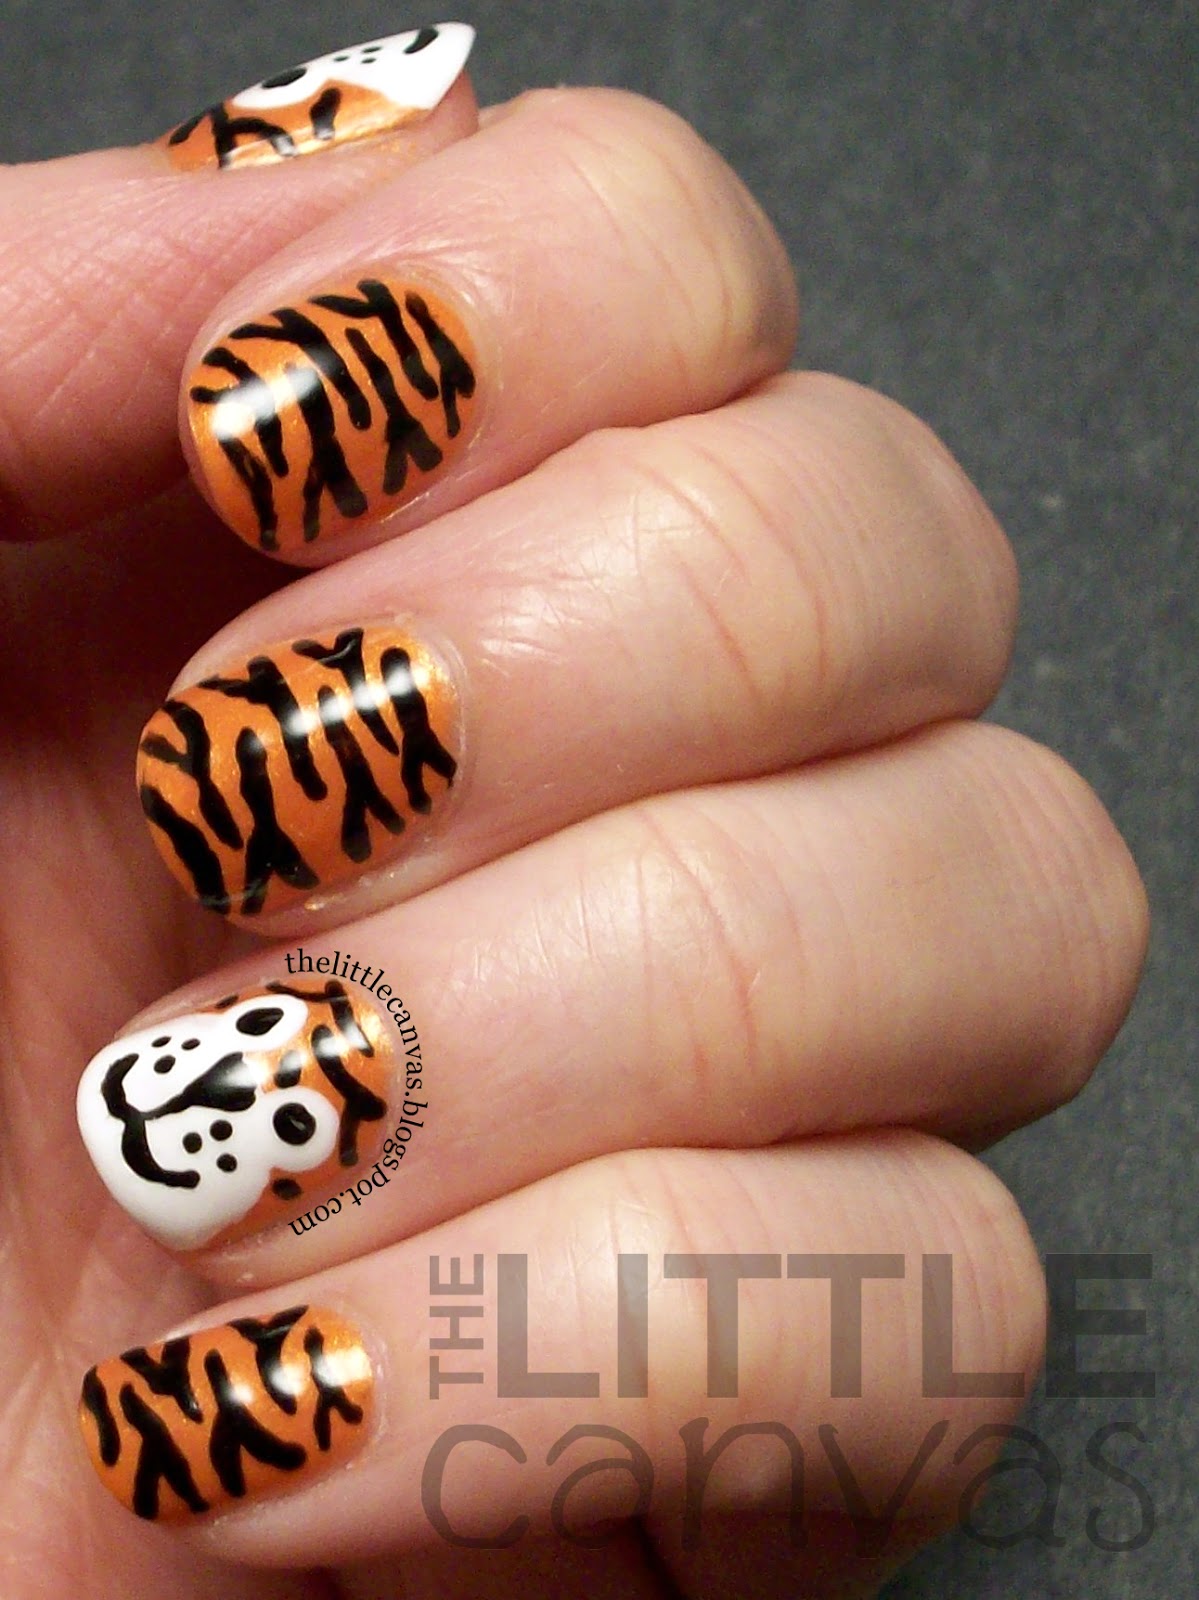
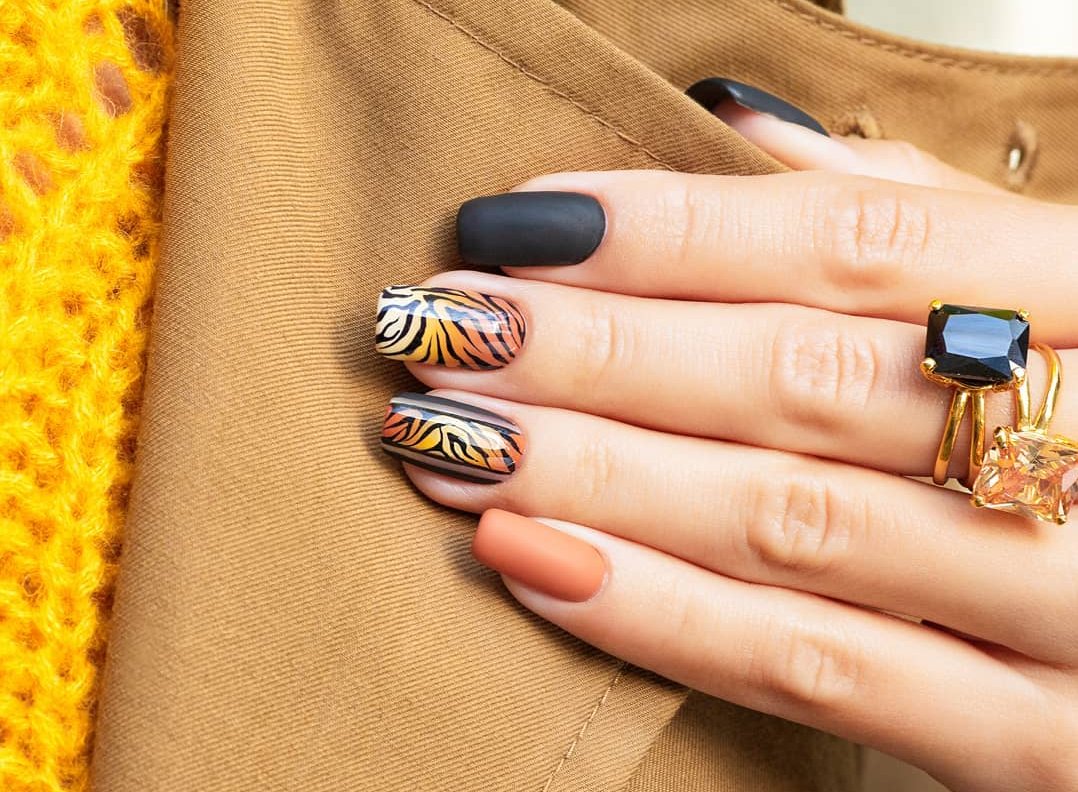
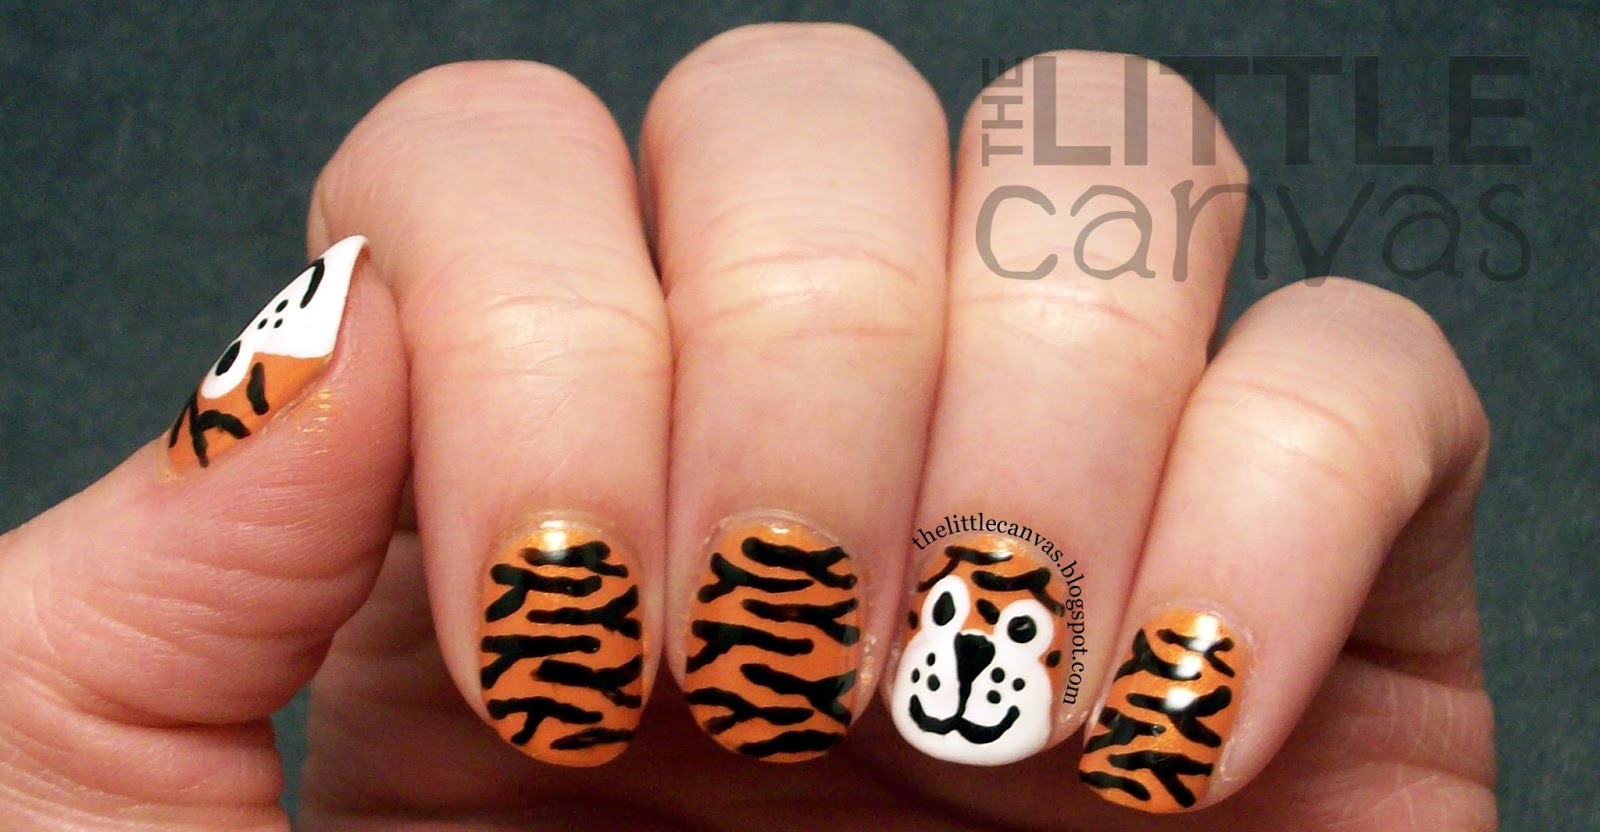
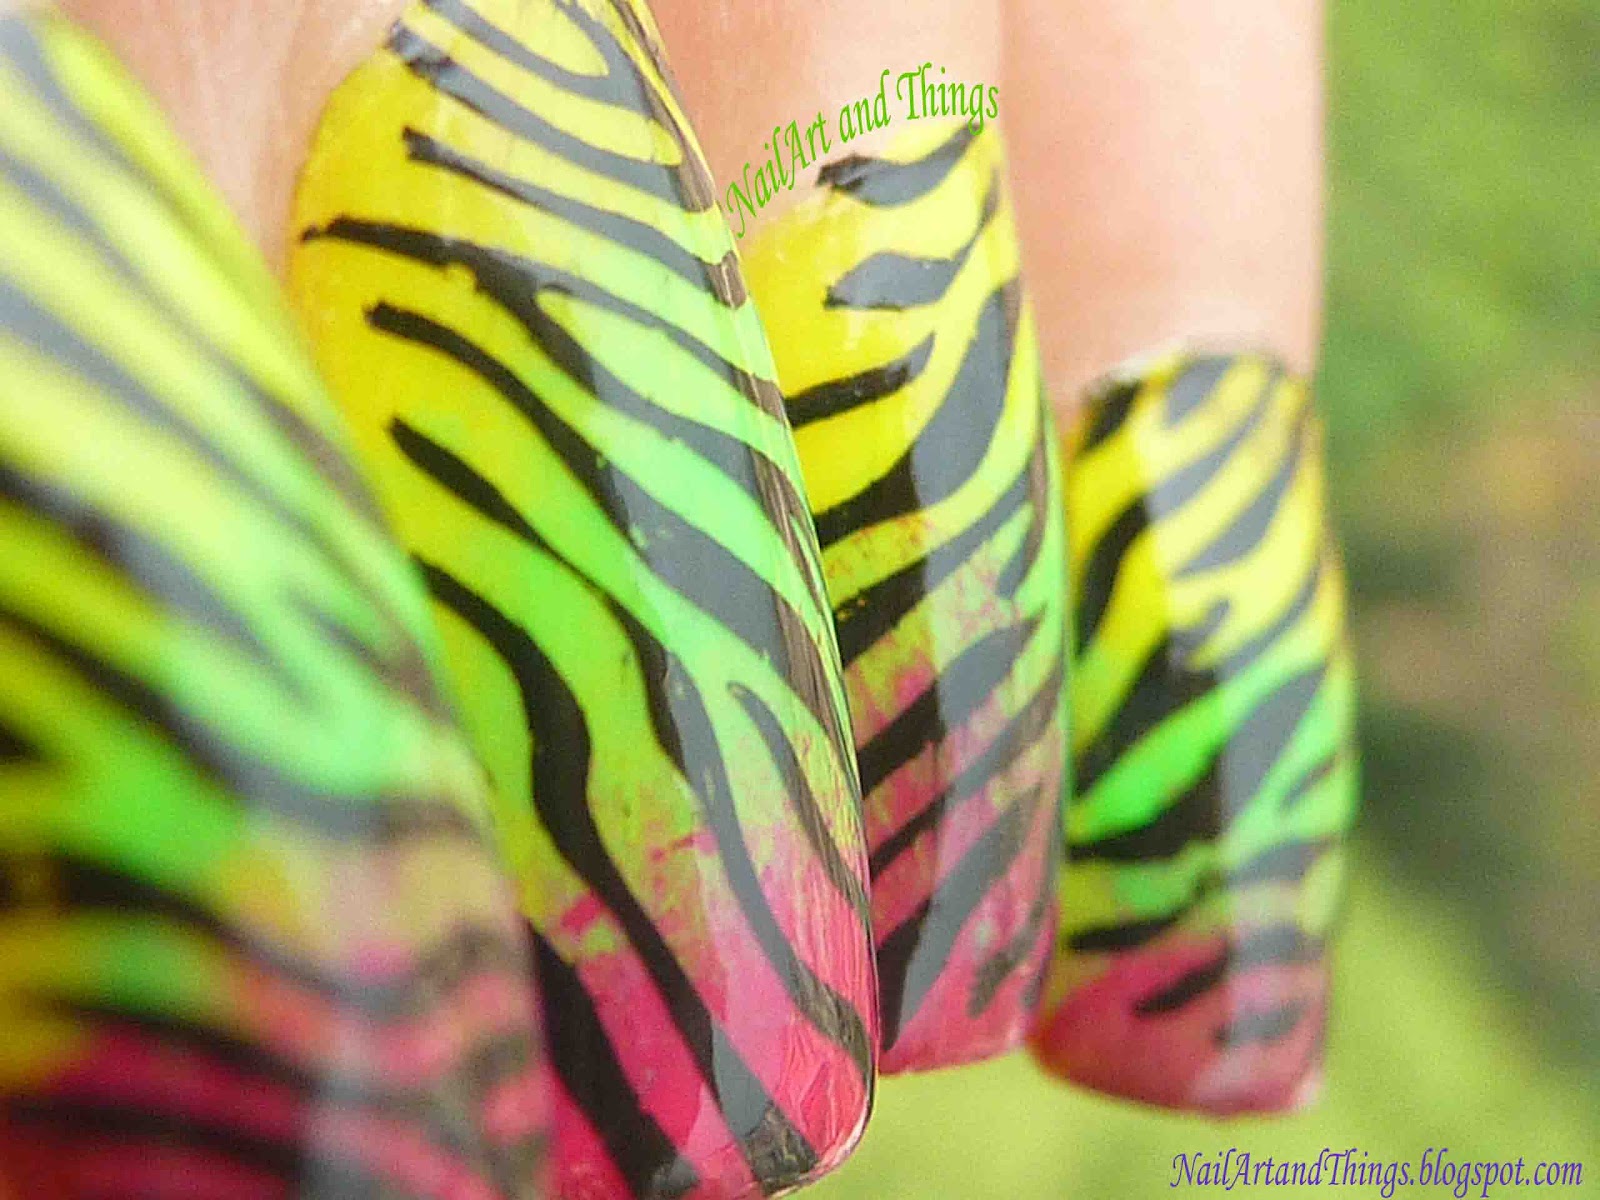
Tiger print nail art is a popular and stylish choice for those who want to add some edge to their manicure. There are endless variations of designs that you can create using this bold print, so let your creativity run wild. One simple design is to paint all of your nails with a tiger print base color and then add a black accent nail with a white tiger face drawn on it. This adds a playful touch to the overall look while still keeping it fierce. For a more subtle approach, try a gradient tiger print design. Start with a light base color and use a sponge to dab on a darker color in a random pattern. Then, using a thin nail art brush, draw on the tiger stripes in black or dark brown. This will give your nails a unique and abstract look. If you want to take it to the next level, try incorporating different textures into your tiger print nail art. For example, you can use a matte top coat on top of your glossy base color to create a contrast in textures. Or, add some rhinestones or glitter to your design for a touch of glamour. Remember, there are no rules when it comes to tiger print nail art. So have fun experimenting with different designs and making this trend your own.2. "Tiger Print Nail Art Designs"


2. "Tiger Print Nail Art Designs"


Don't let the intricate designs and patterns scare you away from trying out tiger print nail art. With a few simple techniques, you can achieve a fierce and stylish look in no time. One of the easiest ways to achieve a tiger print design is by using nail stickers. These pre-made stickers come in a variety of colors and prints, including tiger print. Simply apply them to your nails and seal them in with a top coat for a quick and easy manicure. Another easy method is using nail stamping plates. These plates have pre-made designs that you can transfer onto your nails using a stamping tool. Look for plates with tiger print designs or mix and match different designs to create your own unique look. Don't be afraid to play with colors as well. You can create a colorful tiger print look by using different shades of orange, yellow, and black for the stripes. This will add a fun and playful twist to your manicure. With these simple techniques, you can achieve an easy tiger print nail art look that will have you feeling fierce and fabulous.3. "Easy Tiger Print Nail Art"


3. "Easy Tiger Print Nail Art"


If you're a visual learner, this step by step guide will help you achieve the perfect tiger print manicure. Step 1: Start by applying a base coat to protect your nails and help your manicure last longer. Step 2: Apply two coats of your chosen tiger print nail polish to all of your nails. Let it dry completely before moving on to the next step. Step 3: Take a thin nail art brush and dip it into your black nail polish. Carefully draw thin, curved lines across your nails to create the stripes of a tiger's fur. Step 4: Using the same brush and black polish, add some small dots along the edges of the stripes to mimic the spots on a tiger's coat. Step 5: Take your white nail polish and draw a thin line down the center of each black stripe. You can also add some white dots in between the black spots for a more intricate design. Step 6: Let your design dry for a few minutes before applying a top coat to seal it in and give it a glossy finish. With these easy steps, you can achieve a stunning tiger print manicure that will turn heads wherever you go.4. "Tiger Print Nail Art Step by Step"

4. "Tiger Print Nail Art Step by Step"


If you're not confident in your nail art skills, don't worry – there are plenty of nail stickers available that can help you achieve a professional-looking tiger print manicure. Look for stickers that have a variety of tiger print designs and colors to choose from. You can also mix and match different stickers to create your own unique look. When applying the stickers, make sure your nails are clean and dry. Simply peel off the sticker from the sheet and place it onto your nail. Gently press down to smooth out any air bubbles and seal it in with a top coat. Nail stickers are a quick and easy way to achieve a fierce and trendy tiger print look without any hassle.5. "Tiger Print Nail Art Stickers"


5. "Tiger Print Nail Art Stickers"
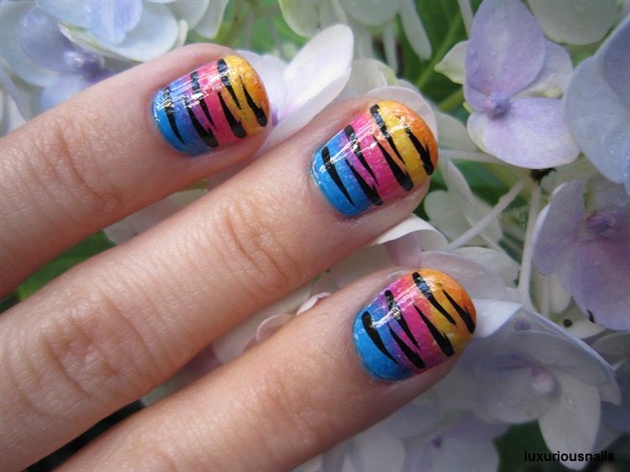
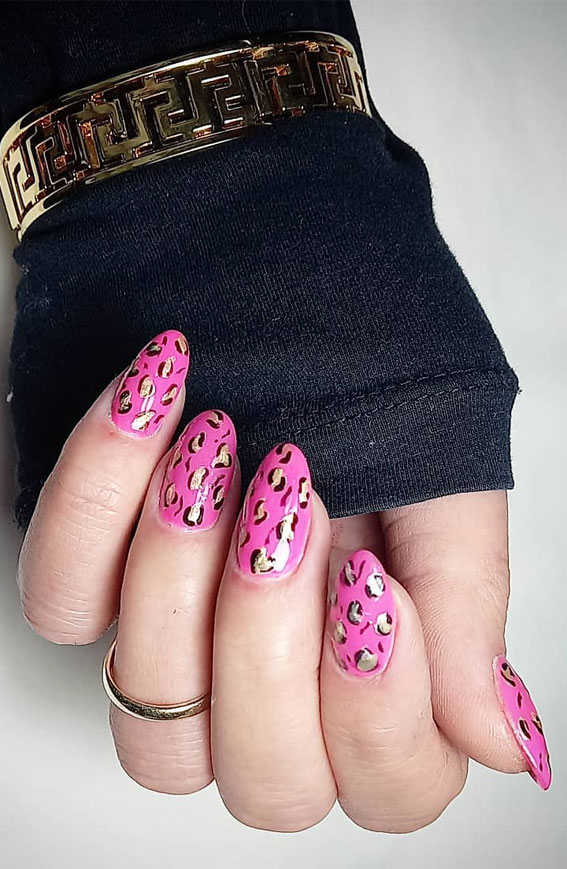
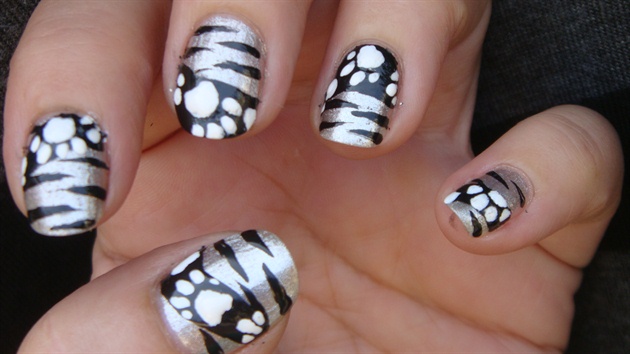
There are endless possibilities when it comes to tiger print nail art. Here are a few ideas to get you started: - Use different shades of orange and yellow for the base color to create a colorful and playful look. - Incorporate different textures into your design, such as a matte top coat or rhinestones, for added dimension. - Create a gradient effect by layering different shades of nail polish and adding tiger stripes on top. - Play with different patterns such as ombre, cheetah print, or leopard print to mix up your tiger print manicure. Remember, the key is to have fun and experiment with different ideas to make this trend your own.6. "Tiger Print Nail Art Ideas"

6. "Tiger Print Nail Art Ideas"

For a glamorous twist on tiger print nail art, try incorporating rhinestones into your design. Start by applying a base coat and two coats of your chosen tiger print nail polish. Let it dry completely before moving on to the next step. Next, using a thin nail art brush, draw on the tiger stripes in black or dark brown. Then, place small rhinestones along the edges of the stripes to add some sparkle and glamour to your manicure. You can also add rhinestones to other areas of your nails, such as the base or tip, for a more intricate and eye-catching design. Seal in your design with a top coat to ensure your rhinestones stay in place and give your manicure a glossy finish.7. "Tiger Print Nail Art with Rhinestones"

7. "Tiger Print Nail Art with Rhinestones"
If you want your tiger print manicure to last longer, try using gel polish. Gel polish is more durable and can last up to two weeks without chipping. Start by preparing your nails – push back your cuticles, file and shape your nails, and lightly buff the surface to remove any shine. Apply a base coat and cure it under a UV or LED lamp according to the instructions on your gel polish. Then, apply two thin coats of your chosen tiger print gel polish, curing each coat under the lamp. Next, use a thin nail art brush to add the tiger stripes using a black or dark brown gel polish. Cure it under the lamp and then add a top coat and cure it once more. Your gel manicure is now complete and will last for weeks to come.8. "Tiger Print Nail Art with Gel Polish"


8. "Tiger Print Nail Art with Gel Polish"

Don't let having short nails stop you from trying out tiger print nail art. There are plenty of designs and techniques that work well on shorter nails. One simple design is to paint all of your nails with a tiger print base color and then add a black accent nail with a white tiger face drawn on it. This will make your accent nail stand out and add some interest to your manicure. You can also try a half-moon design where you paint the base of your nail with a tiger print color and leave the tip bare. You can also add a rhinestone or glitter to the bare tip for a touch of glamour. Another option is to use nail stickers that are specifically designed for shorter nails. These stickers are smaller in size and will fit better on shorter nails.9. "Tiger Print Nail Art for Short Nails"


9. "Tiger Print Nail Art for Short Nails"

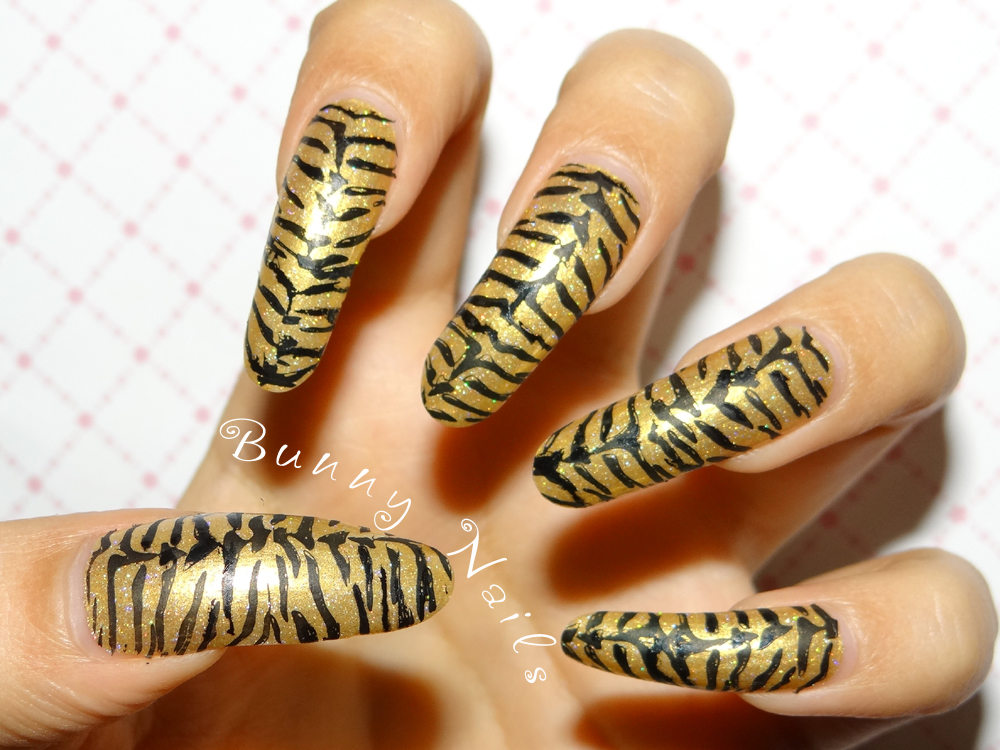
If you have long nails, you have the advantage of being able to create more intricate and detailed designs. One idea is to create a negative space design. Start by painting your nails with a tiger print base color. Then, using a striping tape, create a diagonal line across your nail. Paint one side of your nail with a black or dark brown polish and the other side with a white polish. Once it's dry, remove the tape to reveal a striking tiger print design. You can also try a reverse French manicure where you paint the base of your nail with a tiger print color and the tip with a solid color. You can also add some glitter or rhinestones to the tip for a more glamorous look. With long nails, you have more space to play with different designs and patterns, so don't be afraid to get creative and make a statement with your tiger print manicure.10. "Tiger Print Nail Art for Long Nails"

10. "Tiger Print Nail Art for Long Nails"
Creating a Fierce Look with Tiger Print Nail Art

Tiger print nail art is a bold and eye-catching trend that has taken the world of nail design by storm. This fierce and animal-inspired look is perfect for those who want to make a statement with their nails. Whether you're heading to a party, a concert, or just want to spice up your everyday look, tiger print nail art is the way to go.
The first step to achieving this wild nail design is to gather your materials. You will need a base coat, nail polish in two different colors (black and orange are the traditional choices for tiger print), a nail art brush or toothpick, and a top coat. Once you have all your supplies ready, it's time to get started.
Step 1: Prep Your Nails

Before you begin painting your nails, it's essential to prepare them properly. Start by shaping and filing your nails to your desired length and shape. Next, apply a base coat to protect your nails and make the polish last longer. Let the base coat dry completely before moving on to the next step.
Step 2: Paint Your Base Color
Once your base coat is completely dry, it's time to apply your base color. For tiger print nail art, black is the most commonly used base color. However, you can choose any color you like, as long as it provides a good contrast with the top color. Paint two coats of your base color and let it dry completely.
Step 3: Create the Tiger Print

This is the fun part – creating the tiger stripes on your nails. To do this, dip your nail art brush or toothpick into the second color (orange, in this case) and carefully draw thin, curved lines on your nails. You can also use a nail stamping plate for a more precise and even look. Make sure to leave some space between the lines to create the striped effect.
Step 4: Add Some Detail
For a more realistic look, you can add some black dots between the orange stripes to mimic the spots on a tiger's fur. You can also add some white dots for a more playful and fun look. This step is entirely optional, so feel free to skip it if you prefer.
Step 5: Apply Top Coat
Once your design is complete and dry, apply a top coat to seal and protect your nail art. This will also give your nails a glossy finish, making them look more polished and professional.
There you have it – a fierce and striking tiger print nail art design that will surely turn heads. With a little practice, you'll be able to create this look in no time. So go ahead and unleash your inner tigress with this trendy and edgy nail design.


