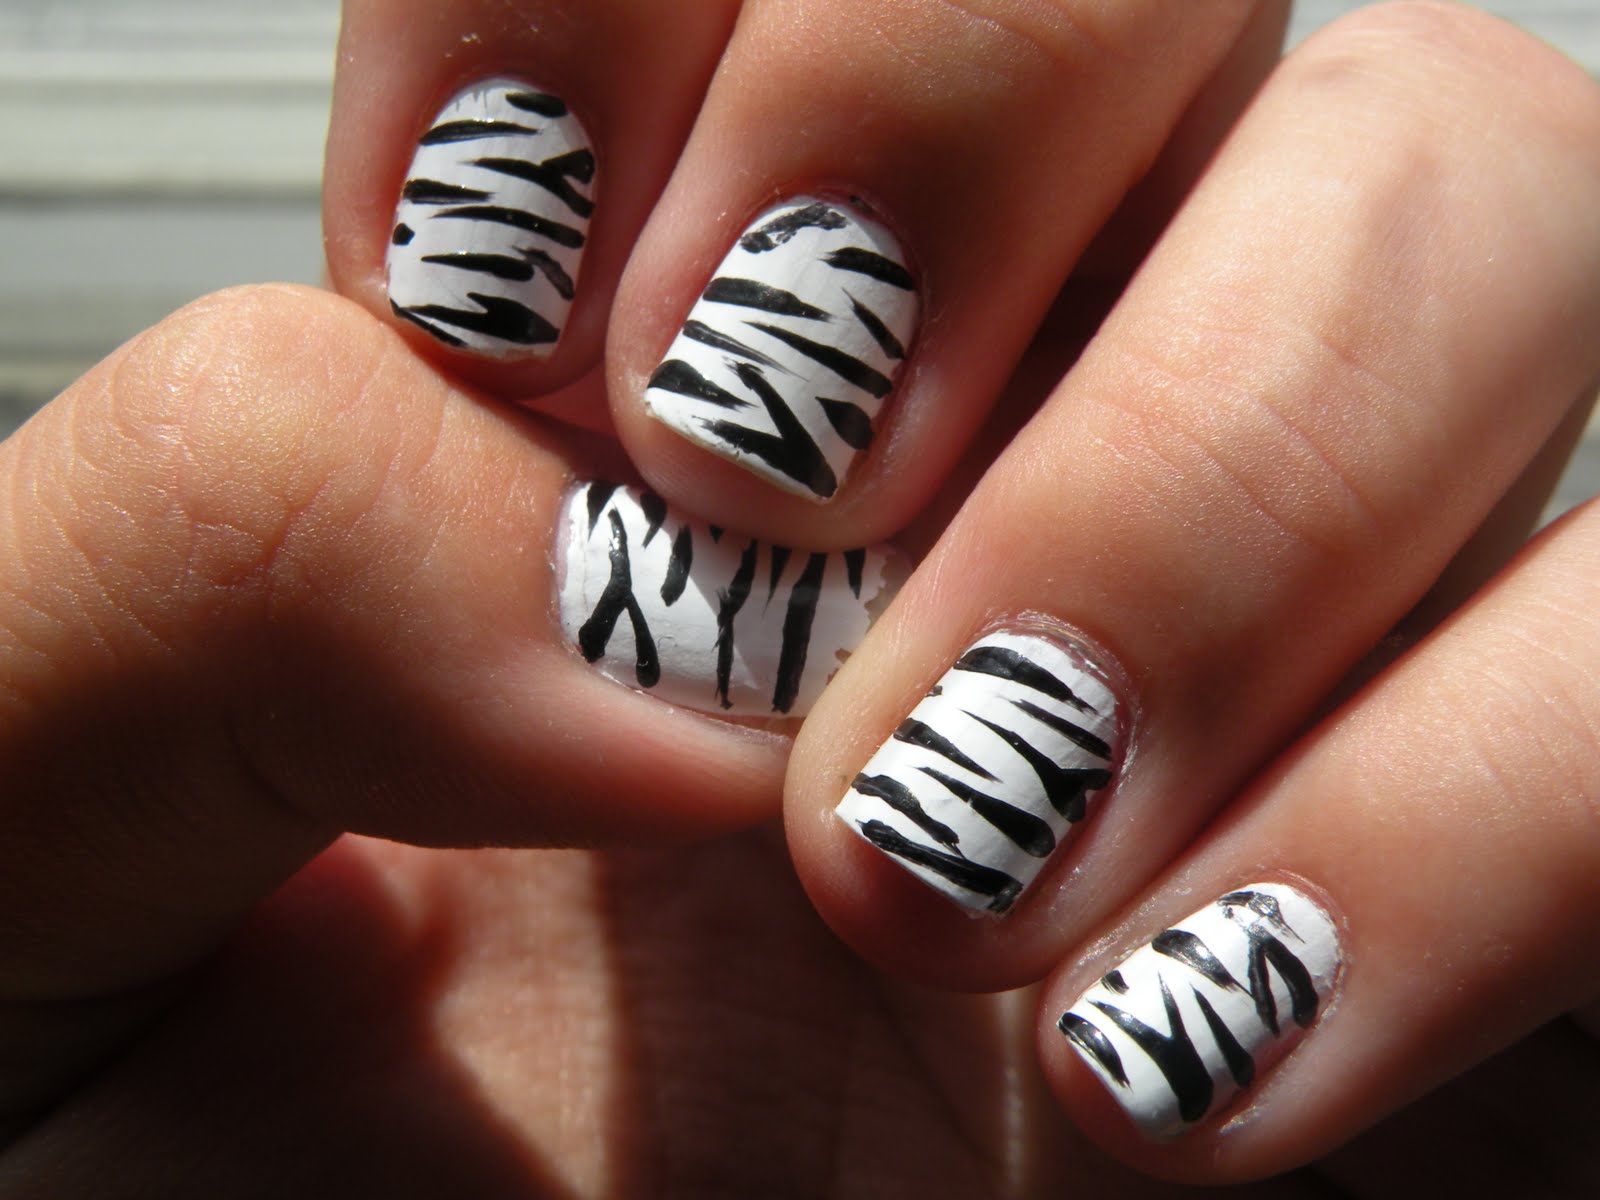
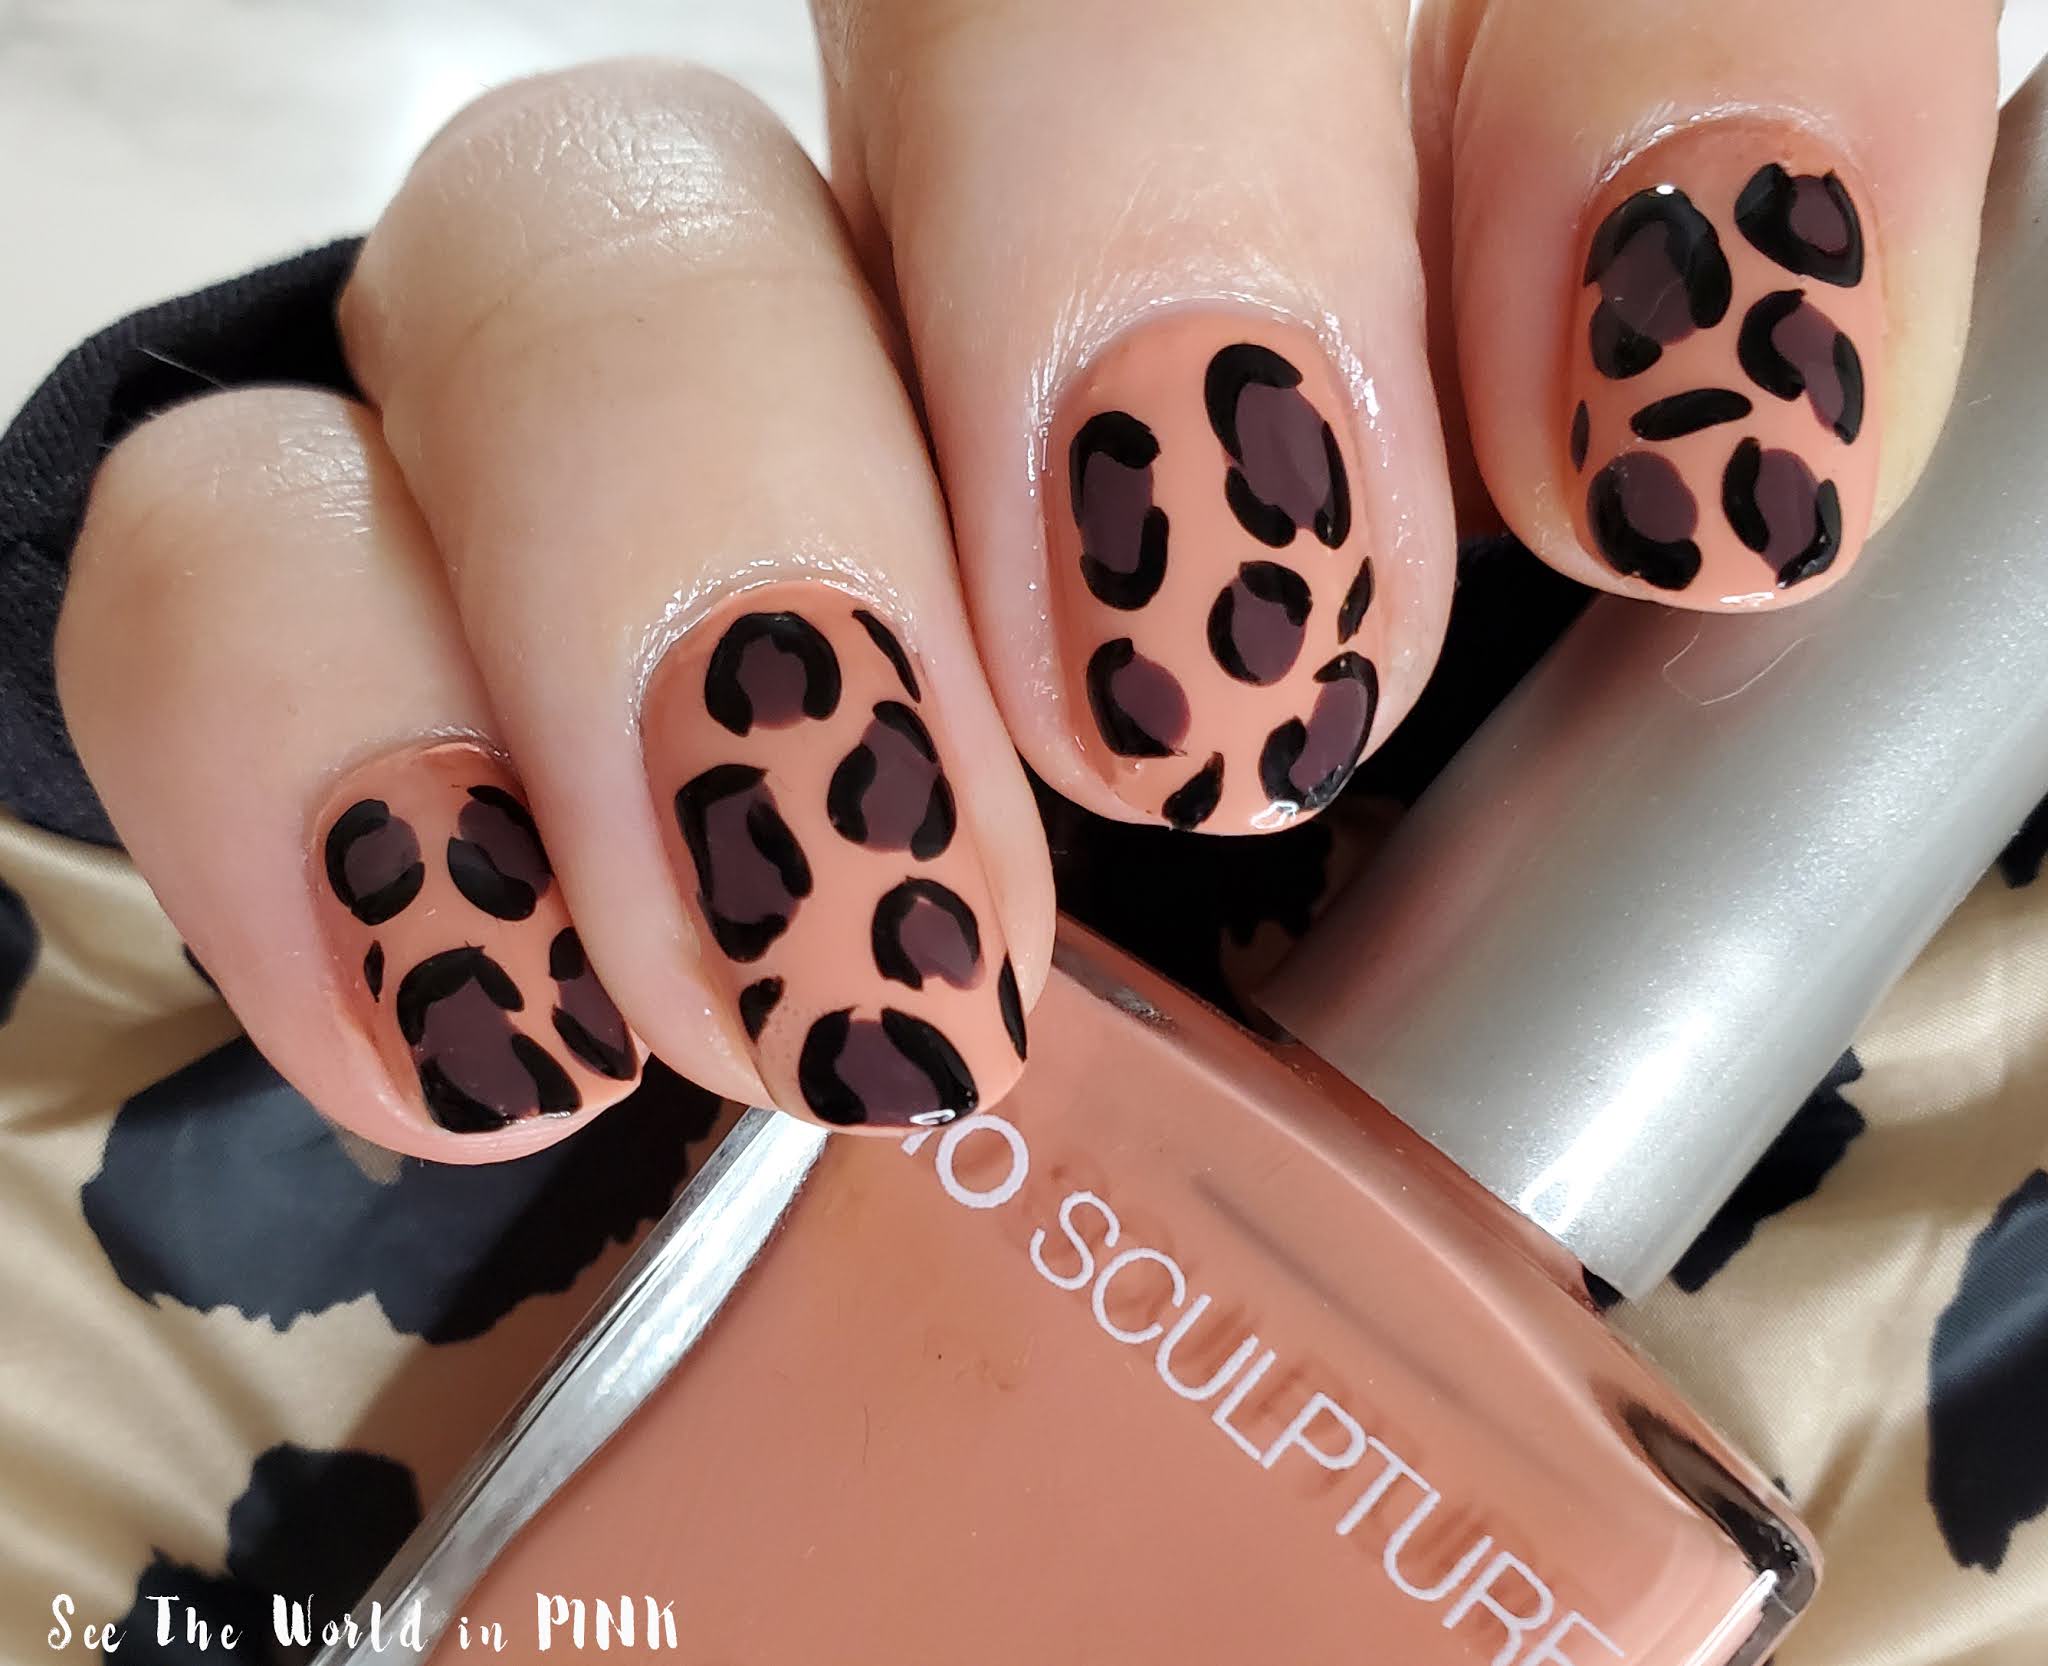
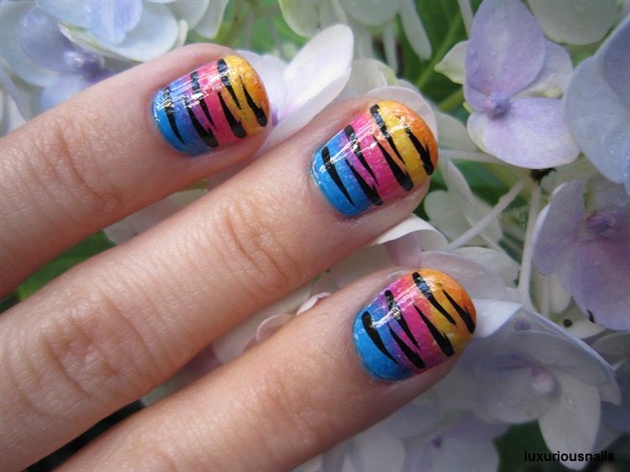
Are you looking for a fierce and wild nail art design? Look no further than the classic tiger print! This bold and statement-making design is perfect for those who want to add some edge to their manicure. In this step by step guide, we will show you how to create your own tiger print nail art design. Get ready to unleash your inner wild side! To start, you will need a few basic nail art supplies: a nude or light-colored nail polish, a black nail polish, and a toothpick. You can also use a nail art brush or dotting tool if you have one, but a toothpick will work just fine. Step 1: Begin by painting all of your nails with the nude or light-colored polish. This will serve as the base for your tiger print design. Step 2: Once your base color is completely dry, take your black nail polish and create small, random dots on your nails. These will serve as the stripes for your tiger print. Make sure to leave some space in between the dots for a more natural look. Step 3: Using a toothpick, gently drag the black polish from each dot to the end of your nail, creating a curved line. This will give the illusion of a tiger stripe. Step 4: Repeat this process on each nail until you have created your desired amount of stripes. You can also vary the size and direction of the stripes for a more realistic look. Step 5: Once you have finished creating your stripes, you can add some extra details to make your tiger print design stand out even more. You can use the toothpick to create small dots or lines in between the stripes, or even add some small dots on top of the stripes to give the illusion of texture. Step 6: Finish off your tiger print nails with a top coat to seal in your design and add some shine. And there you have it, a fierce and wild tiger print nail art design!1. How to Create a Tiger Print Nail Art Design Step by Step


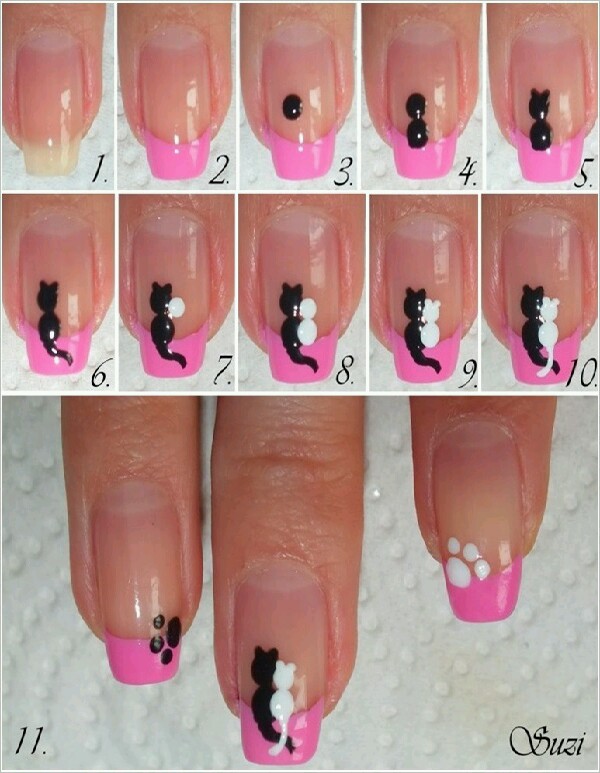
1. How to Create a Tiger Print Nail Art Design Step by Step
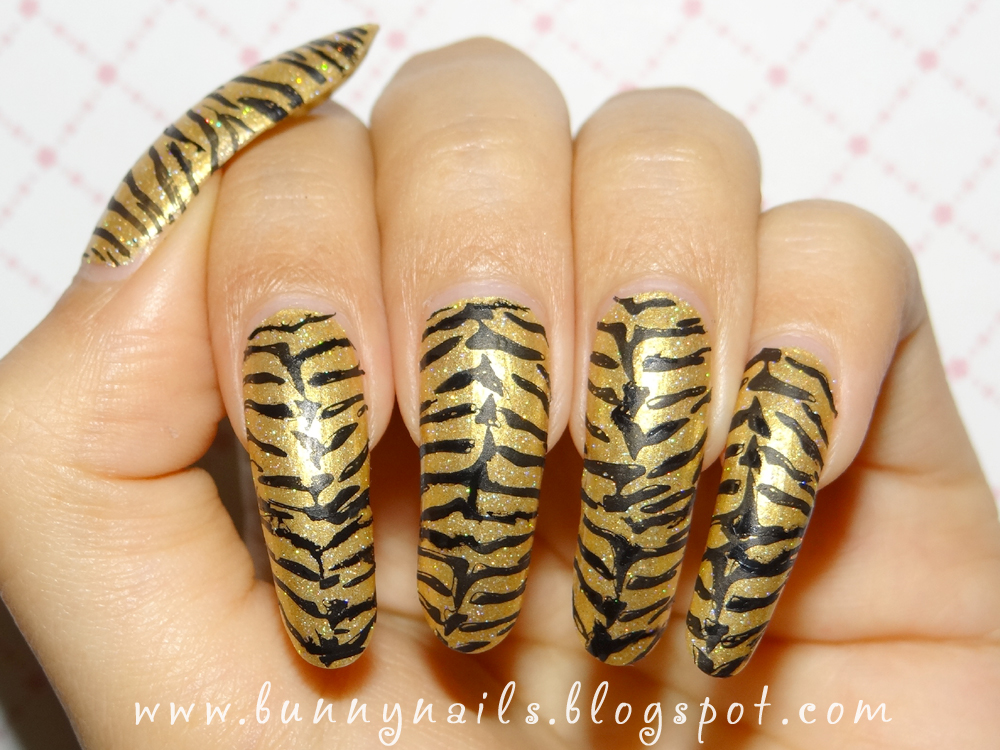


If you're new to nail art, the thought of creating a tiger print design may seem intimidating. But fear not, this tutorial will show you just how easy it can be to achieve this bold and eye-catching look. Step 1: Start by painting all of your nails with a light-colored polish. This will serve as the base for your tiger print design. Step 2: Once your base color is completely dry, take a black nail polish and create random splotches on your nails. These don't have to be perfect, as they will serve as the base for your stripes. Step 3: Using a toothpick, gently drag the black polish from each splotch to the end of your nail, creating curved lines. Make sure to leave some space in between the lines for a more natural look. Step 4: Continue creating these curved lines until you have covered your entire nail. You can also vary the size and direction of the lines for a more realistic look. Step 5: Once you are happy with your stripes, you can add some extra details to make your tiger print design stand out. Use the toothpick to create small dots or lines in between the stripes, or even add some small dots on top of the stripes for texture. Step 6: Finish off your design with a top coat to seal in your design and add some shine. And there you have it, an easy and fierce tiger print nail art design!2. Easy Tiger Print Nail Art Tutorial


2. Easy Tiger Print Nail Art Tutorial


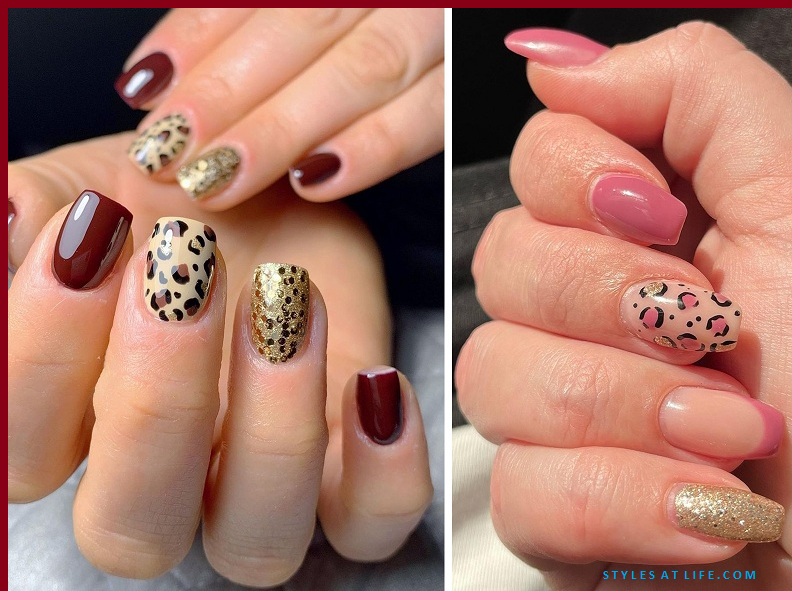
Ready to take your nail game to the next level? Follow this step by step guide to create your own stunning tiger print nails. Step 1: Begin by painting all of your nails with a nude or light-colored polish. This will serve as the base for your tiger print design. Step 2: Once your base color is dry, take a black nail polish and create random splotches on your nails. Step 3: Using a toothpick, gently drag the black polish from each splotch to the end of your nail, creating curved lines. Make sure to leave some space in between the lines for a more natural look. Step 4: Continue creating these curved lines until you have covered your entire nail. Vary the size and direction of the lines for a more realistic and natural look. Step 5: Once you are happy with your stripes, you can add some extra details to make your tiger print design stand out. Use the toothpick to create small dots or lines in between the stripes, or even add some small dots on top of the stripes for texture. Step 6: Finish off your design with a top coat to seal in your design and add some shine. And there you have it, a stunning tiger print nail art design!3. Step by Step Guide to Tiger Print Nails

3. Step by Step Guide to Tiger Print Nails


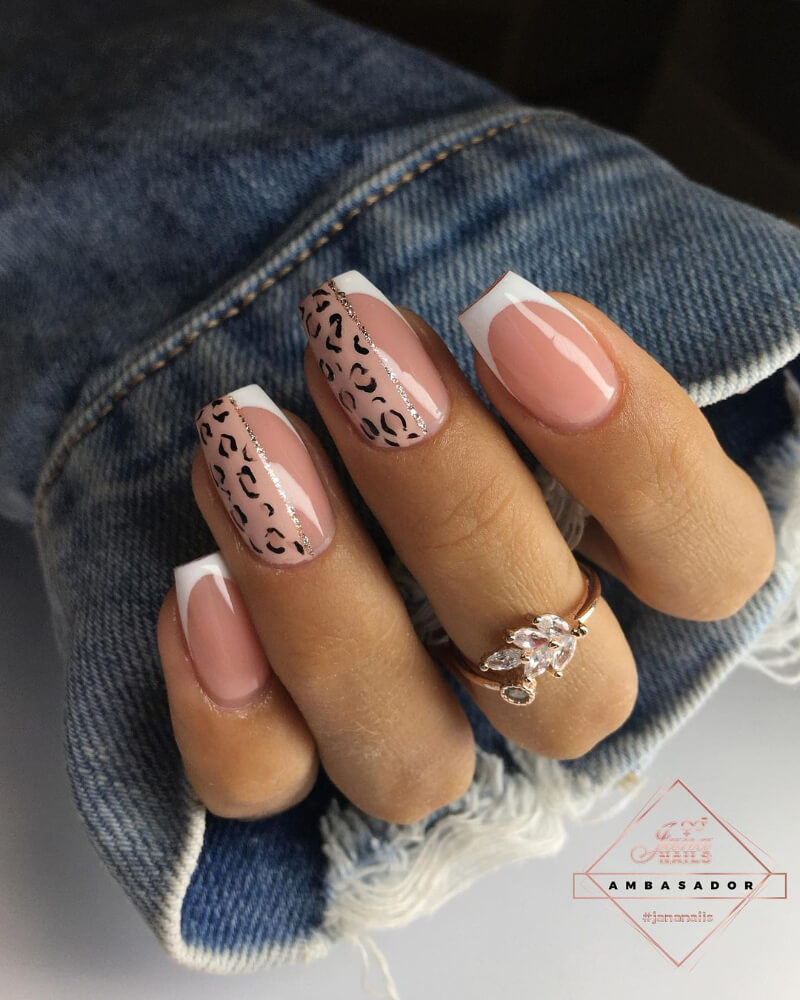
Looking for a fun and creative way to spice up your nails? Try out this DIY tiger print nail art tutorial for a bold and unique look. Step 1: Start by painting all of your nails with a light-colored polish. This will serve as the base for your tiger print design. Step 2: Once your base color is completely dry, take a black nail polish and create random splotches on your nails. Step 3: Using a toothpick, gently drag the black polish from each splotch to the end of your nail, creating curved lines. Make sure to leave some space in between the lines for a more natural look. Step 4: Continue creating these curved lines until you have covered your entire nail. You can also vary the size and direction of the lines for a more realistic look. Step 5: Once you are happy with your stripes, you can add some extra details to make your tiger print design stand out. Use the toothpick to create small dots or lines in between the stripes, or even add some small dots on top of the stripes for texture. Step 6: Finish off your design with a top coat to seal in your design and add some shine. And there you have it, a unique and personalized DIY tiger print nail art design!4. DIY Tiger Print Nail Art Tutorial

4. DIY Tiger Print Nail Art Tutorial

If you're new to the world of nail art, creating a tiger print design may seem daunting. But fear not, this tutorial is perfect for beginners who want to try out this bold and statement-making look. Step 1: Start by painting all of your nails with a light-colored polish. This will serve as the base for your tiger print design. Step 2: Once your base color is dry, take a black nail polish and create random splotches on your nails. Step 3: Using a toothpick, gently drag the black polish from each splotch to the end of your nail, creating curved lines. Make sure to leave some space in between the lines for a more natural look. Step 4: Continue creating these curved lines until you have covered your entire nail. You can also vary the size and direction of the lines for a more realistic look. Step 5: Once you are happy with your stripes, you can add some extra details to make your tiger print design stand out. Use the toothpick to create small dots or lines in between the stripes, or even add some small dots on top of the stripes for texture. Step 6: Finish off your design with a top coat to seal in your design and add some shine. And there you have it, a perfect tiger print nail art design for beginners!5. Tiger Print Nail Art for Beginners

5. Tiger Print Nail Art for Beginners


Ready to rock a fierce and wild nail design? Follow this step by step tutorial to create your own stunning tiger print nails. Step 1: Begin by painting all of your nails with a nude or light-colored polish. This will serve as the base for your tiger print design. Step 2: Once your base color is dry, take a black nail polish and create random splotches on your nails. Step 3: Using a toothpick, gently drag the black polish from each splotch to the end of your nail, creating curved lines. Make sure to leave some space in between the lines for a more natural look. Step 4: Continue creating these curved lines until you have covered your entire nail. You can also vary the size and direction of the lines for a more realistic look. Step 5: Once you are happy with your stripes, you can add some extra details to make your tiger print design stand out. Use the toothpick to create small dots or lines in between the stripes, or even add some small dots on top of the stripes for texture. Step 6: Finish off your design with a top coat to seal in your design and add some shine. And there you have it, a stunning tiger print nail art design created step by step!6. Step by Step Tutorial for Tiger Print Nails

6. Step by Step Tutorial for Tiger Print Nails
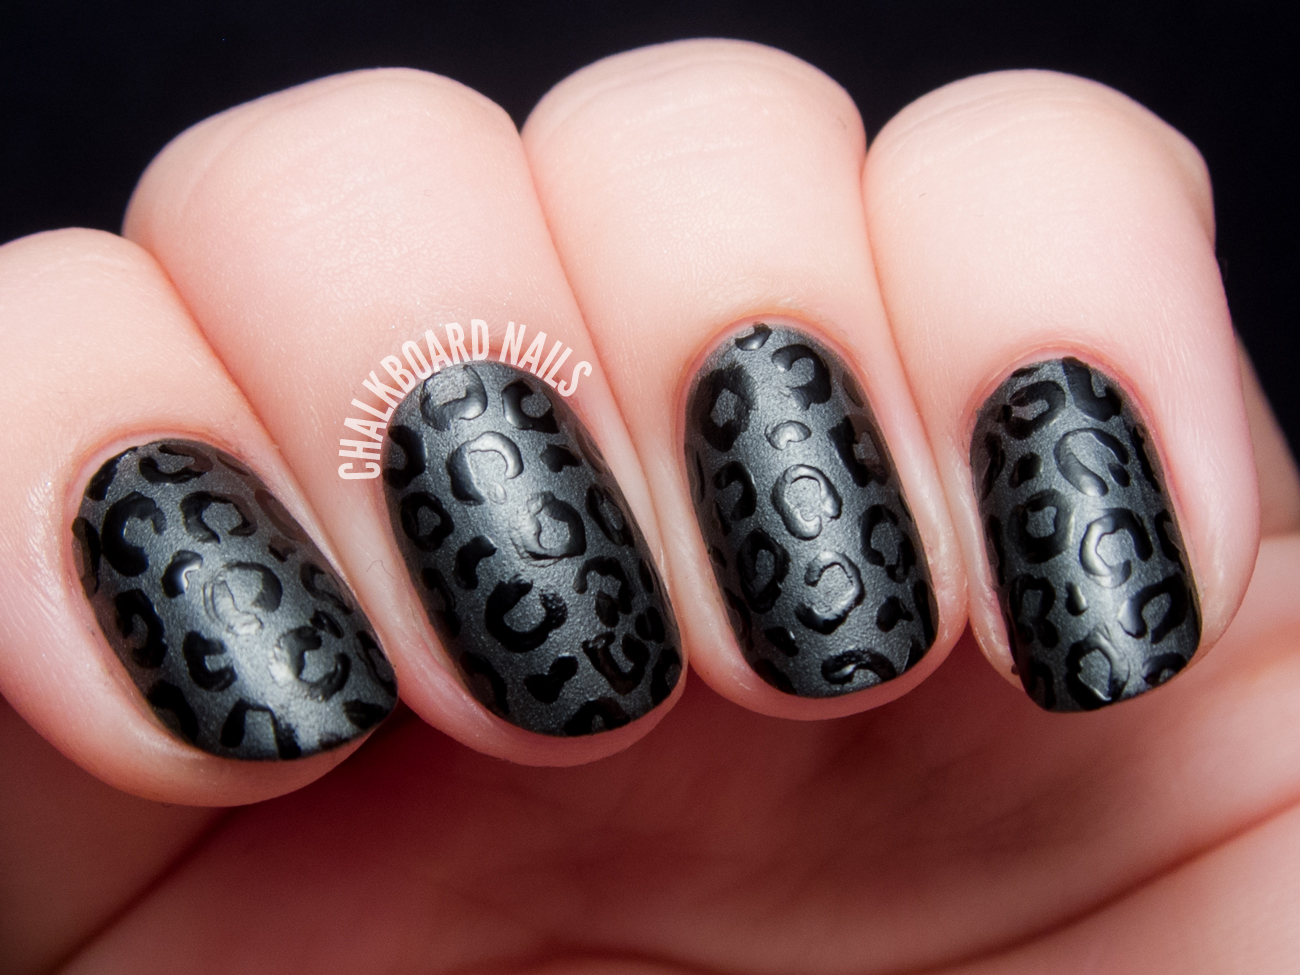
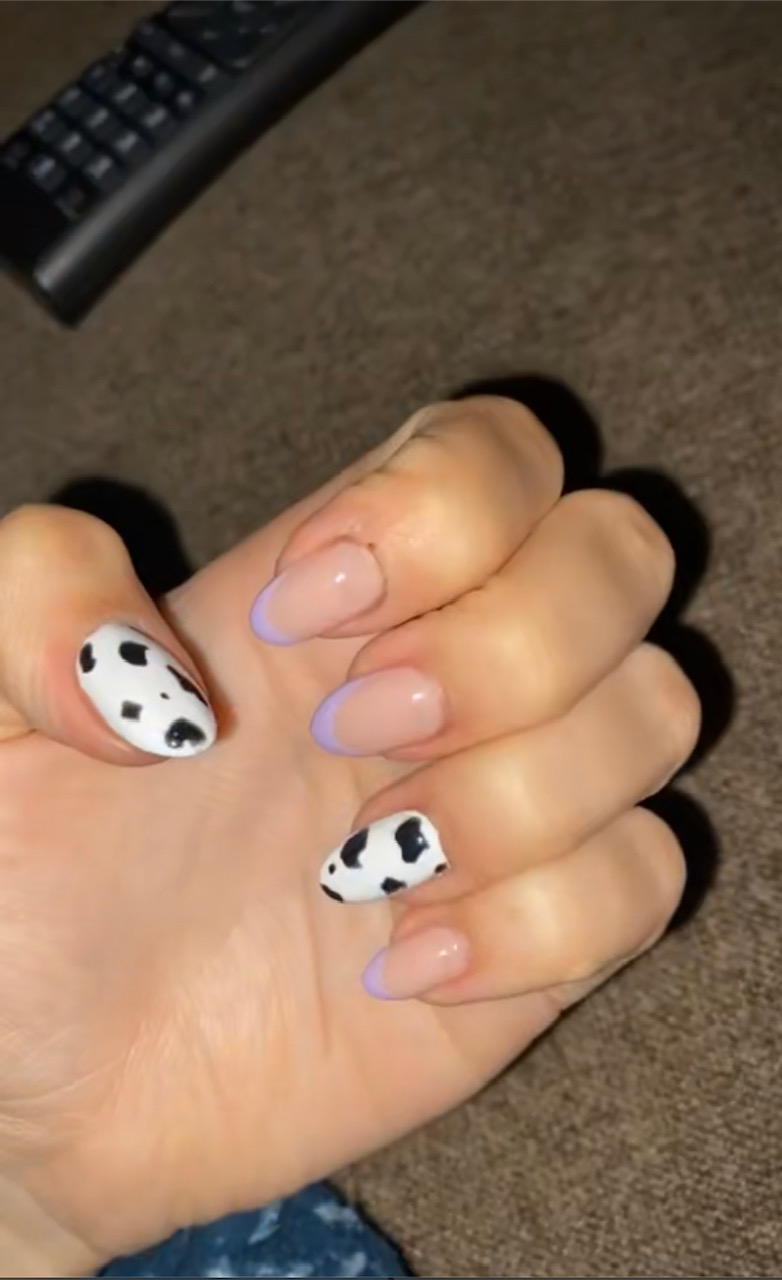
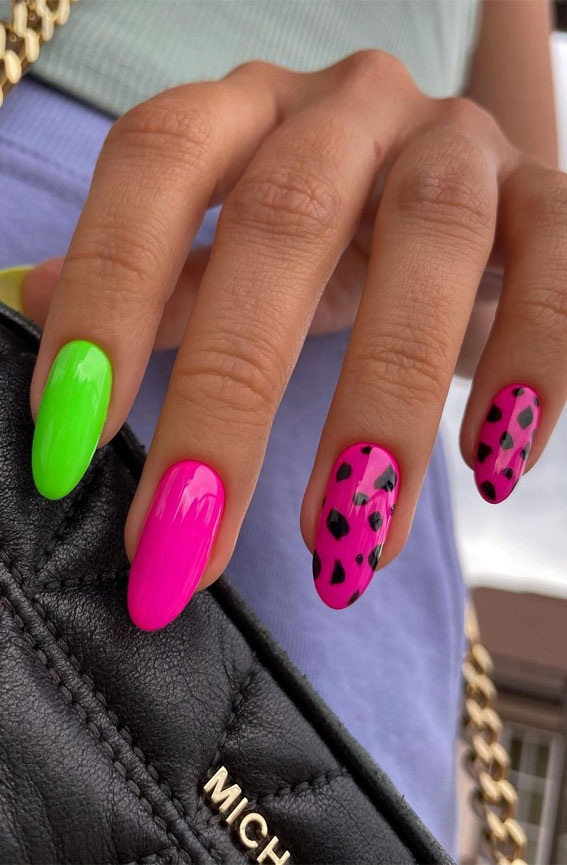
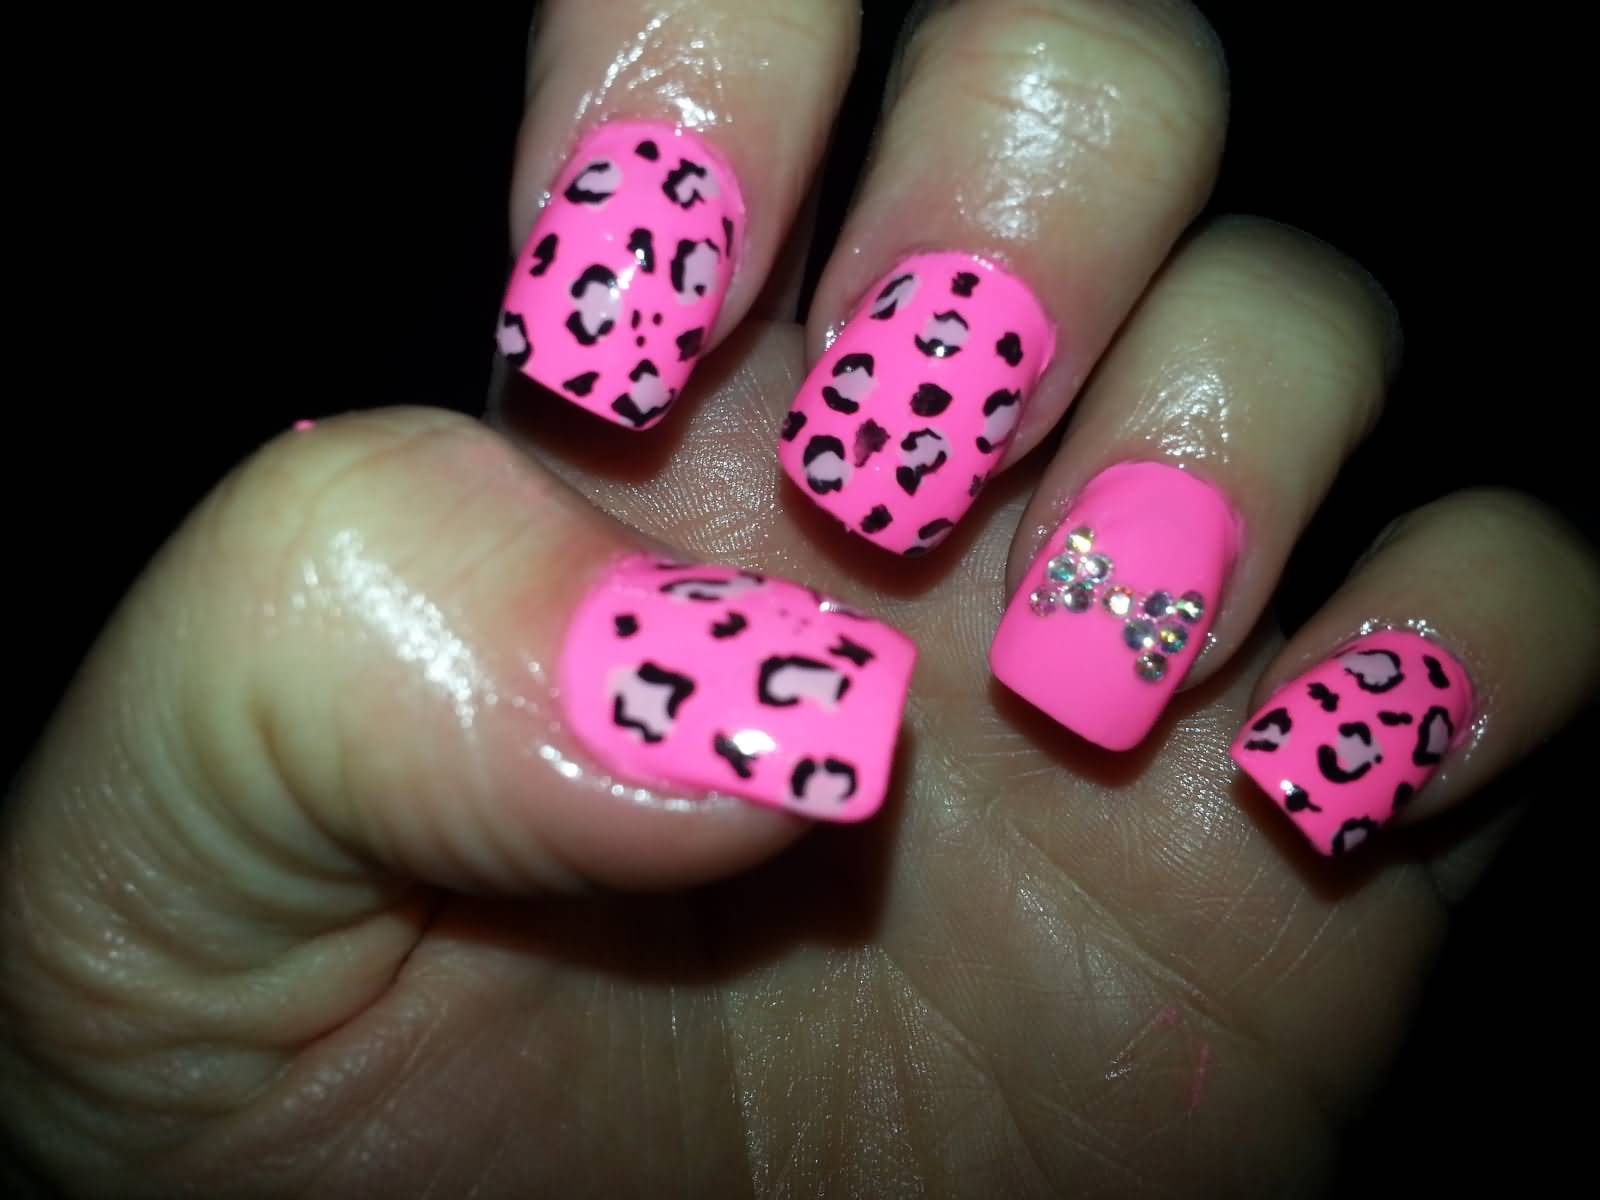
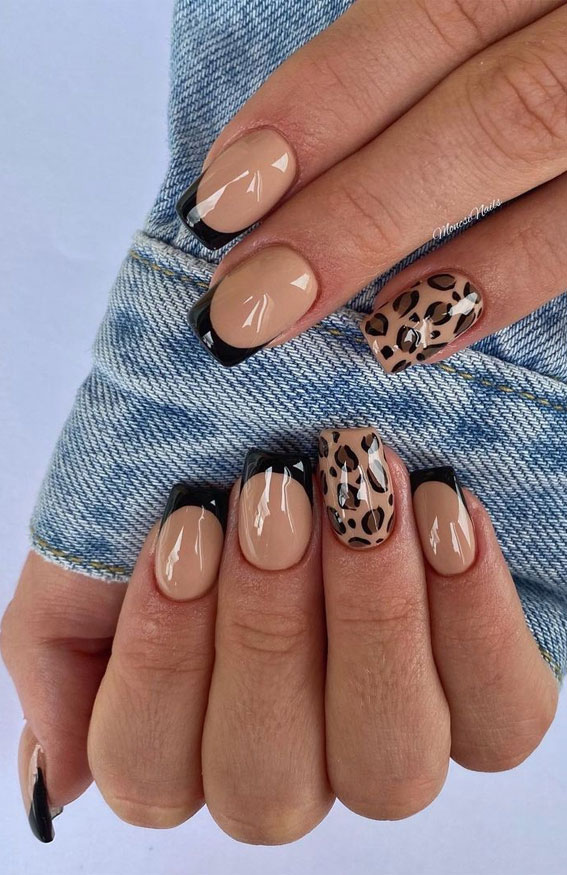
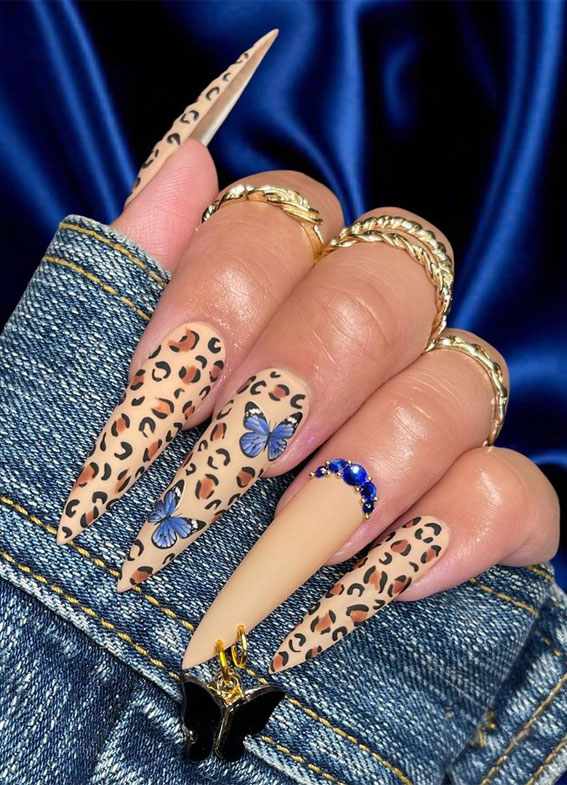
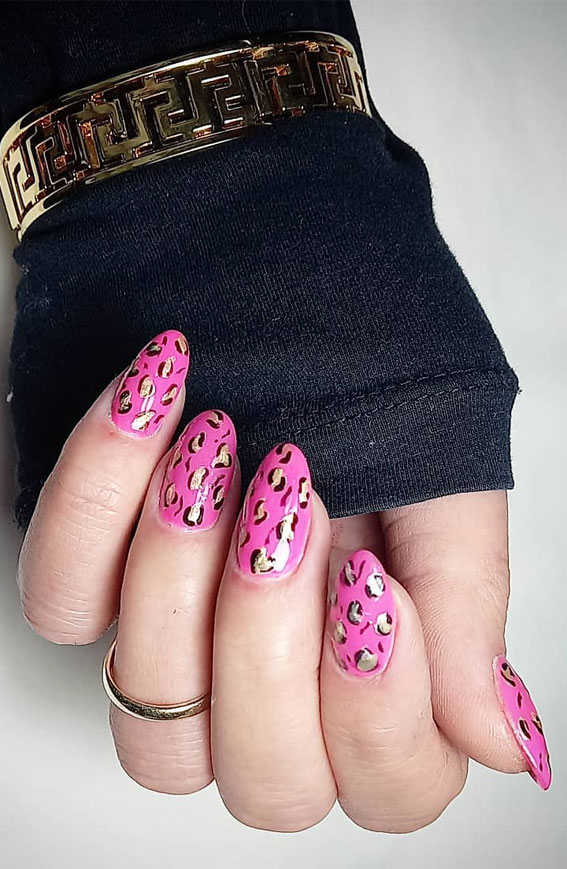
Looking for some inspiration for your next nail art design? Look no further than these unique and creative tiger print nail art ideas. Tiger Print Ombre: Instead of creating stripes, use a sponge to blend the black polish with the light-colored base for a gradient or ombre effect. Tiger Print French Tips: Create a classic French manicure, but instead of using white tips, create tiger stripes using black polish. Tiger Print Accent Nail: If you want a more subtle look, paint all of your nails with the light-colored base and create tiger stripes on just one accent nail. Glitter Tiger Print: Add some sparkle to your tiger print design by using a glittery black polish for the stripes. Double Tiger Print: Create two sets of stripes in different sizes and directions for a more bold and dramatic look.7. Tiger Print Nail Art Design Ideas

7. Tiger Print Nail Art Design Ideas


Want to achieve a fierce and wild nail design without having to go to a salon? Follow these steps to create your own tiger print nails at home. Step 1: Begin by gathering all of your nail art supplies: a light-colored polish, a black polish, and a toothpick (or nail art brush/dotting tool). Step 2: Start by painting all of your nails with the light-colored polish. This will serve as the base for your tiger print design. Step 3: Once your base color is dry, take a black nail polish and create random splotches on your nails. Step 4: Using a toothpick, gently drag the black polish from each splotch to the end of your nail, creating curved lines. Make sure to leave some space in between the lines for a more natural look. Step 5: Continue creating these curved lines until you have covered your entire nail. You can also vary the size and direction of the lines for a more realistic look. Step 6: Once you are happy with your stripes, you can add some extra details to make your tiger print design stand out. Use the toothpick to create small dots or lines in between the stripes, or even add some small dots on top of the stripes for texture. Step 7: Finish off your design with a top coat to seal in your design and add some shine. And there you have it, beautiful tiger print nails done right at home!8. How to Do Tiger Print Nails at Home

8. How to Do Tiger Print Nails at Home

Looking for a simple yet eye-catching nail design? Follow these easy steps to create your own tiger print nails. Step 1: Begin by painting all of your nails with a light-colored polish. This will serve as the base for your tiger print design. Step 2: Once your base color is dry, take a black nail polish and create random splotches on your nails. Step 3: Using a toothpick, gently drag the black polish from each splotch to the end of your nail, creating curved lines. Make sure to leave some space in between the lines for a more natural look. Step 4: Continue creating these curved lines until you have covered your entire nail. You can also vary the size and direction of the lines for a more realistic look. Step 5: Once you are happy with your stripes, you can add some extra details to make your tiger print design stand out. Use the toothpick to create small dots or lines in between the stripes, or even add some small dots on top of the stripes for texture. Step 6: Finish off your design with a top coat to seal in your design and add some shine. And there you have it, a simple yet stunning tiger print nail art design!9. Simple Tiger Print Nail Art Step by Step


9. Simple Tiger Print Nail Art Step by Step


Think you can't rock a bold and wild nail design on short nails? Think again! Follow this tutorial to create a fierce tiger print design on your short nails. Step 1: Begin by painting all of your nails with a light-colored polish. This will serve as the base for your tiger print design.10. Tiger Print Nail Art Tutorial for Short Nails


10. Tiger Print Nail Art Tutorial for Short Nails

Tiger Print Nail Art: The Perfect Way to Add Some Wildness to Your Nails

Unleash Your Inner Fierce with These Simple Steps
 If you're looking to add a touch of fierceness to your nails, then
tiger print nail art
is the way to go. This design has been gaining popularity in the world of
nail art
and it's not hard to see why. With its bold and playful patterns, tiger print nails are a great way to add some
wildness
to your overall look. Plus, it's relatively easy to achieve at home with just a few simple steps.
If you're looking to add a touch of fierceness to your nails, then
tiger print nail art
is the way to go. This design has been gaining popularity in the world of
nail art
and it's not hard to see why. With its bold and playful patterns, tiger print nails are a great way to add some
wildness
to your overall look. Plus, it's relatively easy to achieve at home with just a few simple steps.
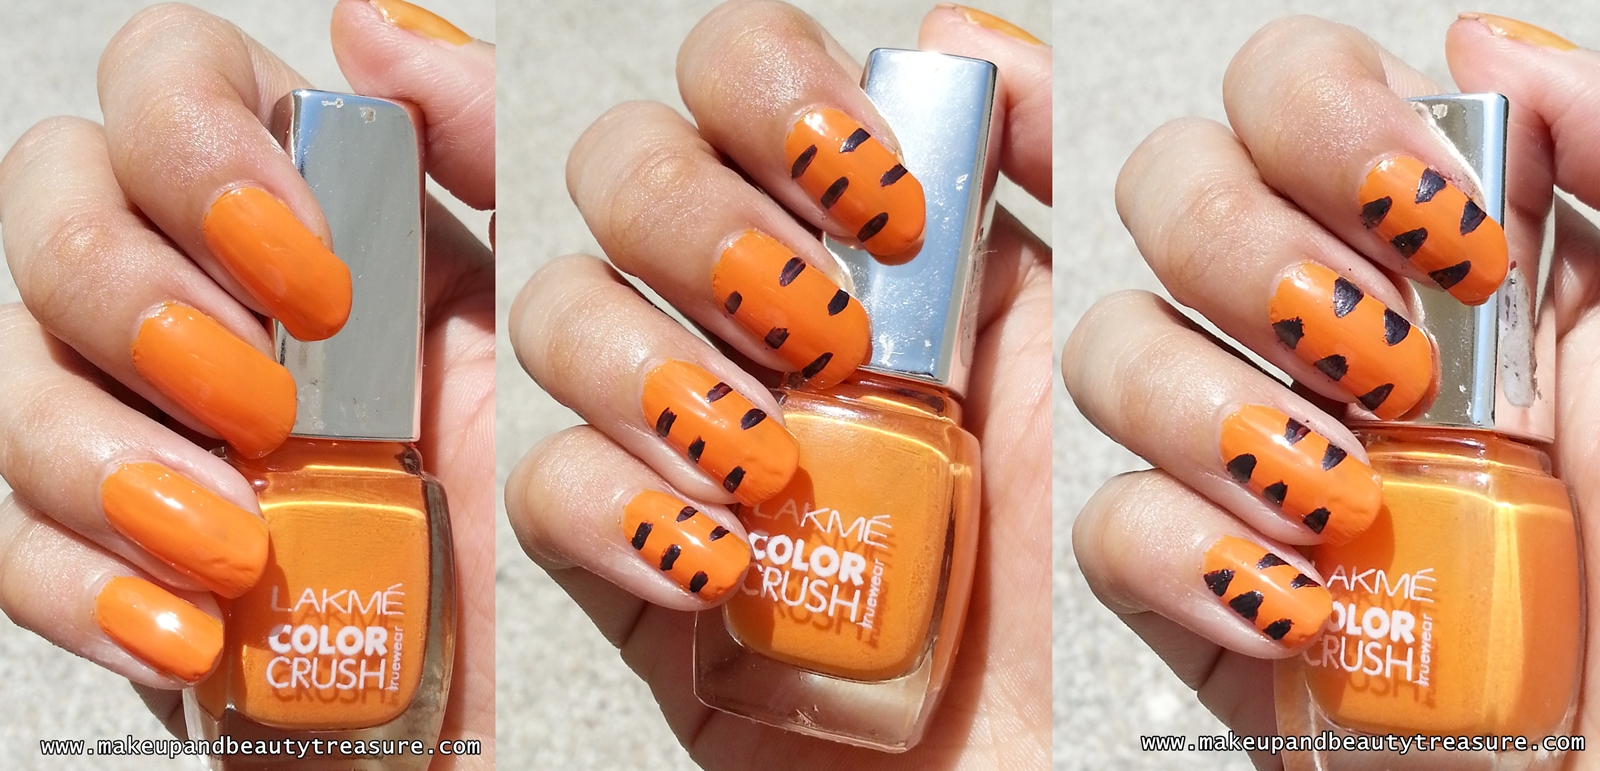
Gather Your Supplies
 Before you begin, make sure you have all the necessary supplies. This includes a base coat, top coat,
nail polish
in shades of orange and black, a thin nail art brush, and a dotting tool or toothpick.
Before you begin, make sure you have all the necessary supplies. This includes a base coat, top coat,
nail polish
in shades of orange and black, a thin nail art brush, and a dotting tool or toothpick.
Step 1: Apply a Base Coat
 Start by applying a base coat to your nails. This will not only protect your nails but also help the
nail polish
to adhere better and last longer.
Start by applying a base coat to your nails. This will not only protect your nails but also help the
nail polish
to adhere better and last longer.
Step 2: Paint Your Nails Orange
 Using your orange
nail polish
, paint all your nails except for the ring fingers. This will serve as the base color for your tiger print design.
Using your orange
nail polish
, paint all your nails except for the ring fingers. This will serve as the base color for your tiger print design.
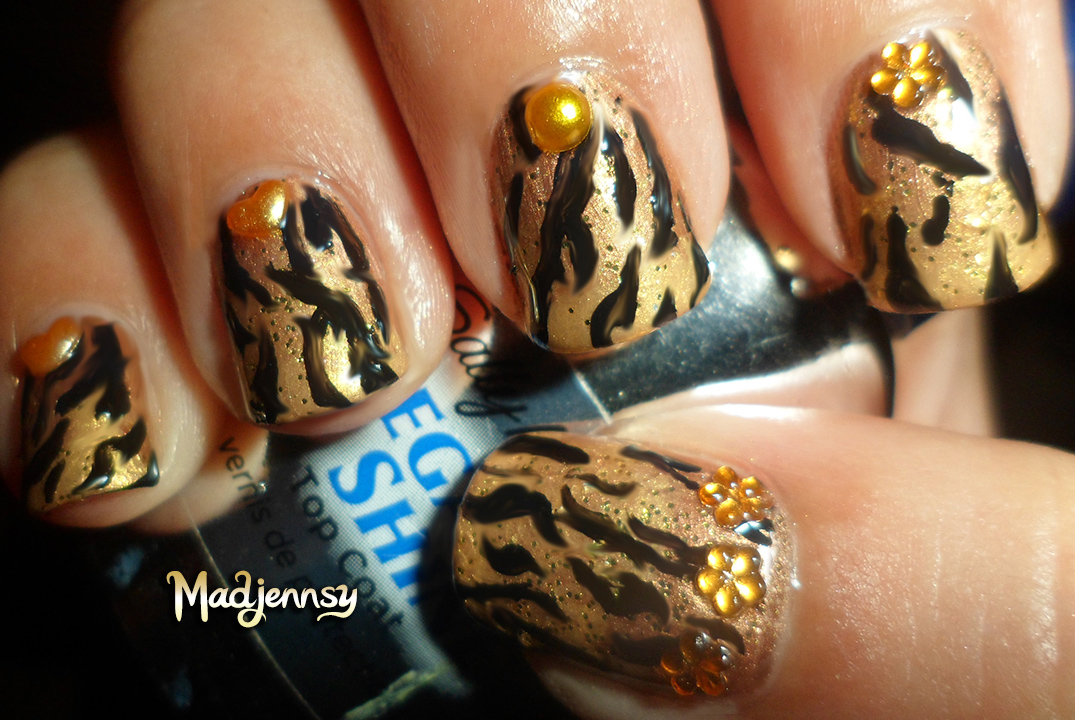
Step 3: Create the Tiger Stripes
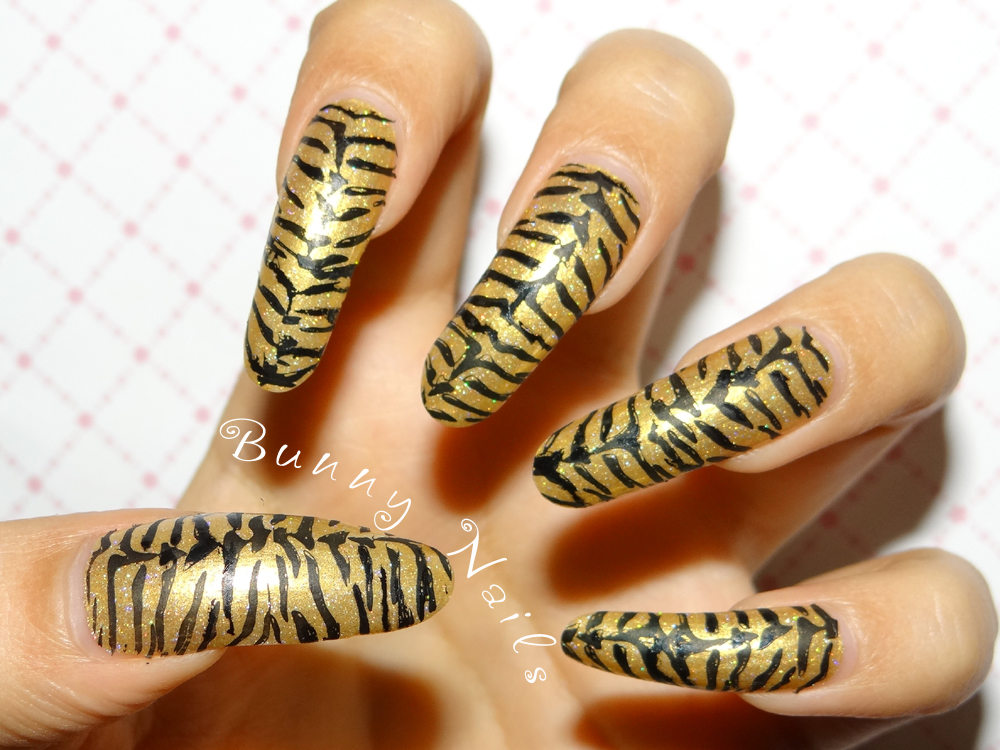 Using your black
nail polish
and thin nail art brush, carefully draw vertical stripes on your ring fingers. These stripes can be thick or thin, depending on your preference. Don't worry about making them perfect, as the rough edges will add to the
wildness
of the design.
Using your black
nail polish
and thin nail art brush, carefully draw vertical stripes on your ring fingers. These stripes can be thick or thin, depending on your preference. Don't worry about making them perfect, as the rough edges will add to the
wildness
of the design.
Step 4: Add the Details
 Using your dotting tool or toothpick, add small dots along the edges of the black stripes. This will create a more realistic
tiger print
effect. You can also add some smaller stripes in between the black ones for a more intricate design.
Using your dotting tool or toothpick, add small dots along the edges of the black stripes. This will create a more realistic
tiger print
effect. You can also add some smaller stripes in between the black ones for a more intricate design.
Step 5: Finish with a Top Coat
 Once your design is dry, finish off with a top coat to seal in your
tiger print nail art
and add a glossy finish.
And there you have it, your very own
tiger print nails
! This
nail art
design is perfect for anyone looking to add some
wildness
and
fierceness
to their nails. Plus, with these simple steps, you can easily achieve this look at home. So go ahead and unleash your inner
fierce
with tiger print nail art!
Once your design is dry, finish off with a top coat to seal in your
tiger print nail art
and add a glossy finish.
And there you have it, your very own
tiger print nails
! This
nail art
design is perfect for anyone looking to add some
wildness
and
fierceness
to their nails. Plus, with these simple steps, you can easily achieve this look at home. So go ahead and unleash your inner
fierce
with tiger print nail art!


