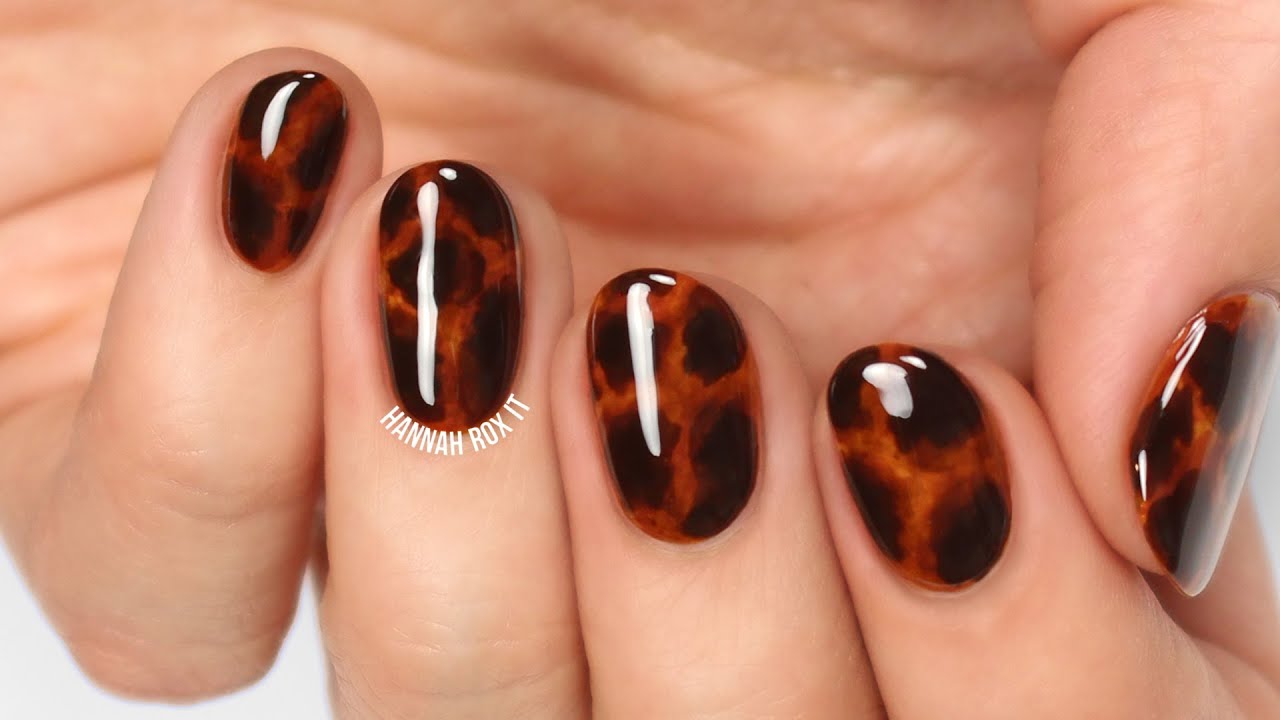
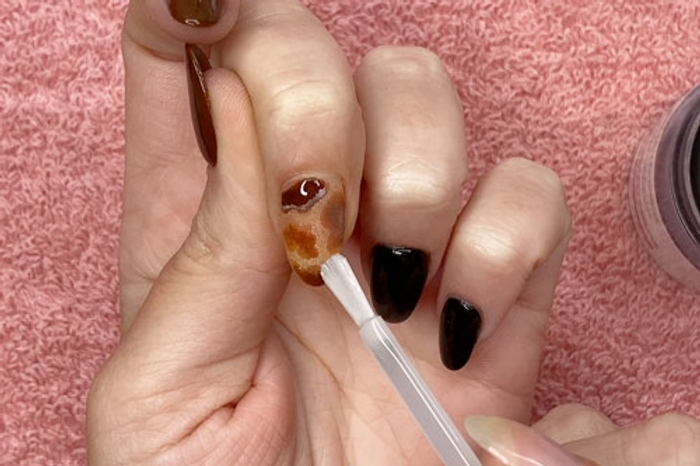
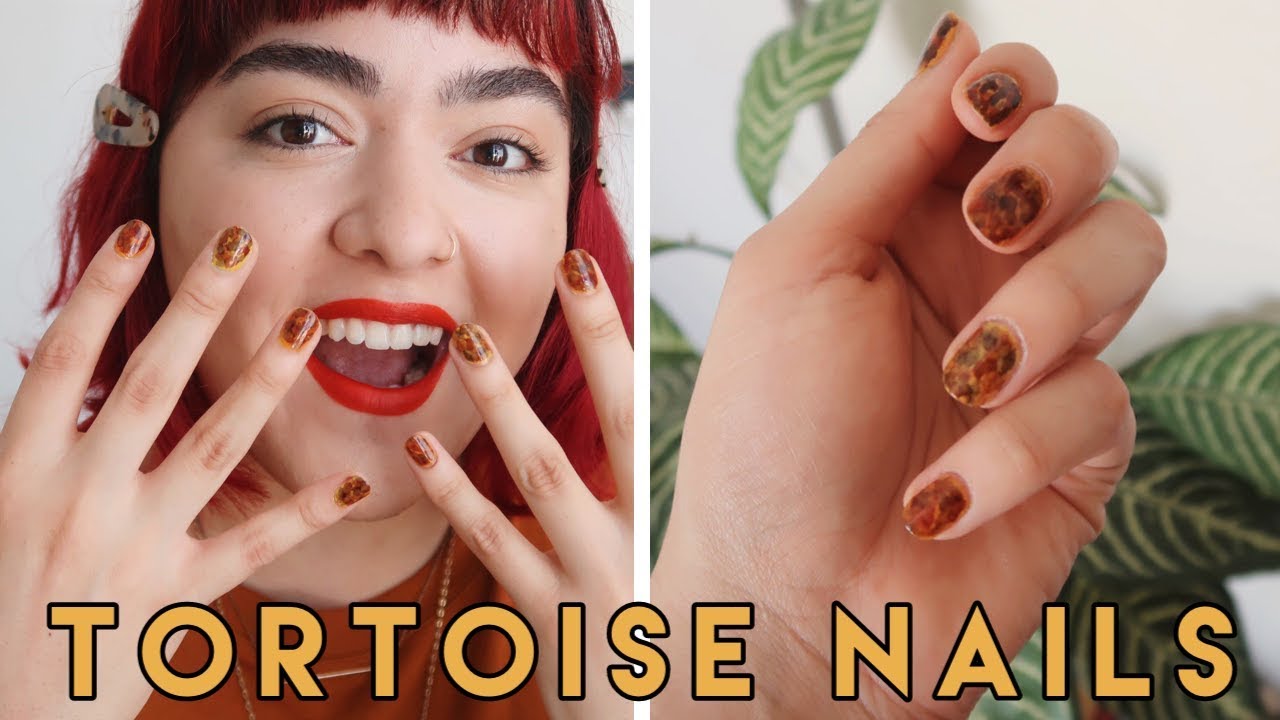
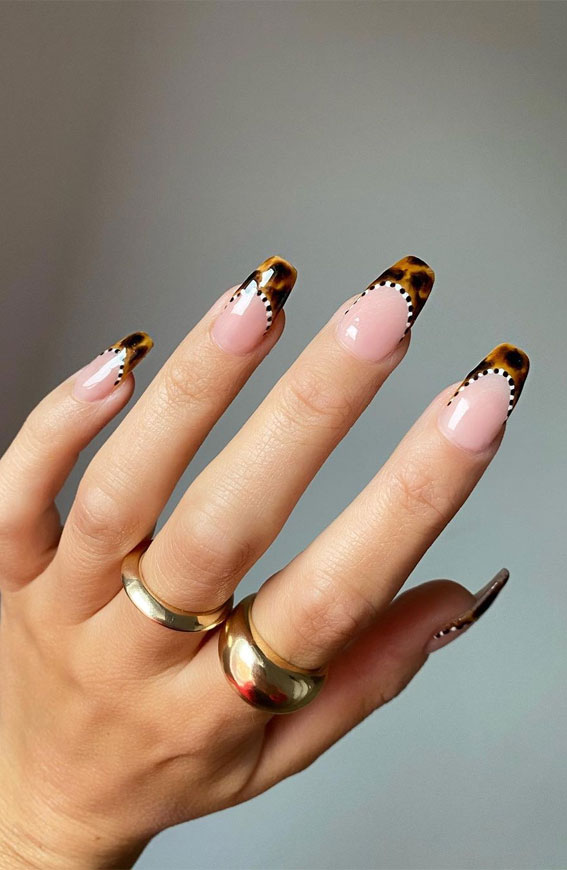
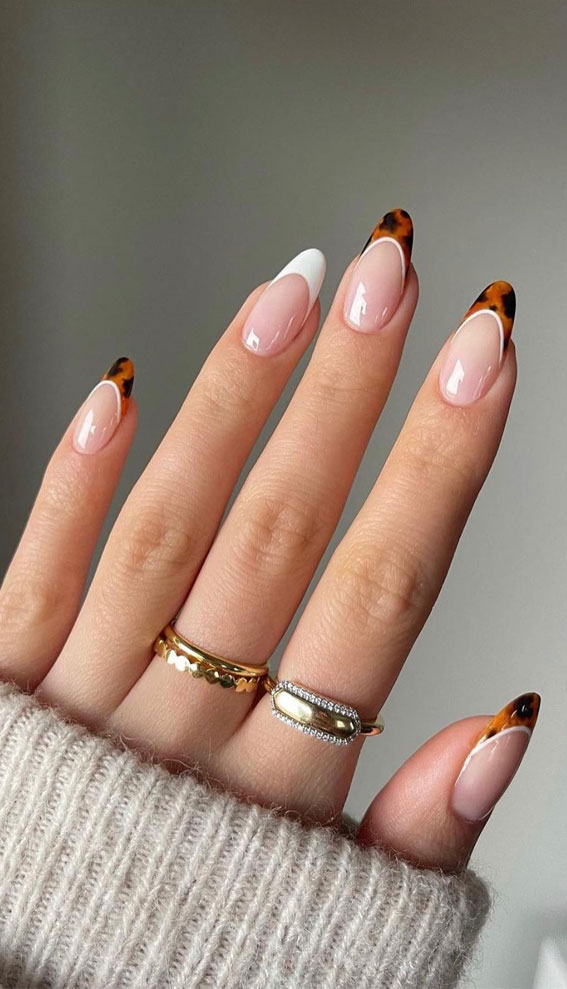
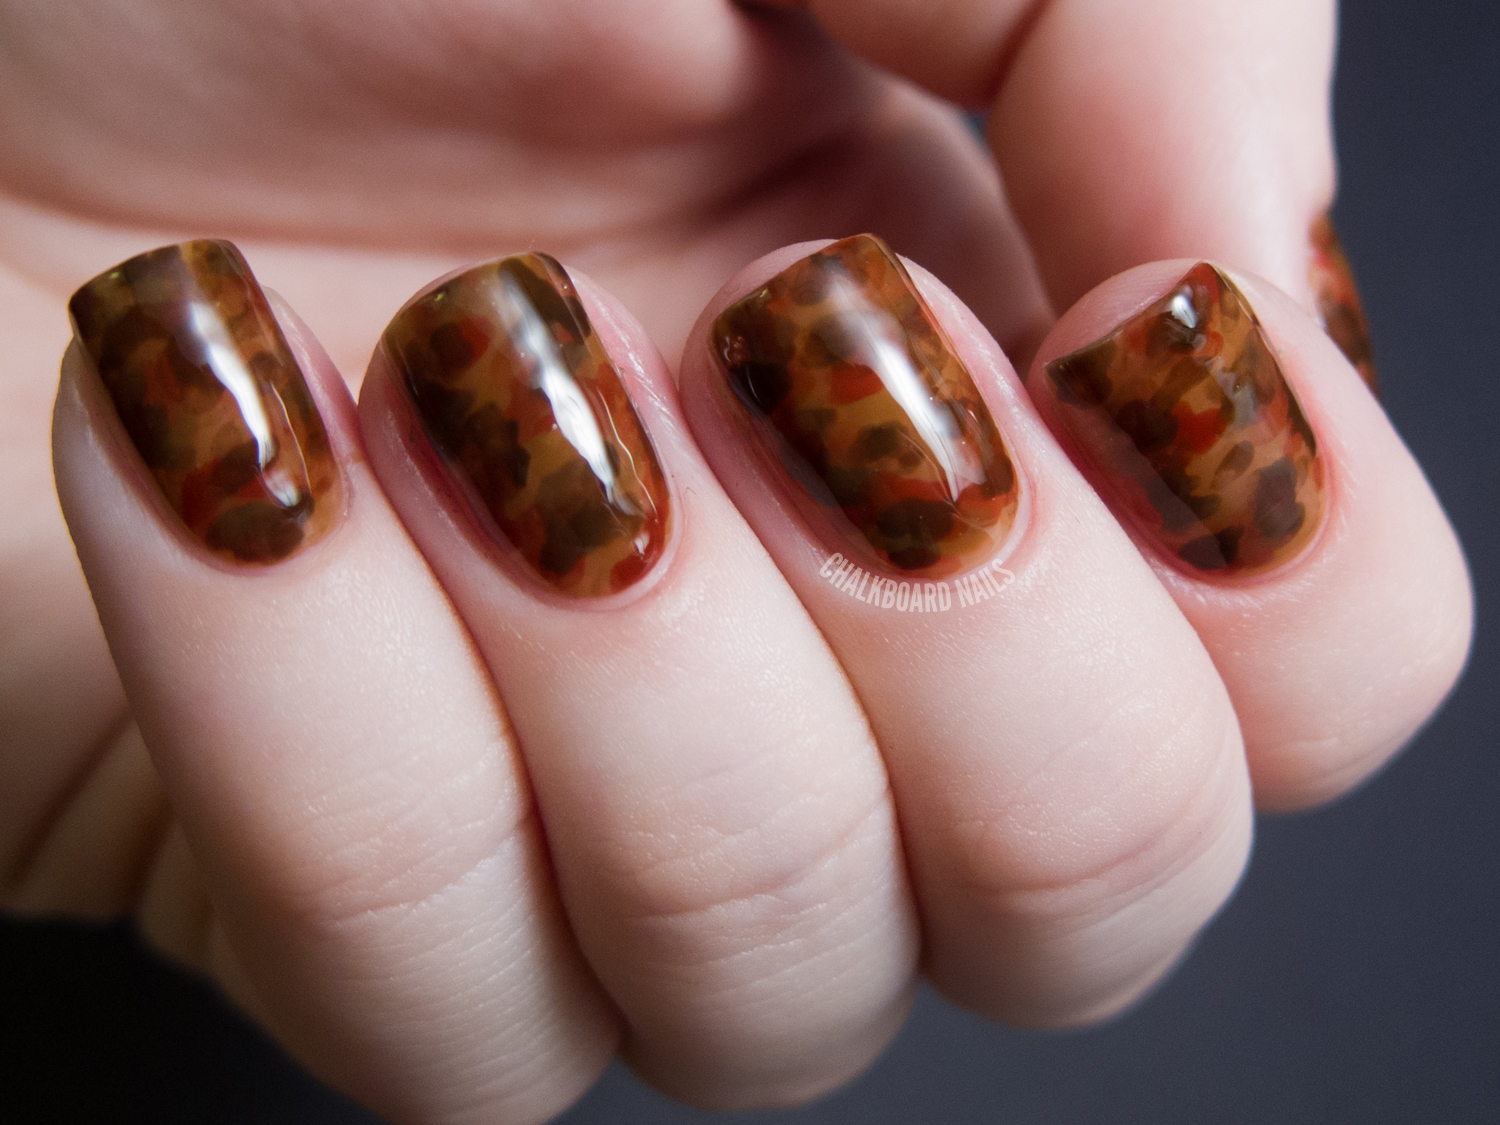
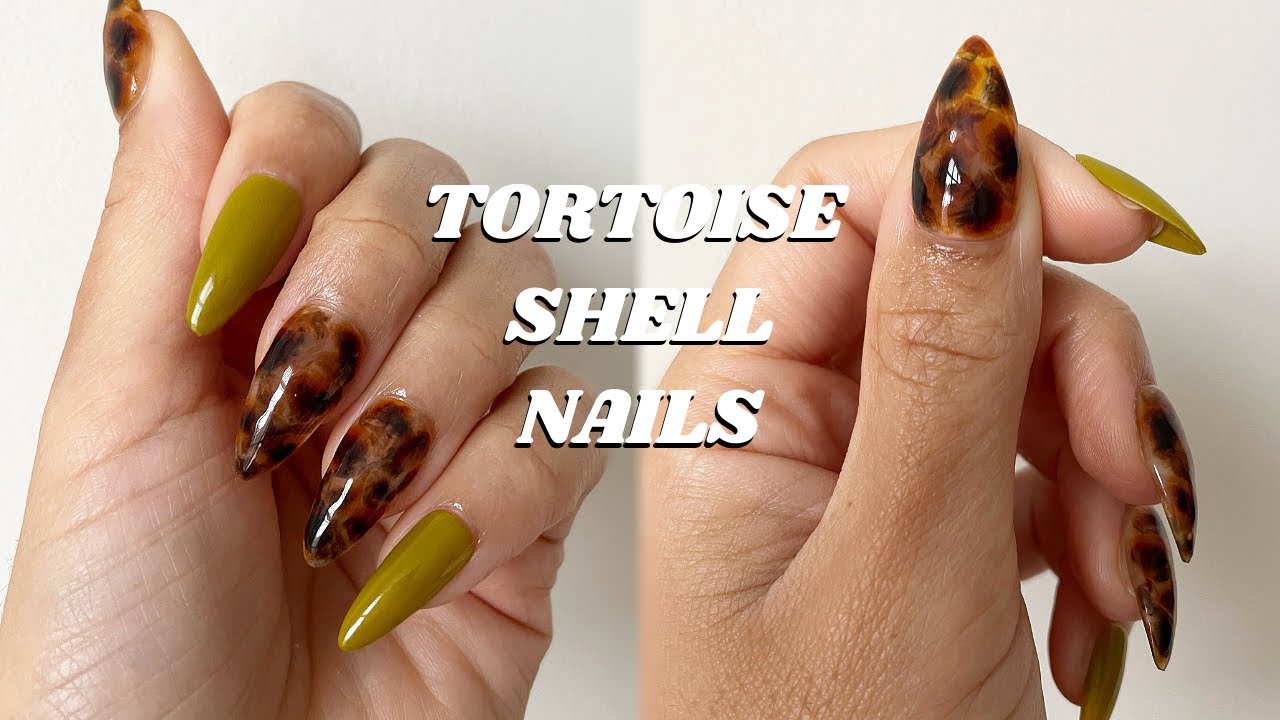
Creating a gorgeous tortoise shell nail design may seem intimidating, but with this easy tutorial, you'll be able to achieve the look in no time! All you need are a few basic nail polish colors and some simple tools. Start by applying a base coat to protect your nails and help the nail polish last longer. Then, using a dark brown nail polish, apply two coats to your nails and let them dry completely. Next, take a light green nail polish and dab a few drops onto a piece of paper. Using a small brush or a toothpick, lightly swirl the green polish into the brown polish on your nails, creating a marbled effect. Repeat this step with a light brown polish, adding more swirls and creating a tortoise shell pattern. If you make a mistake or want to change the design, you can always use a cotton swab dipped in nail polish remover to clean up any excess polish. Once you're happy with your tortoise shell design, seal it in with a top coat for a glossy finish. And there you have it, an easy tortoise shell nail art that will surely catch some attention!1. Easy Tortoise Shell Nail Art Tutorial


1. Easy Tortoise Shell Nail Art Tutorial
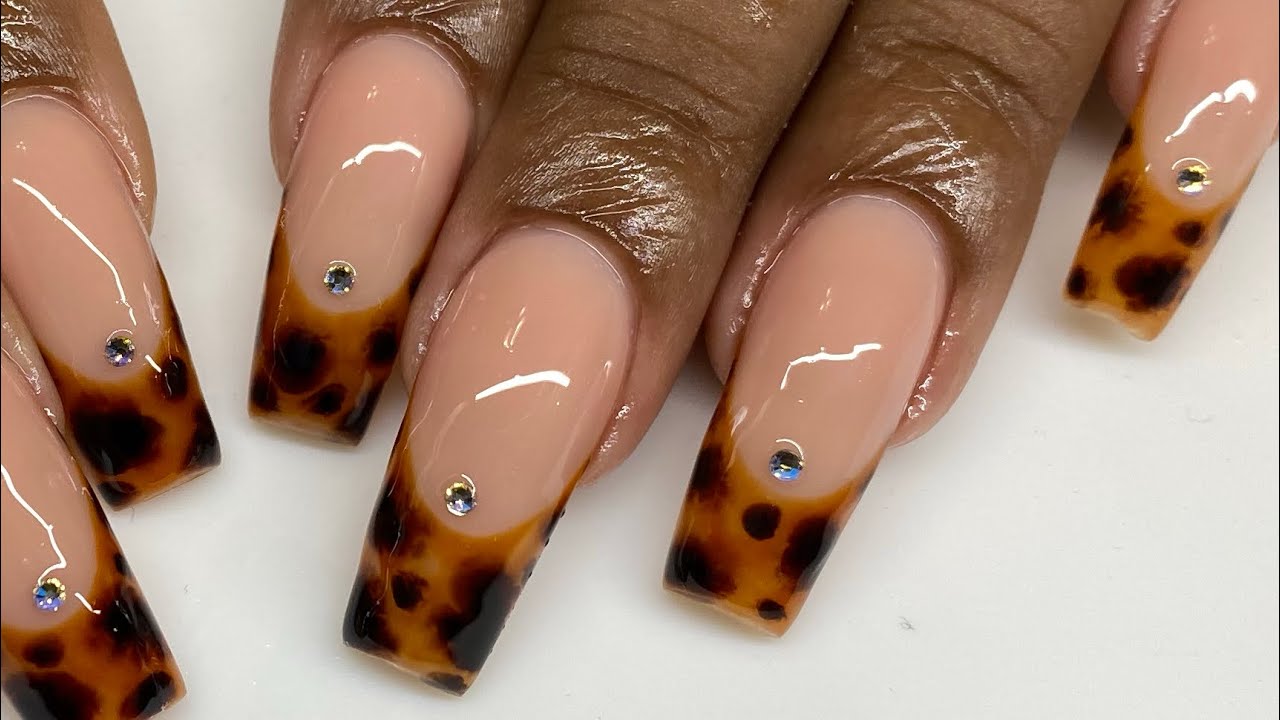


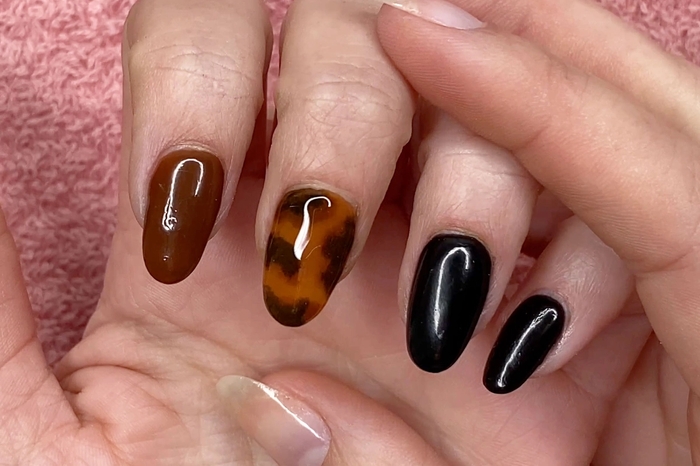
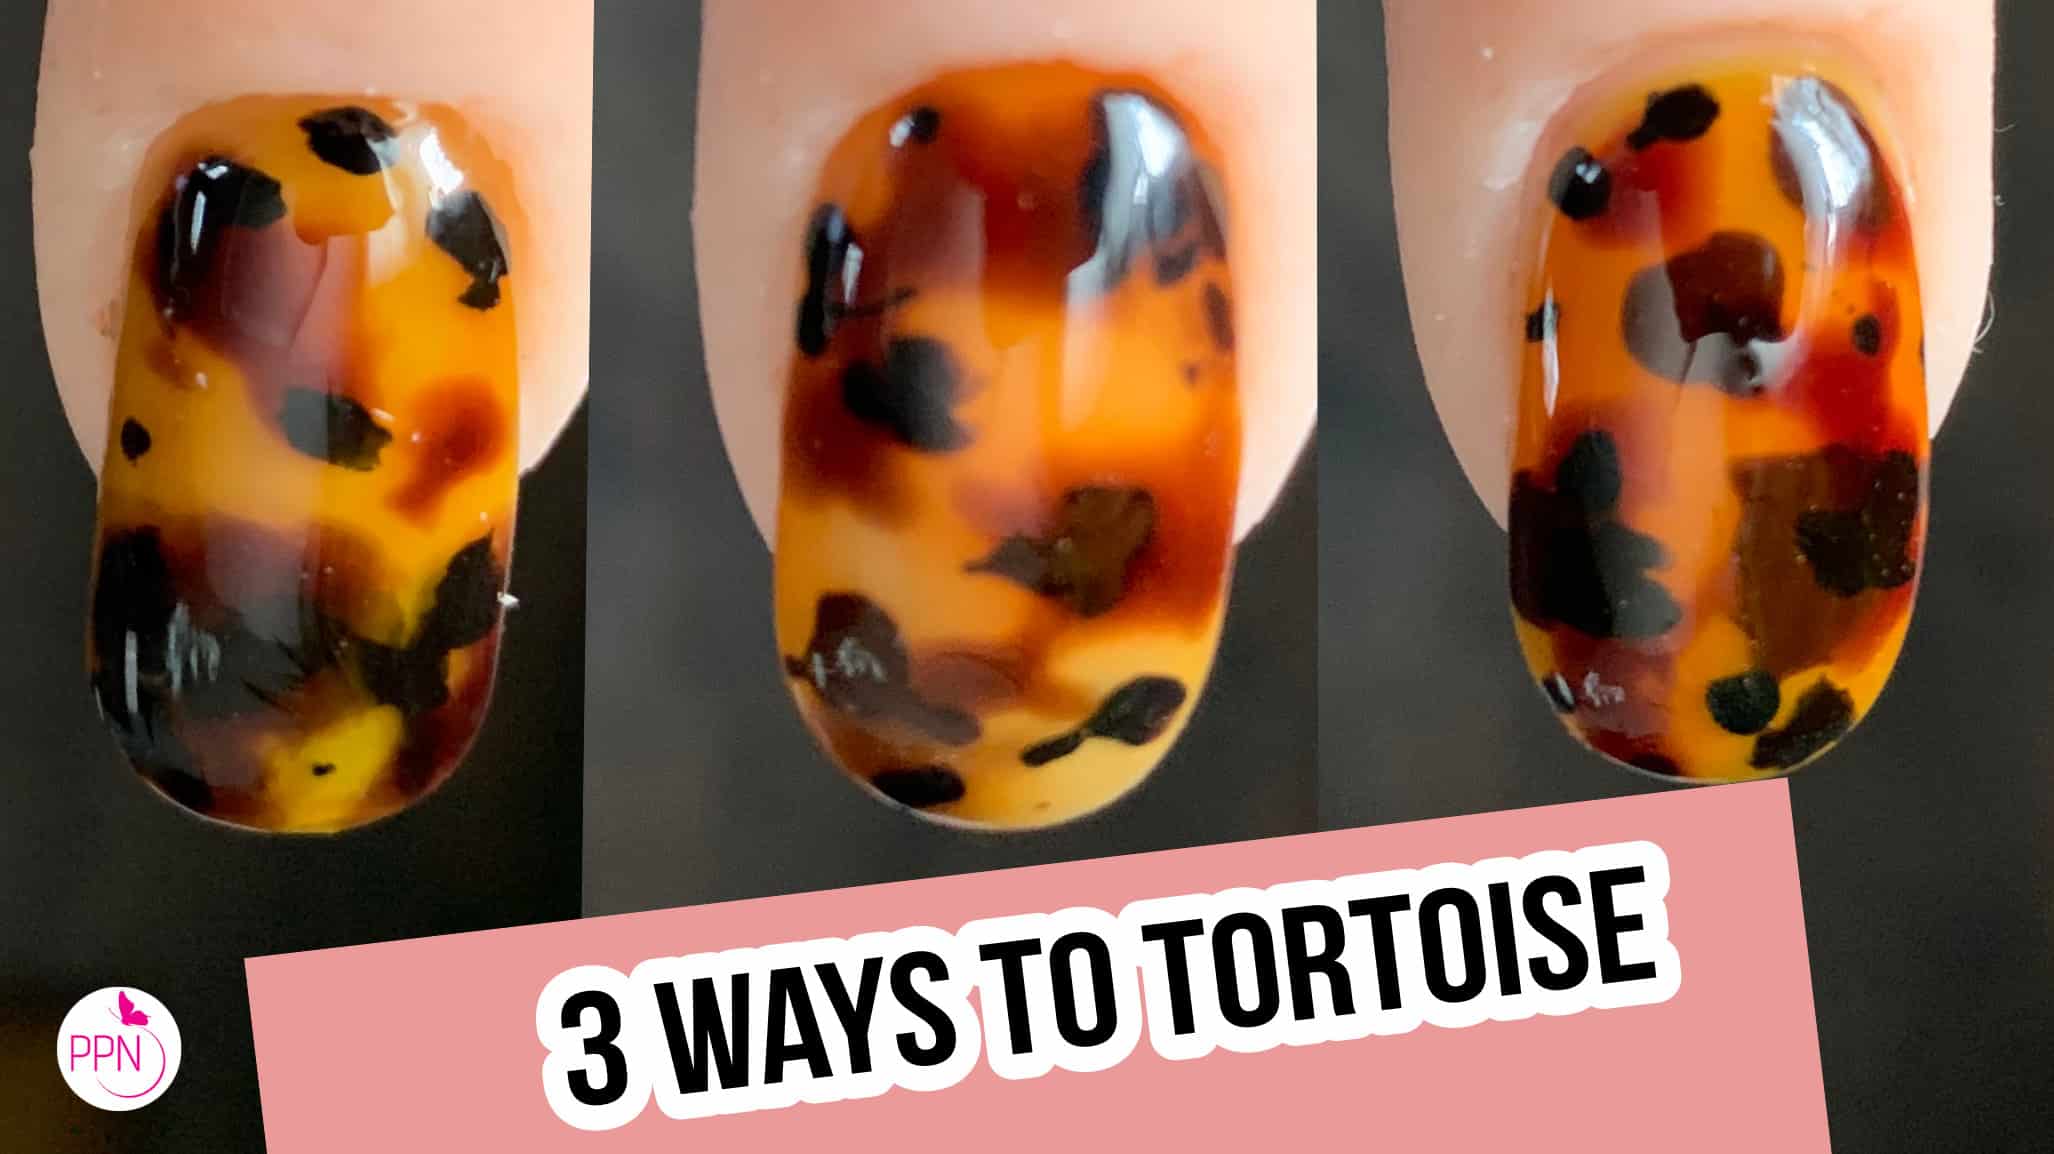
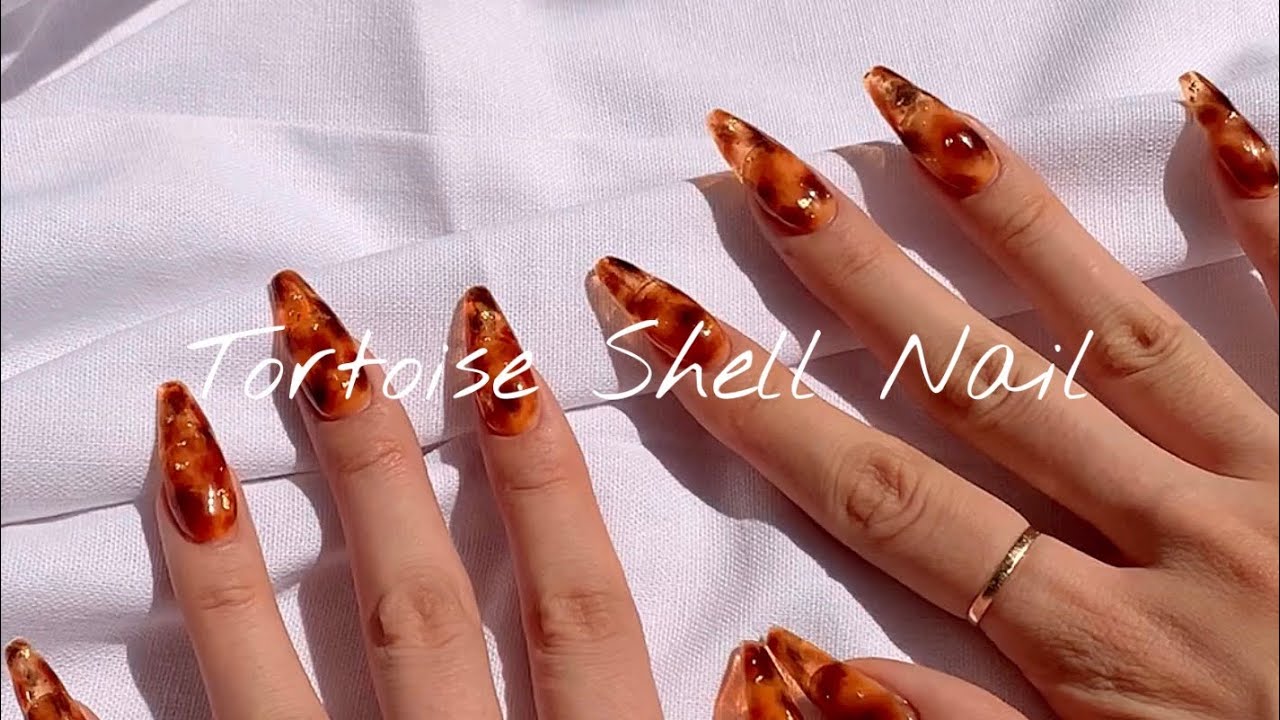
If you're a fan of DIY projects and want to save some money, this tutorial is for you! With just a few household items and some nail polish, you can create a beautiful tortoise shell nail design at home. Start by preparing your nails with a base coat, and then apply a light beige nail polish as your base color. Let it dry completely before moving on to the next step. Now, take a plastic sandwich bag and crumple it up to create a textured surface. Dip the crumpled bag into a dark brown nail polish and lightly dab it onto your nails, creating a marbled effect. Using a different section of the bag, repeat this step with a light brown polish, creating more swirls and adding depth to your design. Remember to let each layer dry before adding the next one. Once you're satisfied with the tortoise shell pattern, seal it in with a top coat and let it dry completely. And just like that, you have a beautiful DIY tortoise shell nail design without breaking the bank!2. DIY Tortoise Shell Nails Tutorial


2. DIY Tortoise Shell Nails Tutorial


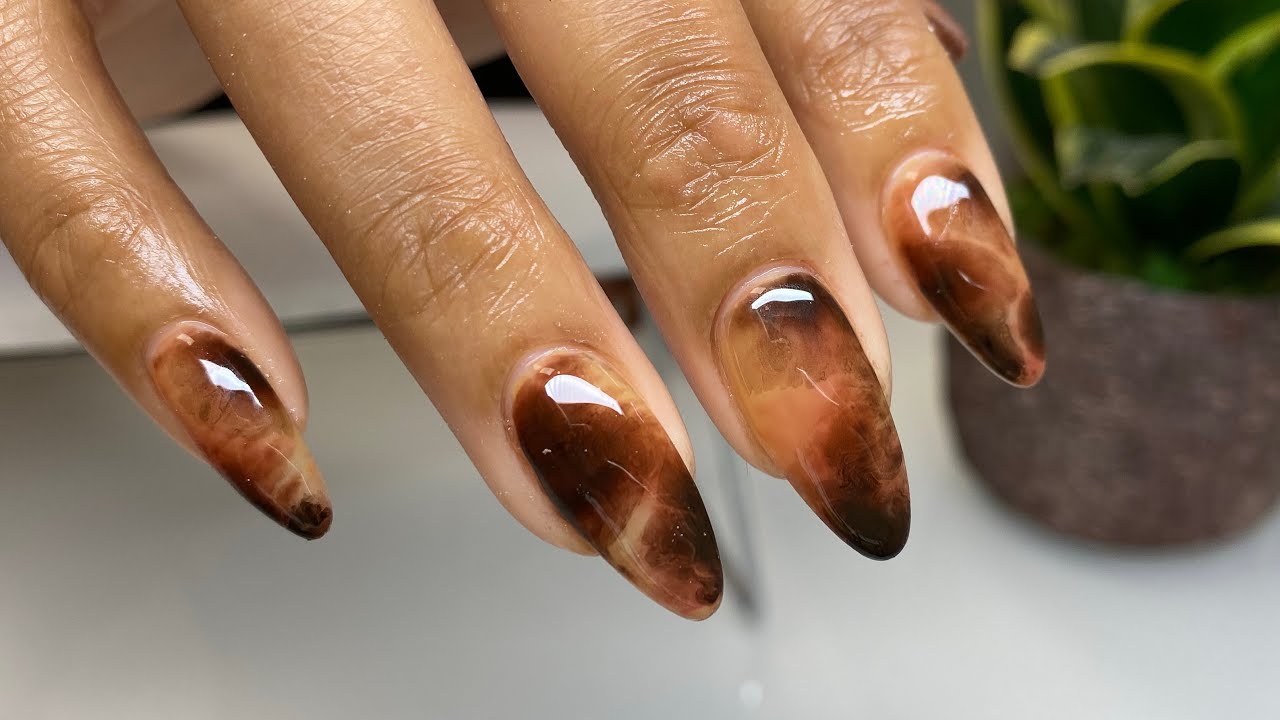
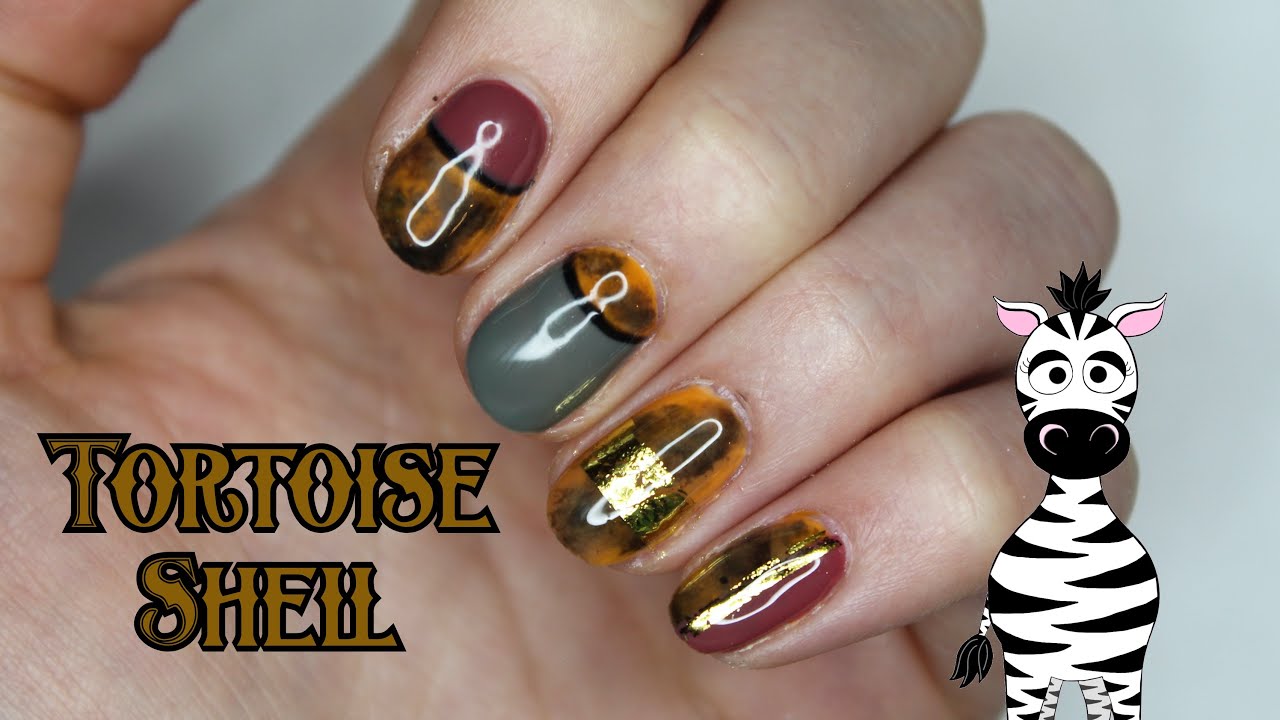
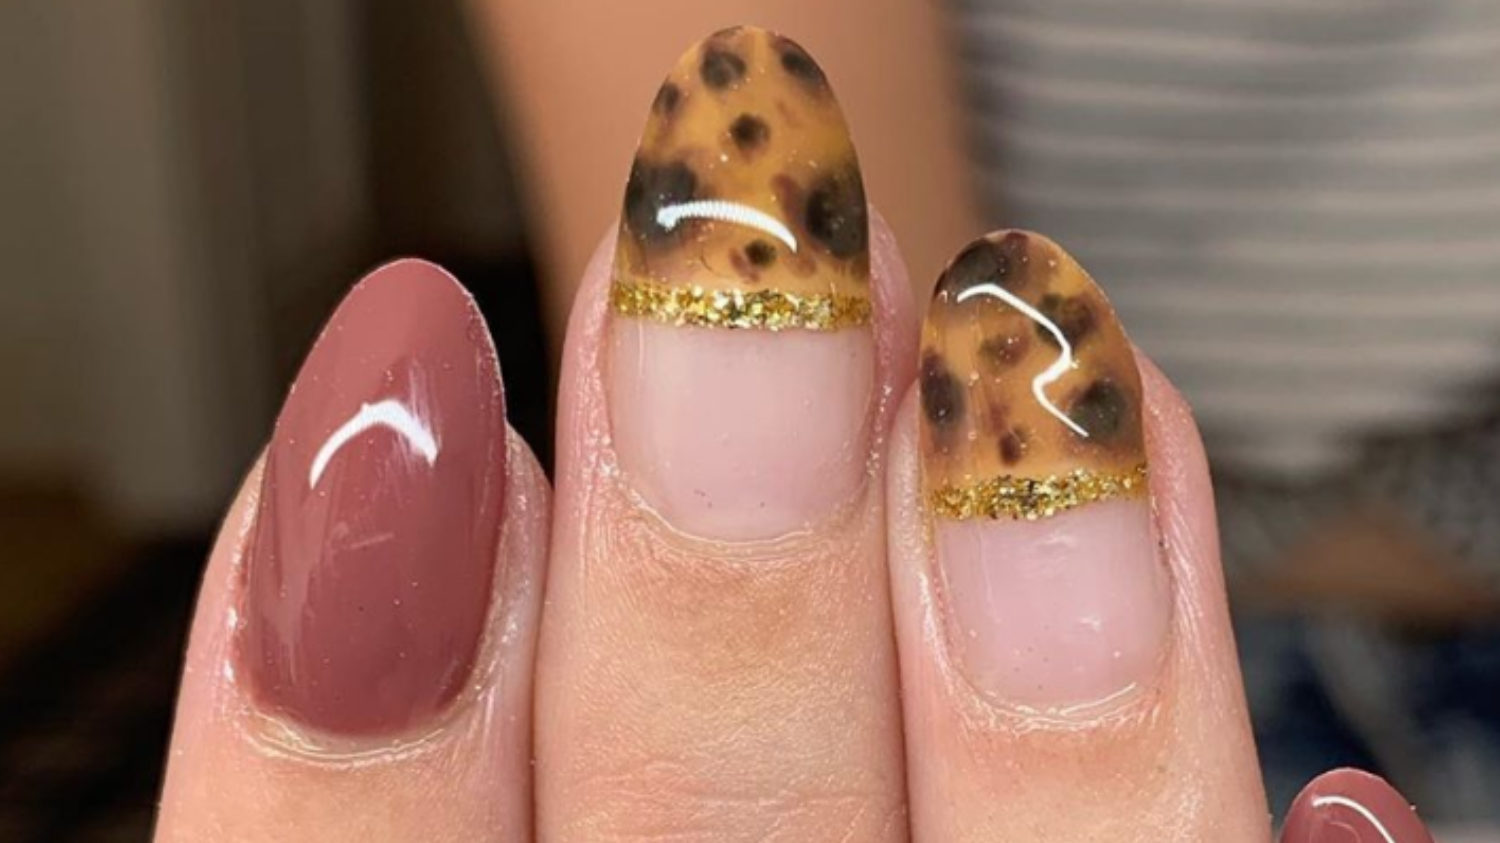
If you're new to nail art and want a detailed, step-by-step guide to creating a tortoise shell design, look no further! This tutorial will walk you through each step to achieve the perfect tortoise shell nails. Start by applying a base coat to protect your nails and let it dry. Then, using a light beige nail polish, apply two coats to your nails and let them dry completely. Next, take a dark brown nail polish and a light brown nail polish, and drop a few drops of each onto a piece of paper. Using a toothpick or a small brush, lightly swirl the two colors together on your nails to create a marbled effect. Repeat this step with a light green nail polish, adding more swirls and creating a tortoise shell pattern. You can also use a toothpick to create small lines and add more detail to your design. Once you're happy with the pattern, seal it in with a top coat and let it dry completely. And there you have it, a step-by-step guide to achieving beautiful tortoise shell nails!3. Step-by-Step Tortoise Nail Art Tutorial

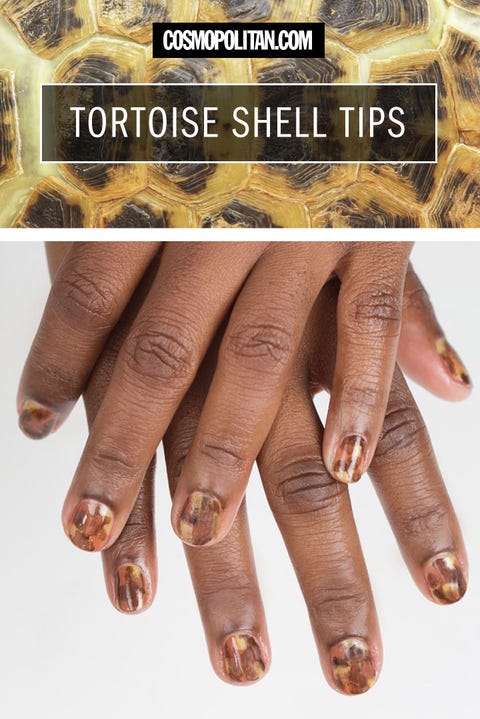
3. Step-by-Step Tortoise Nail Art Tutorial


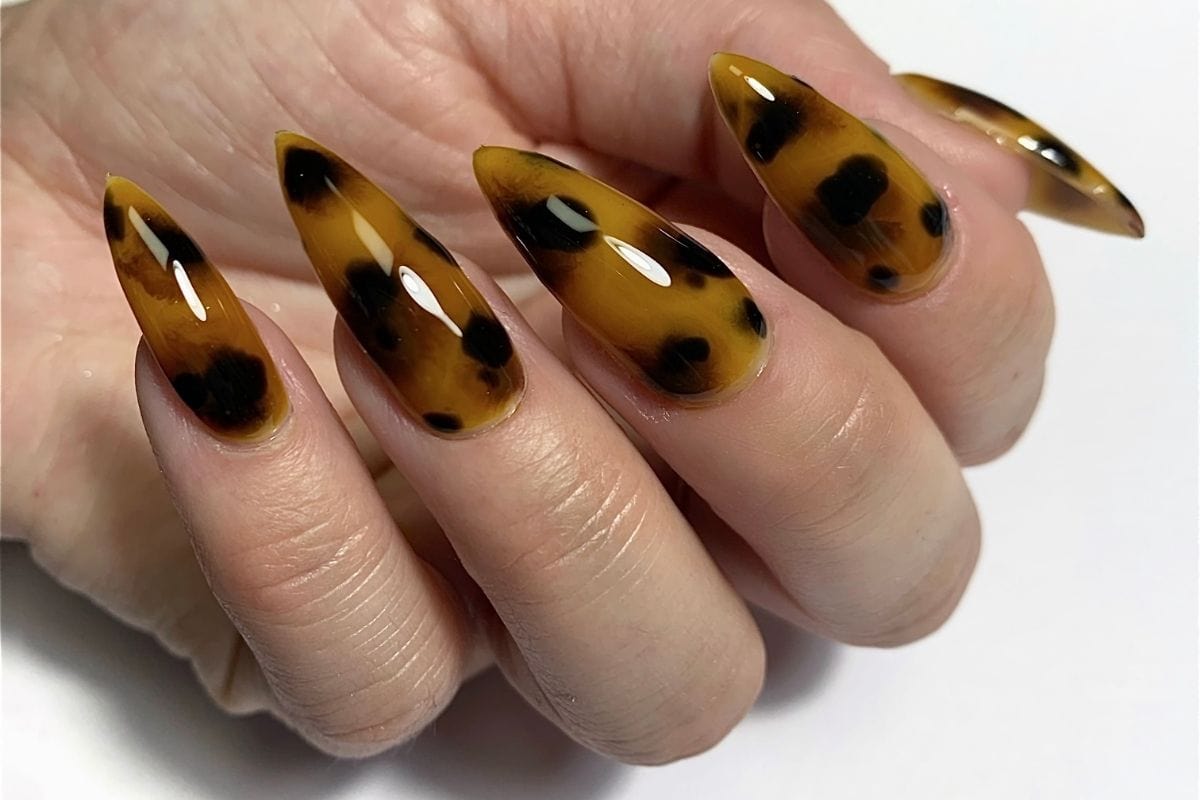
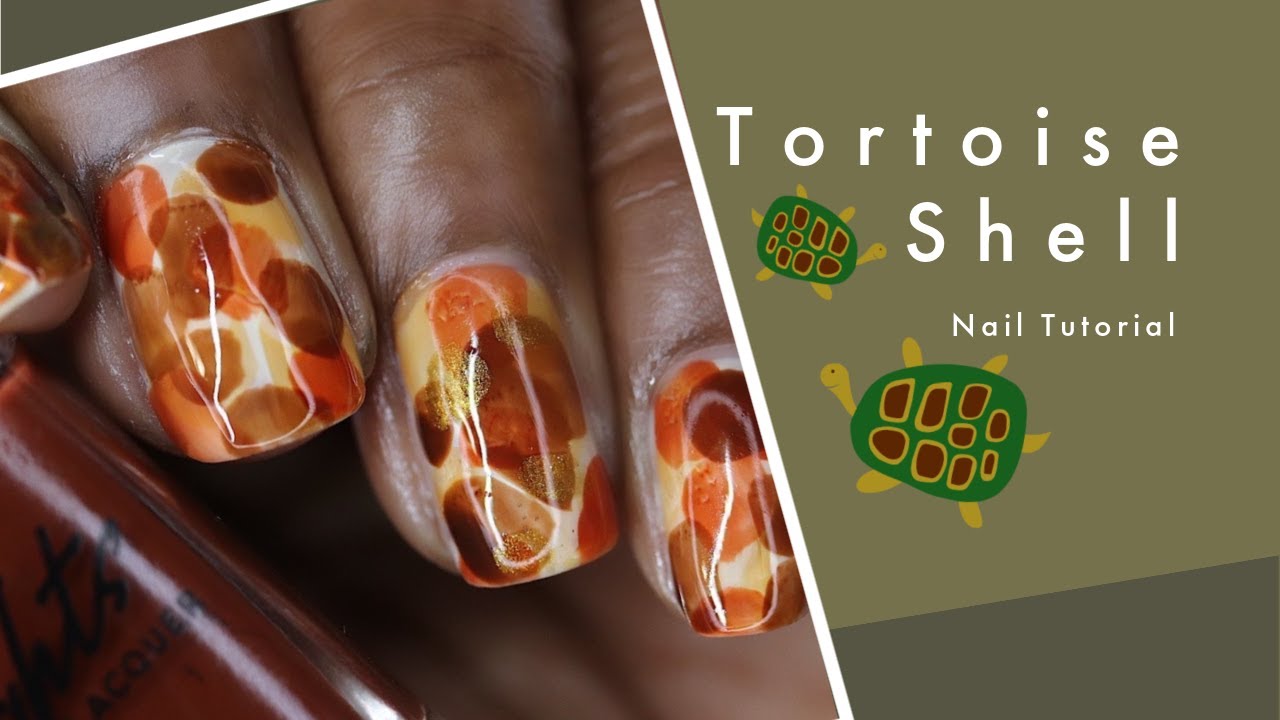
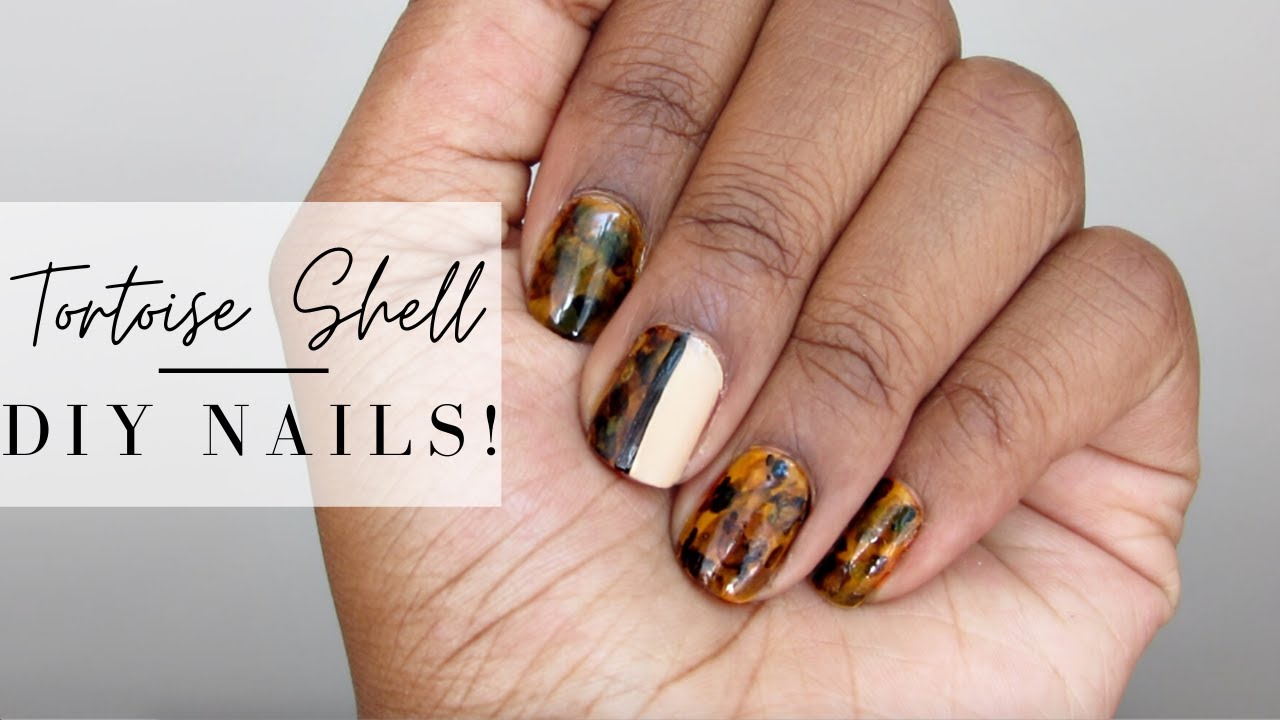
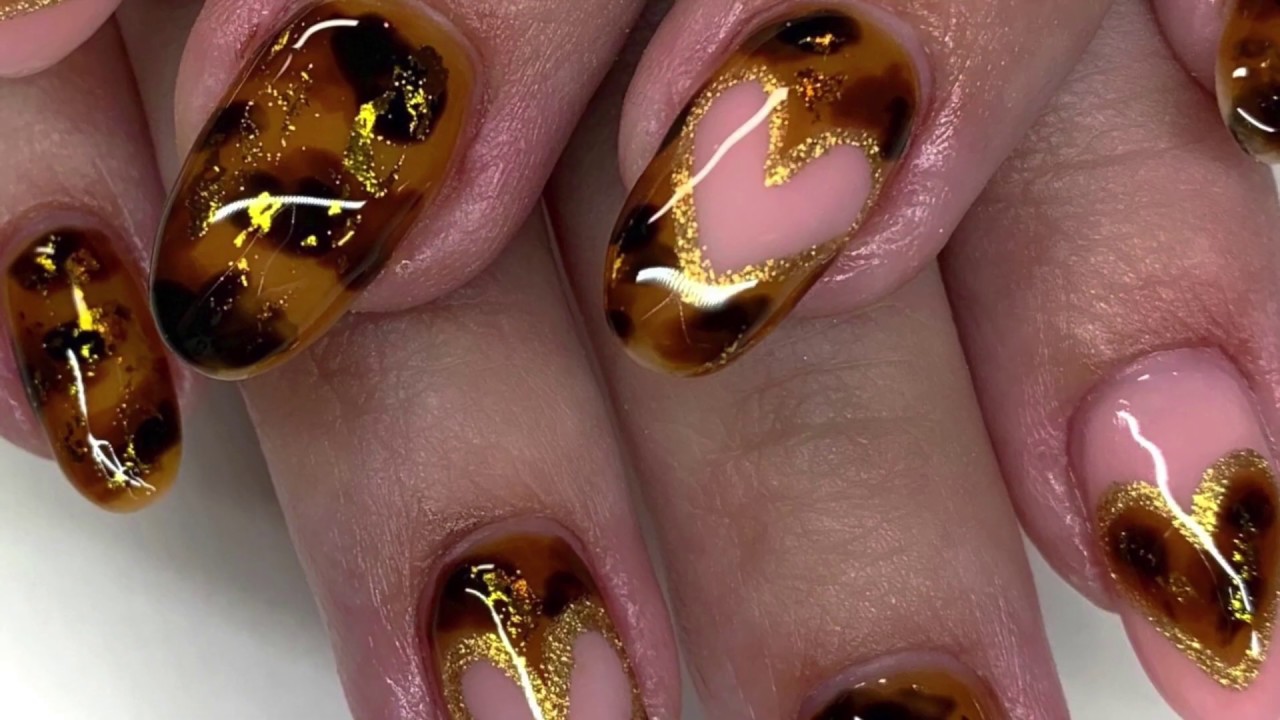
If you want to add some cuteness to your tortoise shell nails, this tutorial is for you! With a few extra steps, you can turn your basic tortoise shell design into an adorable and unique nail art. Start by applying a base coat to protect your nails and let it dry. Then, using a light beige nail polish, apply two coats to your nails and let them dry completely. Next, take a dark brown nail polish and create a tortoise shell pattern by swirling the polish with a toothpick or small brush. Once it's dry, add a small dot of black nail polish for the tortoise's head. Using a light green polish, create a small circle for the tortoise's shell and add small black dots for the details. You can also use a toothpick to add tiny white dots for the eyes. Seal in your design with a top coat and let it dry. And there you have it, a cute and playful tortoise nail design that will surely make you smile!4. Cute Tortoise Nail Design Tutorial

4. Cute Tortoise Nail Design Tutorial


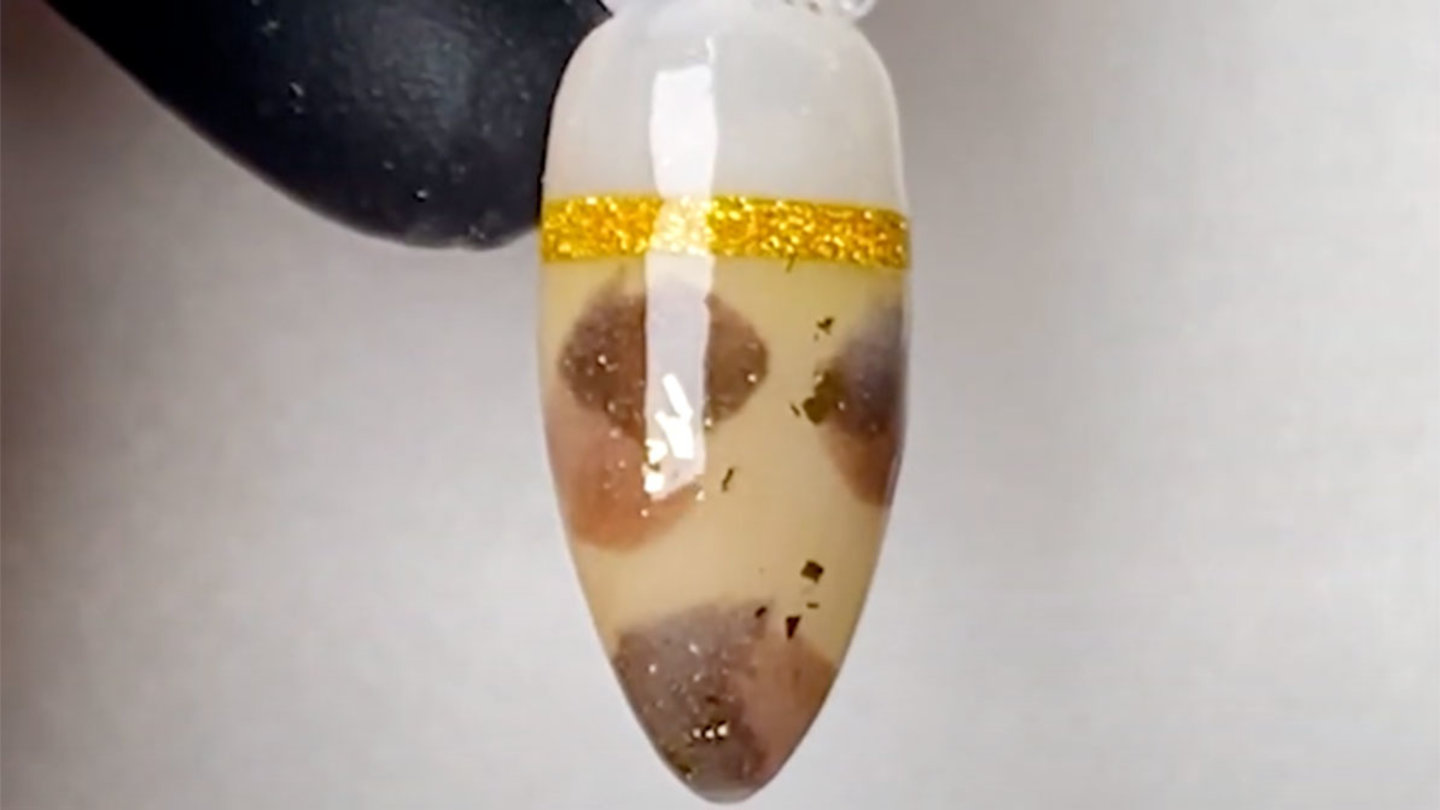
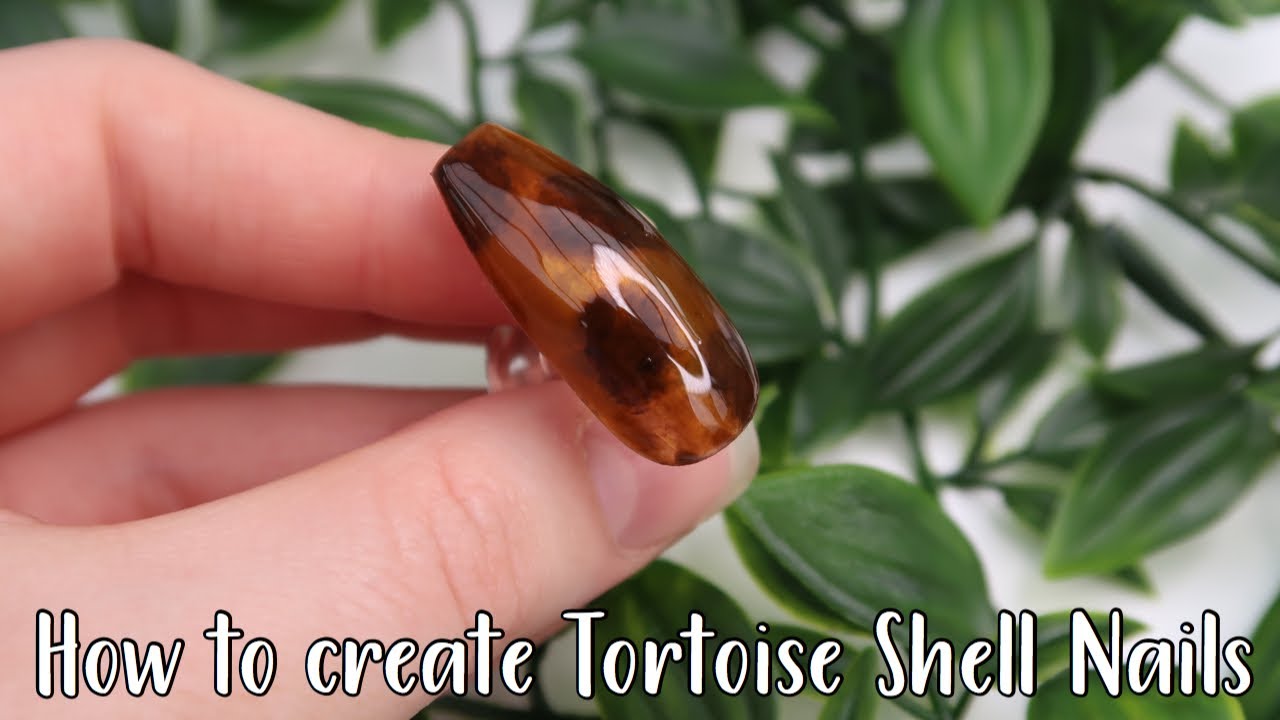
If you're wondering how to create the perfect tortoise shell nails, this tutorial will guide you through the process. With a few tips and tricks, you'll be able to achieve a stunning tortoise shell design. Start by prepping your nails with a base coat and let it dry. Then, using a light beige nail polish, apply two coats to your nails and let them dry completely. Next, take a dark brown nail polish and a light brown nail polish, and drop a few drops of each onto a piece of paper. Using a toothpick or small brush, lightly swirl the two colors together on your nails to create a marbled effect. Repeat this step with a light green polish, adding more swirls and creating a tortoise shell pattern. You can also use a toothpick to create small lines and add more detail to your design. For a realistic touch, use a light yellow nail polish to create small lines and dots on the green polish, imitating the patterns on a real tortoise shell. Seal it in with a top coat and let it dry. And just like that, you have gorgeous tortoise shell nails!5. How to Create Tortoise Shell Nails

5. How to Create Tortoise Shell Nails
If you're new to nail art and want to try your hand at creating a tortoise shell design, this tutorial is perfect for beginners. With simple steps and minimal tools, you can achieve a beautiful tortoise nail design. Start by applying a base coat to protect your nails and let it dry. Then, using a light beige nail polish, apply two coats to your nails and let them dry completely. Next, take a dark brown nail polish and create a tortoise shell pattern by swirling the polish with a toothpick or small brush. You can also add small dots of light green and light brown polish for added detail. Seal it in with a top coat and let it dry. And there you have it, a simple and easy tortoise nail art for beginners!6. Tortoise Nail Art Tutorial for Beginners


6. Tortoise Nail Art Tutorial for Beginners
If you're short on time but still want to have beautiful nails, this quick and simple tortoise shell nails tutorial is perfect for you. With just a few steps, you can achieve a stunning tortoise shell design in no time. Start by prepping your nails with a base coat and let it dry. Then, using a light beige nail polish, apply two coats to your nails and let them dry completely. Next, take a dark brown nail polish and a light brown nail polish, and drop a few drops of each onto a piece of paper. Using a toothpick or small brush, lightly swirl the two colors together on your nails to create a marbled effect. Repeat this step with a light green polish, adding more swirls and creating a tortoise shell pattern. Seal it in with a top coat and let it dry. And there you have it, a quick and simple tortoise shell nails tutorial!7. Quick and Simple Tortoise Shell Nails Tutorial

7. Quick and Simple Tortoise Shell Nails Tutorial
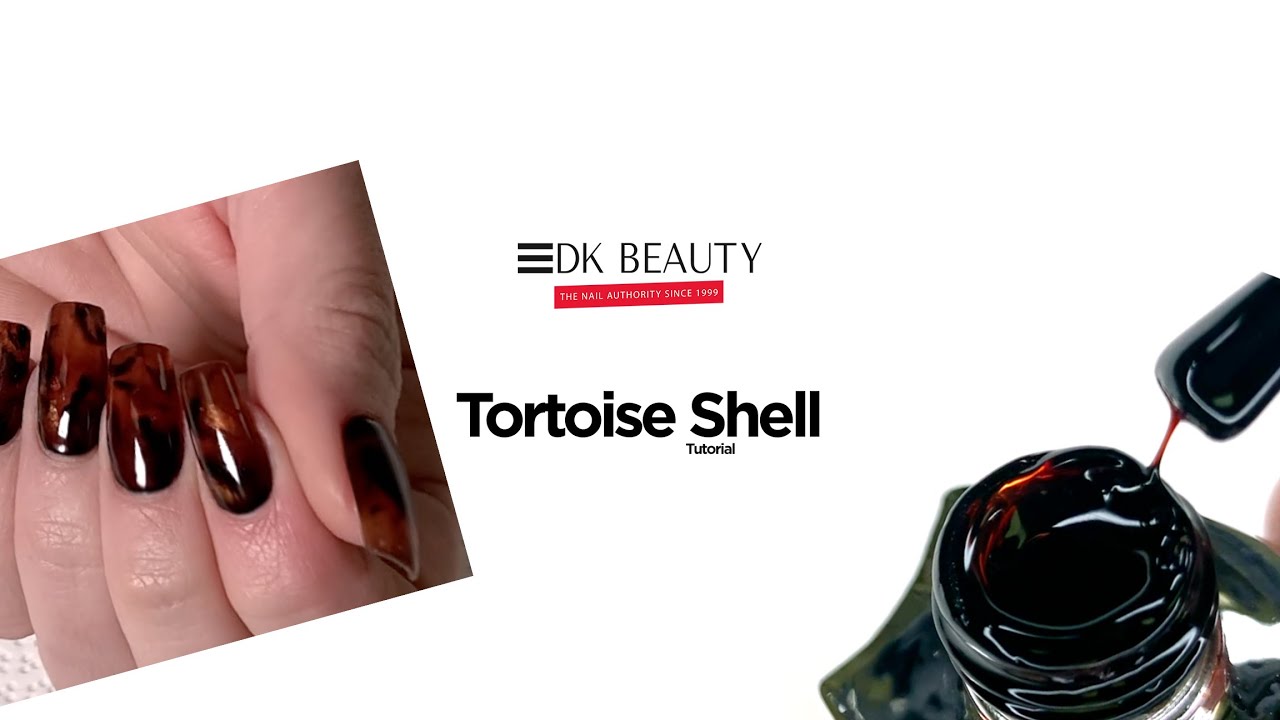
If you love using gel polish for long-lasting and shiny nails, this tutorial will show you how to create a tortoise shell design with gel polish. While it may require a few extra steps, the end result is definitely worth it! Start by prepping your nails with a base coat and let it dry. Then, using a light beige gel polish, apply two coats to your nails and cure each coat under a UV or LED lamp. Next, take a dark brown gel polish and a light brown gel polish, and drop a few drops of each onto a piece of paper. Using a toothpick or small brush, lightly swirl the two colors together on your nails to create a marbled effect. Repeat this step with a light green gel polish, adding more swirls and creating a tortoise shell pattern. Cure your nails under the lamp and then seal it in with a top coat. Cure one final time and you have stunning tortoise shell nails with gel polish!8. Tortoise Shell Nail Art Tutorial with Gel Polish

8. Tortoise Shell Nail Art Tutorial with Gel Polish


Nail art should be fun and enjoyable, and this tutorial will show you how to create a fun and easy tortoise nail design. With a few simple steps, you'll have cute and playful nails in no time! Start by applying a base coat to protect your nails and let it dry. Then, using a light beige nail polish, apply two coats to your nails and let them dry completely. Next, take a dark brown nail polish and create a tortoise shell pattern by swirling the polish with a toothpick or small brush. You can also add small dots of light green and light brown polish for added detail. For an extra touch, use a toothpick to create small hearts or stars on your nails with a pink or yellow nail polish. Seal it in with a top coat and let it dry. And there you have it, fun and easy tortoise nail art!9. Fun and Easy Tortoise Nail Art Tutorial


9. Fun and Easy Tortoise Nail Art Tutorial
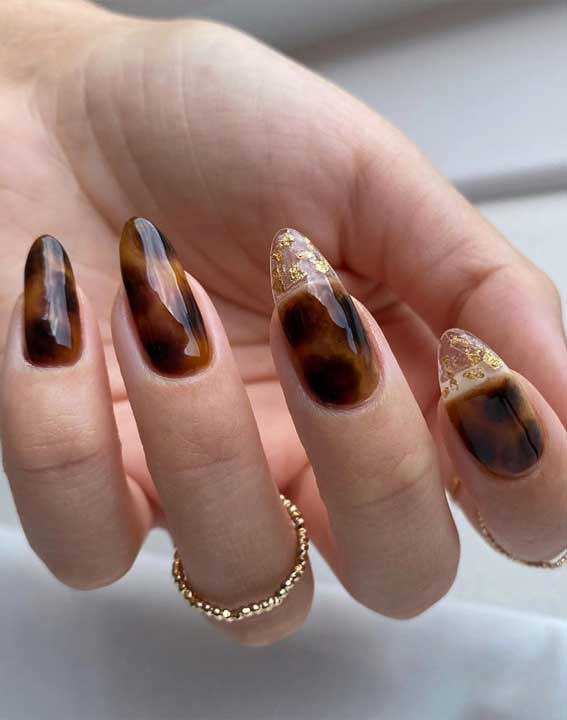
For those who want to get creative with their nail designs, this tutorial will show you how to create a unique and eye-catching tortoise shell design. With some extra tools and a little bit of patience, you can achieve a one-of-a-kind nail art. Start by prepping your nails with a base coat and let it dry. Then, using a light beige nail polish, apply two coats to your nails and let them dry completely. Next, take a dark brown nail polish and create a tortoise shell pattern by swirling the polish with a toothpick or small brush. Then, using a light green nail polish, create a swirl on top of the brown polish. You can also use a light blue or pink polish for added color. Using a white or black nail polish, add small dots or lines on top of the green polish to create a unique pattern. Seal it in with a top coat and let it dry. And there you have it, a creative tortoise shell nail design that will surely make a statement!10. Creative Tortoise Shell Nails Tutorial

10. Creative Tortoise Shell Nails Tutorial


The Beauty of Tortoise Nail Art: A Step-by-Step Tutorial

Creating a Unique and Eye-Catching Design
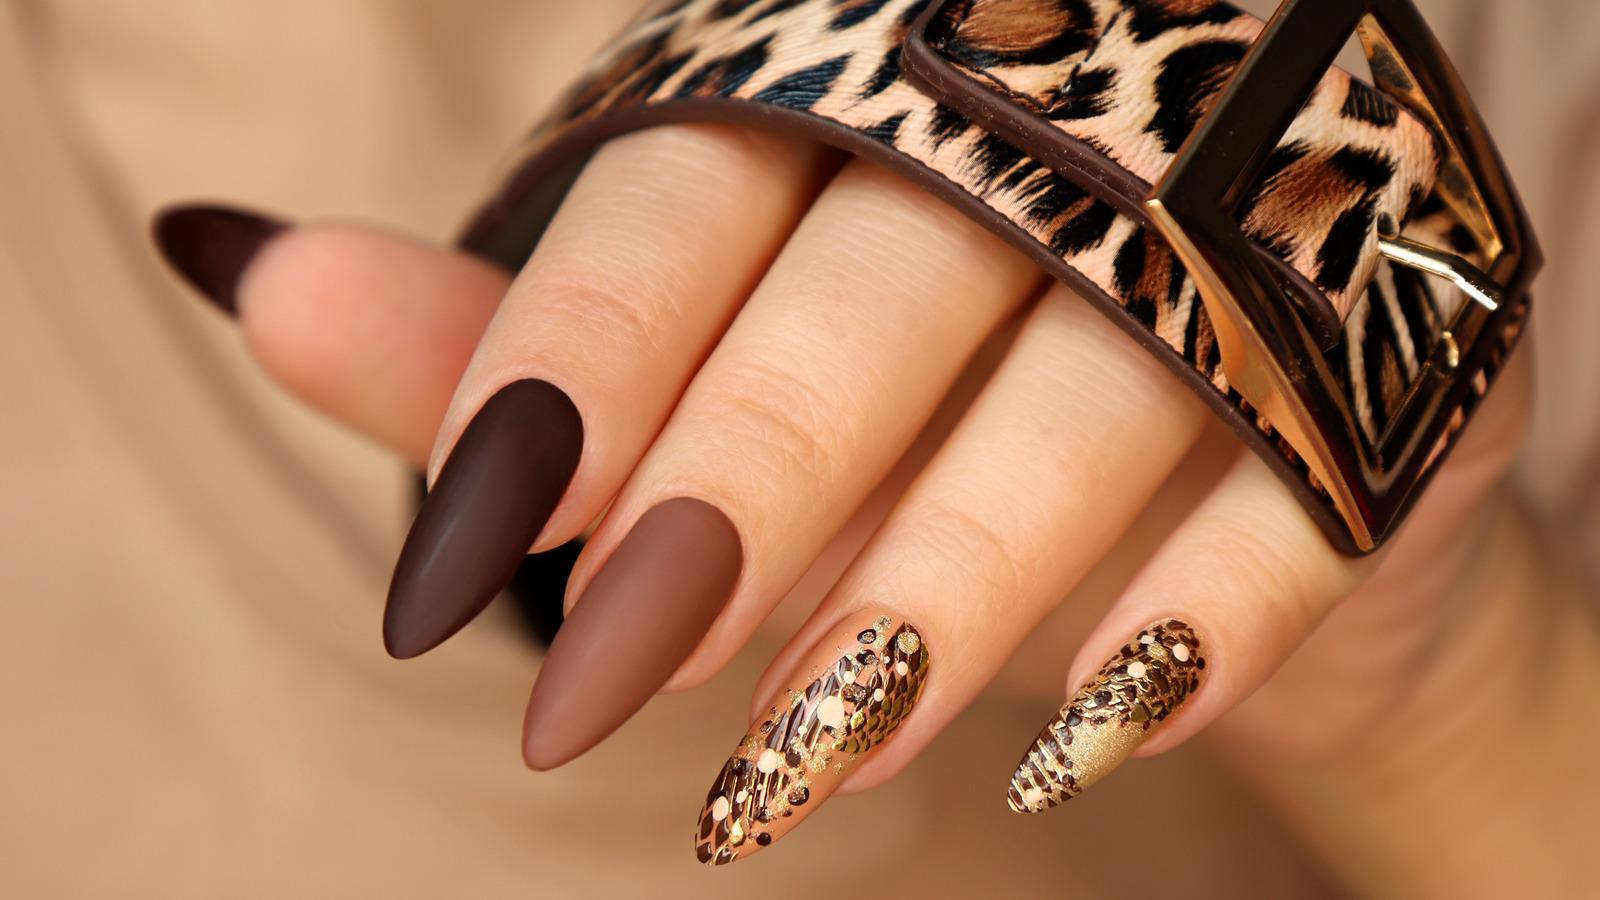
 In the world of nail art, there are endless designs and techniques to choose from. However, one design that has been gaining popularity is tortoise shell nail art. This unique and eye-catching design is inspired by the beautiful patterns and colors found on the shell of a tortoise. With its blend of browns, blacks, and creams, tortoise nail art is a versatile and stylish option for any occasion.
To achieve this look, you will need a few basic nail polish shades and some simple tools. The key to creating a realistic tortoise shell design is to layer and blend the colors, creating depth and dimension. Let's take a closer look at how you can create your own tortoise nail art at home.
In the world of nail art, there are endless designs and techniques to choose from. However, one design that has been gaining popularity is tortoise shell nail art. This unique and eye-catching design is inspired by the beautiful patterns and colors found on the shell of a tortoise. With its blend of browns, blacks, and creams, tortoise nail art is a versatile and stylish option for any occasion.
To achieve this look, you will need a few basic nail polish shades and some simple tools. The key to creating a realistic tortoise shell design is to layer and blend the colors, creating depth and dimension. Let's take a closer look at how you can create your own tortoise nail art at home.
Gathering Your Materials
 Before you begin, make sure you have the following materials on hand:
- Base coat - this will help protect your nails and create a smooth surface for the polish to adhere to.
- Black, brown, and cream nail polishes - these are the essential colors for creating a tortoise shell design.
- Makeup sponge or small piece of plastic wrap - this will be used to create the mottled effect on the nails.
- Top coat - this will seal and protect your design.
- Nail polish remover and cotton pads - in case of any mistakes or clean-up.
Step-by-Step Tutorial
 Now that you have all your materials, let's dive into the tutorial:
- Prep and Prime - Start by prepping your nails with a base coat. This will help your nail polish last longer and prevent any staining. Let it dry completely before moving on to the next step.
- Base Color - Apply two coats of your chosen brown polish as the base color. Make sure to let each coat dry completely before moving on to the next one.
- Dab and Blend - Take a small piece of plastic wrap or a makeup sponge and dip it into the black polish. Dab it onto the nail in a random pattern, creating a mottled effect. Then, do the same with the cream polish, blending and layering the colors until you are happy with the result. You can also use a small brush to create more defined lines if desired.
- Top Coat - Once you are satisfied with the design, seal it with a top coat. This will give your nails a glossy finish and protect your design from chipping.
- Clean Up - Use a cotton pad soaked in nail polish remover to clean up any excess polish around the edges of your nails.
Final Thoughts
 Tortoise nail art is a fun and creative way to add some personality to your nails. With its unique and realistic design, it's sure to turn heads and make a statement. So why not give it a try and see for yourself the beauty of tortoise nail art? With this step-by-step tutorial, you'll be able to create a stunning and professional-looking design right at home.


