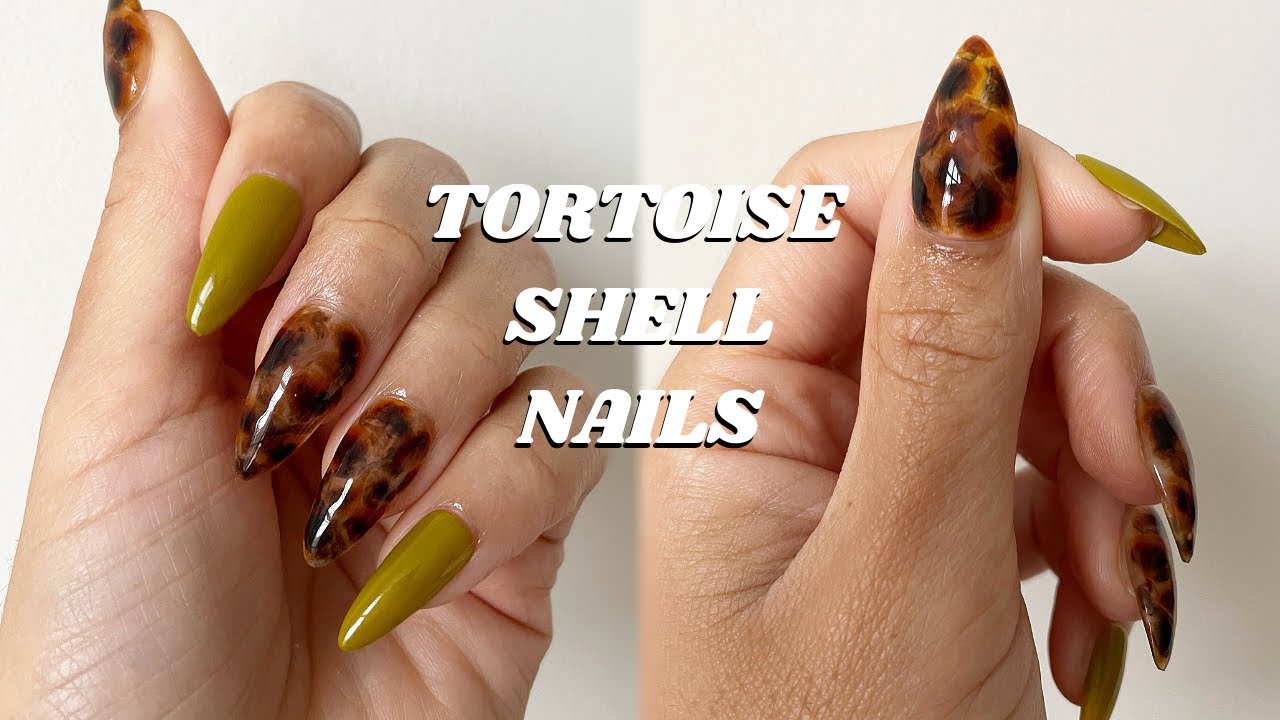
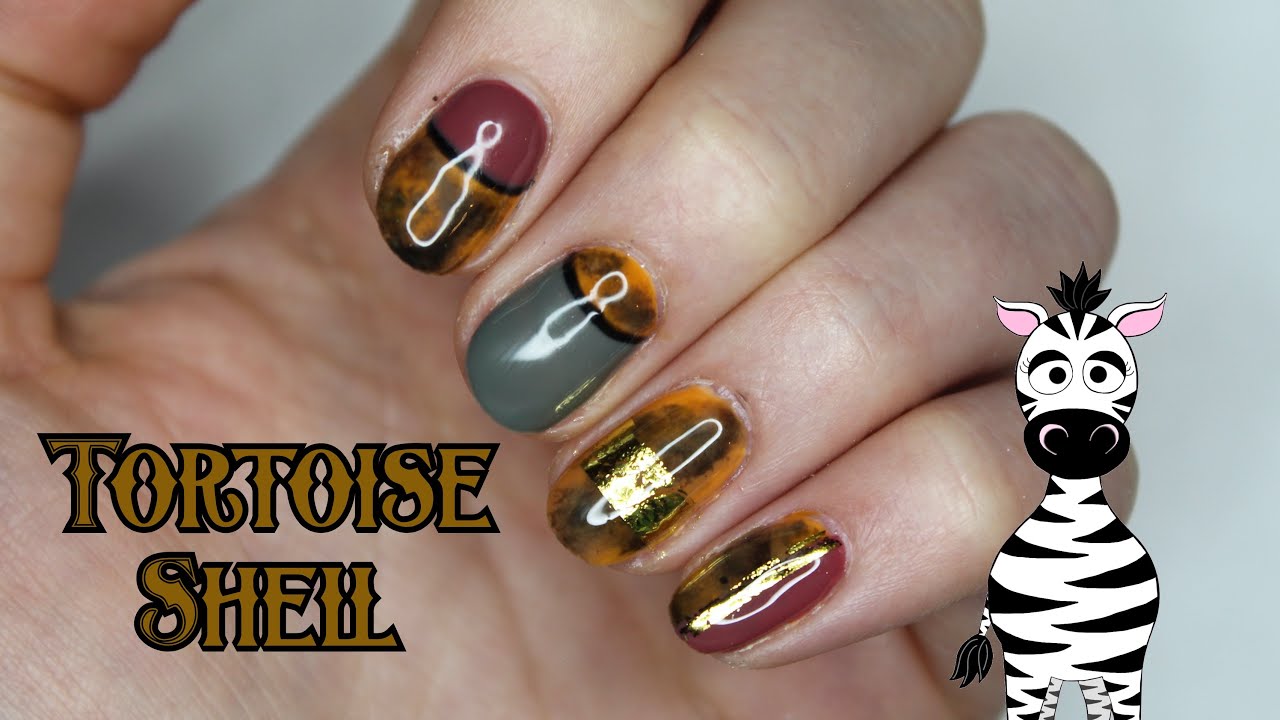
If you're looking for a chic and unique nail design, tortoise shell nail art is the perfect choice. This trendy design mimics the pattern of a tortoise shell and can be created in a variety of colors and styles. Want to try this look for yourself? Follow this simple tutorial to create stunning tortoise shell nails. To start, you will need a few basic supplies:1. Tortoise Shell Nail Art Tutorial


1. Tortoise Shell Nail Art Tutorial

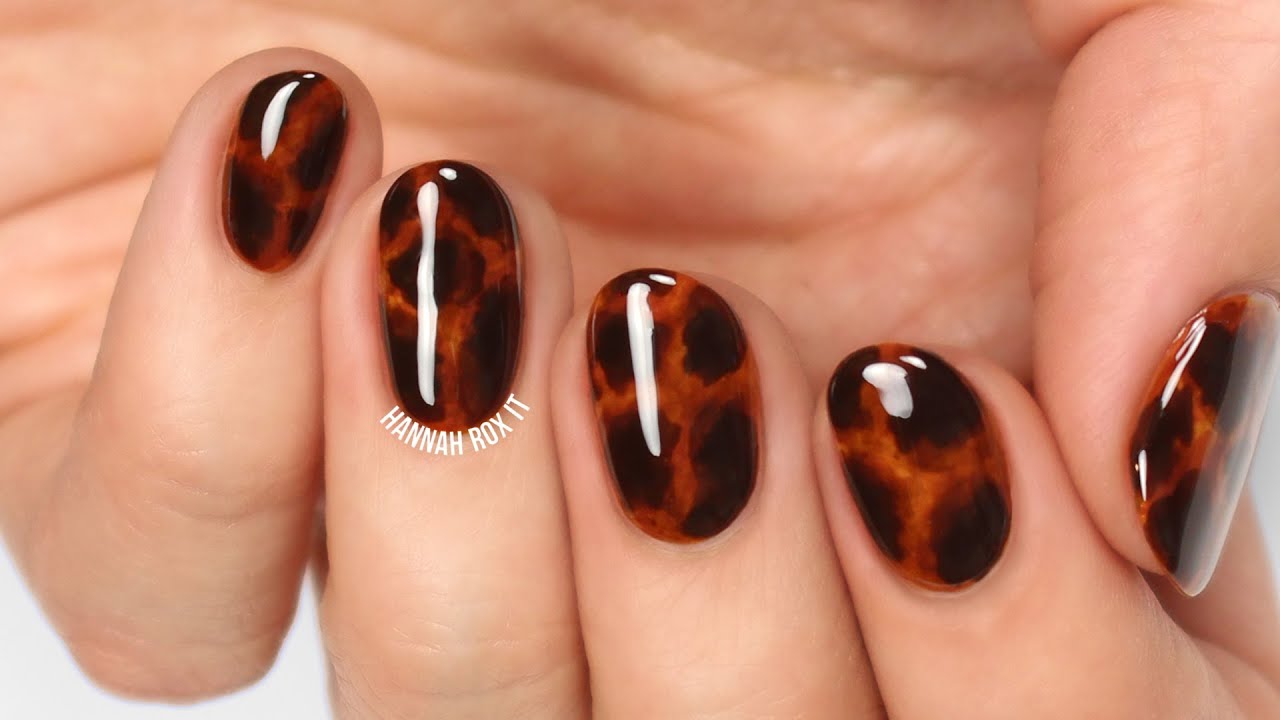


Creating tortoise shell nails is a fun and easy way to add some personality to your manicure. If you're new to nail art or just looking for some tips to perfect your technique, we've got you covered. Here's a step-by-step guide on how to create stunning tortoise shell nails. Before you begin, gather your supplies:2. How to Create Tortoise Shell Nails


2. How to Create Tortoise Shell Nails


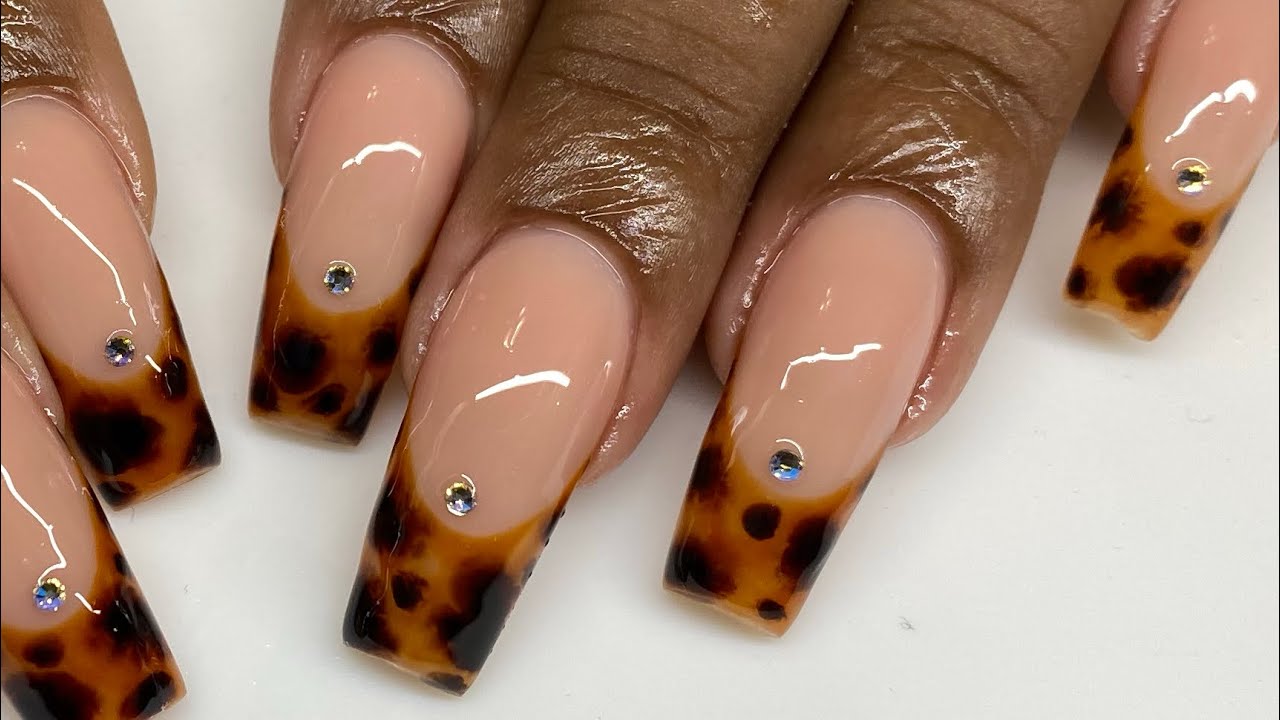
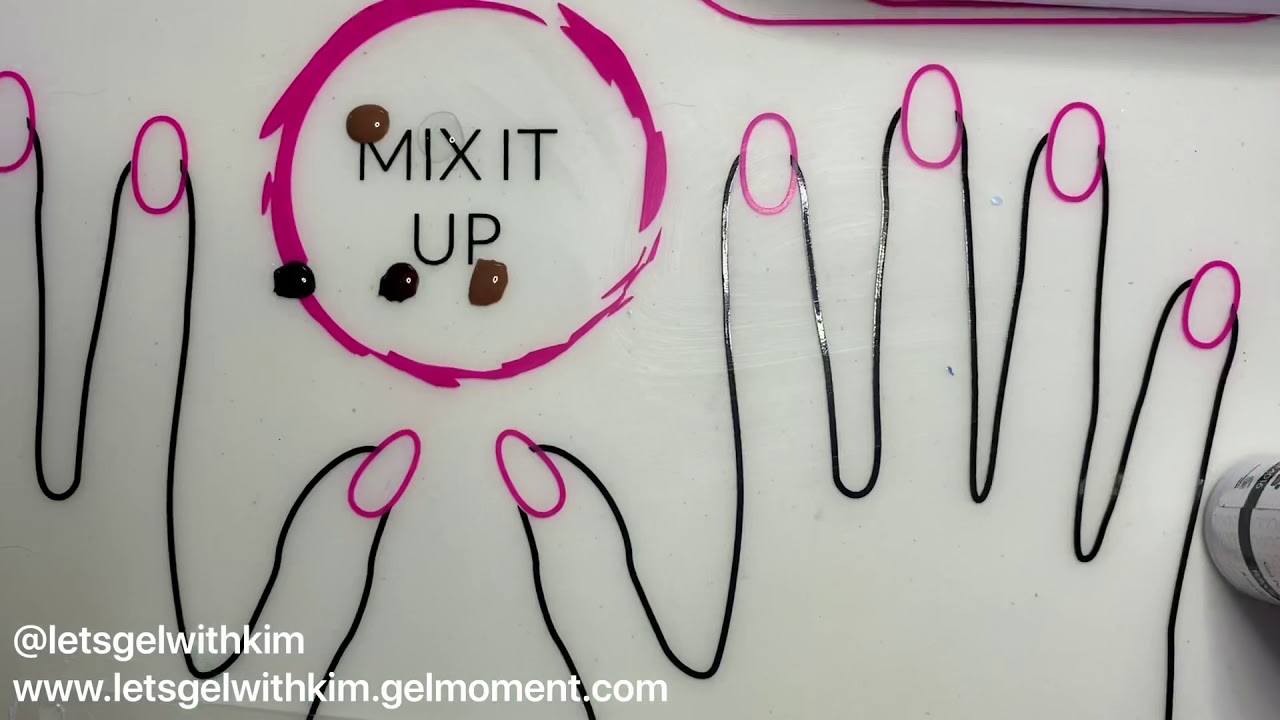
Tortoise shell nail art is a popular trend that is here to stay. This unique and stylish design is perfect for any occasion and can be customized to suit your personal style. If you're looking for some inspiration for your next manicure, check out these stunning tortoise shell nail designs. Bold and Beautiful: For a bold and eye-catching look, try creating your tortoise shell design with bright and contrasting colors. Think hot pink and black, or turquoise and white. Subtle and Sophisticated: If you prefer a more understated look, try using neutral shades for your tortoise shell pattern. This will give your nails a subtle and sophisticated look that is perfect for any occasion. Glitter and Glam: Take your tortoise shell nails to the next level by adding a touch of glitter. Use a glitter polish over your base color or strategically place glitter on top of the tortoise shell pattern for a sparkly and glamorous look. Mix and Match: Who says you have to stick to one color for your tortoise shell design? Mix things up by using different shades for each nail or creating a gradient effect with your colors. Negative Space: For a modern twist on the tortoise shell trend, try leaving some of your nails bare and creating a negative space design. This will add a unique and edgy touch to your manicure. There are endless possibilities when it comes to tortoise shell nail designs. Don't be afraid to get creative and make the look your own.3. Tortoise Shell Nail Designs


3. Tortoise Shell Nail Designs

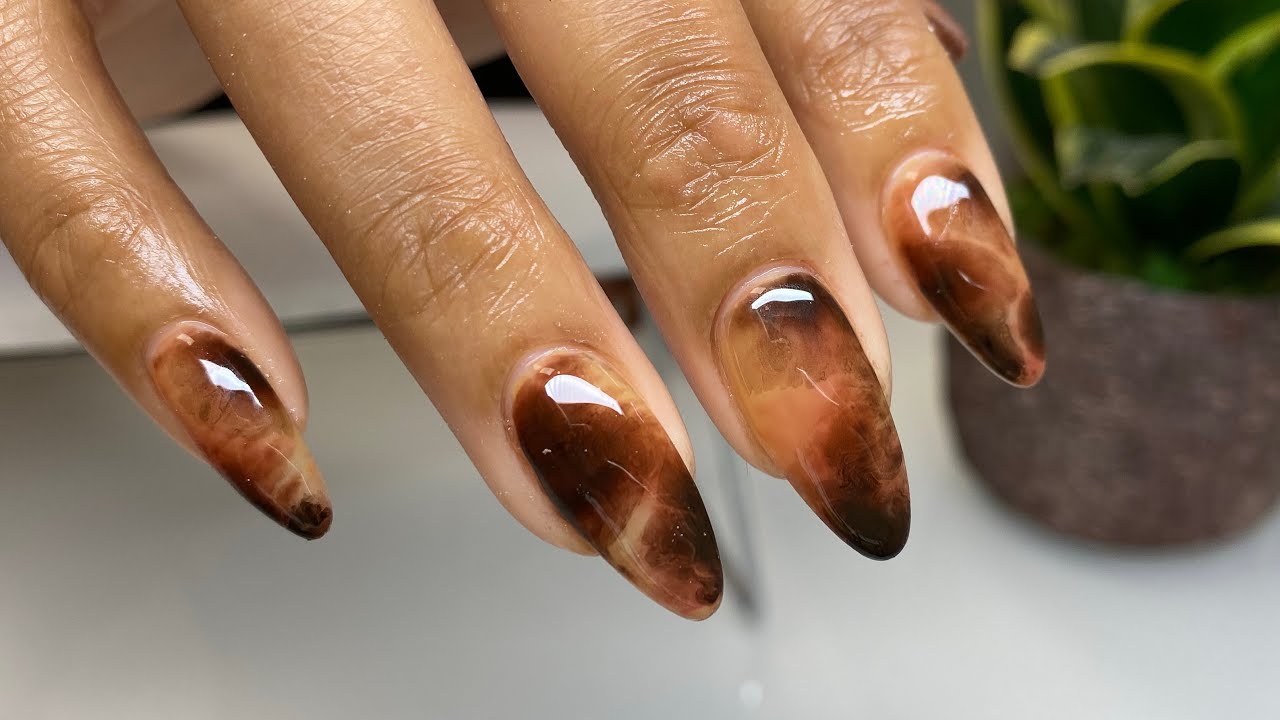
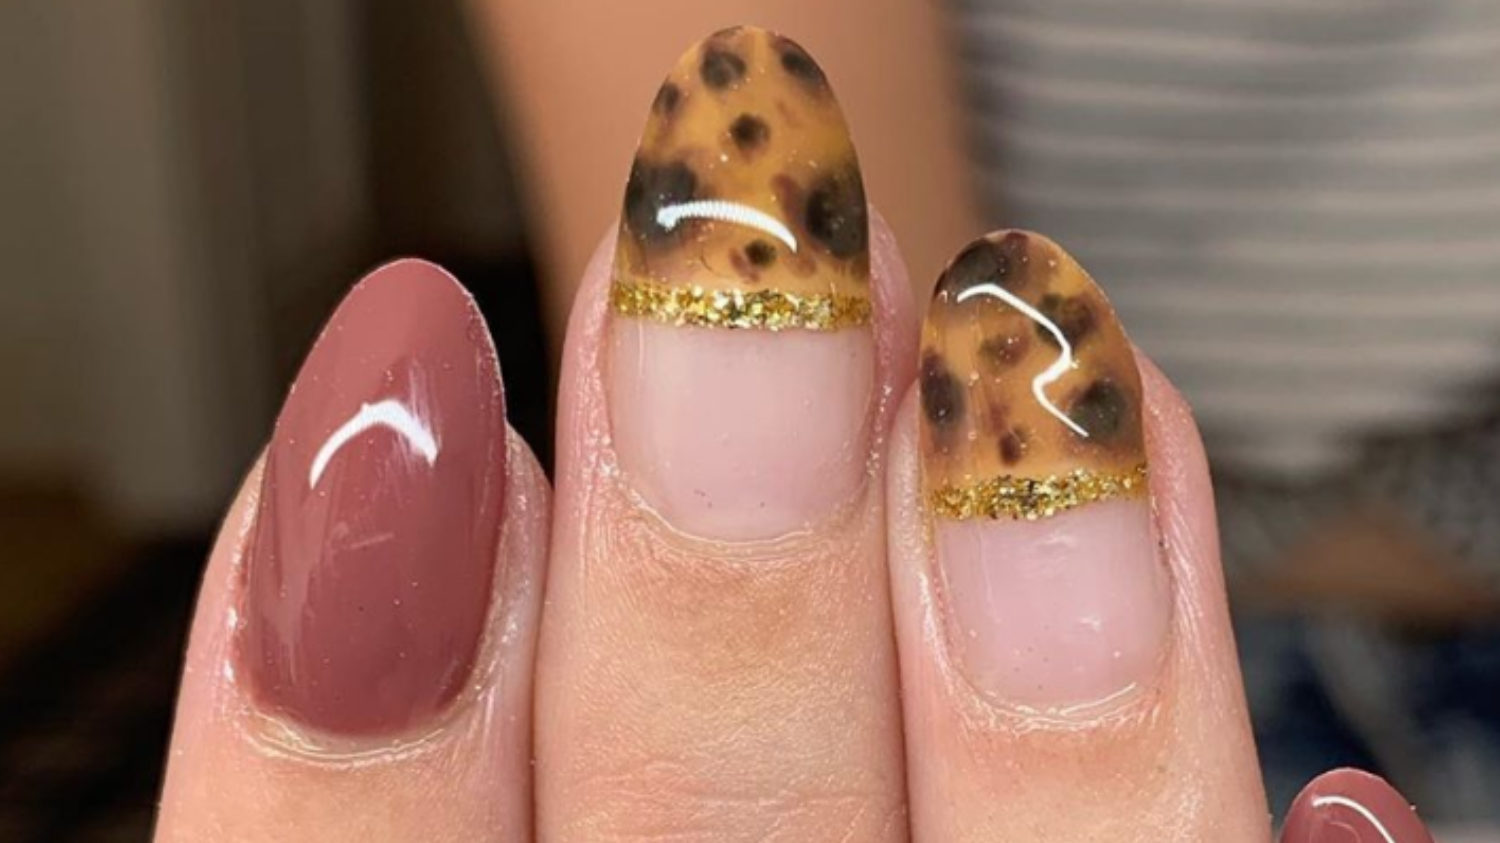
If you're looking for some ideas to spice up your tortoise shell nails, we've got you covered. From subtle and chic to bold and daring, here are some tortoise shell nail art ideas to inspire your next manicure. Marbled Effect: Create a marbled effect by mixing your light and dark nail polish colors together before applying them to your nails. This will give your nails a unique and abstract tortoise shell pattern. Animal Print Accent: Take your tortoise shell design to the next level by adding an animal print accent nail. Use a small brush or a stamping tool to create a leopard or cheetah print over your tortoise shell pattern. Geometric Touch: Use tape to create geometric shapes on your nails and then fill them in with your tortoise shell pattern. This will add a modern and edgy touch to your manicure. Floral Details: Add some delicate and feminine details to your tortoise shell nails by painting small flowers or leaves over the pattern. This will give your manicure a whimsical and romantic feel. Color Block: Create a color block effect by dividing your nail into two sections and using a different color for each section. This will give your tortoise shell design a modern and playful twist. With these ideas, you can elevate your tortoise shell nails and make them stand out from the crowd.4. Tortoise Shell Nail Art Ideas


4. Tortoise Shell Nail Art Ideas

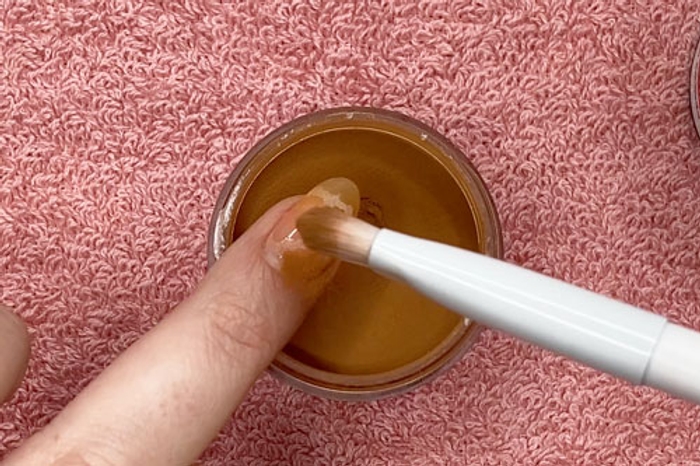
If you're new to nail art, creating tortoise shell nails may seem daunting. But don't worry, with these step-by-step instructions, you'll be able to create stunning tortoise shell nails in no time. Step 1: Start by applying a base coat to protect your natural nails. Step 2: Next, apply a light base color to your nails. This could be a neutral shade like beige or nude, or you can choose a color that contrasts with your dark shade. Step 3: Once the base color is dry, apply a few drops of your dark nail polish onto a piece of foil or a plastic surface. Step 4: Using a thin brush or toothpick, create irregular lines and shapes on your nails using the dark polish. These lines will form the pattern of the tortoise shell. Step 5: Continue adding lines and shapes until you are happy with the overall design. Remember, the imperfections will add to the realistic look of the tortoise shell. Step 6: Allow the design to dry completely before applying a top coat to seal in the design and add shine. Step 7: Repeat these steps on all of your nails, and you're done! With a little bit of practice, you'll be able to create beautiful tortoise shell nails without any hassle.5. Tortoise Shell Nail Art Step by Step


5. Tortoise Shell Nail Art Step by Step

Are you new to nail art and feeling intimidated by the thought of creating tortoise shell nails? Don't worry, this design is perfect for beginners and can be achieved with just a few simple steps. Here are some tips to help you create gorgeous tortoise shell nails even if you're a beginner. Start with simple color combinations: If you're new to nail art, it's best to start with a simple color combination for your tortoise shell design. Stick to light and dark shades that complement each other, such as beige and brown or light pink and dark pink. Use a toothpick: If you don't have a thin brush, a toothpick works just as well for creating the lines and shapes for your tortoise shell pattern. Simply dip the toothpick into the dark polish and use it to create the design on your nails. Don't worry about being too precise: The beauty of tortoise shell nails is in their imperfections. Don't stress about creating perfect lines and shapes - embrace the natural and abstract look of the tortoise shell pattern. Practice makes perfect: As with any new skill, practice makes perfect. Don't be discouraged if your first attempt doesn't turn out exactly how you want it to. Keep trying, and you'll soon be creating flawless tortoise shell nails. With these tips, even a beginner can master the art of tortoise shell nails.6. Tortoise Shell Nail Art for Beginners

6. Tortoise Shell Nail Art for Beginners
If you love the longevity and shine of gel polish, you'll be happy to know that you can achieve tortoise shell nails using this type of polish as well. Here's how: Step 1: Start by applying a base coat to protect your natural nails. Step 2: Next, apply a layer of light gel polish and cure it under a UV or LED lamp according to the instructions on the polish. Step 3: Once the base color is dry, apply a few drops of your dark gel polish onto a piece of foil or a plastic surface. Step 4: Using a thin brush or toothpick, create irregular lines and shapes on your nails using the dark gel polish. These lines will form the pattern of the tortoise shell. Step 5: Continue adding lines and shapes until you are happy with the overall design. Remember, the imperfections will add to the realistic look of the tortoise shell. Step 6: Once you're satisfied with the design, cure your nails under the lamp again to set the gel polish. Step 7: Apply a layer of top coat and cure it under the lamp one last time to seal in the design and add shine. With gel polish, your tortoise shell nails will last even longer and have a beautiful glossy finish.7. Tortoise Shell Nail Art with Gel Polish

7. Tortoise Shell Nail Art with Gel Polish

If you prefer using acrylic paint for your nail art, you can still achieve a stunning tortoise shell design. Here's how: Step 1: Start by applying a base coat to protect your natural nails. Step 2: Next, apply a layer of light-colored nail polish and allow it to dry completely. Step 3: Once the base color is dry, use a thin brush or toothpick to create irregular lines and shapes on your nails using the acrylic paint. You can mix multiple colors to achieve a more realistic tortoise shell effect. Step 4: Continue adding lines and shapes until you are happy with the overall design. Remember, the imperfections will add to the realistic look of the tortoise shell. Step 5: Allow the design to dry completely before applying a top coat to seal in the design and add shine. Step 6: Repeat these steps on all of your nails, and you're done! Tortoise shell nails with acrylic paint may require a bit more time and effort, but the end result will be worth it.8. Tortoise Shell Nail Art with Acrylic Paint

8. Tortoise Shell Nail Art with Acrylic Paint
If you're a fan of nail stamping, you can incorporate this technique into your tortoise shell design for a unique and effortless look. Step 1: Start by applying a base coat to protect your natural nails. Step 2: Next, apply a layer of light-colored nail polish and allow it to dry completely. Step 3: Once the base color is dry, use a stamping tool and a tortoise shell stamping plate to transfer the design onto your nails. Step 4: If you want to add more depth to the design, use a thin brush or toothpick to create some irregular lines and shapes using a dark-colored polish or acrylic paint. Step 5: Allow the design to dry completely before applying a top coat to seal in the design and add shine. Step 6: Repeat these steps on all of your nails, and you're done! Stamping is a quick and easy way to achieve a professional-looking tortoise shell design.9. Tortoise Shell Nail Art with Stamping
9. Tortoise Shell Nail Art with Stamping
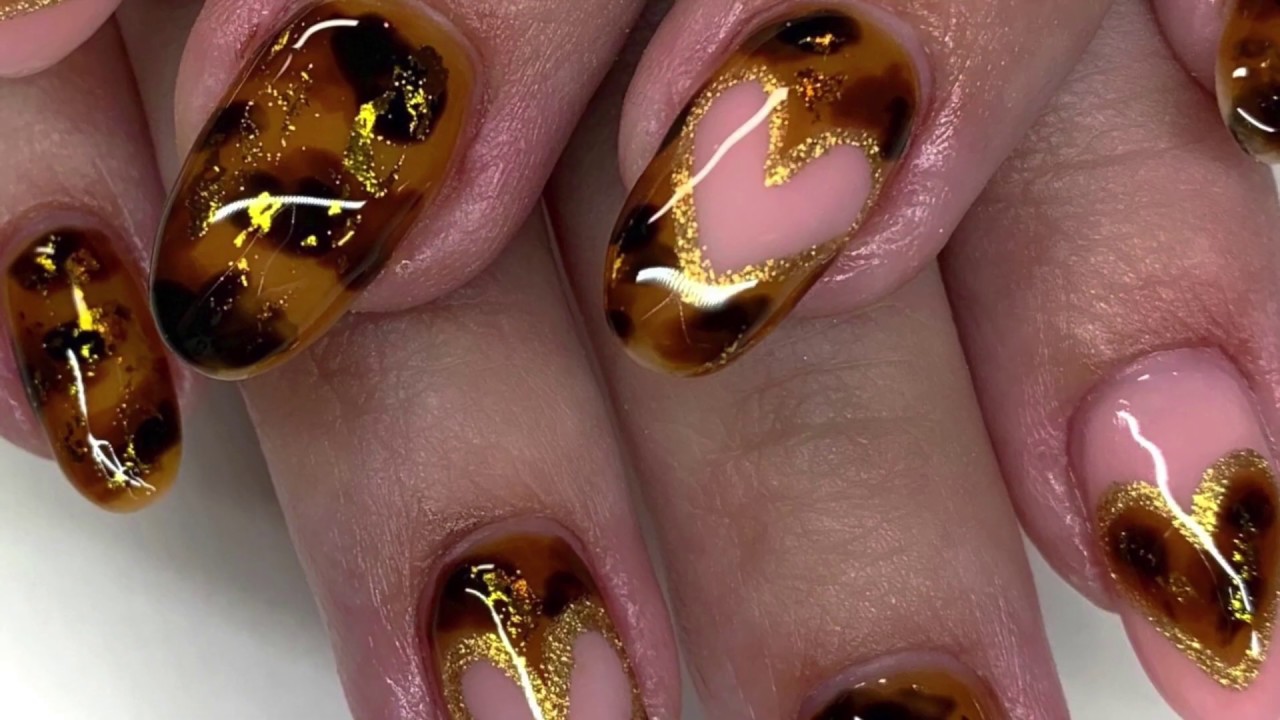
For a more textured and eye-catching tortoise shell design, try incorporating foil into your manicure. Here's how:10. Tortoise Shell Nail Art with Foil

10. Tortoise Shell Nail Art with Foil

The Timeless Trend of Tortoise Shell Nail Art

What is Tortoise Shell Nail Art?
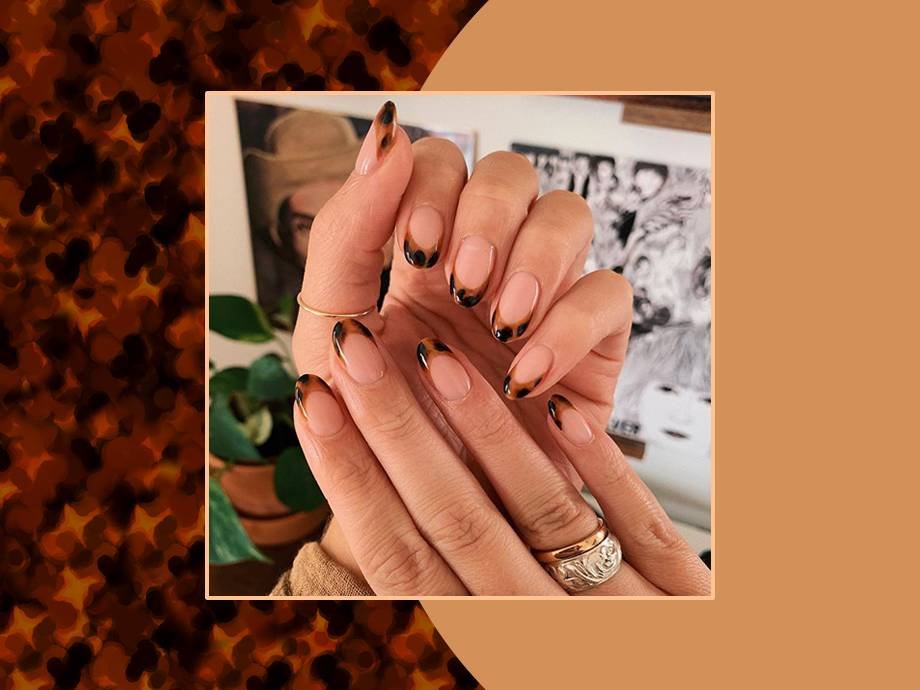
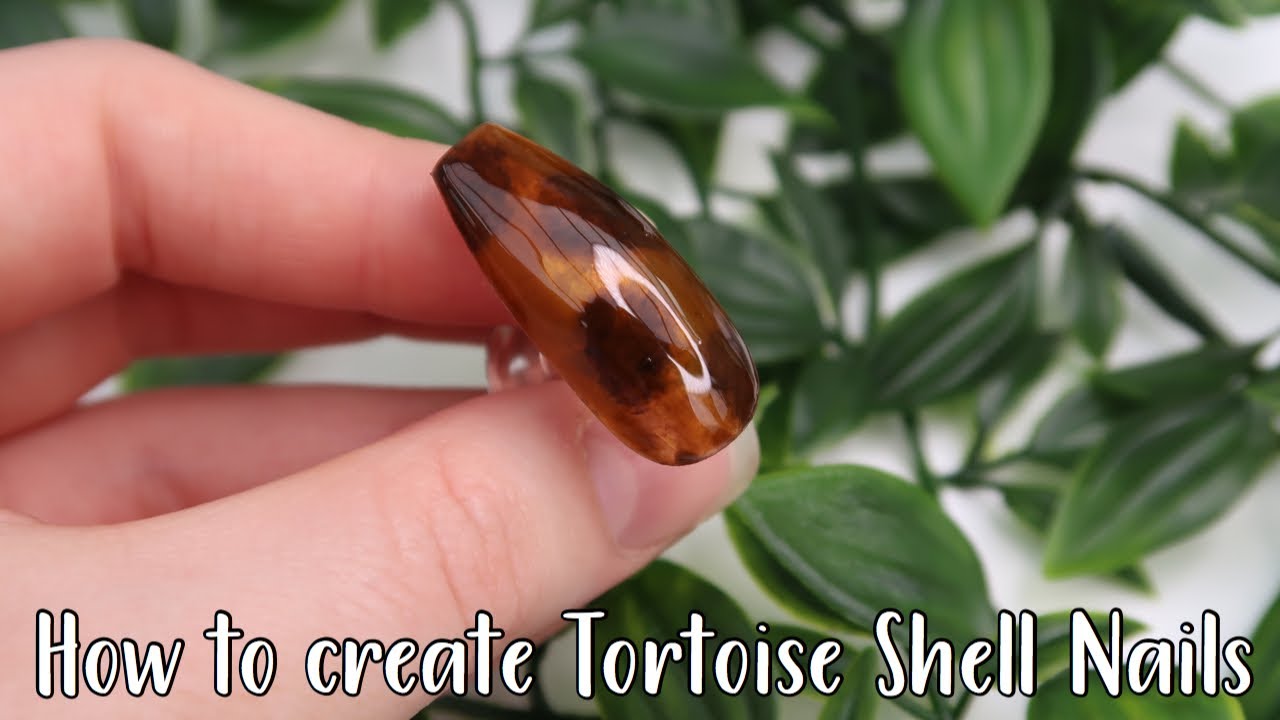
 If you haven't heard of tortoise shell nail art, you're missing out on one of the most popular nail trends of recent years. This unique and elegant nail design is inspired by the intricate patterns and colors found in real tortoiseshell material. It involves layering different shades of brown, black, and cream polish to create a marbled effect that mimics the appearance of tortoiseshell.
Why is it so Popular?
 Tortoise shell nail art has been gaining popularity not only because of its stunning appearance but also because of its versatility. This trend can be customized to suit anyone's taste, whether you prefer a subtle and natural look or a bold and statement-making design. It also works well for any occasion, from everyday wear to special events.
The Timeless Appeal of Tortoise Shell
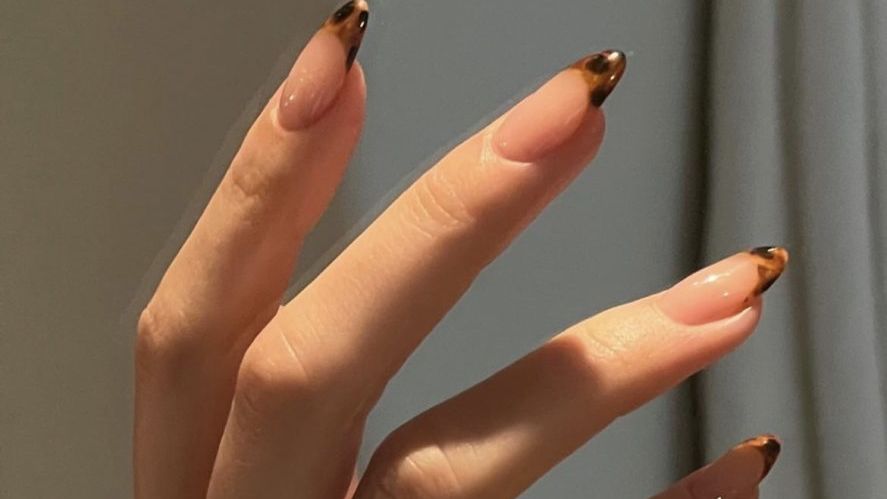
 The tortoise shell pattern has been a popular design element for centuries, making it a timeless trend that never goes out of style. Its rich and warm tones add a touch of sophistication to any look, making it a staple in the fashion industry. This classic and sophisticated aesthetic has now made its way into the beauty world, with tortoise shell nail art becoming a must-try for any fashion-forward individual.
How to Achieve the Look
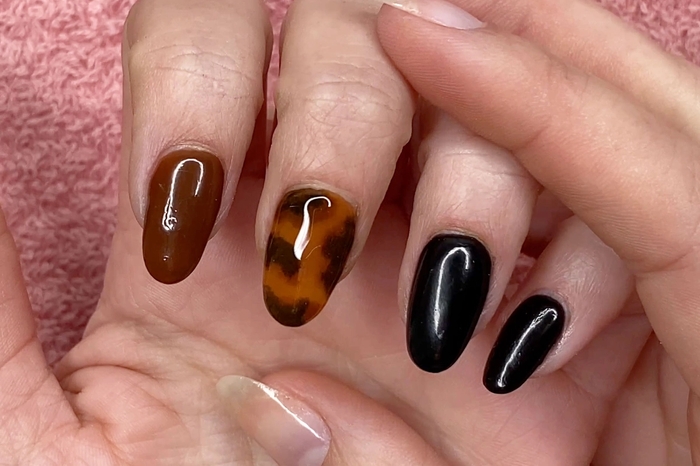
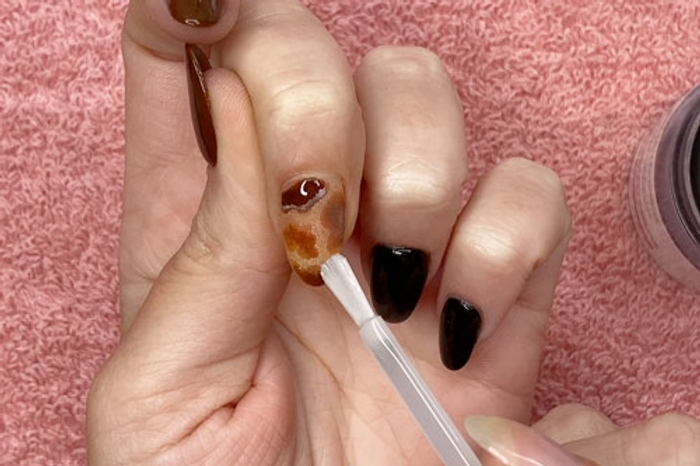
 Creating tortoise shell nail art may seem intimidating, but with a few simple steps, you can achieve this elegant and trendy look at home. Start by applying a base coat and letting it dry completely. Then, using a small makeup sponge, dab on different shades of brown, black, and cream polish in a random pattern. Use a toothpick or a thin brush to swirl and blend the colors together. Finish off with a top coat to seal in your design and add a glossy finish.
Make it Your Own
 One of the best things about tortoise shell nail art is its versatility. You can experiment with different color combinations, add glitter or metallic accents, or even incorporate other patterns like stripes or dots. The possibilities are endless, and you can let your creativity run wild to make this trend your own.
The Perfect Accessory for Your Home
 Tortoise shell nail art is not just limited to your nails. You can also incorporate this trend into your home decor. From furniture to wall art, the tortoise shell pattern adds a touch of elegance and warmth to any space. So why not bring this timeless trend into your home as well?
Tortoise shell nail art is a trend that combines classic appeal with modern fashion, making it a must-try for anyone looking to make a statement with their nails. So why not give it a try and see for yourself why this trend has stood the test of time?
Tortoise shell nail art is not just limited to your nails. You can also incorporate this trend into your home decor. From furniture to wall art, the tortoise shell pattern adds a touch of elegance and warmth to any space. So why not bring this timeless trend into your home as well?
Tortoise shell nail art is a trend that combines classic appeal with modern fashion, making it a must-try for anyone looking to make a statement with their nails. So why not give it a try and see for yourself why this trend has stood the test of time?


