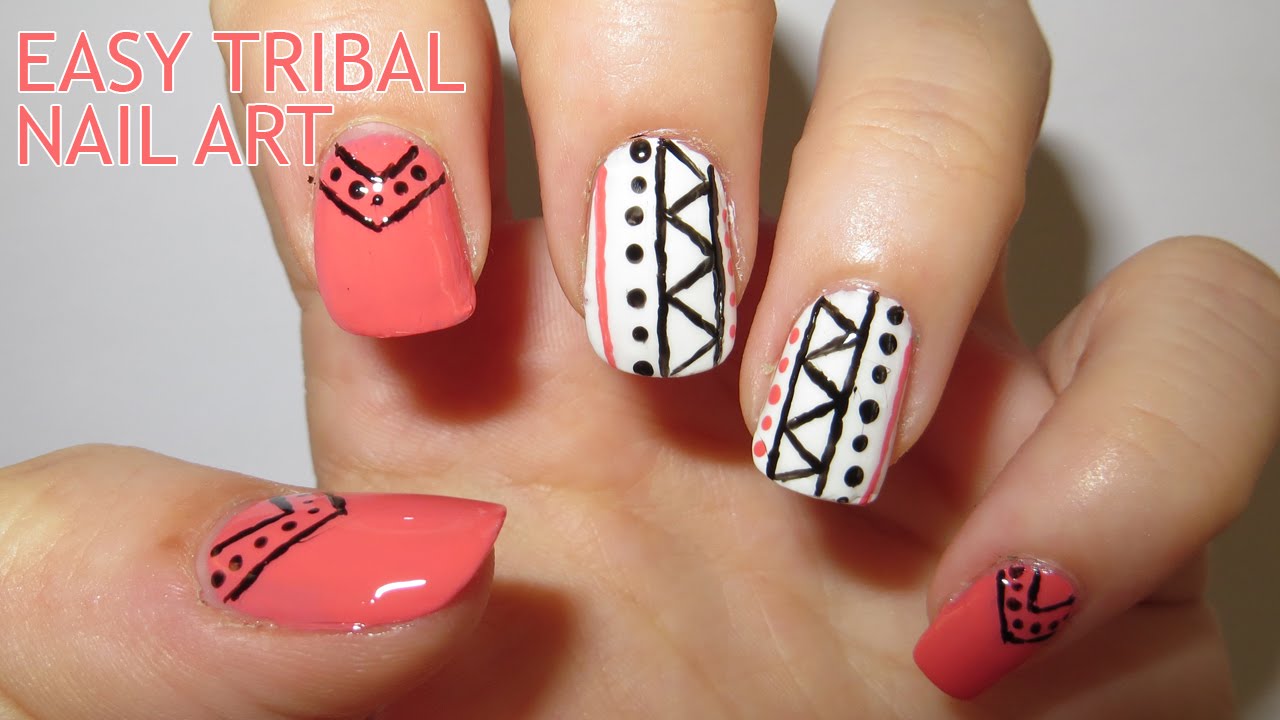
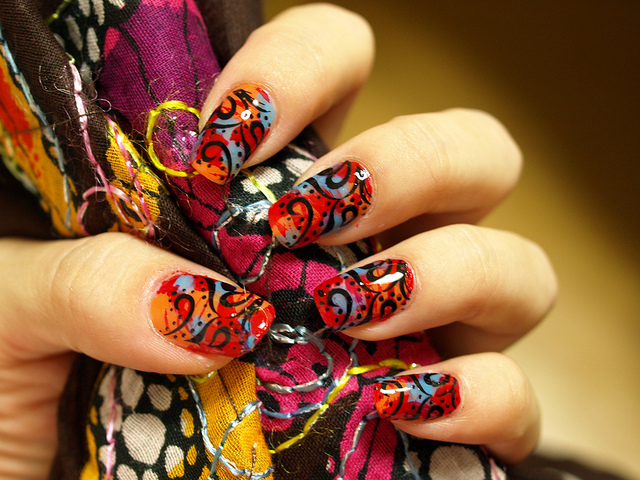
If you're new to tribal nail art, this step by step guide will help you create a simple yet striking design. Start by painting your nails with a white base coat to make the colors pop. Once dry, use a thin brush to create tribal patterns in black, blue, and orange. Don't worry about making the patterns perfect, as the imperfect lines add to the tribal aesthetic. Finish with a top coat to seal in your design.1. Tribal Nail Art Tutorial: Step by Step Guide

1. Tribal Nail Art Tutorial: Step by Step Guide


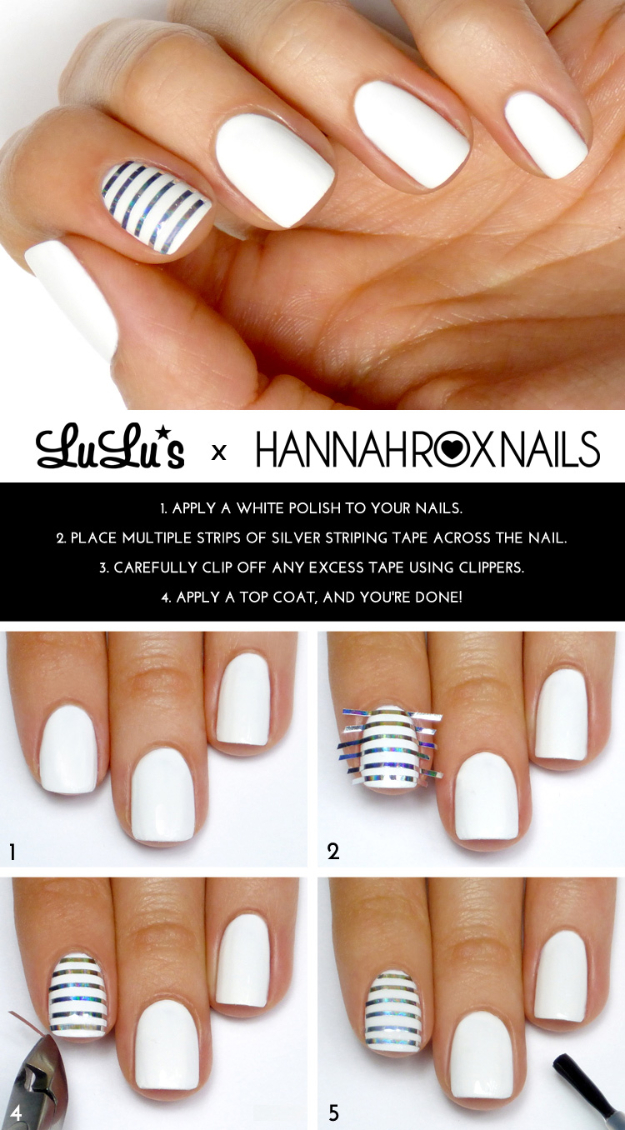
If you're just starting out with nail art, trying out a complex tribal design may seem intimidating. But fear not, there are plenty of easy tribal nail art designs that are perfect for beginners. One idea is to use a tribal print stencil and sponge on your desired colors. Or, you can use tribal pattern nail decals for a quick and effortless design.2. Easy Tribal Nail Art Designs for Beginners


2. Easy Tribal Nail Art Designs for Beginners


Short on time but still want to rock a tribal nail art look? Follow these five simple steps for a quick and easy design. Start by painting your nails with a neutral base coat. Then, using a thin brush, create triangles in different sizes and colors on each nail. Let dry and finish with a top coat for a trendy and easy tribal nail art look.3. How to Create Tribal Nail Art in 5 Simple Steps

3. How to Create Tribal Nail Art in 5 Simple Steps

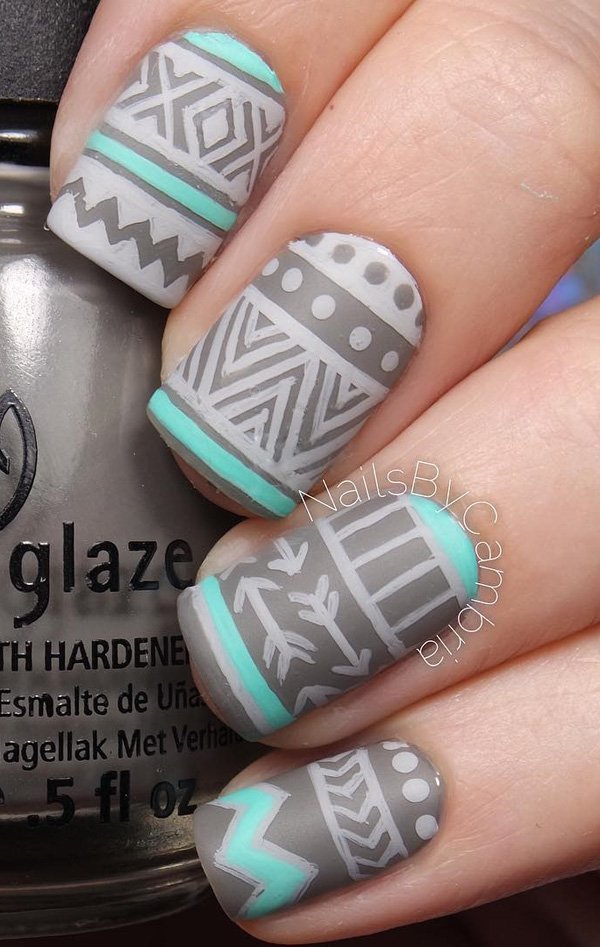
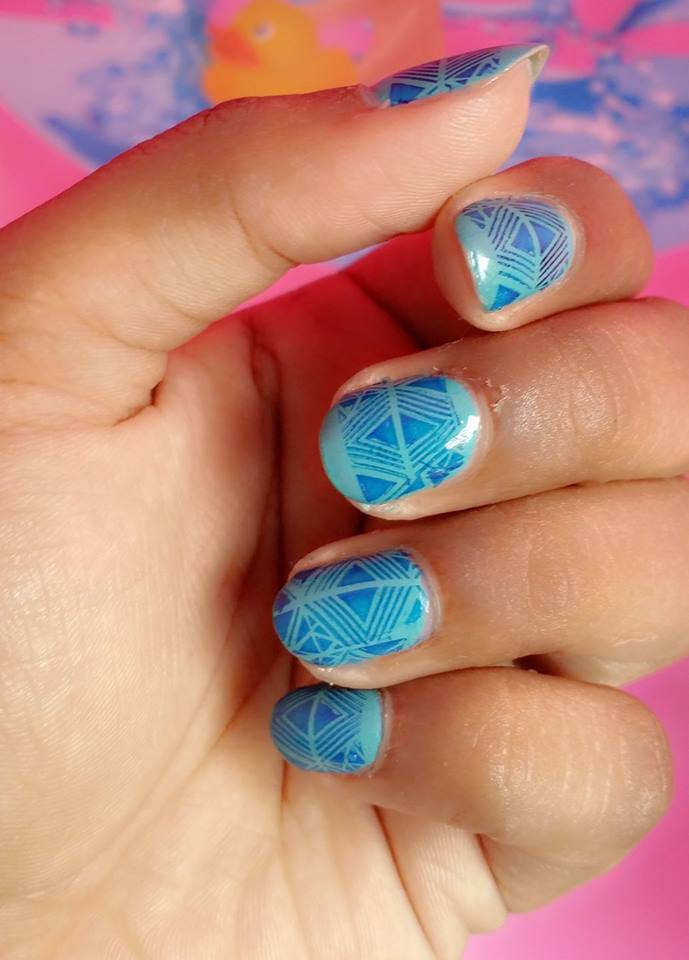
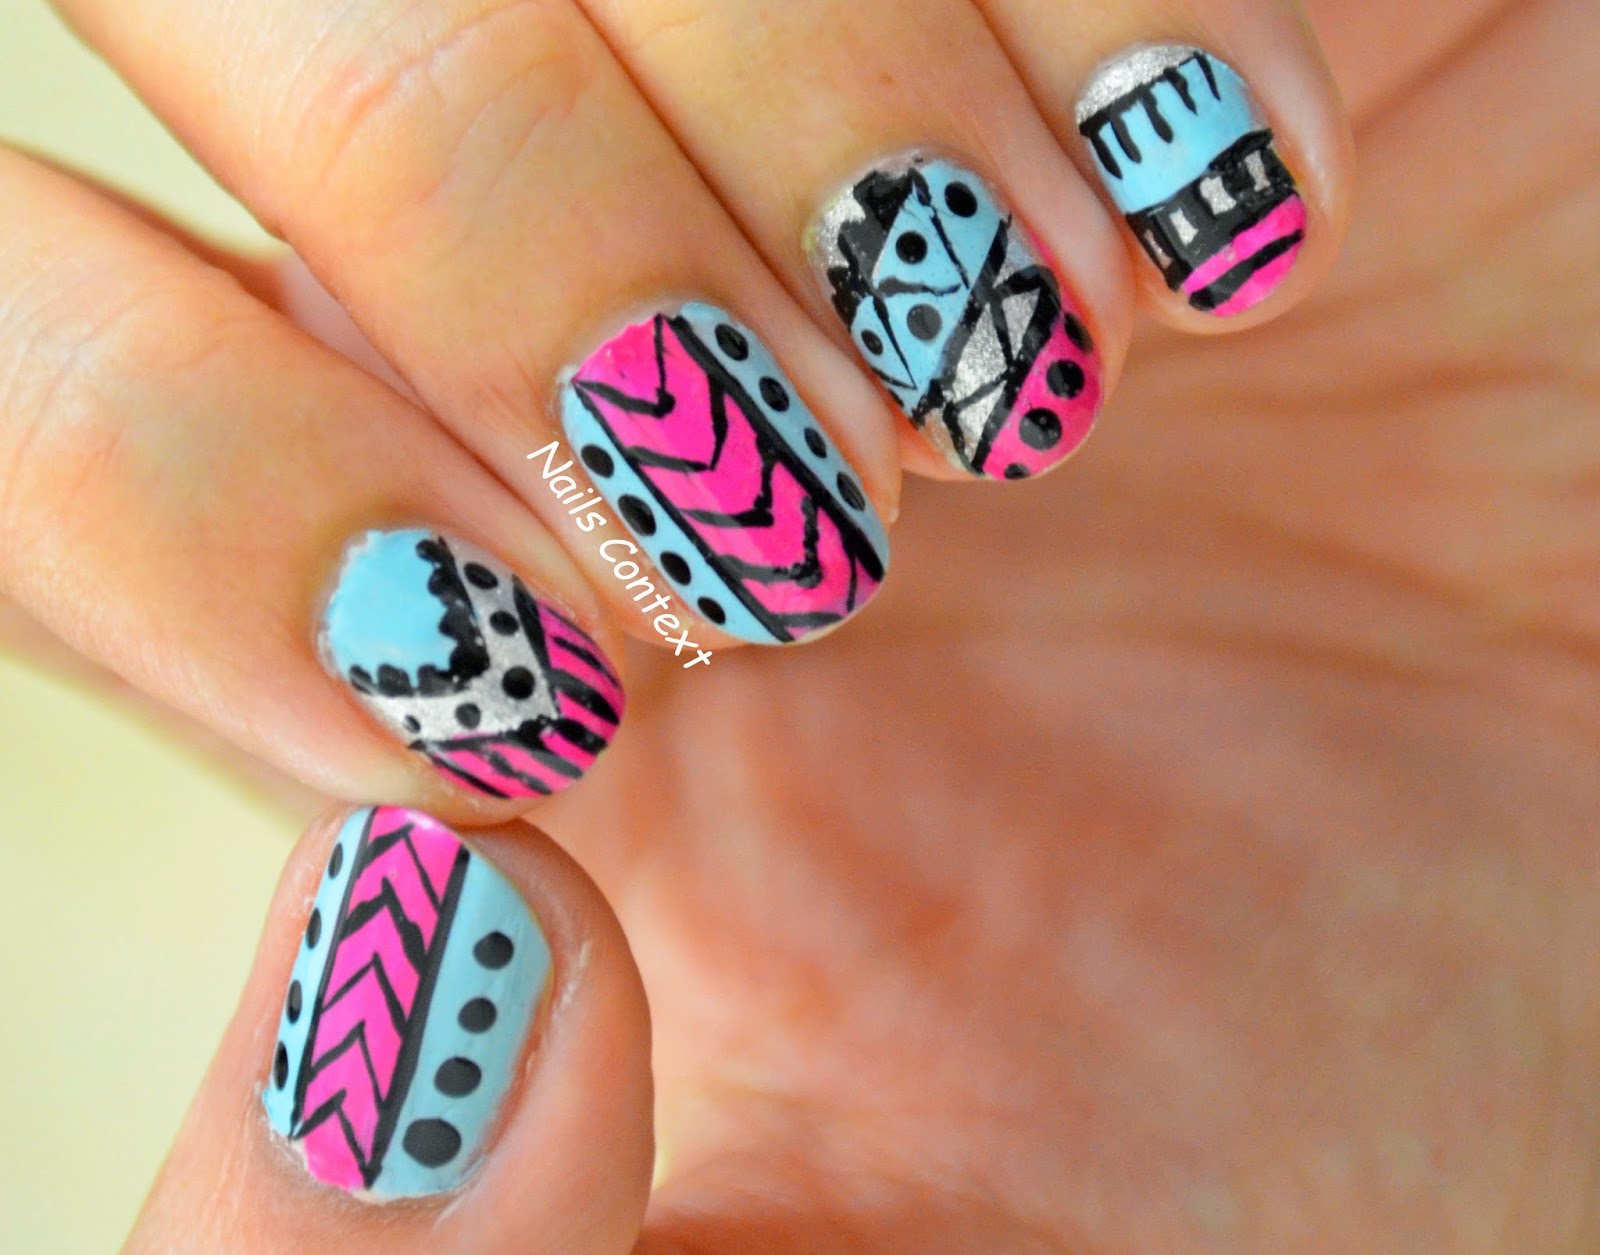
There are endless possibilities when it comes to tribal nail art designs. Take inspiration from different cultures, patterns, and colors to create your own unique look. You can also mix and match different tribal elements, such as tribal animal prints or tribal symbols, for a personalized and creative design.4. Tribal Nail Art Ideas and Inspiration

4. Tribal Nail Art Ideas and Inspiration


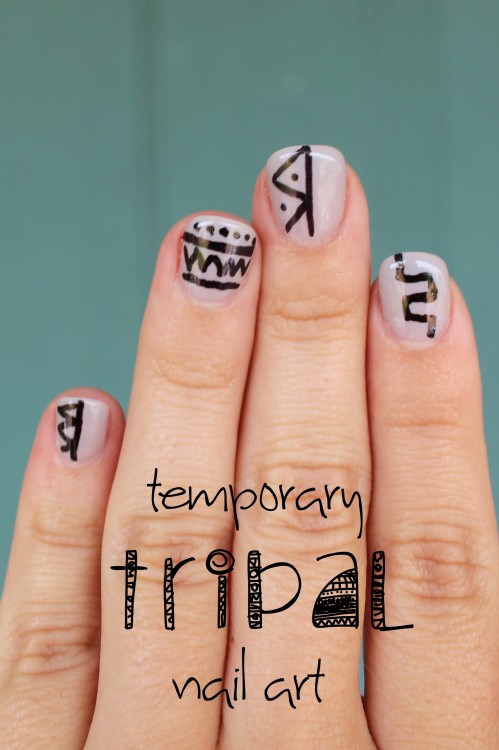
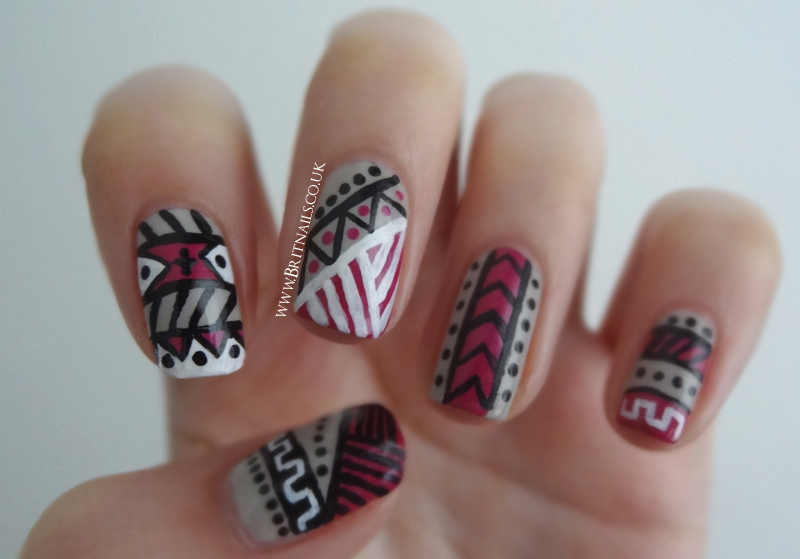
Think you can't rock tribal nail art on short nails? Think again! This step by step guide will show you how to create a stunning tribal design on short nails. Start by painting your nails with a nude base coat. Then, using a thin brush, create small arrow patterns in white and black on each nail. Finish with a top coat for a simple yet stylish look.5. Step by Step Guide to Tribal Nail Art for Short Nails


5. Step by Step Guide to Tribal Nail Art for Short Nails
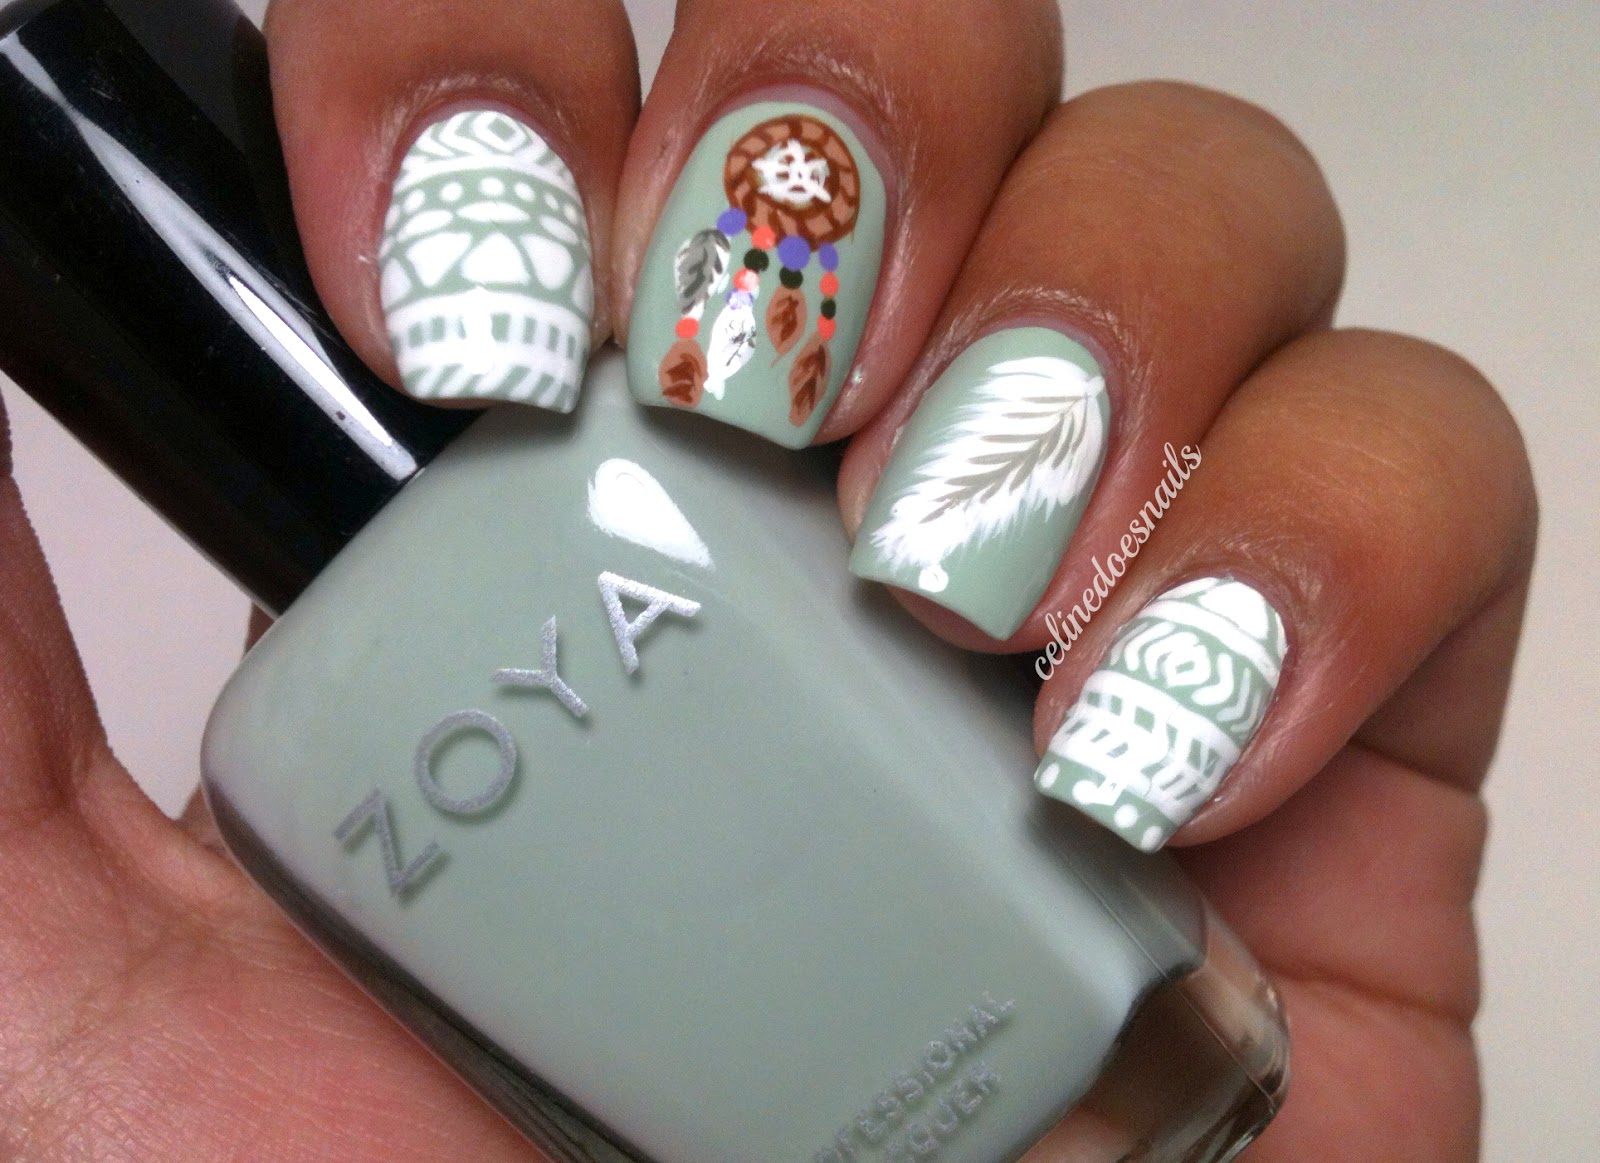
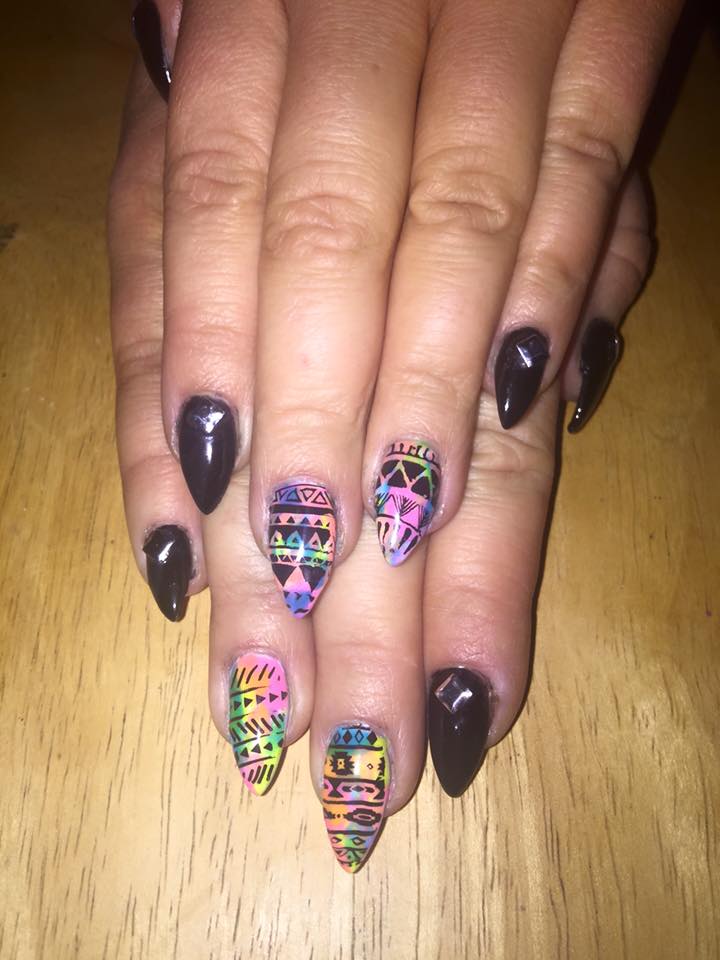
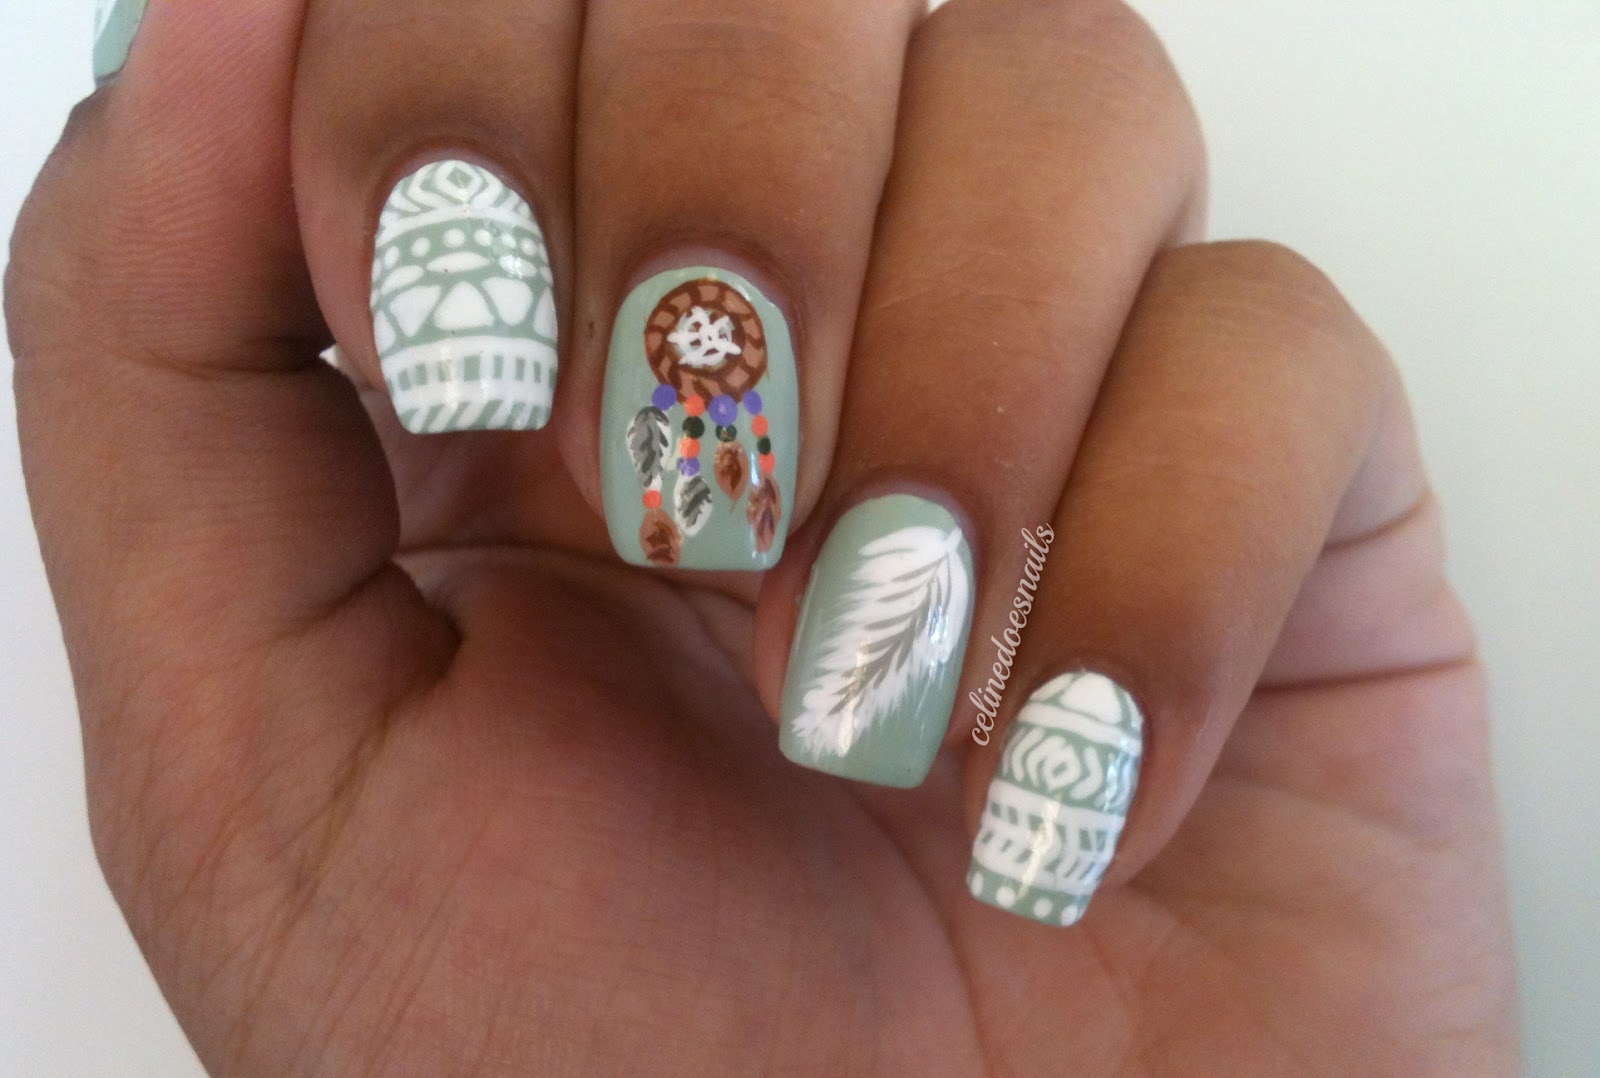
For those with long nails, tribal nail art offers the perfect canvas to showcase bold and intricate designs. One idea is to use small dots in different colors to create a tribal pattern on each nail. You can also incorporate tribal color schemes, such as warm earth tones or bright and bold hues, for a striking and unique look.6. Tribal Nail Art Designs for Long Nails


6. Tribal Nail Art Designs for Long Nails


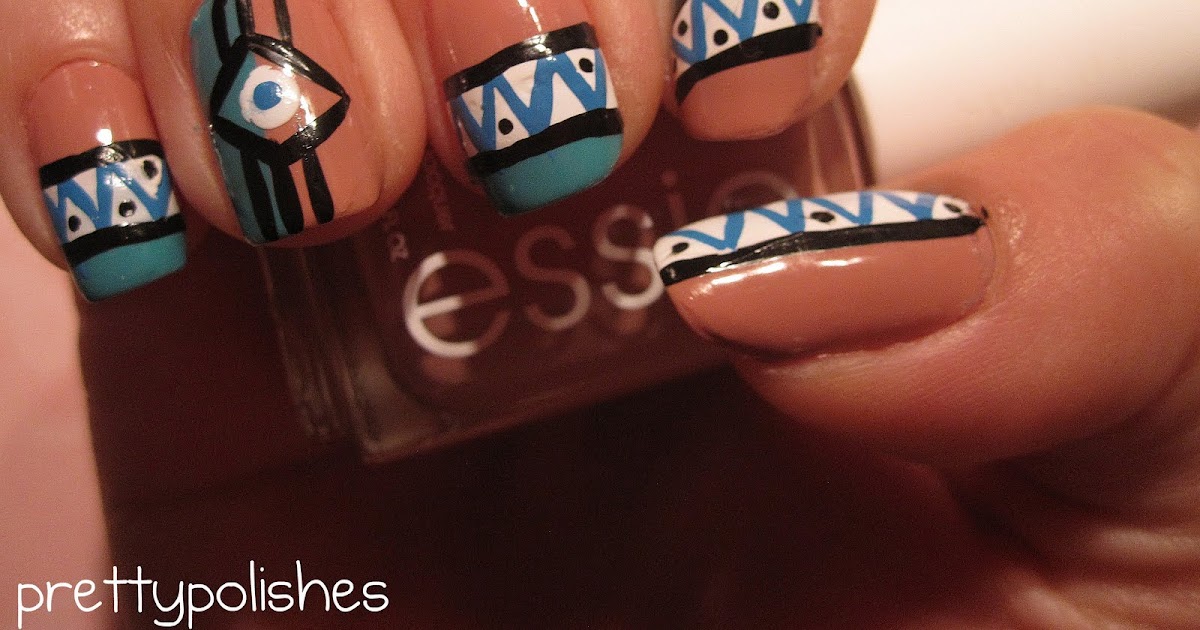

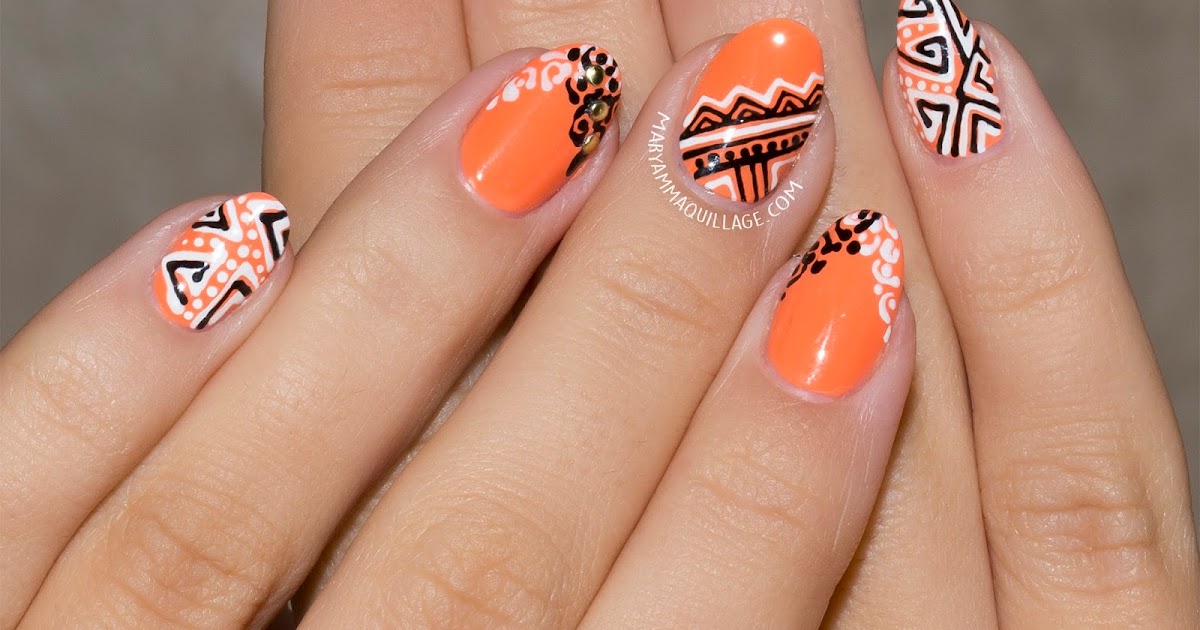
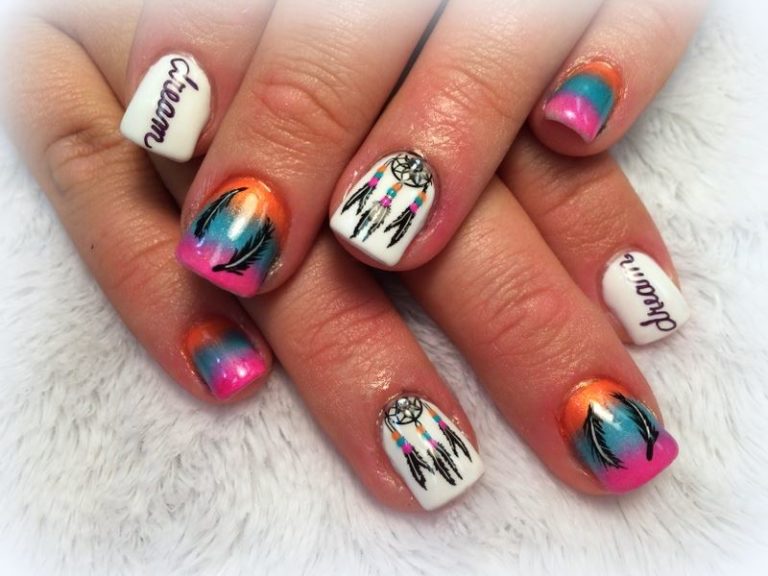
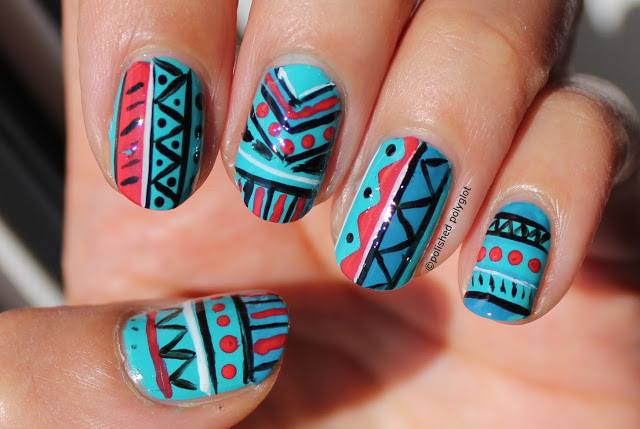
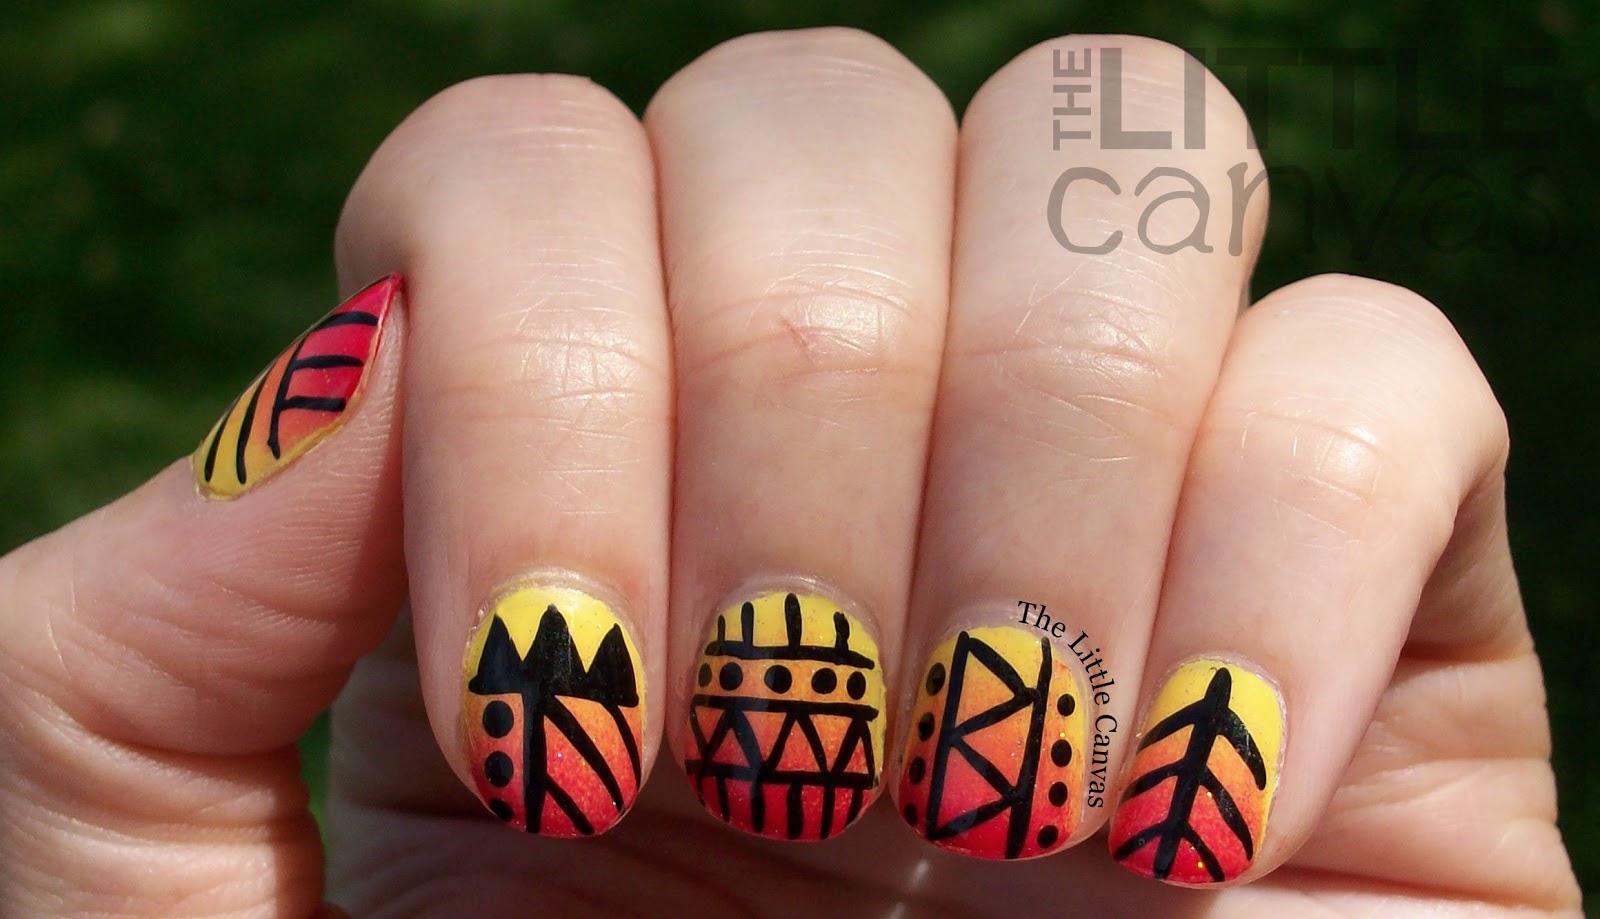
Tribal nail art is the perfect choice for summer, with its vibrant colors and playful patterns. To create a summer-inspired tribal look, use bright shades like turquoise, coral, and yellow in your design. You can also add some tribal flowers or tribal sun symbols for a fun and summery touch.7. Tribal Nail Art Tutorial for Summer

7. Tribal Nail Art Tutorial for Summer

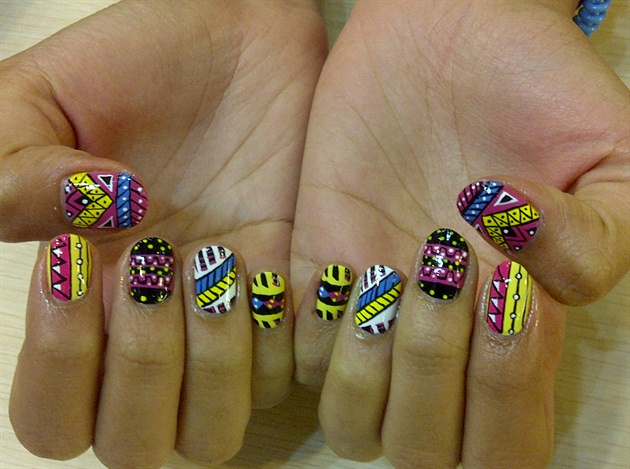
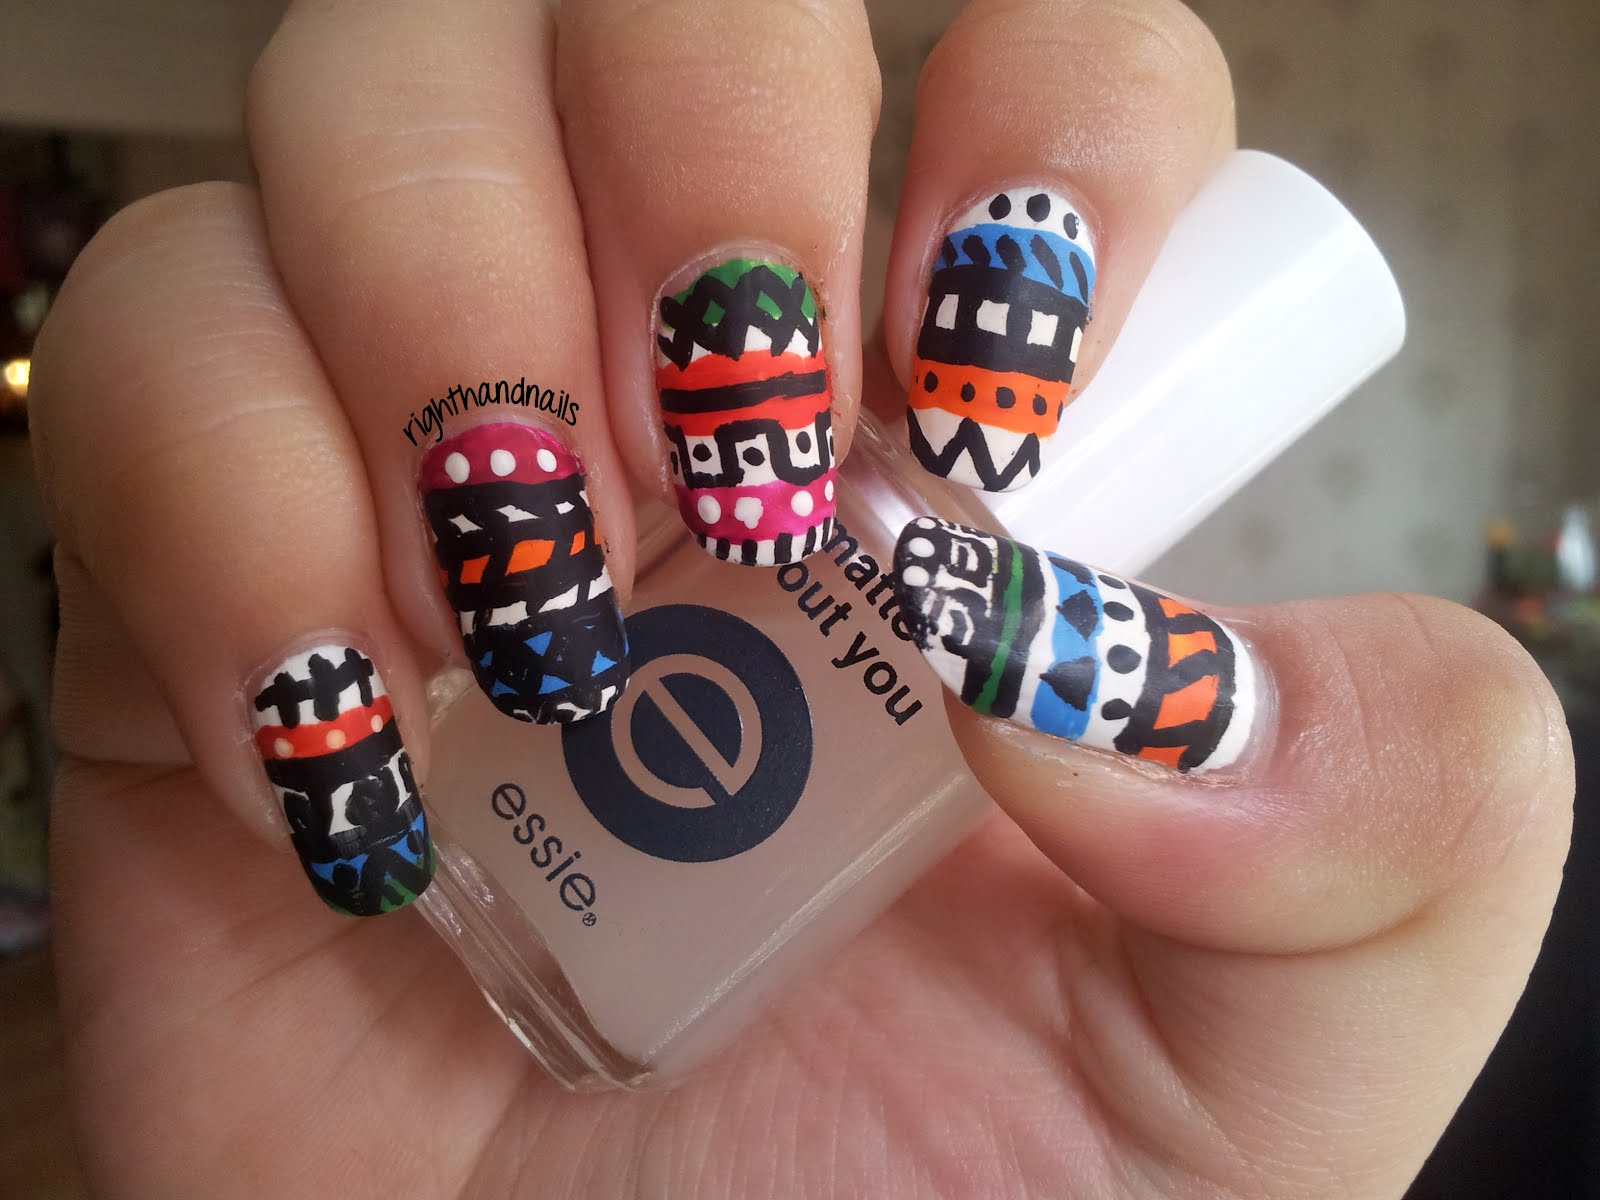
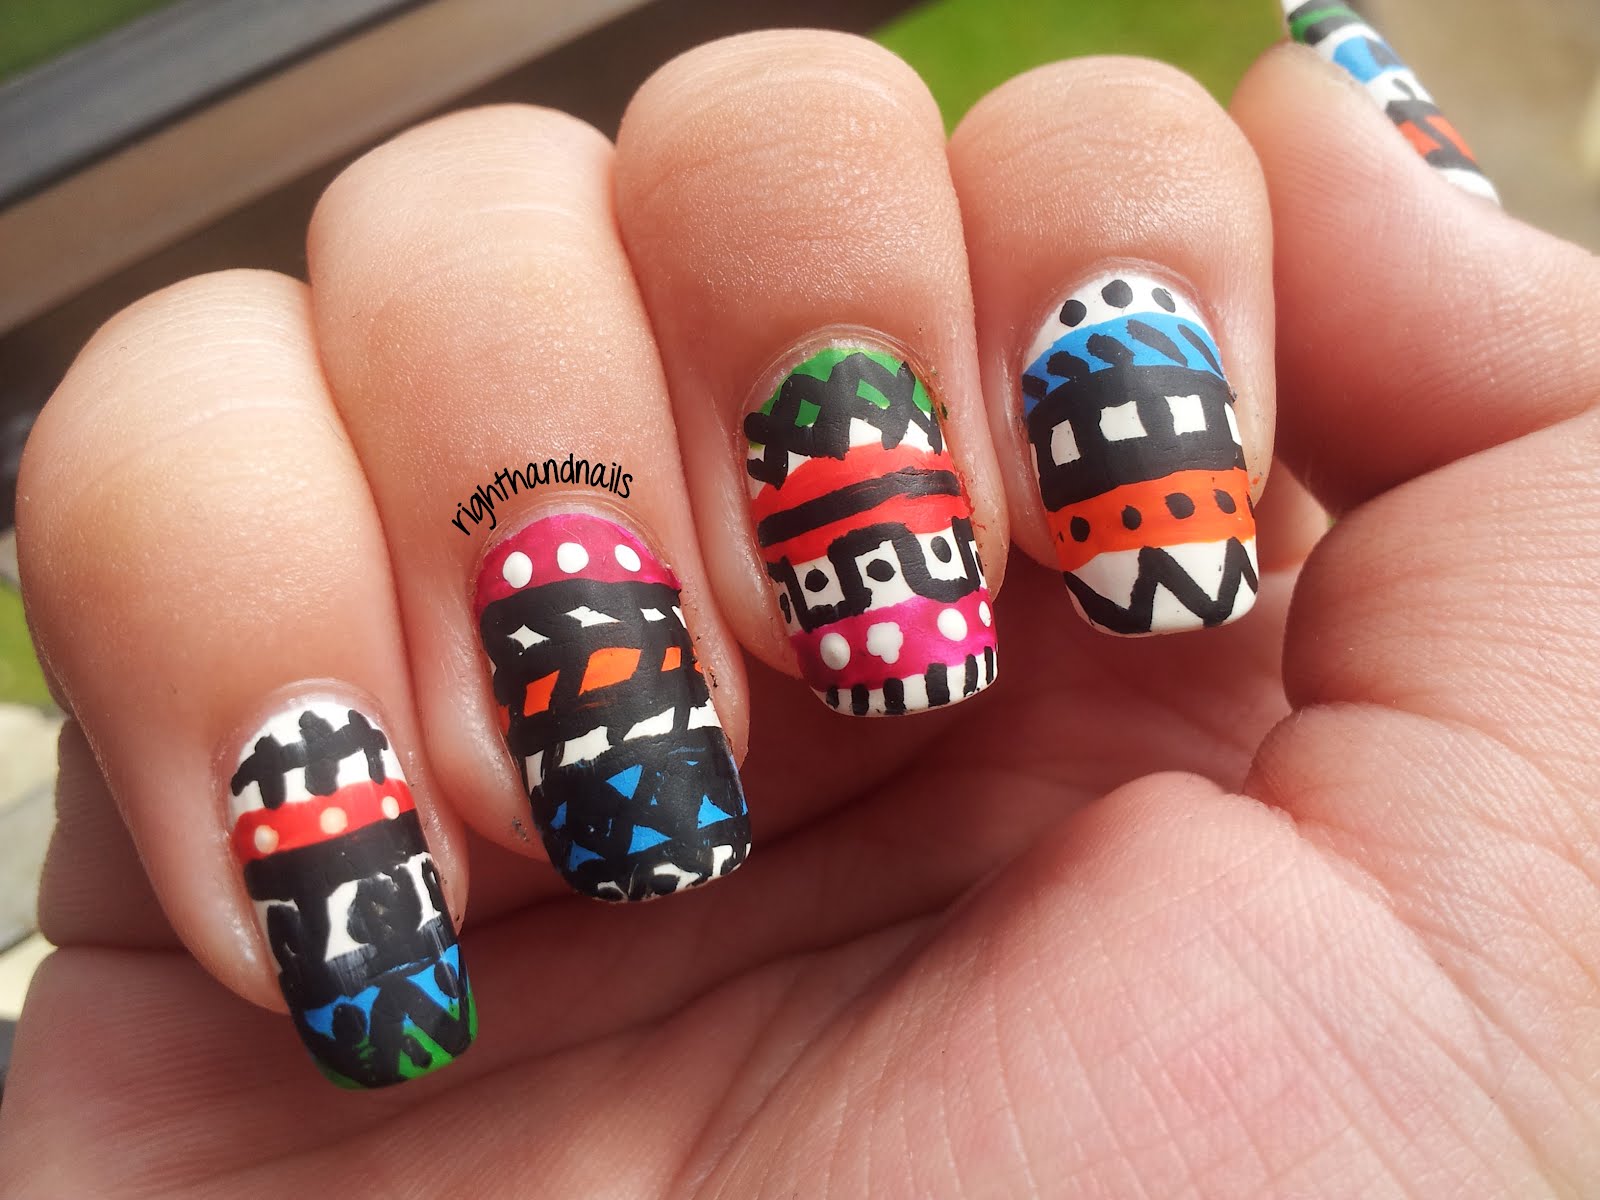
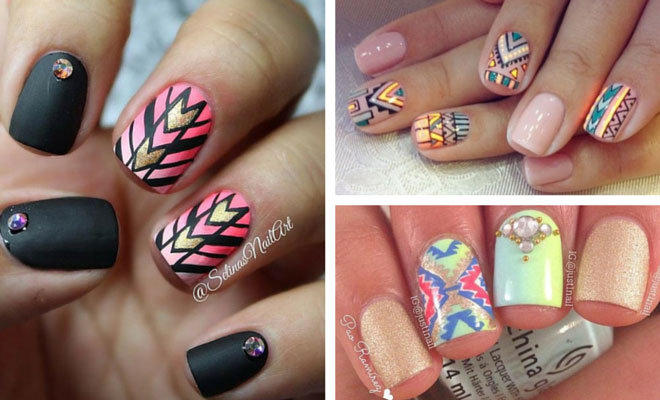
Looking for some new tribal nail art designs to try? Look no further! Here are ten unique and creative designs to inspire your next nail art session. From simple geometric patterns to intricate tribal elephant prints, there's something for everyone to try. So grab your favorite nail polish colors and get creative!8. 10 Tribal Nail Art Designs to Try at Home


8. 10 Tribal Nail Art Designs to Try at Home
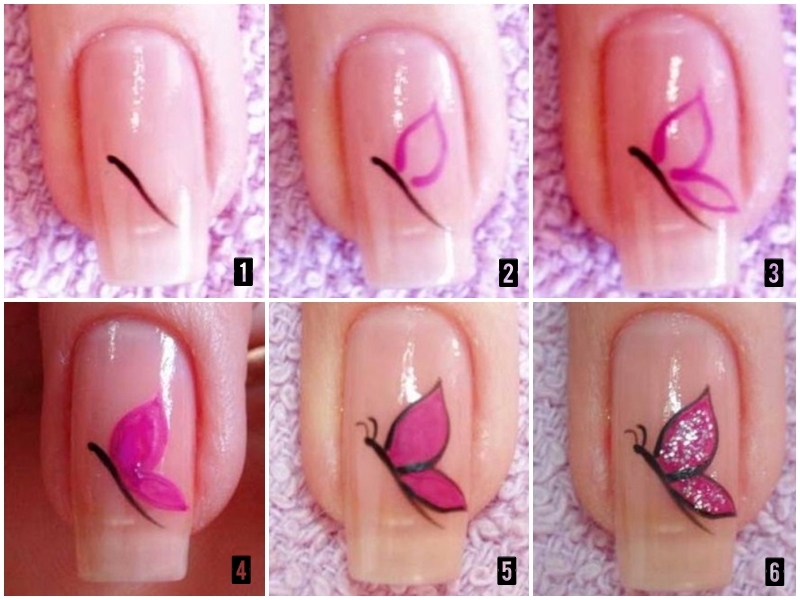
If you're a visual learner, watching a step by step video tutorial can be helpful in mastering the art of tribal nail art. There are many video tutorials available online that demonstrate different techniques and designs. Find one that suits your skill level and follow along to create your own tribal nail art masterpiece.9. Tribal Nail Art Step by Step Video Tutorial
9. Tribal Nail Art Step by Step Video Tutorial
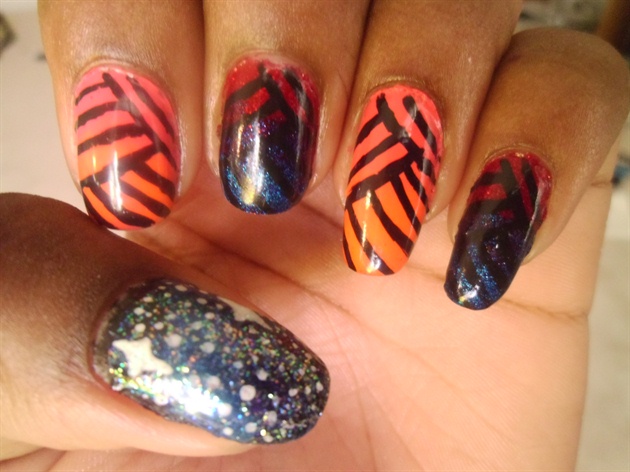
Finally, here are some tips and tricks to help you perfect your tribal nail art skills. Firstly, make sure to use a thin brush for creating precise lines and patterns. Secondly, don't be afraid to experiment with colors and patterns to create a unique design. And lastly, always finish with a top coat to protect your nail art and make it last longer. Now that you have some inspiration and guidance, it's time to get creative with tribal nail art! With these step by step tutorials and tips, you'll be able to create stunning designs that will make your nails stand out. So grab your favorite tribal elements and let your imagination run wild. Happy painting! 10. Tips and Tricks for Perfecting Tribal Nail Art
10. Tips and Tricks for Perfecting Tribal Nail Art

Creating Tribal Nail Art: A Step-by-Step Guide
Step 3: Choose Your Colors
 Once you have your design in mind, it's time to choose the colors that will bring it to life.
Tribal nail art
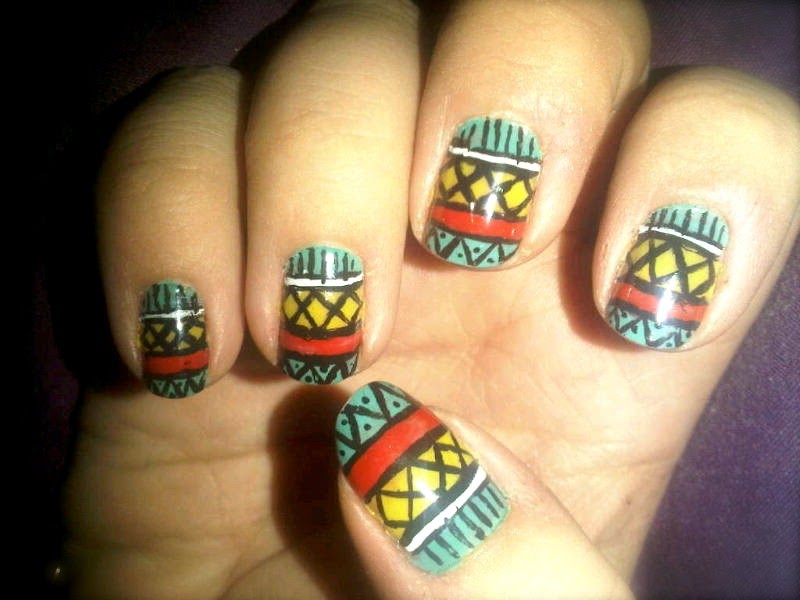
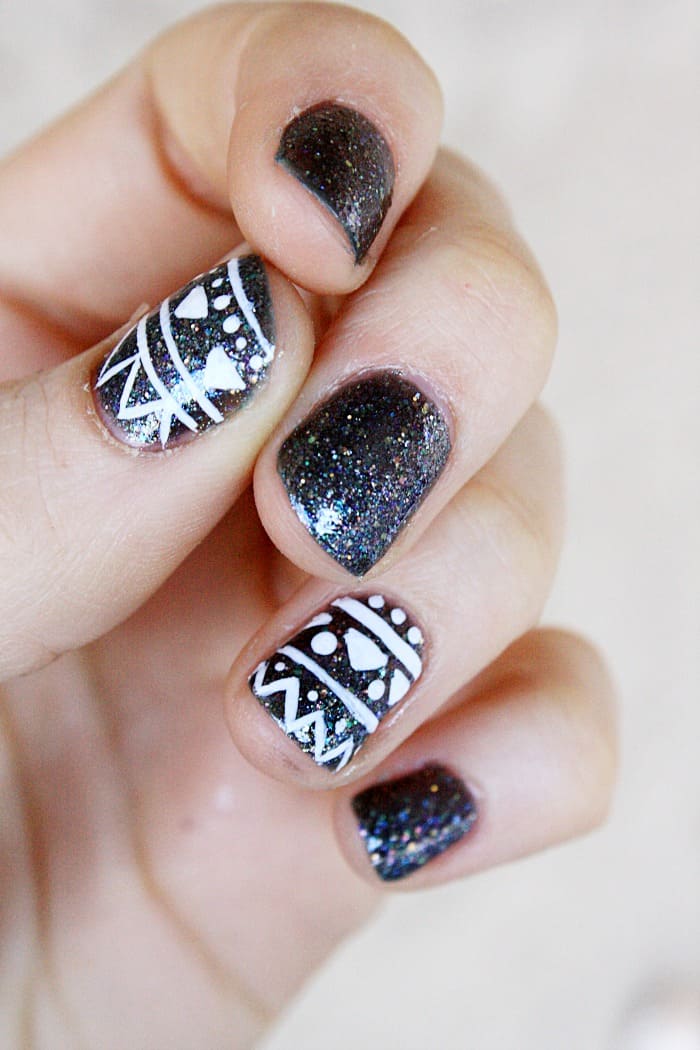
is all about vibrant and bold colors that make a statement. Some popular color combinations include black and white, red and black, and turquoise and gold. However, feel free to get creative and choose colors that speak to you.
Once you have your design in mind, it's time to choose the colors that will bring it to life.
Tribal nail art
is all about vibrant and bold colors that make a statement. Some popular color combinations include black and white, red and black, and turquoise and gold. However, feel free to get creative and choose colors that speak to you.
Step 4: Prep Your Nails
 Before you start painting, make sure your nails are clean and free of any old polish. Use a nail polish remover to thoroughly clean your nails and then trim and shape them to your desired length. You can also use a cuticle pusher to push back your cuticles and create a clean canvas for your
tribal nail art
.
Before you start painting, make sure your nails are clean and free of any old polish. Use a nail polish remover to thoroughly clean your nails and then trim and shape them to your desired length. You can also use a cuticle pusher to push back your cuticles and create a clean canvas for your
tribal nail art
.
Step 5: Paint Your Base Color
 Using your chosen base color, paint your nails and let them dry completely. This will serve as the background for your
tribal nail art
design. You can also add a clear base coat before applying the color to help protect your nails and make the polish last longer.
Using your chosen base color, paint your nails and let them dry completely. This will serve as the background for your
tribal nail art
design. You can also add a clear base coat before applying the color to help protect your nails and make the polish last longer.
Step 6: Create Your Design
 Now comes the fun part – creating your
tribal nail art
design. You can use a thin brush or a toothpick to create intricate patterns and lines. You can also use
contrast colors
to create a bold and eye-catching design. Don't be afraid to experiment and make mistakes – this is all part of the creative process.
Now comes the fun part – creating your
tribal nail art
design. You can use a thin brush or a toothpick to create intricate patterns and lines. You can also use
contrast colors
to create a bold and eye-catching design. Don't be afraid to experiment and make mistakes – this is all part of the creative process.
Step 7: Add Finishing Touches
 Once you're happy with your design, let it dry completely. You can also use a top coat to seal in your
tribal nail art
and give it a glossy finish. If you want to add some extra sparkle, you can also use glitter or rhinestones to make your design pop.
Now that you have a step-by-step guide, it's time to unleash your creativity and create your own
tribal nail art
masterpiece. Remember to have fun and don't be afraid to try new designs and color combinations. With practice and patience, you'll have beautiful and unique
tribal nail art
that will make heads turn.
Once you're happy with your design, let it dry completely. You can also use a top coat to seal in your
tribal nail art
and give it a glossy finish. If you want to add some extra sparkle, you can also use glitter or rhinestones to make your design pop.
Now that you have a step-by-step guide, it's time to unleash your creativity and create your own
tribal nail art
masterpiece. Remember to have fun and don't be afraid to try new designs and color combinations. With practice and patience, you'll have beautiful and unique
tribal nail art
that will make heads turn.


