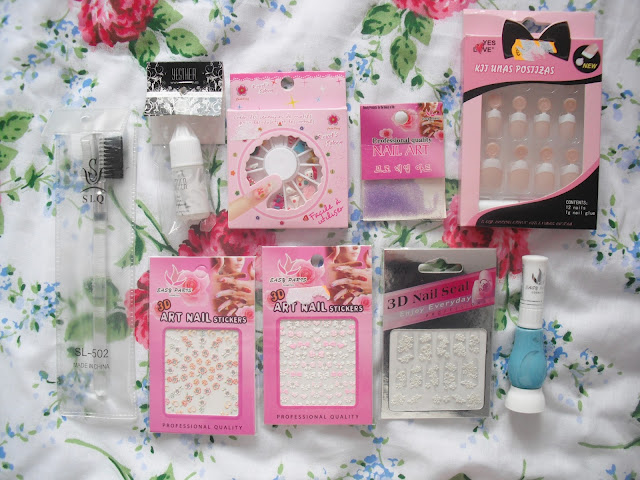
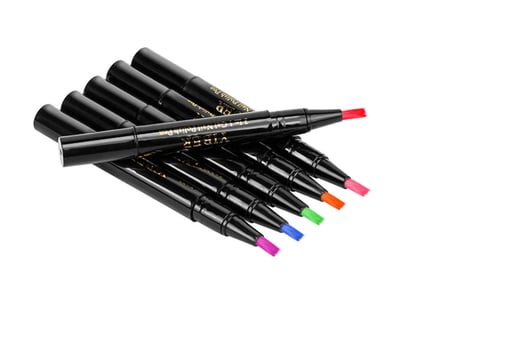
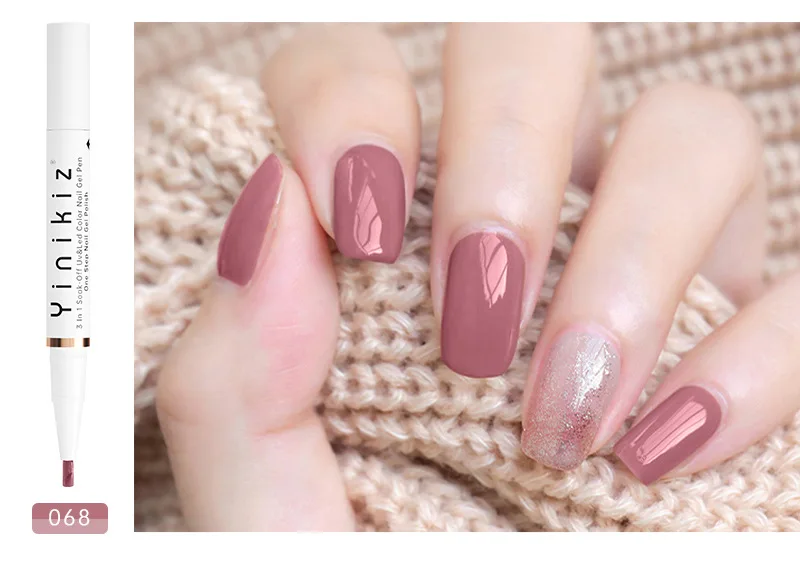
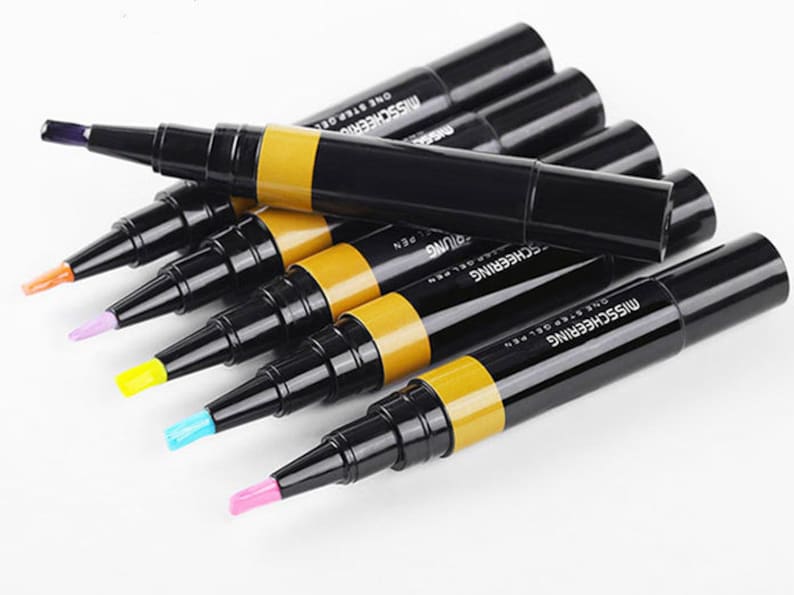
When it comes to creating stunning nail art, it's all about having the right tools. And Varnish Pen is one tool that every nail artist, professional or amateur, needs in their collection. This one-step varnish pen combines convenience, precision, and a touch of glitter to take your nail designs to the next level. Let's take a closer look at why the Varnish Pen is a game-changer in the world of nail art.Varnish Pen: The Must-Have Tool for Perfect Nail Art


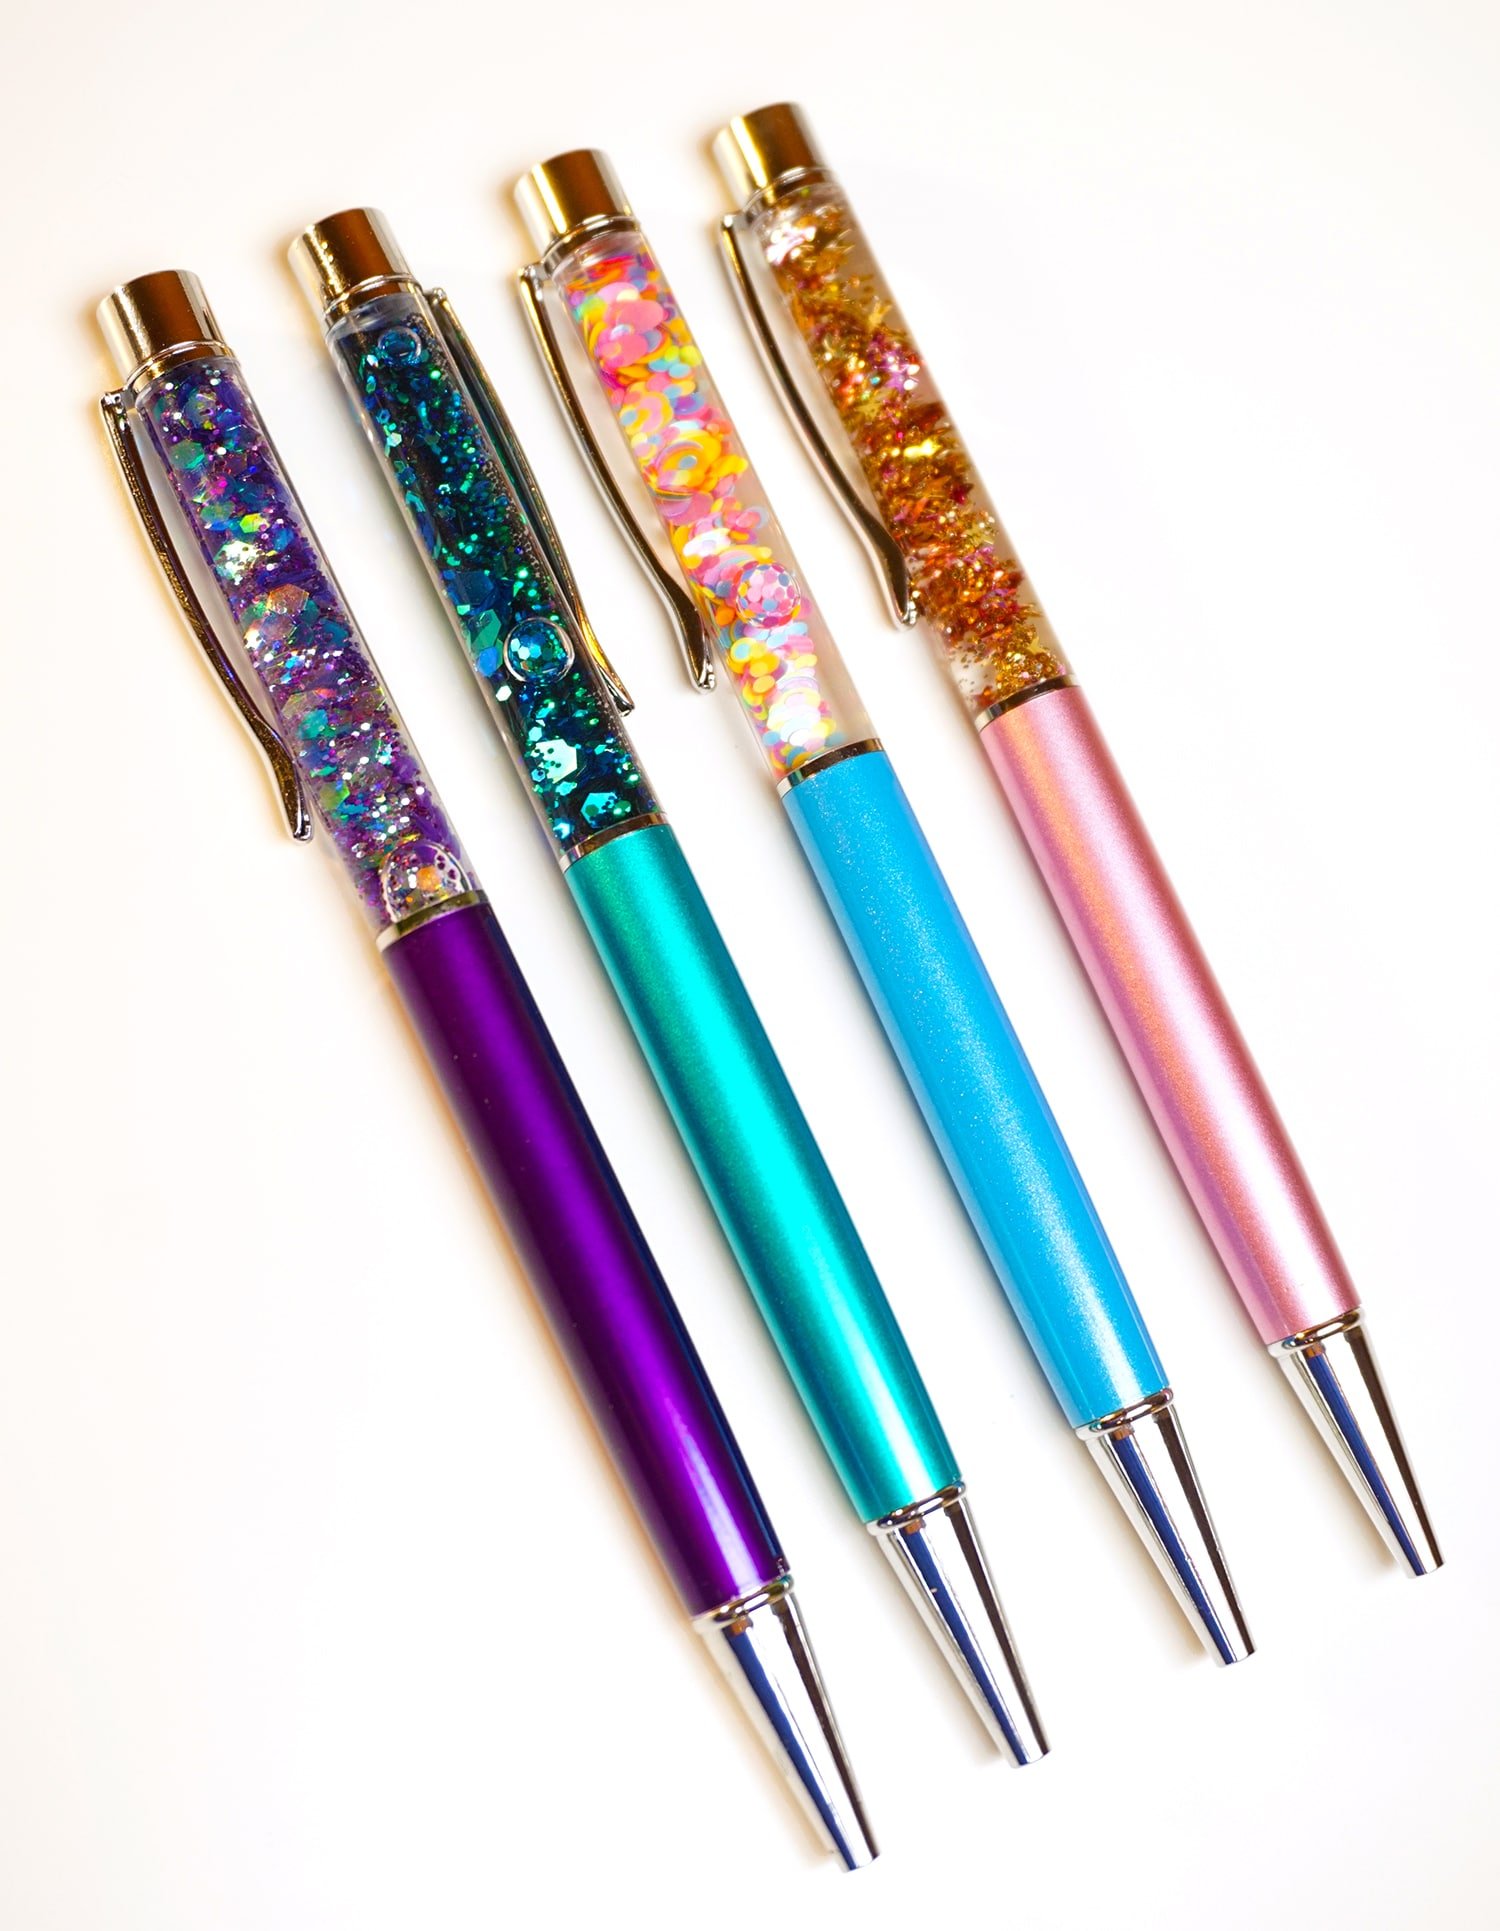
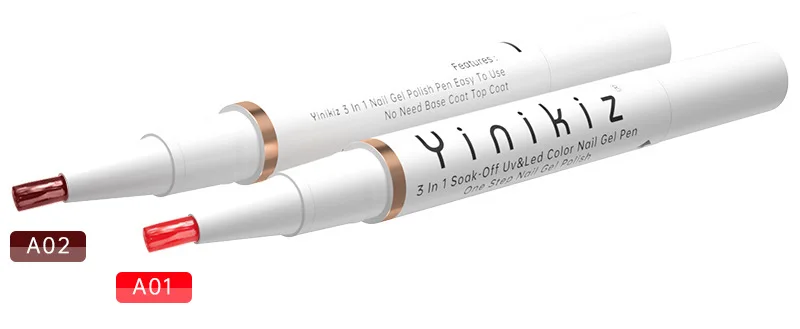
Varnish Pen

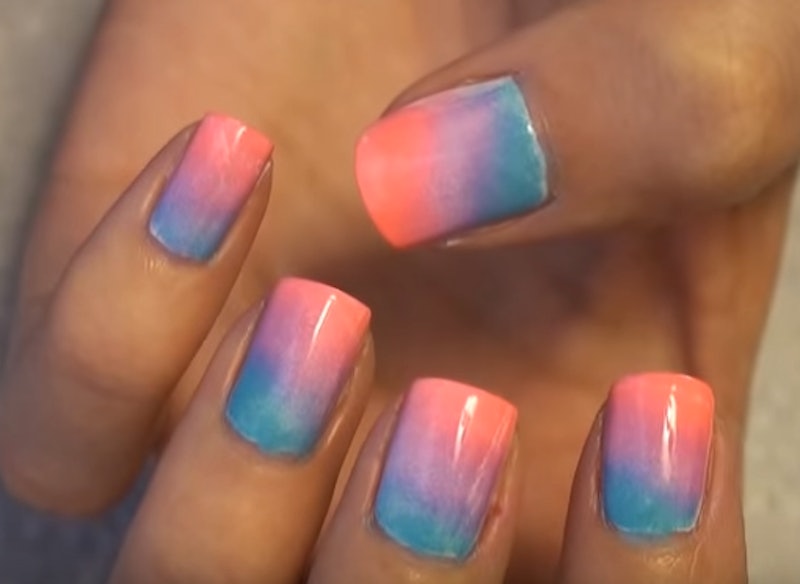
Gone are the days of struggling with multiple bottles of nail polish, trying to create intricate designs on your nails. The Varnish Pen simplifies the whole process by combining a base color and glitter in one easy-to-use pen. With just one step, you can add a touch of sparkle and shine to your nails, creating endless possibilities for unique and eye-catching designs.One Step, Endless Possibilities

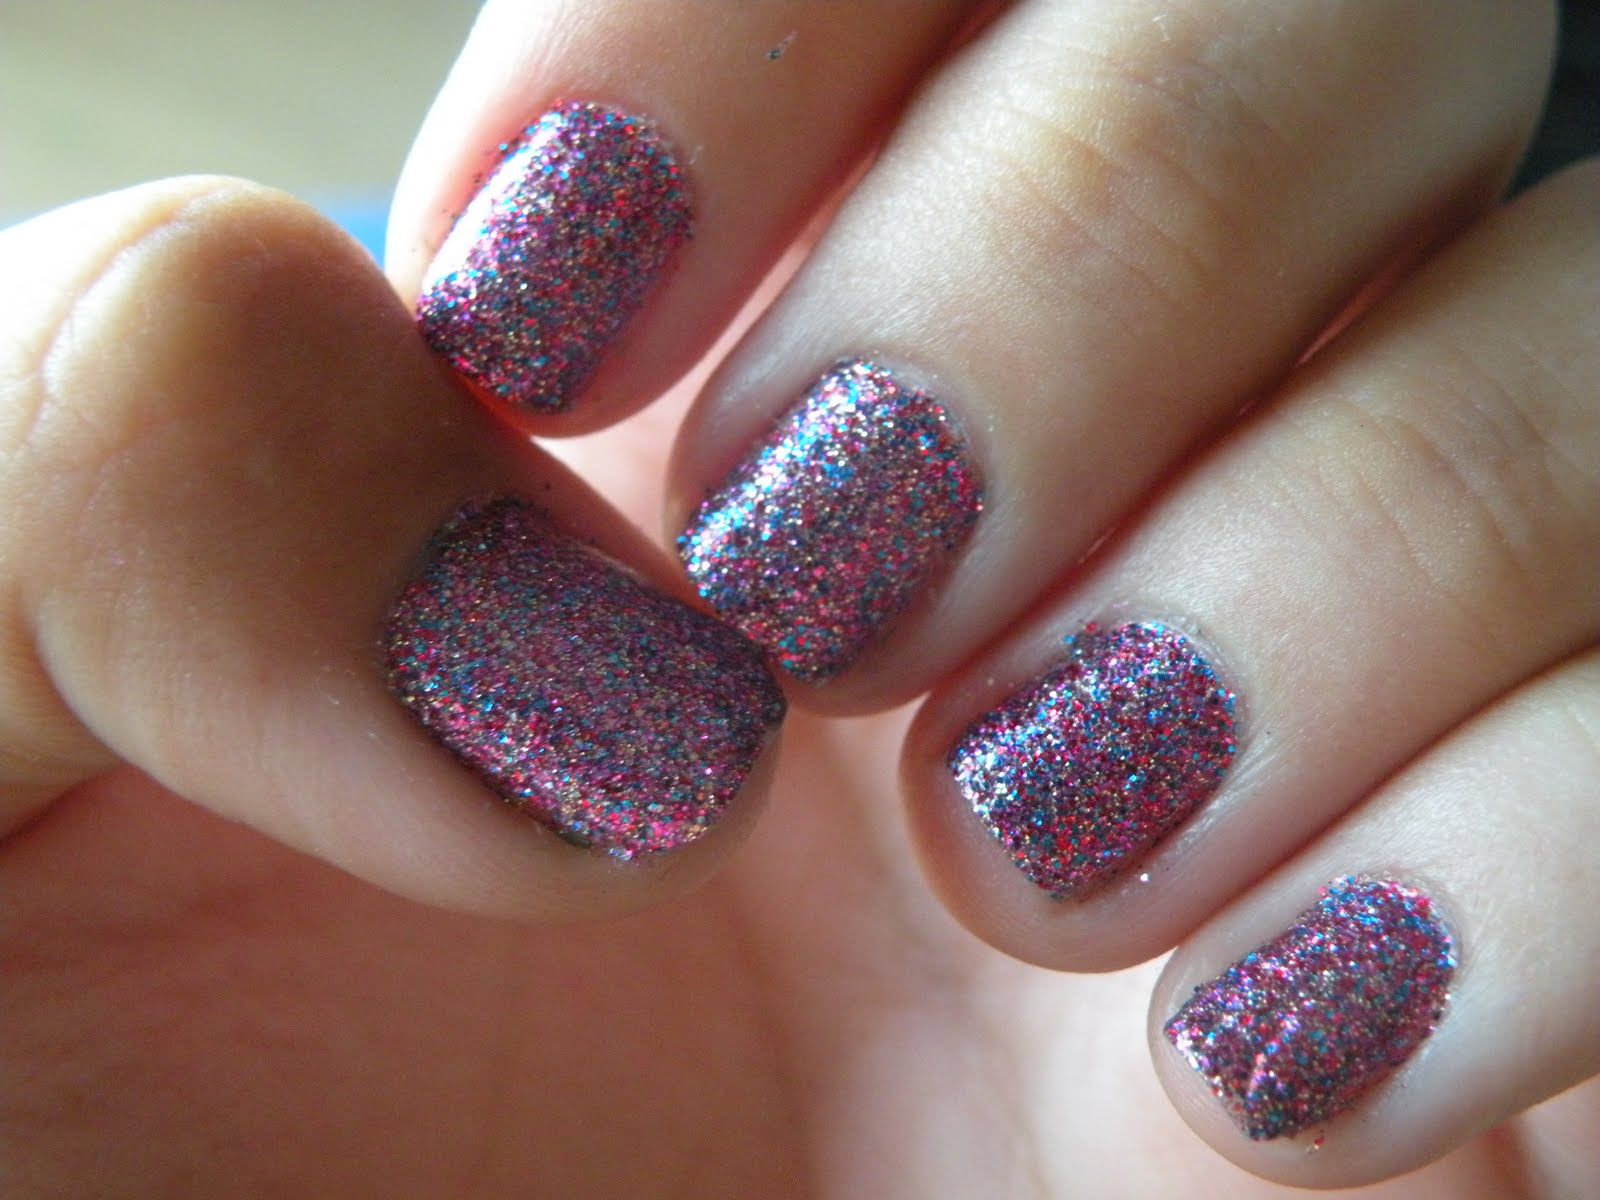
Glitter One Step


Whether you're a seasoned nail artist or just starting out, the Varnish Pen makes creating nail art a breeze. The pen's fine tip allows for precise application, giving you full control over the design. You can draw lines, dots, and even intricate patterns with ease, making it the perfect tool for creating intricate designs or adding a touch of glitter to your everyday manicure.Nail Art Made Easy
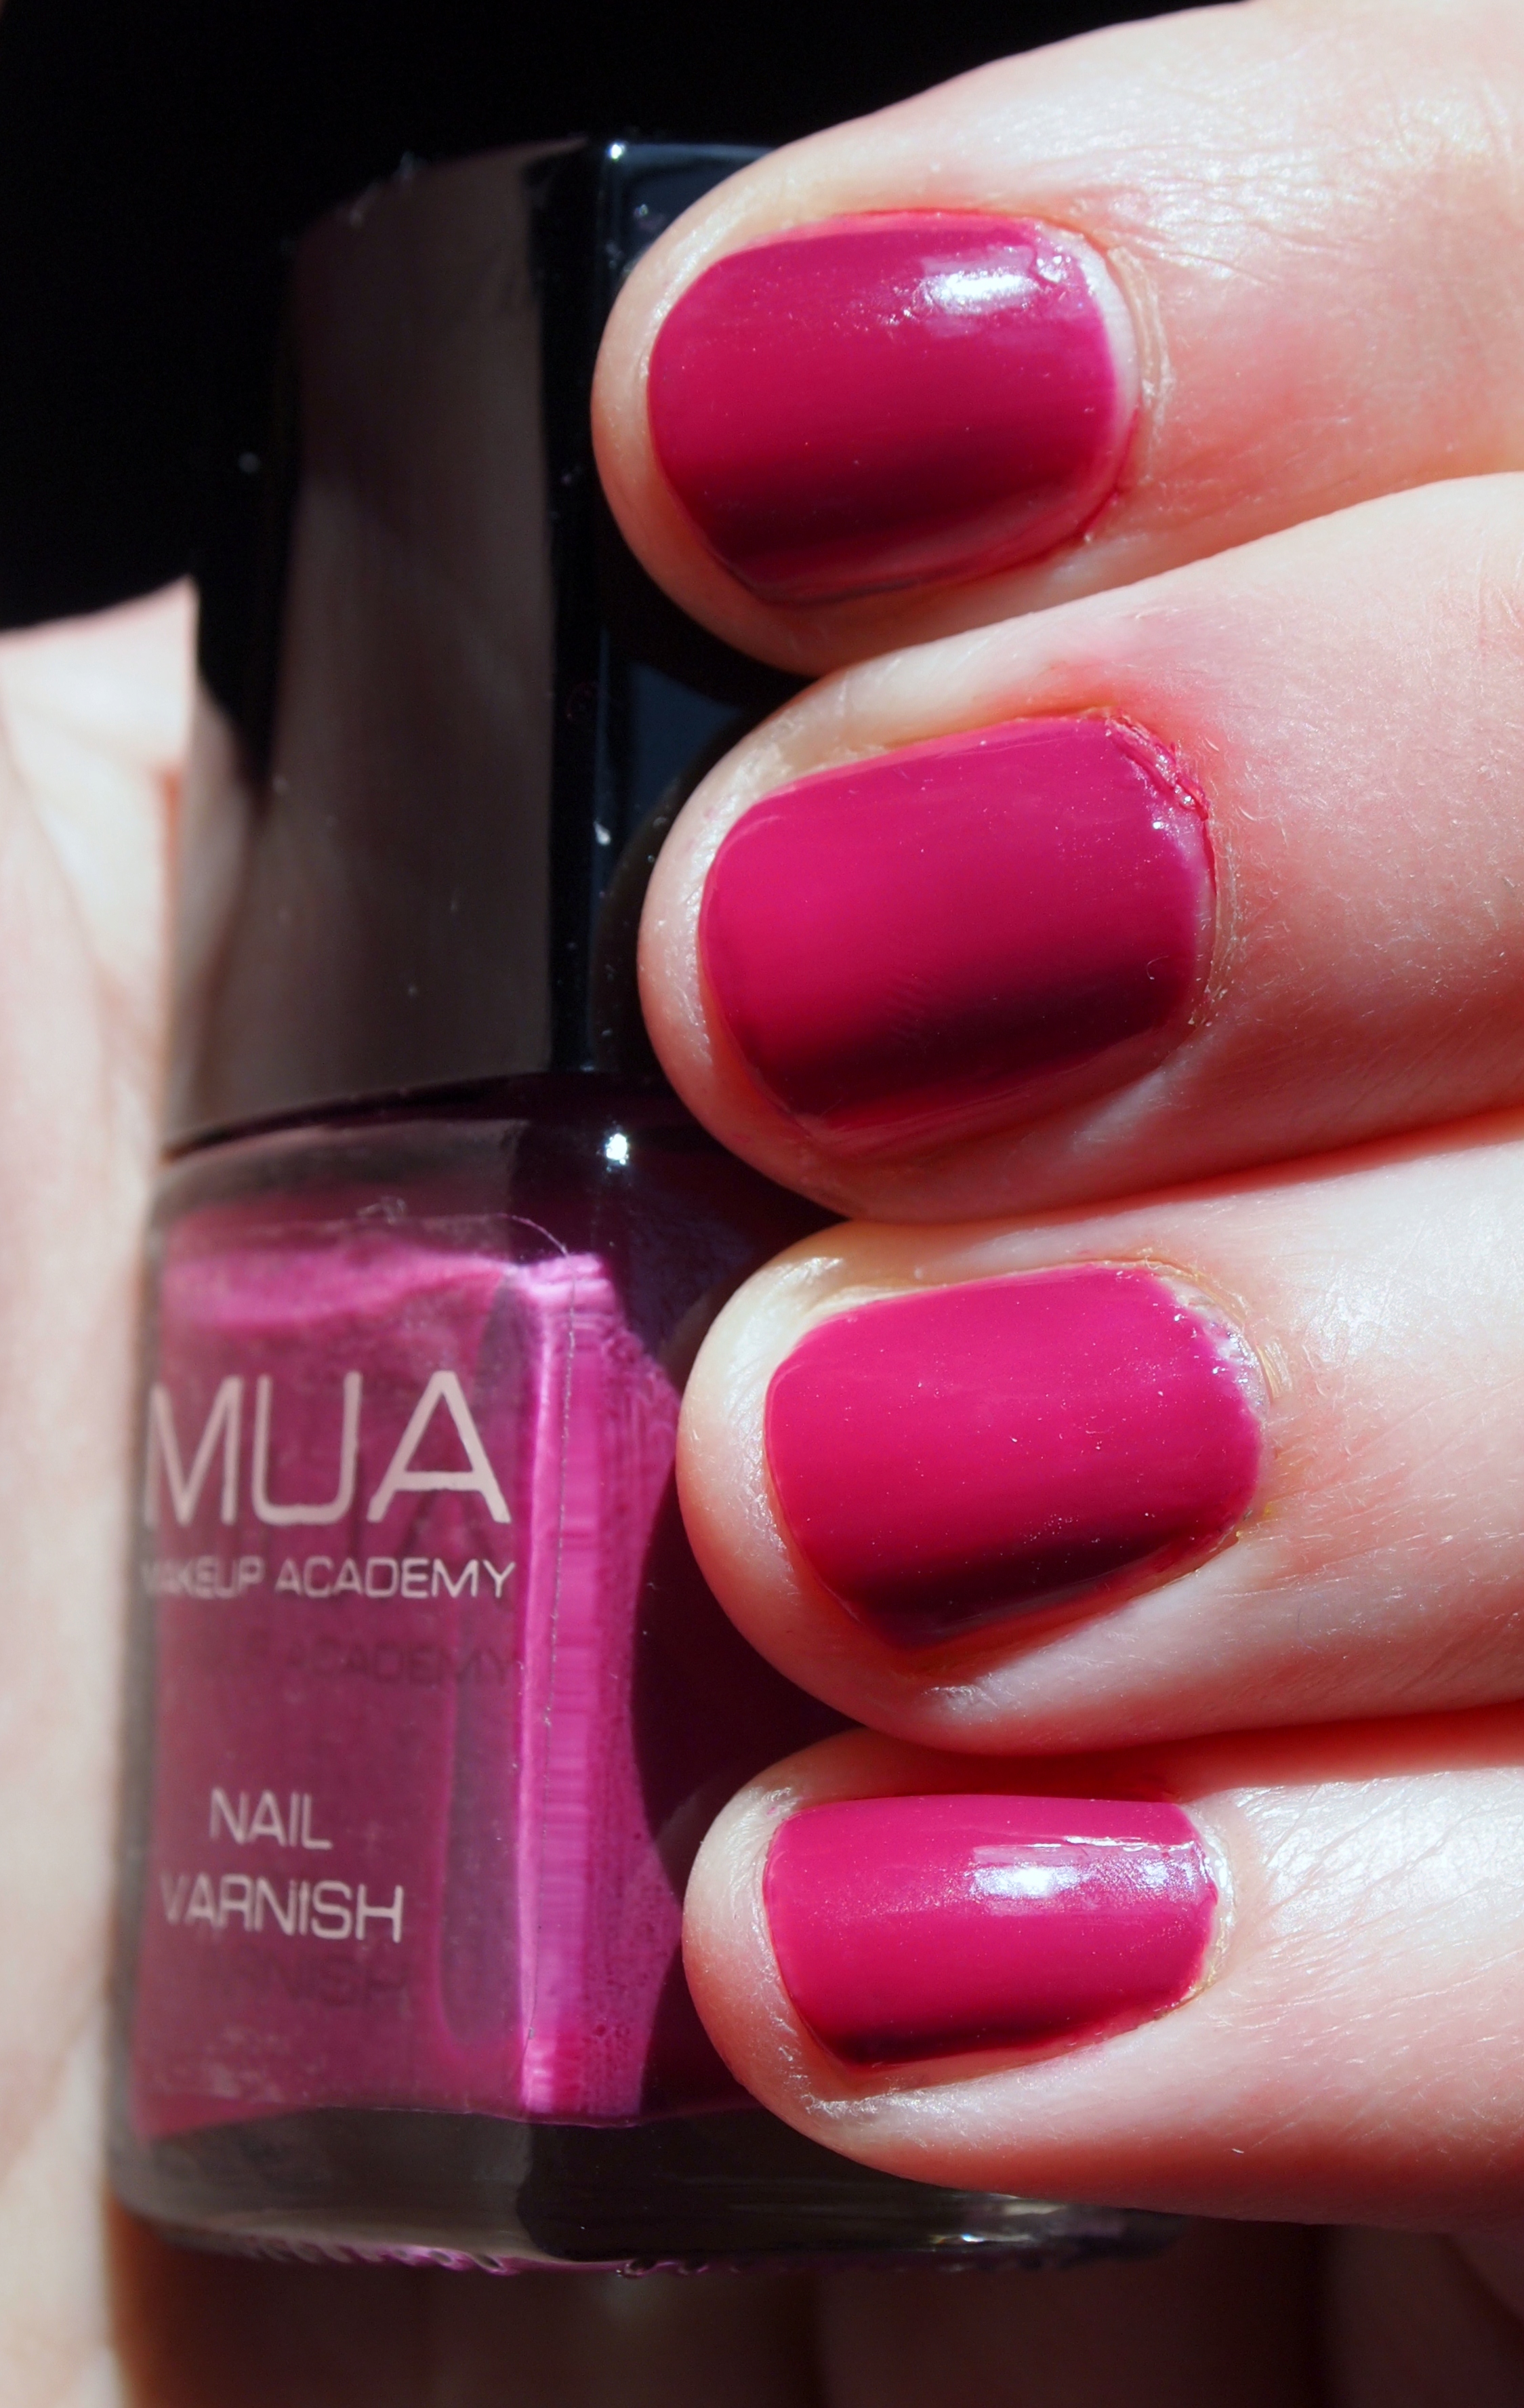


Nail Art


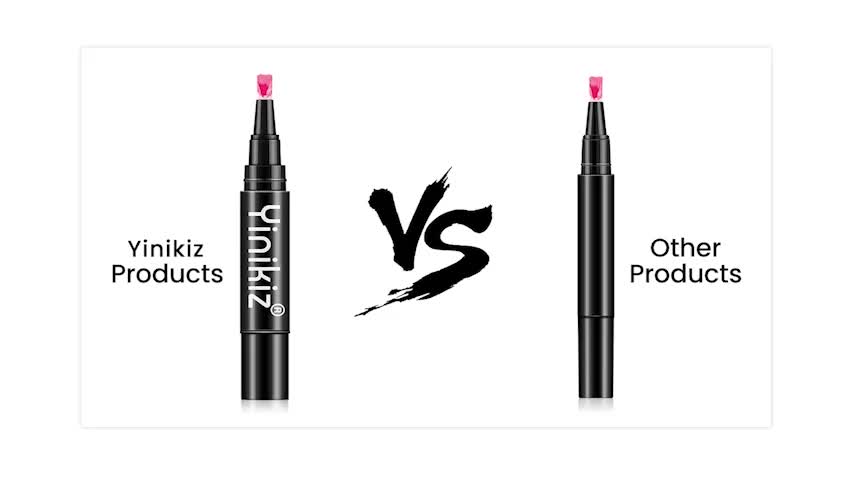
What sets the Varnish Pen apart from other nail art tools is its unique formula that includes GE. This innovative ingredient not only helps the Varnish Pen glide smoothly over your nails but also provides nourishment and protection to your nails. So while you're creating stunning nail art, your nails are also getting some much-needed TLC.The GE Factor


GE


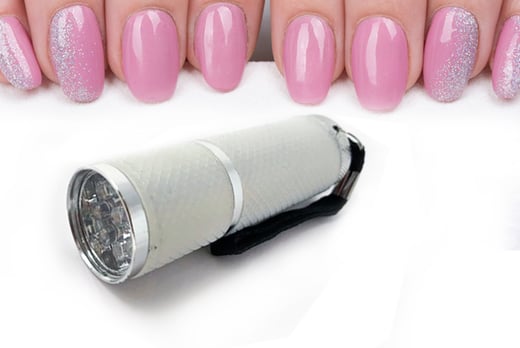
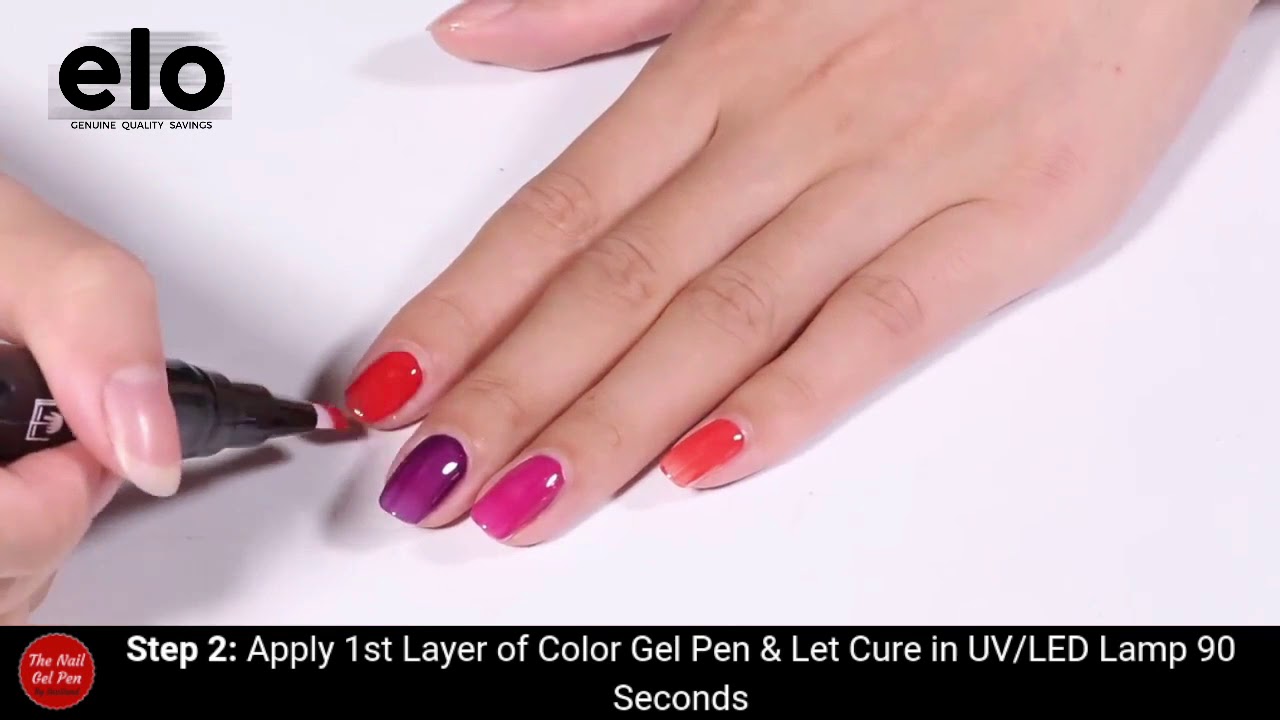
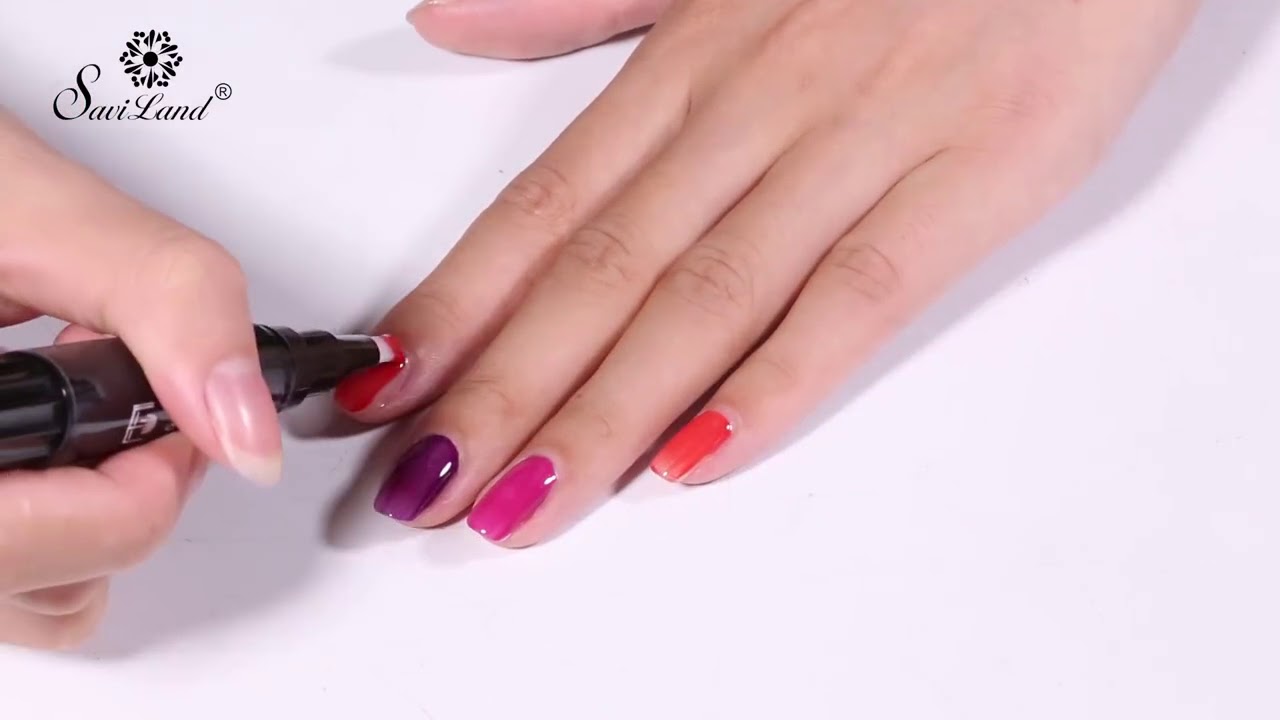
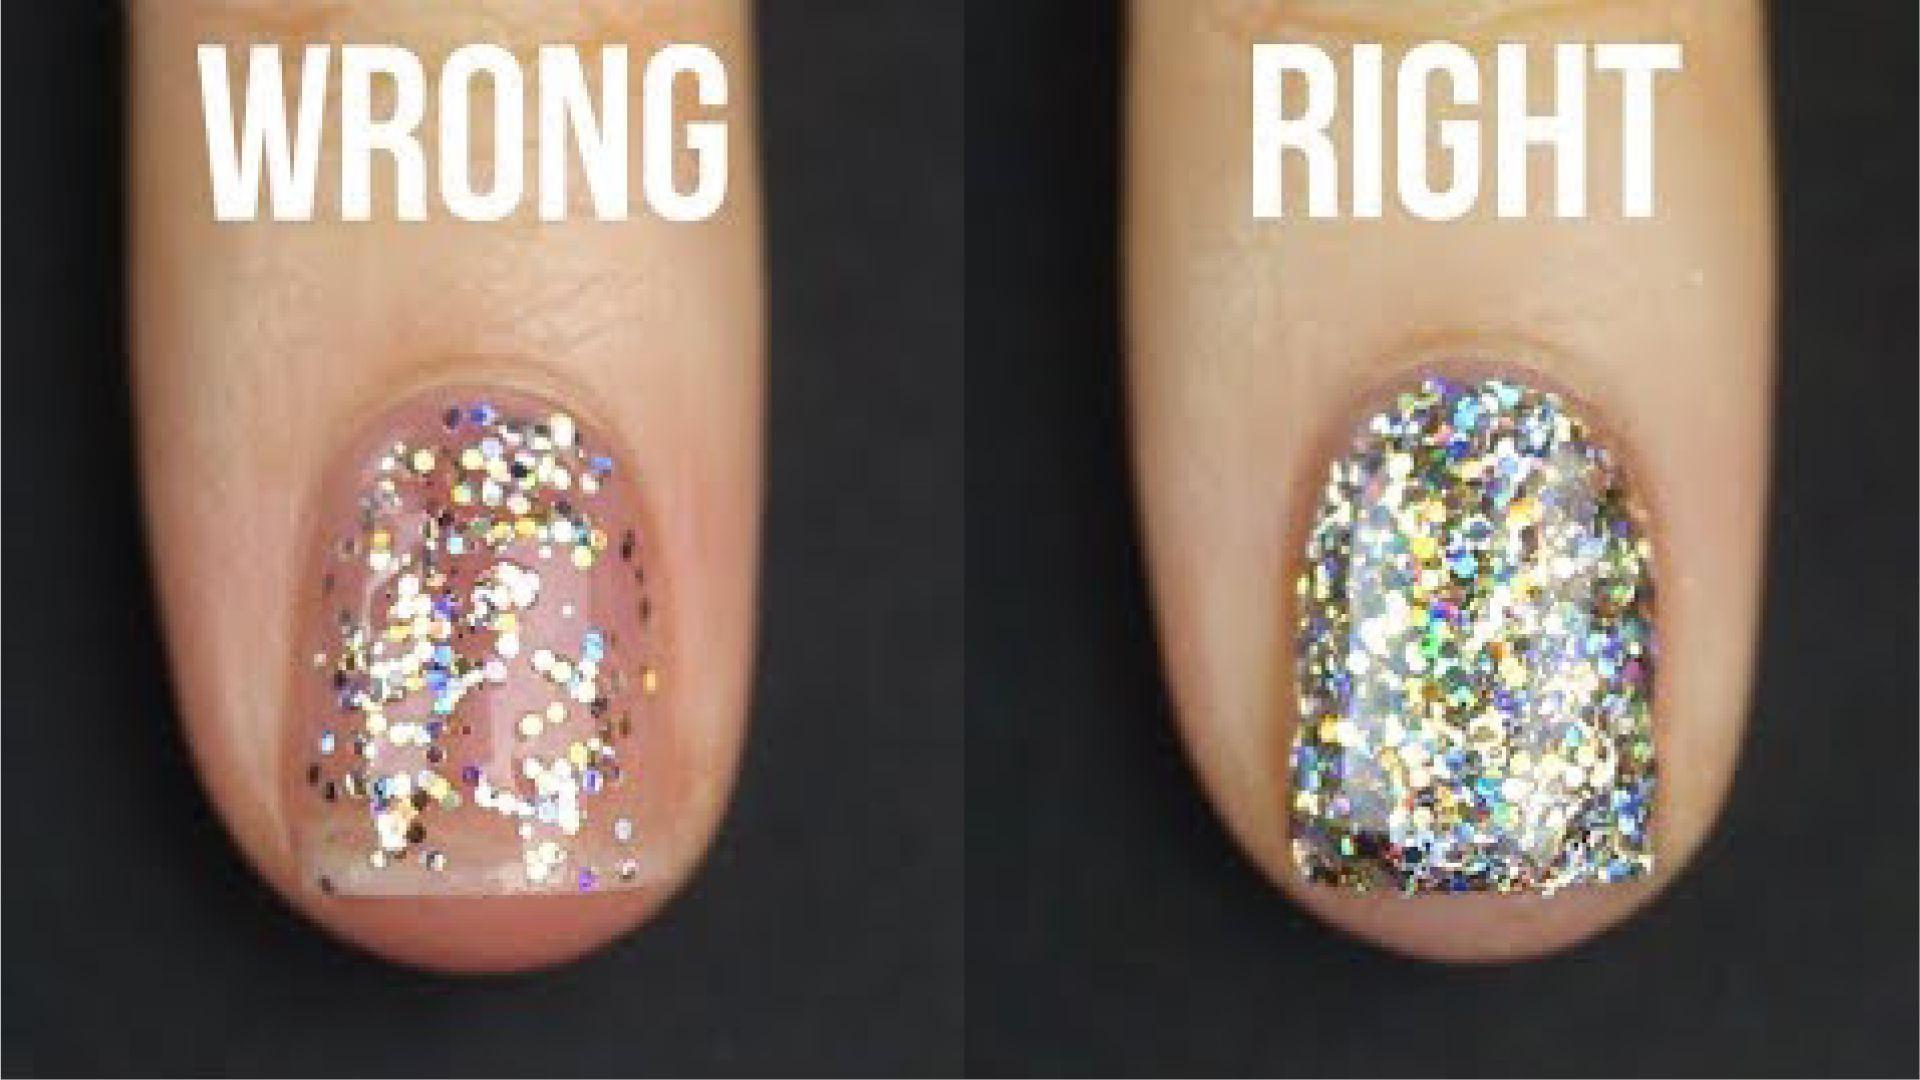
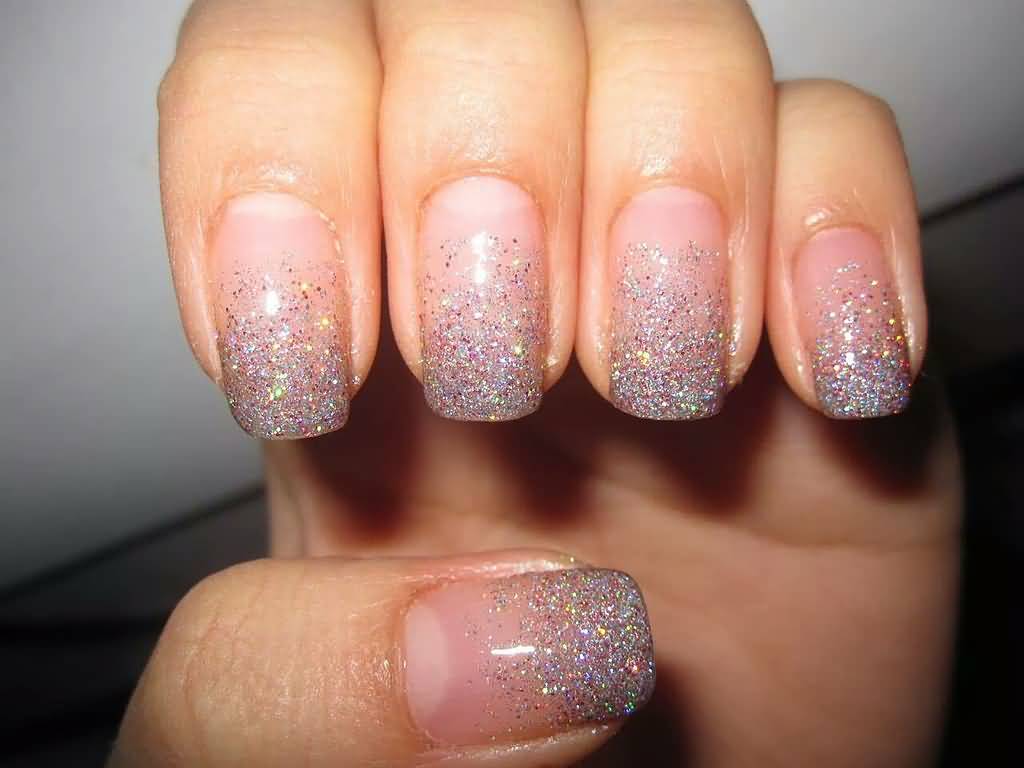
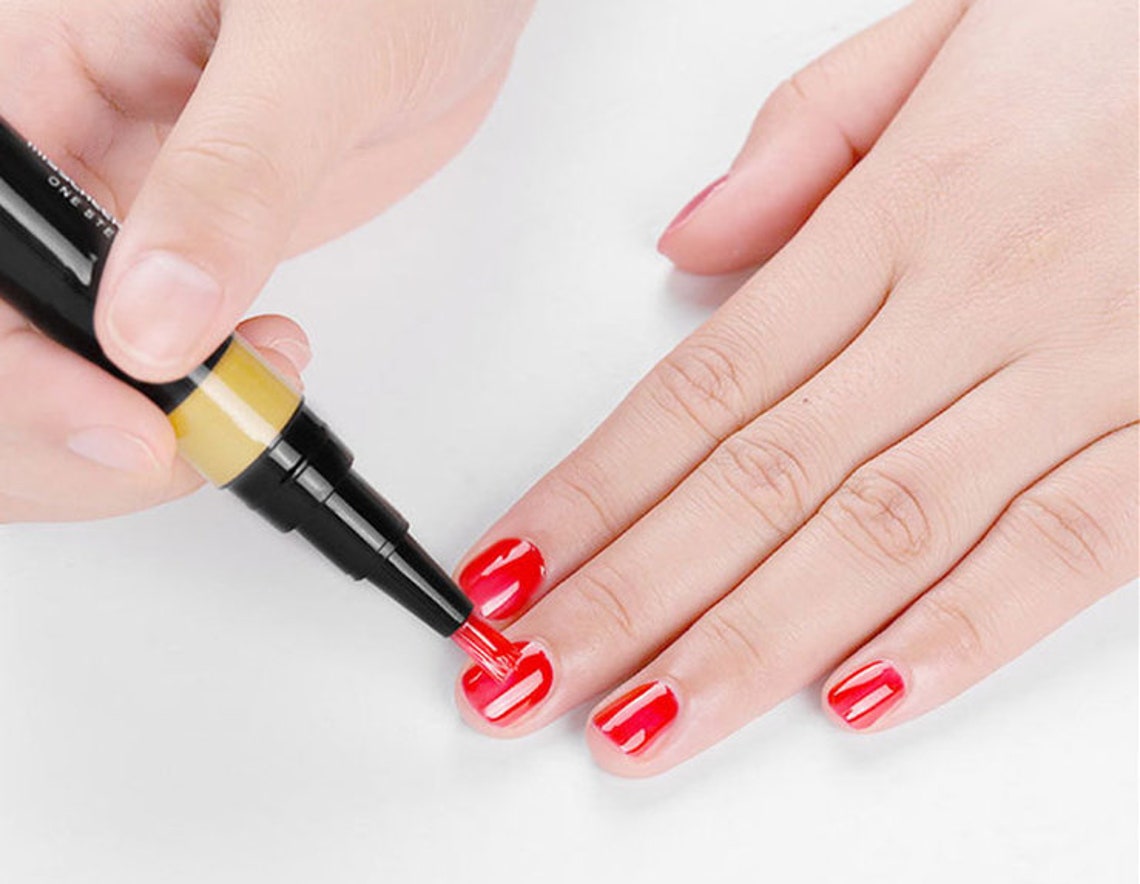
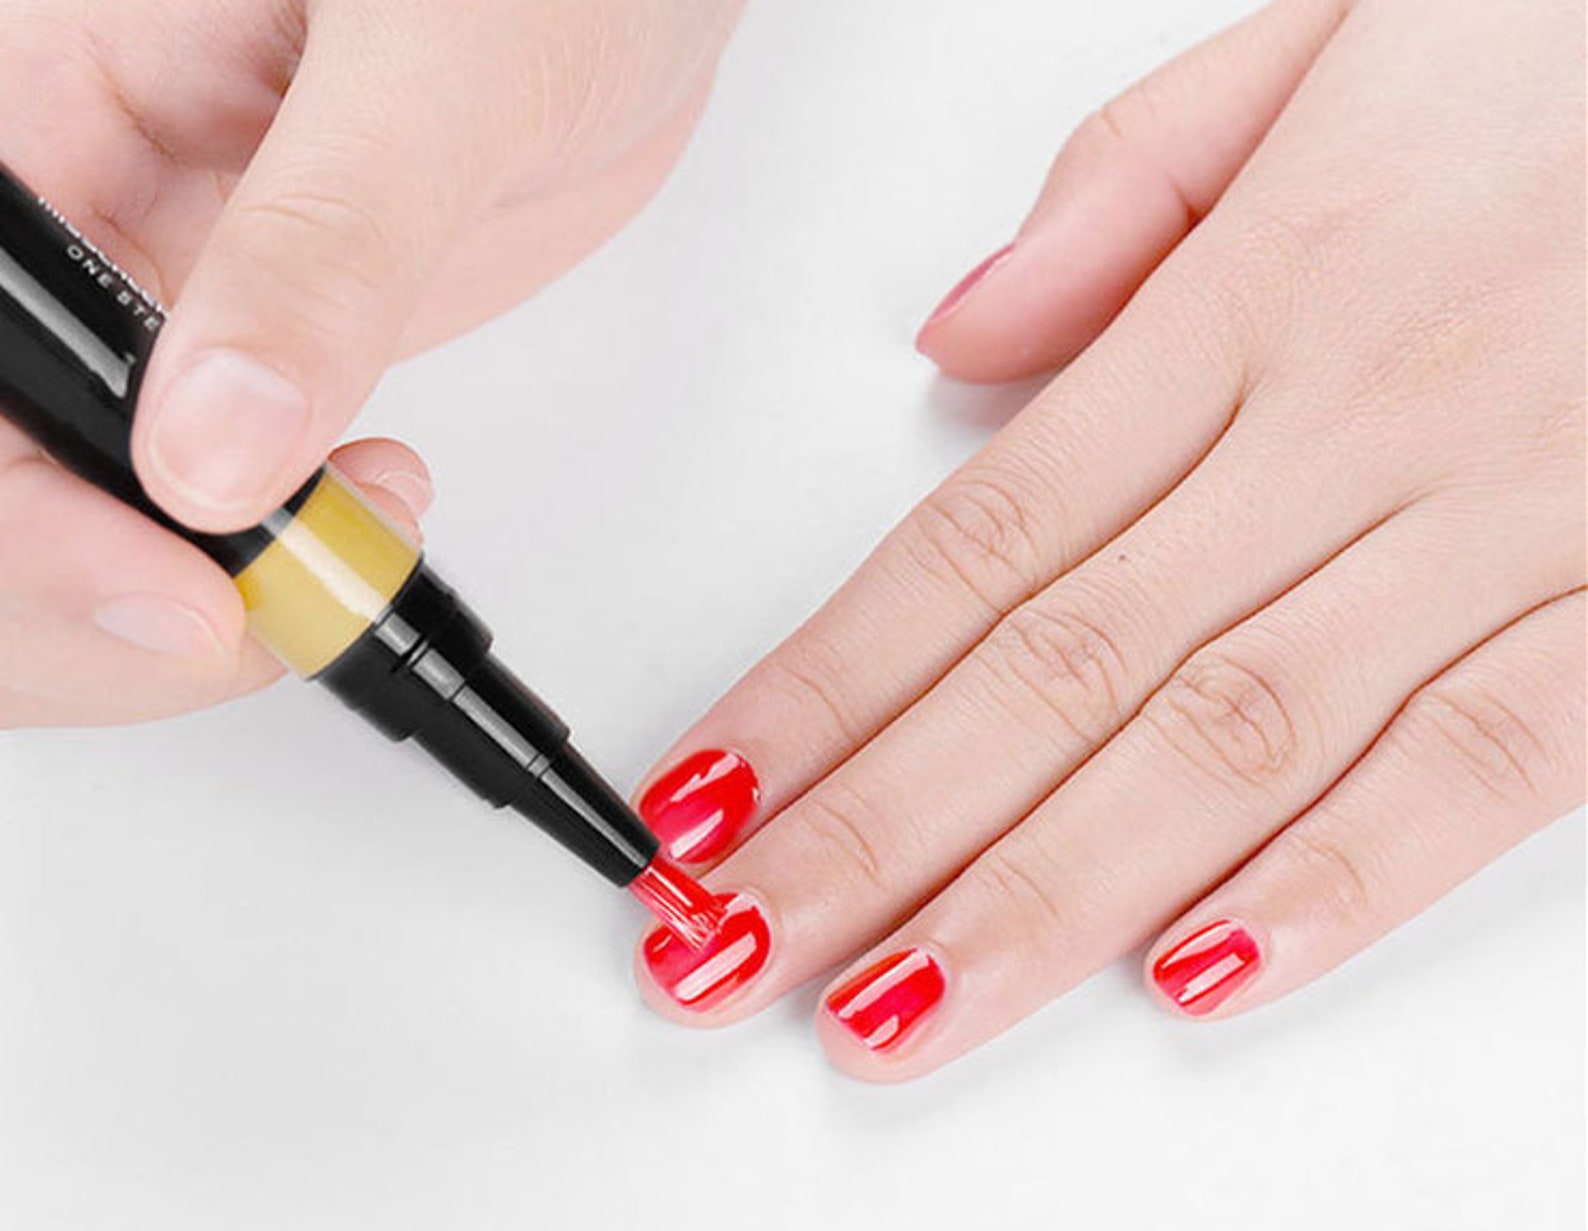
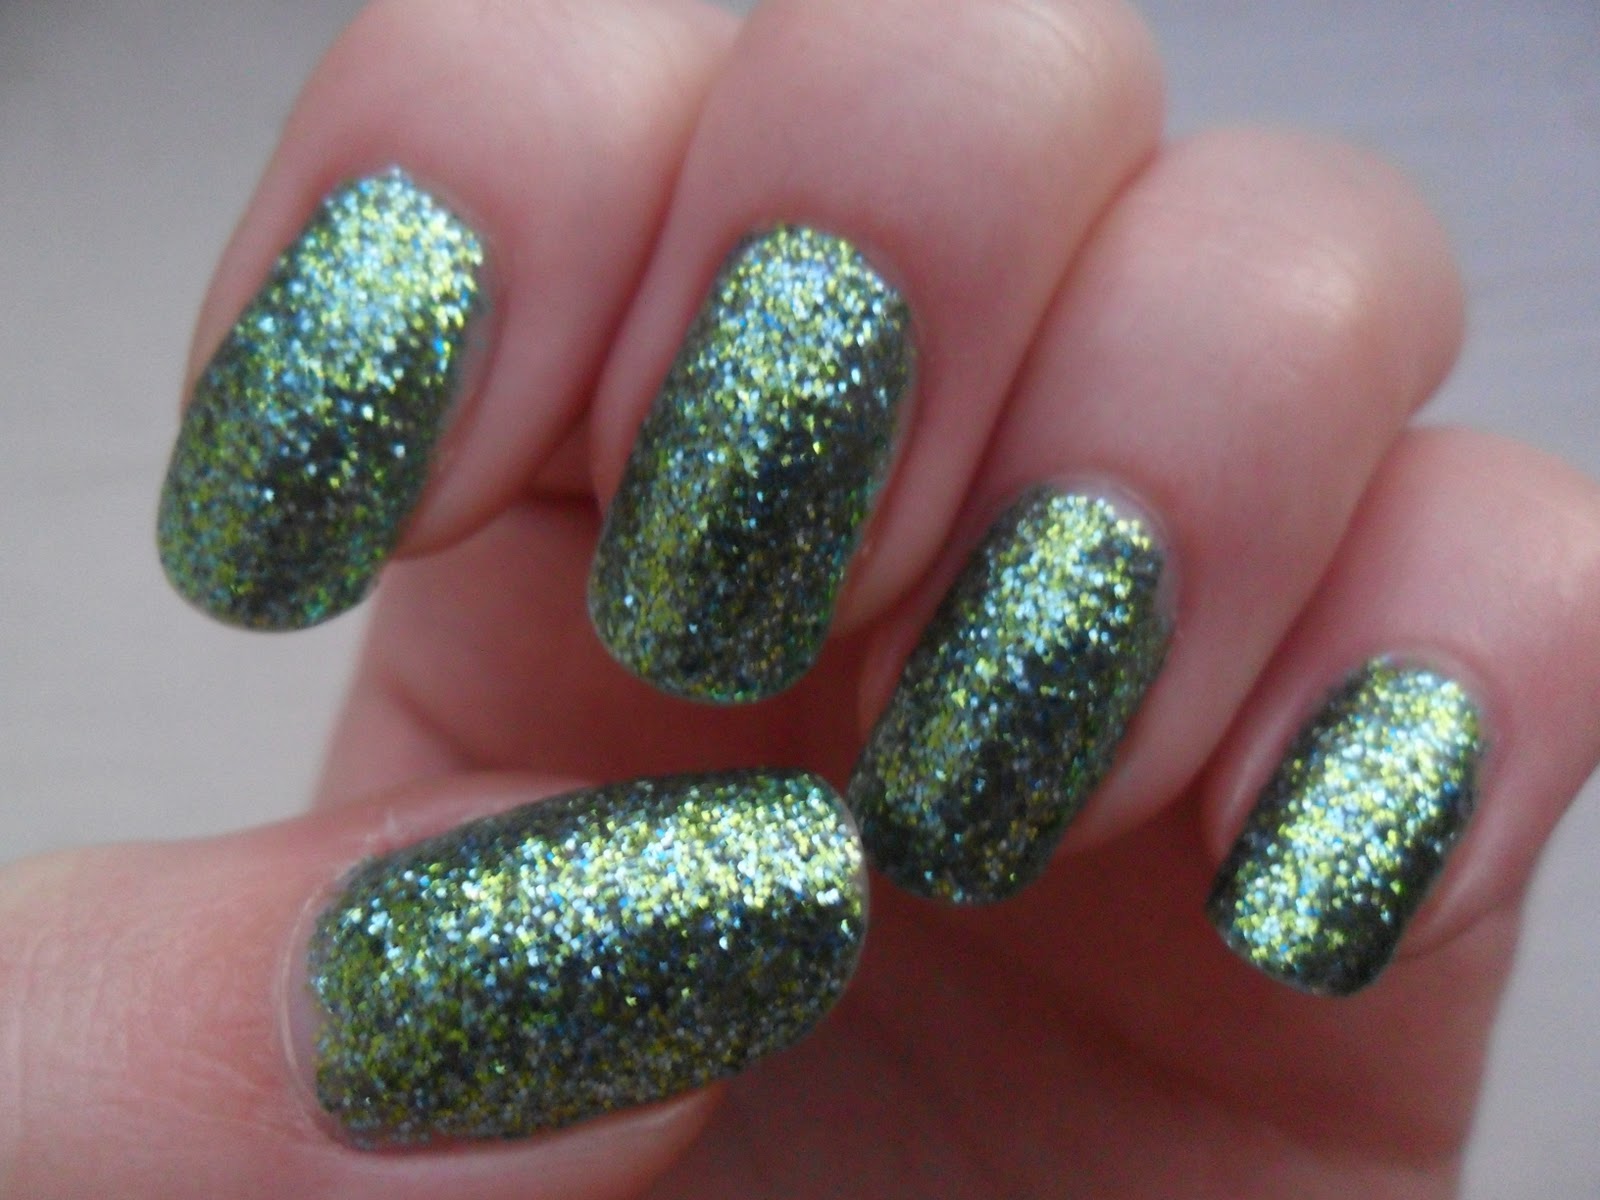
Ready to try out the Varnish Pen for yourself? Here's a step-by-step guide on how to create a flawless glitter manicure using this handy tool: Step 1: Start by prepping your nails. Remove any old nail polish and shape your nails to your desired length and shape. Step 2: Apply a base coat to protect your nails and help the Varnish Pen color adhere better. Step 3: Choose your desired base color and apply it to your nails using the Varnish Pen. Be sure to cover the entire nail and let it dry completely. Step 4: Now it's time to add some glitter! Shake the Varnish Pen well and then apply it to your nails, focusing on the tips or any other areas you want to add a touch of sparkle. Step 5: Let the glitter completely dry before finishing off with a top coat to seal in your design and give it a glossy finish.Creating the Perfect Varnish Pen Glitter Manicure


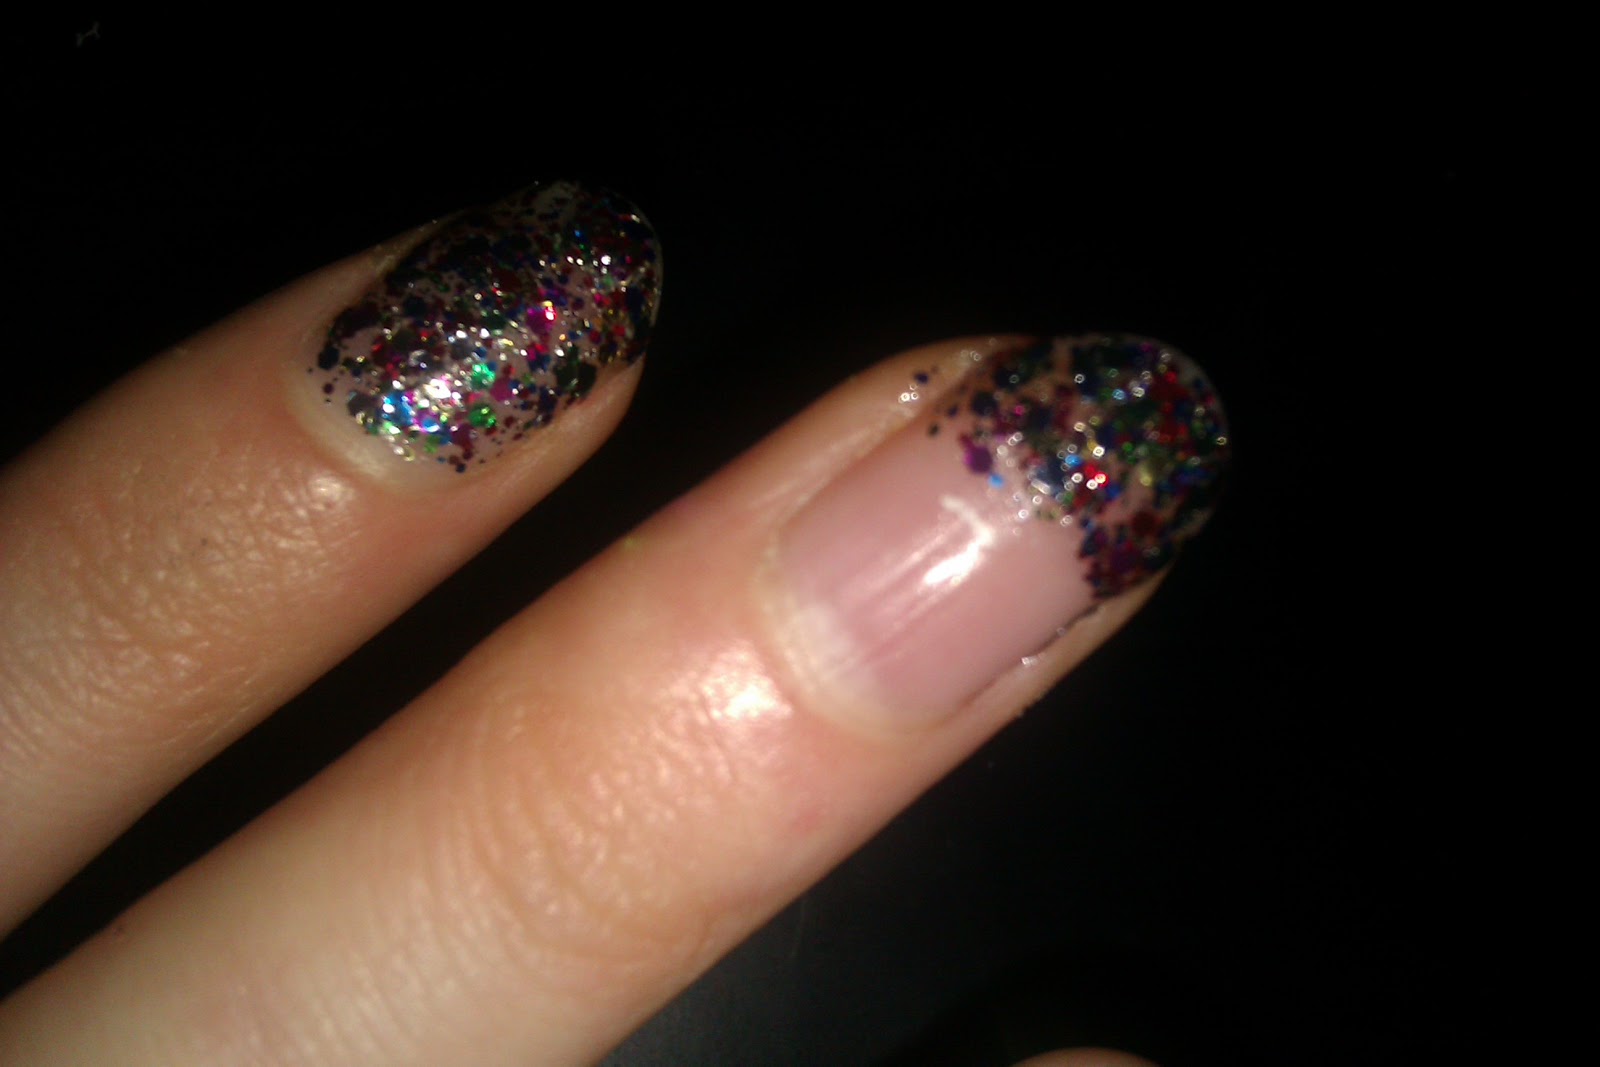
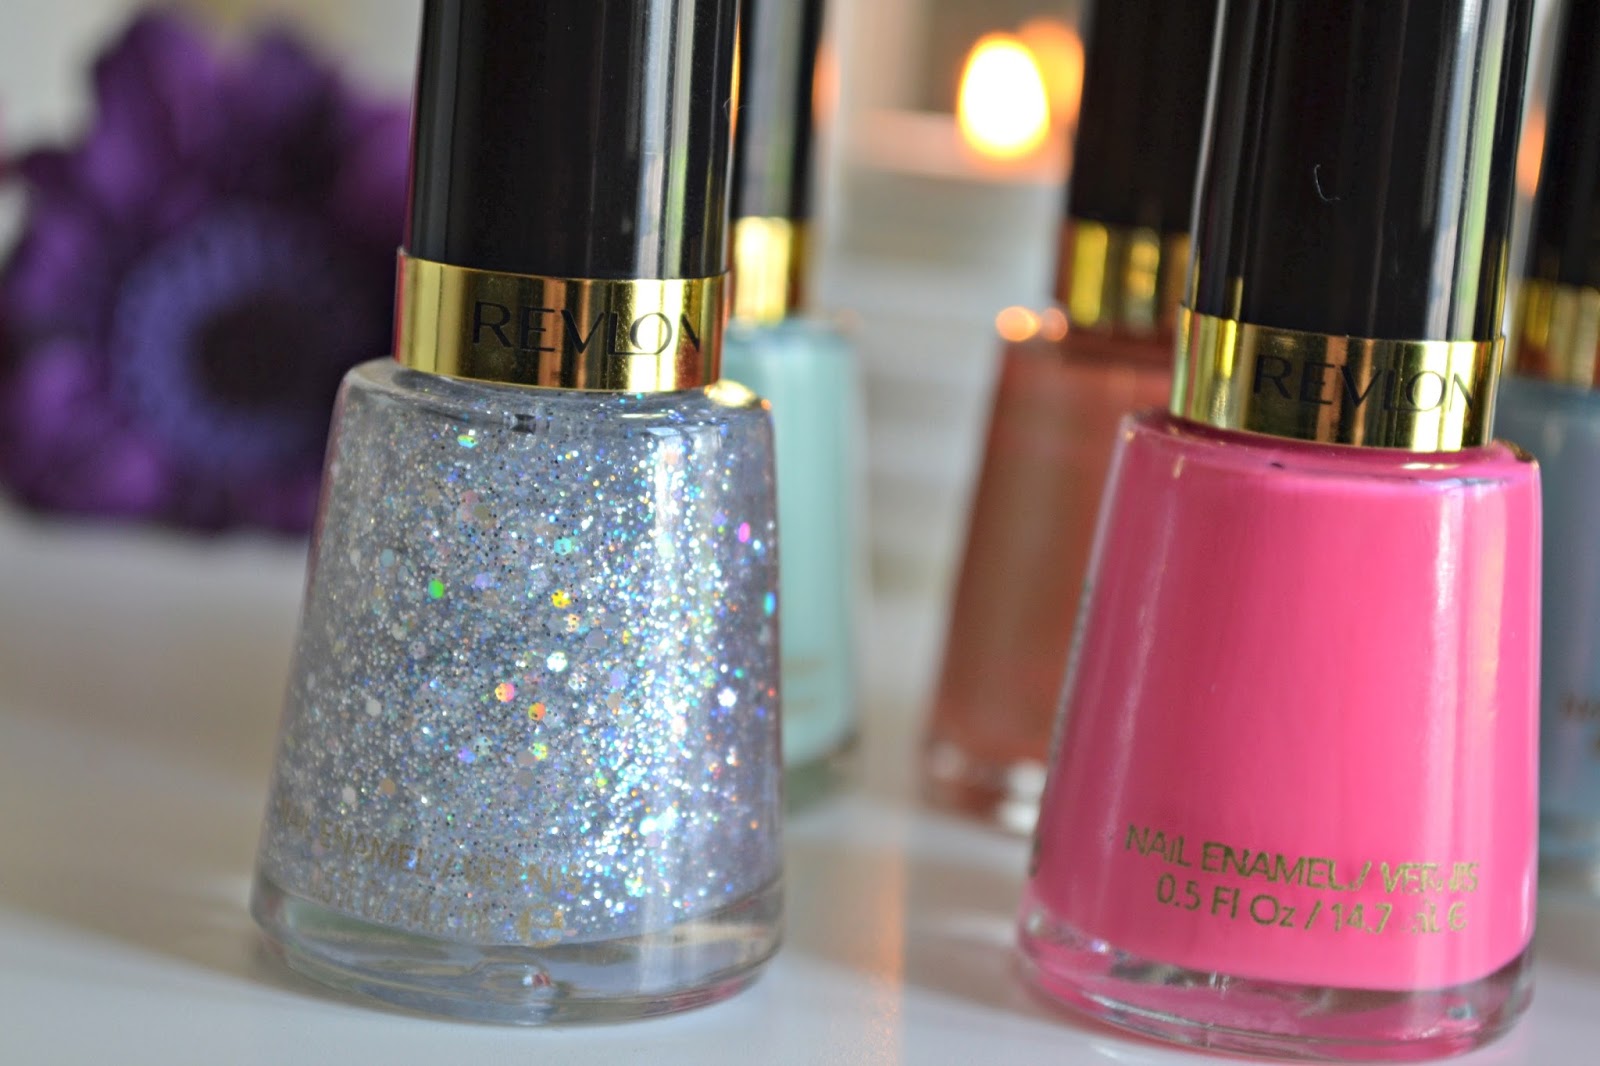
Varnish Pen Glitter
The versatility of the Varnish Pen doesn't stop at just nails. This handy tool can also be used to add a touch of glitter to other DIY projects, such as phone cases, notebooks, or even shoes. The possibilities are endless, making it a must-have for all crafters and DIY enthusiasts.Not Just for Nails


One Step Nail Art

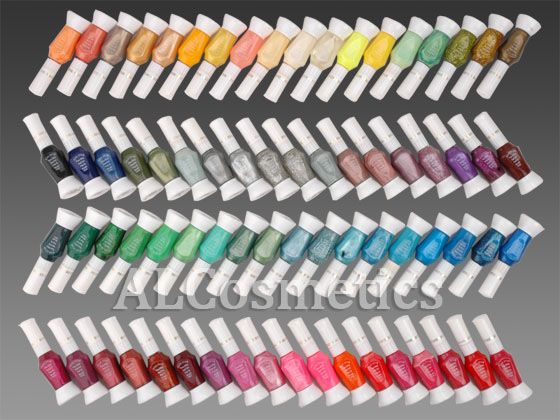
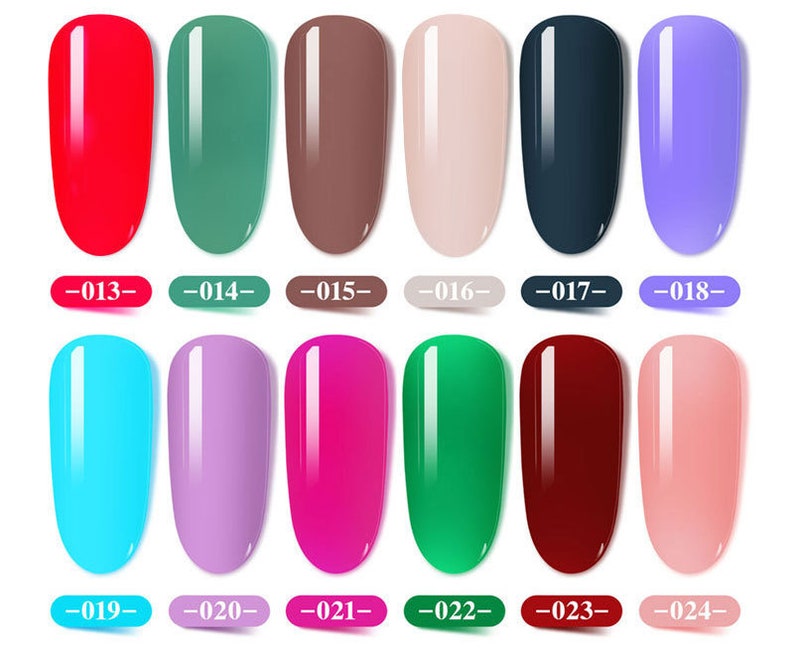
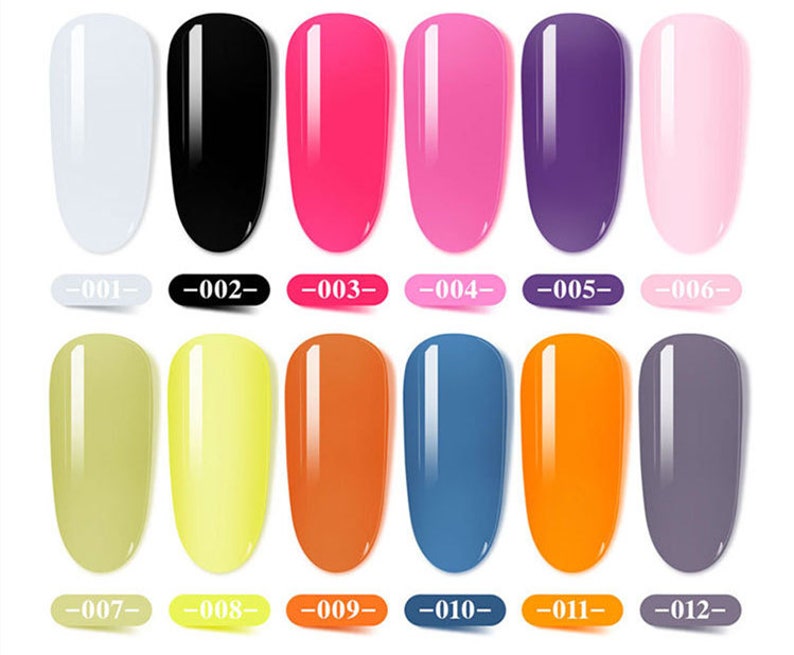
Ready to add the Varnish Pen to your collection? You can find this game-changing tool at your nearest beauty store or online. With a variety of colors and glitter options to choose from, you'll be spoilt for choice. So go ahead and get your hands on the Varnish Pen and take your nail art game to the next level!Where to Get Your Varnish Pen


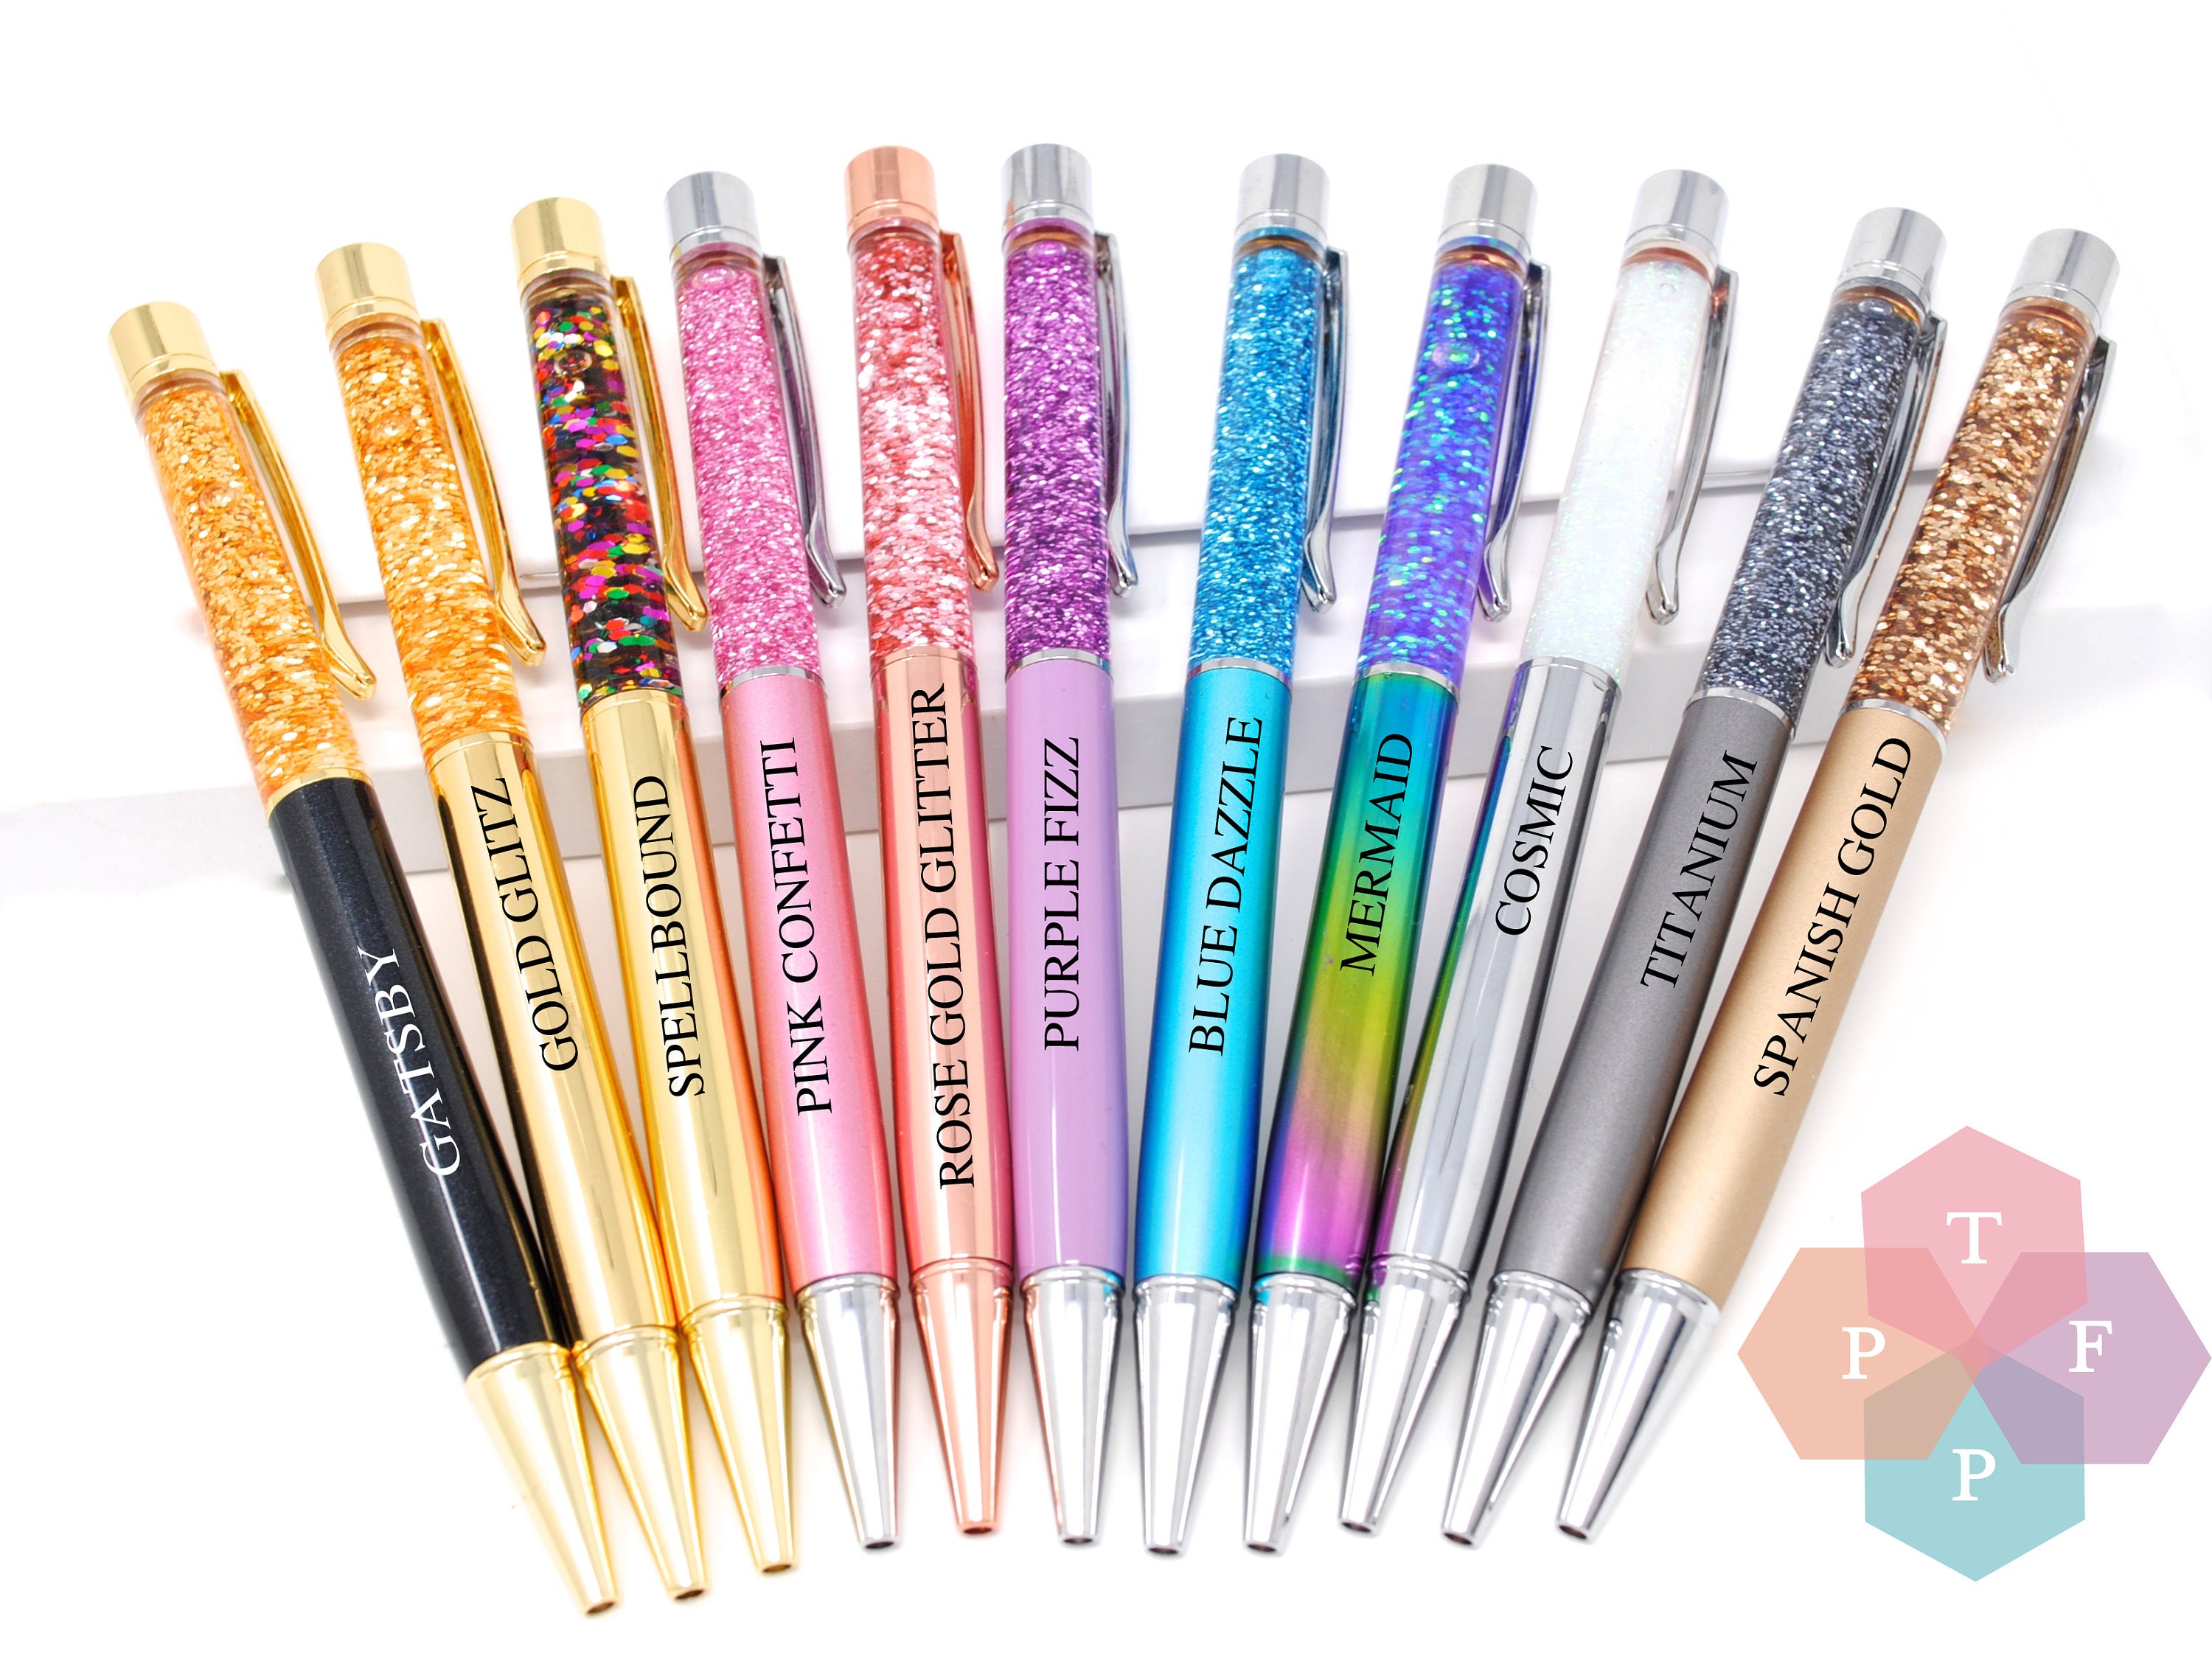
GE Varnish Pen


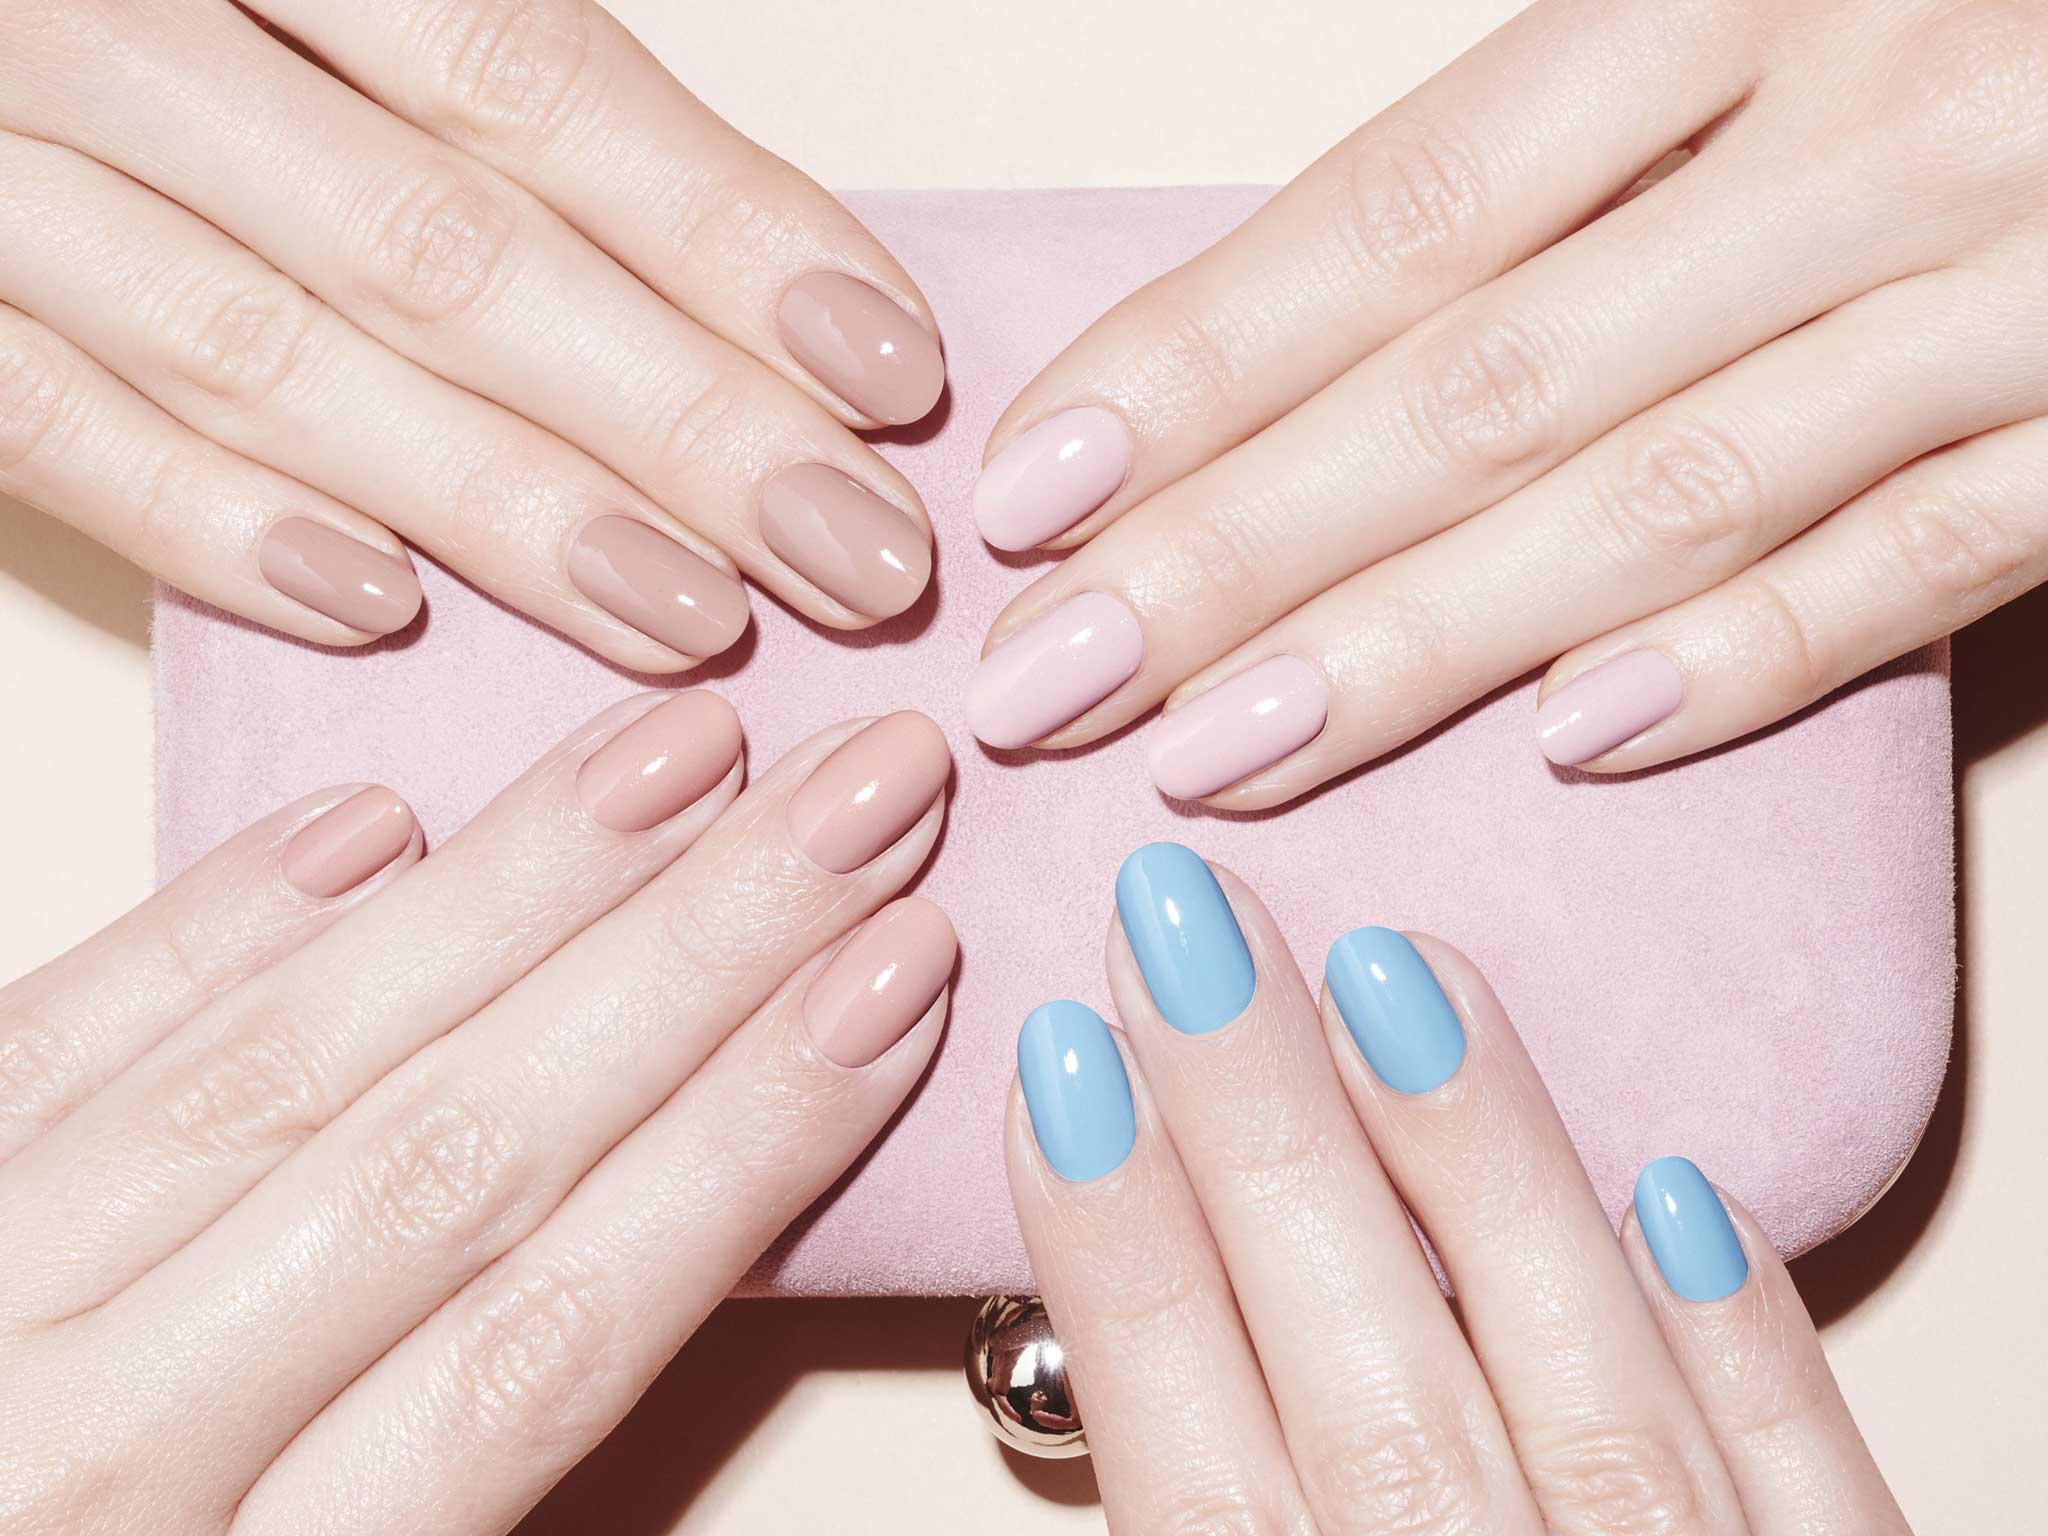
The Perfect Addition to Your Nail Art Collection: Varnish Pen Glitter
Transform Your Nails with Varnish Pen Glitter
 If you're a fan of
nail art
, then you know how important it is to have the right tools and products to create the perfect design. That's where
varnish pen glitter
comes in. This innovative product is a game-changer for nail enthusiasts, making it easier than ever to create stunning and intricate designs. With just one step, you can elevate your nail game and add a touch of
glitter
to your manicure.
If you're a fan of
nail art
, then you know how important it is to have the right tools and products to create the perfect design. That's where
varnish pen glitter
comes in. This innovative product is a game-changer for nail enthusiasts, making it easier than ever to create stunning and intricate designs. With just one step, you can elevate your nail game and add a touch of
glitter
to your manicure.
A One-Step Solution for Effortless Nail Art
 Gone are the days of tedious and time-consuming
nail art
techniques. With
varnish pen glitter
, you can achieve a beautiful and professional-looking design in a matter of minutes. This product combines the ease of a pen with the sparkle of
glitter
, making it the perfect addition to your nail art collection. Whether you're a beginner or a seasoned pro, this one-step solution is a must-have for anyone looking to add some
glam
to their nails.
Gone are the days of tedious and time-consuming
nail art
techniques. With
varnish pen glitter
, you can achieve a beautiful and professional-looking design in a matter of minutes. This product combines the ease of a pen with the sparkle of
glitter
, making it the perfect addition to your nail art collection. Whether you're a beginner or a seasoned pro, this one-step solution is a must-have for anyone looking to add some
glam
to their nails.
Elevate Your House Design with Varnish Pen Glitter
 Not only is
varnish pen glitter
perfect for your nails, but it can also be used in
house design
projects. From adding a touch of
glitter
to your furniture or accent pieces to creating eye-catching wall art, the possibilities are endless. This versatile product can take your home decor to the next level and add a touch of
sparkle
to any room. Plus, its convenient pen form makes it easy to use and mess-free.
Not only is
varnish pen glitter
perfect for your nails, but it can also be used in
house design
projects. From adding a touch of
glitter
to your furniture or accent pieces to creating eye-catching wall art, the possibilities are endless. This versatile product can take your home decor to the next level and add a touch of
sparkle
to any room. Plus, its convenient pen form makes it easy to use and mess-free.
The Perfect Gift for Any Occasion
 Looking for a unique and thoughtful gift for the
nail art
lover in your life? Look no further than
varnish pen glitter
. This product is perfect for birthdays, holidays, or just as a special treat for yourself. With its easy application and stunning results, it's sure to be a hit with anyone who loves
nail art
or
house design
. Add it to your gift list or treat yourself to this must-have product today.
Looking for a unique and thoughtful gift for the
nail art
lover in your life? Look no further than
varnish pen glitter
. This product is perfect for birthdays, holidays, or just as a special treat for yourself. With its easy application and stunning results, it's sure to be a hit with anyone who loves
nail art
or
house design
. Add it to your gift list or treat yourself to this must-have product today.
In Conclusion
 In summary,
varnish pen glitter
is a game-changing product for anyone who loves
nail art
or
house design
. Its one-step application, convenience, and versatility make it a must-have for any creative individual. Elevate your
nail art
game or add some
sparkle
to your home decor with this innovative product. Try it out today and see the amazing results for yourself.
In summary,
varnish pen glitter
is a game-changing product for anyone who loves
nail art
or
house design
. Its one-step application, convenience, and versatility make it a must-have for any creative individual. Elevate your
nail art
game or add some
sparkle
to your home decor with this innovative product. Try it out today and see the amazing results for yourself.


