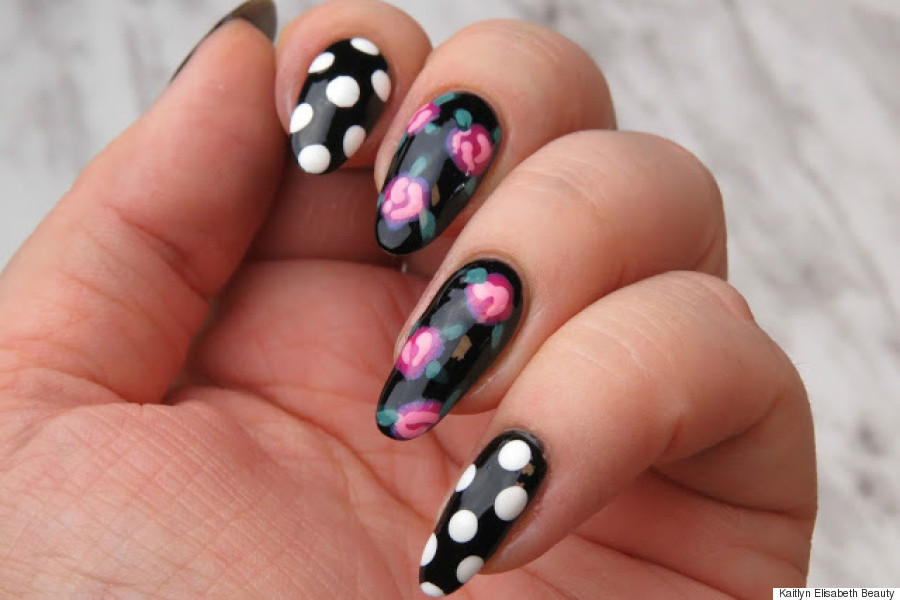
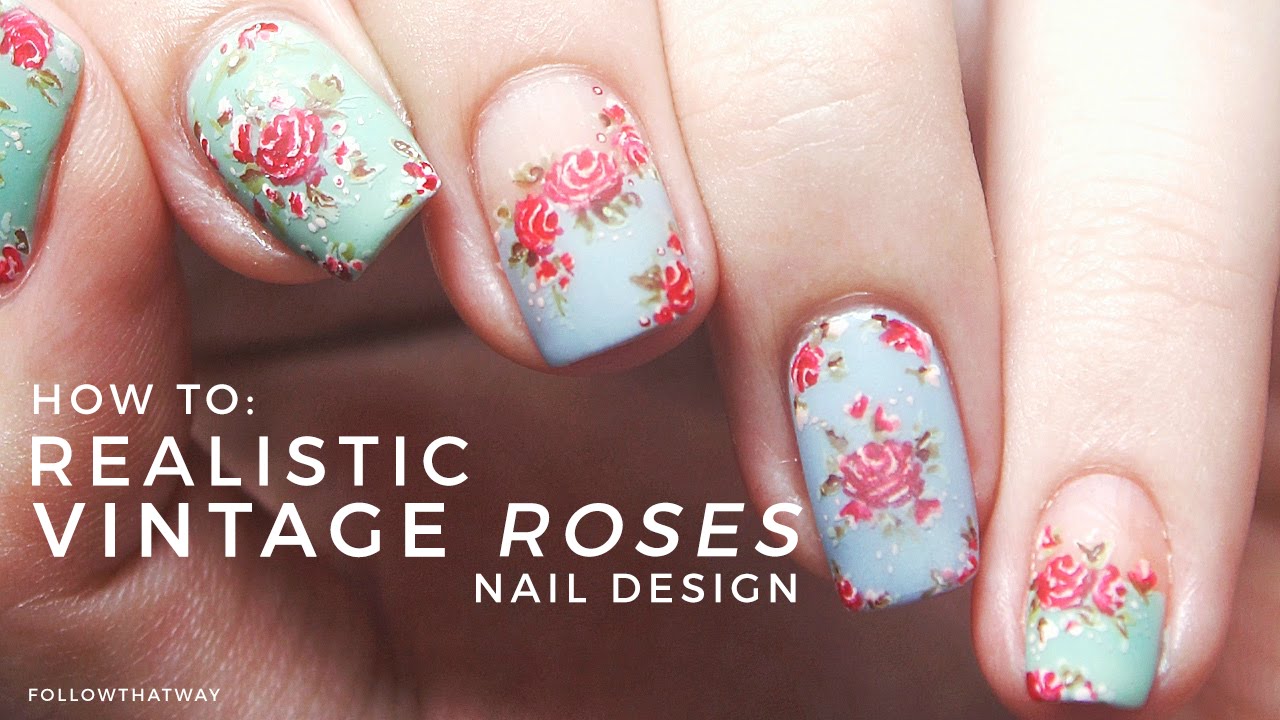
If you're a fan of all things vintage, then you'll love this step by step guide on how to create beautiful vintage rose nail art. This timeless design is perfect for any occasion and adds a touch of elegance to your nails. So gather your nail polish and let's get started on this stylish and feminine look.How to Create Vintage Rose Nail Art


How to Create Vintage Rose Nail Art


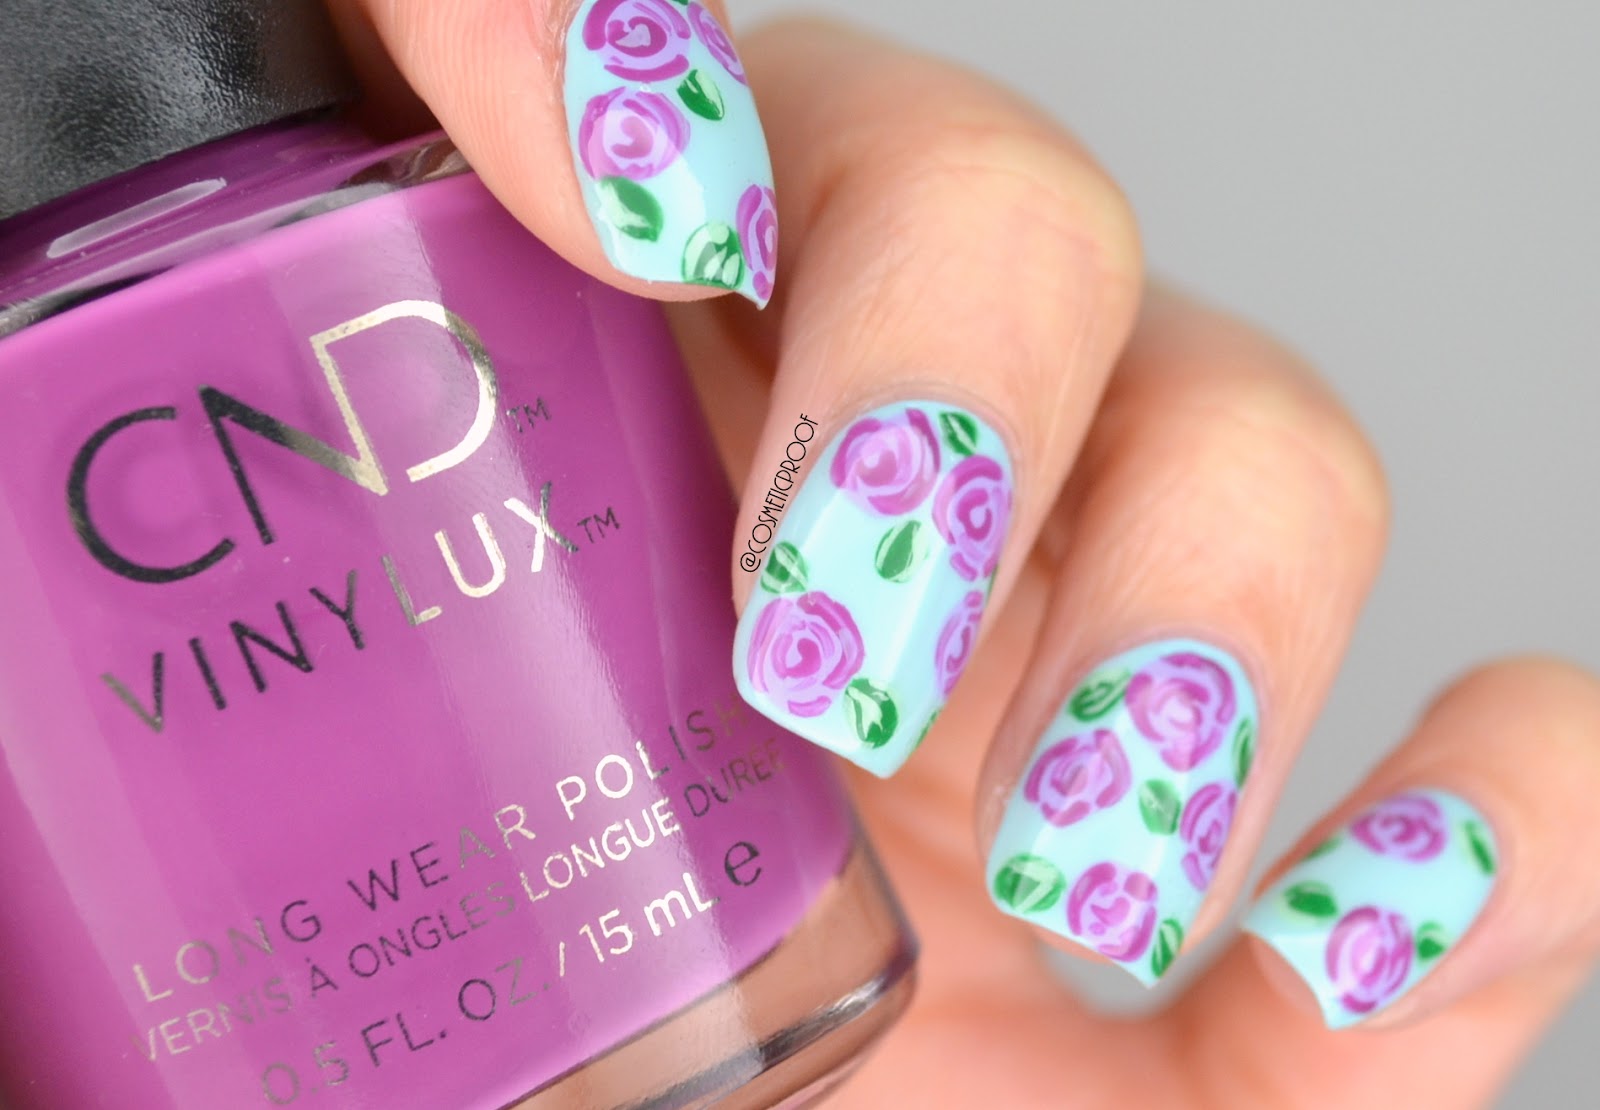


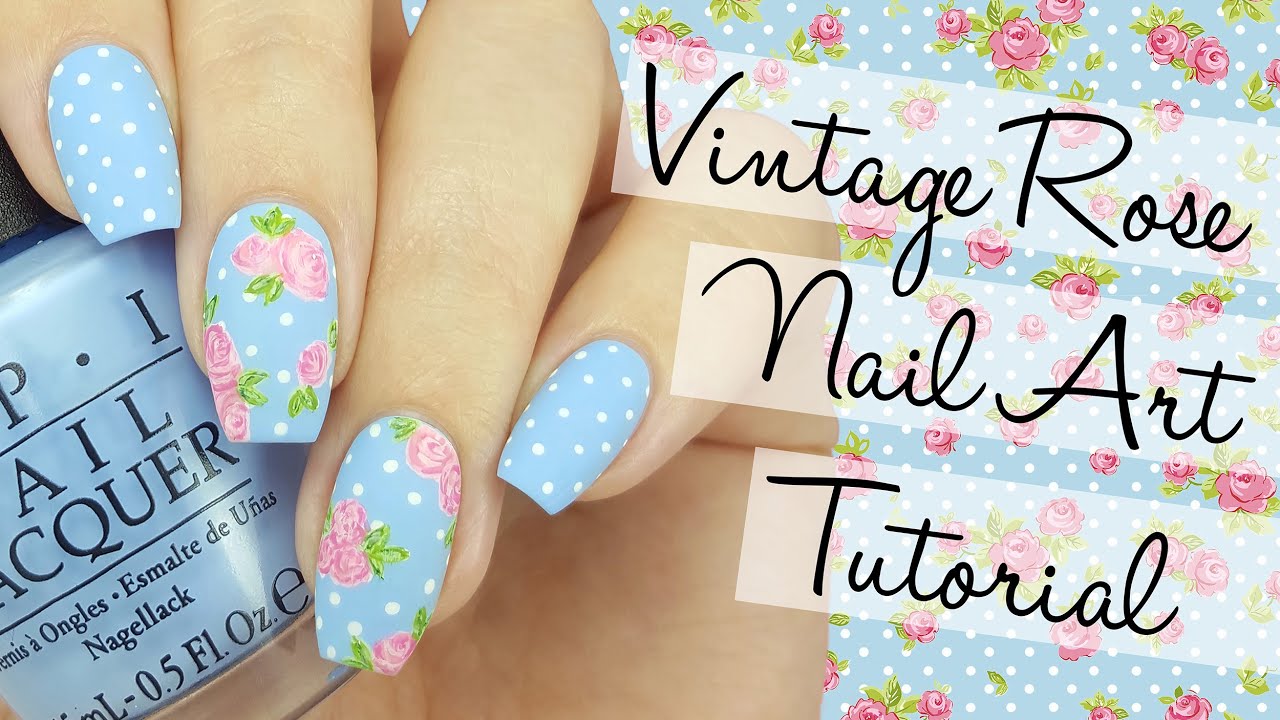
Creating vintage rose nail art may seem intimidating, but fear not, this tutorial will break it down into easy to follow steps. You'll be surprised at how simple it actually is to achieve this gorgeous design. Get ready to impress everyone with your nail art skills!Vintage Rose Nail Art Tutorial


Vintage Rose Nail Art Tutorial


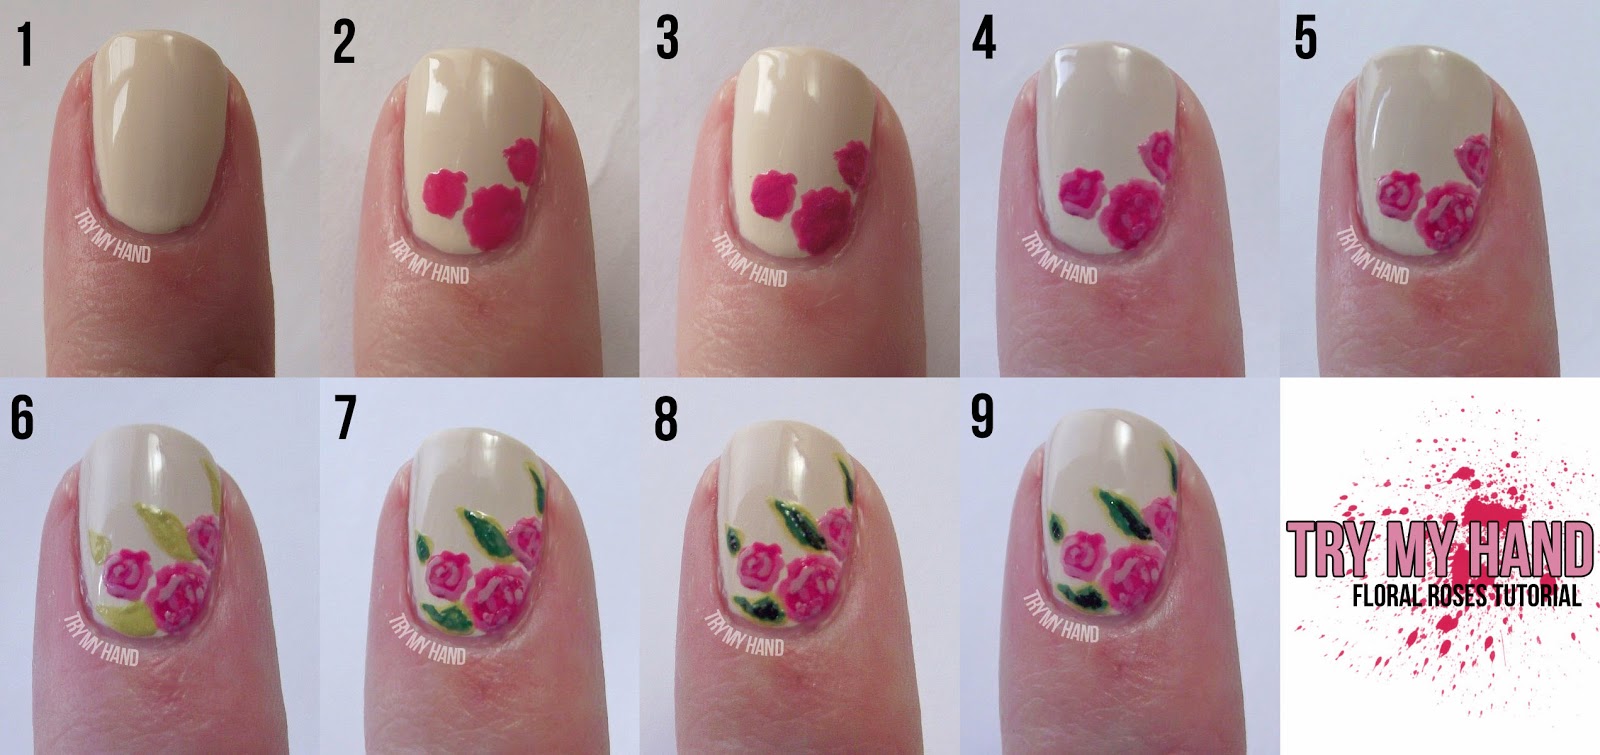
Follow these step by step instructions to achieve the perfect vintage rose nail art:Step by Step Vintage Rose Nail Art

Step by Step Vintage Rose Nail Art


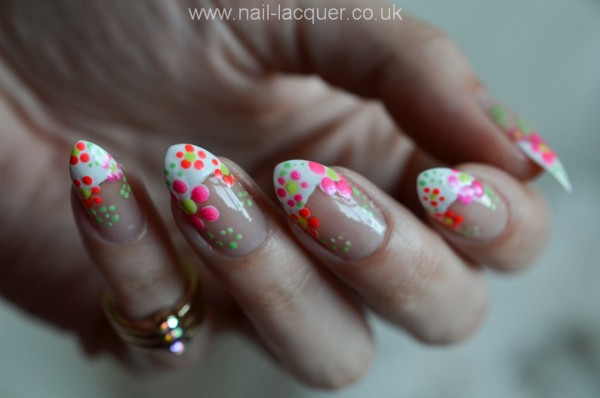
Now that you know the steps to create this stunning vintage rose nail art, let's talk about some design variations you can try out:Vintage Rose Nail Art Design Tutorial


Vintage Rose Nail Art Design Tutorial


Don't let the intricate design intimidate you, with a little practice, this vintage rose nail art can be achieved by anyone. And the best part is, it looks like it took hours to create when in reality, it only takes a few minutes!Easy Vintage Rose Nail Art Tutorial


.jpg)
Easy Vintage Rose Nail Art Tutorial
If you're new to nail art, don't worry, this vintage rose design is perfect for beginners. The steps are simple and the end result is beautiful. Take your time and don't be afraid to make mistakes, practice makes perfect!Vintage Rose Nail Art for Beginners


Vintage Rose Nail Art for Beginners

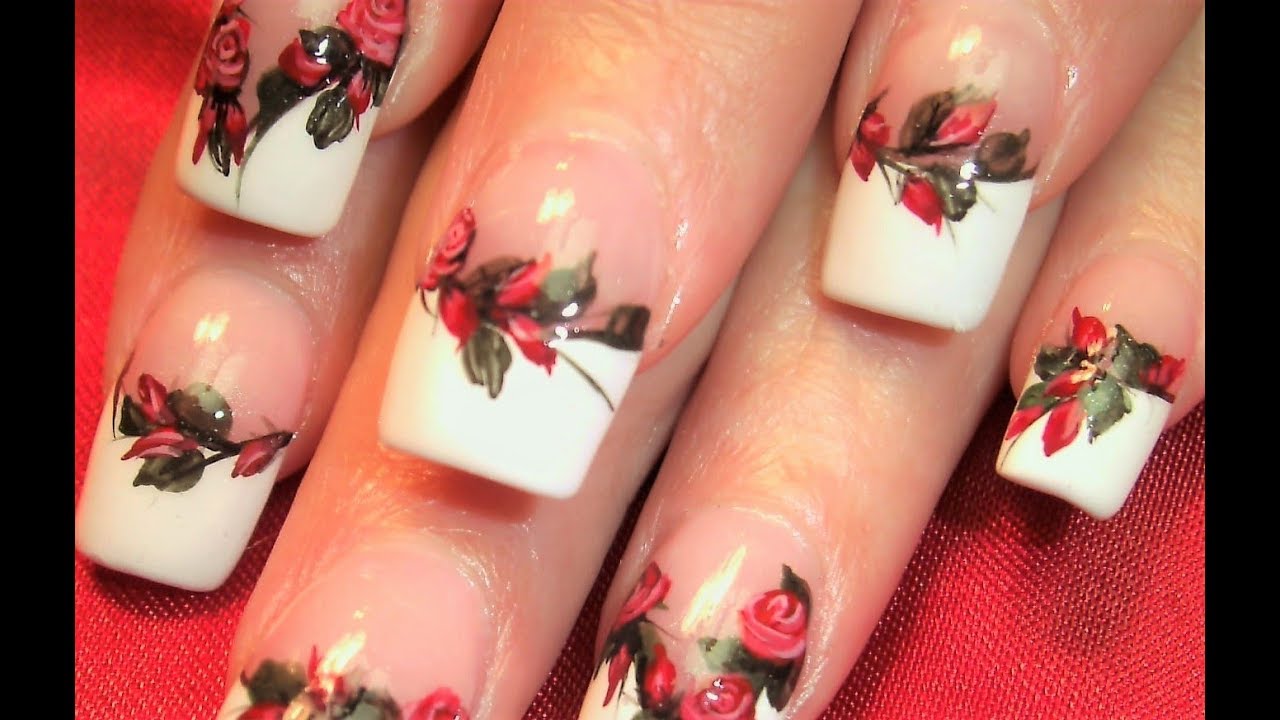
For a more visual guide, check out this step by step video on how to create vintage rose nail art. It's perfect for those who prefer to learn by watching.Vintage Rose Nail Art Step by Step Guide

Vintage Rose Nail Art Step by Step Guide
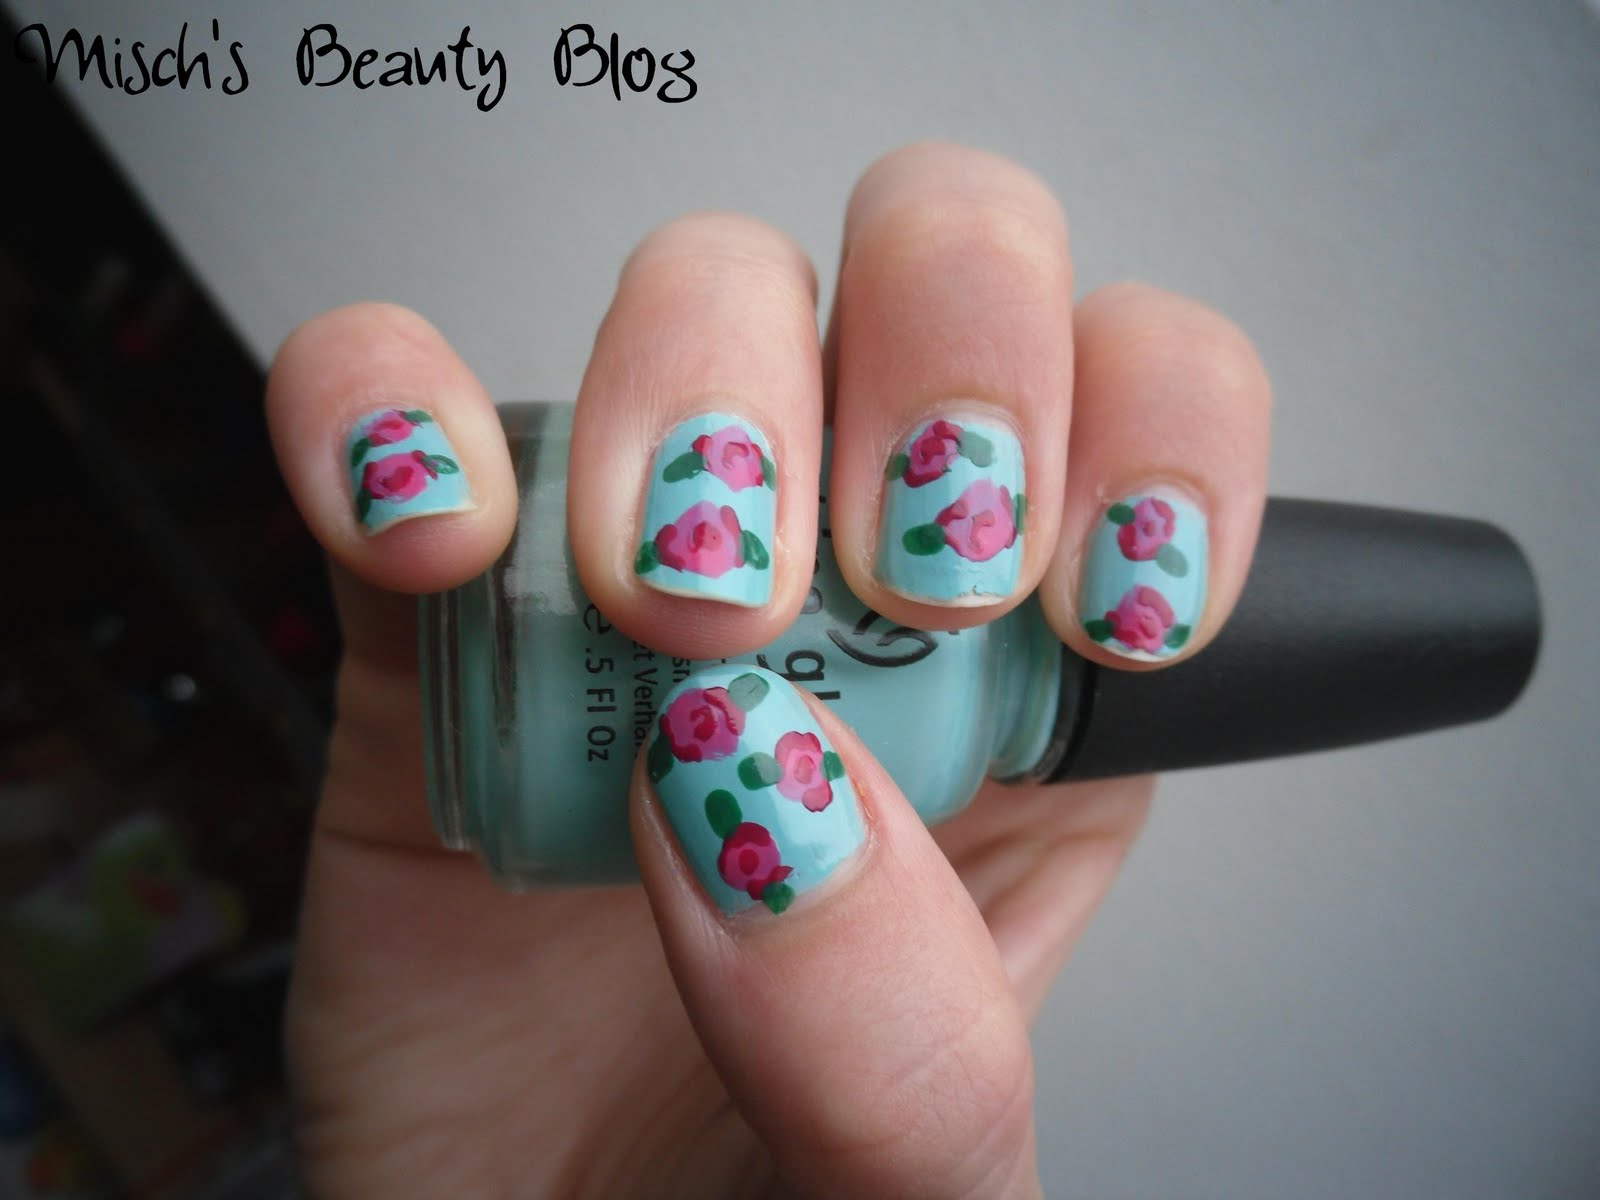
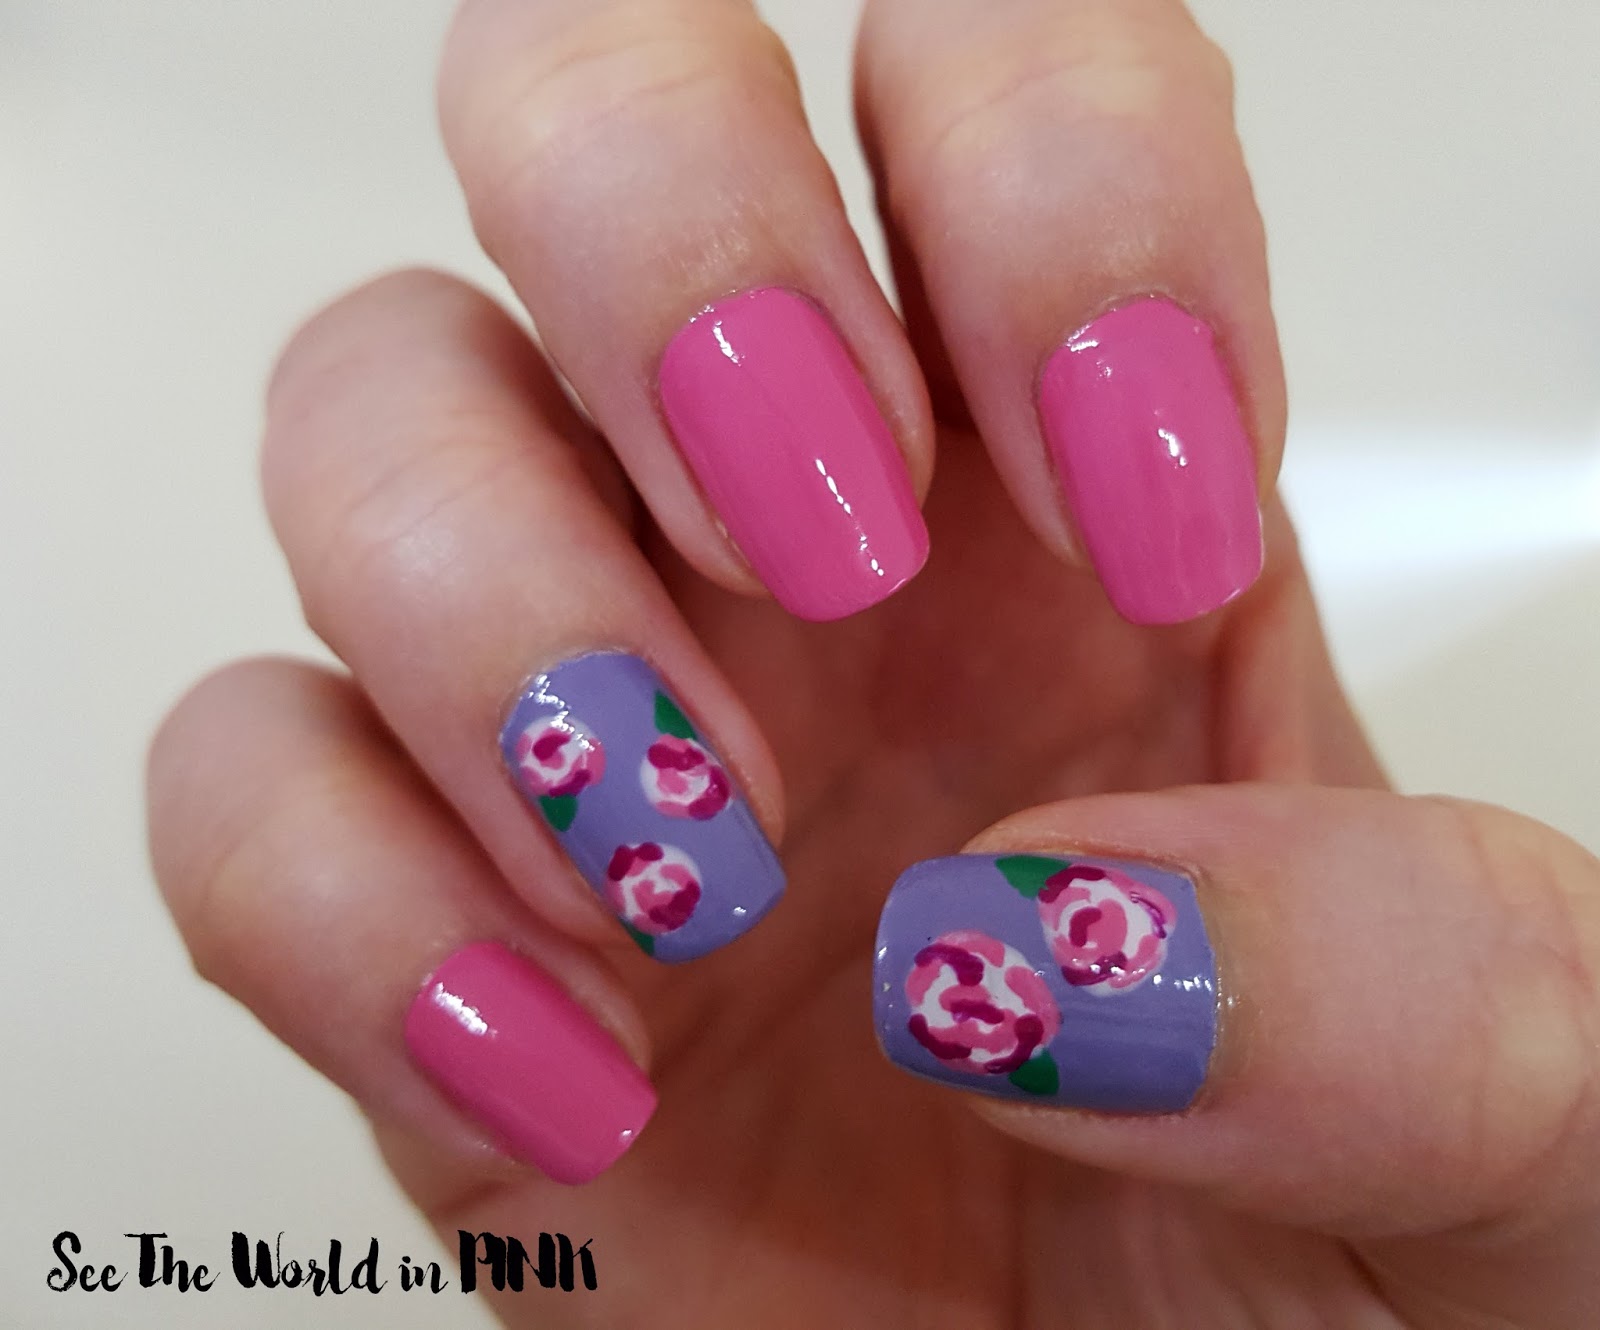
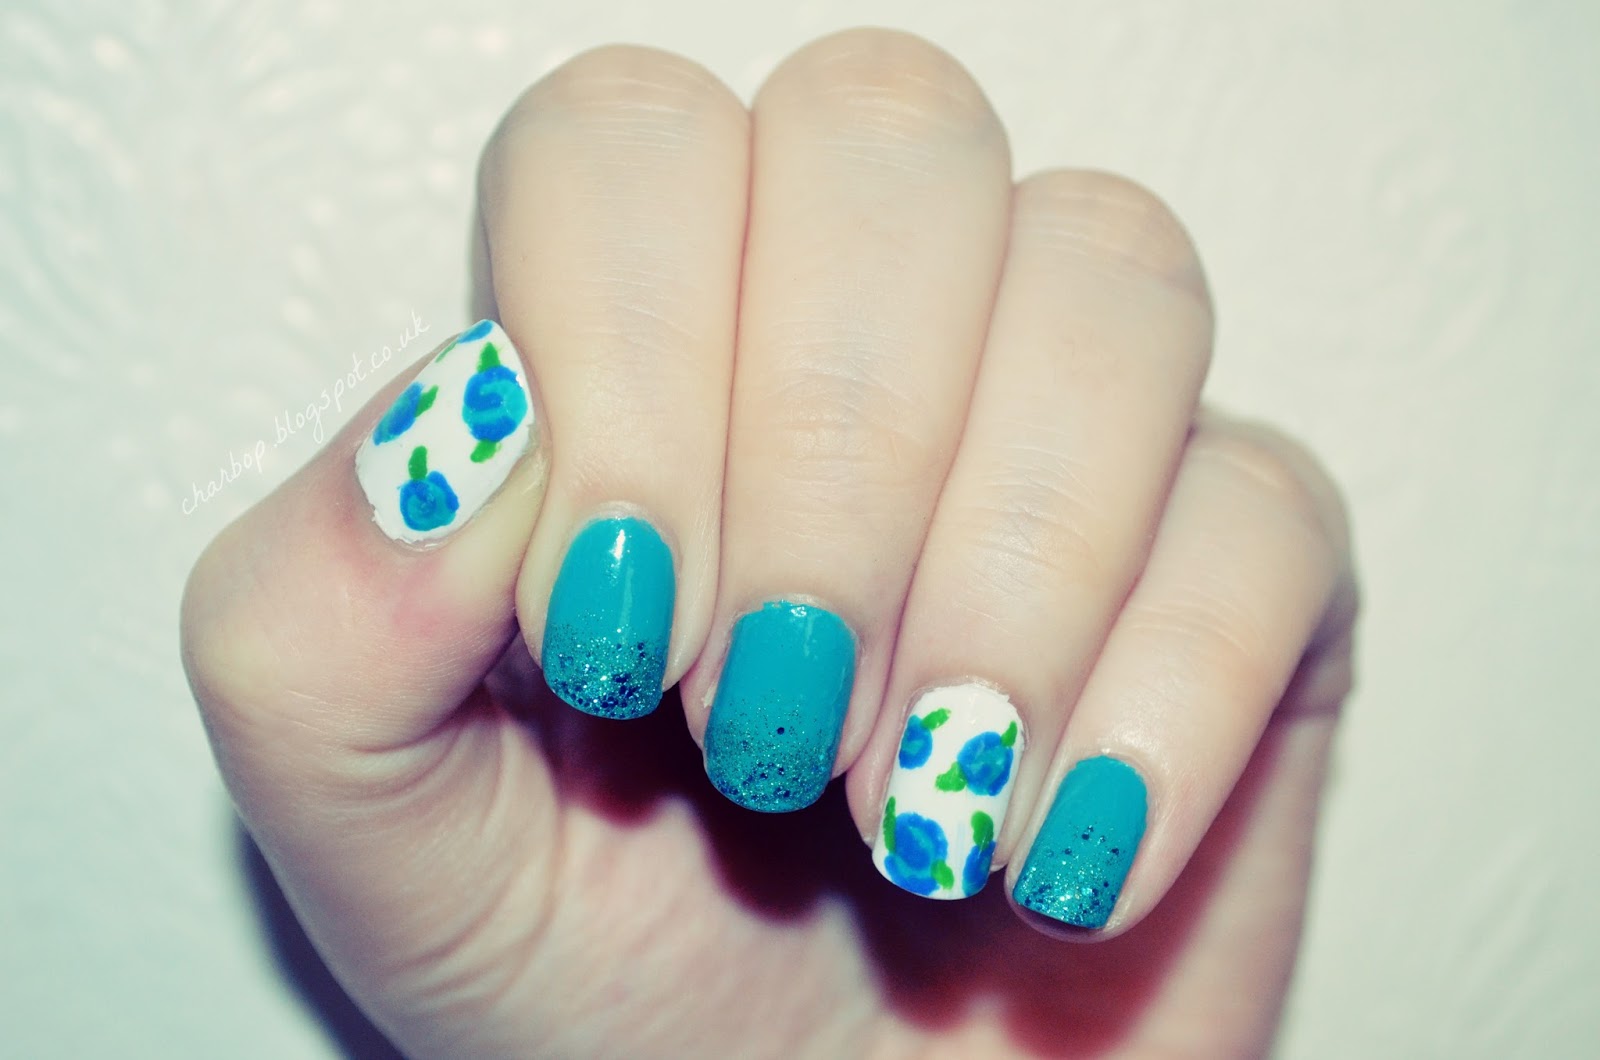
Short nails can rock this vintage rose nail art too! Just adjust the size of your design to fit your nails. You can also create a smaller version of the design on one or two nails and leave the rest with a simple pink base color for a subtle and chic look.Vintage Rose Nail Art Tutorial for Short Nails


Vintage Rose Nail Art Tutorial for Short Nails

If you prefer to have a visual guide in front of you while you create your vintage rose nail art, look no further. Here are some step by step pictures to help you achieve the perfect design. Now that you have all the tools and knowledge to create beautiful vintage rose nail art, it's time to let your creativity flow. Experiment with different colors and designs and have fun with it. Your nails will be the talk of the town with this timeless and elegant look.Vintage Rose Nail Art Step by Step Pictures

Vintage Rose Nail Art Step by Step Video


Adding a Touch of Elegance: Vintage Rose Nail Art

Vintage Rose Nail Art: A Timeless Trend
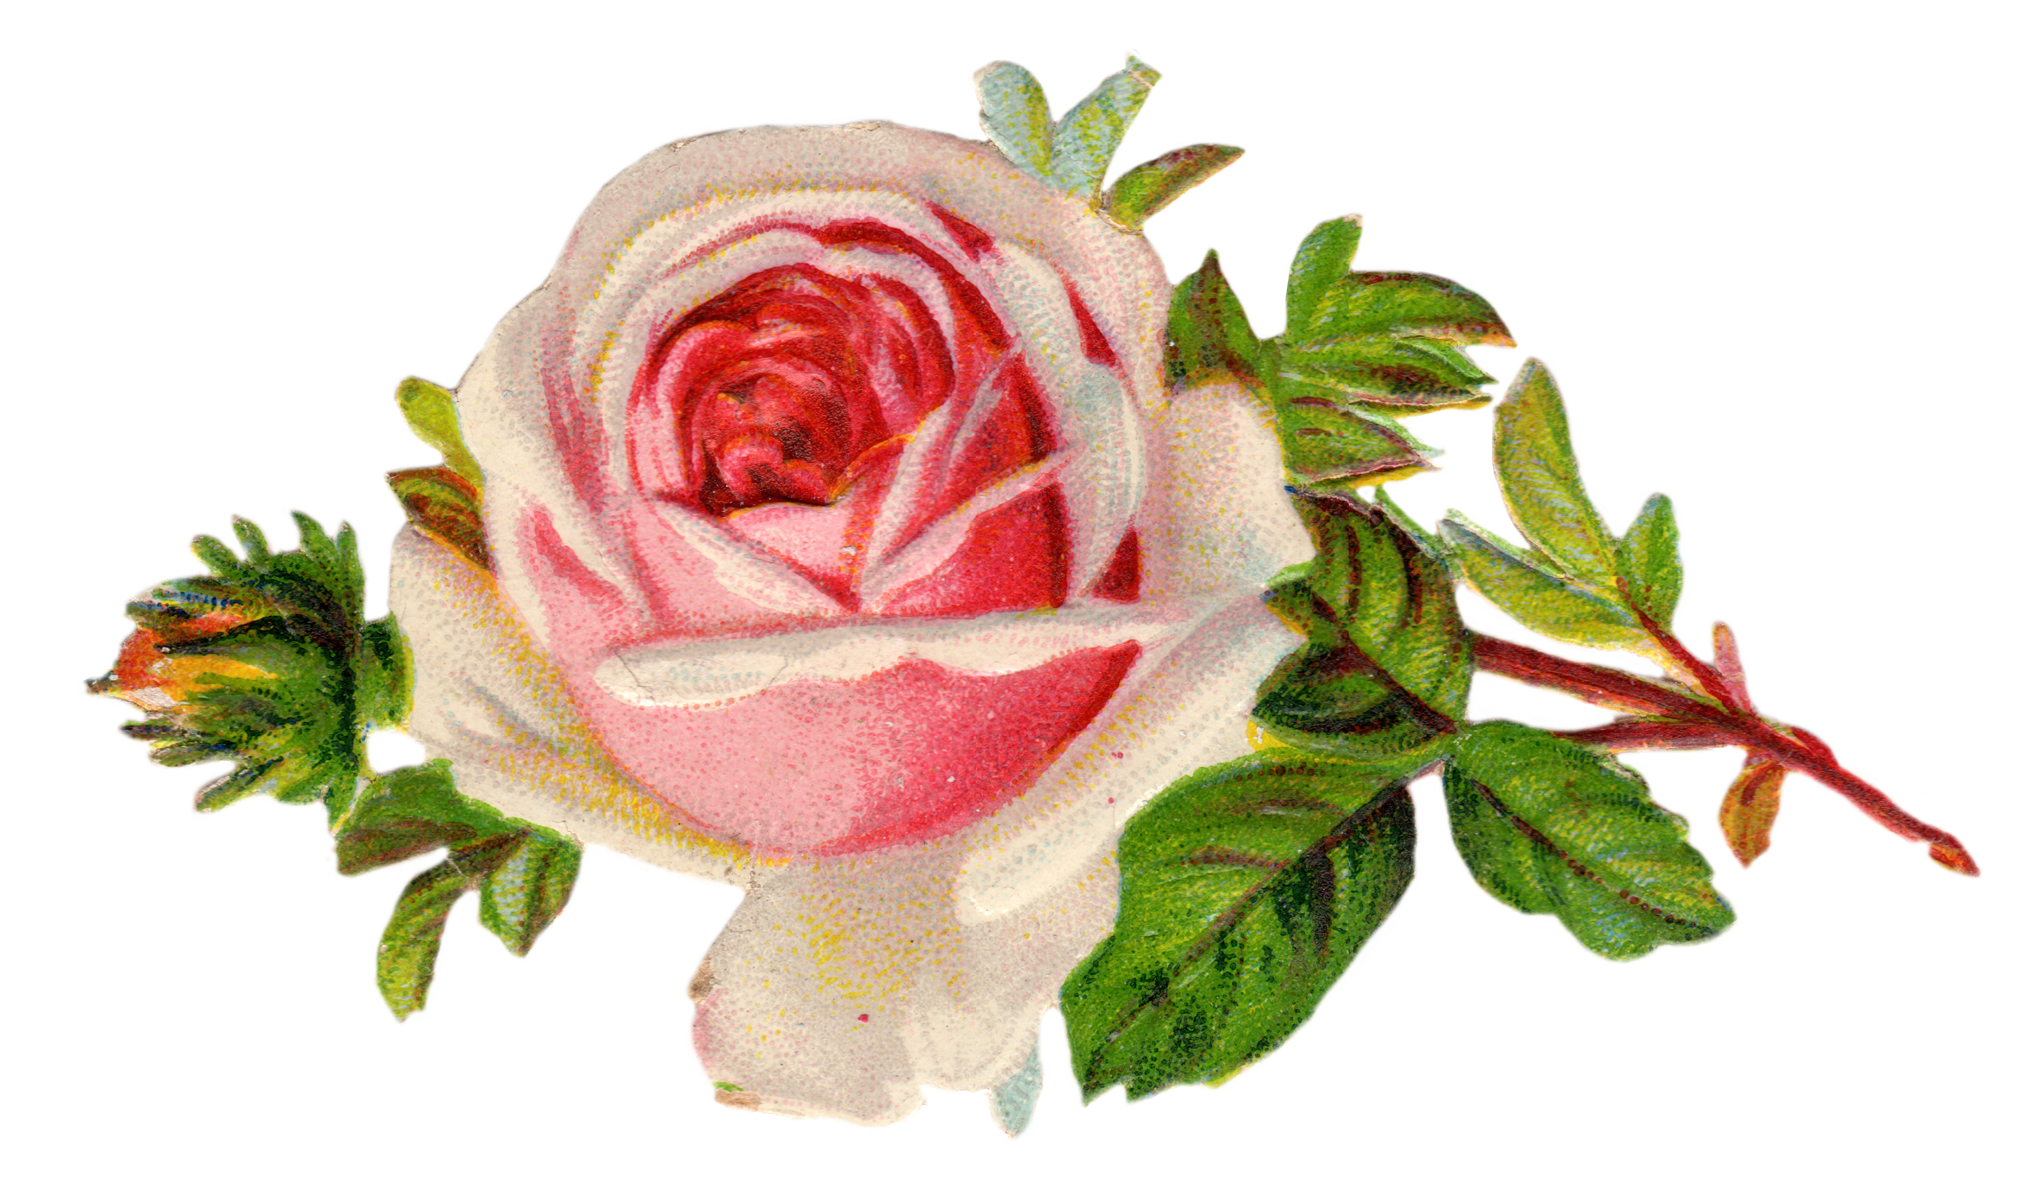
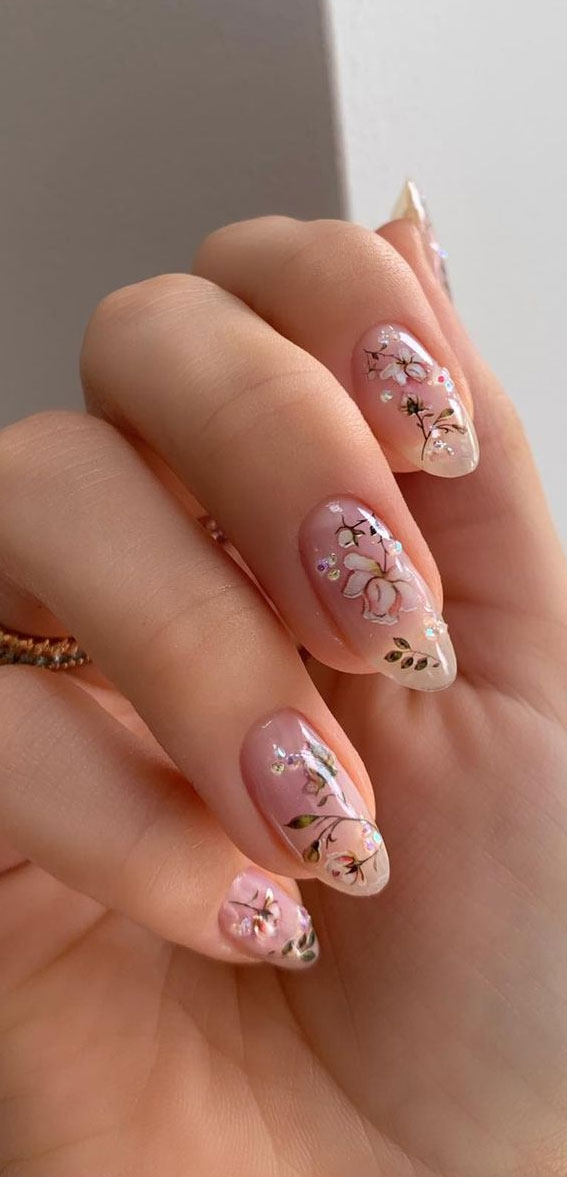
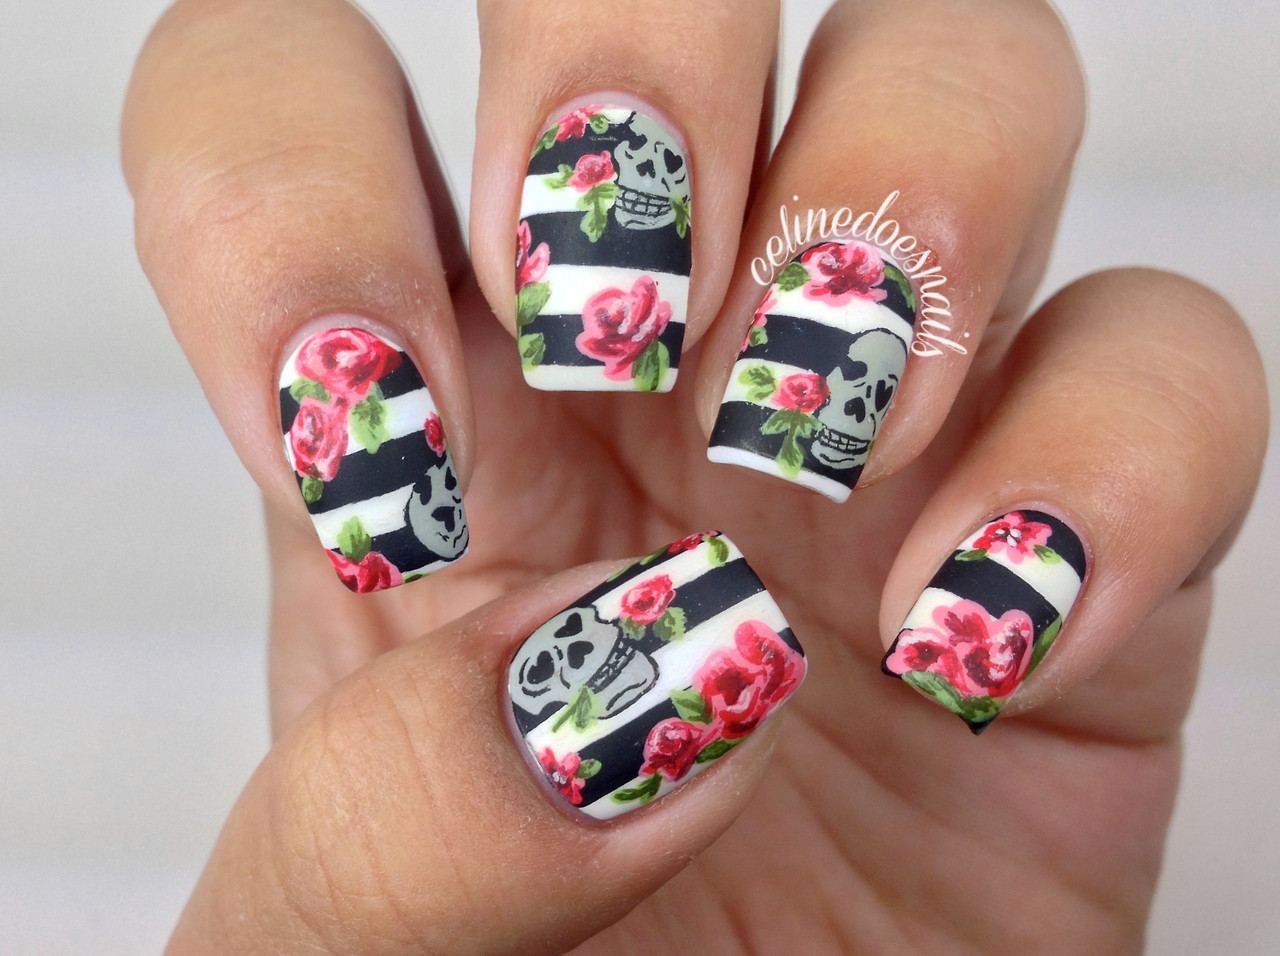
 Vintage rose nail art is a classic and elegant way to elevate your manicure game. Inspired by the romantic and delicate beauty of vintage roses, this style is perfect for any occasion, from weddings to everyday wear. The best part? You don't need to be a professional nail artist to achieve this look. With a few simple steps, you can create stunning vintage rose nail art right at home.
Step 1: Gather Your Supplies
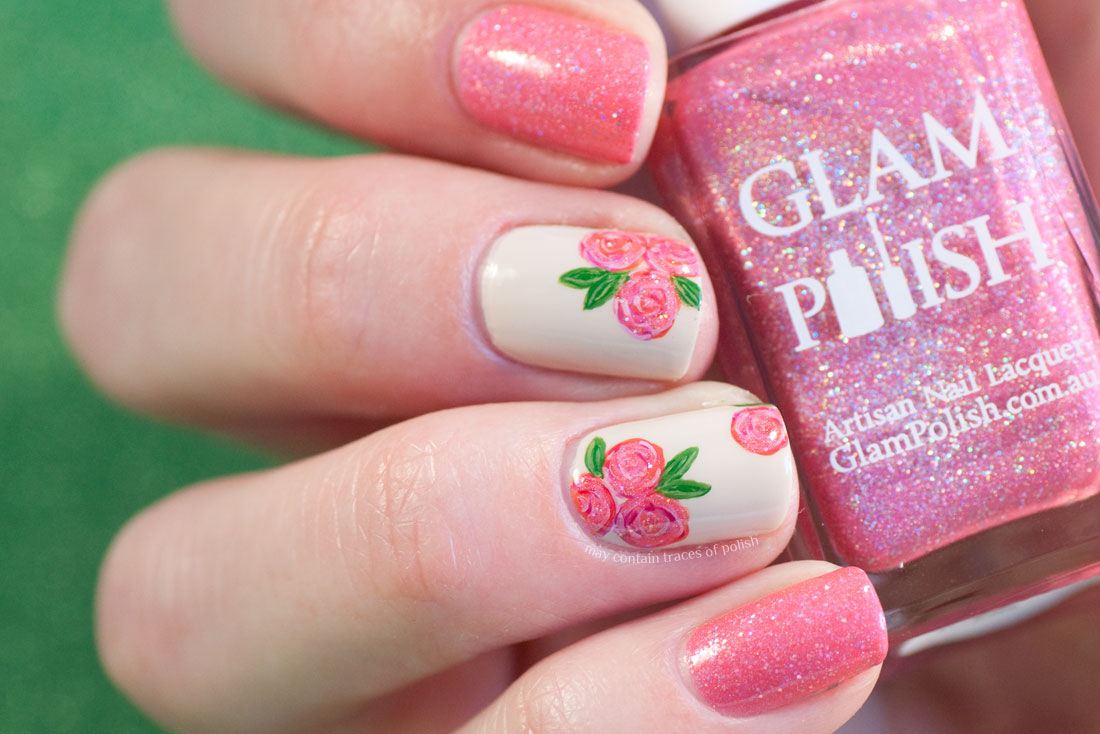
 To create your own vintage rose nail art, you will need a few basic supplies. These include a base coat, top coat, a light pink nail polish, a dark red nail polish, a small detailing brush, and a dotting tool. You can also add some glitter or rhinestones for extra sparkle, but they are not essential.
Step 2: Prep Your Nails
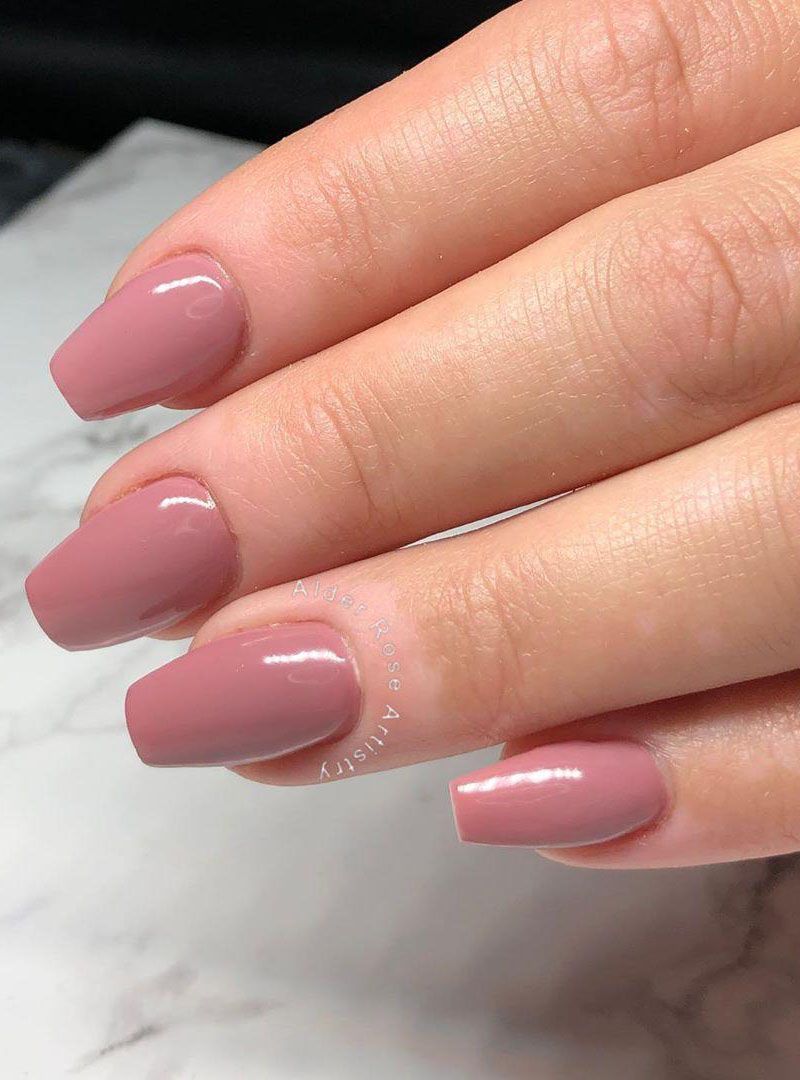
 Before you start painting, make sure your nails are clean and free of any old polish. Apply a base coat to protect your natural nails and help the polish last longer. Once the base coat is dry, apply two coats of light pink polish to all your nails. Let it dry completely before moving on to the next step.
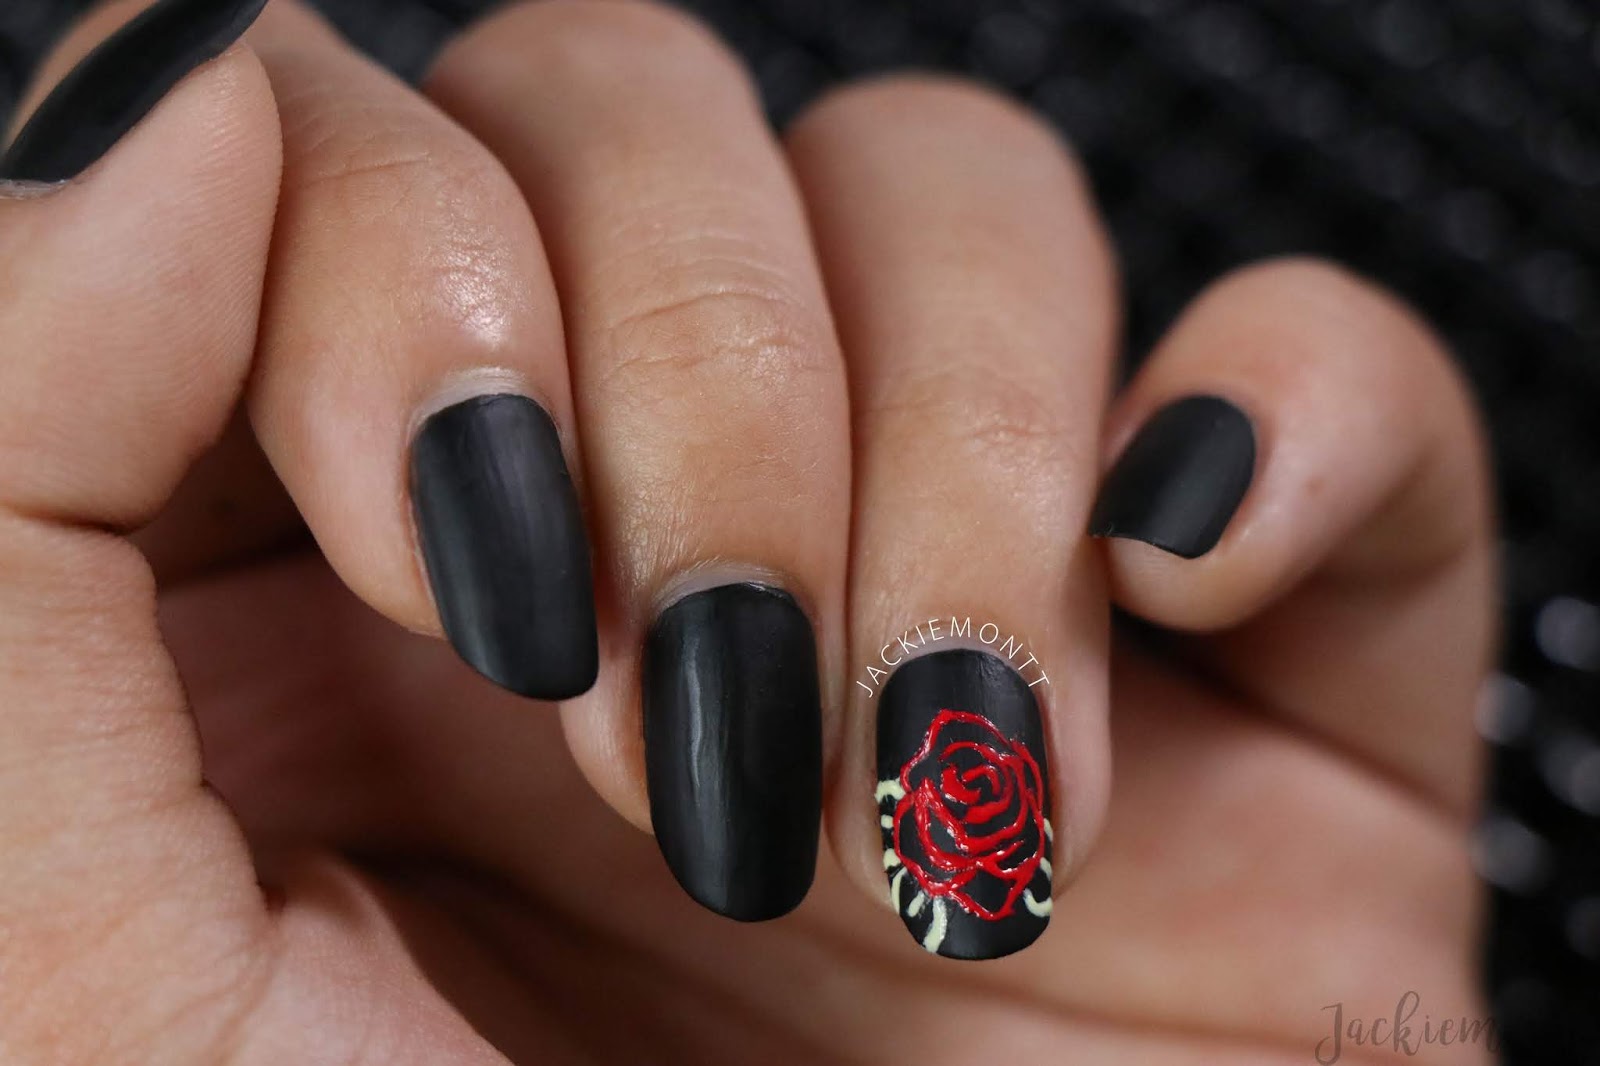
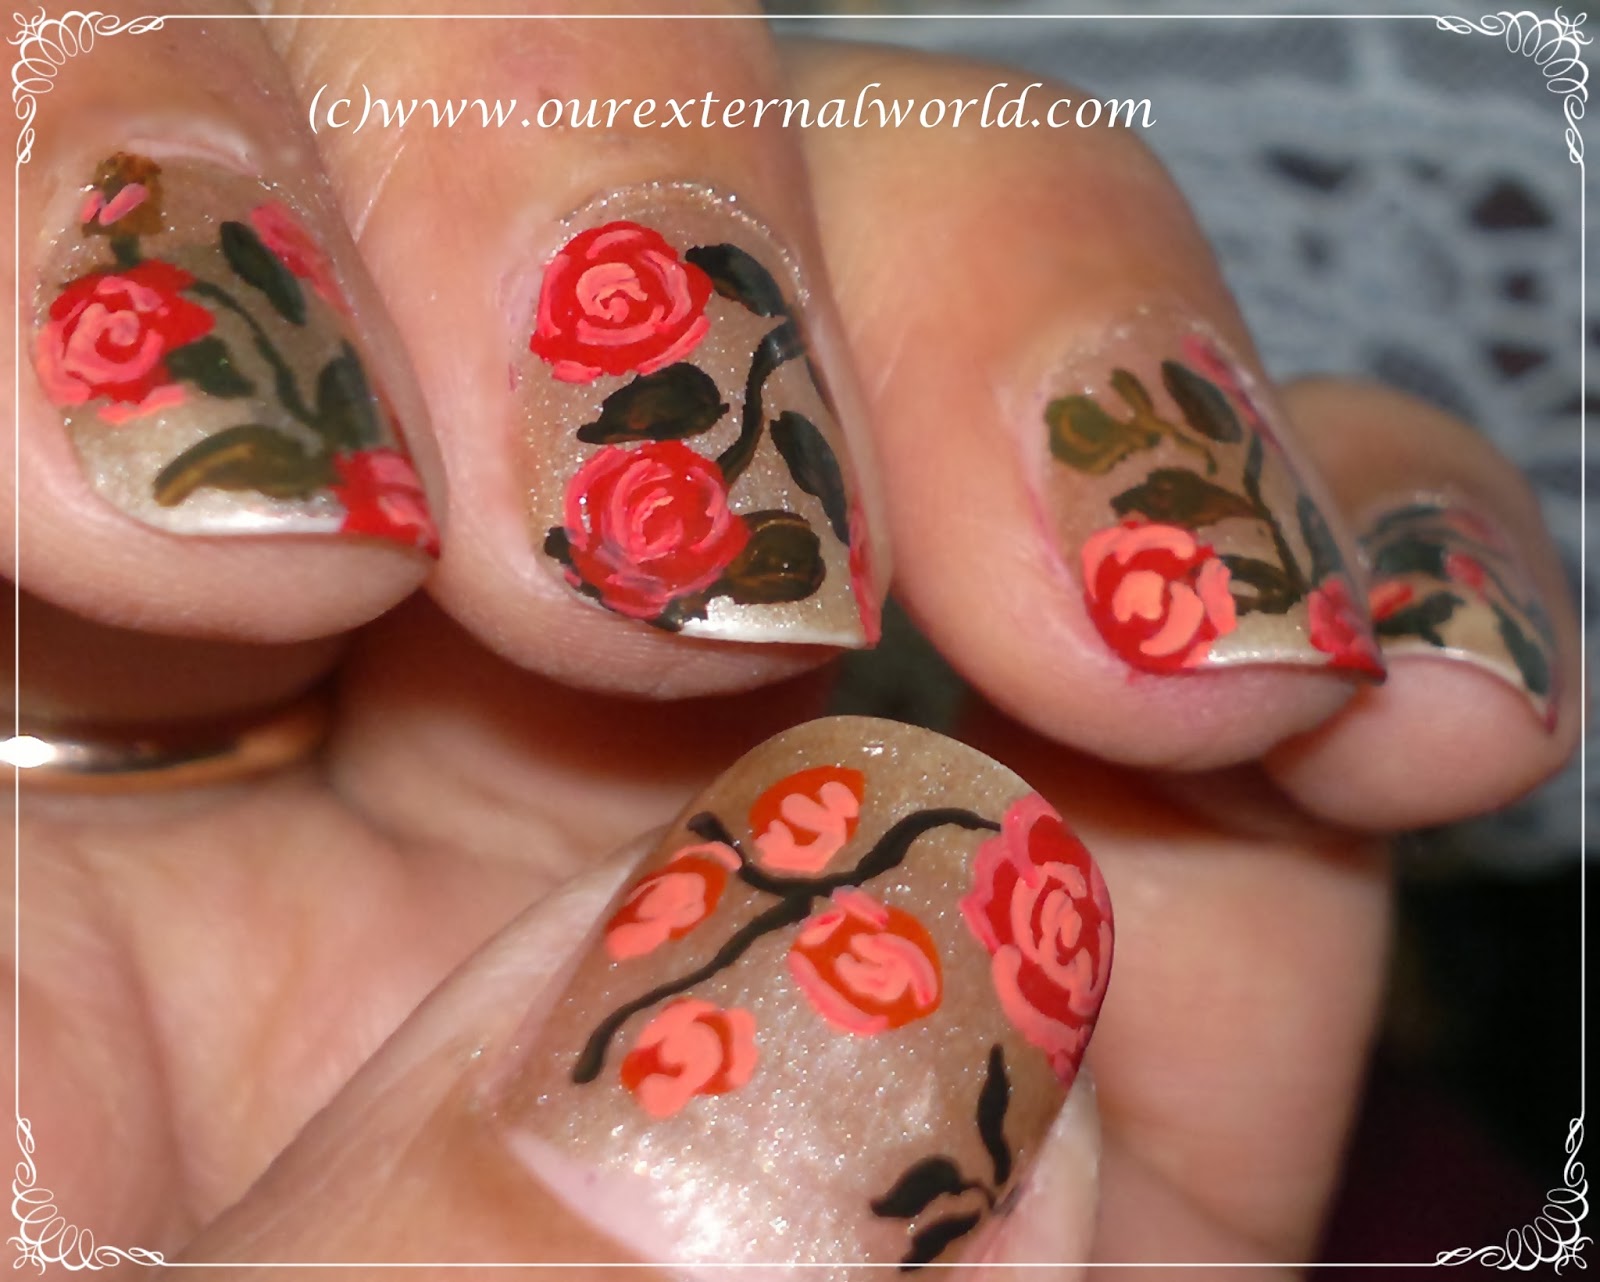
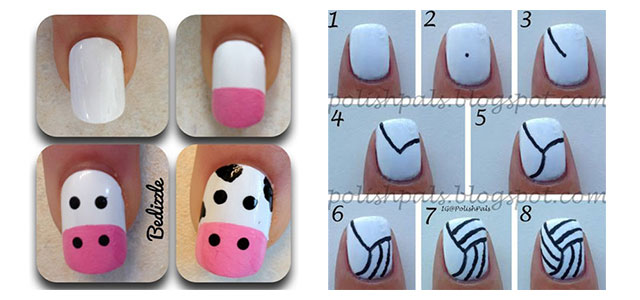
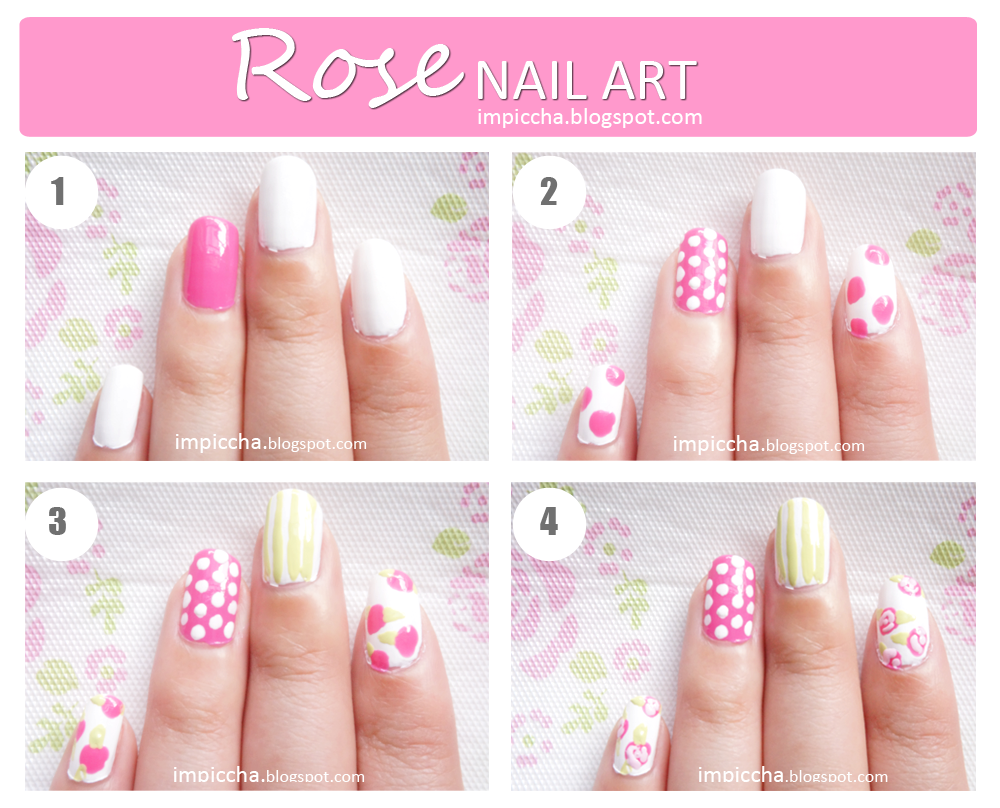
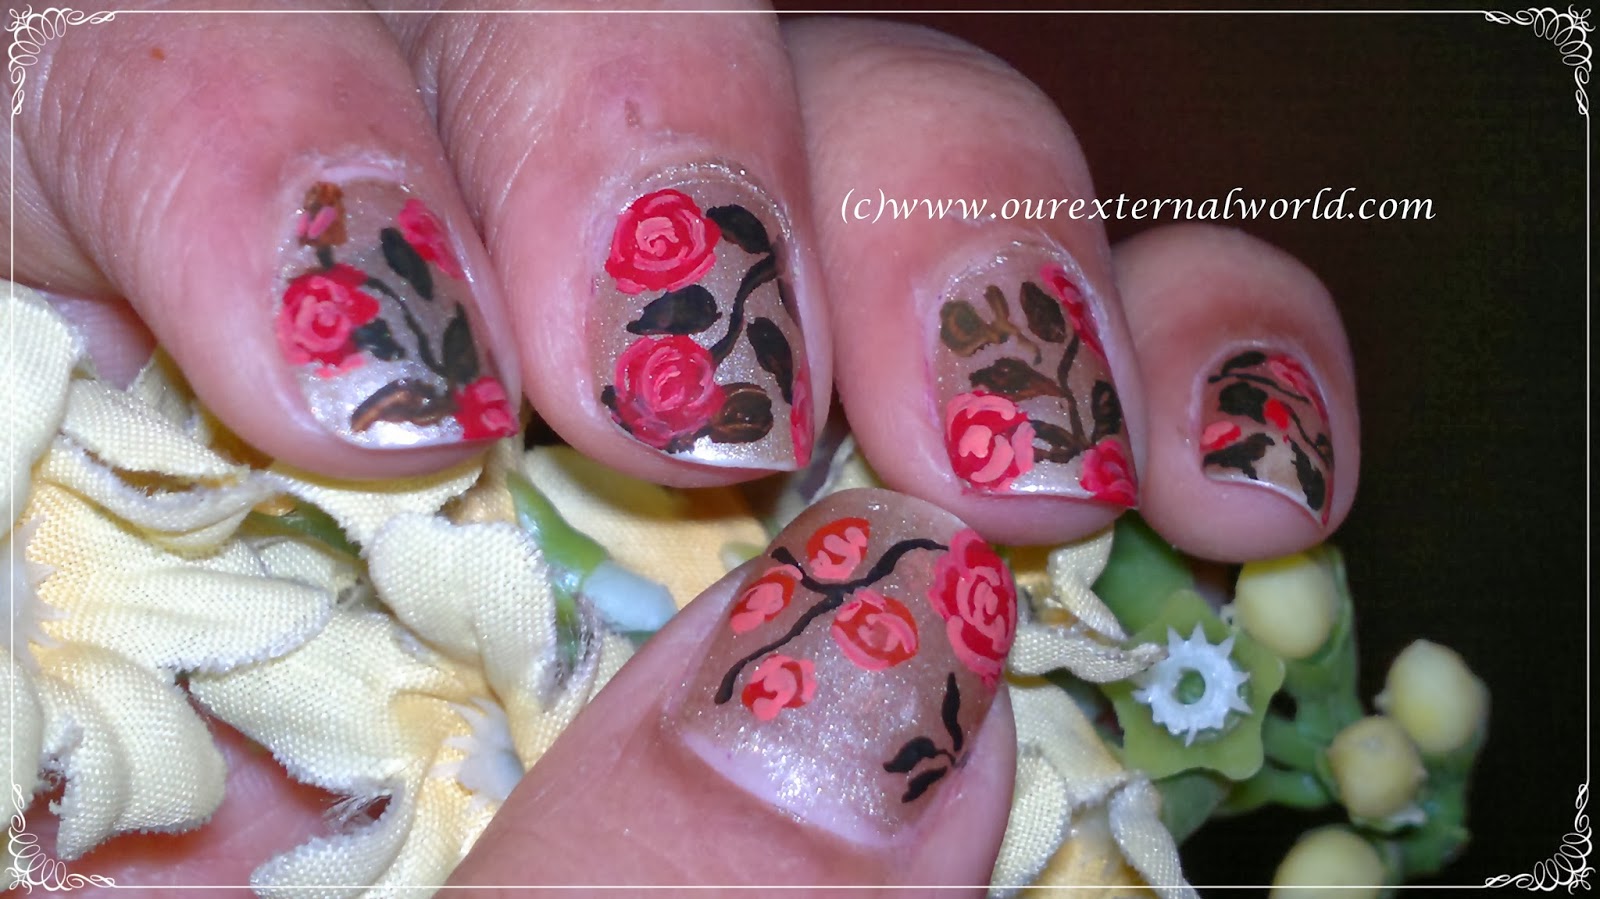
Step 3: Create the Roses
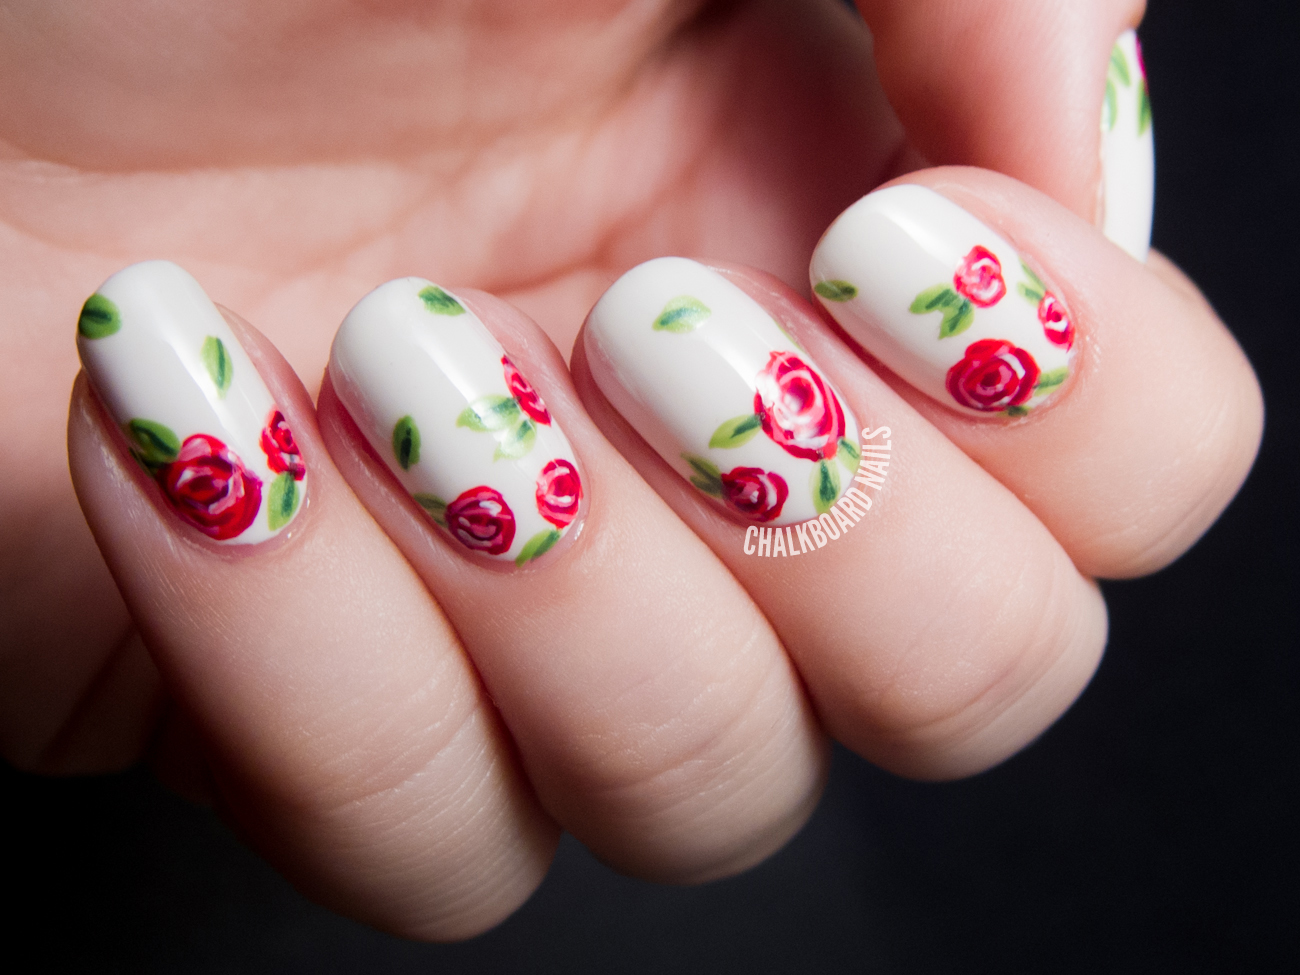
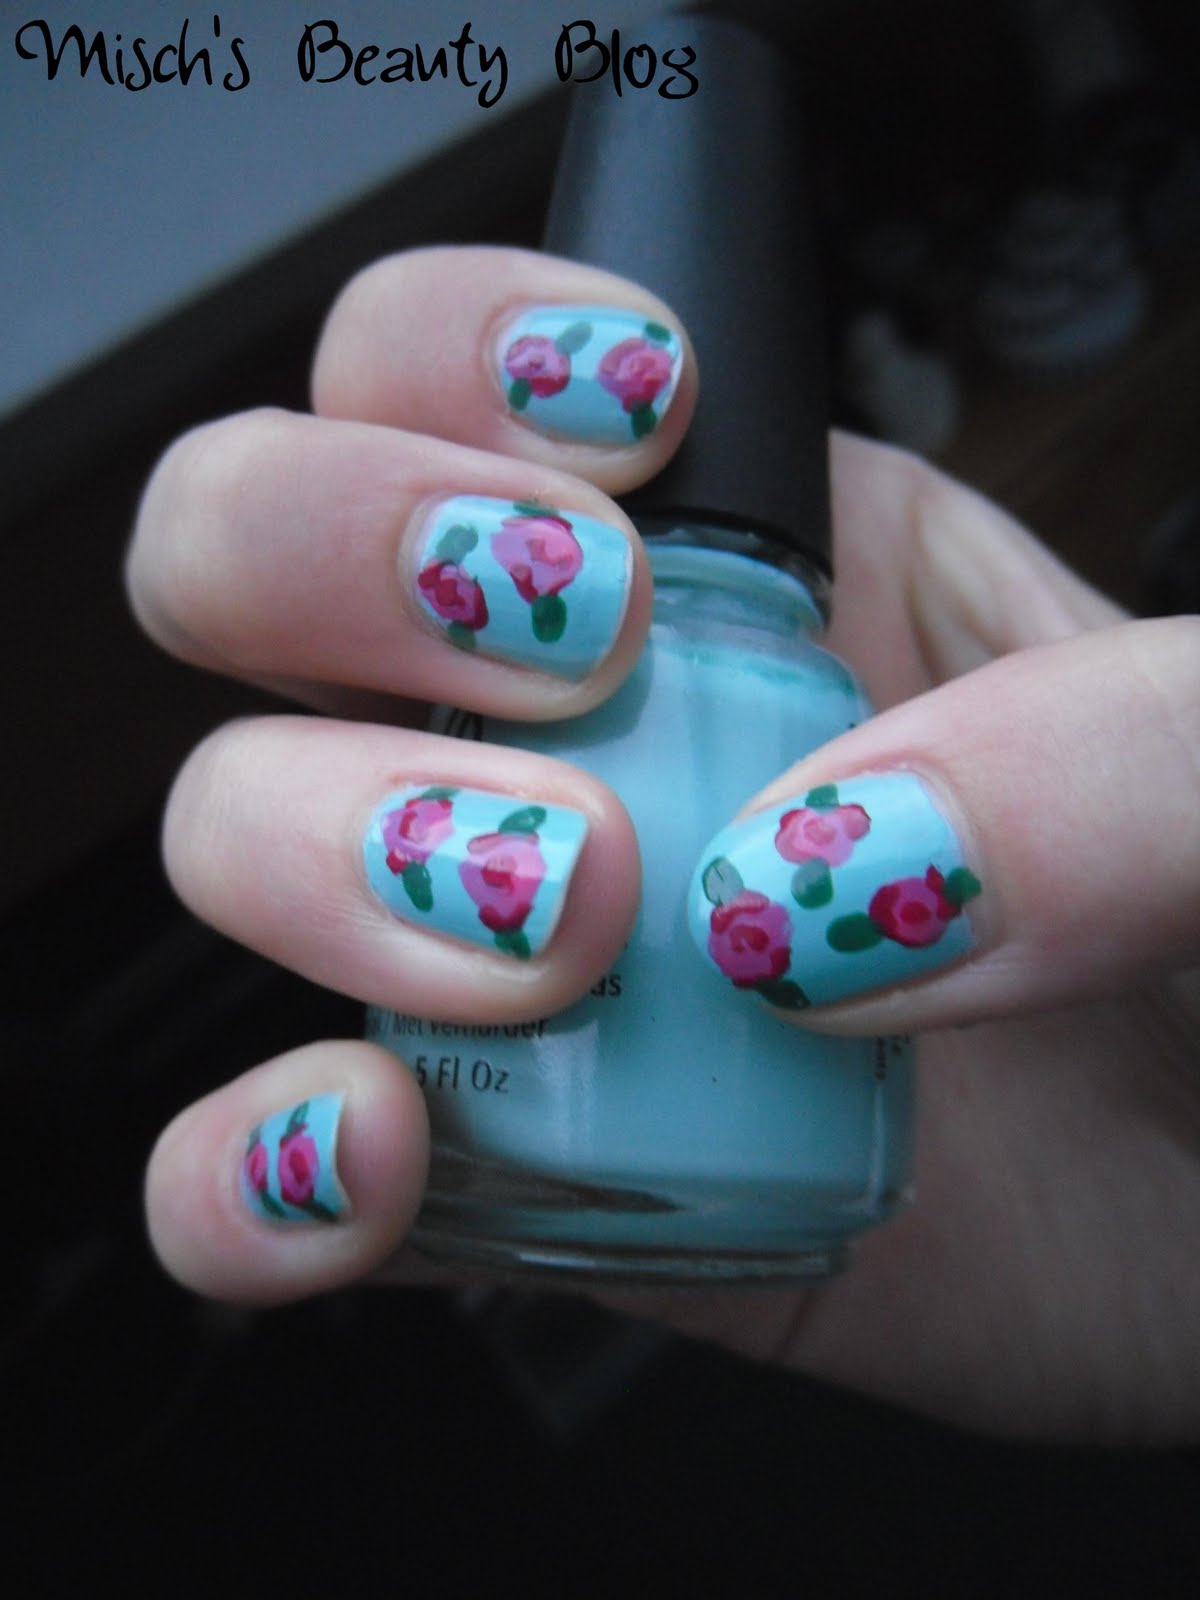
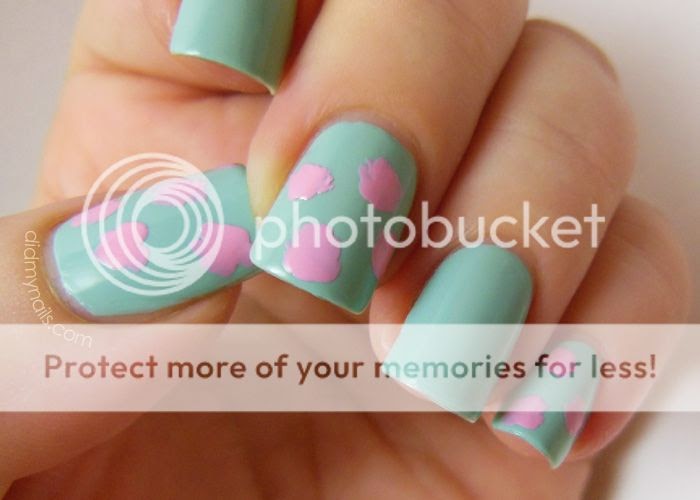
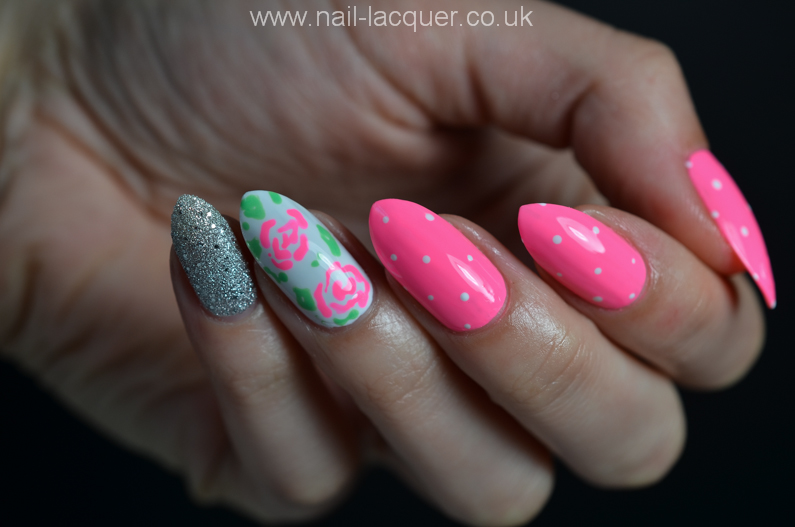
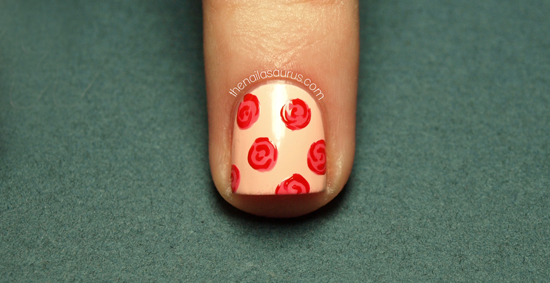
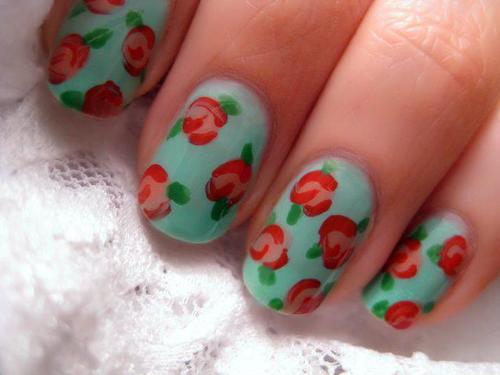 Using your small detailing brush and dark red polish, start by creating small "C" shapes on your nails. These will serve as the base for your roses. Next, use your dotting tool to add small dots around the "C" shapes. This will create the petals of the roses. Repeat this process on all your nails, creating as many roses as you like. Don't worry about making them perfect, as the imperfections will add to the vintage charm.
Step 4: Add the Finishing Touches
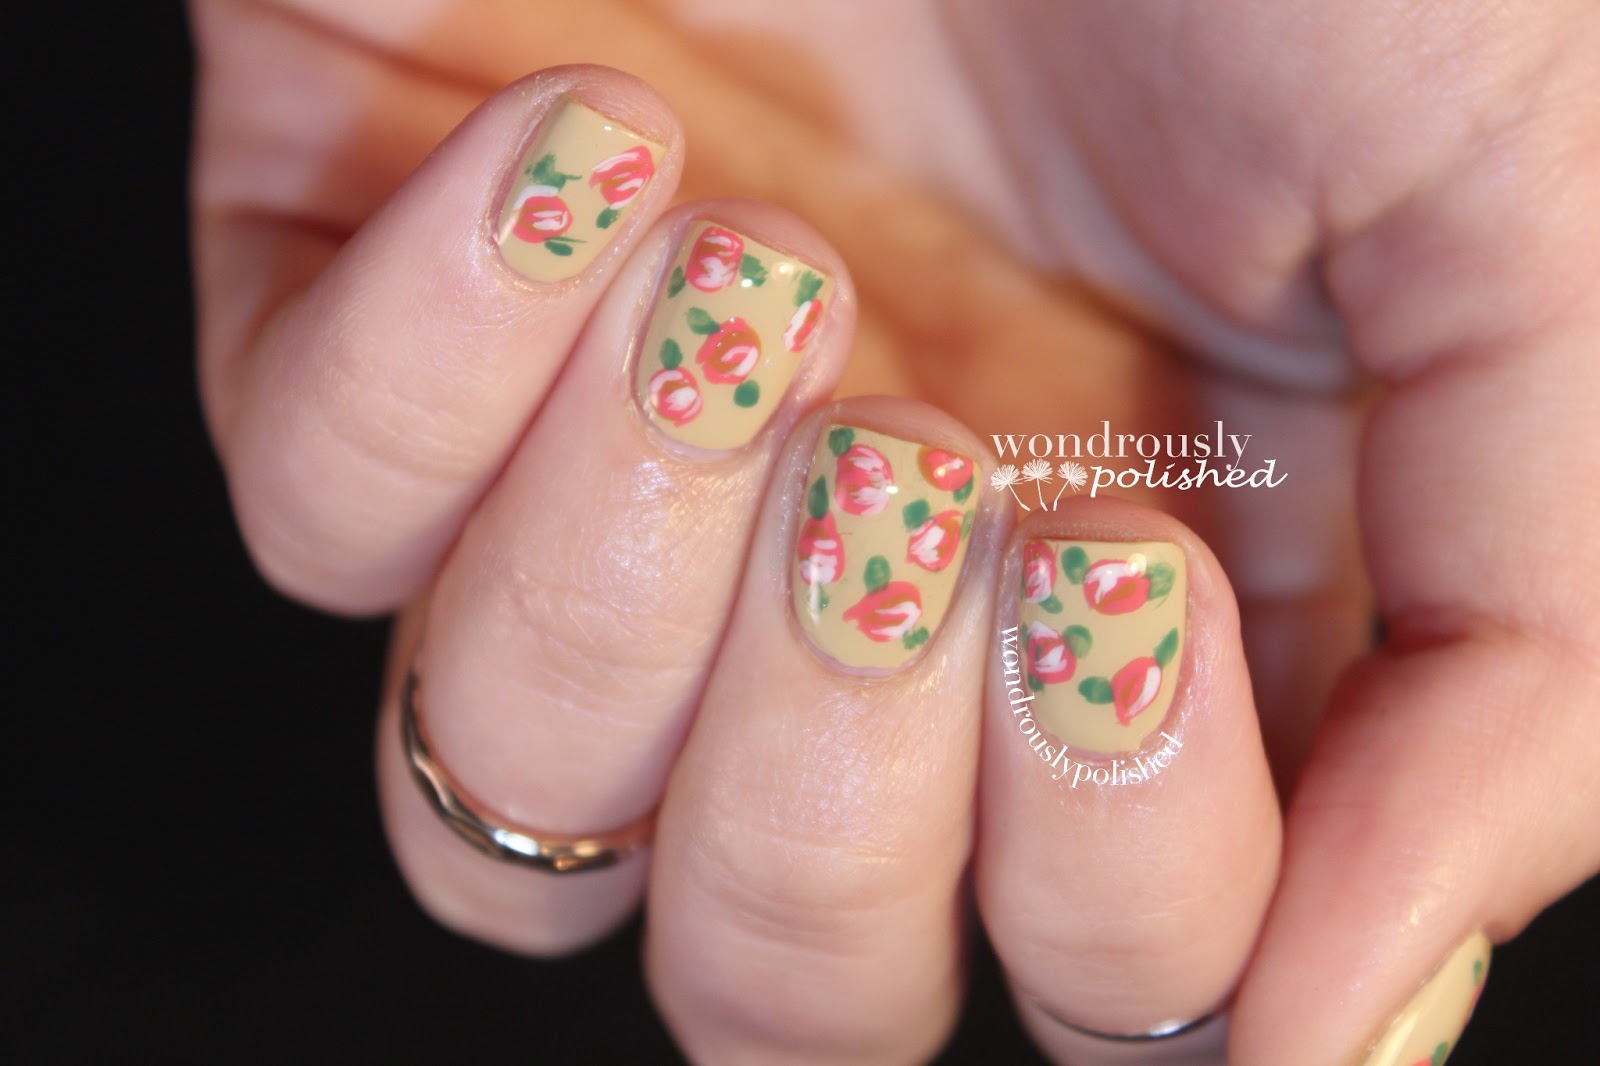
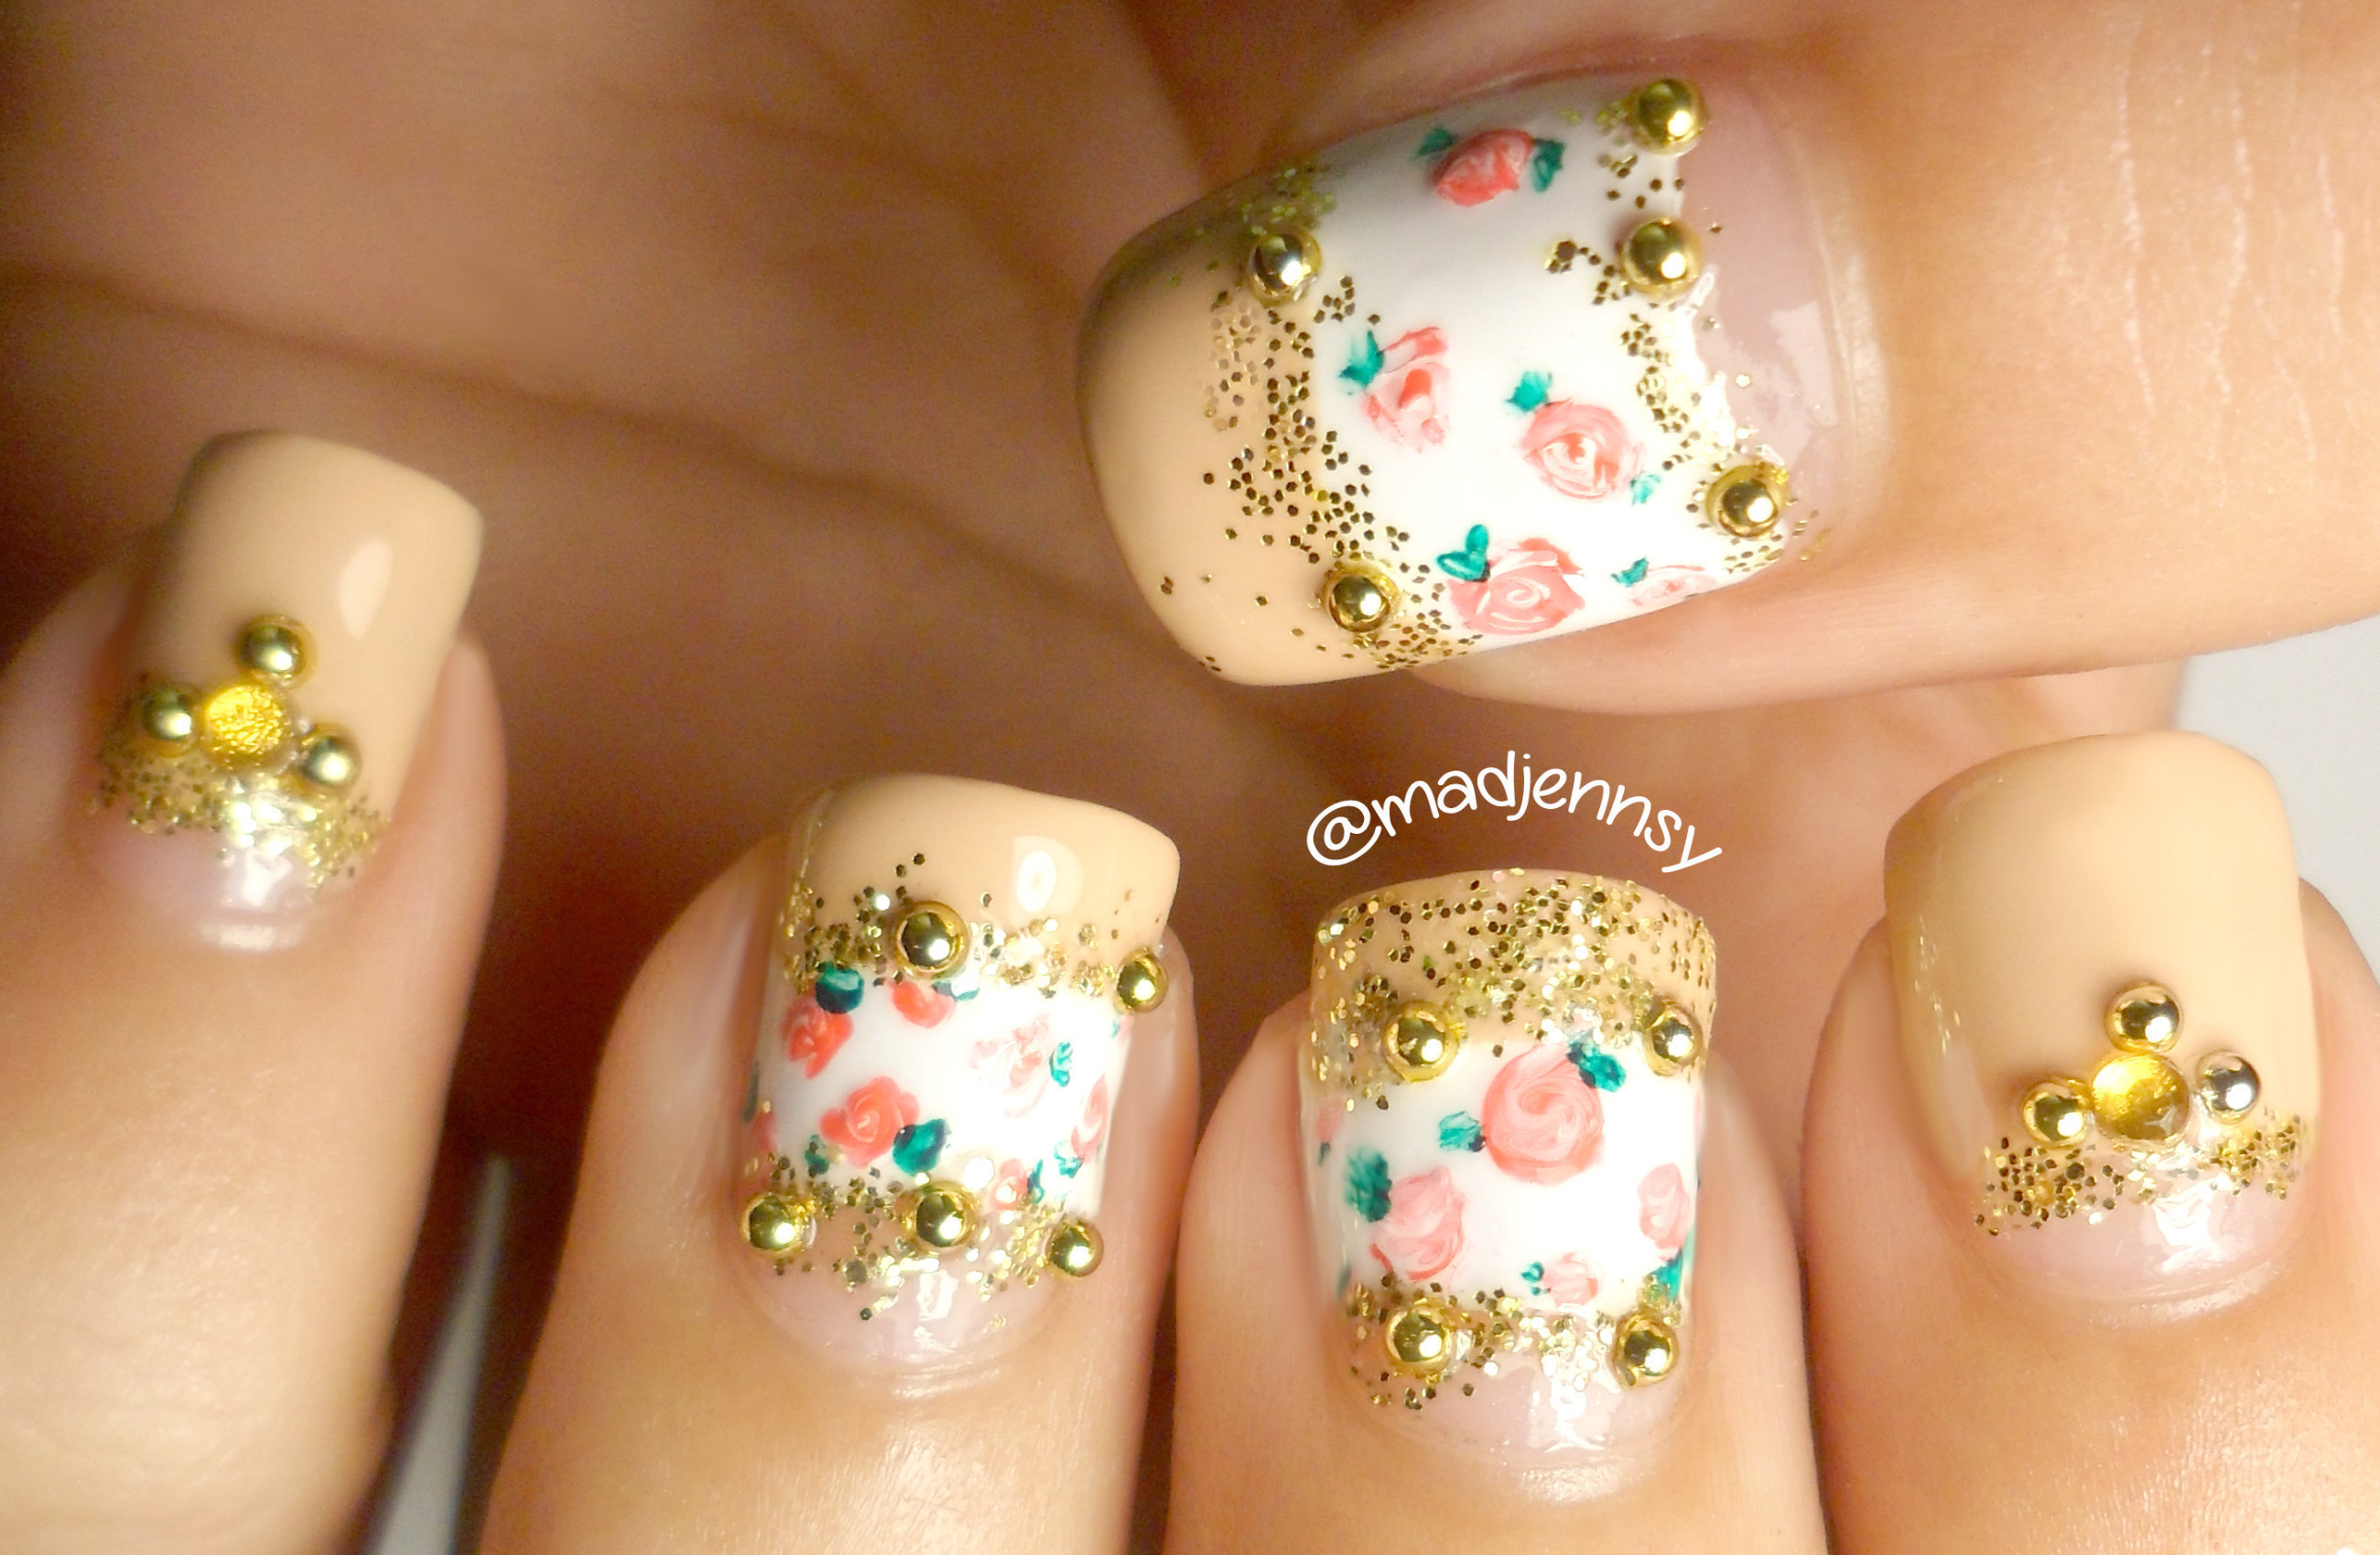
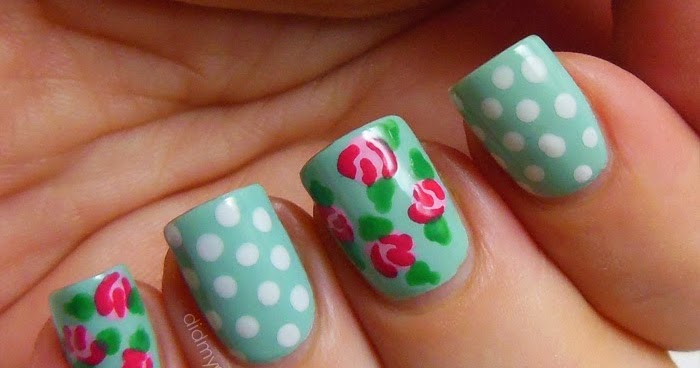
 Once all your roses are done and the polish is dry, you can add some extra details to make your vintage rose nail art truly stand out. Use your detailing brush to add some green leaves and stems to your roses. You can also use your dotting tool to add some small dots in white or gold around the roses for a 3D effect. Finish off with a top coat to protect your design and add some shine.
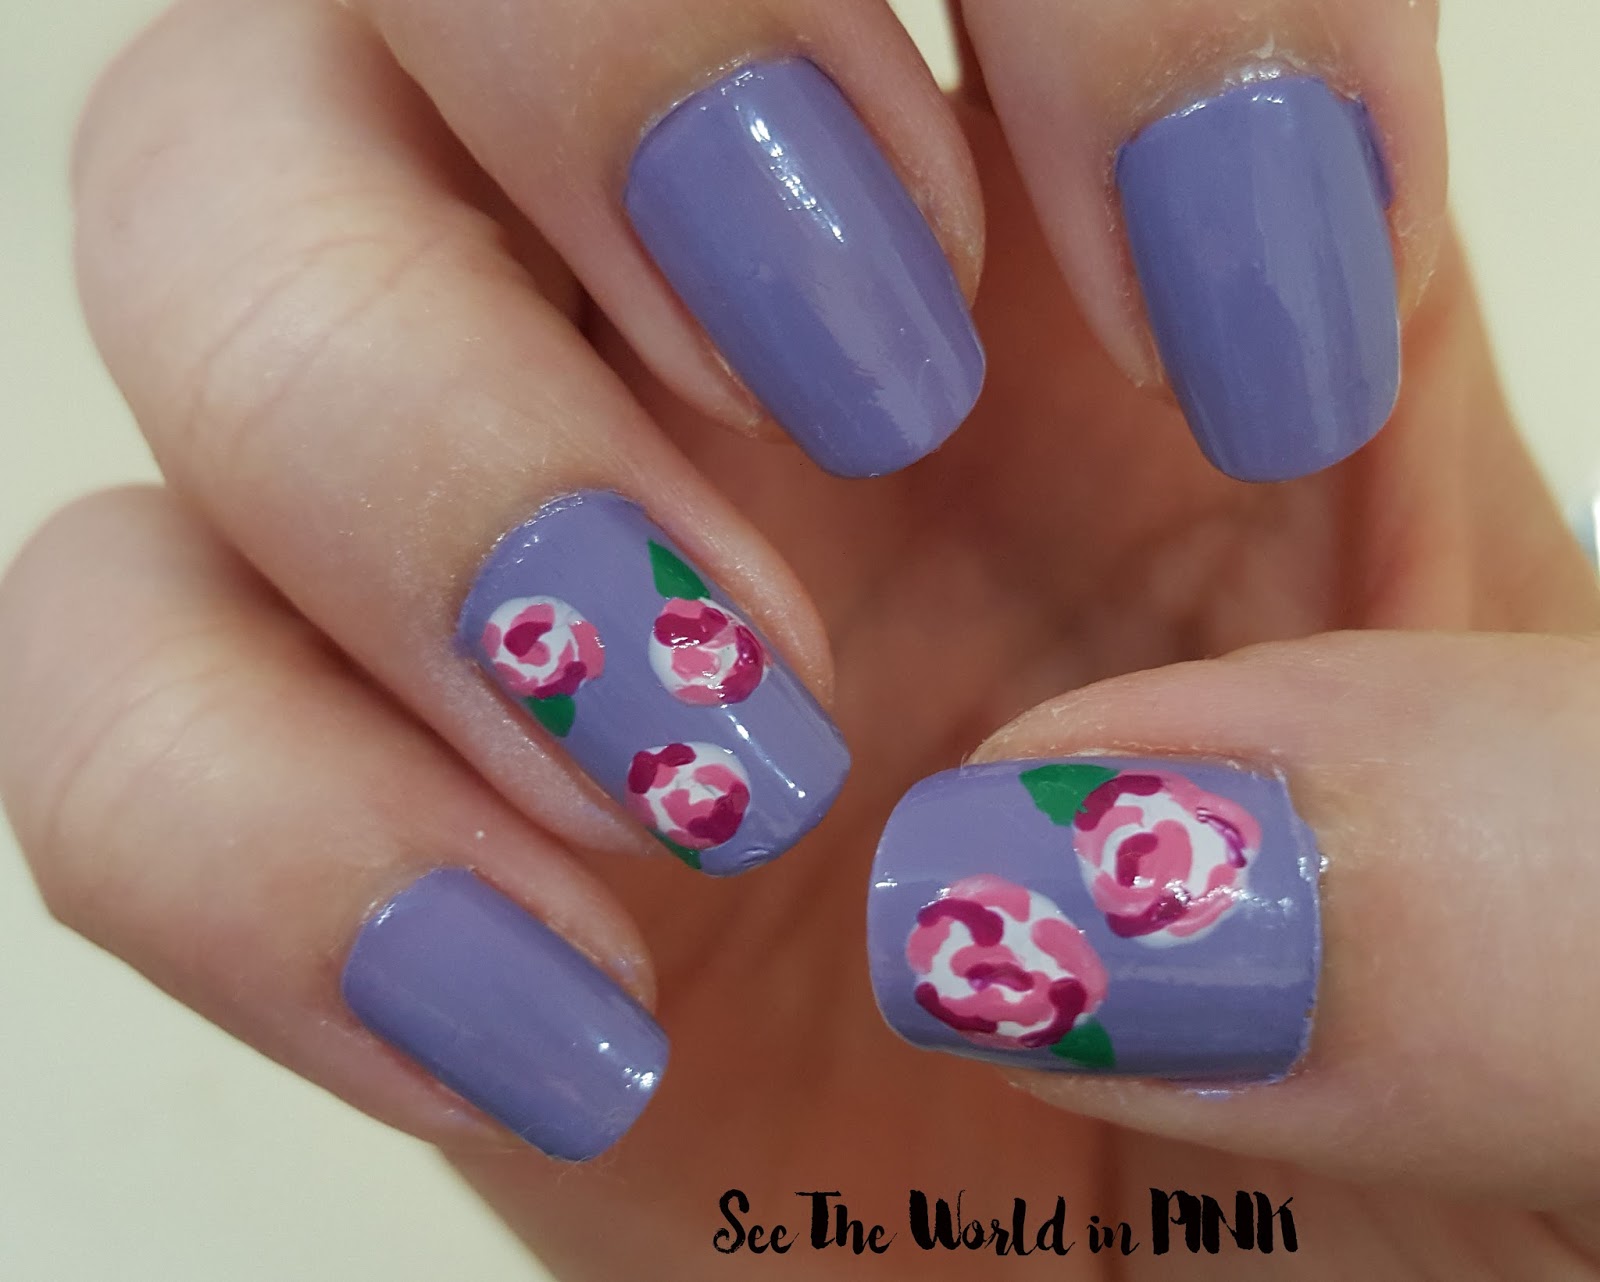
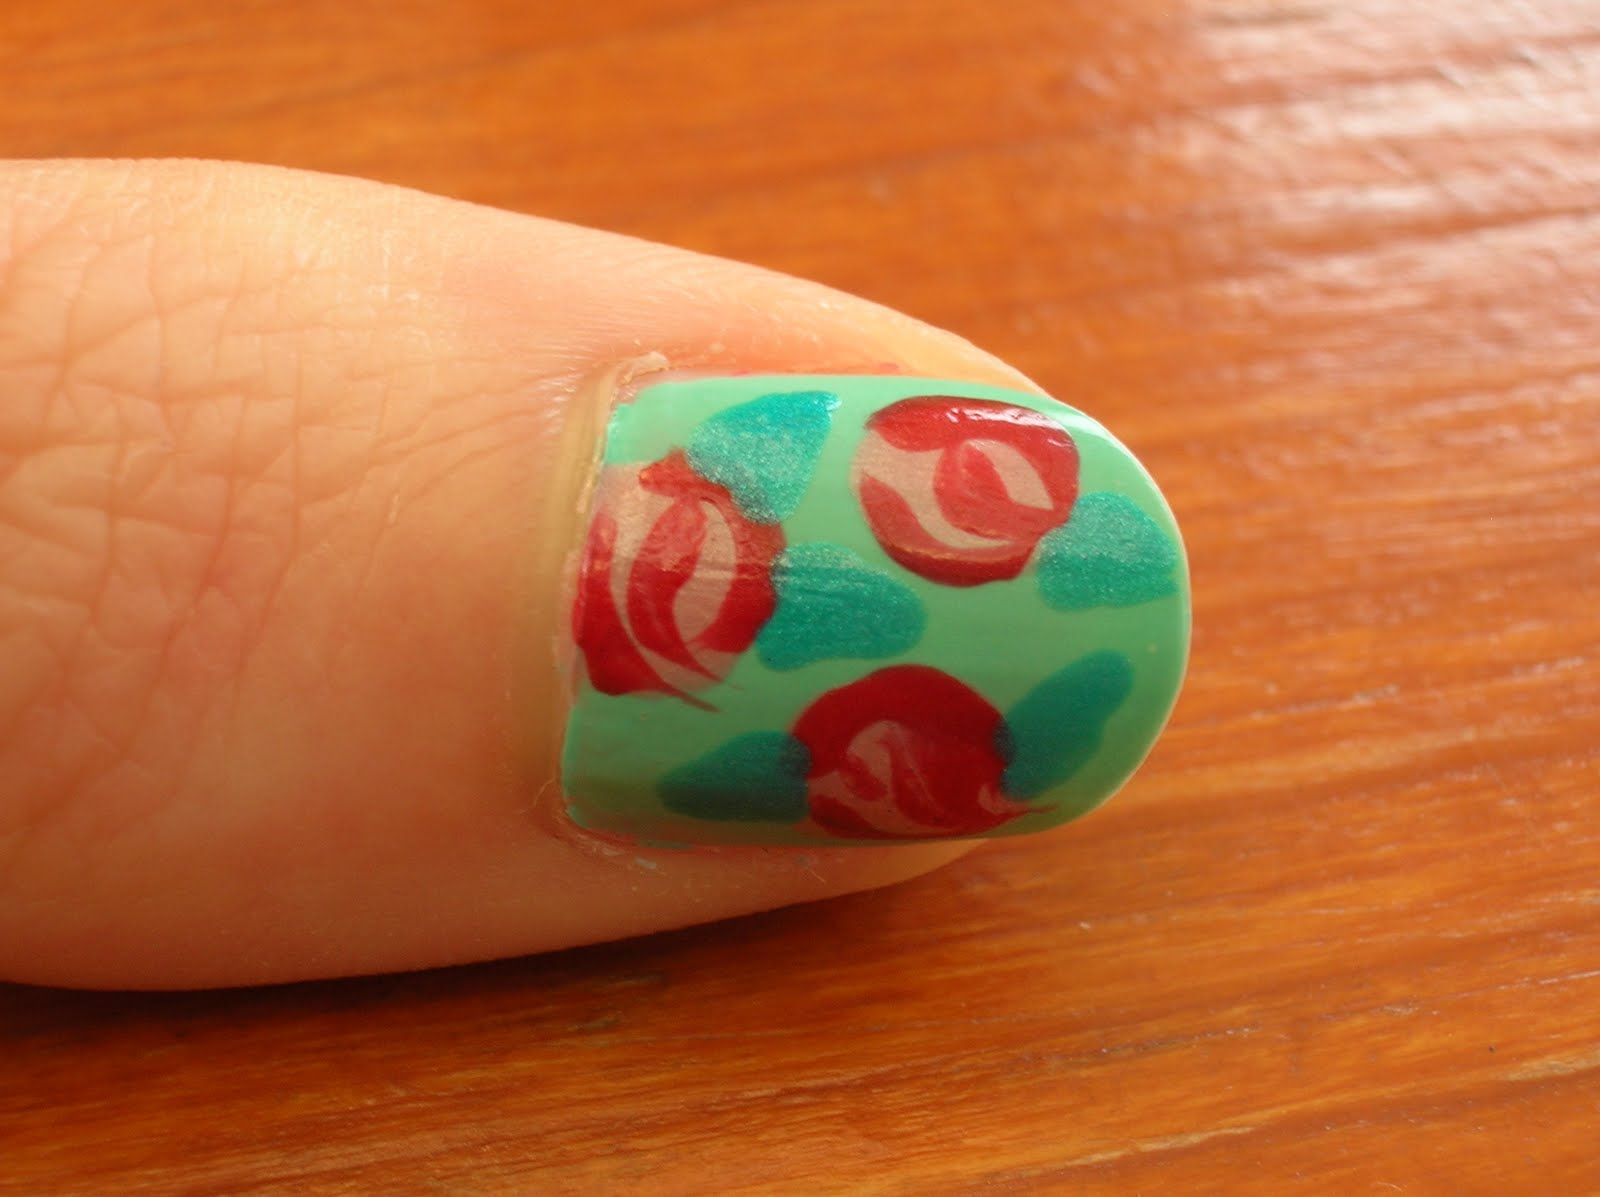
Step 5: Show Off Your Vintage Rose Nails
 Once your top coat is dry, your vintage rose nail art is complete! This timeless and elegant design is sure to turn heads and make a statement. Whether you're attending a special event or just want to add a touch of sophistication to your everyday look, vintage rose nail art is the perfect choice.
In conclusion, vintage rose nail art is a beautiful and versatile trend that never goes out of style. With just a few simple steps and some basic supplies, you can achieve this elegant look at home. So go ahead and add a touch of romance and nostalgia to your manicure with vintage rose nail art.
Once your top coat is dry, your vintage rose nail art is complete! This timeless and elegant design is sure to turn heads and make a statement. Whether you're attending a special event or just want to add a touch of sophistication to your everyday look, vintage rose nail art is the perfect choice.
In conclusion, vintage rose nail art is a beautiful and versatile trend that never goes out of style. With just a few simple steps and some basic supplies, you can achieve this elegant look at home. So go ahead and add a touch of romance and nostalgia to your manicure with vintage rose nail art.


