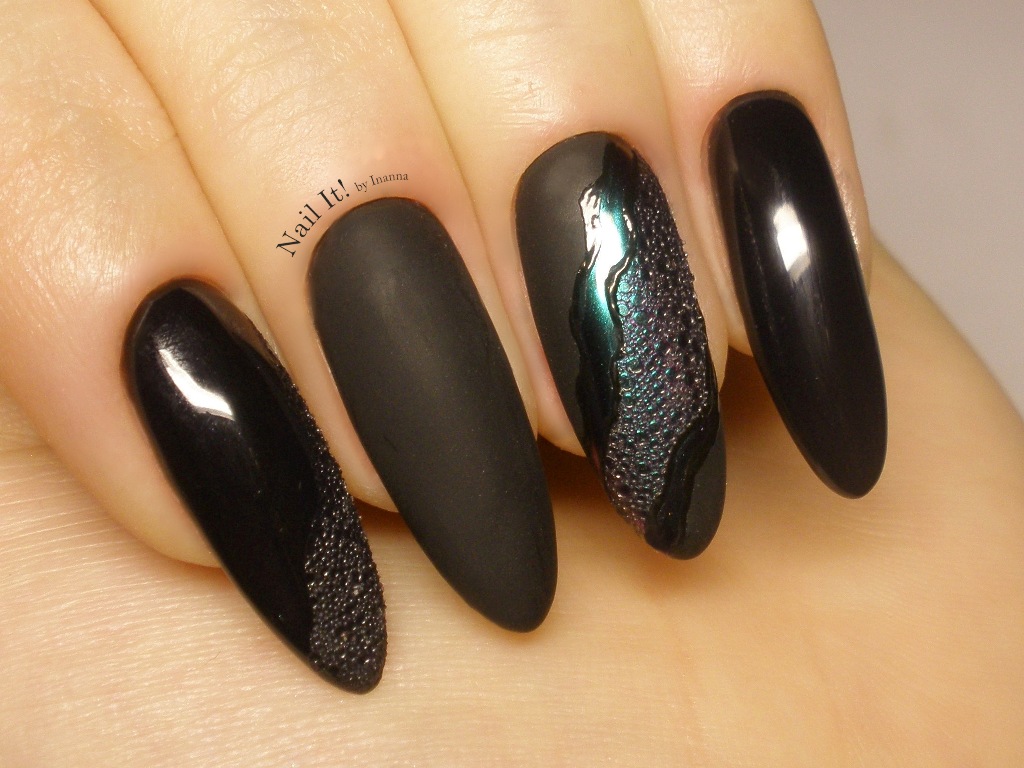
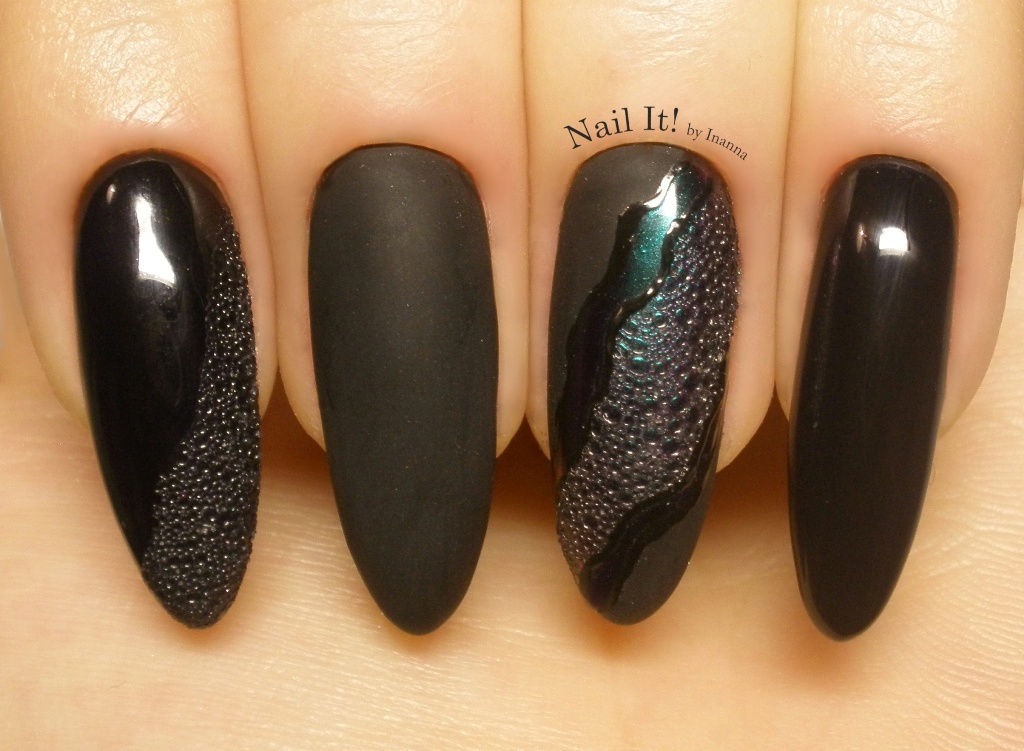
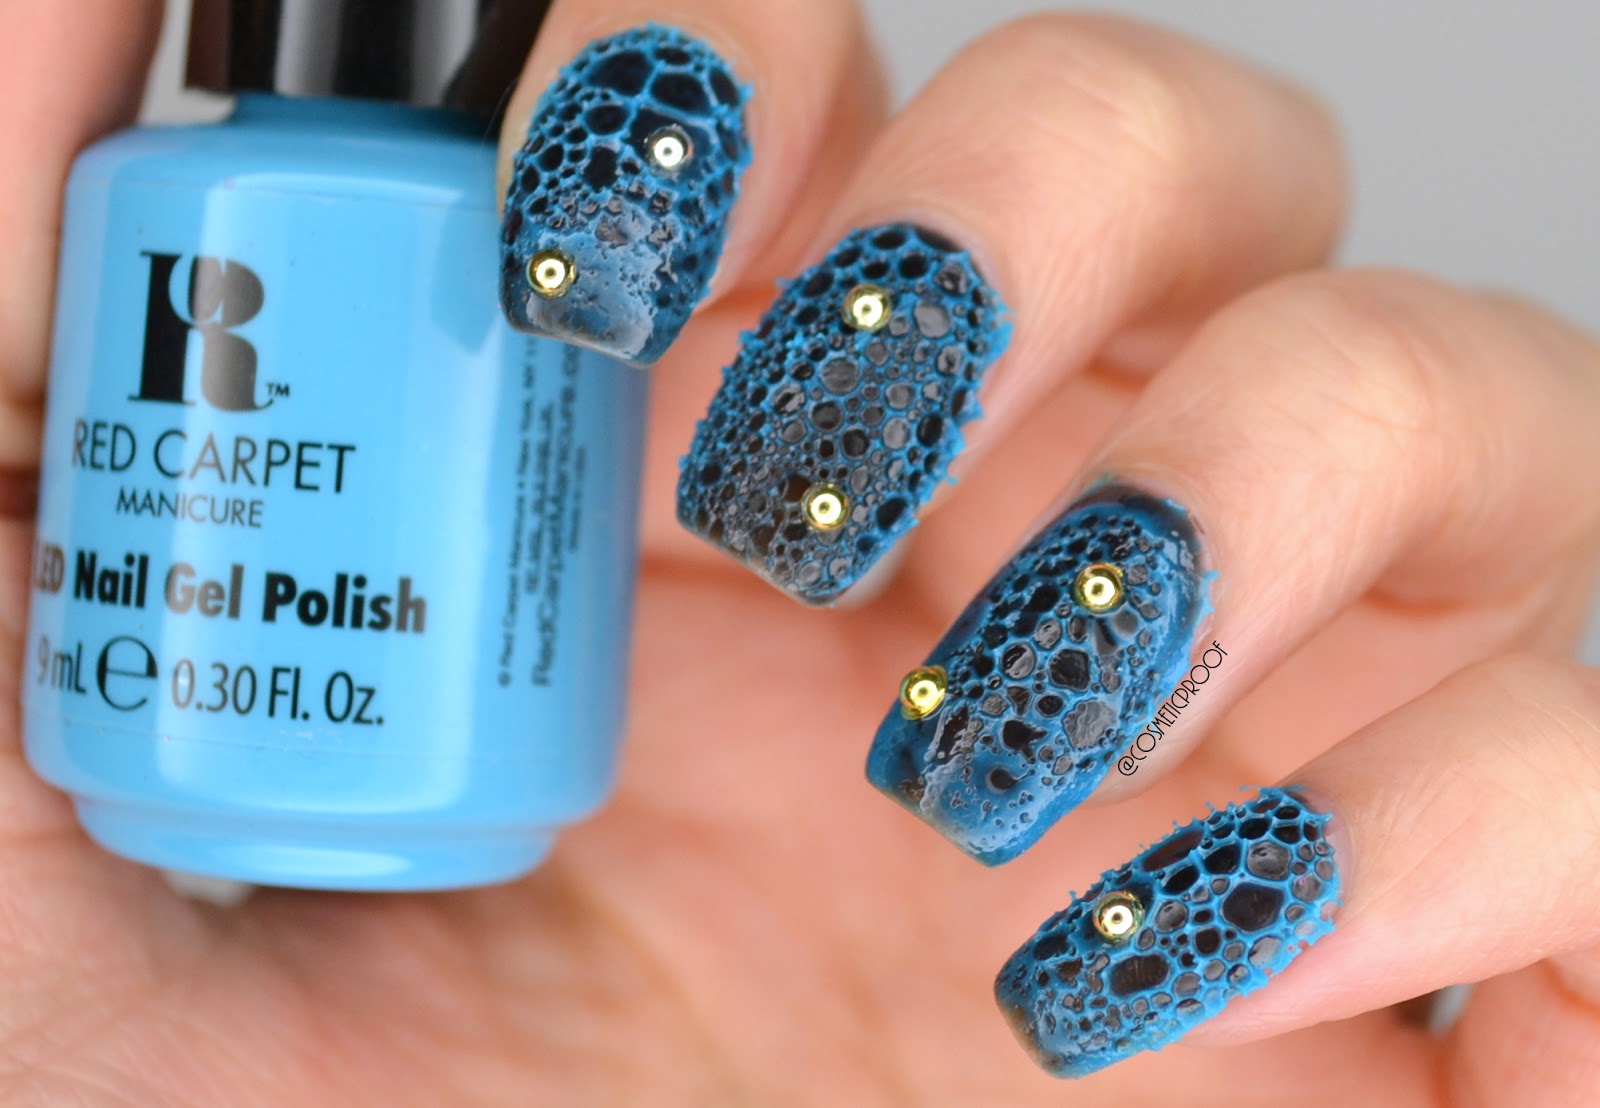
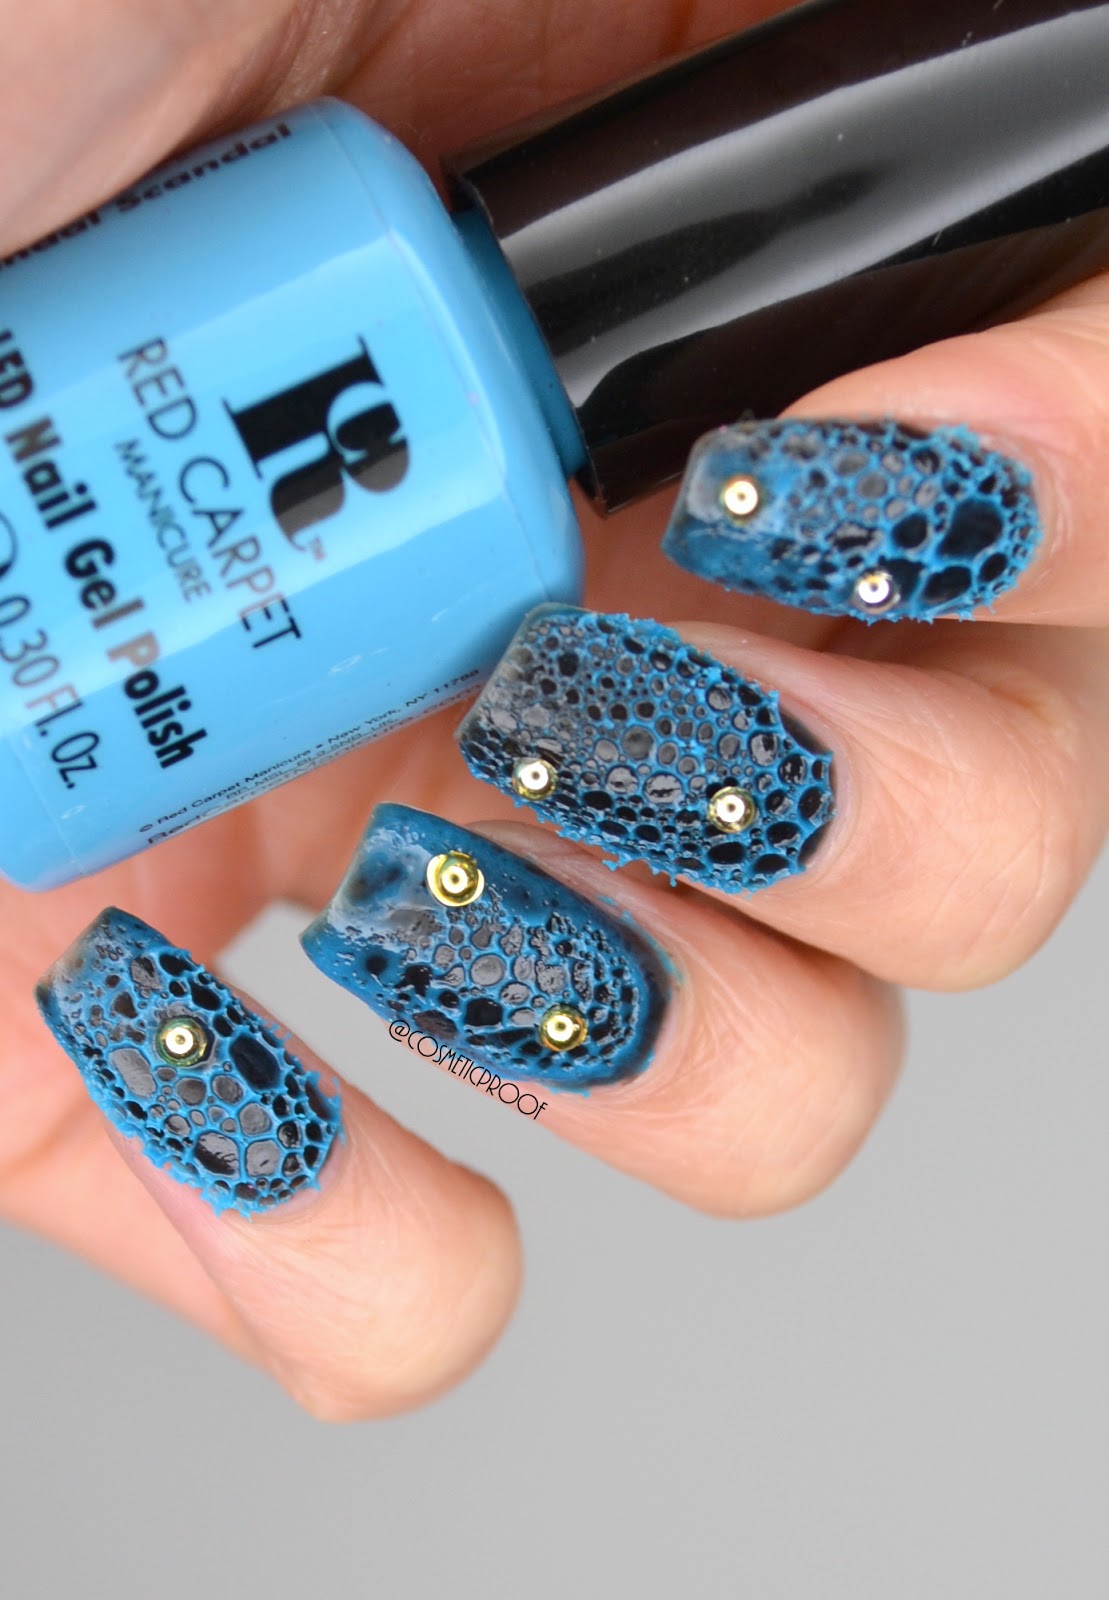
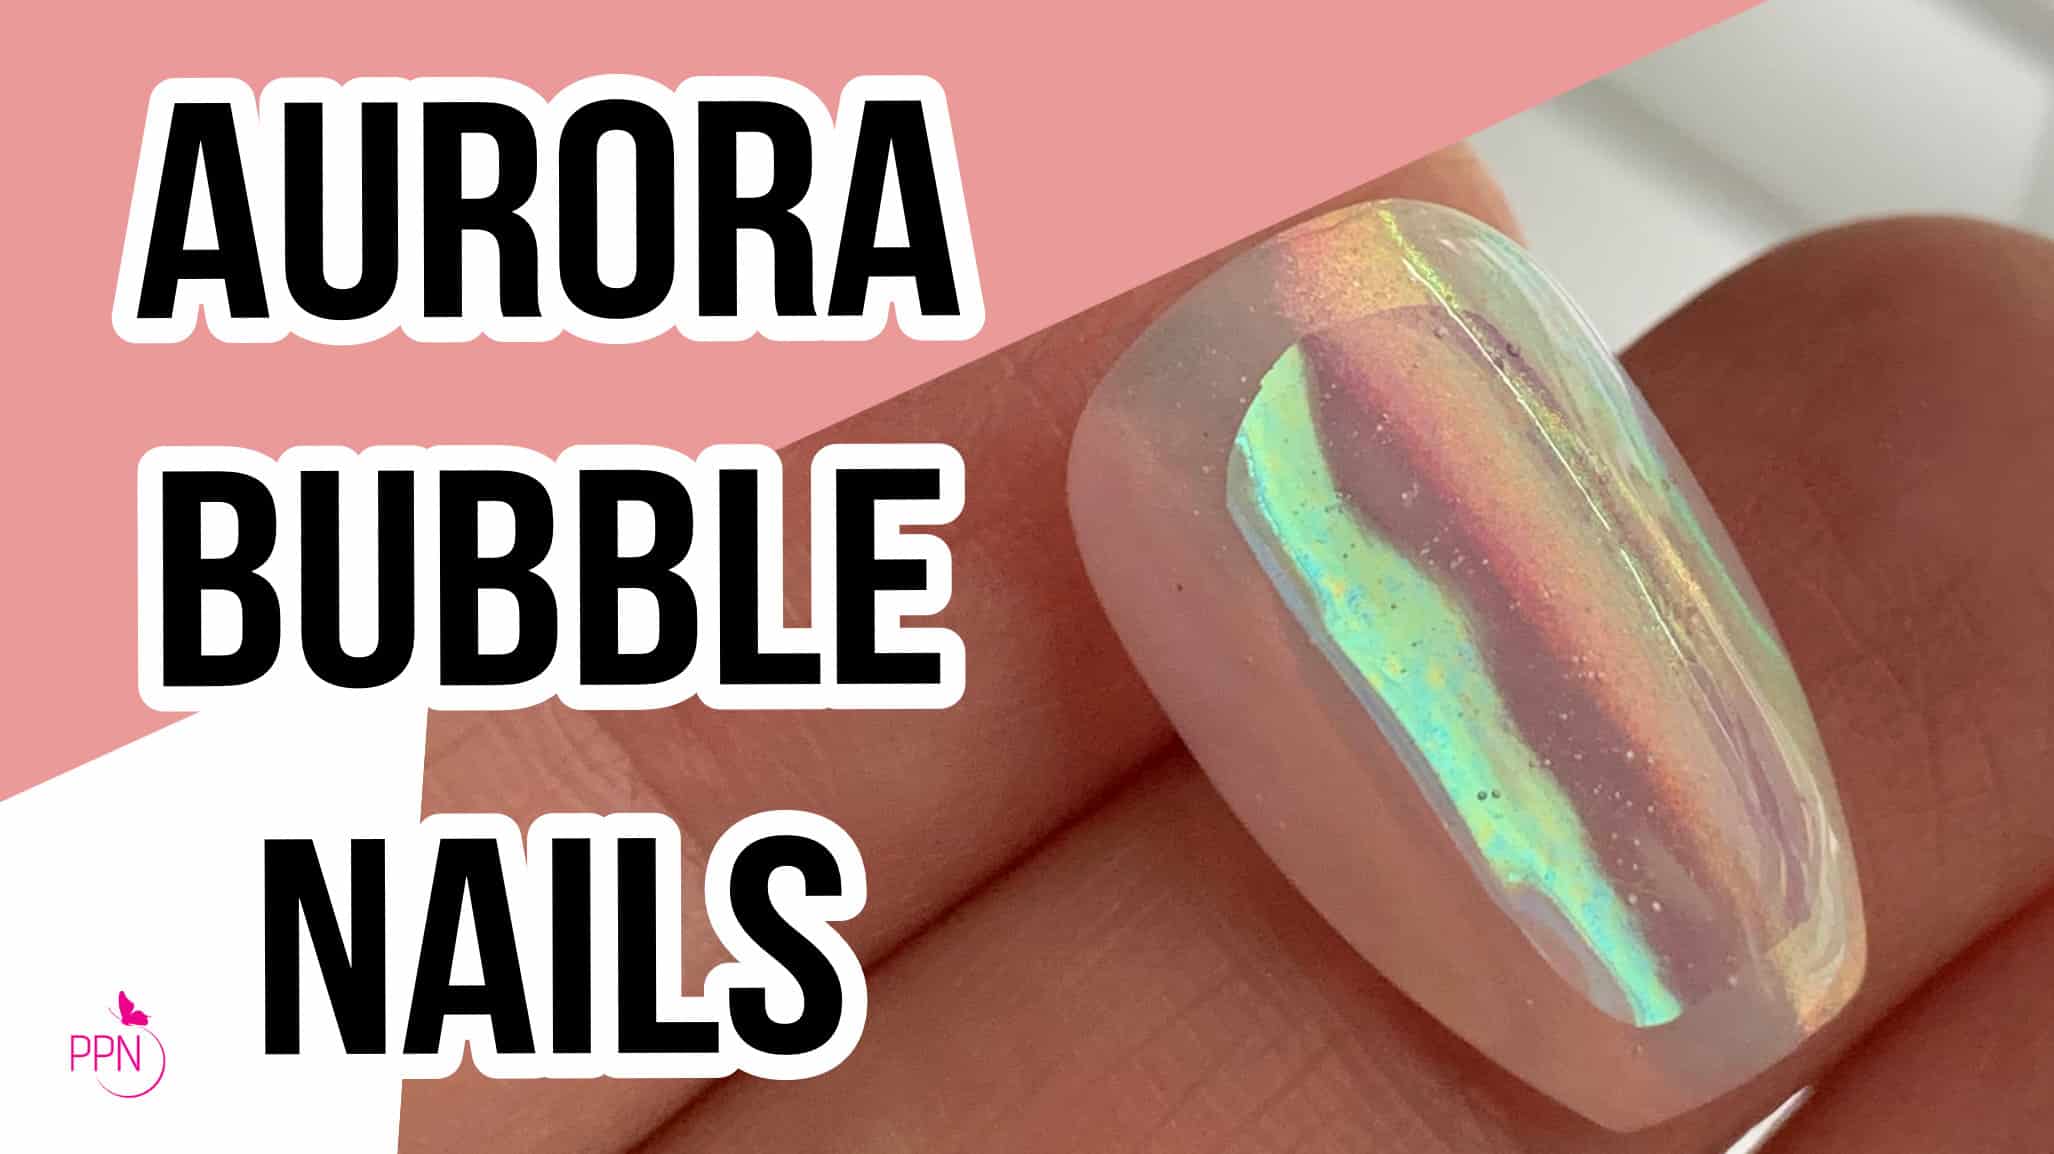
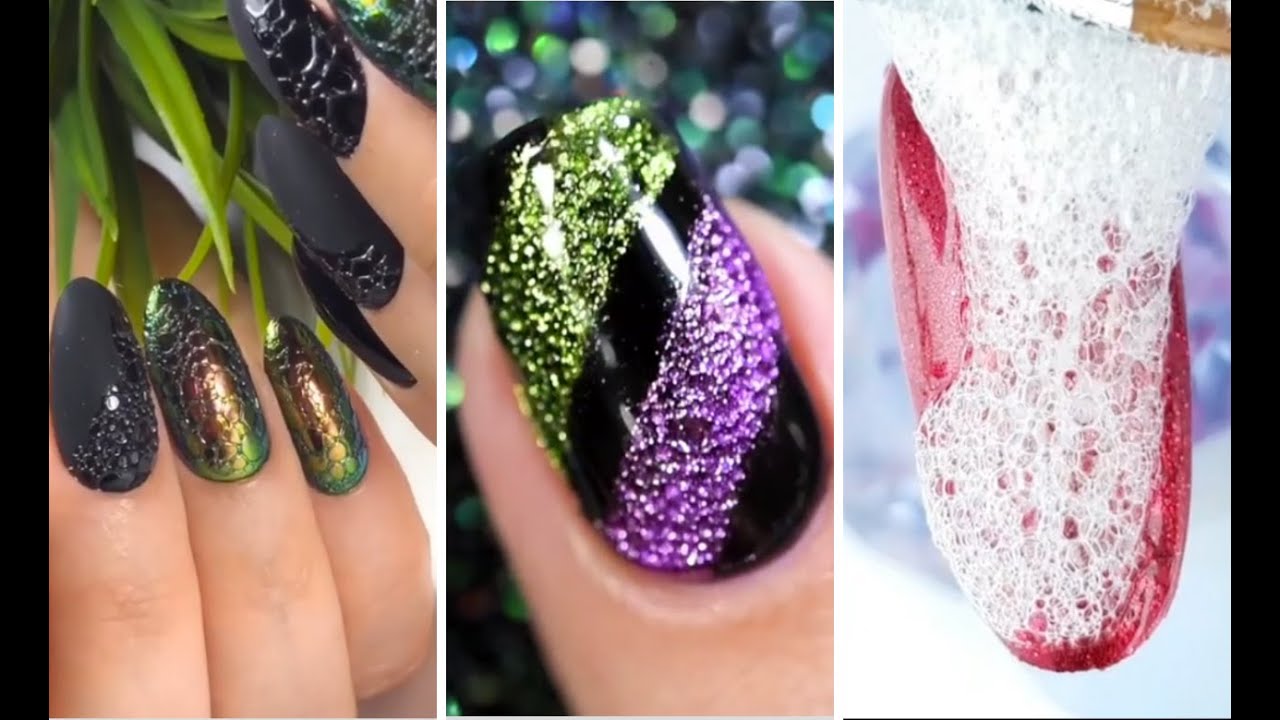
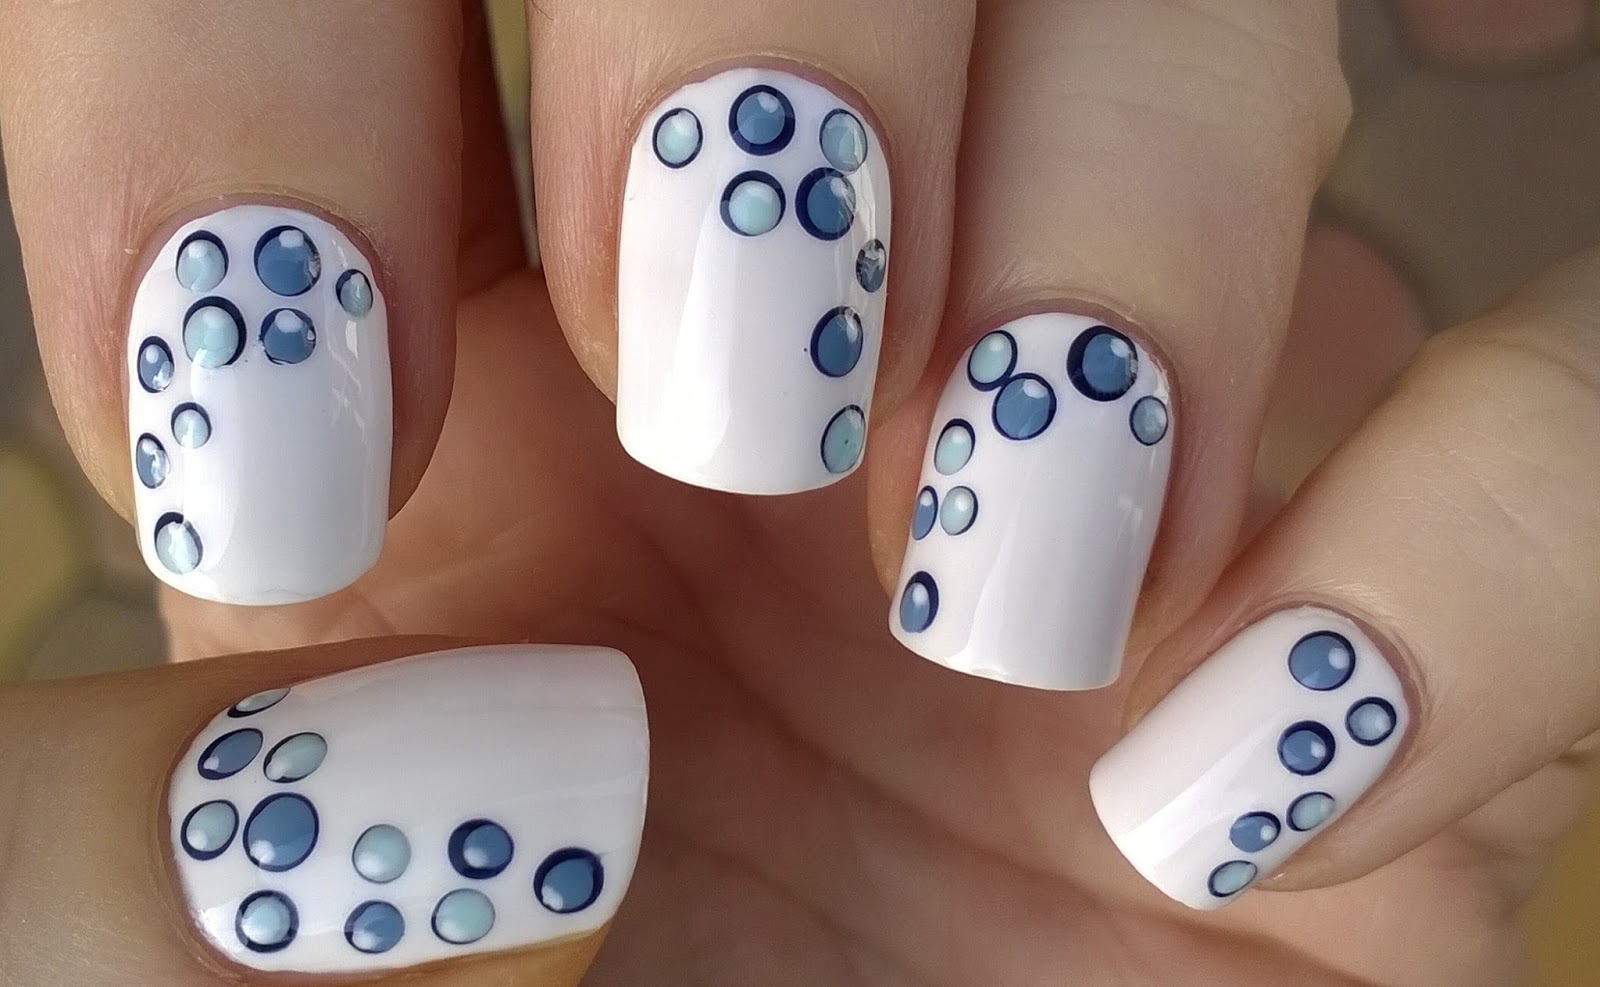
Water bubble nail art is a fun and unique way to add some texture and dimension to your manicure. It creates the illusion of bubbles floating on your nails, giving them a playful and whimsical look. If you're new to this trend, don't worry - we've got you covered with our step-by-step water bubble nail art tutorial. So grab your nail polish and let's dive into this fun nail art technique!1. How to Create Water Bubble Nail Art Tutorial


1. How to Create Water Bubble Nail Art Tutorial


Before we get started, make sure you have all the necessary supplies. You will need nail polish in your desired color, a dotting tool or bobby pin, a clear top coat, and a cup of water. Now, let's get into the steps: Step 1: Start by painting your nails with your base color and let them dry completely. Step 2: Take your desired nail polish color and put a drop of it into the cup of water. It should spread and create a thin film on the surface. Step 3: Using your dotting tool or bobby pin, gently swirl the nail polish in the water to create a marbled effect. Step 4: Dip your finger into the water, making sure to submerge your entire nail. Hold it in the water for a few seconds and then pull it out. Step 5: Use a cotton swab to clean up any excess nail polish around your finger. Step 6: Repeat the process on all your nails and let them dry completely. Step 7: Seal in your design with a layer of clear top coat and let it dry.2. Step-by-Step Water Bubble Nail Art Tutorial


2. Step-by-Step Water Bubble Nail Art Tutorial


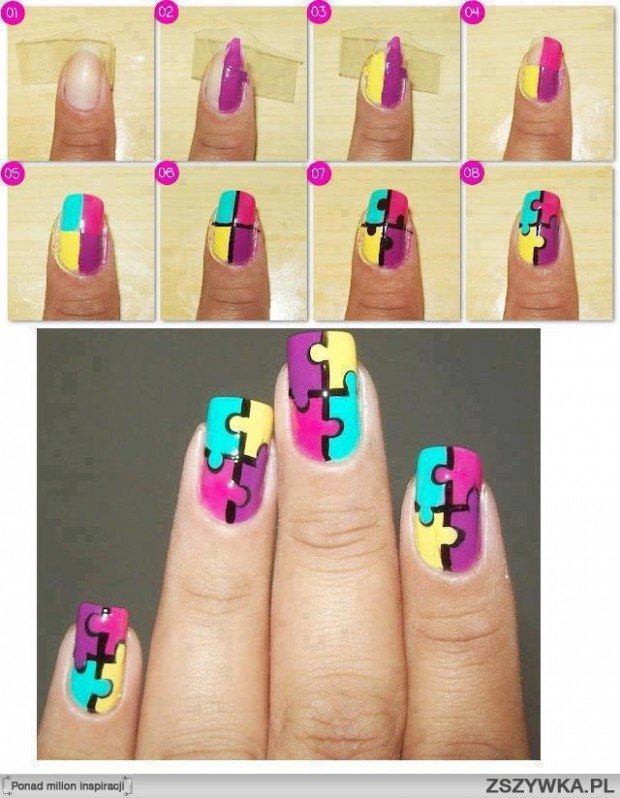
If you're new to nail art, trying out a new trend can be intimidating. But don't worry, water bubble nail art is actually quite easy to achieve. Here's a simplified version of the tutorial for beginners: After painting your nails with your base color, take a striping brush or a thin brush and create a few random lines on your nails with a different color. Then, using a dotting tool or bobby pin, gently dab on top of the lines to create a bubbly effect. Finish with a layer of top coat, and you're done!3. Easy Water Bubble Nail Art Tutorial for Beginners


3. Easy Water Bubble Nail Art Tutorial for Beginners


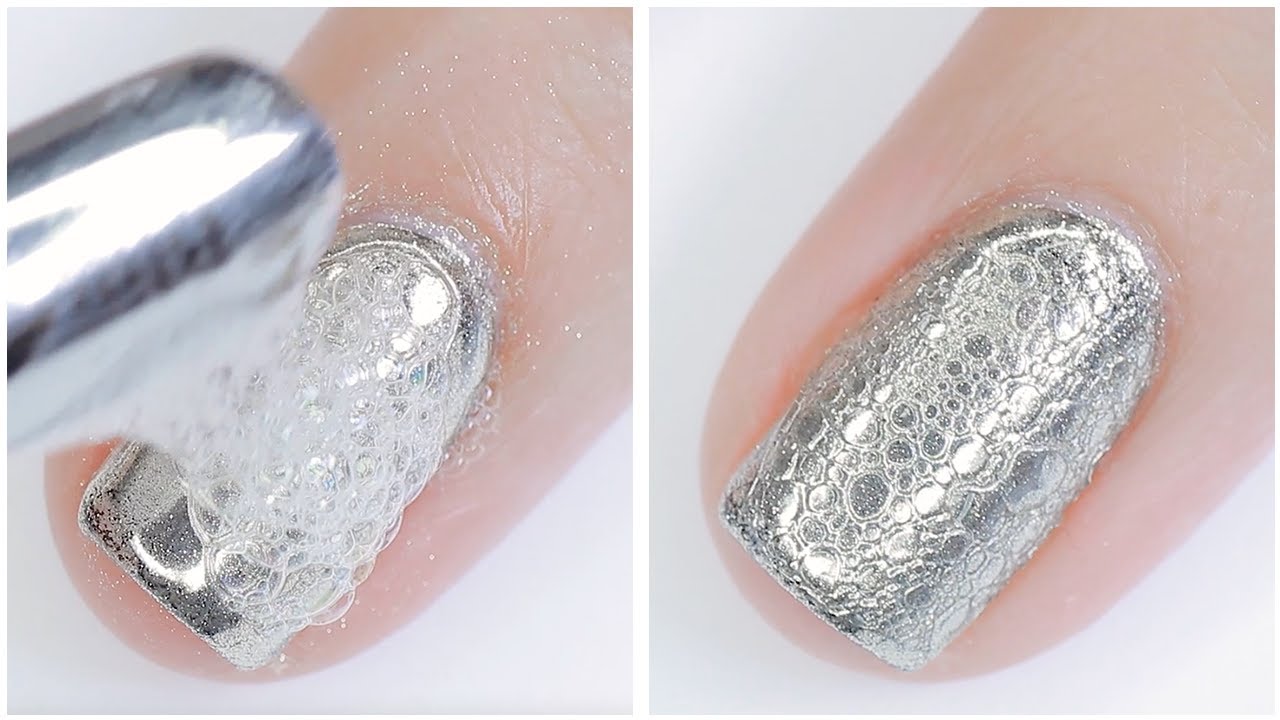
You don't always need fancy tools to create amazing nail art. In fact, you can achieve the water bubble effect using household items. Here's how: Instead of a dotting tool or bobby pin, you can use the end of a toothpick to create the bubbles. You can also use a plastic wrap to create the marbled effect by gently pressing it onto the wet nail polish. Get creative and experiment with different household items to achieve unique designs!4. Water Bubble Nail Art Tutorial Using Household Items


4. Water Bubble Nail Art Tutorial Using Household Items

If you're on a budget, you can easily create your own water bubble nail art tools at home. Here's what you'll need: Q-tips or toothpicks for creating the bubbles, a sponge for the marbled effect, and a scissors to cut the sponge into small pieces. Simply dip the Q-tip or toothpick into the nail polish and dab it onto your nails to create the bubbles. For the marbled effect, paint the nail polish onto the sponge and then dab it onto your nails. Easy and cost-effective!5. DIY Water Bubble Nail Art Tutorial


5. DIY Water Bubble Nail Art Tutorial

If you're a fan of gel polish, you can still achieve the water bubble effect. Here's how: After curing your base coat, apply your desired color and cure it as well. Then, using a dotting tool or bobby pin, create the bubbles by dabbing the gel polish onto your nails. Cure the design, apply top coat, and cure again. Voila, you have a long-lasting and glossy water bubble nail art!6. Water Bubble Nail Art Tutorial with Gel Polish


6. Water Bubble Nail Art Tutorial with Gel Polish
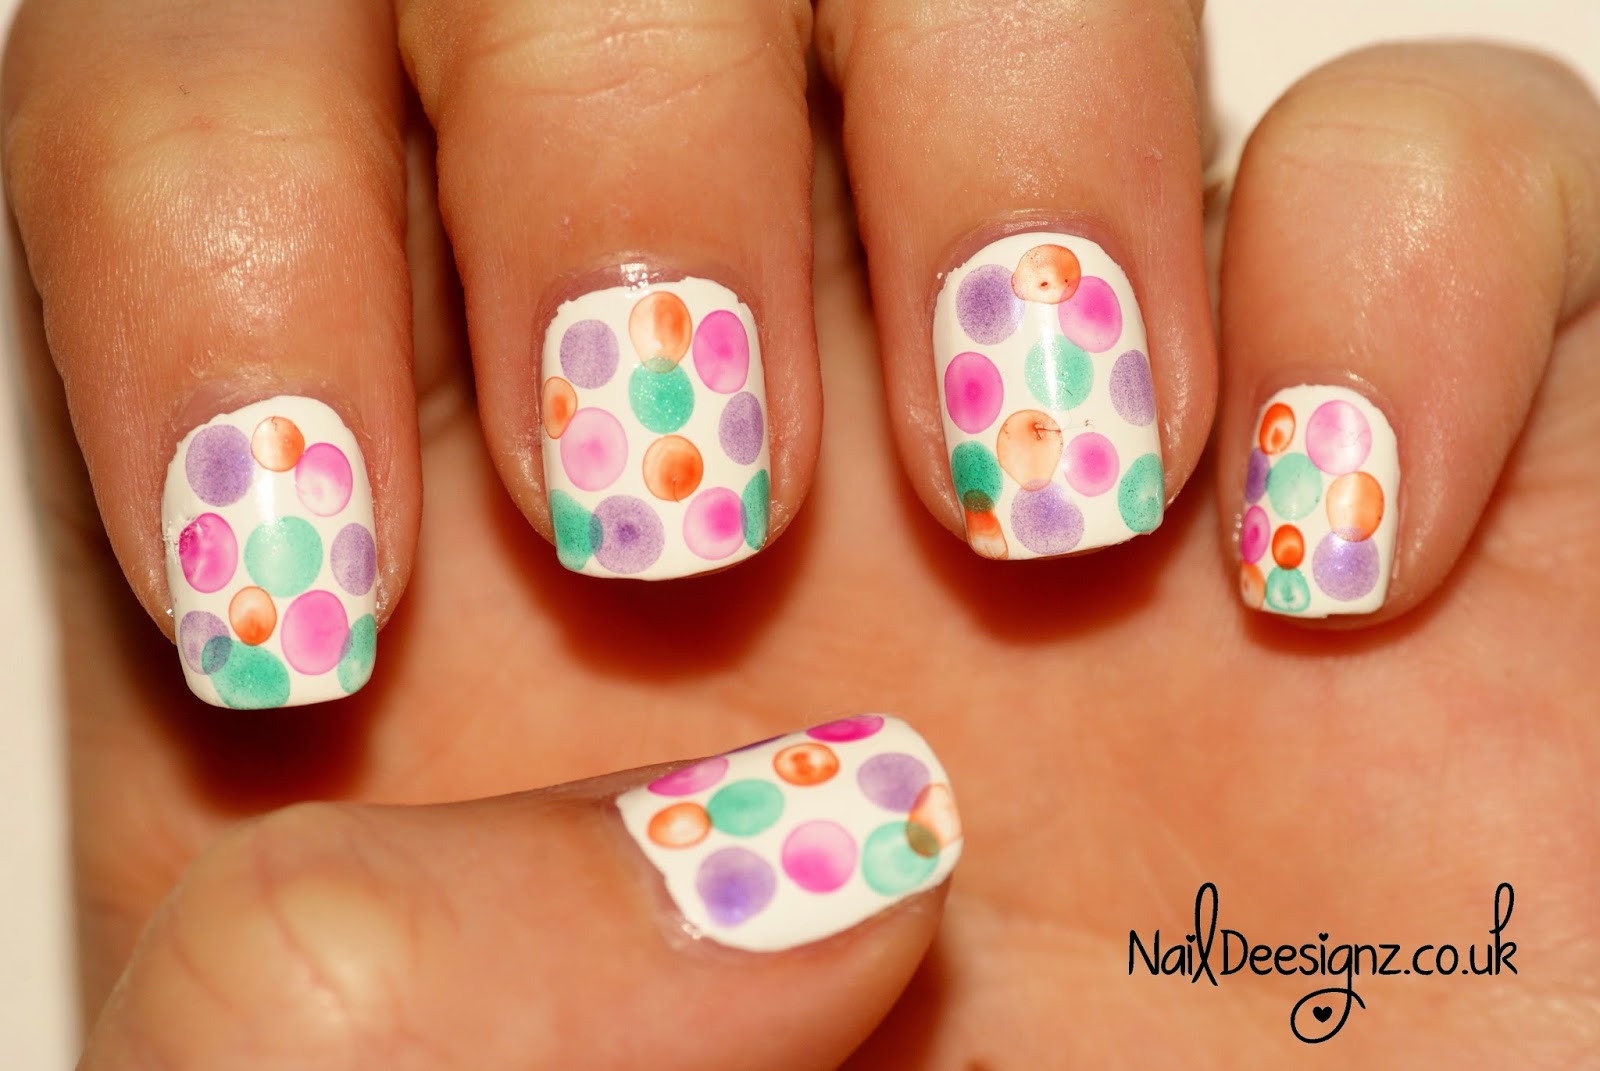
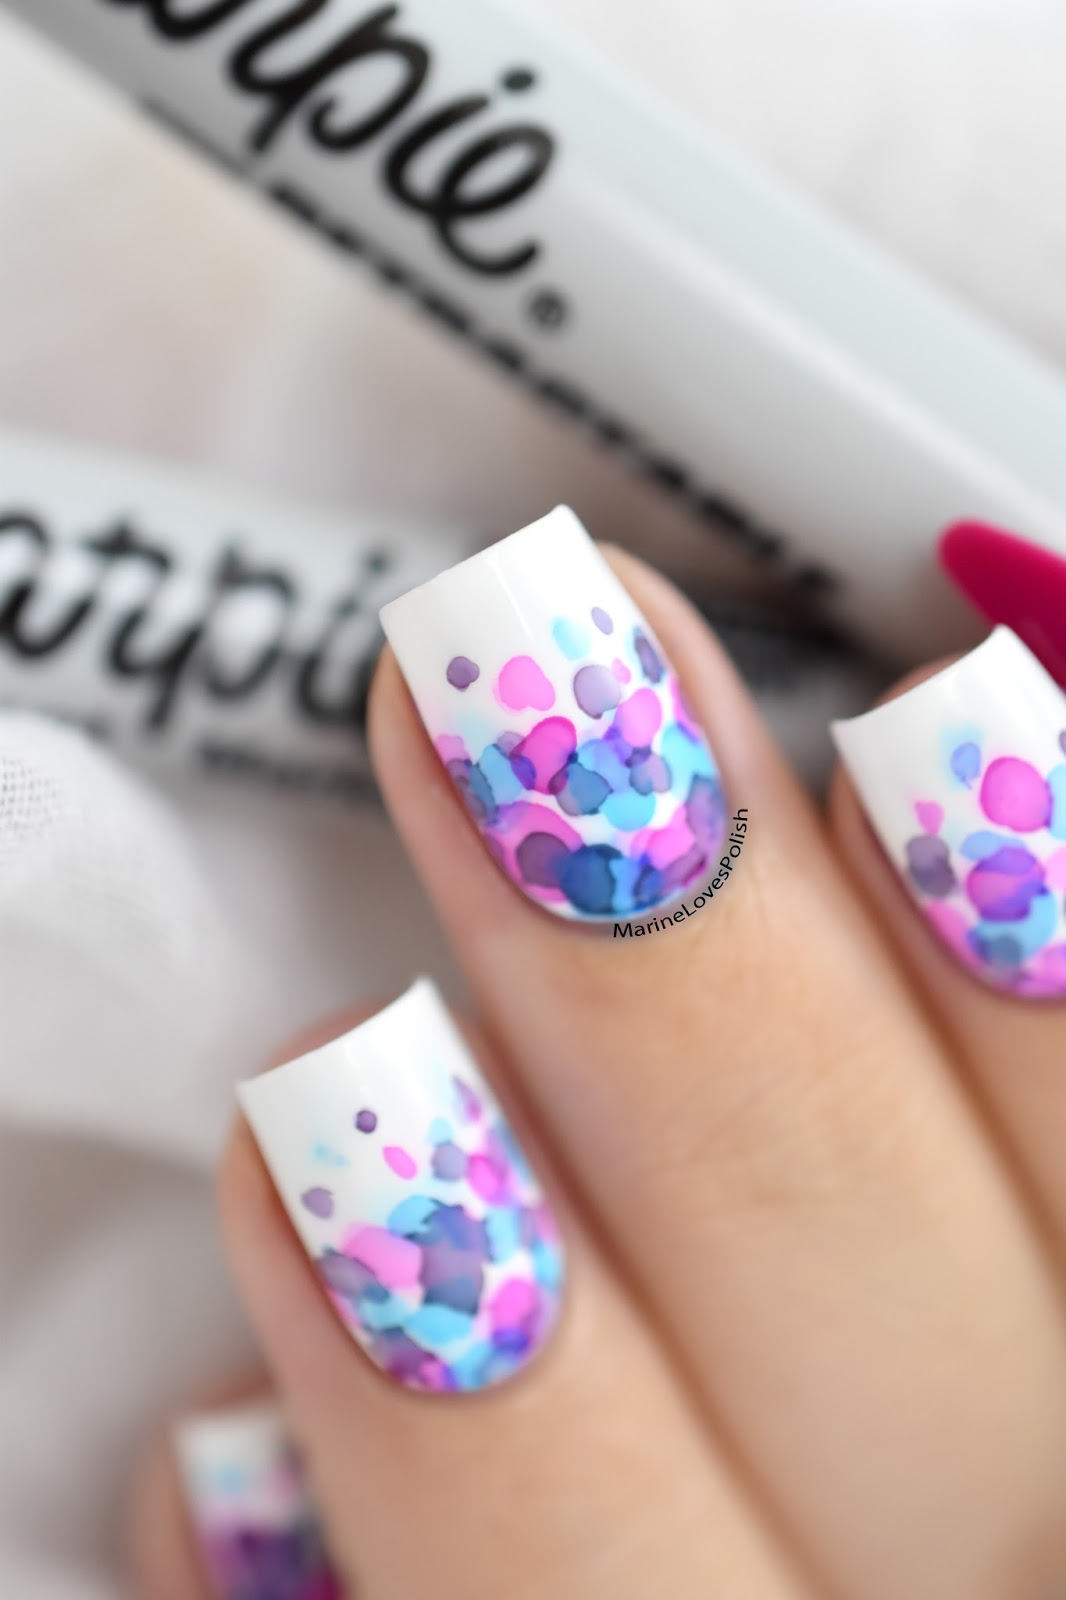
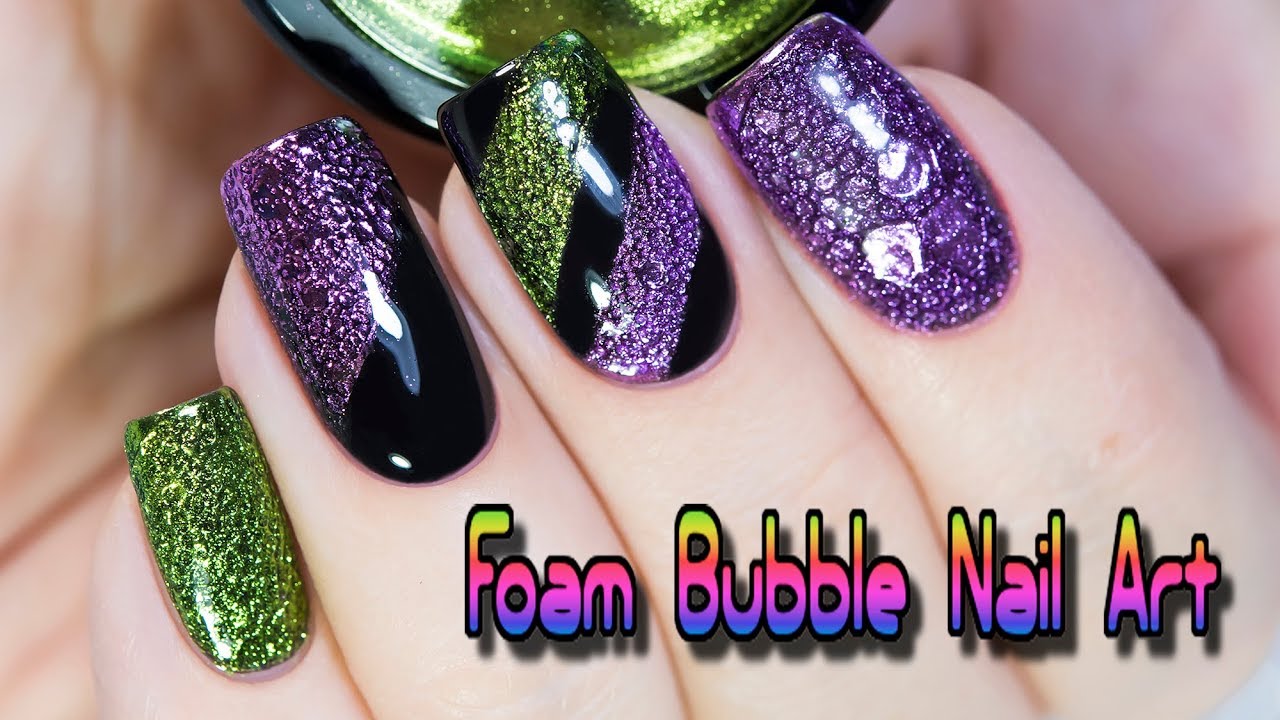
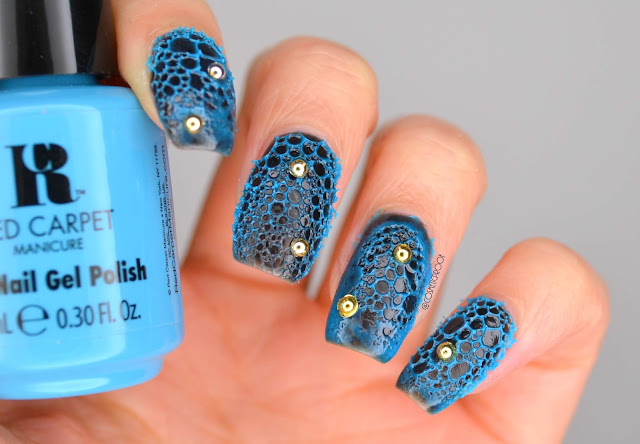
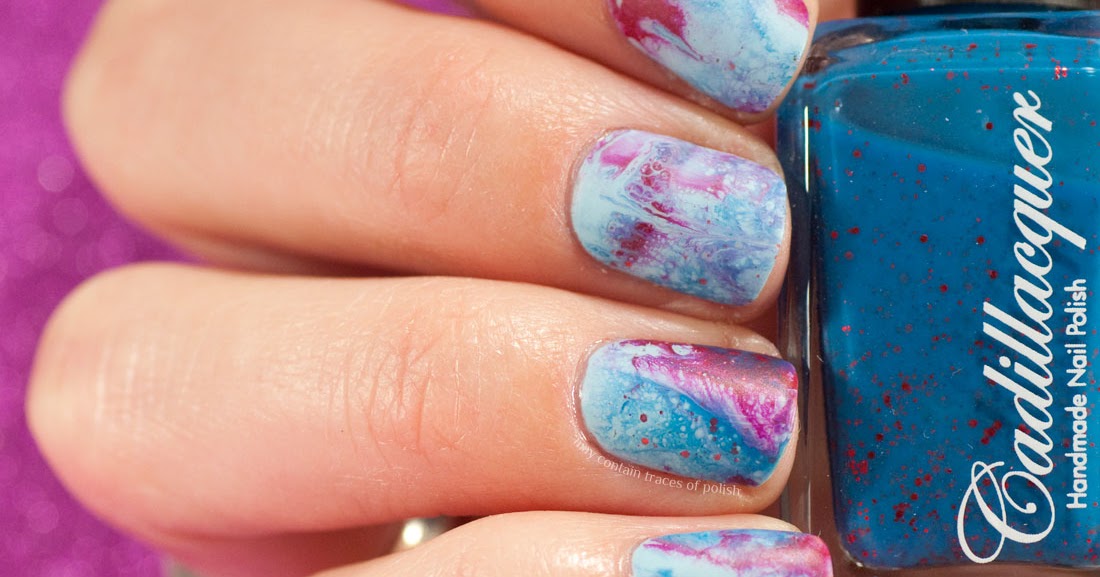
One of the best things about water bubble nail art is that you can mix and match different colors to create a colorful and playful design. Here are some ideas to get you started: Use pastel colors for a soft and dreamy look, bright colors for a fun and vibrant look, or metallic colors for a chic and edgy look. You can also use complementary colors to create a beautiful contrast or stick to shades of the same color for a monochromatic look. The possibilities are endless!7. Colorful Water Bubble Nail Art Tutorial
7. Colorful Water Bubble Nail Art Tutorial

If you have short nails, you may think that water bubble nail art is not for you. But that's not true! Here's a tutorial specifically for short nails: Instead of creating the bubbles on your entire nail, focus on the tip of your nail. This will give the illusion of longer nails. You can also create a diagonal design or a half-moon design for a unique and flattering look. Don't let the length of your nails hold you back from trying out this trendy nail art!8. Water Bubble Nail Art Tutorial for Short Nails

8. Water Bubble Nail Art Tutorial for Short Nails


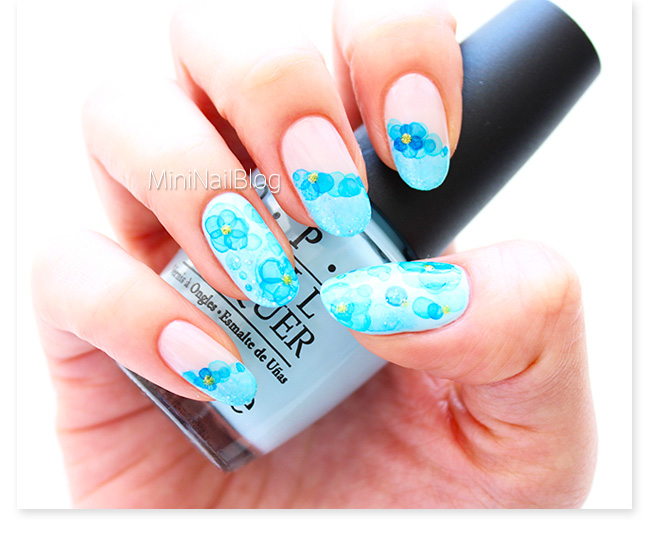
Take your water bubble nail art to the next level by adding some floral elements. Here's how: After creating the bubbles, use a nail art brush or toothpick to draw on some flowers with a different color. You can also use nail stickers for an easier and quicker option. Finish off with some green nail polish for the stems and leaves, and seal it all in with top coat. This design is perfect for spring and summer!9. Floral Water Bubble Nail Art Tutorial


9. Floral Water Bubble Nail Art Tutorial

For a more glamorous and sparkly water bubble nail art, add some foil to your design. Here's how: After creating the bubbles, wait for them to dry completely. Then, apply a layer of nail foil adhesive on top of the bubbles. Wait for it to dry until it becomes tacky, and then press on a nail foil of your desired color. Gently peel off the foil, and you'll be left with a stunning and unique design. Finish with top coat to seal in the foil. Now that you have 10 different water bubble nail art tutorials, it's time to get creative and try them out! Remember, practice makes perfect, so don't get discouraged if your first attempt doesn't turn out as expected. Have fun and experiment with different colors and techniques to create your own unique water bubble nail art. Happy painting!10. Water Bubble Nail Art Tutorial with Foil


10. Water Bubble Nail Art Tutorial with Foil
Creating a Stunning Look with Water Bubble Nail Art

Why Choose Water Bubble Nail Art?
 When it comes to nail art, there are endless options to choose from. However, one design that has been gaining popularity in recent years is water bubble nail art. This unique technique involves creating a 3D effect on the nails that resembles bubbles or droplets of water. Not only is it eye-catching, but it also adds an element of fun and whimsy to any look. So if you want to stand out from the crowd and add a touch of creativity to your nails, water bubble nail art is the perfect choice.
What You Will Need
 To achieve the water bubble nail art look, you will need a few key materials. These include:
- Nail polish in your desired colors
- Clear gel polish or topcoat
- A small plastic bag or cling wrap
- A small dotting tool or toothpick
- A small dish of water
To achieve the water bubble nail art look, you will need a few key materials. These include:
- Nail polish in your desired colors
- Clear gel polish or topcoat
- A small plastic bag or cling wrap
- A small dotting tool or toothpick
- A small dish of water
Step-by-Step Tutorial
 Step 1: Prep Your Nails
Start by prepping your nails as you would for any manicure. This involves removing any old polish, trimming and shaping your nails, and pushing back your cuticles. Make sure your nails are clean and dry before moving on to the next step.
Step 2: Apply the Base Color
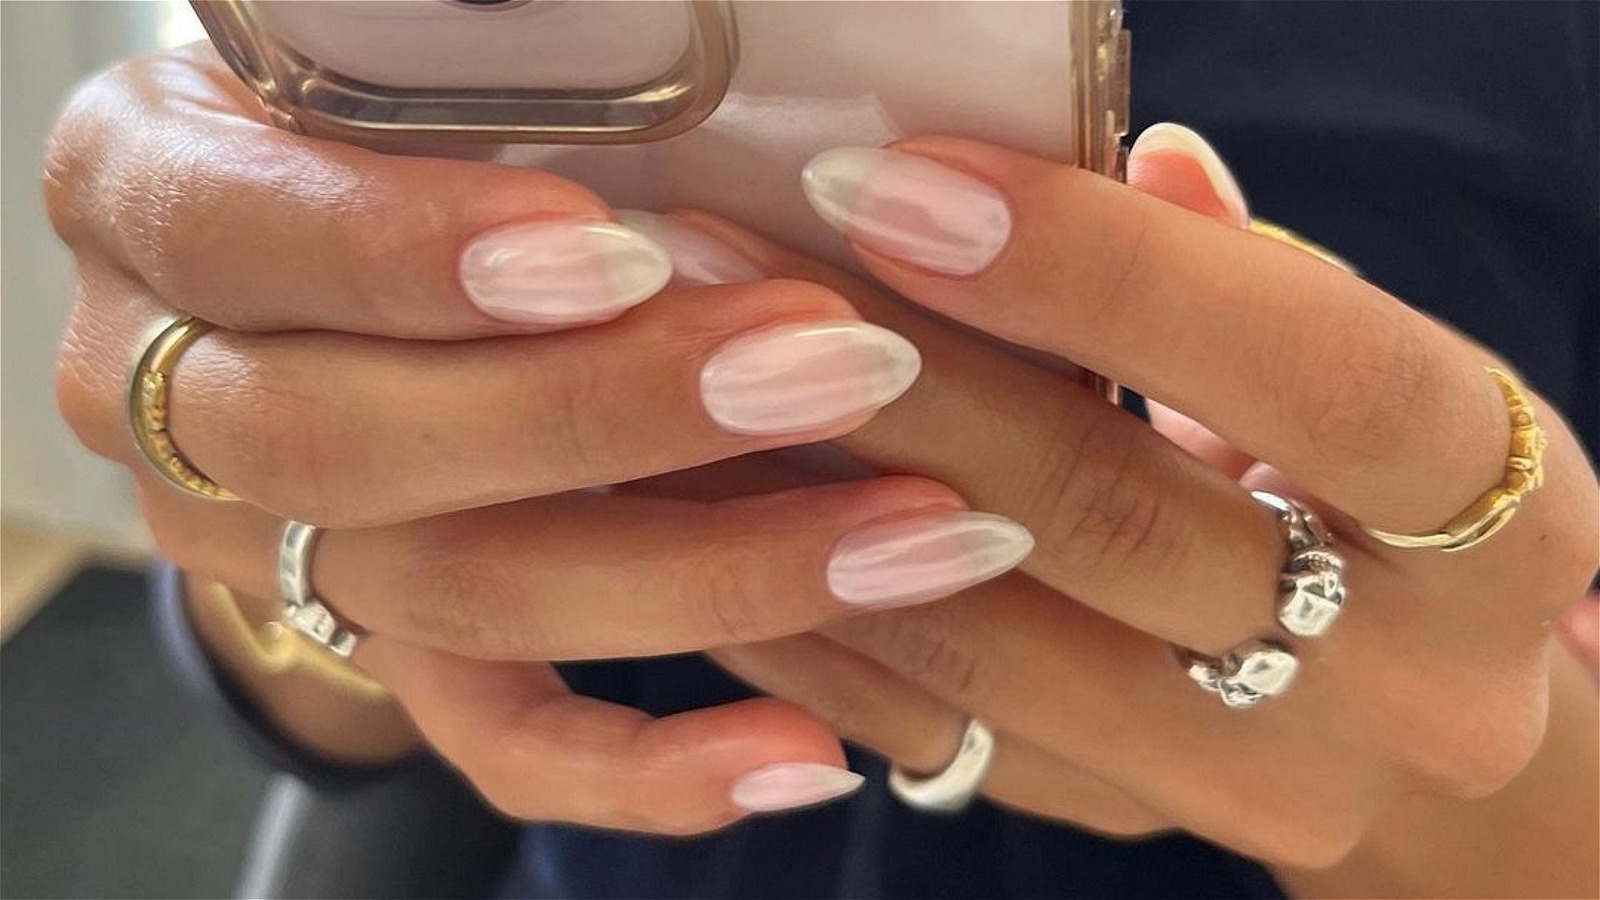
Choose a color for your base and apply 2-3 coats, allowing each coat to dry completely before moving on. You can choose any color you like, but for a true water bubble effect, go for lighter shades like pastels or white.
Step 3: Create the Bubbles
Take a small piece of plastic bag or cling wrap and scrunch it up to create a textured surface. Dip it into your chosen color of nail polish and then dab it onto your nails. This will create the look of bubbles or droplets of water on your nails. You can vary the size and placement of the bubbles for a more realistic effect.
Step 4: Add the Details
Using a small dotting tool or toothpick, add smaller bubbles or droplets in a contrasting color to create depth and texture. You can also add a few small dots around the bubbles to mimic the look of water splashes.
Step 5: Seal with Topcoat
Once you are satisfied with the design, let it dry for a few minutes before sealing it with a clear gel polish or topcoat. This will help protect your design and make it last longer.
Step 1: Prep Your Nails
Start by prepping your nails as you would for any manicure. This involves removing any old polish, trimming and shaping your nails, and pushing back your cuticles. Make sure your nails are clean and dry before moving on to the next step.
Step 2: Apply the Base Color
Choose a color for your base and apply 2-3 coats, allowing each coat to dry completely before moving on. You can choose any color you like, but for a true water bubble effect, go for lighter shades like pastels or white.
Step 3: Create the Bubbles
Take a small piece of plastic bag or cling wrap and scrunch it up to create a textured surface. Dip it into your chosen color of nail polish and then dab it onto your nails. This will create the look of bubbles or droplets of water on your nails. You can vary the size and placement of the bubbles for a more realistic effect.
Step 4: Add the Details
Using a small dotting tool or toothpick, add smaller bubbles or droplets in a contrasting color to create depth and texture. You can also add a few small dots around the bubbles to mimic the look of water splashes.
Step 5: Seal with Topcoat
Once you are satisfied with the design, let it dry for a few minutes before sealing it with a clear gel polish or topcoat. This will help protect your design and make it last longer.
Get Creative with Designs
 One of the best things about water bubble nail art is that you can get as creative as you want with the designs. You can try different color combinations, add glitter or rhinestones for added sparkle, or even create a gradient effect by using different shades of the same color.
In Conclusion
 Water bubble nail art is a fun and unique way to add some personality to your nails. With a few simple steps and some basic materials, you can achieve a stunning look that will surely turn heads. So why not give it a try and see the beautiful results for yourself?


