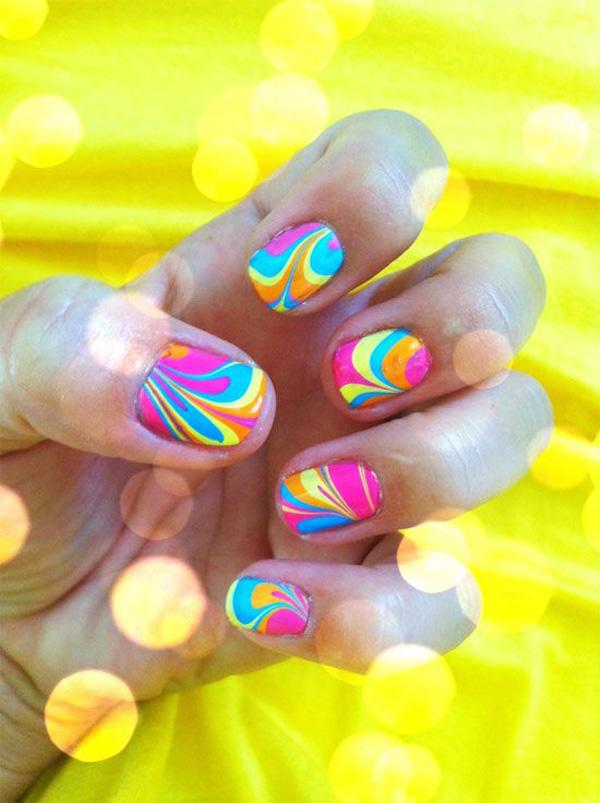
Creating beautiful and unique nail art has become a popular trend in the beauty industry. One of the most stunning techniques is water marble nail art, which involves creating a marbleized effect on the nails using water and nail polish. To achieve this look, there are certain requirements that you will need to have. Let's take a look at the top 10 water marble nail art requirements.Water Marble Nail Art Requirements


Water Marble Nail Art Requirements


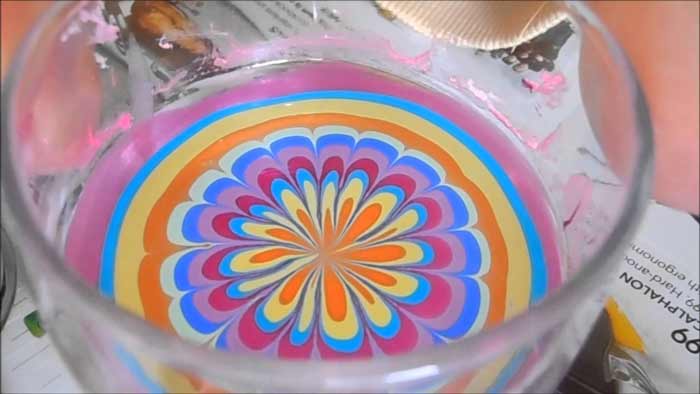
Before we dive into the requirements, let's briefly go over how to do water marble nail art. First, you will need to fill a small cup or bowl with room temperature water. Then, using a toothpick or other small tool, create a design with drops of different colored nail polish on the surface of the water. Once you have your design, dip your nail into the water, wait a few seconds, and then remove it. Clean up any excess polish around the nail and you will have a stunning water marble design.How to Do Water Marble Nail Art


How to Do Water Marble Nail Art


To create the perfect water marble nail art, you will need a few key supplies. These include nail polish, room temperature water, a cup or bowl, toothpicks or other small tools, tape or liquid latex to protect your skin, and a top coat to seal in your design. It's important to have all of these supplies ready before you begin, as the process can be quite messy.Water Marble Nail Art Supplies

Water Marble Nail Art Supplies


For a more detailed guide on how to achieve the perfect water marble nail art, here is a step-by-step tutorial: Step 1: Prepare your supplies and set up your work area. Step 2: Apply a base coat to protect your nails. Step 3: Fill a cup or bowl with room temperature water. Step 4: Create a design on the surface of the water with drops of nail polish. Step 5: Dip your nail into the water and wait a few seconds before removing it. Step 6: Clean up any excess polish around your nail. Step 7: Repeat steps 4-6 for each nail. Step 8: Apply a top coat to seal in your design.Step-by-Step Water Marble Nail Art Tutorial


Step-by-Step Water Marble Nail Art Tutorial


While water marble nail art may seem simple, it can be a bit tricky to master. Here are some tips and tricks to help you achieve the best results: - Use room temperature water for best results. - Use high-quality nail polish for better pigmentation. - Create your design quickly as the polish will dry on the surface of the water. - Use tape or liquid latex to protect your skin from excess polish. - Experiment with different color combinations and designs for unique looks.Water Marble Nail Art Tips and Tricks

Water Marble Nail Art Tips and Tricks
When it comes to creating water marble nail art, not all nail polishes are created equal. Some may not spread on the surface of the water, while others may dry too quickly. Here are some of the best nail polishes to use for water marble nail art: - OPI - China Glaze - Essie - Sally HansenBest Nail Polishes for Water Marble Nail Art


Best Nail Polishes for Water Marble Nail Art
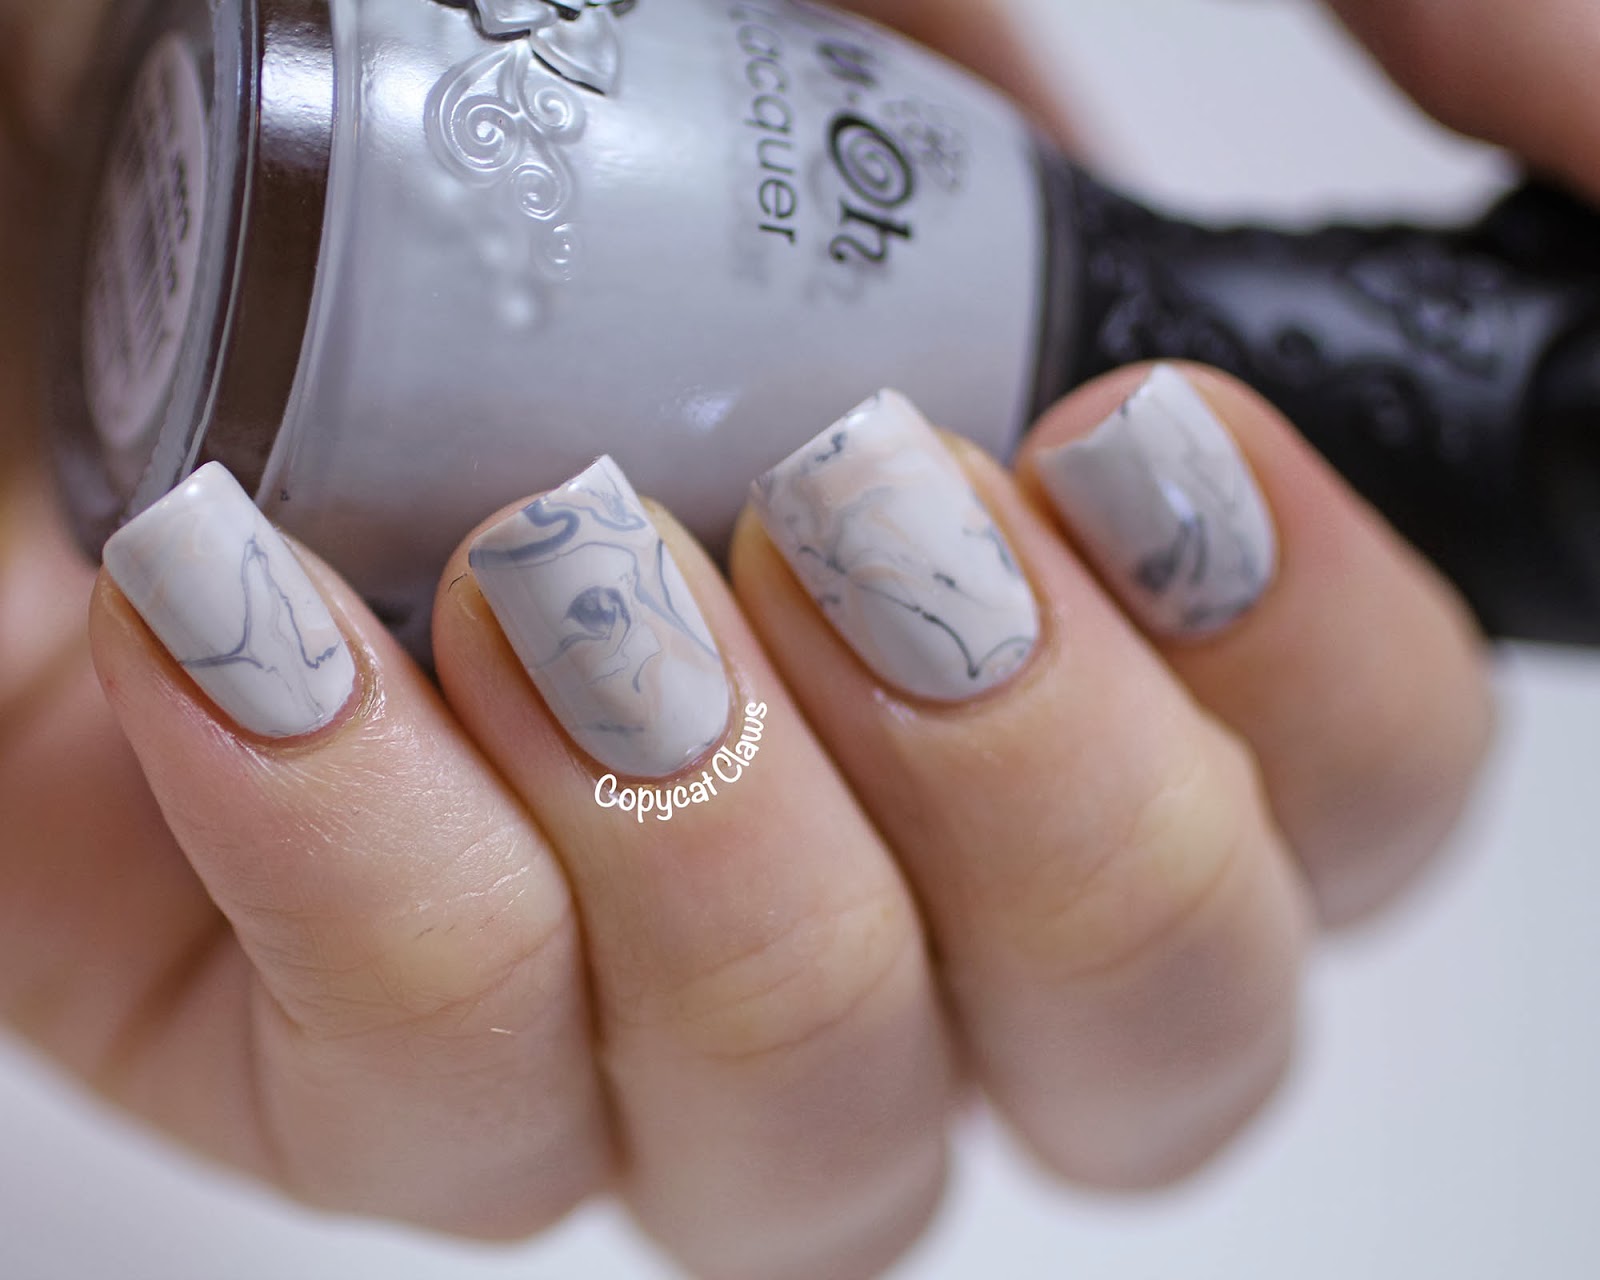

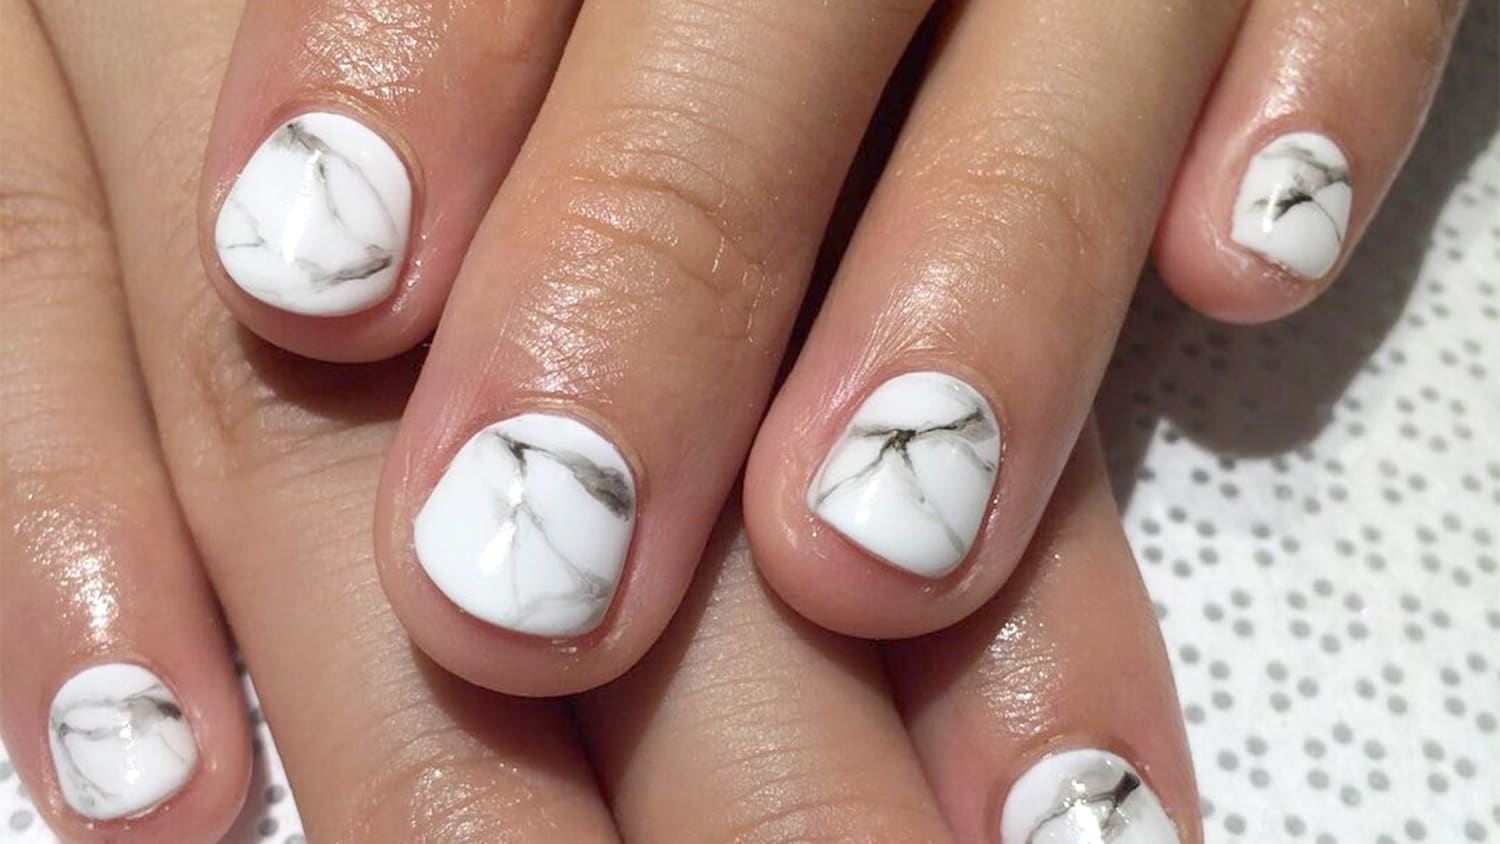
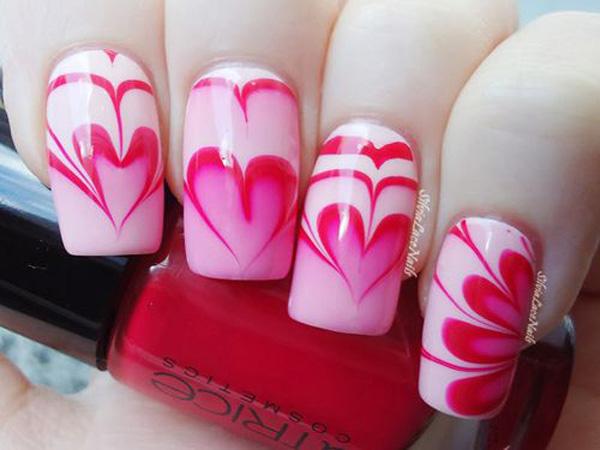
If you are new to water marble nail art, it's best to start with simple designs. Here are some beginner-friendly designs to try: - Classic swirl design using two colors. - Color block design using three or more colors. - Heart or flower design using a toothpick or small tool. - Geometric design using tape or liquid latex for clean lines.Water Marble Nail Art Designs for Beginners


Water Marble Nail Art Designs for Beginners


.JPG)

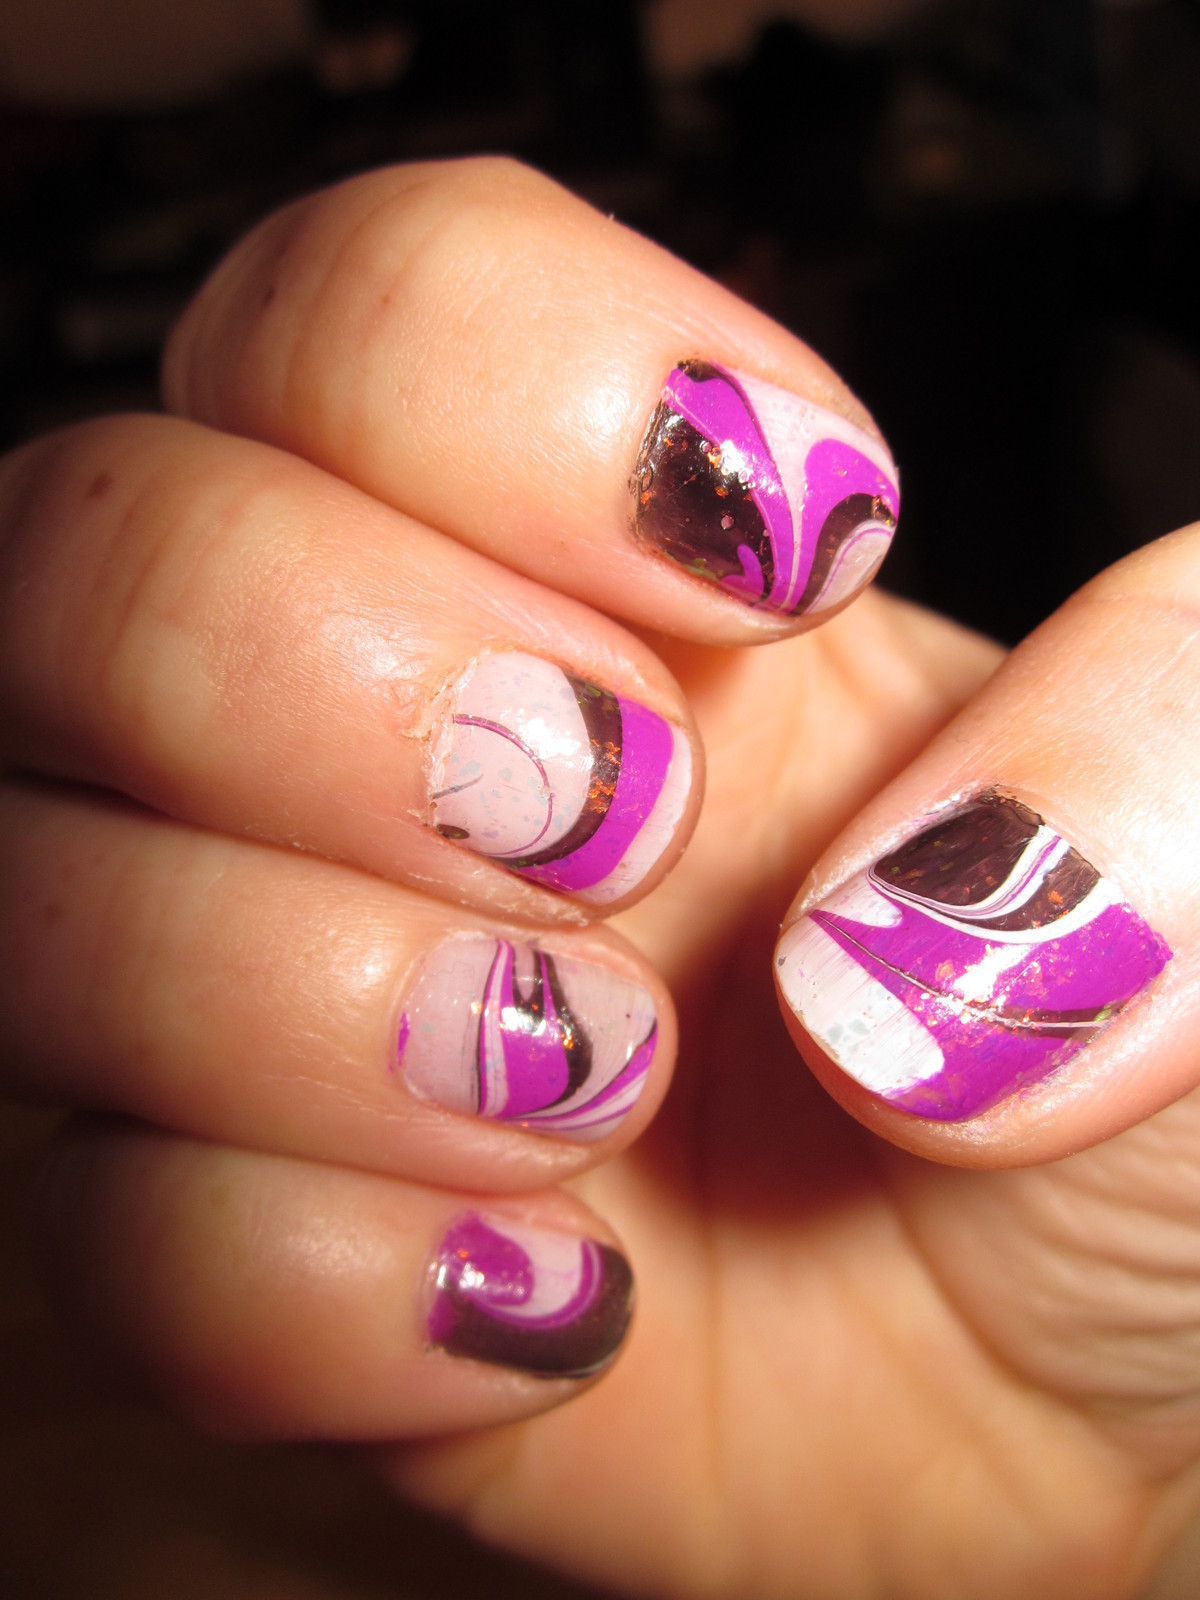
As with any form of art, there are some common mistakes that beginners may make when attempting water marble nail art. Here are a few to avoid: - Using old or thick nail polish that does not spread well on the surface of the water. - Waiting too long before dipping your nail into the water, causing the design to dry and not transfer onto the nail. - Using too much polish, which can lead to a messy and uneven design.Common Mistakes in Water Marble Nail Art

Common Mistakes in Water Marble Nail Art


There are a few different techniques that you can use to create water marble nail art. Some popular techniques include: - Swirling the toothpick through the design to create a marbled effect. - Dragging the toothpick through the design to create lines or other shapes. - Using a needle or other small tool to create intricate designs.Water Marble Nail Art Techniques
Water Marble Nail Art Techniques

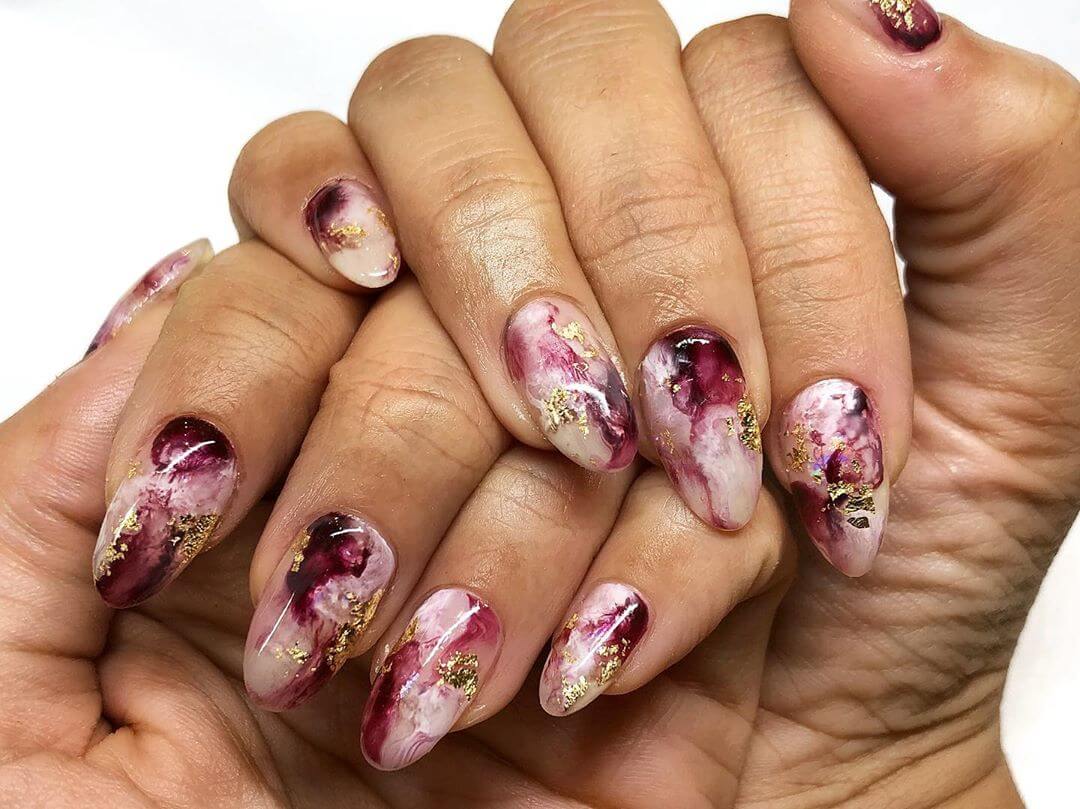
If you're looking for some inspiration for your water marble nail art, the possibilities are endless. You can create designs inspired by nature, geometric patterns, or even your favorite artwork. Don't be afraid to experiment and have fun with this unique nail art technique. Now that you have a better understanding of the top 10 water marble nail art requirements, you can start creating your own stunning designs. Remember to be patient and practice, and you'll be creating beautiful water marble nail art in no time.Water Marble Nail Art Inspiration

Water Marble Nail Art Inspiration
The Art of Water Marble Nail Design

Creating Stunning Nail Art
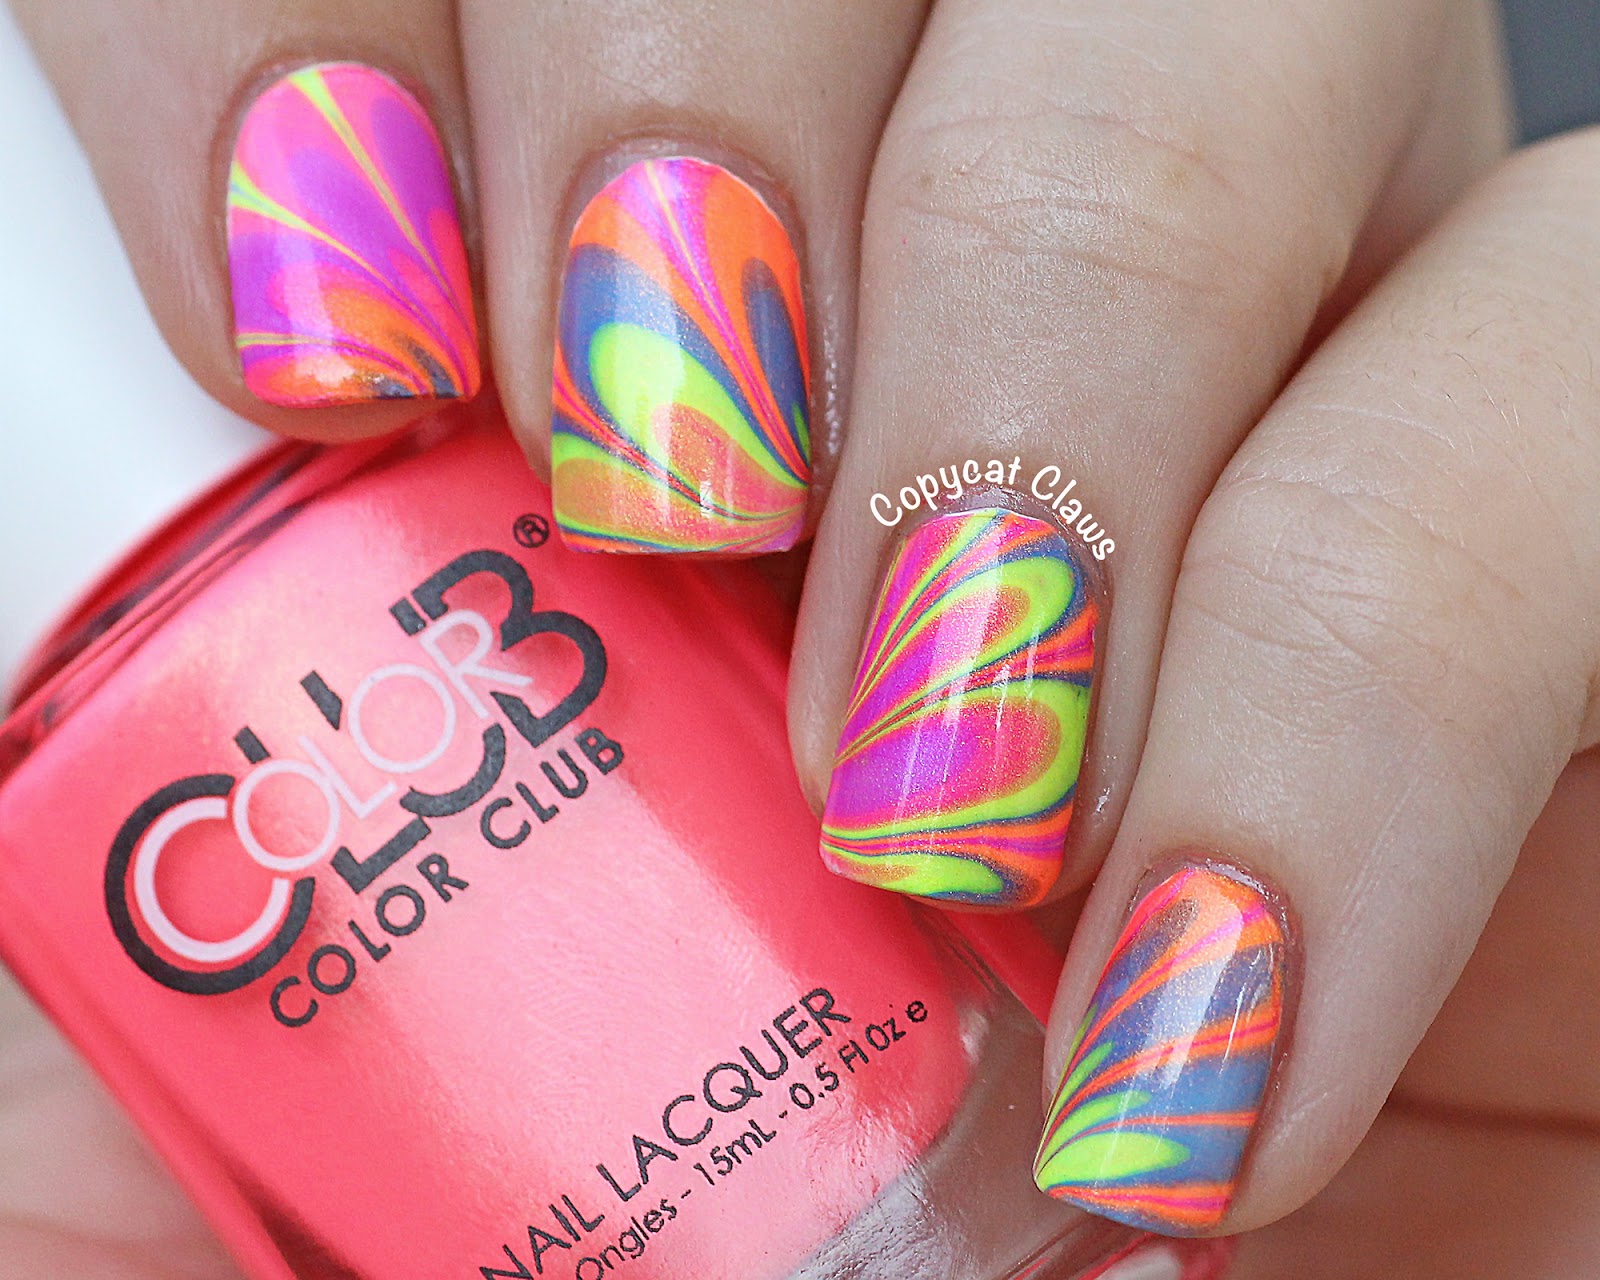
 When it comes to nail art, there are endless possibilities and techniques to make your nails stand out. One popular and unique technique that has been taking the nail world by storm is water marble nail art. This mesmerizing nail design is created by swirling different colors of nail polish on the surface of water and then transferring the design onto the nails. The end result is a beautiful and intricate pattern that looks like a marble stone. But what exactly do you need to create this magical nail art? Let's dive into the requirements for water marble nail art.
1. High-Quality Nail Polish
The key to a successful water marble nail art is using high-quality nail polish. The polish needs to have a good consistency and pigmentation to create a vibrant and smooth design. Additionally, it is recommended to use polish that is specifically designed for water marble techniques, as it will provide better results.
Some popular brands for water marble nail art include OPI, Essie, and China Glaze.
2. Water and Containers
As the name suggests, water is the main element in water marble nail art. It is important to use room temperature filtered water for best results. Tap water may contain impurities that can affect the design. You will also need a container that is deep enough to submerge your fingers and wide enough to create the desired design.
A disposable plastic cup or a small glass bowl can work well for this technique.
3. Toothpicks or Dotting Tools
To create the intricate marble swirls, you will need a tool to manipulate the polish on the surface of the water. Toothpicks or dotting tools are perfect for this job. They allow for precise control and can help create different designs.
It is recommended to have a few toothpicks or dotting tools ready, as they can easily get messy and need to be replaced during the process.
4. Tape or Liquid Latex
To prevent the polish from staining your skin, it is important to protect the skin around your nails. You can use tape or liquid latex to create a barrier around your nails. This will make the clean-up process much easier and ensure a professional-looking design.
Make sure to remove the tape or latex while the polish is still wet to avoid any smudging.
Water marble nail art may seem intimidating at first, but with the right tools and techniques, you can create stunning and unique designs.
Remember to have fun and experiment with different color combinations.
Now that you know the requirements, it's time to dive in and create your own water marble masterpiece!
When it comes to nail art, there are endless possibilities and techniques to make your nails stand out. One popular and unique technique that has been taking the nail world by storm is water marble nail art. This mesmerizing nail design is created by swirling different colors of nail polish on the surface of water and then transferring the design onto the nails. The end result is a beautiful and intricate pattern that looks like a marble stone. But what exactly do you need to create this magical nail art? Let's dive into the requirements for water marble nail art.
1. High-Quality Nail Polish
The key to a successful water marble nail art is using high-quality nail polish. The polish needs to have a good consistency and pigmentation to create a vibrant and smooth design. Additionally, it is recommended to use polish that is specifically designed for water marble techniques, as it will provide better results.
Some popular brands for water marble nail art include OPI, Essie, and China Glaze.
2. Water and Containers
As the name suggests, water is the main element in water marble nail art. It is important to use room temperature filtered water for best results. Tap water may contain impurities that can affect the design. You will also need a container that is deep enough to submerge your fingers and wide enough to create the desired design.
A disposable plastic cup or a small glass bowl can work well for this technique.
3. Toothpicks or Dotting Tools
To create the intricate marble swirls, you will need a tool to manipulate the polish on the surface of the water. Toothpicks or dotting tools are perfect for this job. They allow for precise control and can help create different designs.
It is recommended to have a few toothpicks or dotting tools ready, as they can easily get messy and need to be replaced during the process.
4. Tape or Liquid Latex
To prevent the polish from staining your skin, it is important to protect the skin around your nails. You can use tape or liquid latex to create a barrier around your nails. This will make the clean-up process much easier and ensure a professional-looking design.
Make sure to remove the tape or latex while the polish is still wet to avoid any smudging.
Water marble nail art may seem intimidating at first, but with the right tools and techniques, you can create stunning and unique designs.
Remember to have fun and experiment with different color combinations.
Now that you know the requirements, it's time to dive in and create your own water marble masterpiece!


