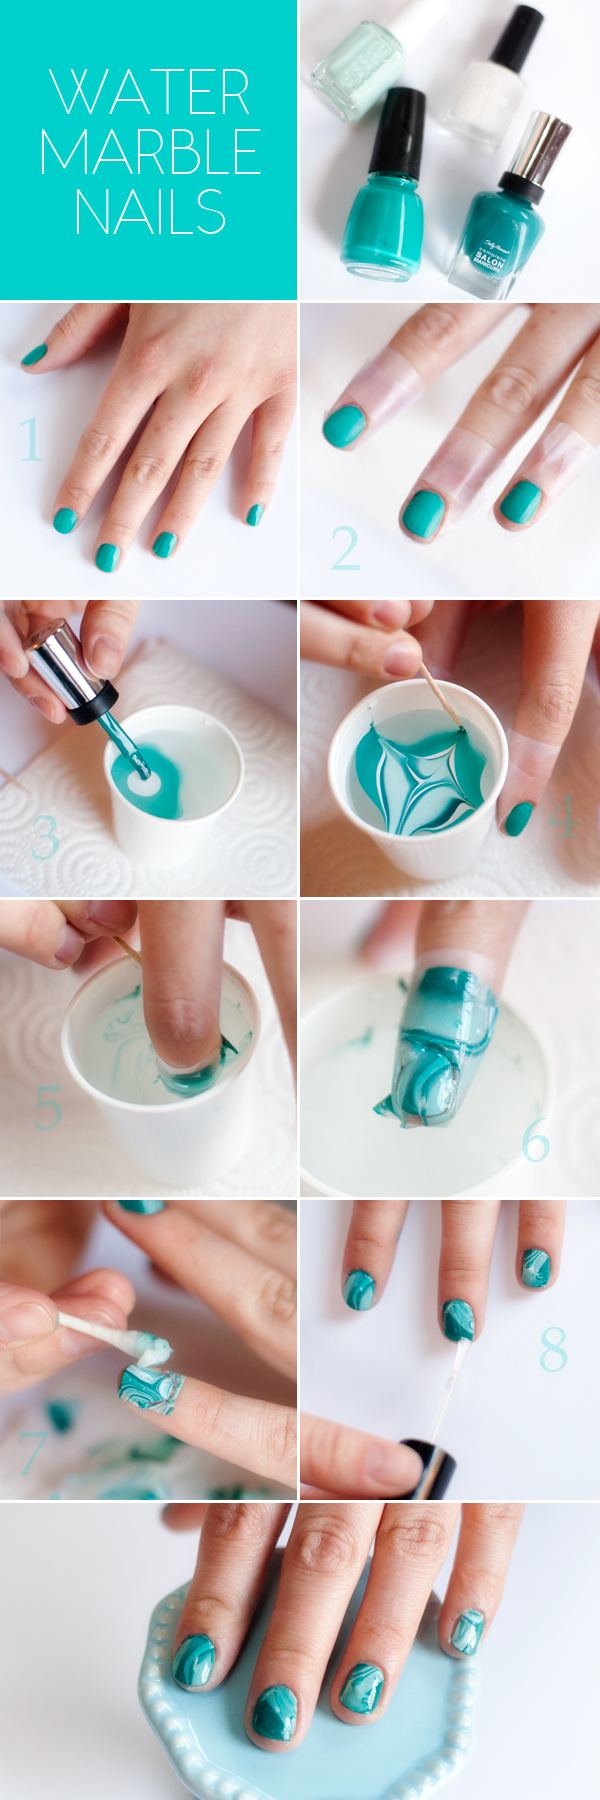
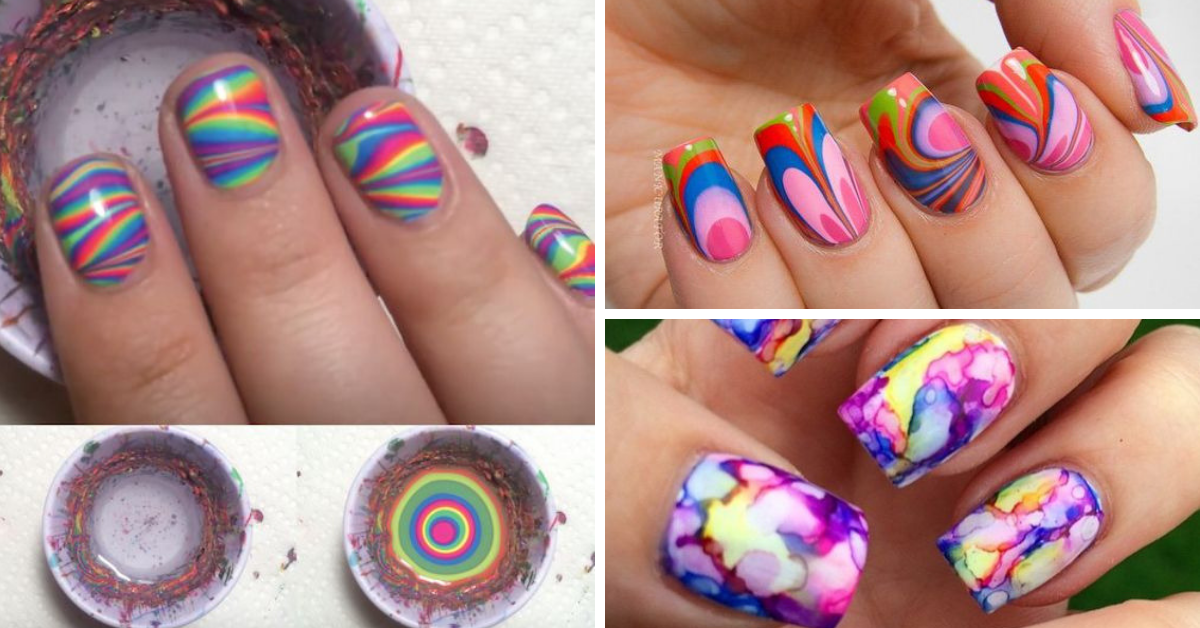
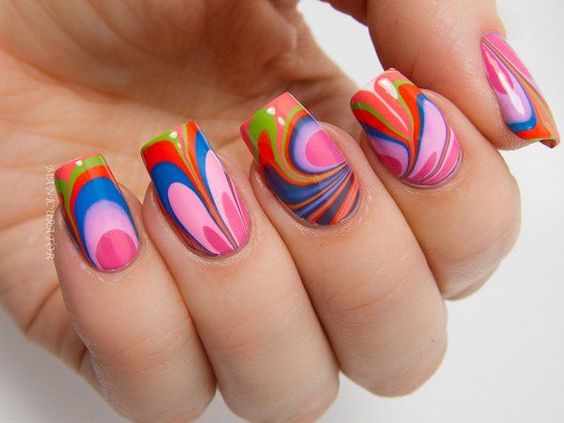
Looking for a fun and creative way to jazz up your nails? Water marble nail art is the perfect choice! This easy nail art technique creates stunning and unique designs that will make your nails stand out. Whether you're a beginner or a nail art pro, this tutorial will guide you through the process of creating beautiful water marble nail art. To start, gather all the necessary materials. You will need nail polish in your desired colors, a small container of water, toothpicks, and nail polish remover. It's best to use light-colored nail polish as it shows up better in water marbling. Next, apply a base coat on your nails to protect them from staining. Once the base coat is dry, apply a layer of white nail polish as the base color for your water marble design. This will make the colors pop and create a clean base for the design. Now, it's time to create the marbled effect. Drop a few drops of nail polish into the container of water, alternating colors as desired. Use a toothpick to create a design by swirling the colors together. You can experiment with different patterns and techniques to create your desired design. Once you're happy with the design, carefully dip your nail into the water, making sure to fully submerge it. Gently remove your finger from the water and use a toothpick to clean up any excess nail polish on the surface of the water. Repeat this process for each nail. After all your nails are done, use a cotton swab dipped in nail polish remover to clean up any excess polish on your fingers. Once the polish is dry, apply a top coat to seal and protect your design. And voila! You now have stunning water marble nail art that is sure to turn heads.Water Marble Nail Art Tutorial | Easy Nail Art for Beginners

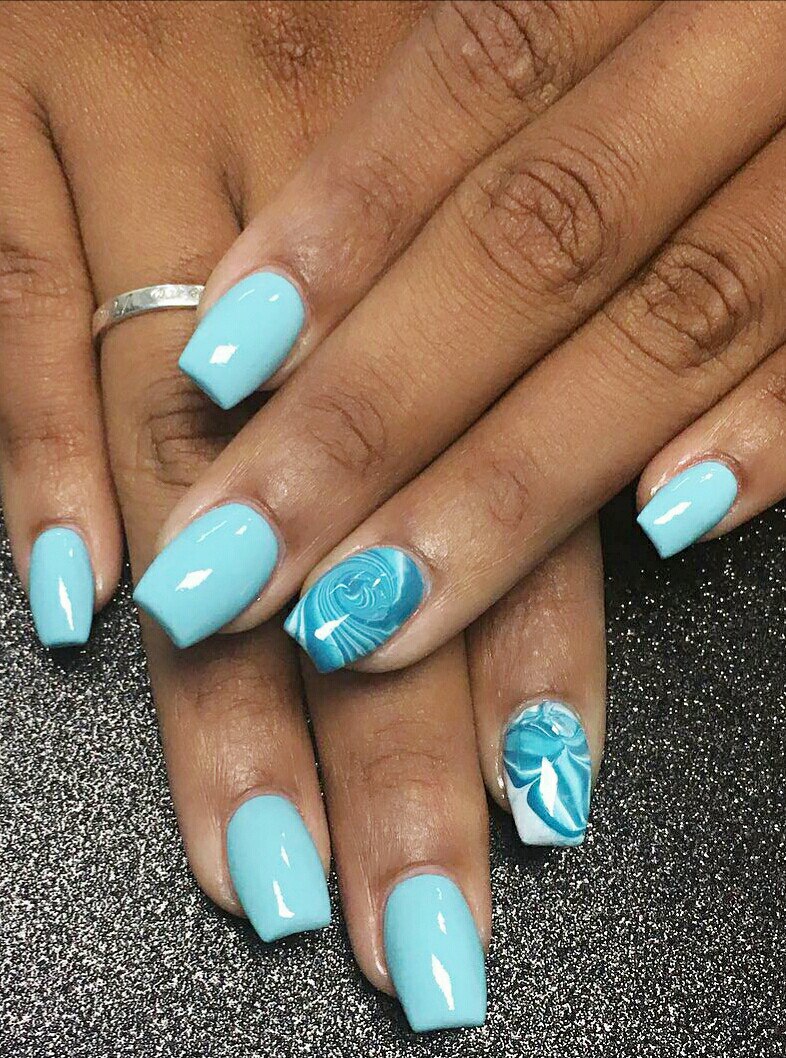

Water Marble Nail Art Tutorial


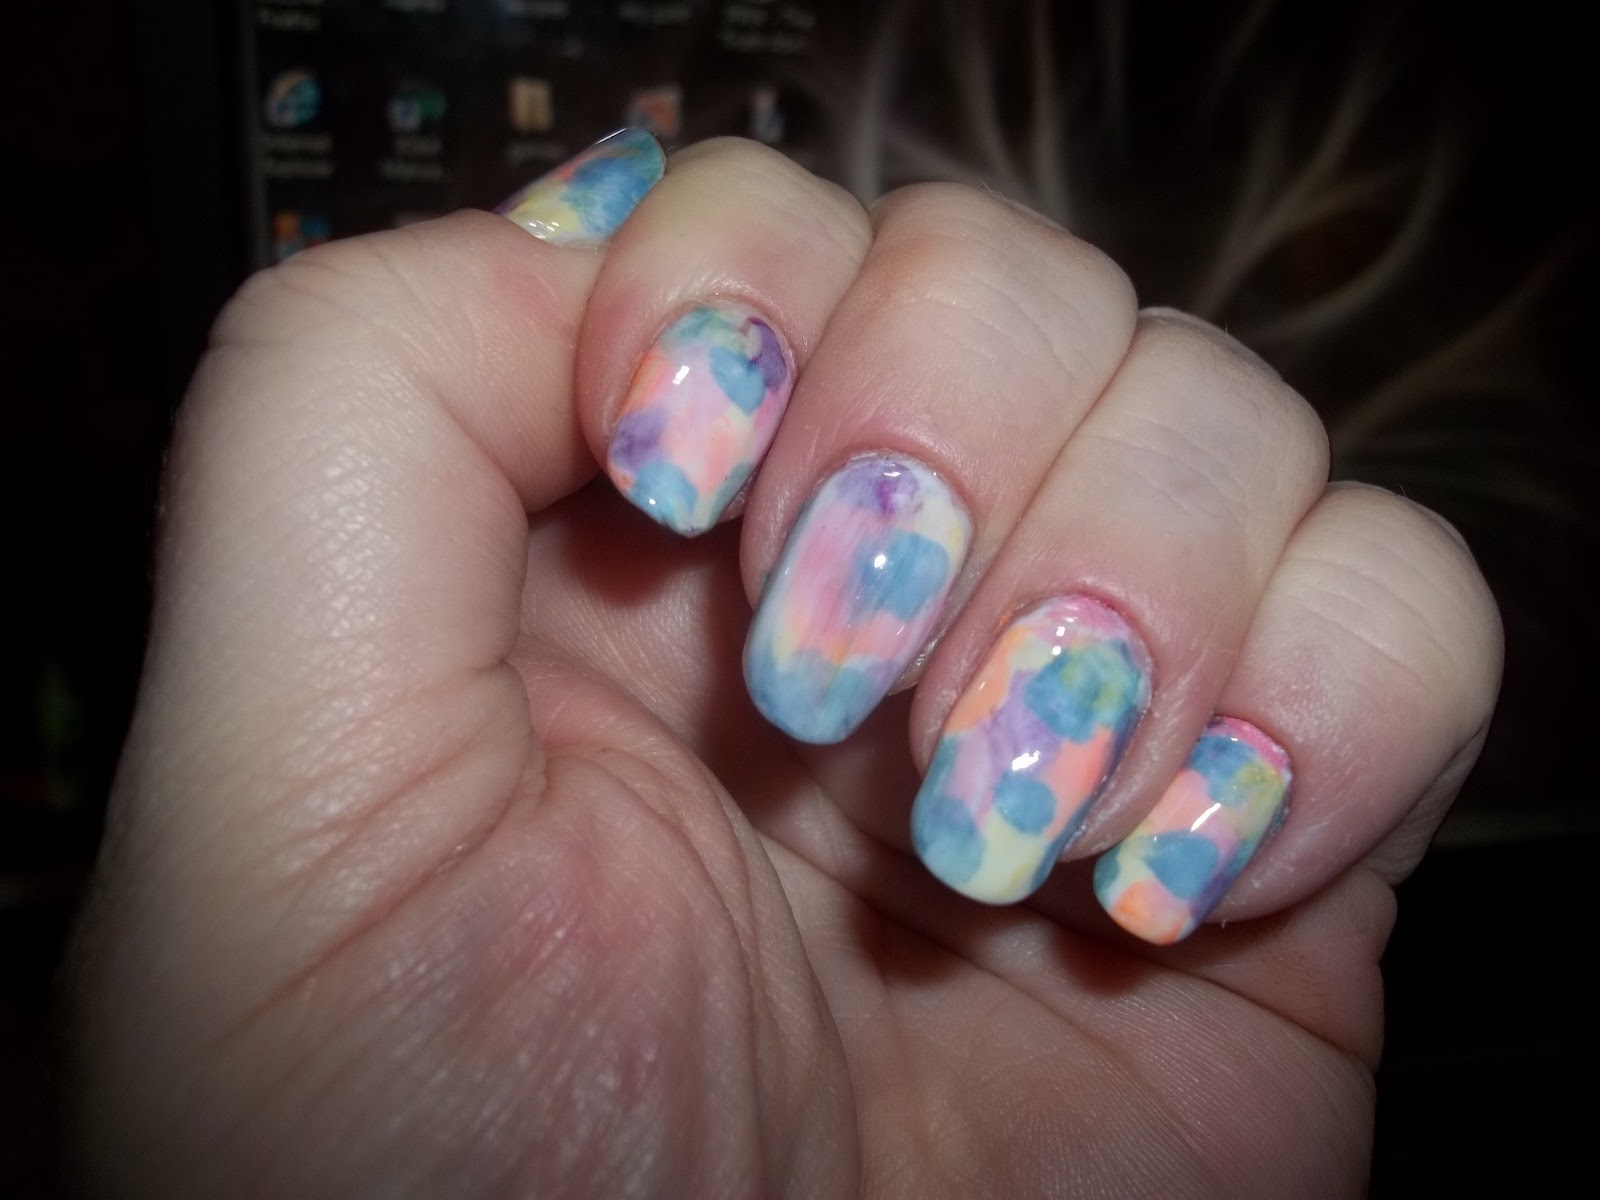
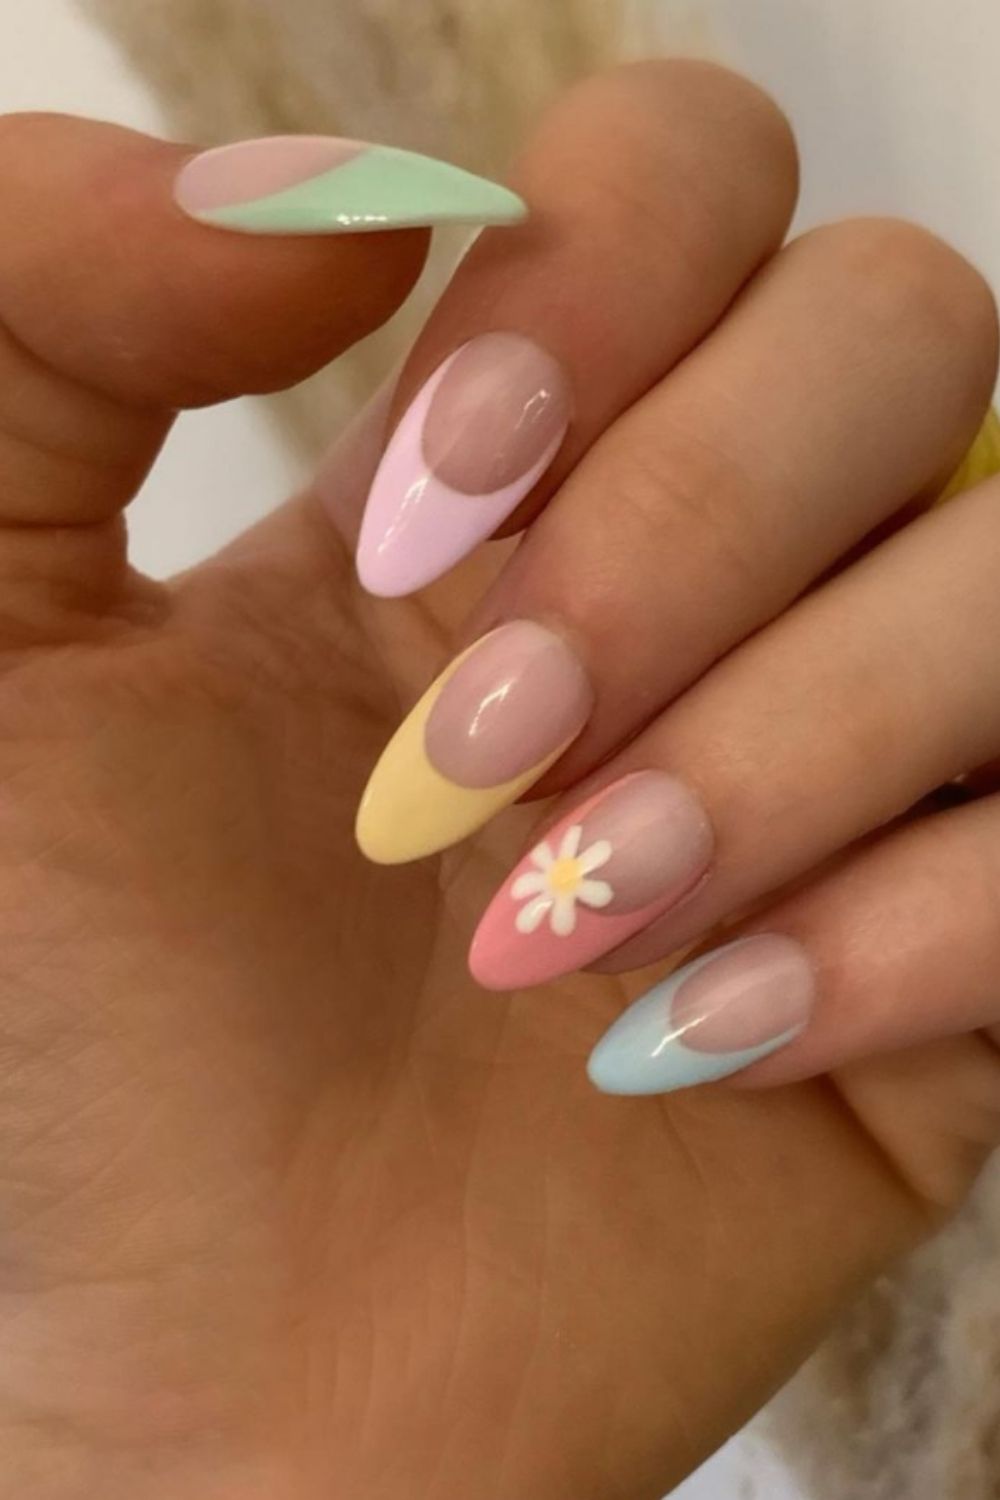
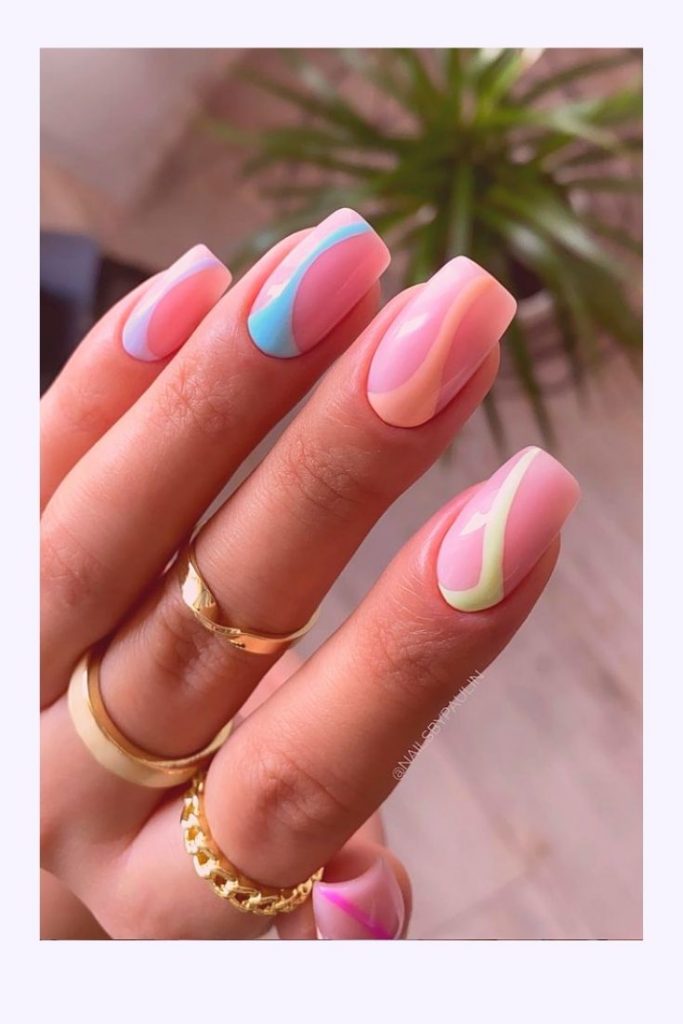
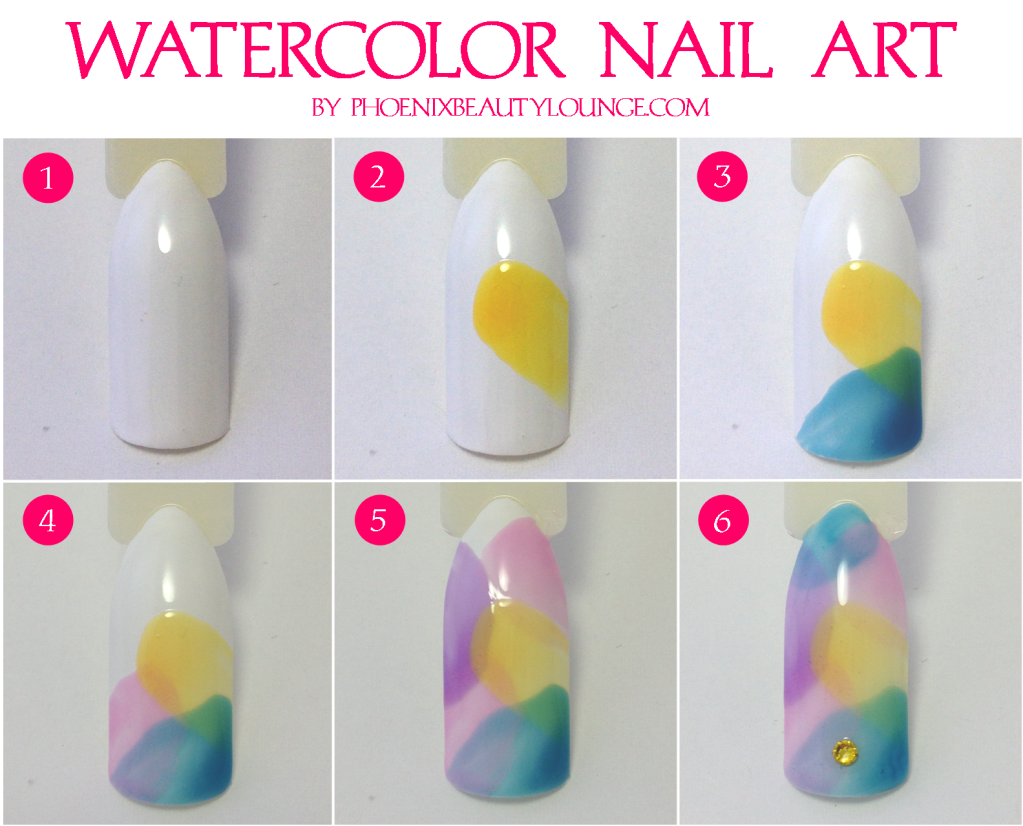
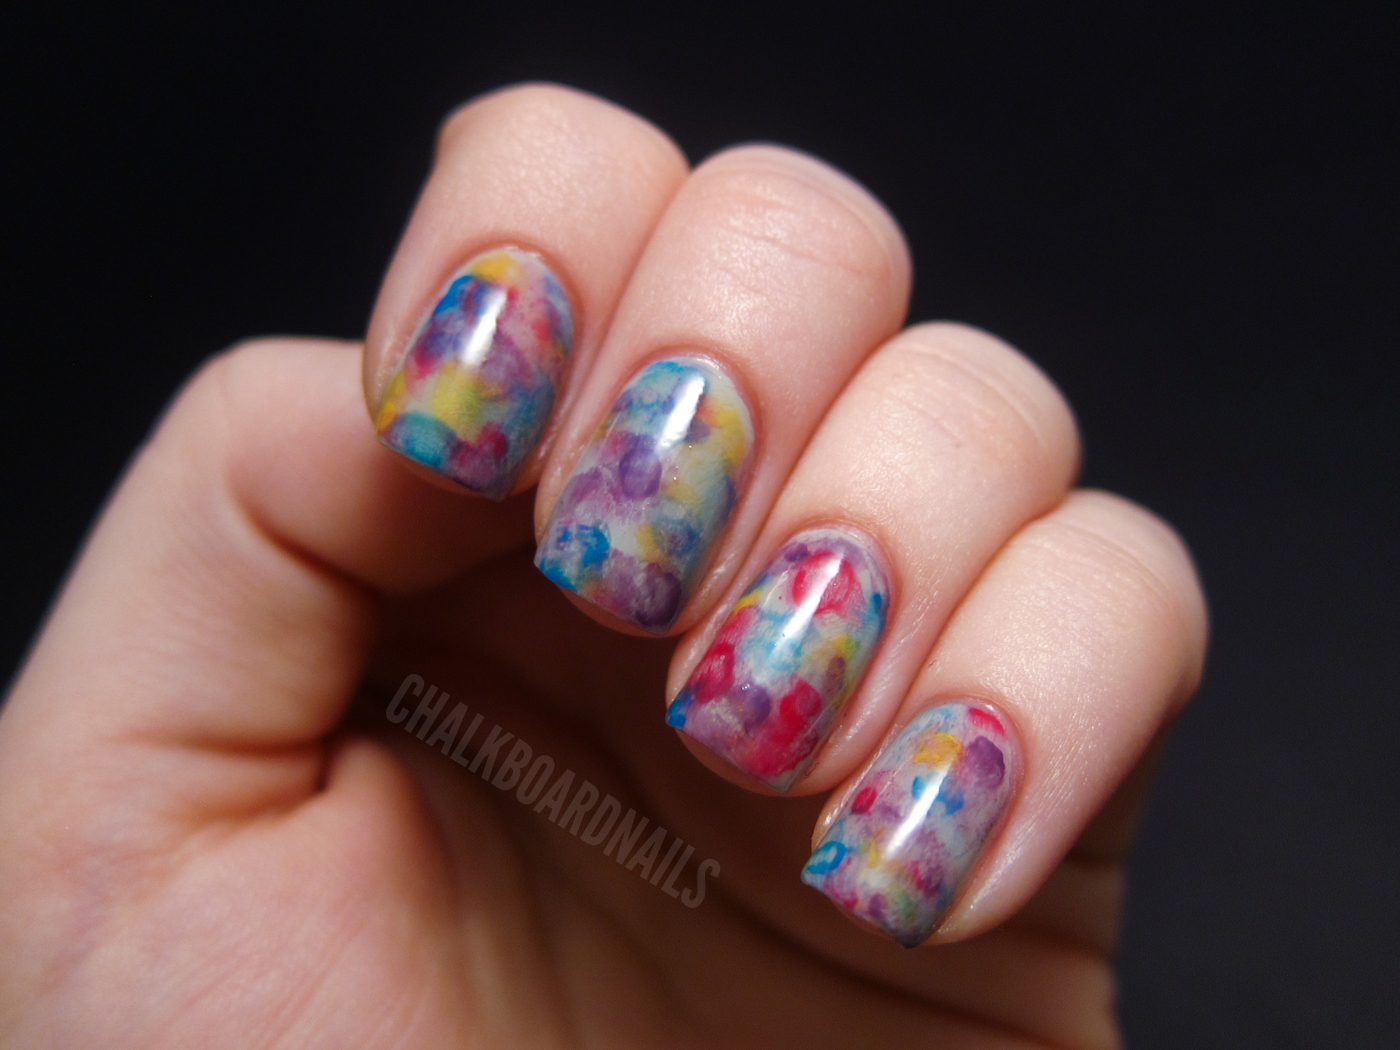
Watercolor nail art is a dreamy and romantic way to decorate your nails. With its soft and delicate colors, it's perfect for any occasion. This easy tutorial will guide you through creating a beautiful watercolor nail design that is perfect for beginners. Start by gathering all the necessary materials. You will need nail polish in your desired colors, a small container of water, toothpicks, and nail polish remover. It's best to use pastel colors for a soft and dreamy look. As with the previous tutorial, start by applying a base coat and a layer of white nail polish. This will make the colors stand out and create a clean base for the design. Next, drop a few drops of nail polish into the container of water, alternating colors as desired. Use a toothpick to create a design by swirling the colors together. You can experiment with different patterns and techniques to create your desired design. Once you're happy with the design, carefully dip your nail into the water, making sure to fully submerge it. Gently remove your finger from the water and use a toothpick to clean up any excess nail polish on the surface of the water. Repeat this process for each nail. After all your nails are done, use a cotton swab dipped in nail polish remover to clean up any excess polish on your fingers. Once the polish is dry, apply a top coat to seal and protect your design. And there you have it, a beautiful and easy watercolor nail art design!Easy Watercolor Nail Art Tutorial | Cute Nail Designs for Beginners


Easy Nail Art for Beginners


:max_bytes(150000):strip_icc()/072922-beauty-nail-art-lead-2000-21de3481261e48a995c855269f9846ad.jpg)

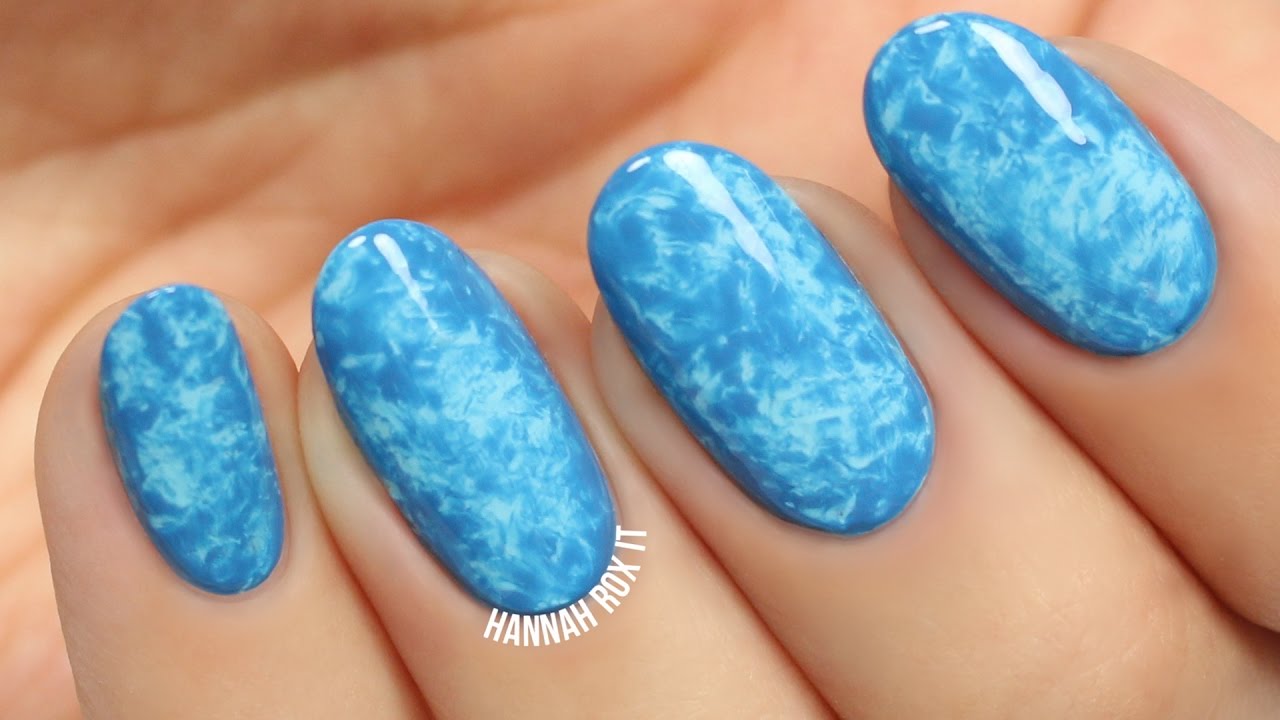
Short nails don't have to limit your nail art options. Water marble nail art is a great way to add some color and design to your short nails. This tutorial will show you how to create a fun and easy water marble design on short nails. Start by gathering all the necessary materials. You will need nail polish in your desired colors, a small container of water, toothpicks, and nail polish remover. Again, using light-colored nail polish will produce the best results. Begin by applying a base coat and a layer of white nail polish. Once the white polish is dry, apply a layer of clear nail polish on top. This will help the design adhere better to the nail. Next, create the marbled effect by dropping a few drops of nail polish into the water and using a toothpick to create a design. When creating the design, make sure to leave some space between the colors for the base coat to show through. Once you're happy with the design, dip your short nail into the water, making sure to fully cover the nail. Gently remove your finger from the water and use a toothpick to clean up any excess nail polish. Repeat this process for each nail. After all your nails are done, use a cotton swab dipped in nail polish remover to clean up any excess polish on your fingers. Once the polish is dry, apply a top coat to seal and protect your design. And there you have it, a beautiful water marble design on short nails!DIY Water Marble Nail Art | Easy Nail Designs for Short Nails


Easy Watercolor Nail Art Tutorial


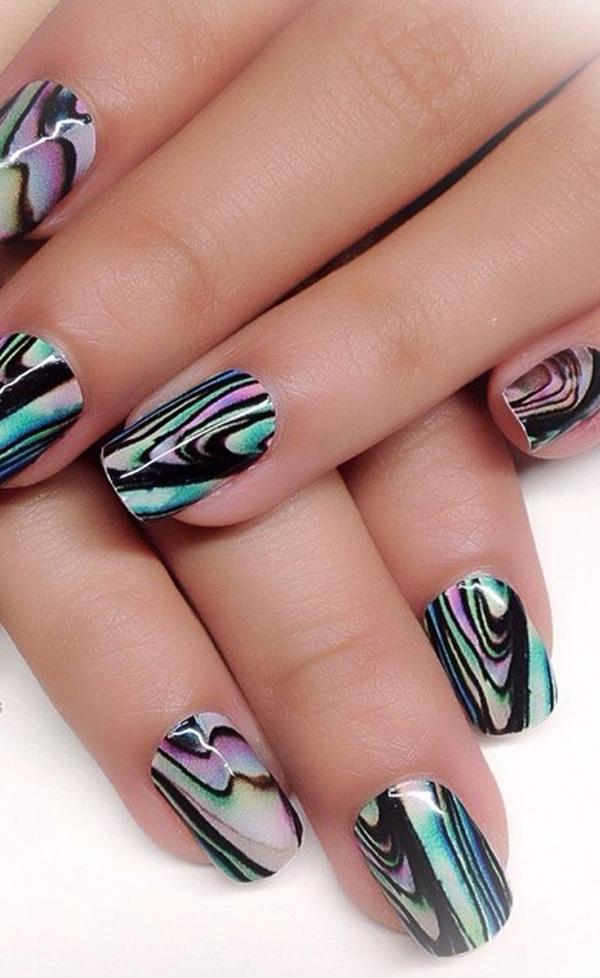
Watercolor nail art is perfect for the summer season. Its soft and vibrant colors are reminiscent of sunny days and tropical vacations. In this tutorial, you will learn how to create a simple and easy watercolor nail art design that is perfect for summer. Start by gathering all the necessary materials. You will need nail polish in your desired colors, a small container of water, toothpicks, and nail polish remover. Bright and bold colors work best for this design. As with the previous tutorials, start by applying a base coat and a layer of white nail polish. This will make the colors stand out and create a clean base for the design. Next, drop a few drops of nail polish into the container of water, alternating colors as desired. Use a toothpick to create a design by swirling the colors together. You can experiment with different patterns and techniques to create your desired design. Once you're happy with the design, carefully dip your nail into the water, making sure to fully submerge it. Gently remove your finger from the water and use a toothpick to clean up any excess nail polish on the surface of the water. Repeat this process for each nail. After all your nails are done, use a cotton swab dipped in nail polish remover to clean up any excess polish on your fingers. Once the polish is dry, apply a top coat to seal and protect your design. And there you have it, a simple and stunning watercolor nail art design for summer!Simple Watercolor Nail Art | Easy Nail Designs for Summer


Cute Nail Designs for Beginners


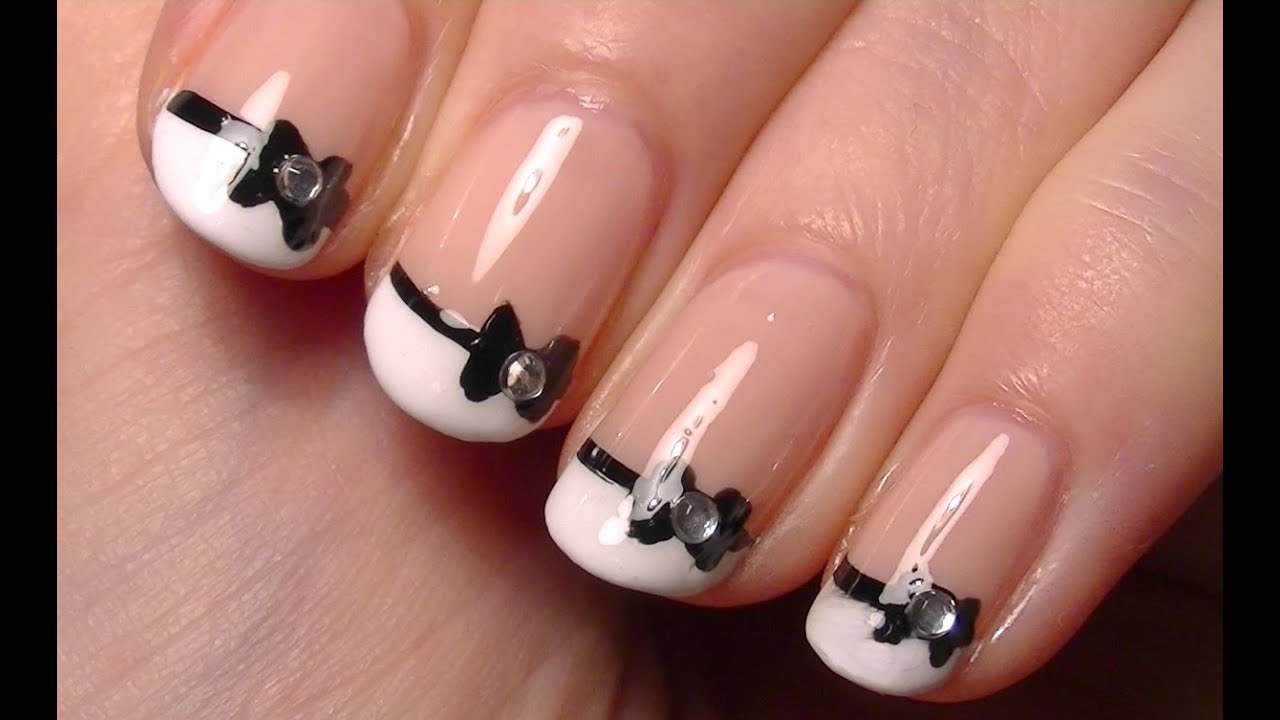
Want to add a touch of elegance to your nails? Water droplet nail art is the perfect choice. This tutorial will show you how to create a cute and simple water droplet design that will make your nails look like gems. Start by gathering all the necessary materials. You will need nail polish in your desired colors, a small container of water, toothpicks, and nail polish remover. Choose colors that remind you of precious stones, like emerald green or sapphire blue. Begin by applying a base coat and a layer of white nail polish. Once the white polish is dry, apply a layer of clear nail polish on top. This will help the design adhere better to the nail. Next, drop a few drops of nail polish into the water, alternating colors as desired. Use a toothpick to create a design by dragging the colors together to create a teardrop shape. Once you have the desired shape, carefully dip your nail into the water, making sure to fully cover the nail. Gently remove your finger from the water and use a toothpick to clean up any excess nail polish. Repeat this process for each nail. After all your nails are done, use a cotton swab dipped in nail polish remover to clean up any excess polish on your fingers. Once the polish is dry, apply a top coat to seal and protect your design. And there you have it, a cute and simple water droplet nail art design!Easy Water Droplet Nail Art Tutorial | Cute and Simple Nail Designs

DIY Water Marble Nail Art
.png)


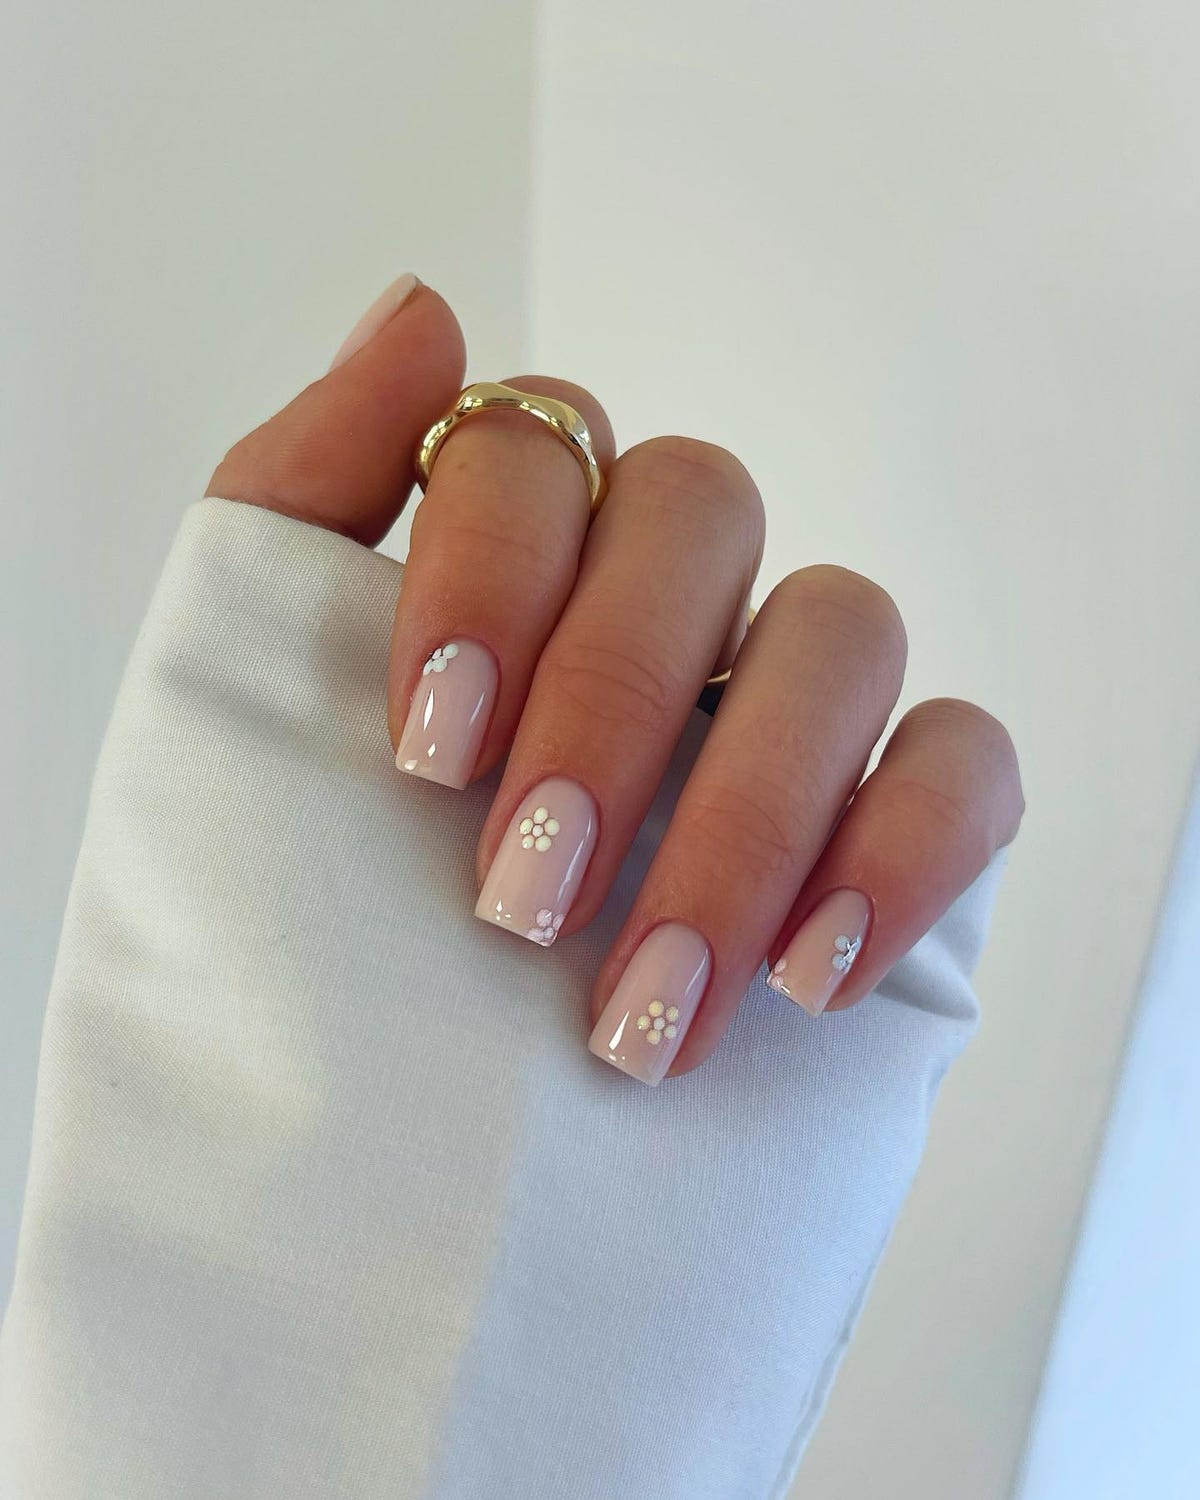
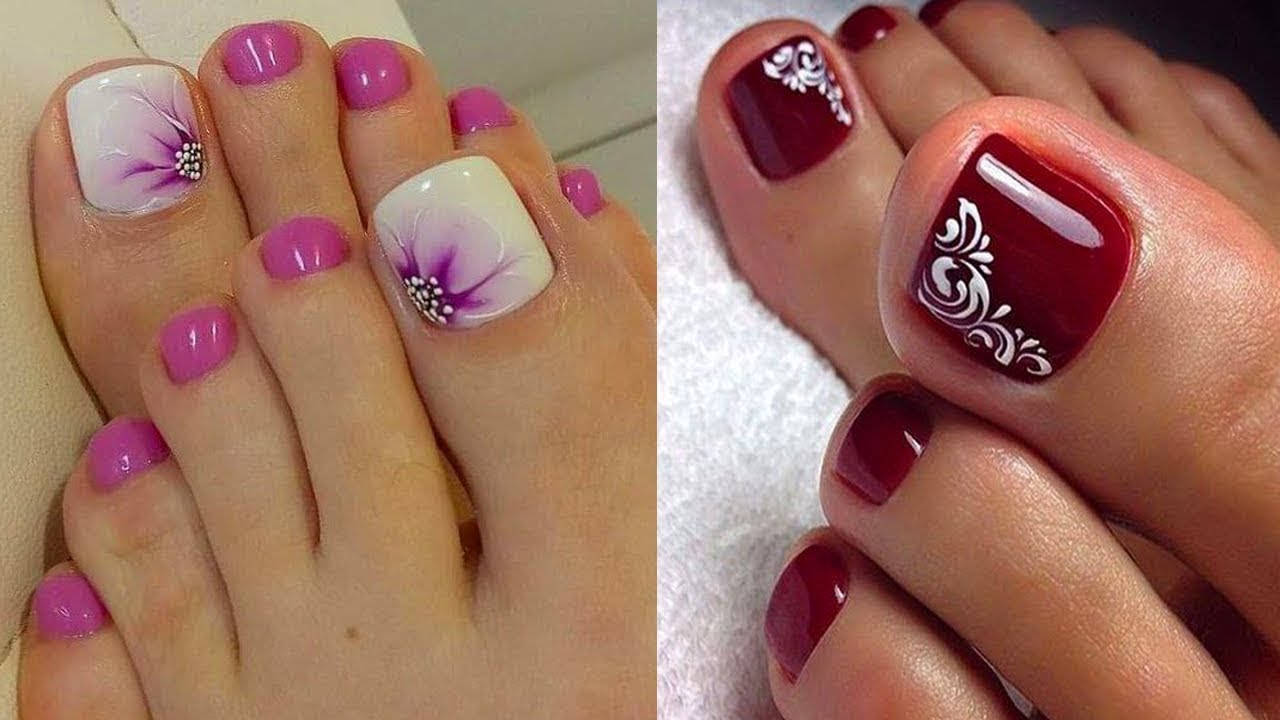
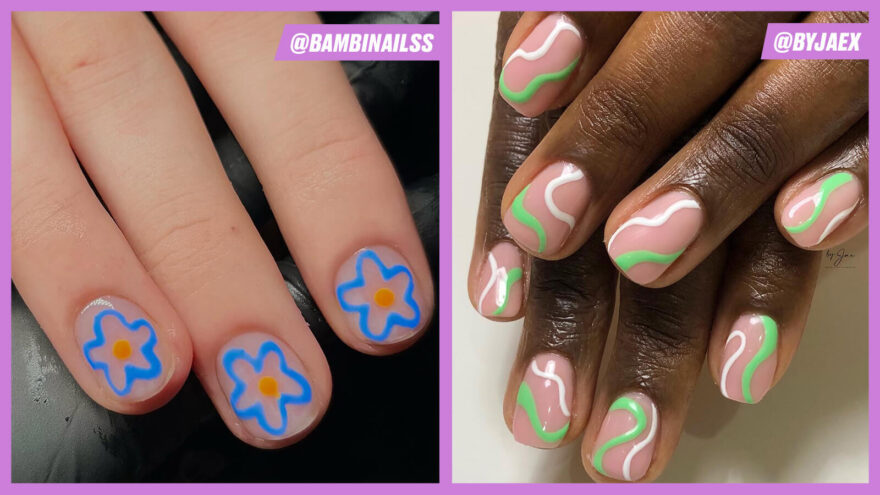
Nothing says spring like a beautiful floral design on your nails. This tutorial will show you how to create a watercolor floral nail art design that is perfect for the spring season. Start by gathering all the necessary materials. You will need nail polish in your desired colors, a small container of water, toothpicks, and nail polish remover. Choose soft and pastel colors for a springtime look. Begin by applying a base coat and a layer of white nail polish. Once the white polish is dry, apply a layer of clear nail polish on top. This will help the design adhere better to the nail. Next, drop a few drops of nail polish into the water, alternating colors as desired. Use a toothpick to create a design by swirling the colors together. You can experiment with different patterns and techniques to create your desired design. Once you're happy with the design, carefully dip your nail into the water, making sure to fully cover the nail. Gently remove your finger from the water and use a toothpick to clean up any excess nail polish. Repeat this process for each nail. After all your nails are done, use a cotton swab dipped in nail polish remover to clean up any excess polish on your fingers. Once the polish is dry, apply a top coat to seal and protect your design. And there you have it, a beautiful watercolor floral nail art design for spring!Watercolor Floral Nail Art Tutorial | Easy Spring Nail Designs


Easy Nail Designs for Short Nails


Looking for a fun and colorful nail art design? Water spotted nail art is the perfect choice! This tutorial will show you how to create a fun and easy design that is sure to brighten up your nails. Start by gathering all the necessary materials. You will need nail polish in your desired colors, a small container of water, toothpicks, and nail polish remover. Choose bright and vibrant colors for a fun look. Begin by applying a base coat and a layer of white nail polish. Once the white polish is dry, apply a layer of clear nail polish on top. This will help the design adhere better to the nail. Next, drop a few drops of nail polish into the water, alternating colors as desired. Using a toothpick, create a design by swirling the colors together. Once you have the desired design, carefully dip your nail into the water, making sure to fully cover the nail. Gently remove your finger from the water and use a toothpick to clean up any excess nail polish. Repeat this process for each nail. After all your nails are done, use a cotton swab dipped in nail polish remover to clean up any excess polish on your fingers. Once the polish is dry, apply a top coat to seal and protect your design. And there you have it, a fun and colorful water spotted nail art design!Easy Water Spotted Nail Art Tutorial | Fun and Colorful Nail Designs


Simple Watercolor Nail Art

If you're looking for a more elegant and sophisticated nail art design, marbled watercolor nails are the perfect choice. This tutorial will show you how to create a beautiful and easy marbled watercolor design that is perfect for any occasion. Start by gathering all the necessary materials. You will need nail polish in your desired colors, a small container of water, toothpicks, and nail polish remover. Using pastel or neutral colors will give the design an elegant look. As with the previous tutorials, start by applying a base coat and a layer of white nail polish. This will make the colors stand out and create a clean base for the design. Next, drop a few drops of nail polish into the container of water, alternating colors as desired. Use a toothpick to create a design by swirling the colors together. You can experiment with different patterns and techniques to create your desired design. Once you're happy with the design, carefully dip your nail into the water, making sure to fully cover the nail. Gently remove your finger from the water and use a toothpick to clean up any excess nail polish. Repeat this process for each nail. After all your nails are done, use a cotton swab dipped in nail polish remover to clean up any excess polish on your fingers. Once the polish is dry, apply a top coat to seal and protect your design. And there you have it, a beautiful and easy marbled watercolor nail art design!Marbled Watercolor Nail Art Tutorial | Easy and Elegant Nail Designs


Easy Nail Designs for Summer

Striped nail art is a classic and versatile design that can be customized in countless ways. This tutorial will show you how to create an easy and fun watercolor striped nail art design that is perfect for adding a pop of color to your nails. Start by gathering all the necessary materials. You will need nail polish in your desired colors, a small container of water, toothpicks, and nail polish remover. Choose bright and vibrant colors for a fun and playful look. Begin by applying a base coat and a layer of white nail polish. Once the white polish is dry, apply a layer of clear nail polish on top. This will help the design adhere better to the nail.Easy Watercolor Striped Nail Art Tutorial | Fun and Vibrant Nail Designs


Easy Water Droplet Nail Art Tutorial


The Versatility of Water Nail Art for Easy and Stunning Designs
Unleashing Your Creativity
 Water nail art has become increasingly popular in recent years, and for good reason. Not only is it easy to do, but its versatility allows for endless possibilities when it comes to design. With just a few simple tools and some
water-based nail polish
, you can create stunning and unique nail designs that are sure to turn heads.
Water nail art has become increasingly popular in recent years, and for good reason. Not only is it easy to do, but its versatility allows for endless possibilities when it comes to design. With just a few simple tools and some
water-based nail polish
, you can create stunning and unique nail designs that are sure to turn heads.
The Basics of Water Nail Art
 To achieve the perfect water nail art, you will need a
small cup of room temperature water
,
scotch tape
, and
nail polish remover
. Begin by applying a base coat to your nails to protect them and help the polish adhere better. Next, select your desired colors and drop a few drops of each into the cup of water. Use a toothpick or a small brush to swirl the colors together into your desired design. Then, carefully place a piece of scotch tape around your nail, leaving only the tip exposed. Dip your nail into the water, allowing the polish to transfer onto the nail. Finally, remove the tape and clean up any excess polish with nail polish remover. Voila, you have a beautiful and unique water marble design on your nails!
To achieve the perfect water nail art, you will need a
small cup of room temperature water
,
scotch tape
, and
nail polish remover
. Begin by applying a base coat to your nails to protect them and help the polish adhere better. Next, select your desired colors and drop a few drops of each into the cup of water. Use a toothpick or a small brush to swirl the colors together into your desired design. Then, carefully place a piece of scotch tape around your nail, leaving only the tip exposed. Dip your nail into the water, allowing the polish to transfer onto the nail. Finally, remove the tape and clean up any excess polish with nail polish remover. Voila, you have a beautiful and unique water marble design on your nails!
Endless Designs with Water Nail Art
 The beauty of water nail art is that there are no limits to what you can create. Experiment with different color combinations, designs, and techniques to achieve a look that is truly one-of-a-kind. You can even add in
glitter
or
rhinestones
for an extra touch of glam. The possibilities are endless and the results are always eye-catching.
The beauty of water nail art is that there are no limits to what you can create. Experiment with different color combinations, designs, and techniques to achieve a look that is truly one-of-a-kind. You can even add in
glitter
or
rhinestones
for an extra touch of glam. The possibilities are endless and the results are always eye-catching.
Perfect for Any Occasion
 Water nail art is not only easy to do, but it is also perfect for any occasion. Whether you want a simple and elegant design for a formal event or a bold and vibrant look for a night out, water nail art can be tailored to fit your needs. Plus, with the wide range of colors and designs you can achieve, you can easily switch up your nail look to match your outfit or mood.
In conclusion, water nail art is a fun and easy way to unleash your creativity and achieve stunning nail designs. With just a few simple tools and some creativity, you can have salon-worthy nails in the comfort of your own home. So why not give water nail art a try and see where your imagination takes you?
Water nail art is not only easy to do, but it is also perfect for any occasion. Whether you want a simple and elegant design for a formal event or a bold and vibrant look for a night out, water nail art can be tailored to fit your needs. Plus, with the wide range of colors and designs you can achieve, you can easily switch up your nail look to match your outfit or mood.
In conclusion, water nail art is a fun and easy way to unleash your creativity and achieve stunning nail designs. With just a few simple tools and some creativity, you can have salon-worthy nails in the comfort of your own home. So why not give water nail art a try and see where your imagination takes you?


