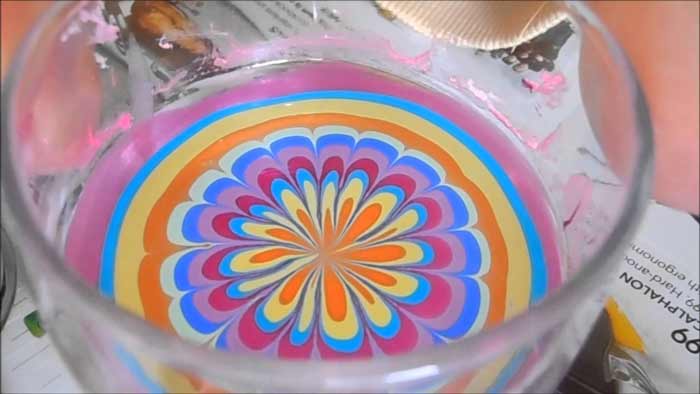
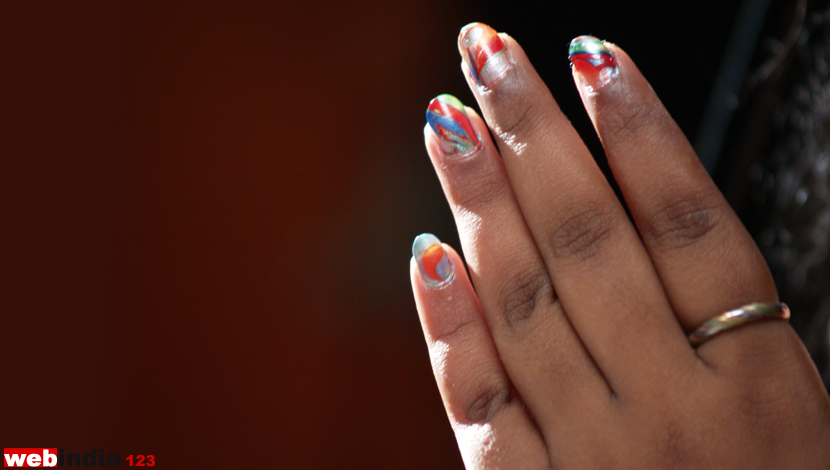
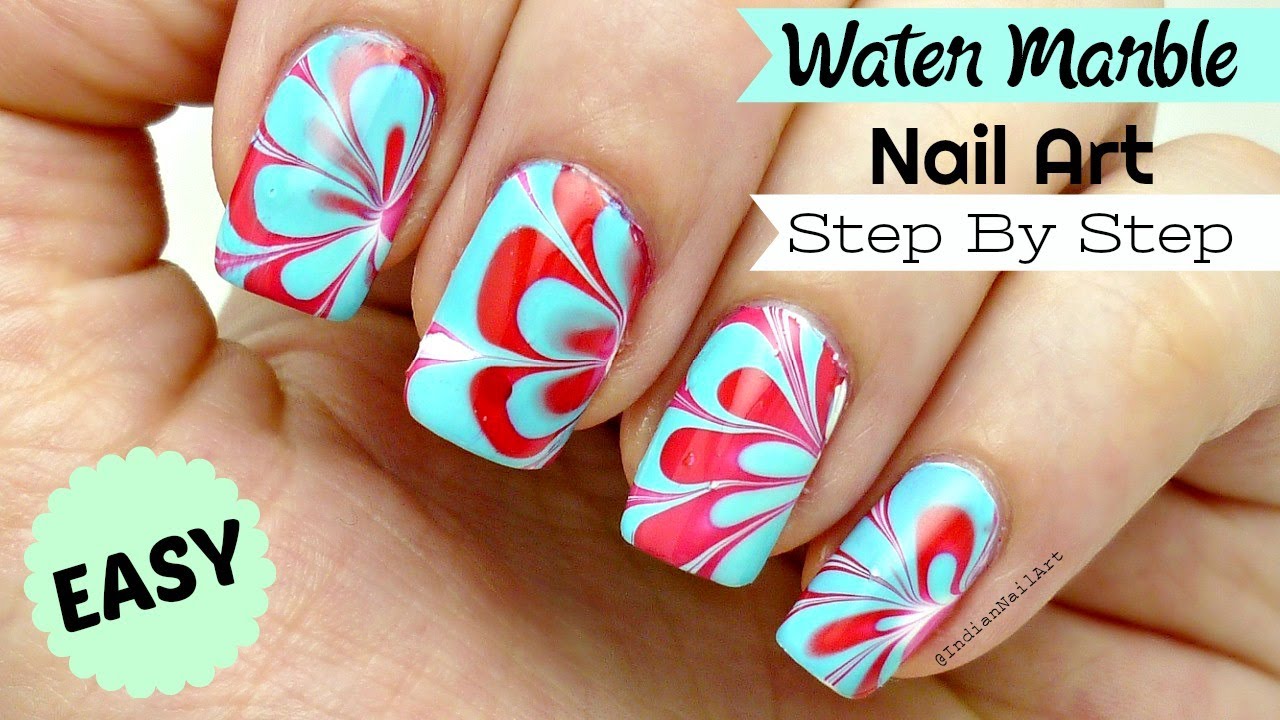
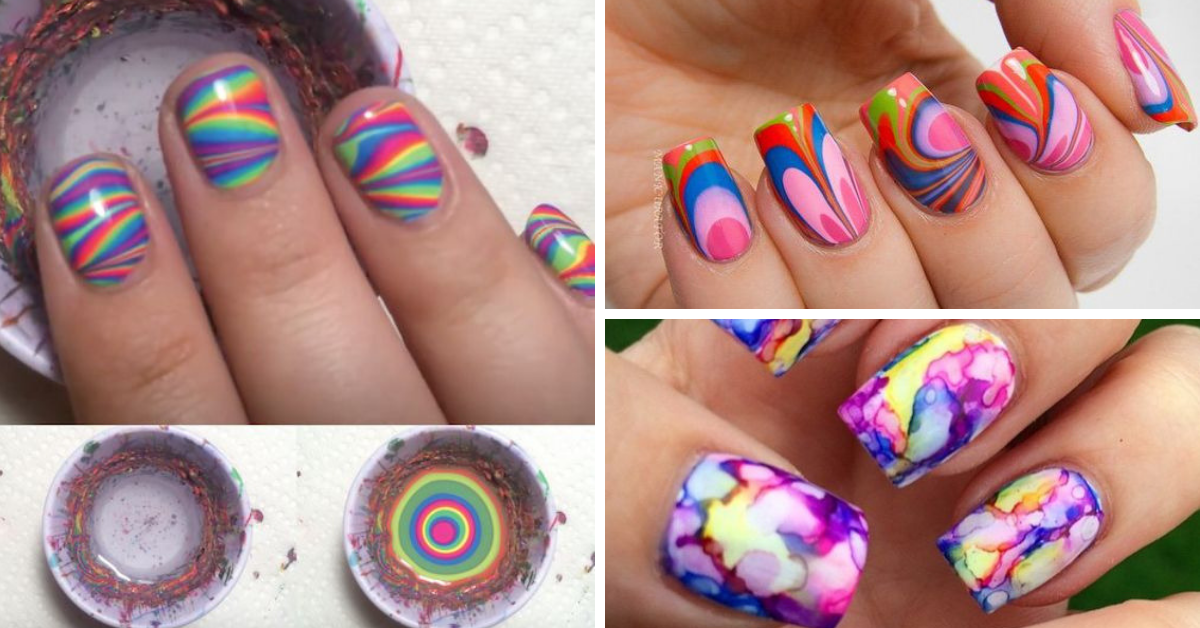
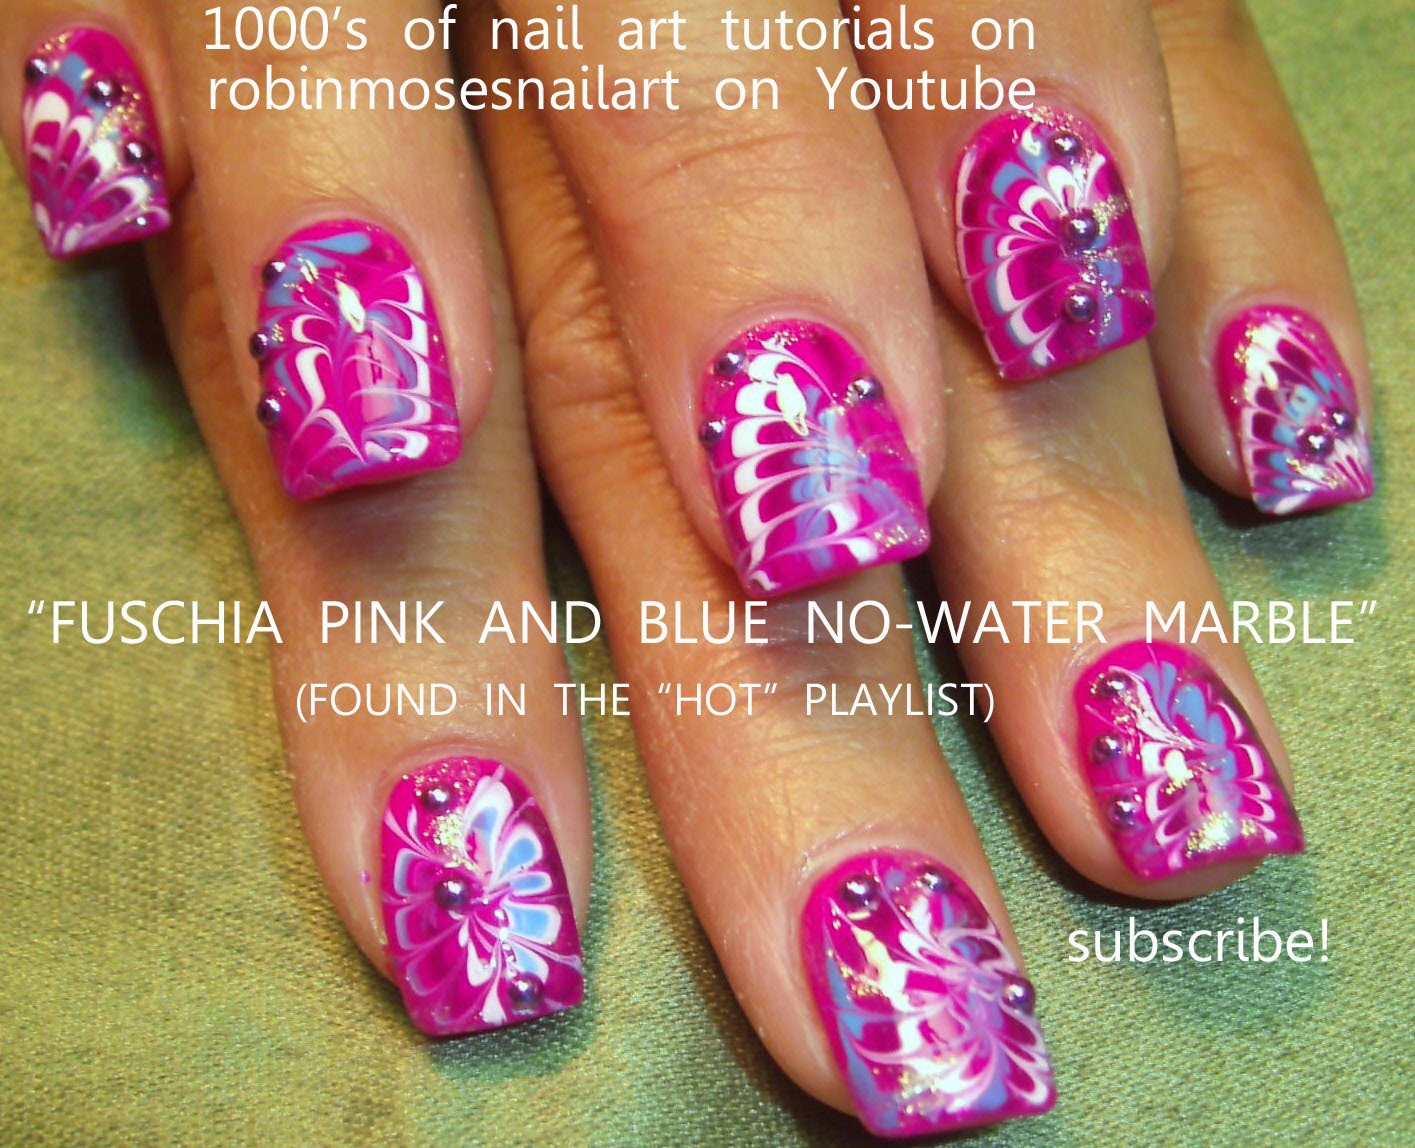
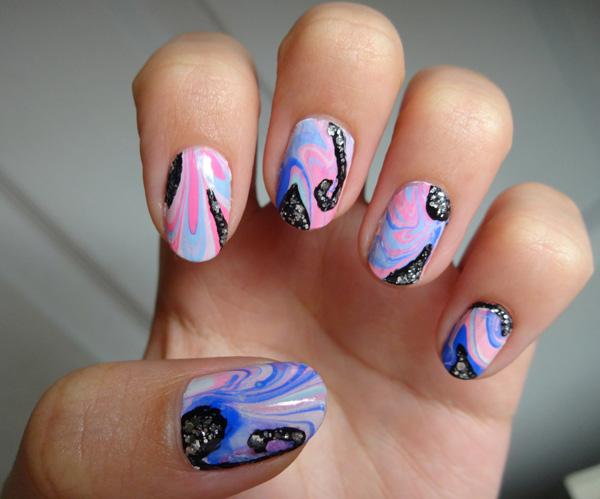
If you're looking to create some unique and eye-catching nail art, then water marble nail art is the perfect technique for you. This method involves creating a marbled effect on your nails using water and nail polish, resulting in a beautiful and intricate design. Follow this step-by-step tutorial to learn how to achieve this stunning look.Water Marble Nail Art Tutorial


Water Marble Nail Art Tutorial


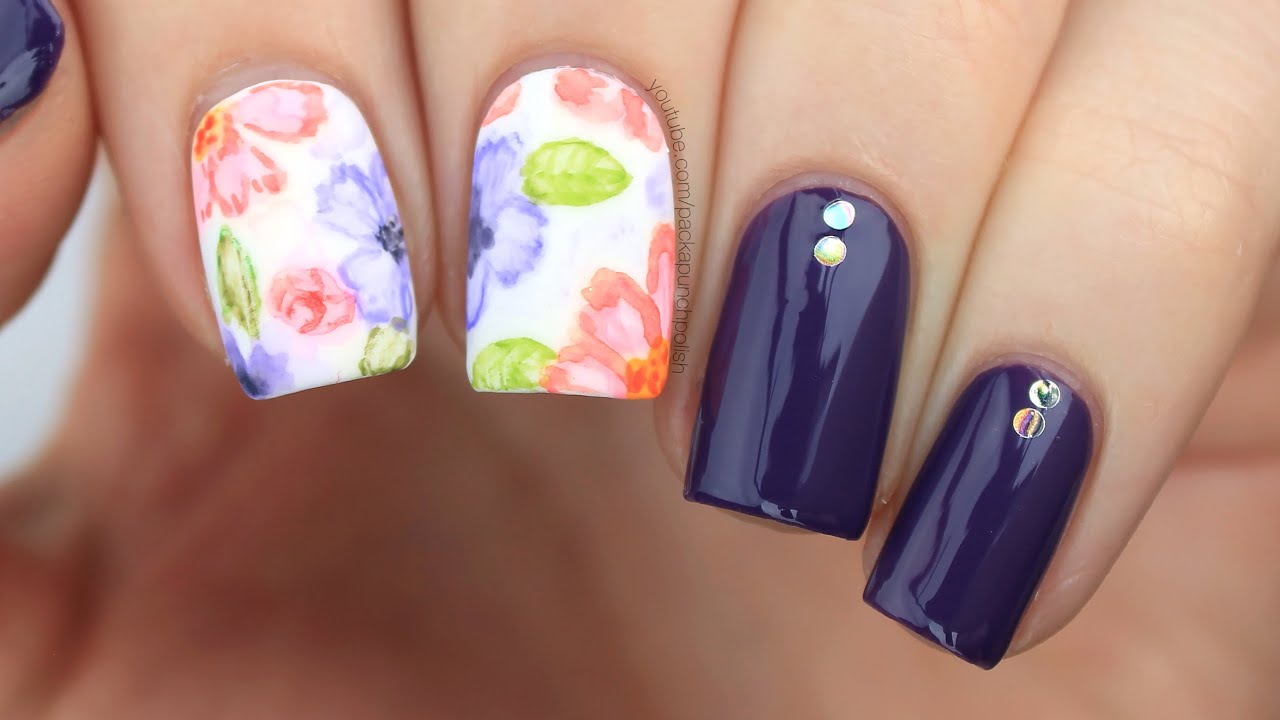
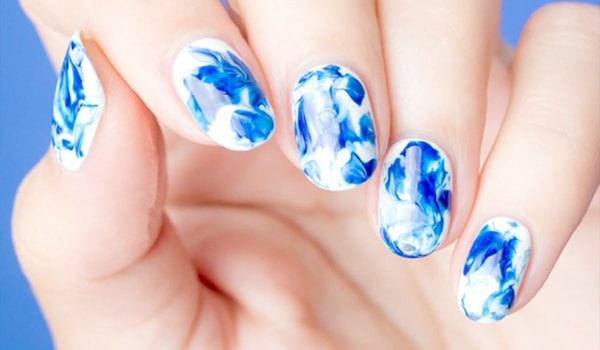
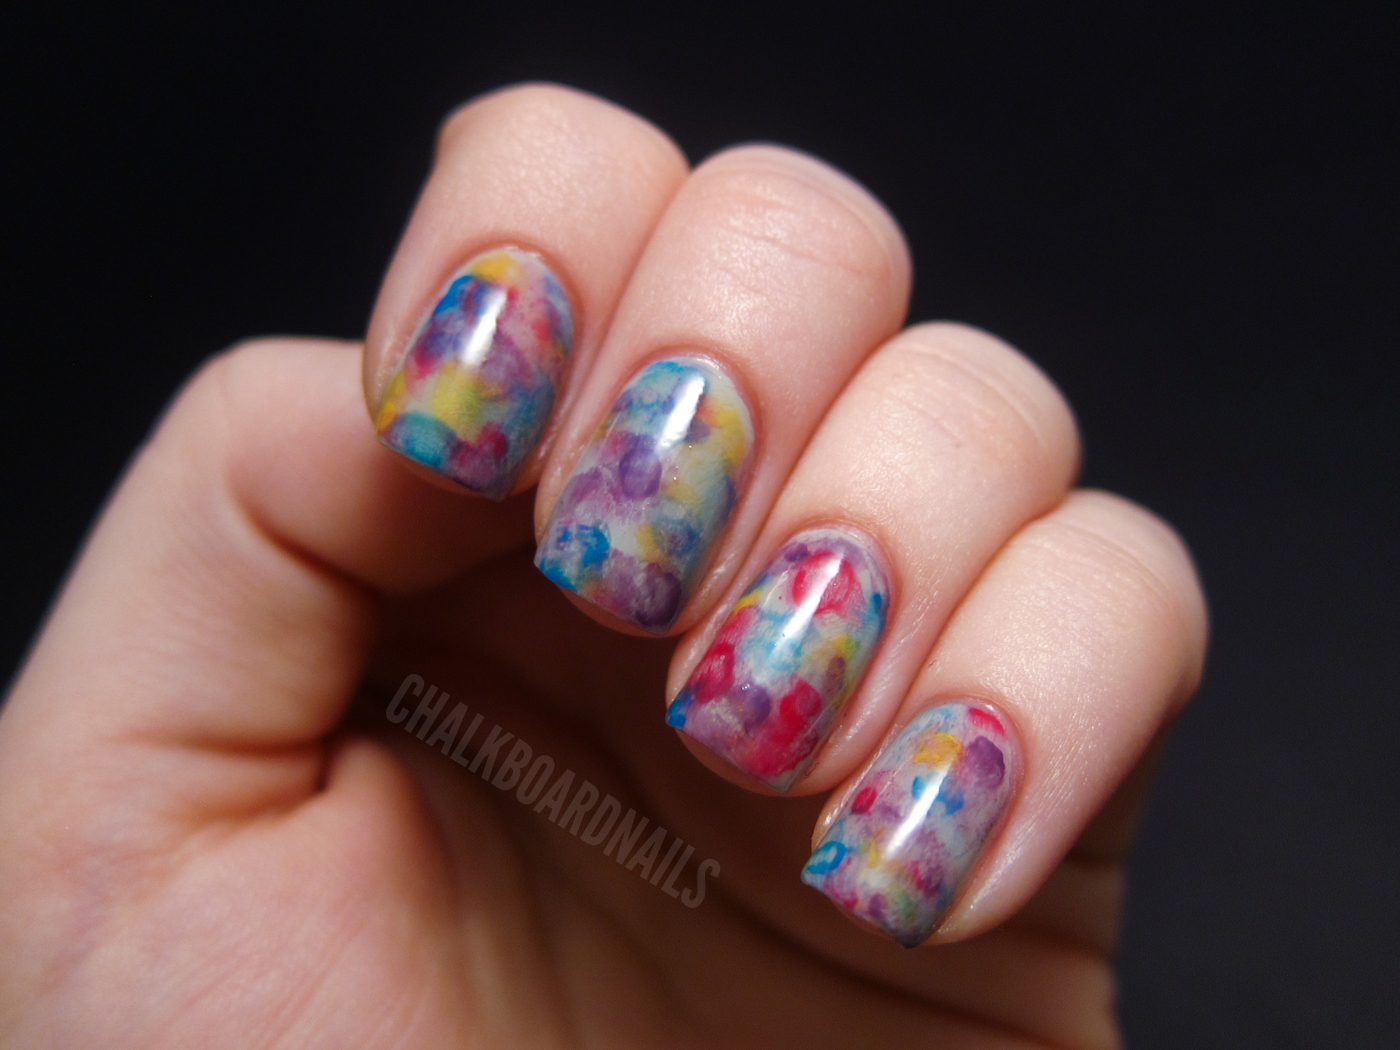
Watercolor nail art is a fun and playful way to express your creativity on your nails. This technique involves blending different colors of nail polish together to create a soft and watercolor-like effect. To achieve this look, follow these simple steps.How to Create a Watercolor Nail Art Design


How to Create a Watercolor Nail Art Design


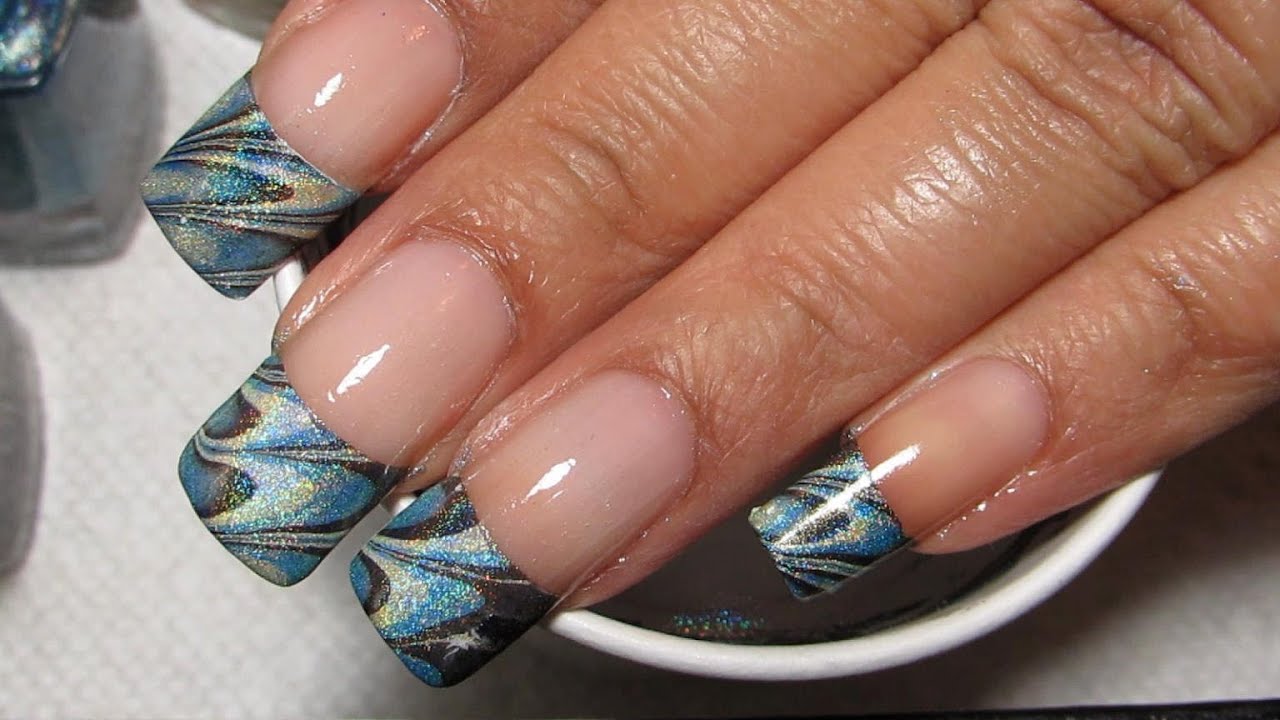
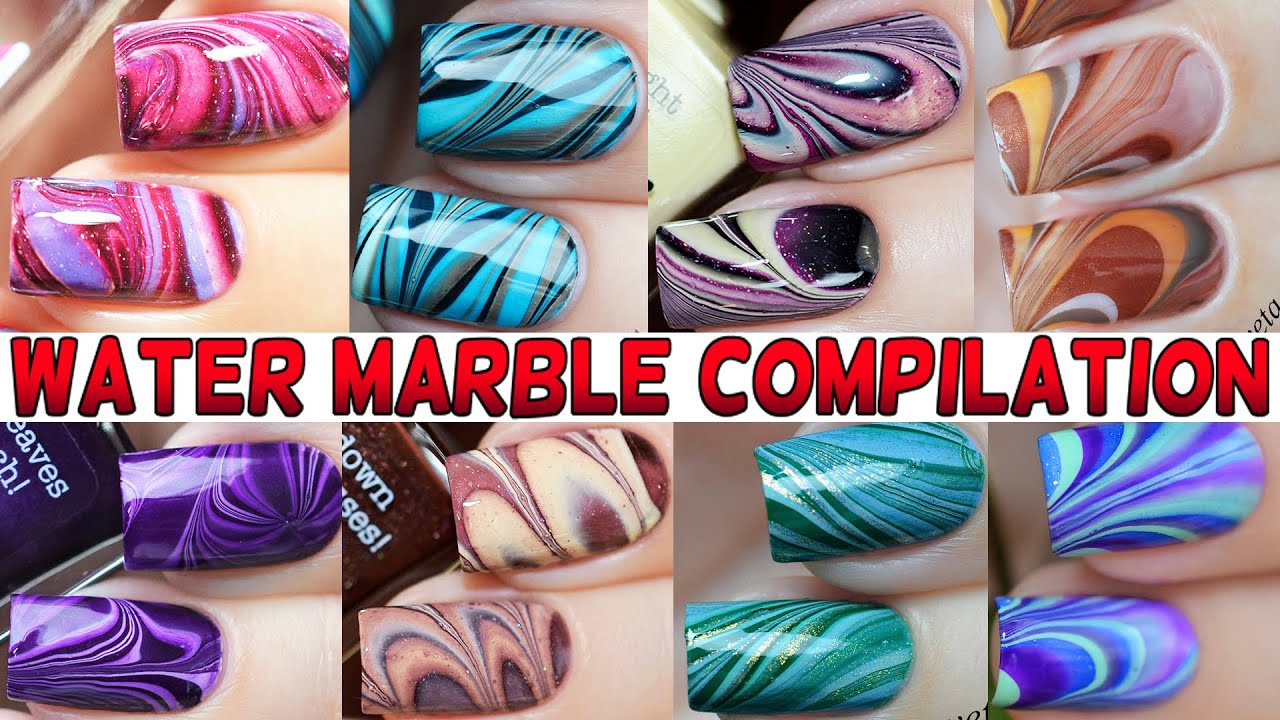
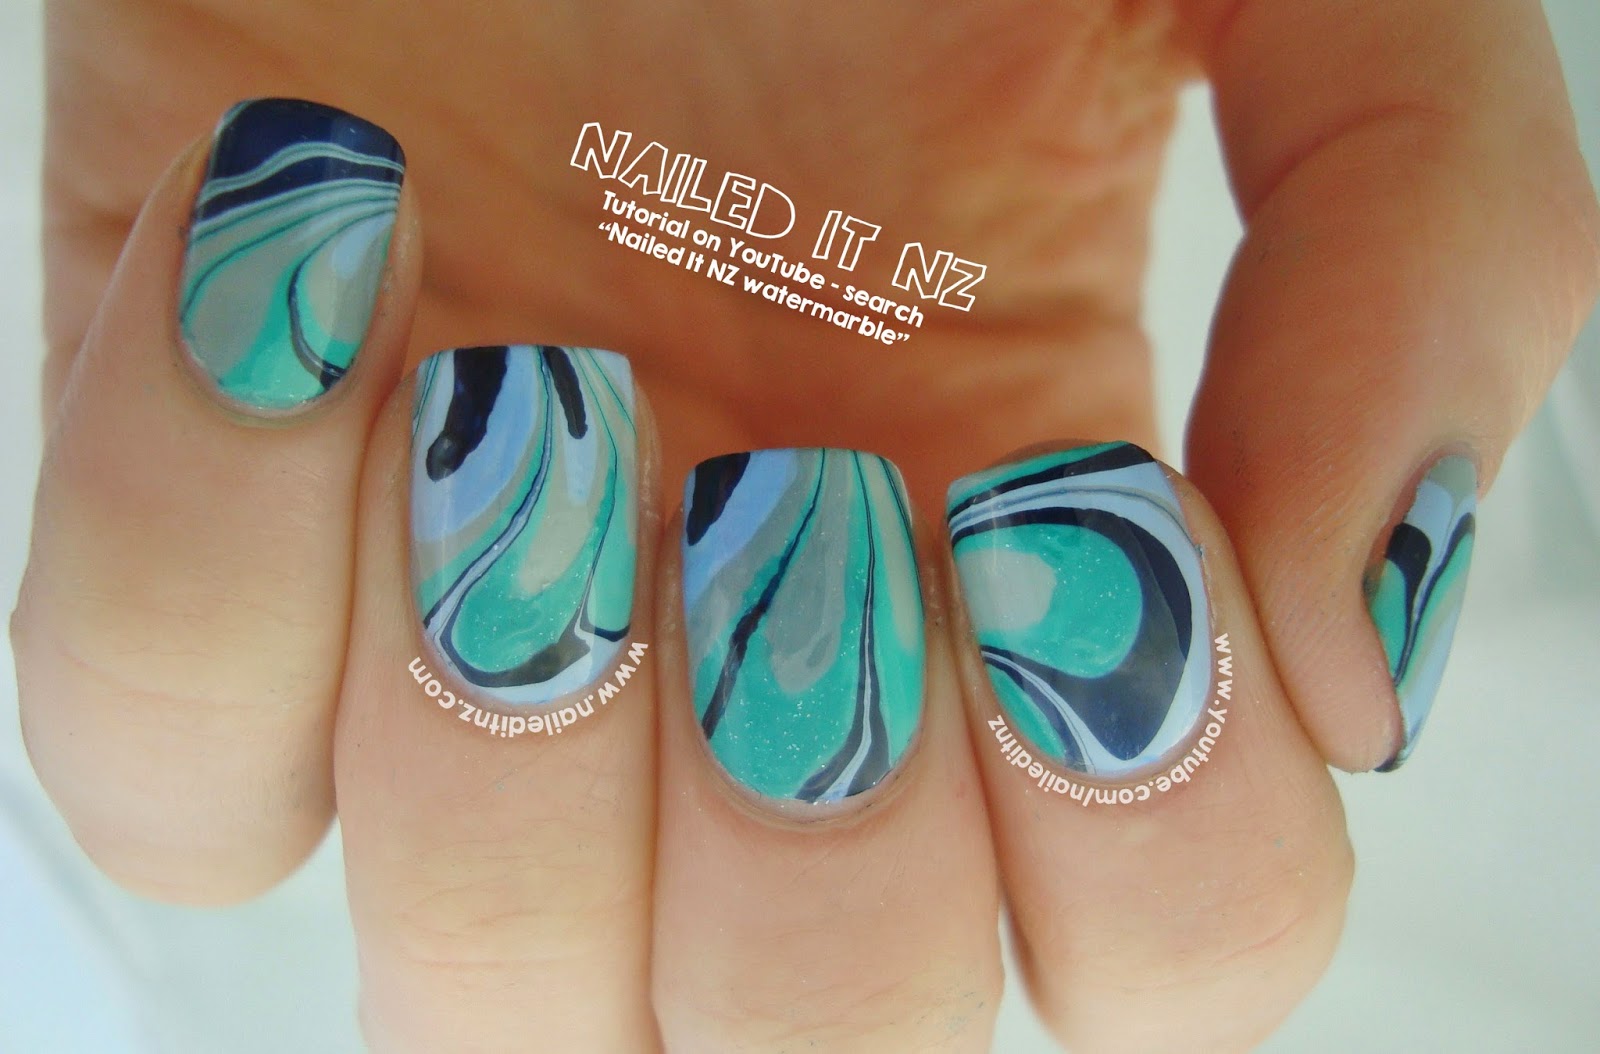
If you're new to water marble nail art, it may seem daunting at first. But with the right tools and technique, you'll be able to create beautiful designs in no time. Here is a step-by-step process to follow for perfect water marble nails.Step-by-Step Water Marble Nail Art Process


Step-by-Step Water Marble Nail Art Process
.jpg)

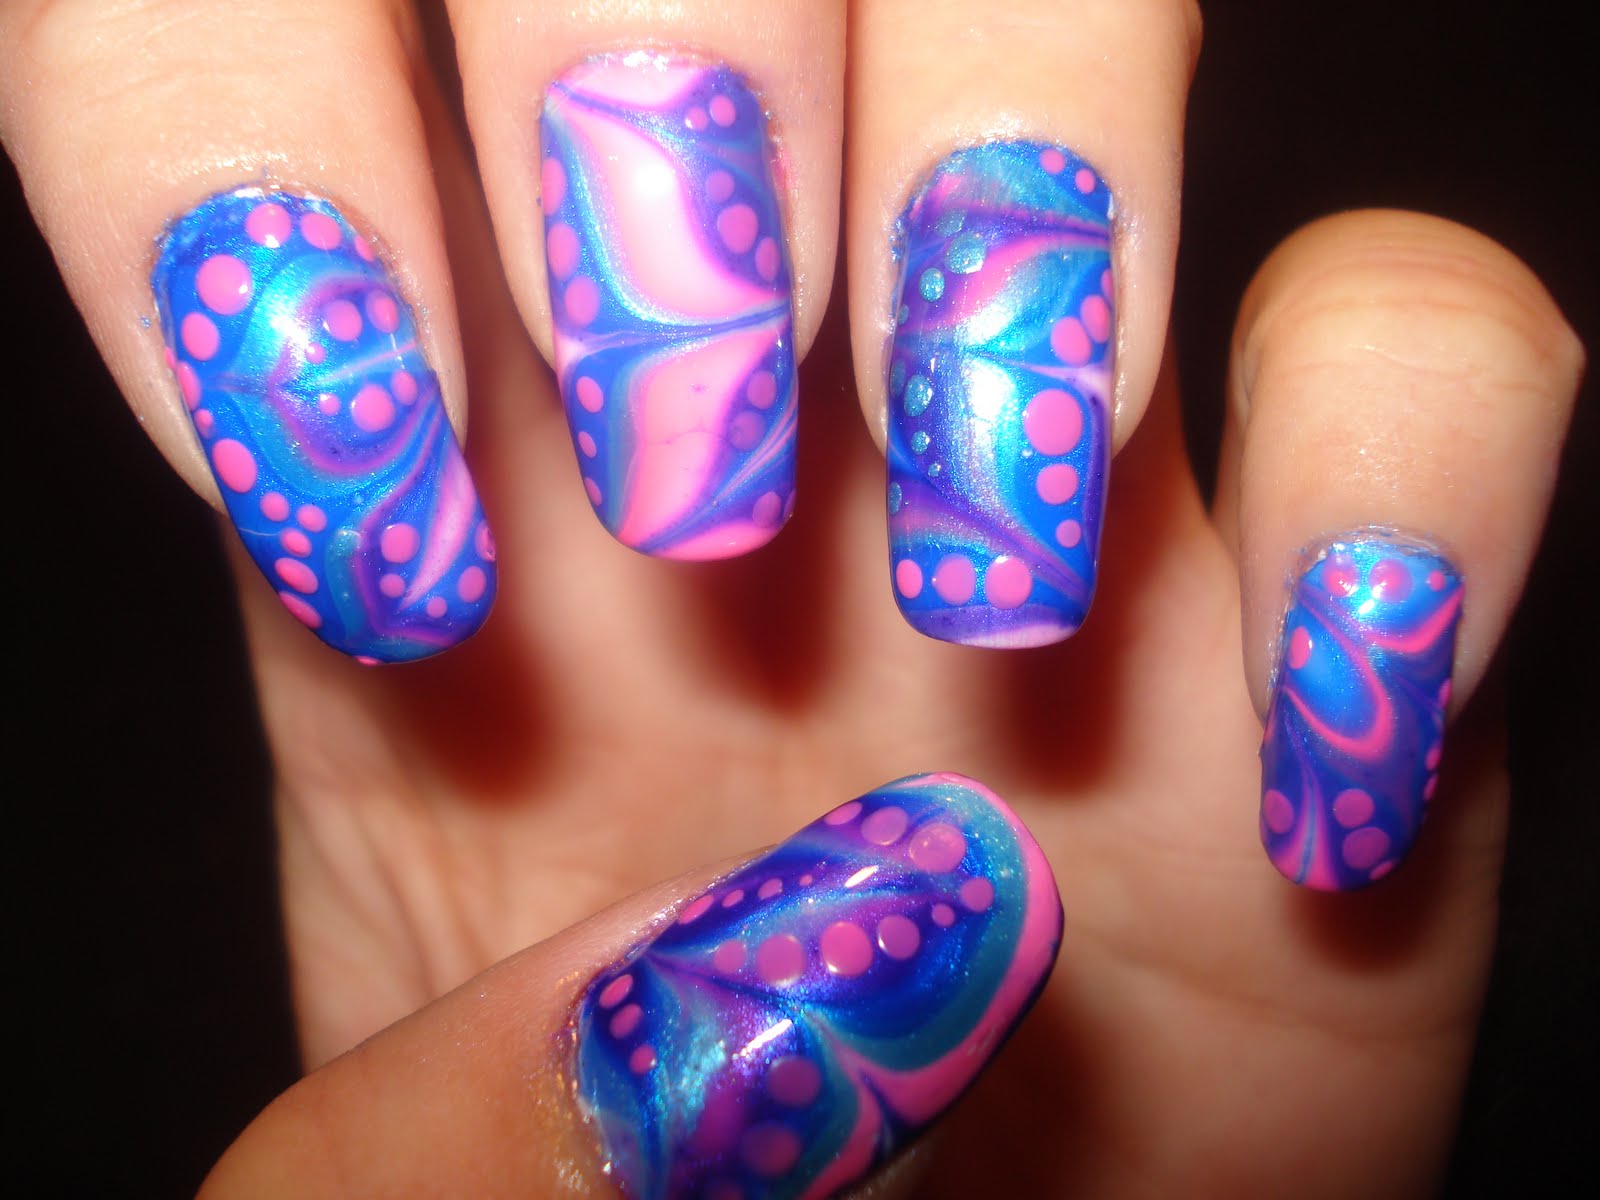
Water marble nail art may seem difficult, but with a little practice, even beginners can achieve stunning results. Here are some tips and tricks that will make the process easier for you and help you create flawless water marble nails.Easy Water Marble Nail Art for Beginners

Easy Water Marble Nail Art for Beginners


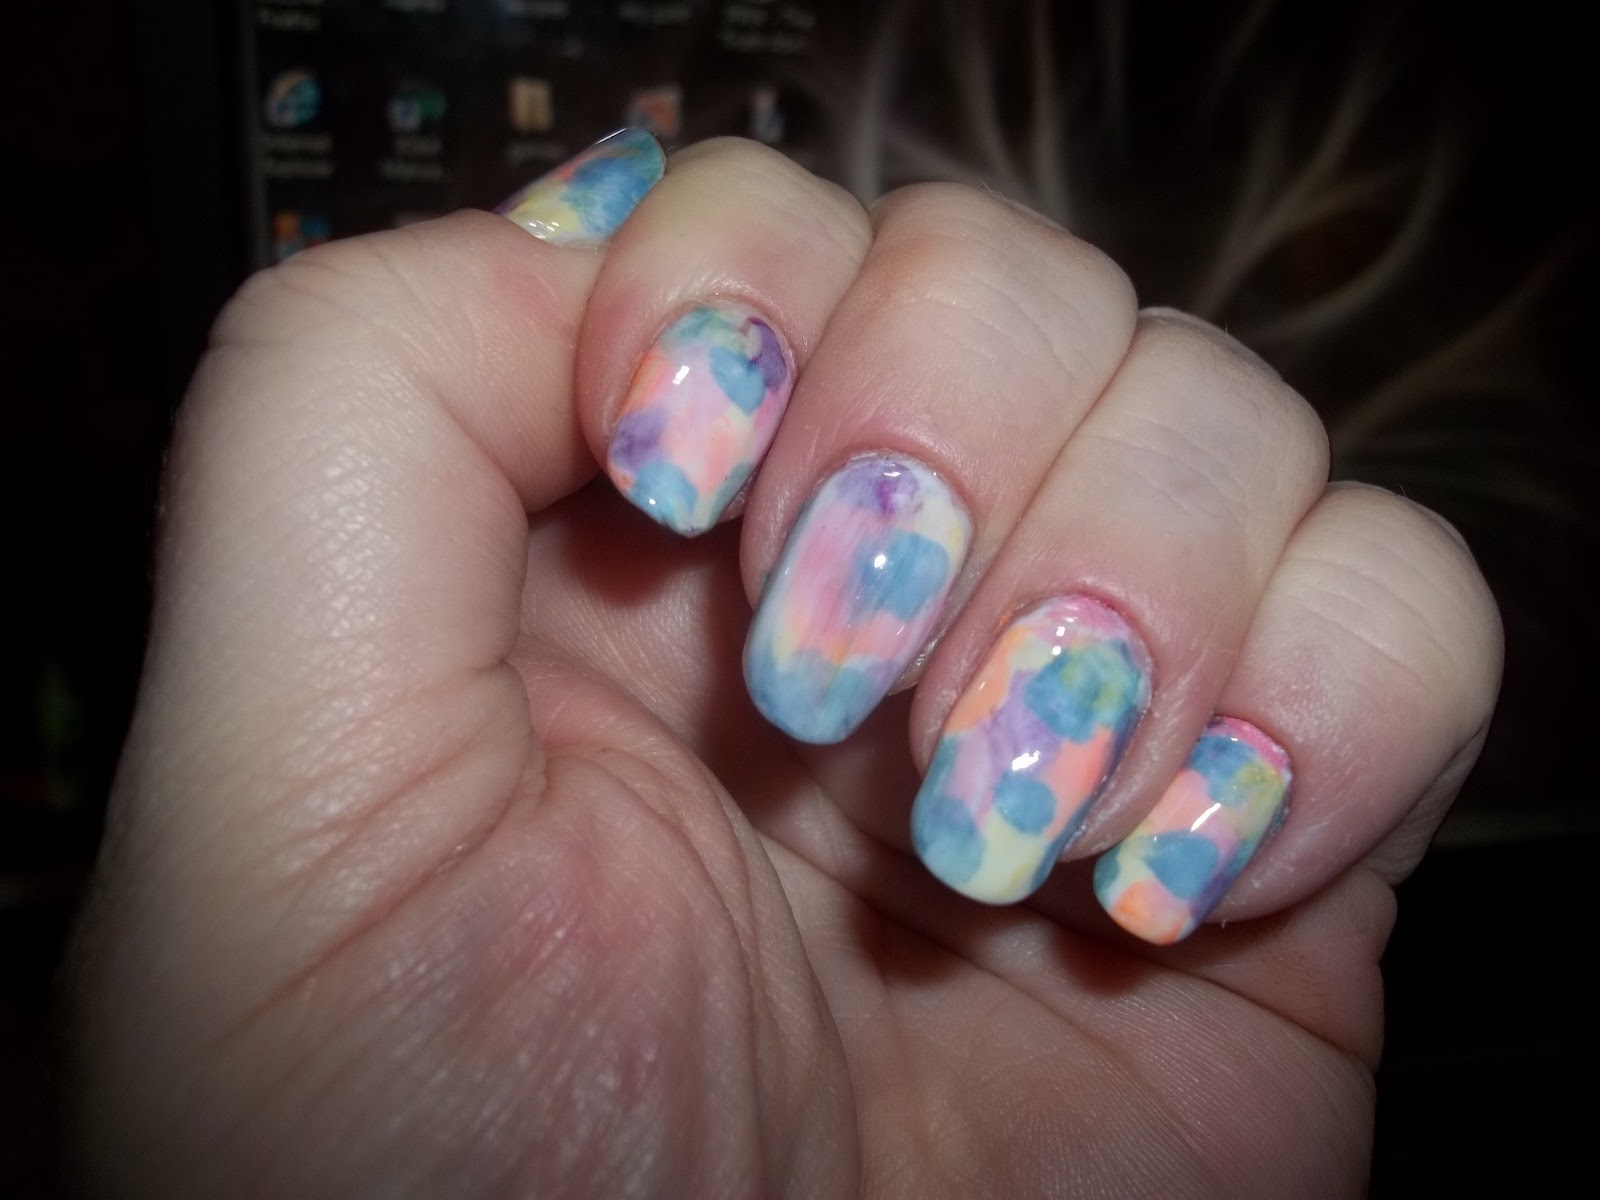
There are various techniques you can use to create watercolor nail art, each resulting in a unique and beautiful look. Some popular techniques include using a sponge, plastic wrap, or a watercolor brush to blend the colors. Experiment with different techniques and find the one that works best for you.Watercolor Nail Art Techniques


Watercolor Nail Art Techniques


You don't need to go to a salon to get water marble nails – you can easily do it at home! All you need are some basic supplies and a little bit of patience. With this DIY method, you'll be able to create stunning water marble nails without breaking the bank.DIY Water Marble Nail Art at Home


DIY Water Marble Nail Art at Home


To create water marble nails, you'll need a few essential supplies. These include nail polish, a cup of water, tape, a toothpick, and a base and top coat. You can also use other tools such as a needle or a small brush to create more intricate designs. Make sure to have all your supplies ready before starting the process.Water Marble Nail Art Supplies


Water Marble Nail Art Supplies

Creating water marble nails can be a bit tricky, but with these tips, you'll be able to perfect your technique and create flawless designs every time. From choosing the right nail polish to preventing bubbles in the water, these tips will help you achieve professional-looking results.Tips for Perfecting Your Water Marble Nail Art


Tips for Perfecting Your Water Marble Nail Art


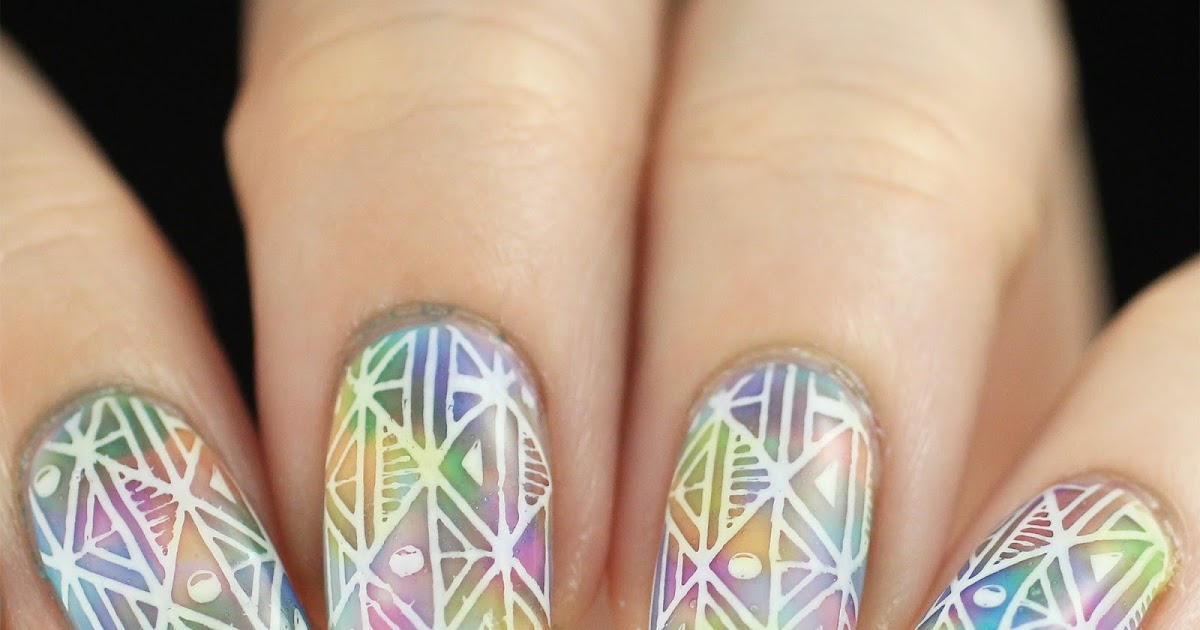
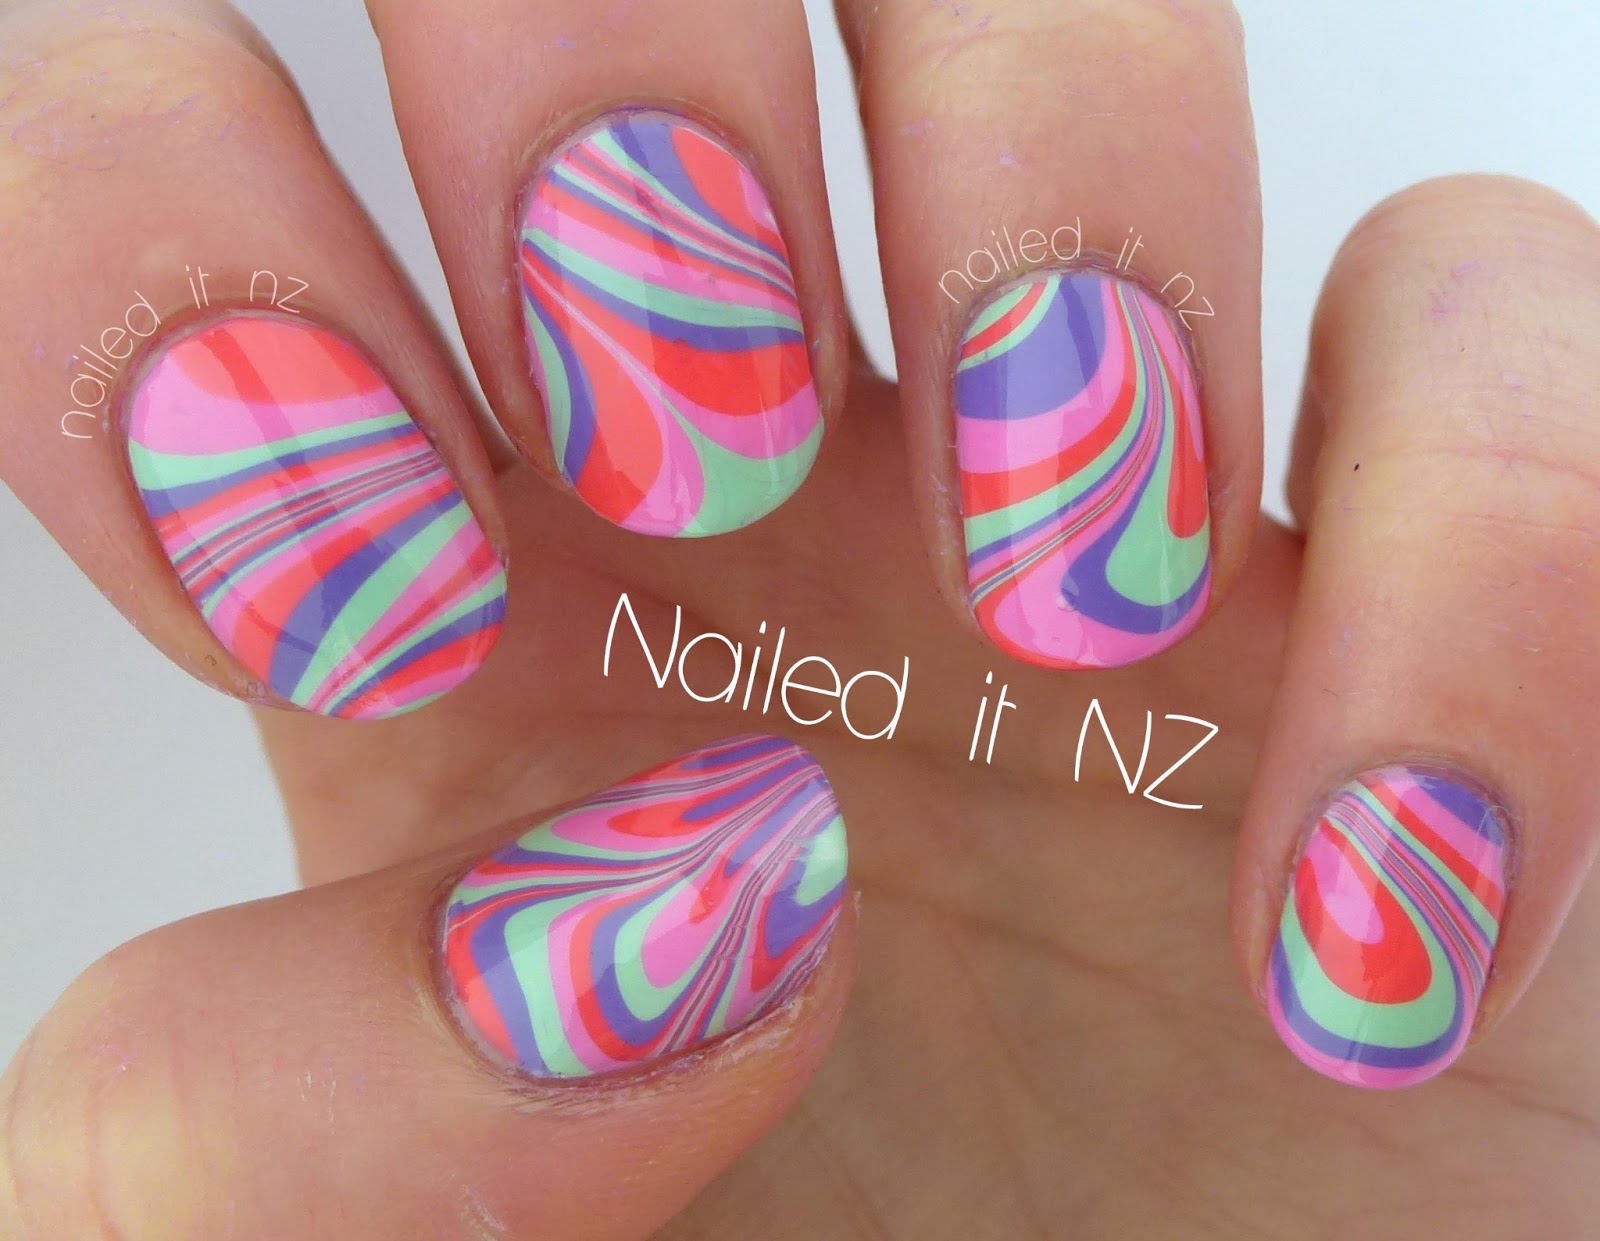
One of the best things about water marble nail art is that the designs are endless. You can create different looks for every occasion, whether it's a fun and colorful design for a party or a chic and elegant design for a special event. Let your creativity run wild and experiment with different color combinations and patterns.Water Marble Nail Art Designs for Every Occasion

Water Marble Nail Art Designs for Every Occasion


Even the most experienced nail artists make mistakes sometimes, but don't worry – there are ways to fix them! Whether it's a smudge or a misplaced design, you can easily correct any mistakes in your water marble nail art. Follow these tips for a quick and easy fix.How to Fix Mistakes in Your Water Marble Nail Art

How to Fix Mistakes in Your Water Marble Nail Art

Creating a Stunning Water Nail Art Design: A Step-by-Step Process
Preparing Your Nails
 Before diving into the water nail art process, it is important to properly prepare your nails for the design. Start by removing any old nail polish and trimming and shaping your nails to your desired length and shape. Next, gently buff the surface of your nails to create a smooth base for the design to adhere to. Finally, apply a base coat to protect your natural nails and help the design last longer.
Gathering Your Materials
 To create a water nail art design, you will need the following materials:
-
Nail polish:
Choose a few complementary colors to create a beautiful blend in your design.
-
Cup of water:
A small glass or plastic cup filled with room temperature water will work best.
-
Toothpick or orange stick:
This will be used to create the swirls and designs in the water.
-
Tape or liquid latex:
This will help protect your skin from getting messy during the process.
-
Top coat:
Once your design is complete, a top coat will seal in the design and add shine to your nails.
To create a water nail art design, you will need the following materials:
-
Nail polish:
Choose a few complementary colors to create a beautiful blend in your design.
-
Cup of water:
A small glass or plastic cup filled with room temperature water will work best.
-
Toothpick or orange stick:
This will be used to create the swirls and designs in the water.
-
Tape or liquid latex:
This will help protect your skin from getting messy during the process.
-
Top coat:
Once your design is complete, a top coat will seal in the design and add shine to your nails.
Creating the Design
 Now comes the fun part – creating the water nail art design! Begin by applying a base color to your nails and allowing it to dry completely. Next, take your chosen nail polishes and drop a few drops of each into the cup of water. Use the toothpick or orange stick to create swirls and designs in the polish, creating a marbled effect. This is where you can get creative and experiment with different color combinations and designs.
Once you are happy with your design, carefully dip your nail into the water, making sure to submerge the entire nail. Use the toothpick or orange stick to remove any excess polish from the water and then carefully remove your nail from the cup. You will be left with a beautiful marbled design on your nail. Repeat this process for each nail, making sure to clean the surface of the water between each dip.
Now comes the fun part – creating the water nail art design! Begin by applying a base color to your nails and allowing it to dry completely. Next, take your chosen nail polishes and drop a few drops of each into the cup of water. Use the toothpick or orange stick to create swirls and designs in the polish, creating a marbled effect. This is where you can get creative and experiment with different color combinations and designs.
Once you are happy with your design, carefully dip your nail into the water, making sure to submerge the entire nail. Use the toothpick or orange stick to remove any excess polish from the water and then carefully remove your nail from the cup. You will be left with a beautiful marbled design on your nail. Repeat this process for each nail, making sure to clean the surface of the water between each dip.
Finishing Touches
 Once your design is complete and all of your nails are dry, remove any tape or liquid latex from your skin and clean up any excess polish around your nails using a cotton swab and nail polish remover. Finally, seal in your design with a top coat and allow it to dry completely.
With this step-by-step process, you can easily create a stunning water nail art design right at home. Get creative with different color combinations and designs to truly make your nails stand out. Don't be afraid to experiment and have fun with this unique and beautiful nail art technique.
Once your design is complete and all of your nails are dry, remove any tape or liquid latex from your skin and clean up any excess polish around your nails using a cotton swab and nail polish remover. Finally, seal in your design with a top coat and allow it to dry completely.
With this step-by-step process, you can easily create a stunning water nail art design right at home. Get creative with different color combinations and designs to truly make your nails stand out. Don't be afraid to experiment and have fun with this unique and beautiful nail art technique.


