If you're looking for a fun and unique way to jazz up your nails, water marble nail art is the perfect technique to try! And with the added durability of gel polish, your design will last even longer. Follow this step by step tutorial to learn how to create a beautiful water marble nail art look with gel polish. Gel polish is a type of nail polish that is cured under a UV or LED light, making it more durable and long-lasting than traditional nail polish. This makes it the perfect choice for intricate nail art designs, like water marble. The best part about water marble nail art with gel polish is that you can use any color combination you want. So let your creativity flow and have fun with it!Water Marble Nail Art Tutorial | How to Create Water Marble Nail Art with Gel Polish


Water Marble Nail Art Tutorial

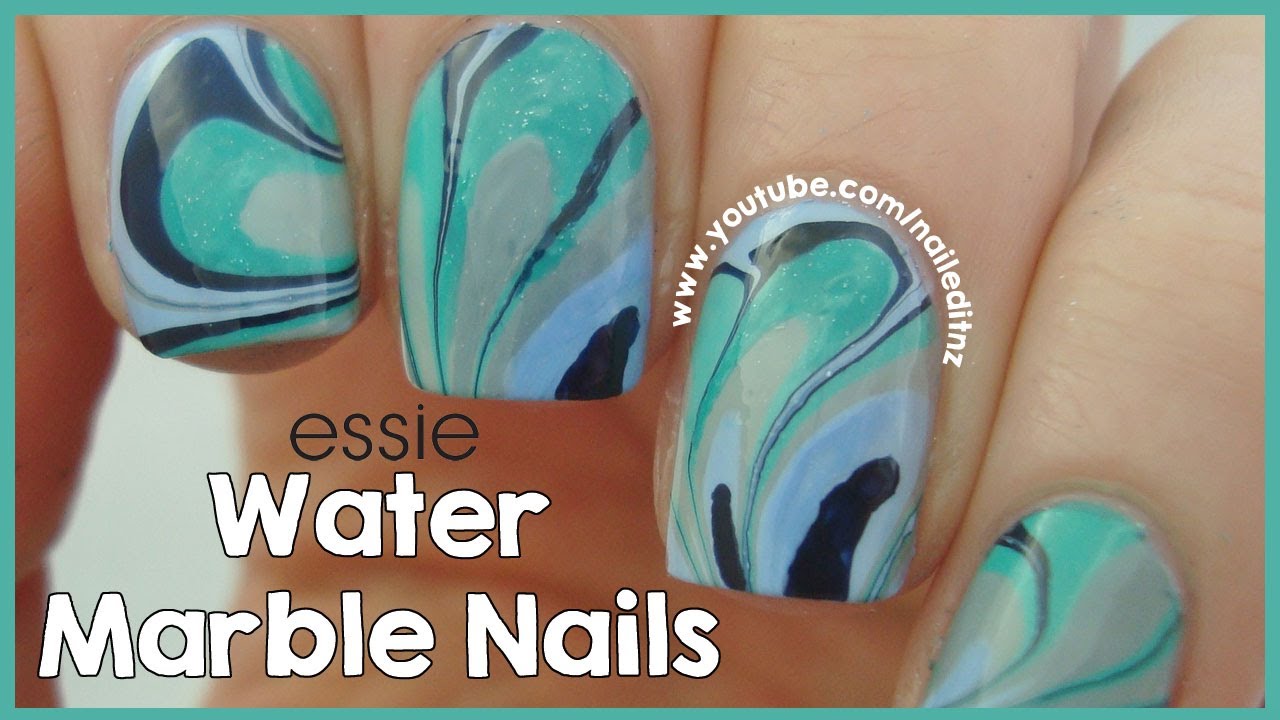

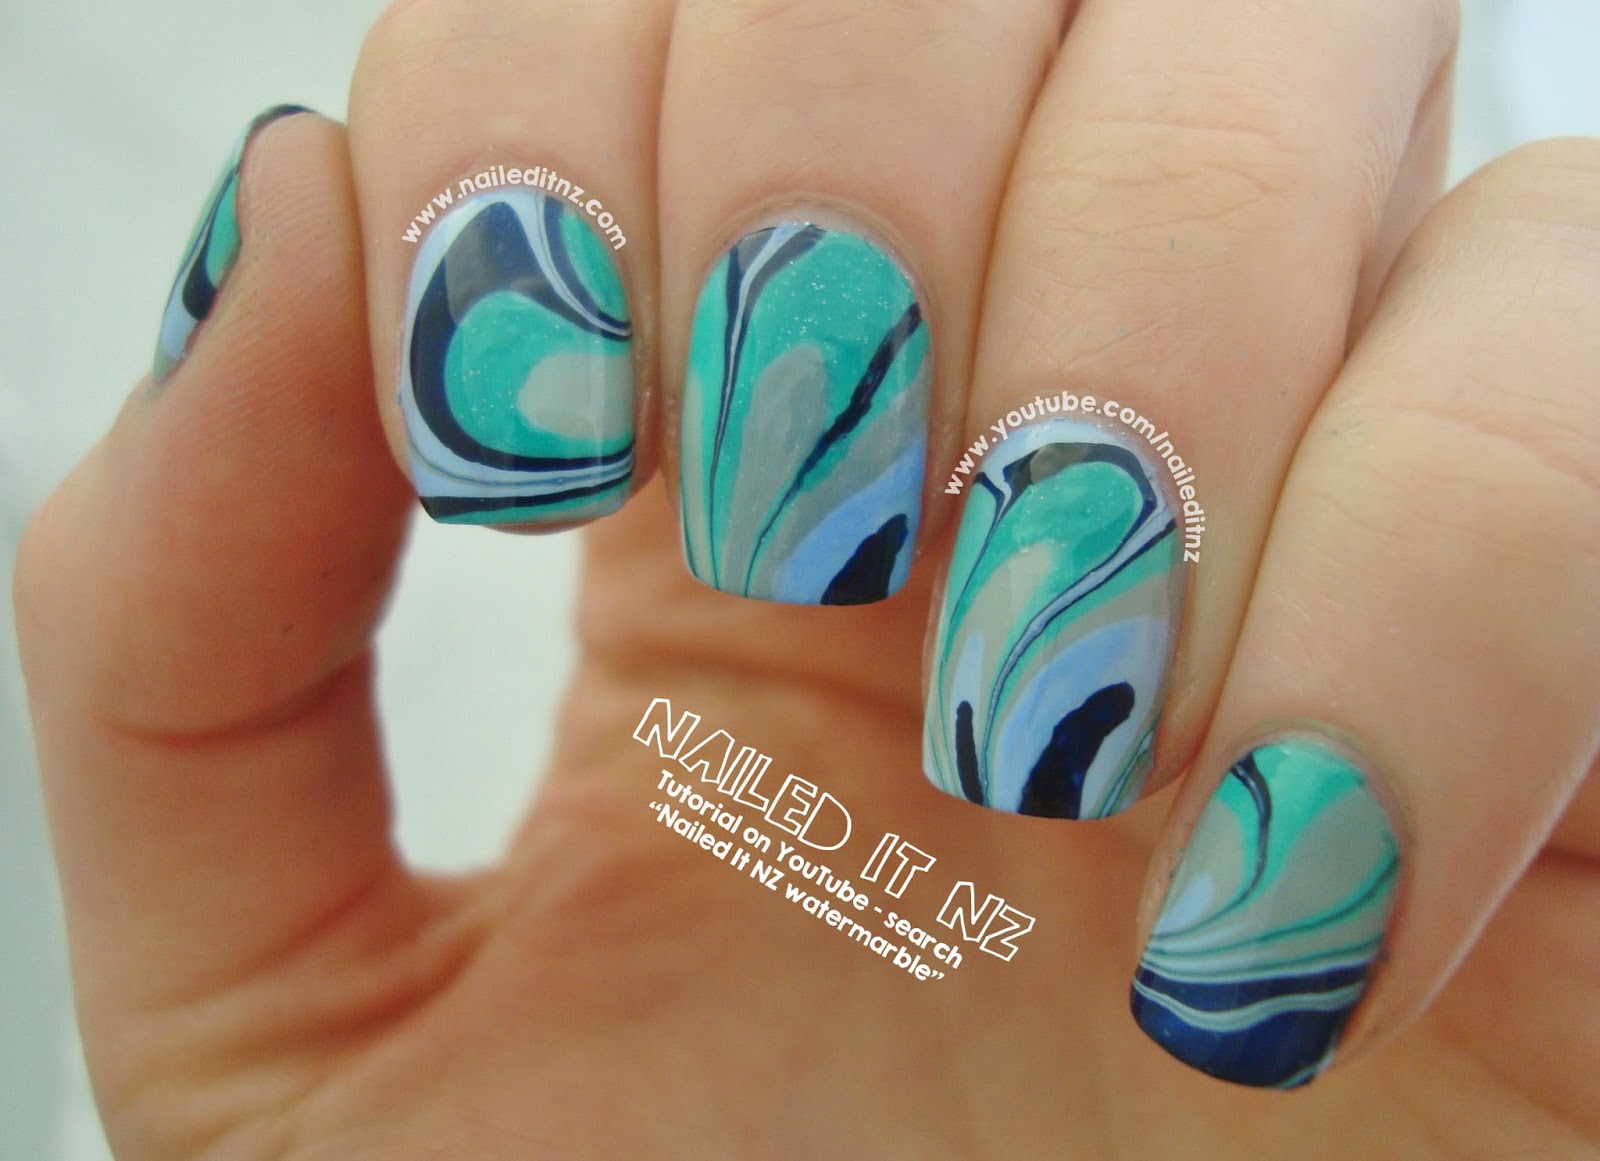


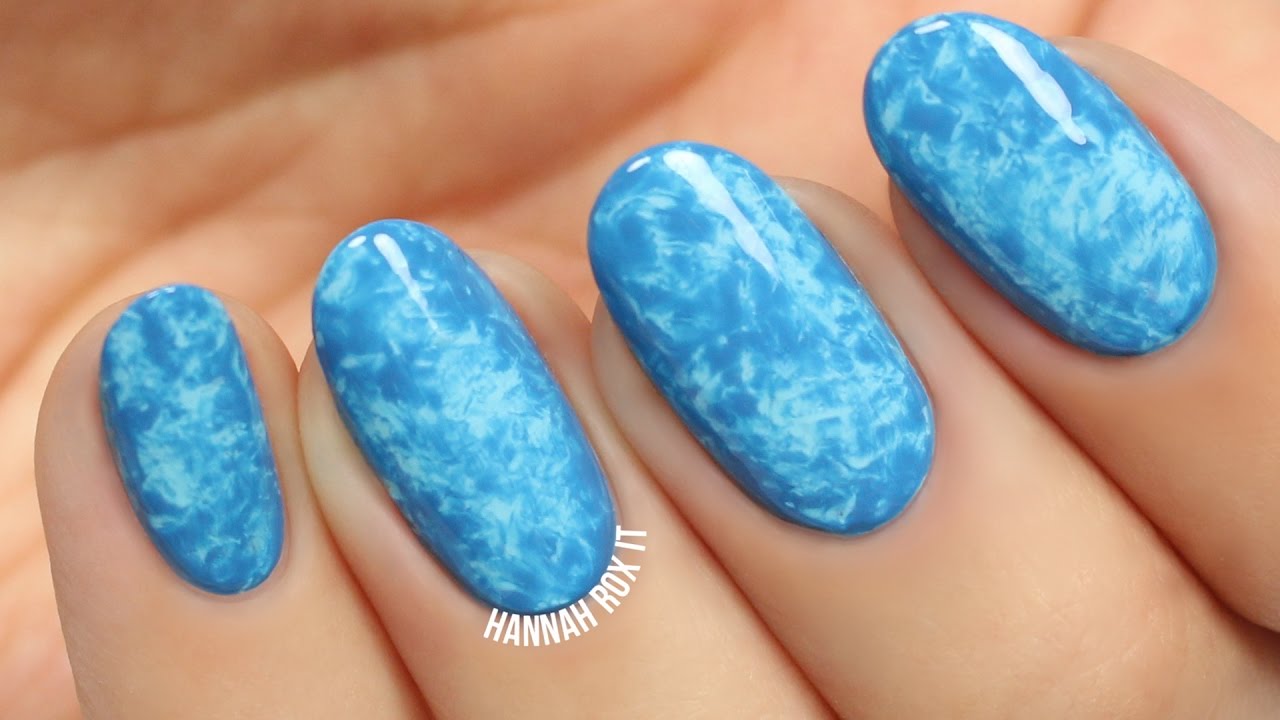
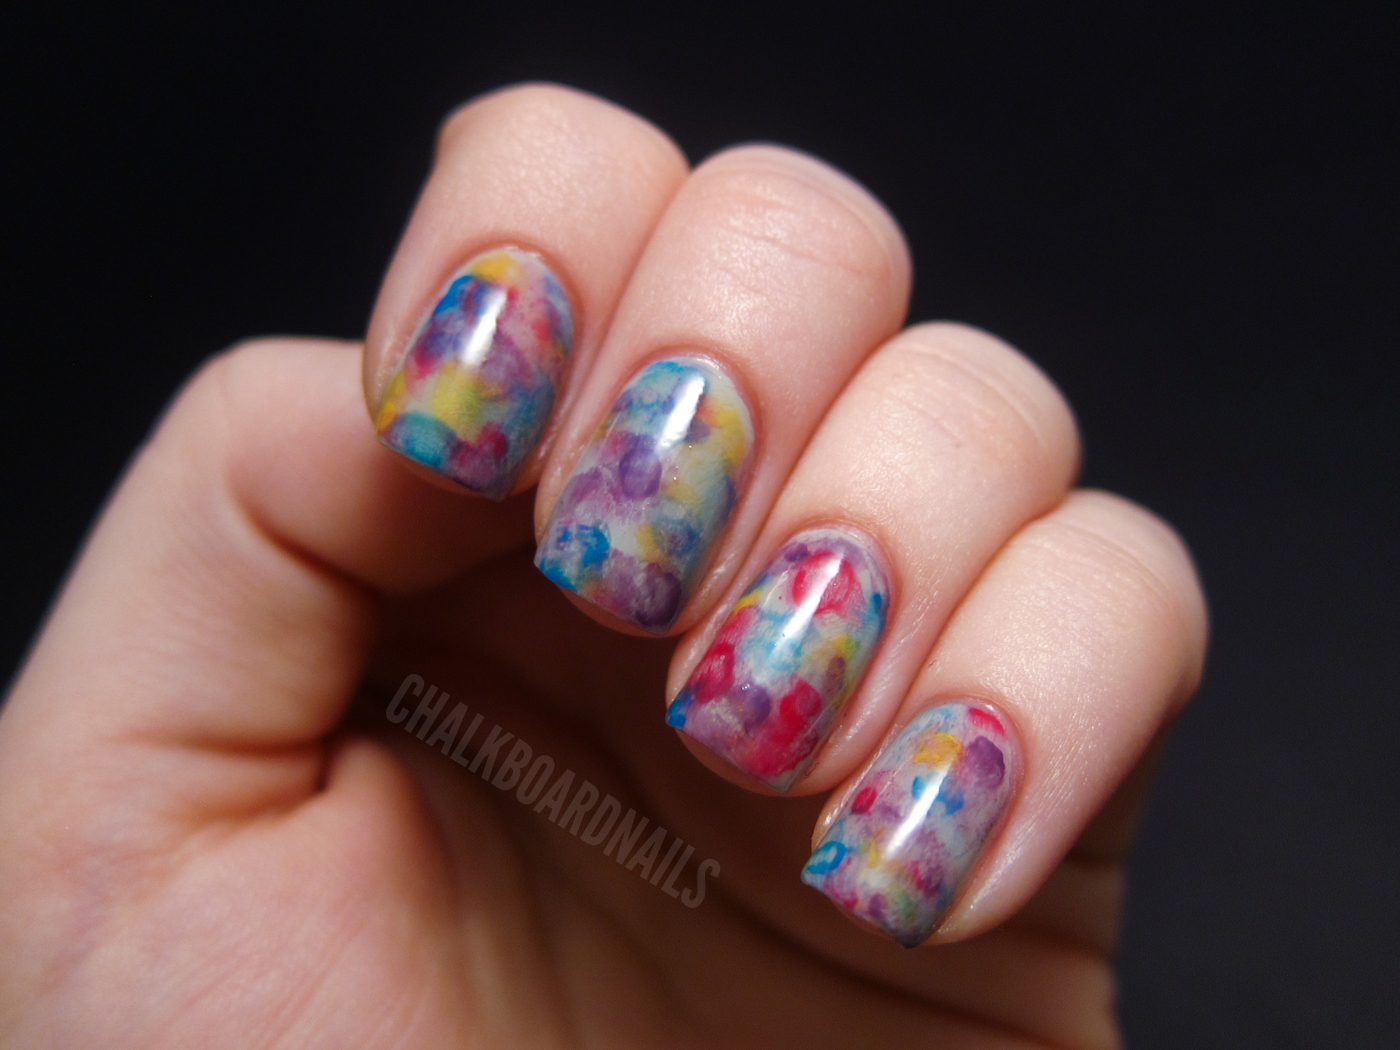
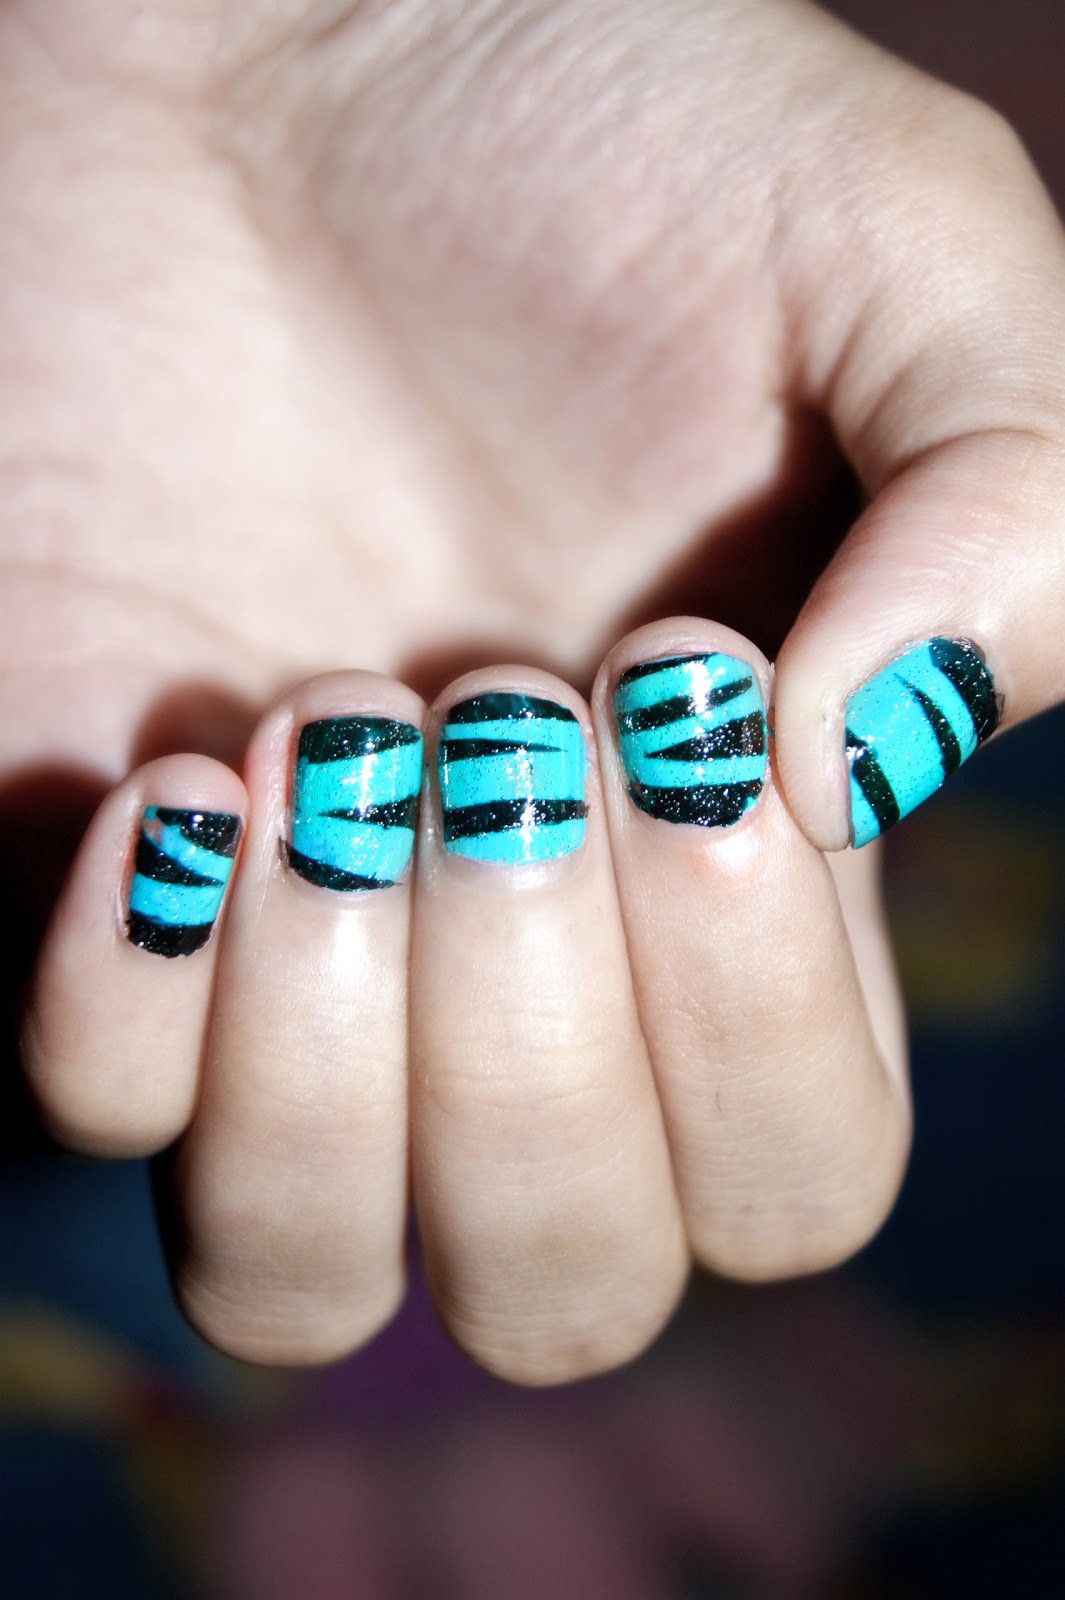
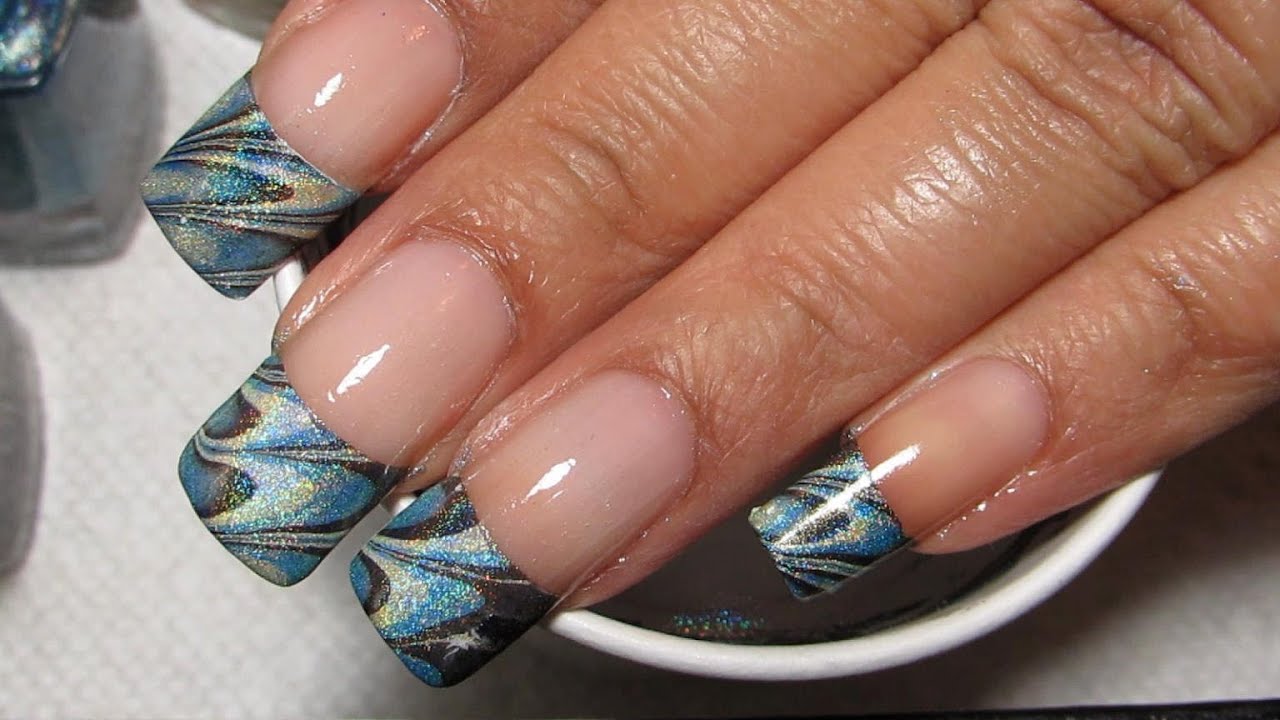
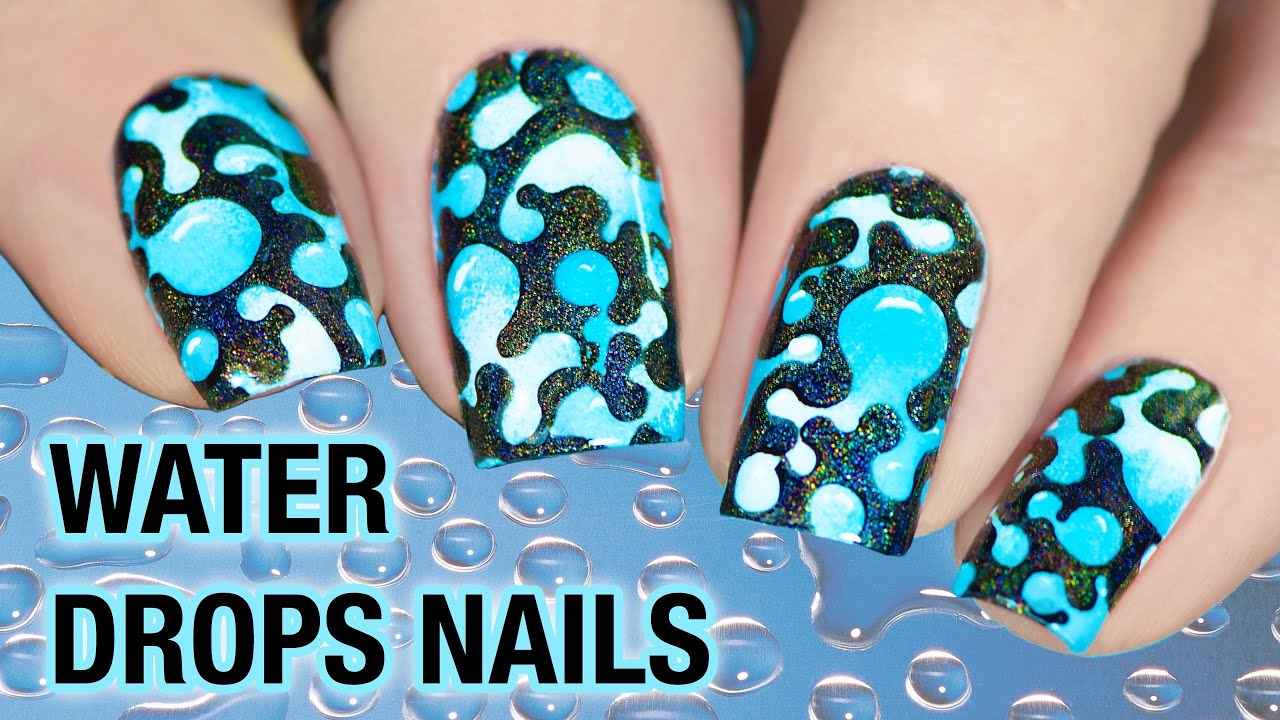
Water marble nail art may seem intimidating, but with gel polish, it's actually quite easy to achieve. Here's a simple tutorial to guide you through the process: Step 1: Prep your nails Start by shaping and filing your nails to your desired length and shape. Then, push back your cuticles and gently buff the surface of your nails to remove any oils and residue. Step 2: Apply a base coat Apply a thin layer of gel base coat to your nails and cure under a UV or LED light according to the instructions on your gel polish. Step 3: Apply your base color Choose a gel polish color for your base and apply two thin coats, curing each coat under the light. This will create a smooth and even base for your water marble design. Step 4: Prep your water Fill a small cup or bowl with room temperature water. Then, using an orange stick or toothpick, add a few drops of your chosen gel polish colors into the water. The colors should spread and create a swirl pattern on the surface.Gel Polish Water Marble Nail Art | Easy Nail Art Tutorial
How to Create Water Marble Nail Art with Gel Polish


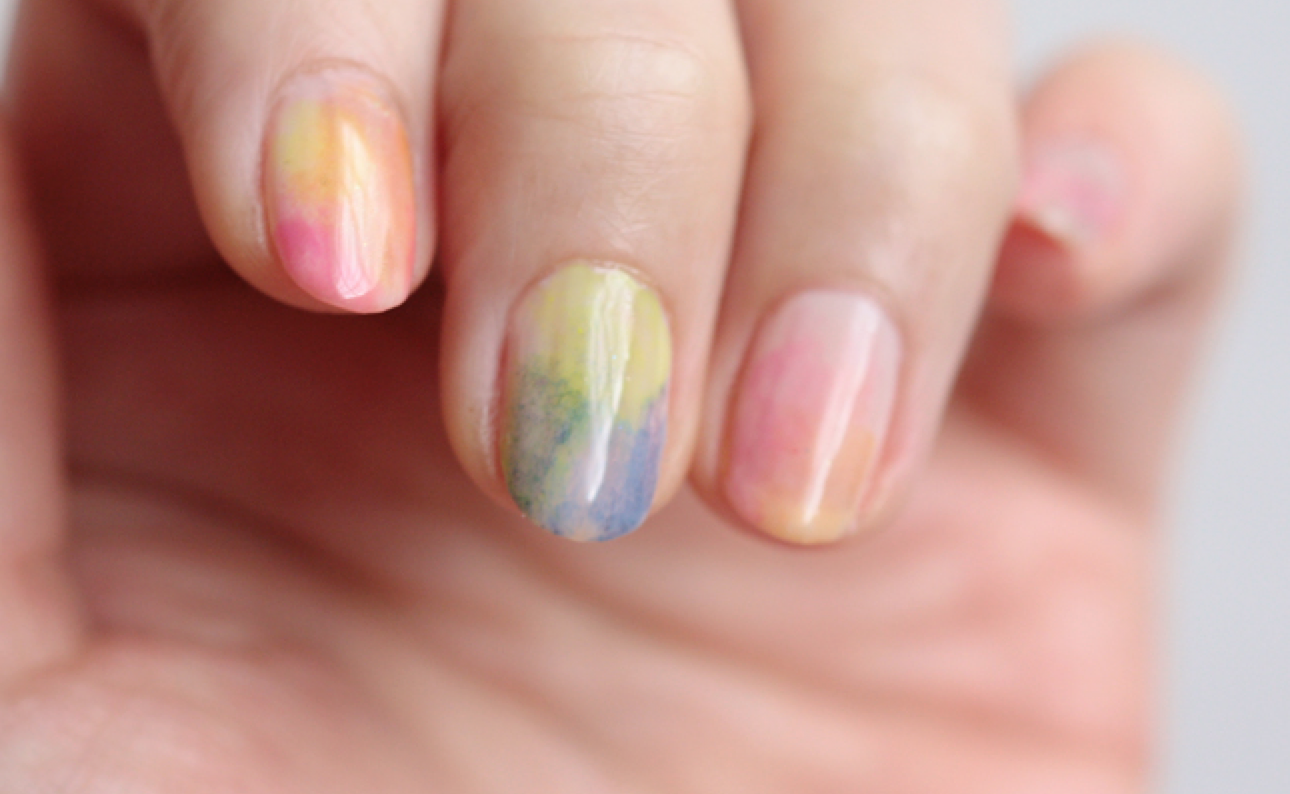
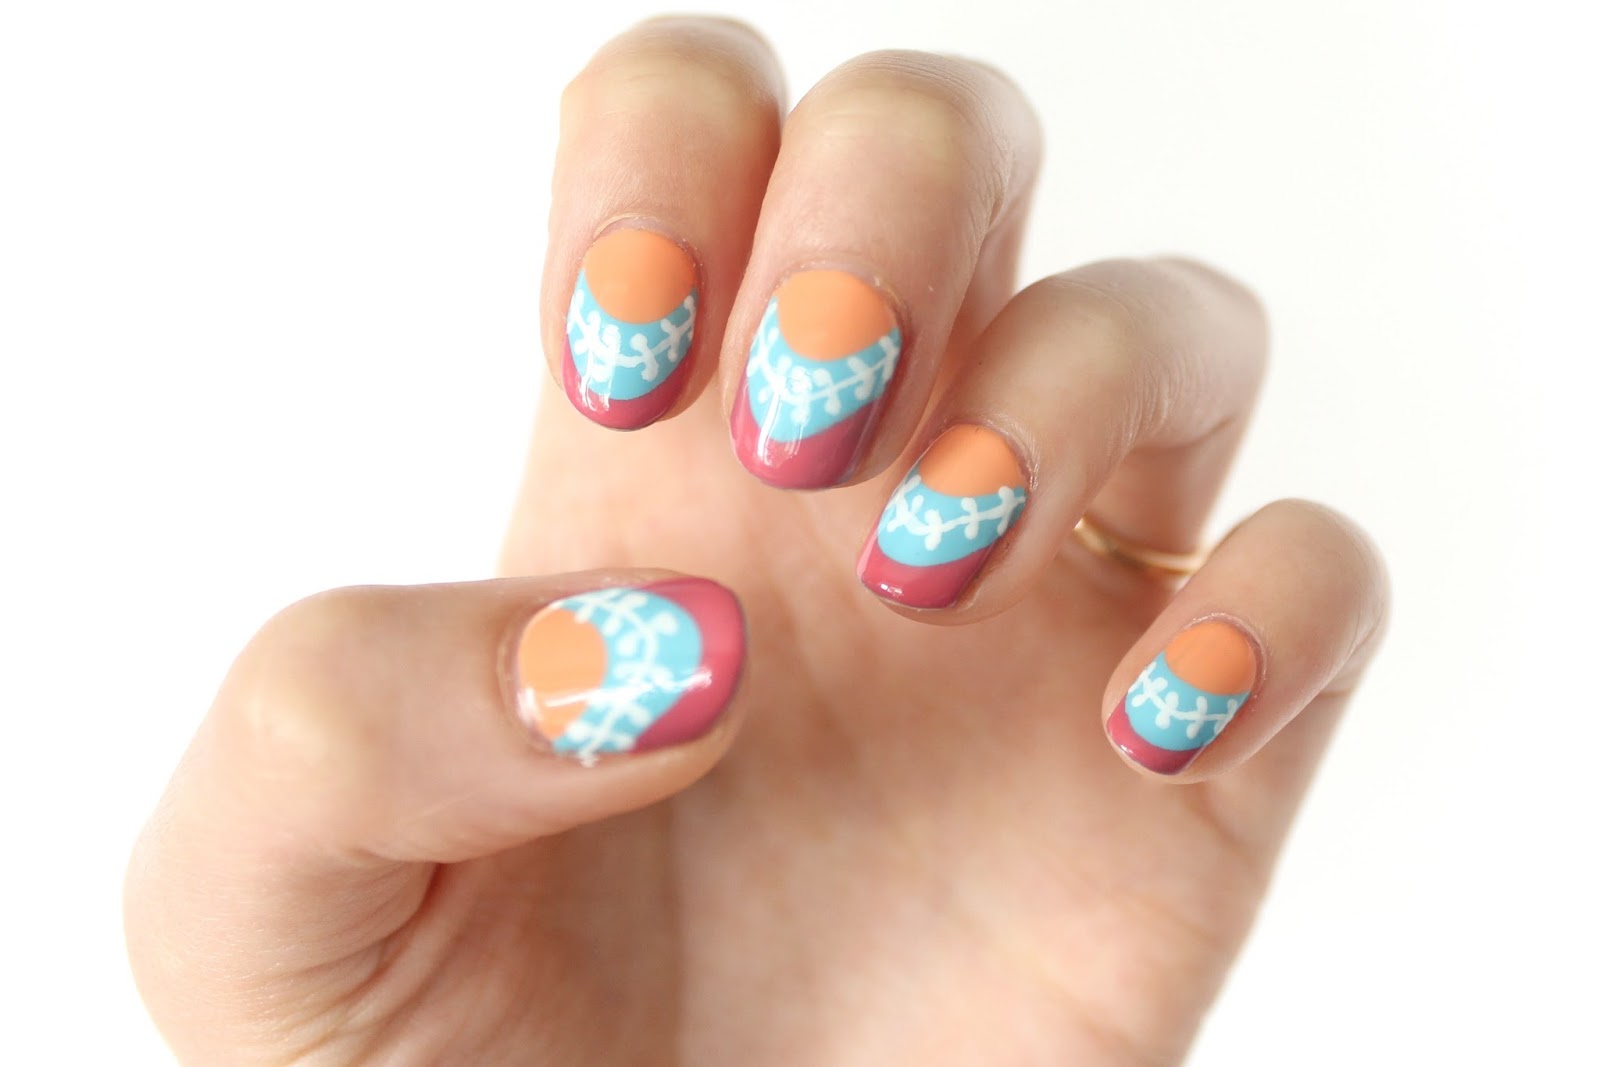
If you love the look of watercolor paintings, you'll love this next nail art design. Follow these steps to create a beautiful watercolor effect on your nails using gel polish: Step 1: Prep your nails Just like with the water marble design, start by prepping your nails. Shape, file, and prep your nails with a base coat and base color. Step 2: Create your watercolor mixture In a small cup or bowl, combine a few drops of gel polish with a few drops of water. Mix it together with an orange stick or toothpick until the colors are nicely blended. Step 3: Apply the watercolor Using a gel brush, apply the watercolor mixture onto your nails in a random pattern. You can apply it to the entire nail or just certain areas, depending on the look you want to achieve. Step 4: Cure and seal Once you're happy with your watercolor design, cure your nails under the light. Then, apply a gel top coat to seal in the design and cure again.Watercolor Nail Art with Gel Polish | Step by Step Tutorial


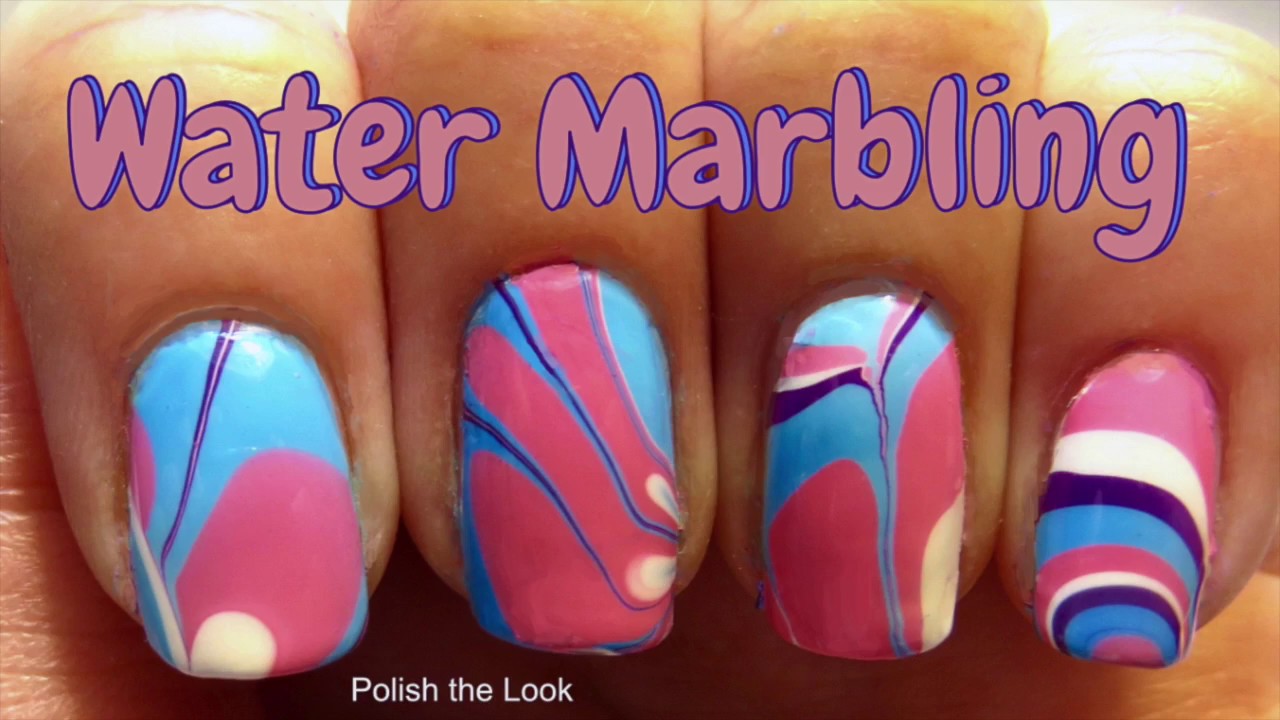
Gel Polish Water Marble Nail Art
.jpg)


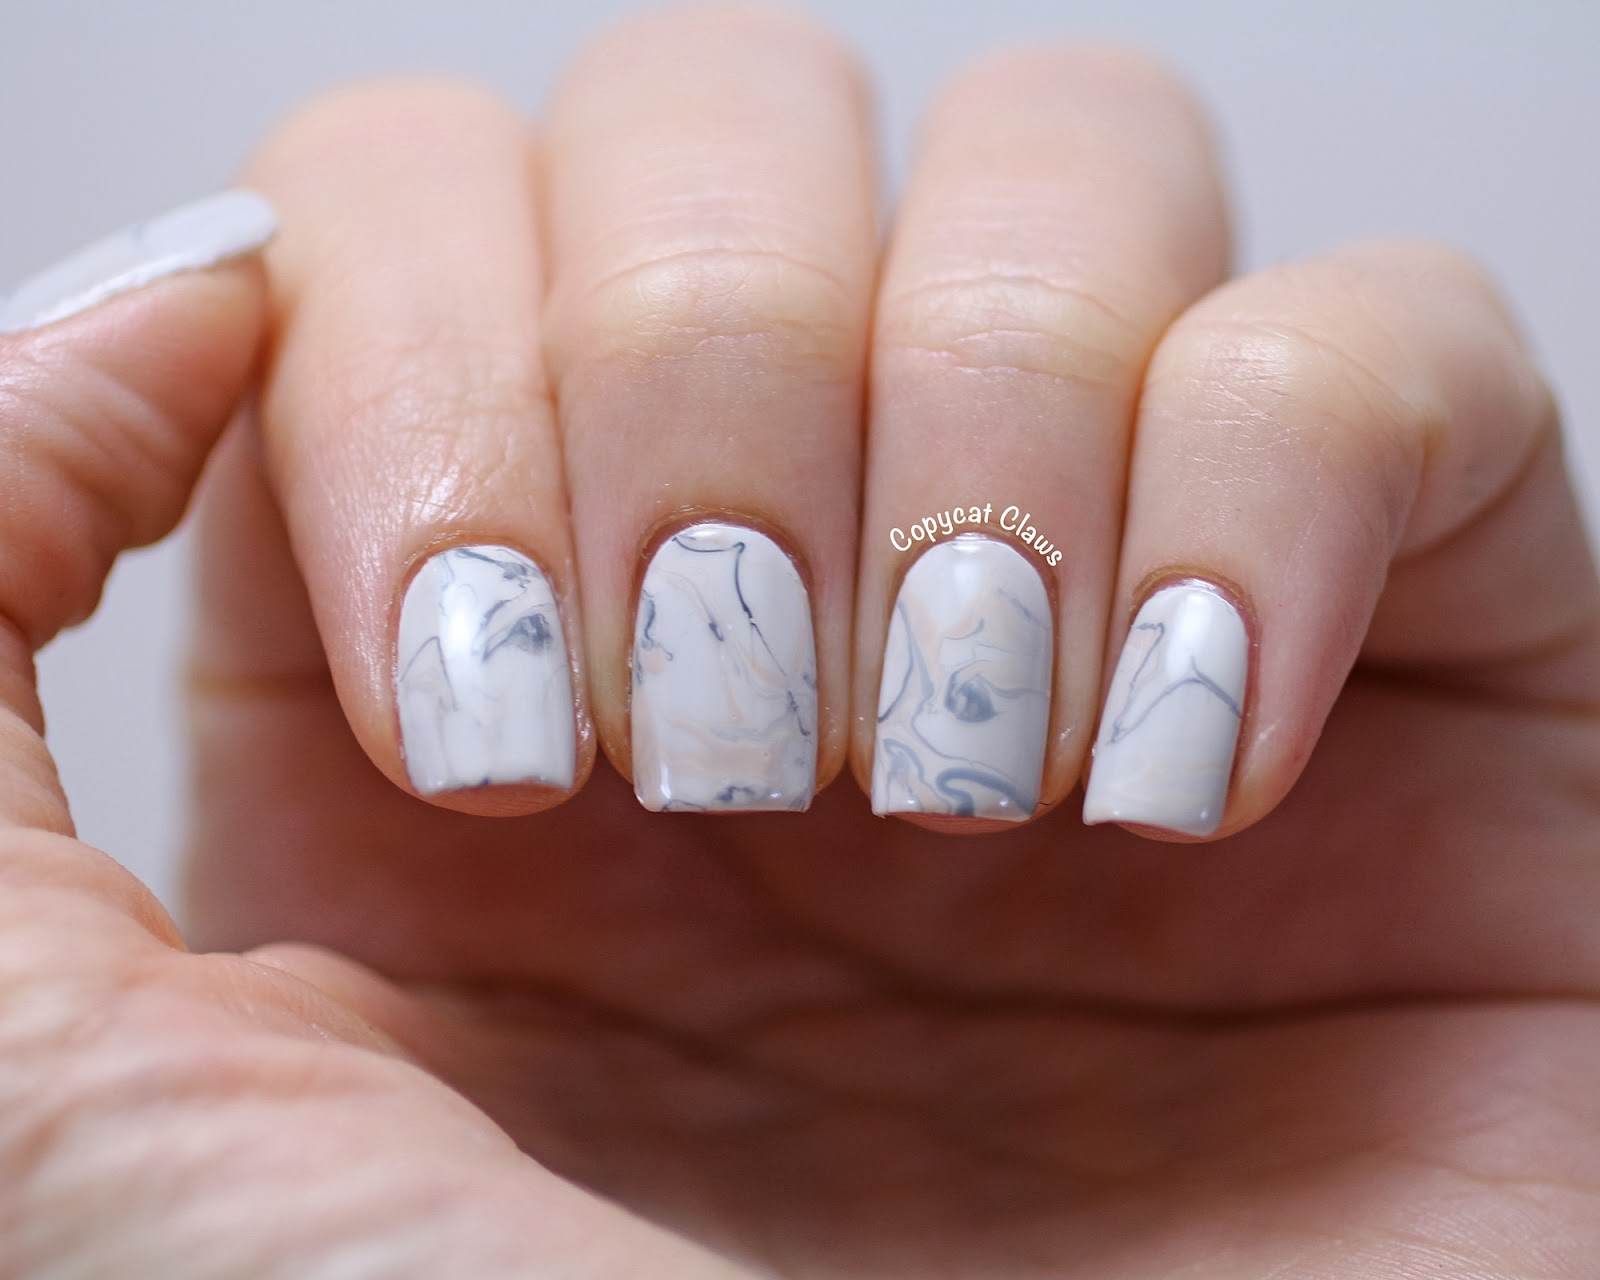

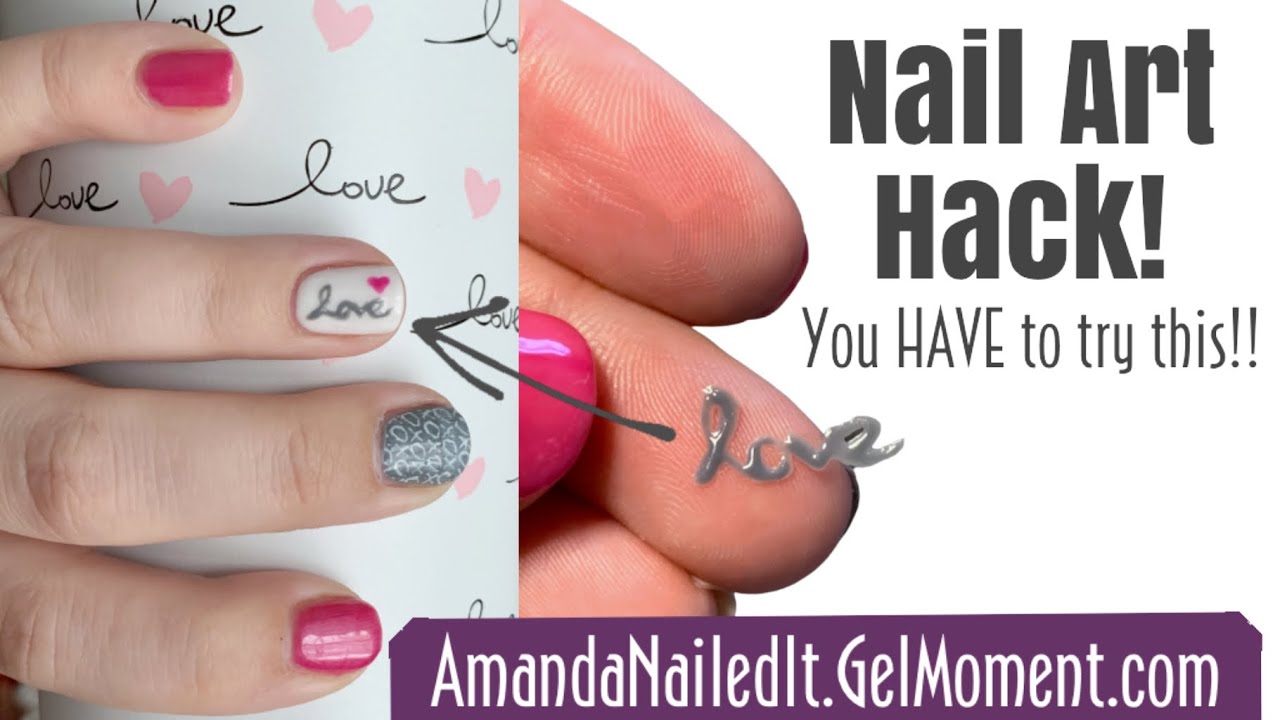
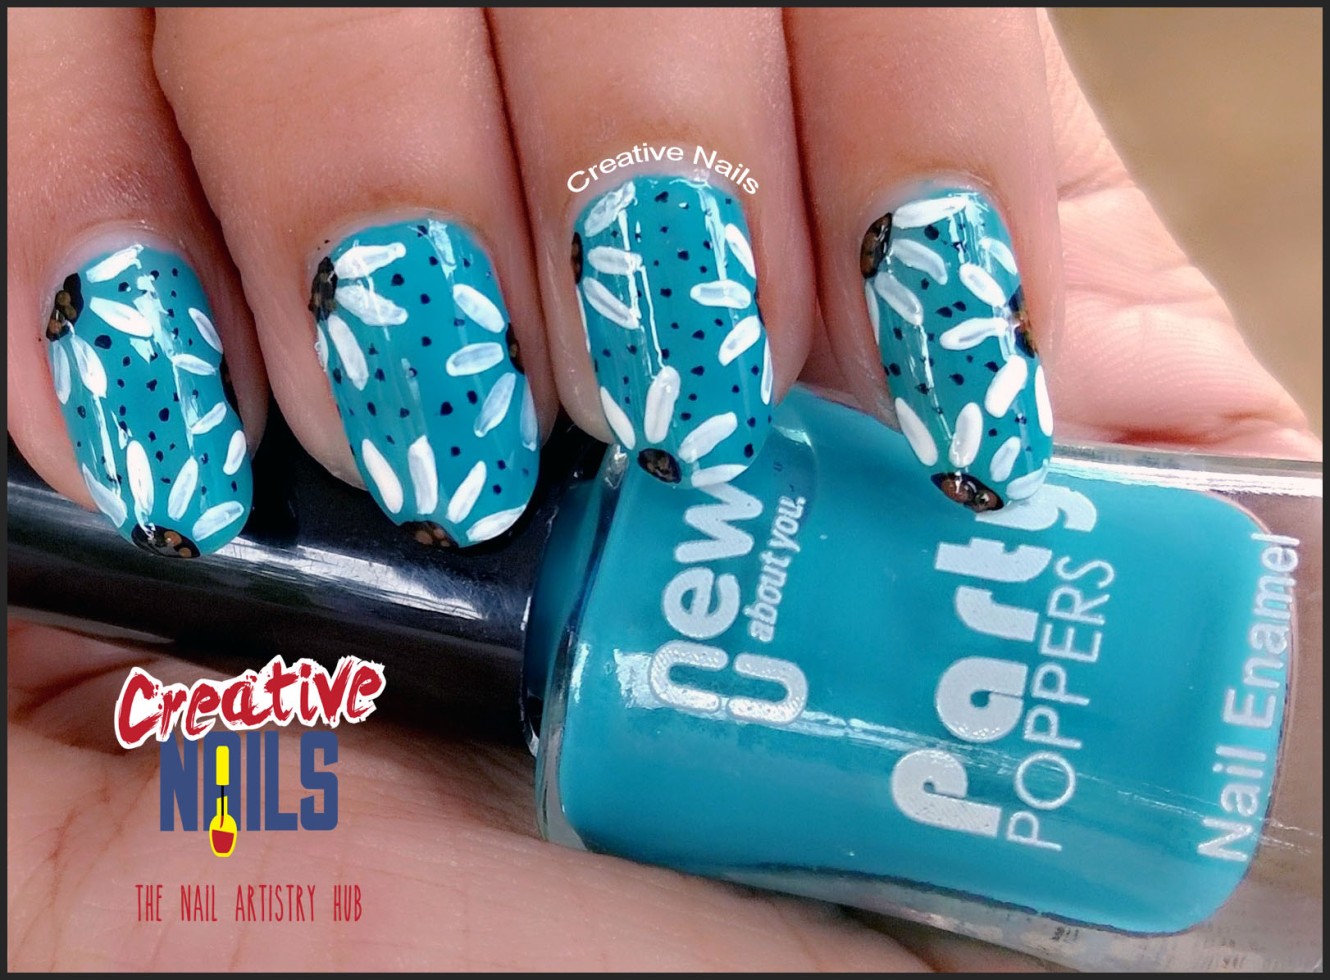
If you're a fan of the watercolor look but want something a little more subtle, try this gel polish watercolor nail art design: Step 1: Prep your nails As always, start by shaping, filing, and prepping your nails with a base coat and base color. Step 2: Create your watercolor mixture In a small cup or bowl, mix together a few drops of white gel polish and a few drops of clear gel polish. This will create a subtle and milky white color. Step 3: Apply the watercolor Using a gel brush, apply the watercolor mixture onto your nails in a random pattern. You can also use a sponge to dab on the color for a softer effect. Step 4: Finish with a top coat Once your watercolor design is complete, seal it in with a gel top coat and cure under the light. This will give your nails a glossy and long-lasting finish.Gel Polish Watercolor Nail Art | DIY Nail Art Tutorial


Easy Nail Art Tutorial


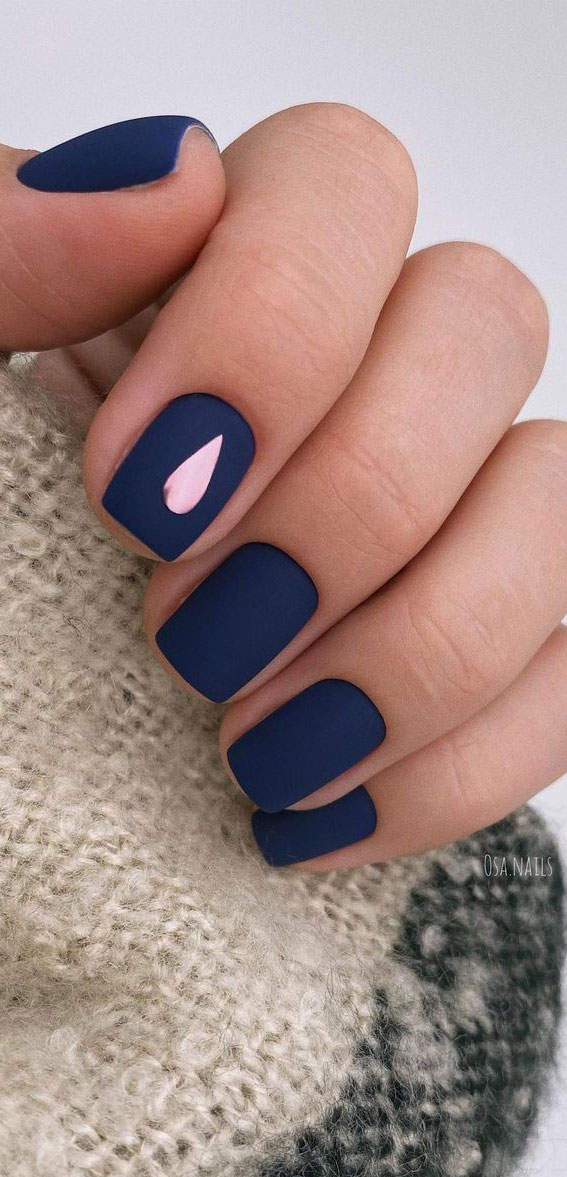
If you're a fan of 3D nail art, this water droplet design is perfect for you. Here's how to create it with gel polish: Step 1: Prep your nails As always, start by prepping your nails with a base coat and base color. Step 2: Create the droplets Using a dotting tool or the back of an orange stick, create small droplets using a clear gel polish. These droplets will give the illusion of water droplets on your nails. Step 3: Apply a top coat Once your droplets are in place, apply a gel top coat and cure under the light. This will give your nails a glossy finish and seal in the droplets.Water Droplet Nail Art with Gel Polish | Easy Nail Art Tutorial


Watercolor Nail Art with Gel Polish


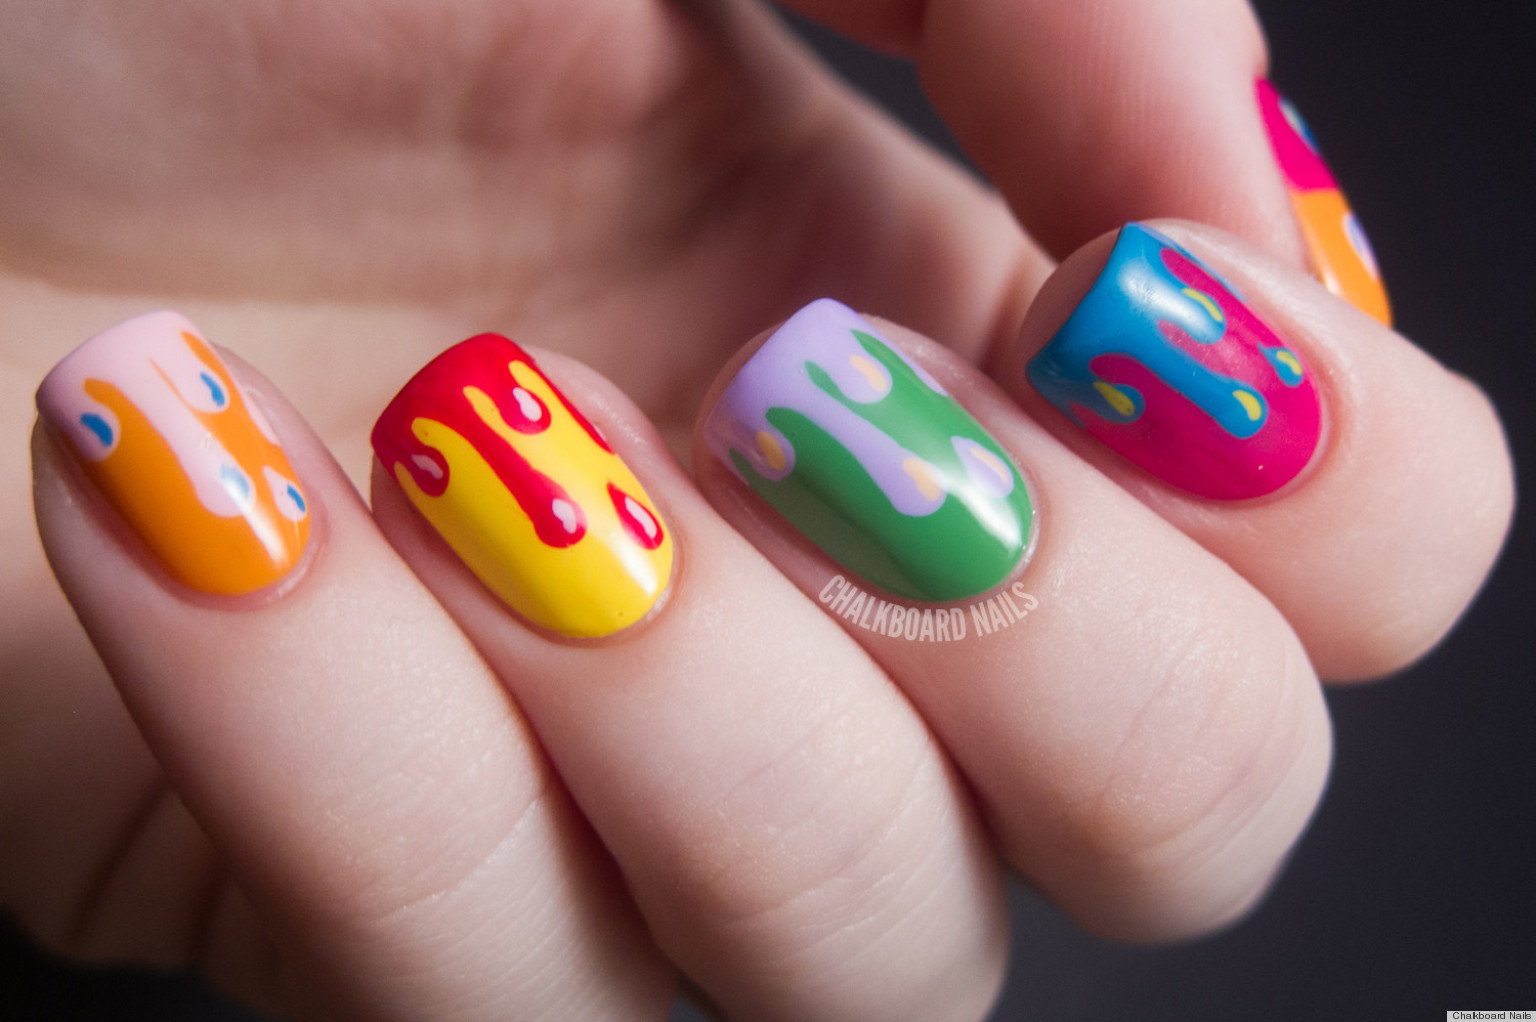
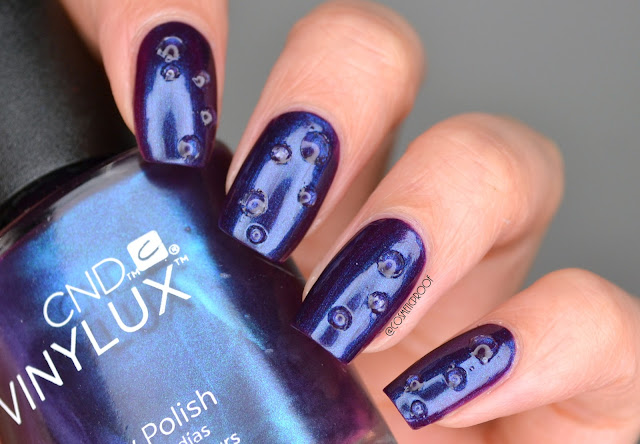
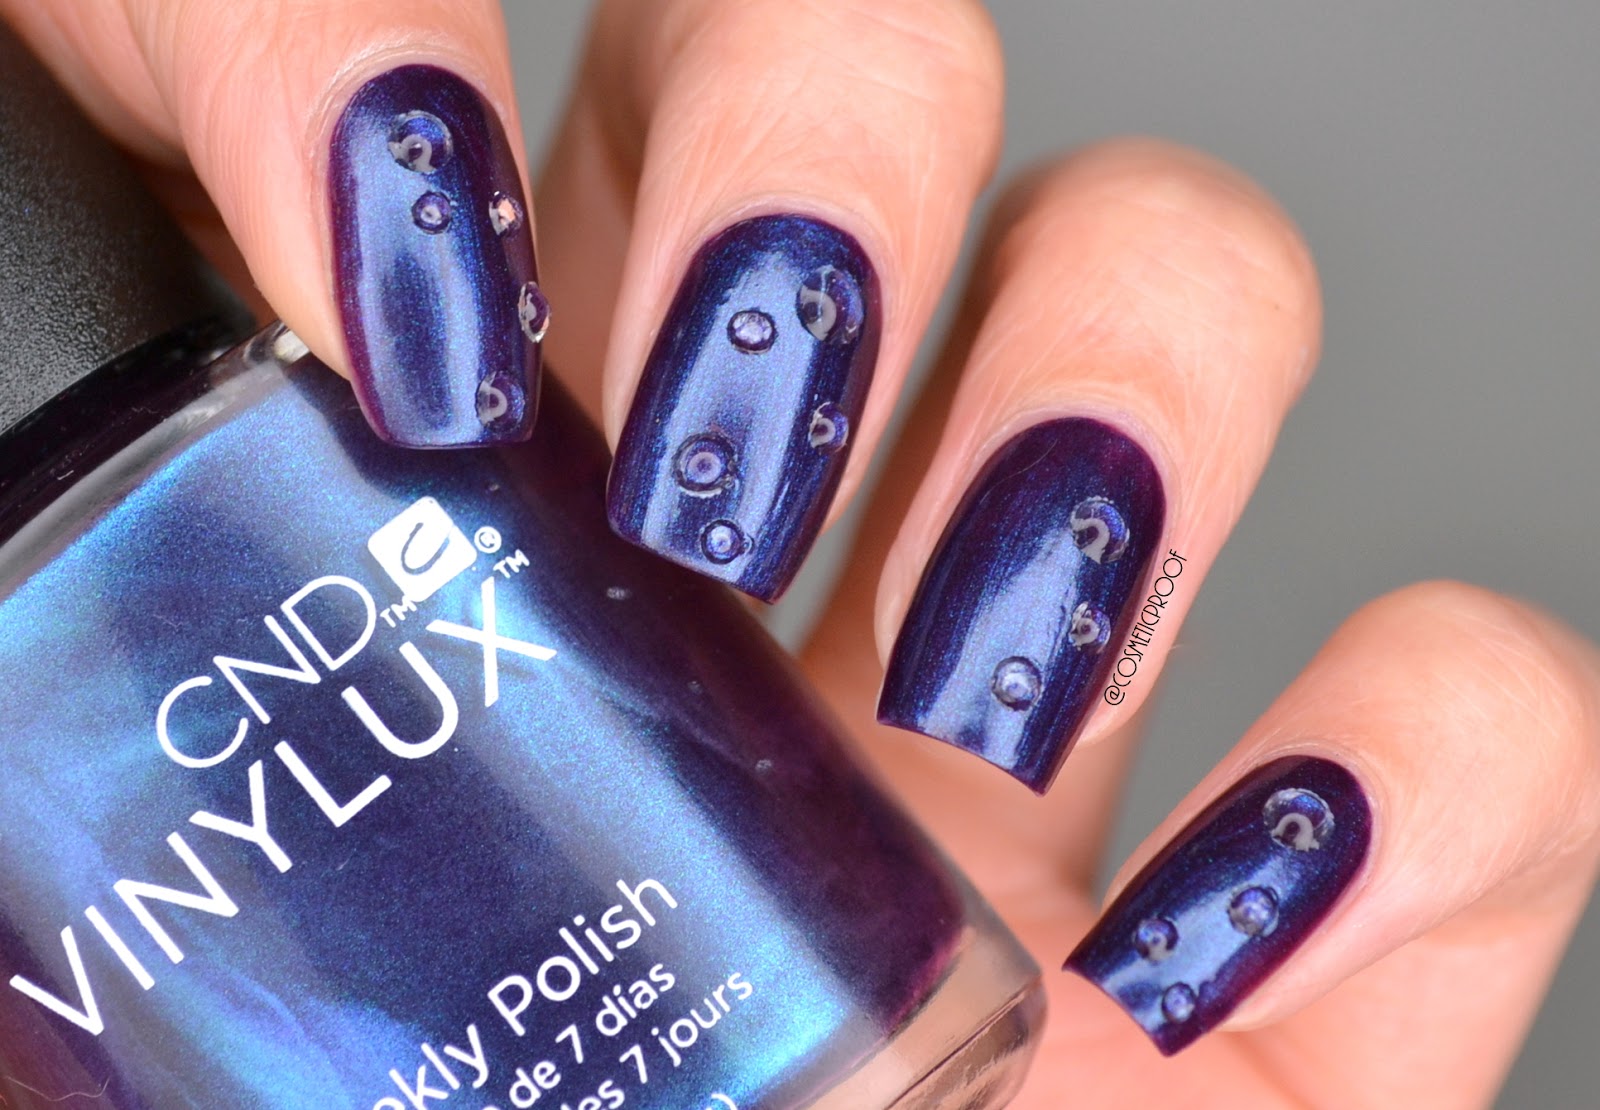
If you want to take your water droplet nail art to the next level, try this more intricate design with gel polish: Step 1: Prep your nails As always, start by prepping your nails with a base coat and base color. Step 2: Create the droplets Using a dotting tool or the back of an orange stick, create larger droplets using a clear gel polish. Then, using a fine brush, create thin lines around the droplets to give them a more realistic look. Step 3: Add color Using a gel polish of your choice, add a small drop of color to the center of each droplet. This will give the illusion of light reflecting off the droplets. Step 4: Finish with a top coat To seal in the design, apply a gel top coat and cure under the light. This will give your nails a glossy and 3D effect.Gel Polish Water Droplet Nail Art | Step by Step Tutorial


Step by Step Tutorial

This next nail art design is perfect for those who love a little sparkle and shine. Follow these steps to create a beautiful waterfall effect with gel polish: Step 1: Prep your nails As always, start by shaping, filing, and prepping your nails with a base coat and base color. Step 2: Create the waterfall Using a fine brush and a glitter gel polish, create a diagonal line across your nail. Then, using a dotting tool or the back of an orange stick, create small dots along the line to create the waterfall effect. Step 3: Add more sparkle Using a glitter gel polish, add a few more dots of glitter along the waterfall line. This will add more dimension and shine to your design. Step 4: Finish with a top coat Once you're happy with your design, seal it in with a gel top coat and cure under the light. This will give your nails a gorgeous and long-lasting sparkle.Waterfall Nail Art with Gel Polish | Easy Nail Art Tutorial


Gel Polish Watercolor Nail Art


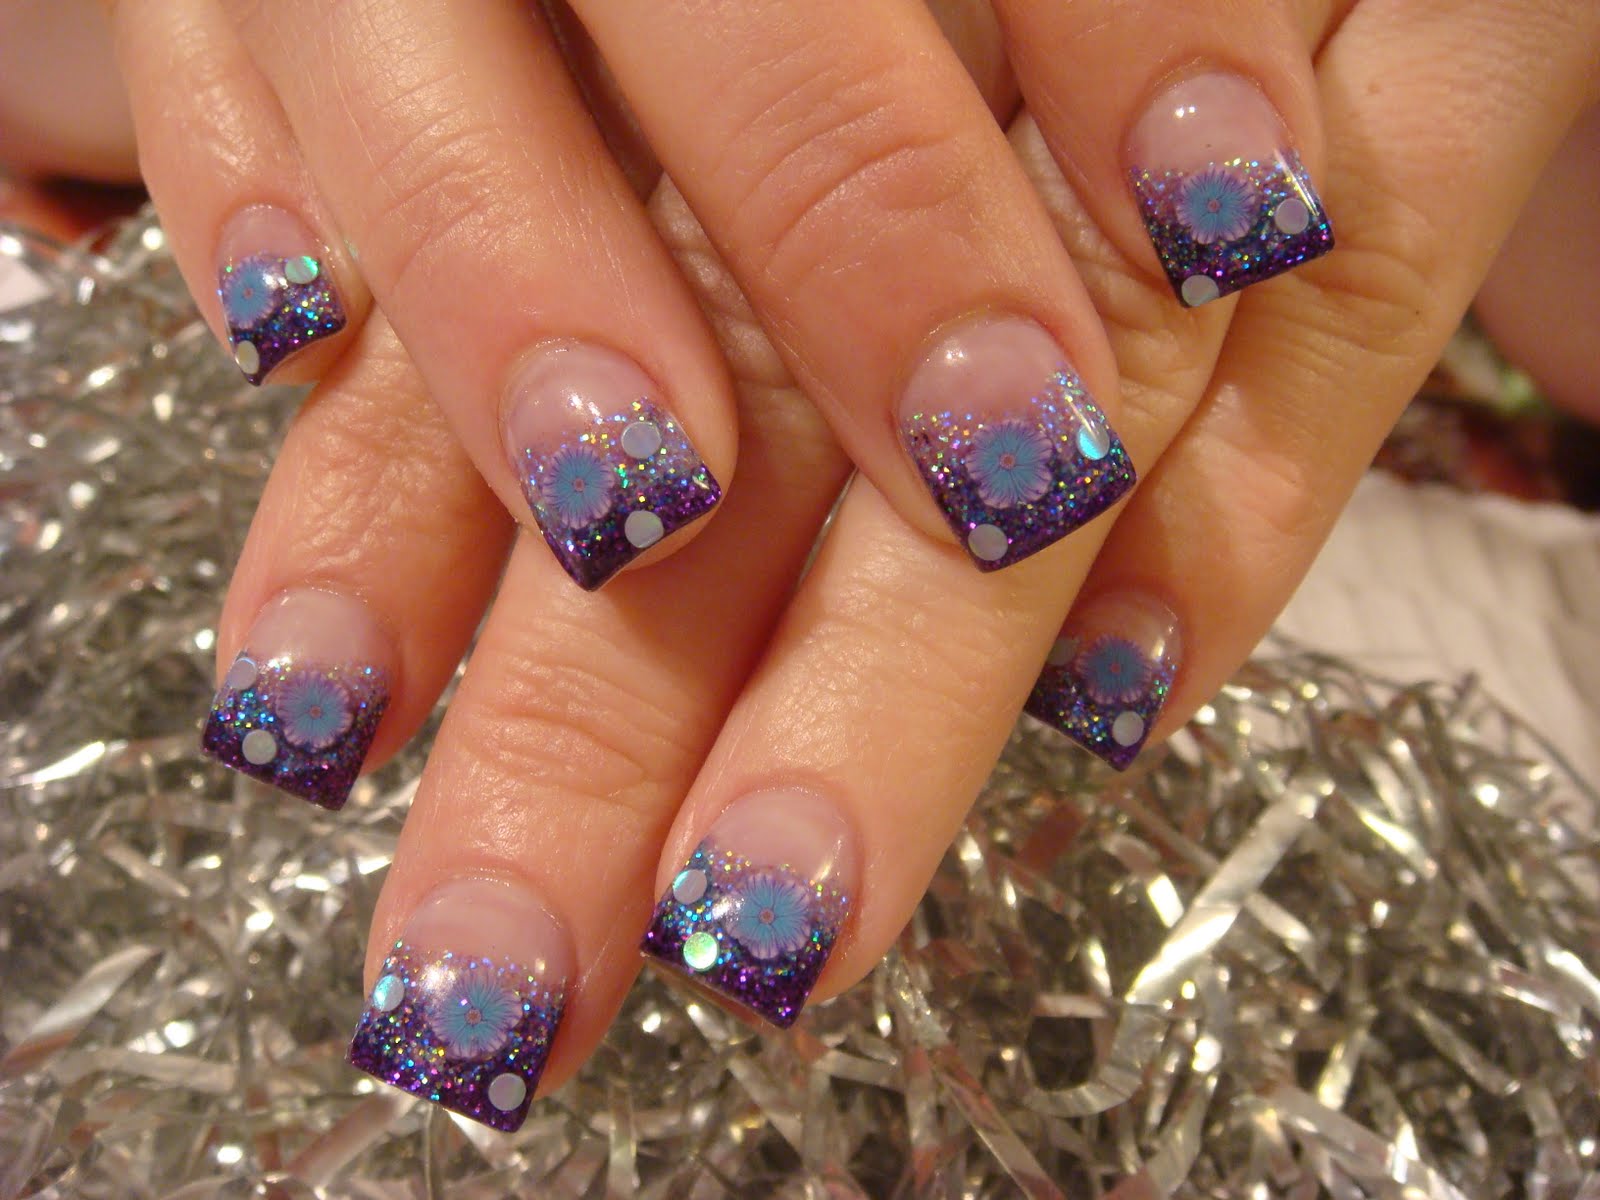
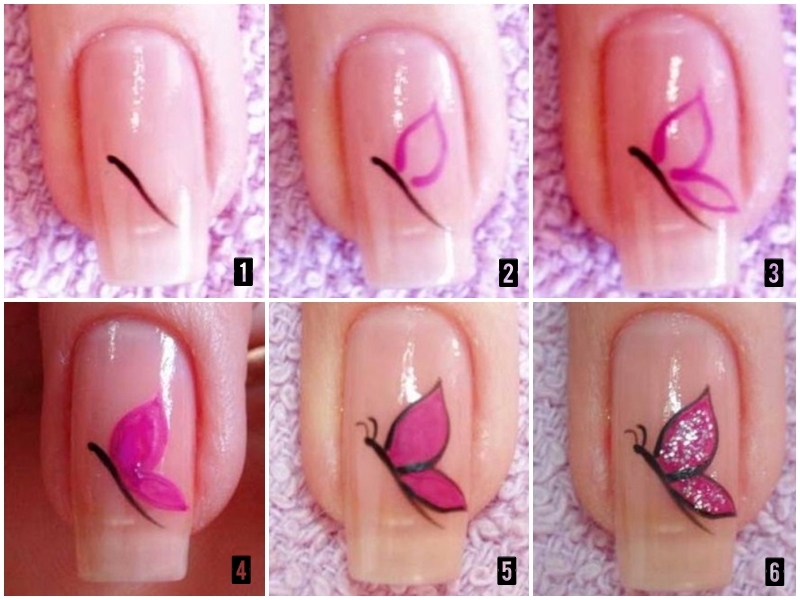
If you want to take your waterfall nail art to the next level, try this more intricate design with gel polish: Step 1: Prep your nails As always, start by prepping your nails with a base coat and base color. Step 2: Create the waterfall Using a fine brush and a glitter gel polish, create a diagonal line across your nail. Then, using a dotting tool or the back of an orange stick, create small dots along the line to create the waterfall effect. Step 3: Add more details Using a fine brush, add small leaf or flower shapes along the waterfall line. This will give the illusion of a gorgeous waterfall in a forest. Step 4: Finish with a top coat Once you're happy with your design, seal it in with a gel top coat and cure under the light. This will give your nails a stunning and intricate finish.Gel Polish Waterfall Nail Art | Step by Step Tutorial


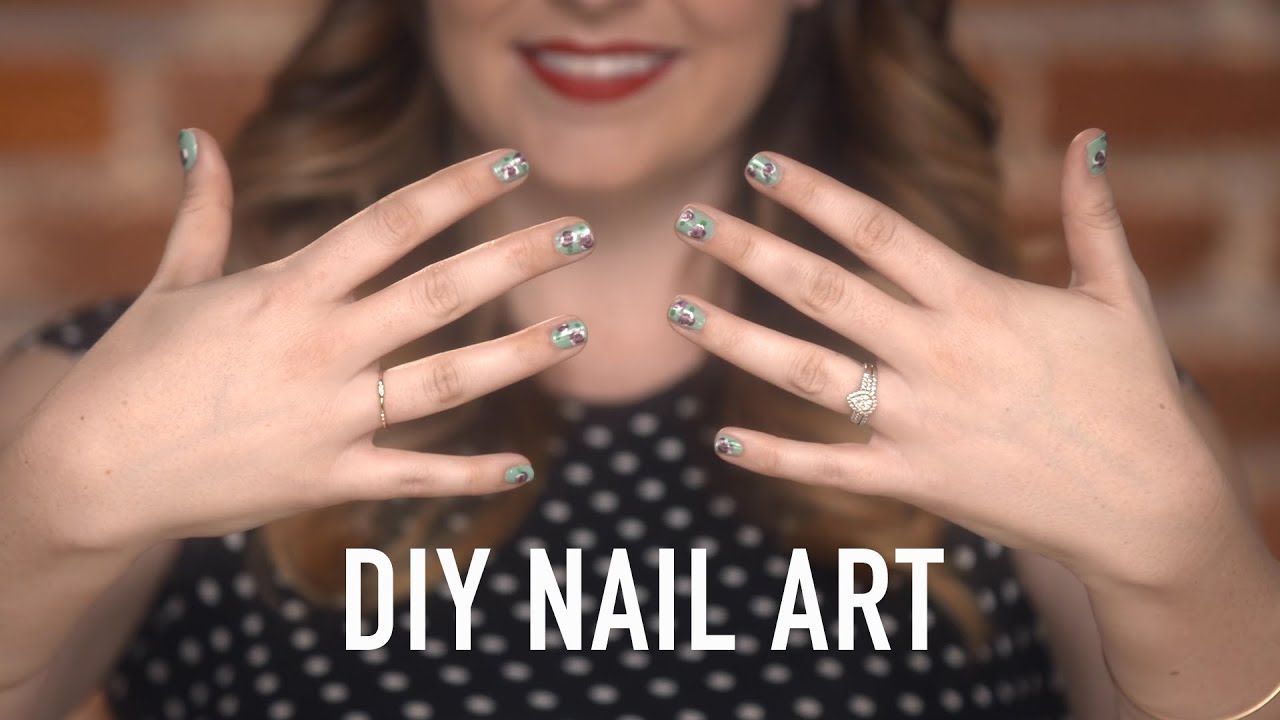
DIY Nail Art Tutorial


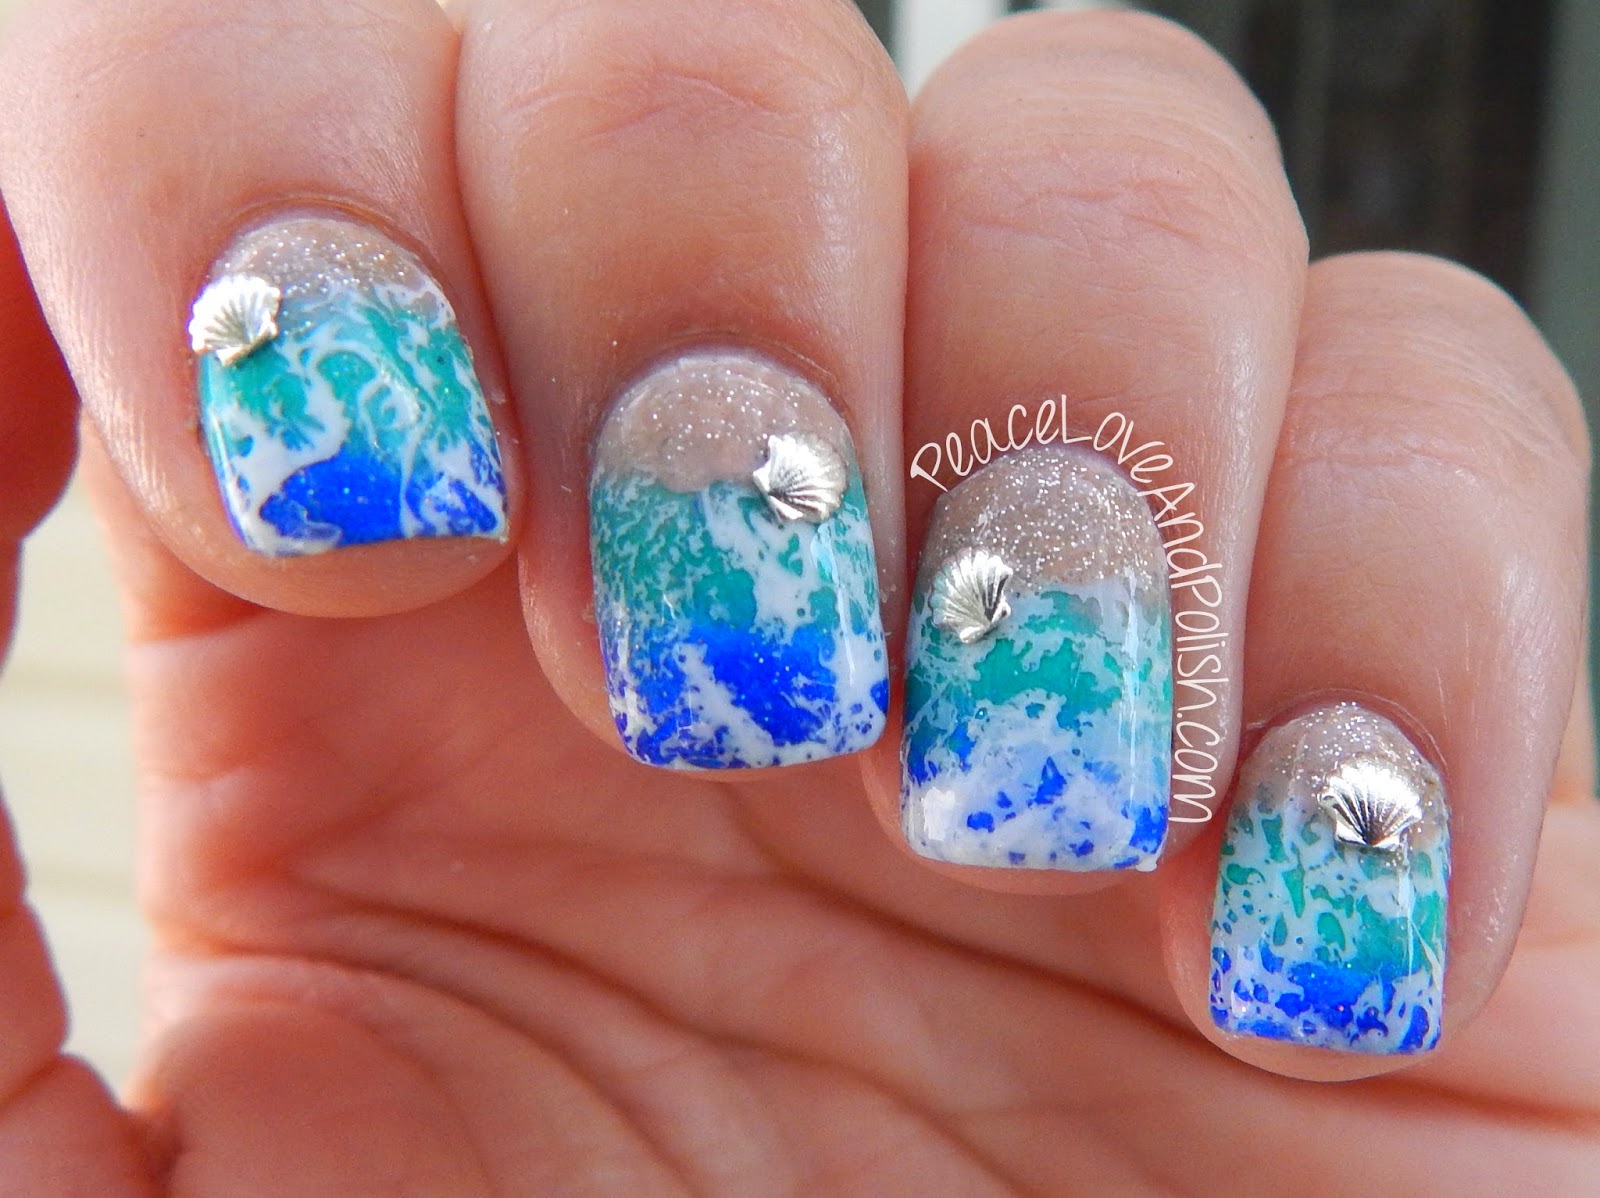
Who doesn't love a good ocean-themed nail design? Here's how to create a beautiful ocean nail art look with gel polish: Step 1: Prep your nails As always, start by shaping, filing, and prepping your nails with a base coat and base color. Step 2: Create the ocean Using a fine brush, create a wavy line across your nail using a blue gel polish. Then, using a dotting tool or the back of an orange stick, add small waves and swirls along the line to create the ocean. Step 3: Add details Using a fine brush, add small fish, starfish, and seaweed shapes to your ocean design. You can also add some glitter gel polish to create a sparkling effect. Step 4: Finish with a top coat To seal in your ocean design, apply a gel top coat and cure under the light. This will give your nails a gorgeous and long-lasting ocean effect.Ocean Nail Art with Gel Polish | Easy Nail Art Tutorial

Water Droplet Nail Art with Gel Polish


The Trendy and Unique Water Nail Art with Gel Polish

Why Choose Water Nail Art with Gel Polish?
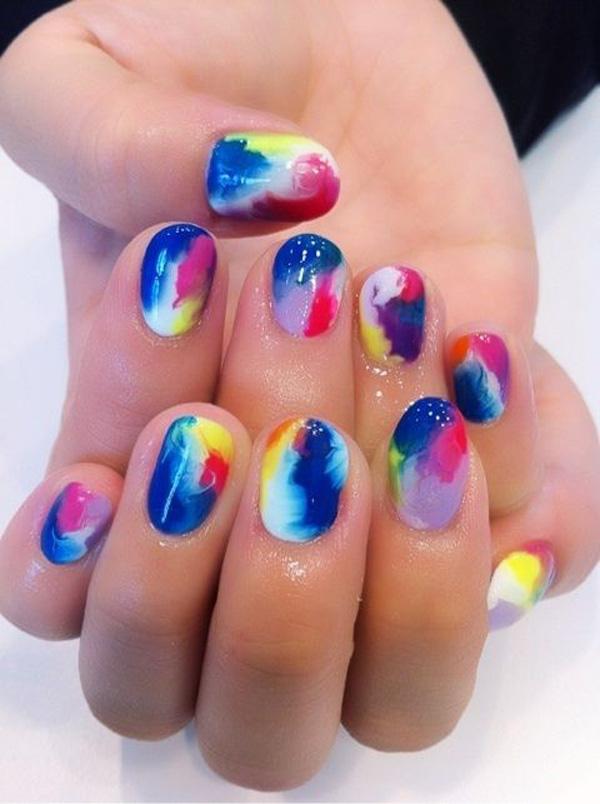
 When it comes to nail art, there are endless possibilities to express your creativity and style. From intricate designs to bold colors, there is always something new to try. One trend that has been gaining popularity recently is water nail art with gel polish. This unique technique not only looks stunning, but it also provides long-lasting results.
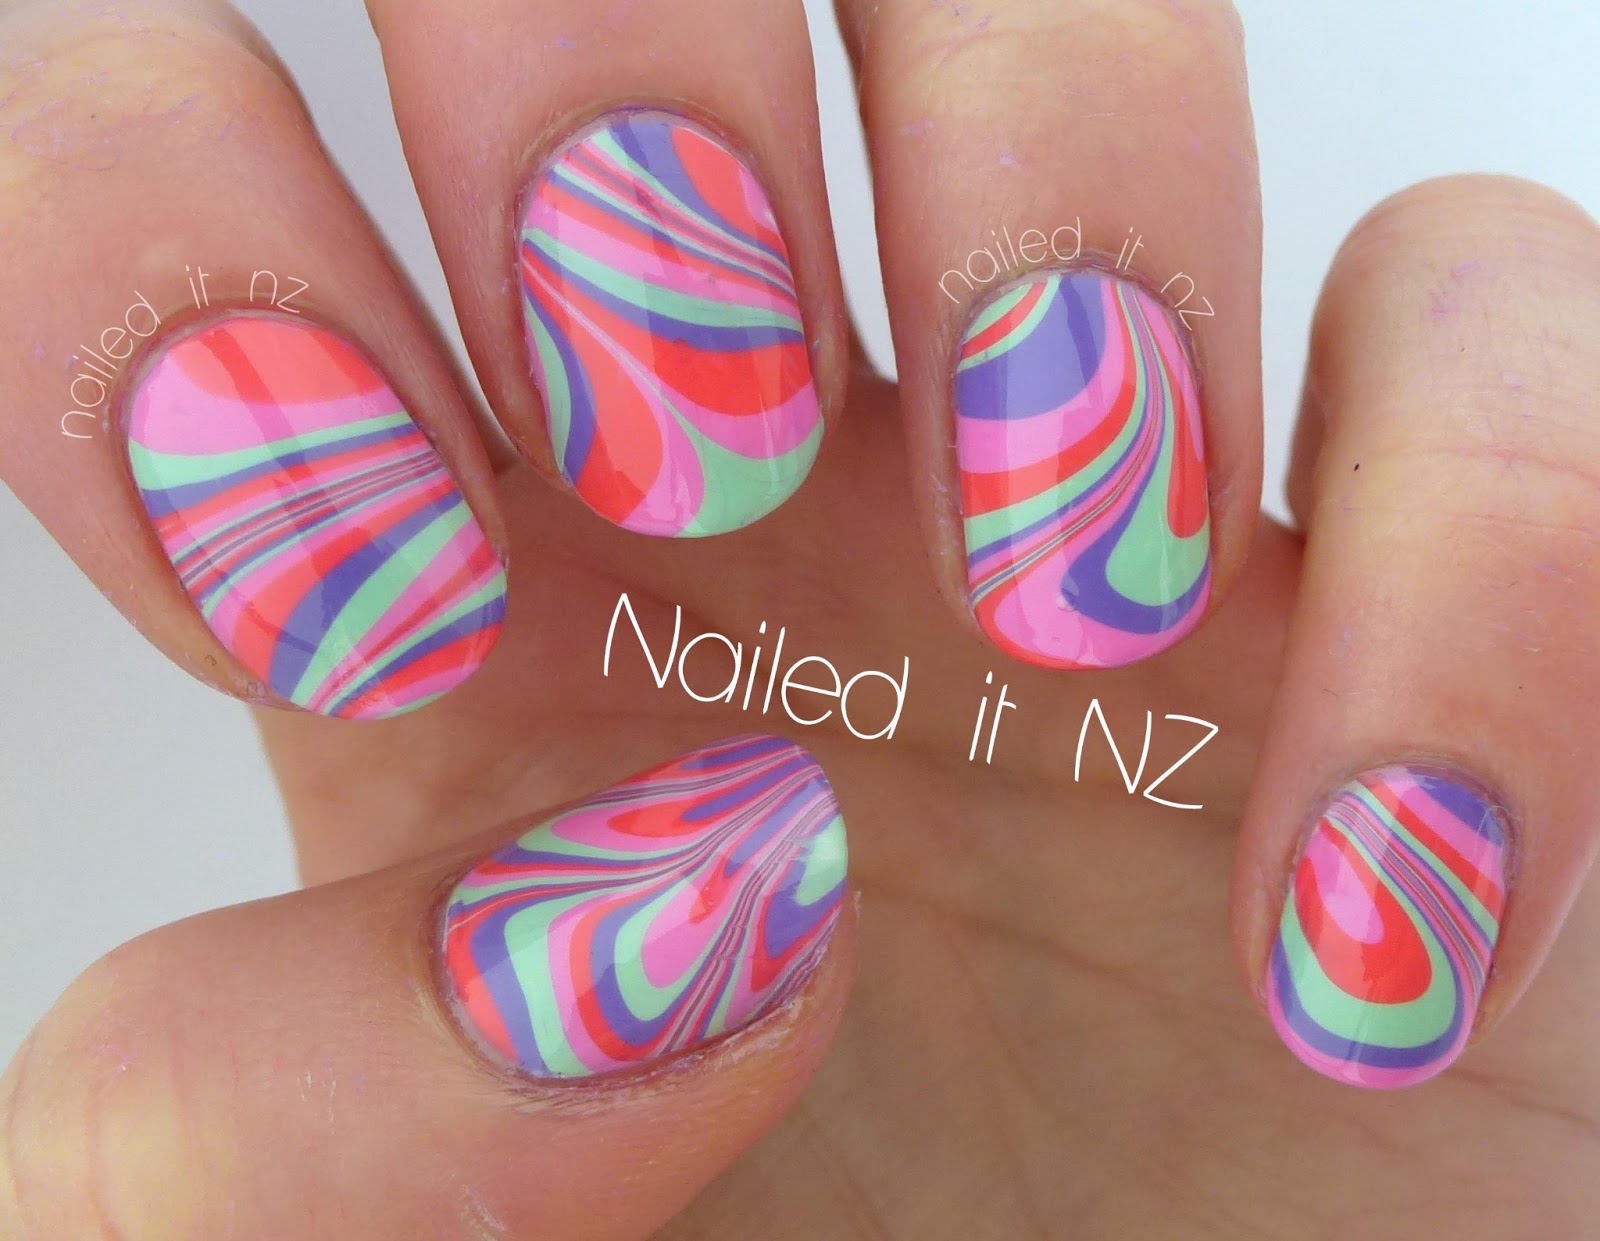
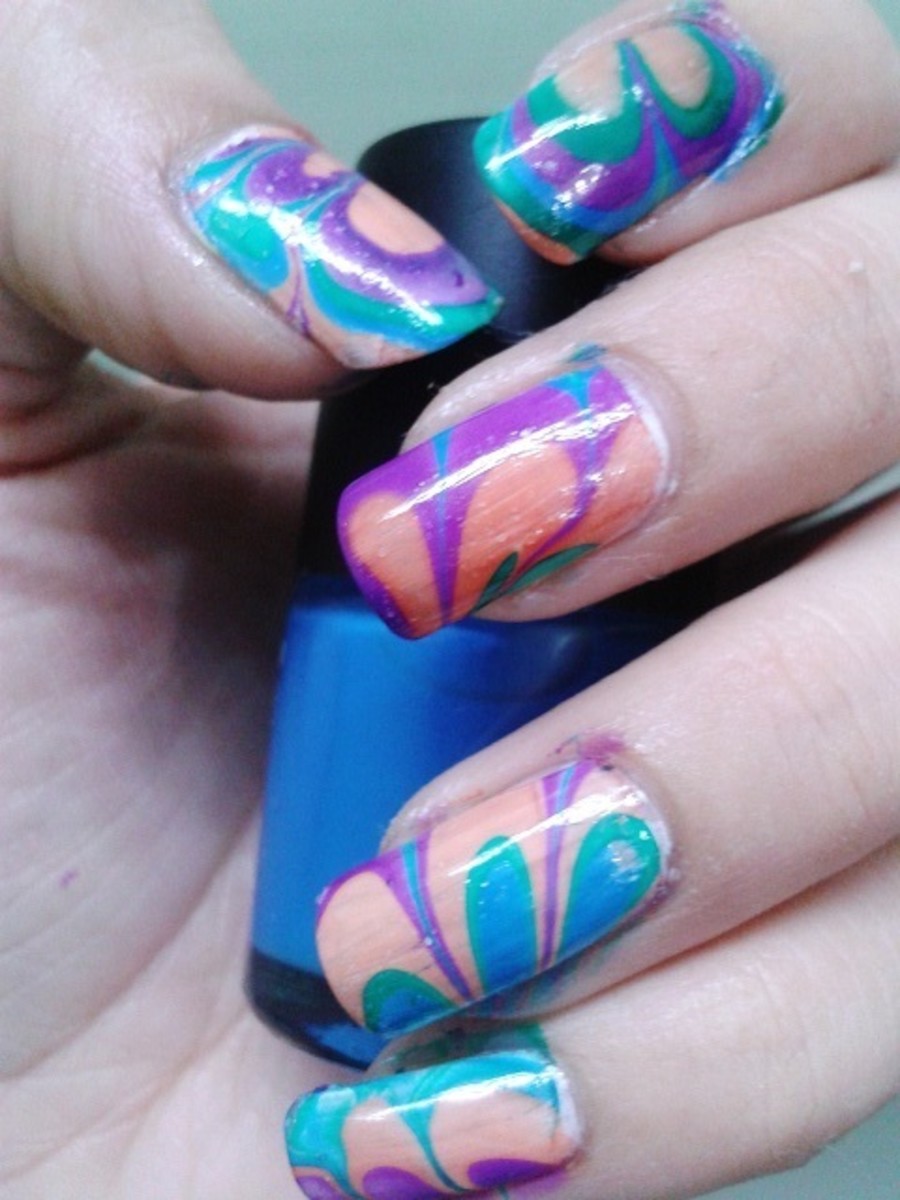
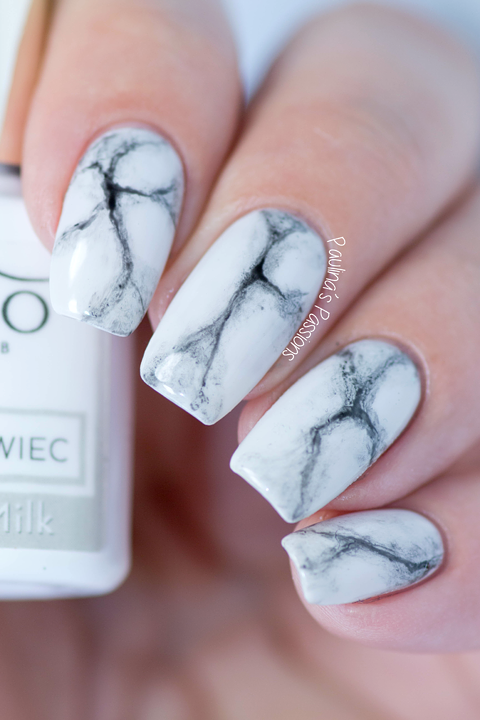
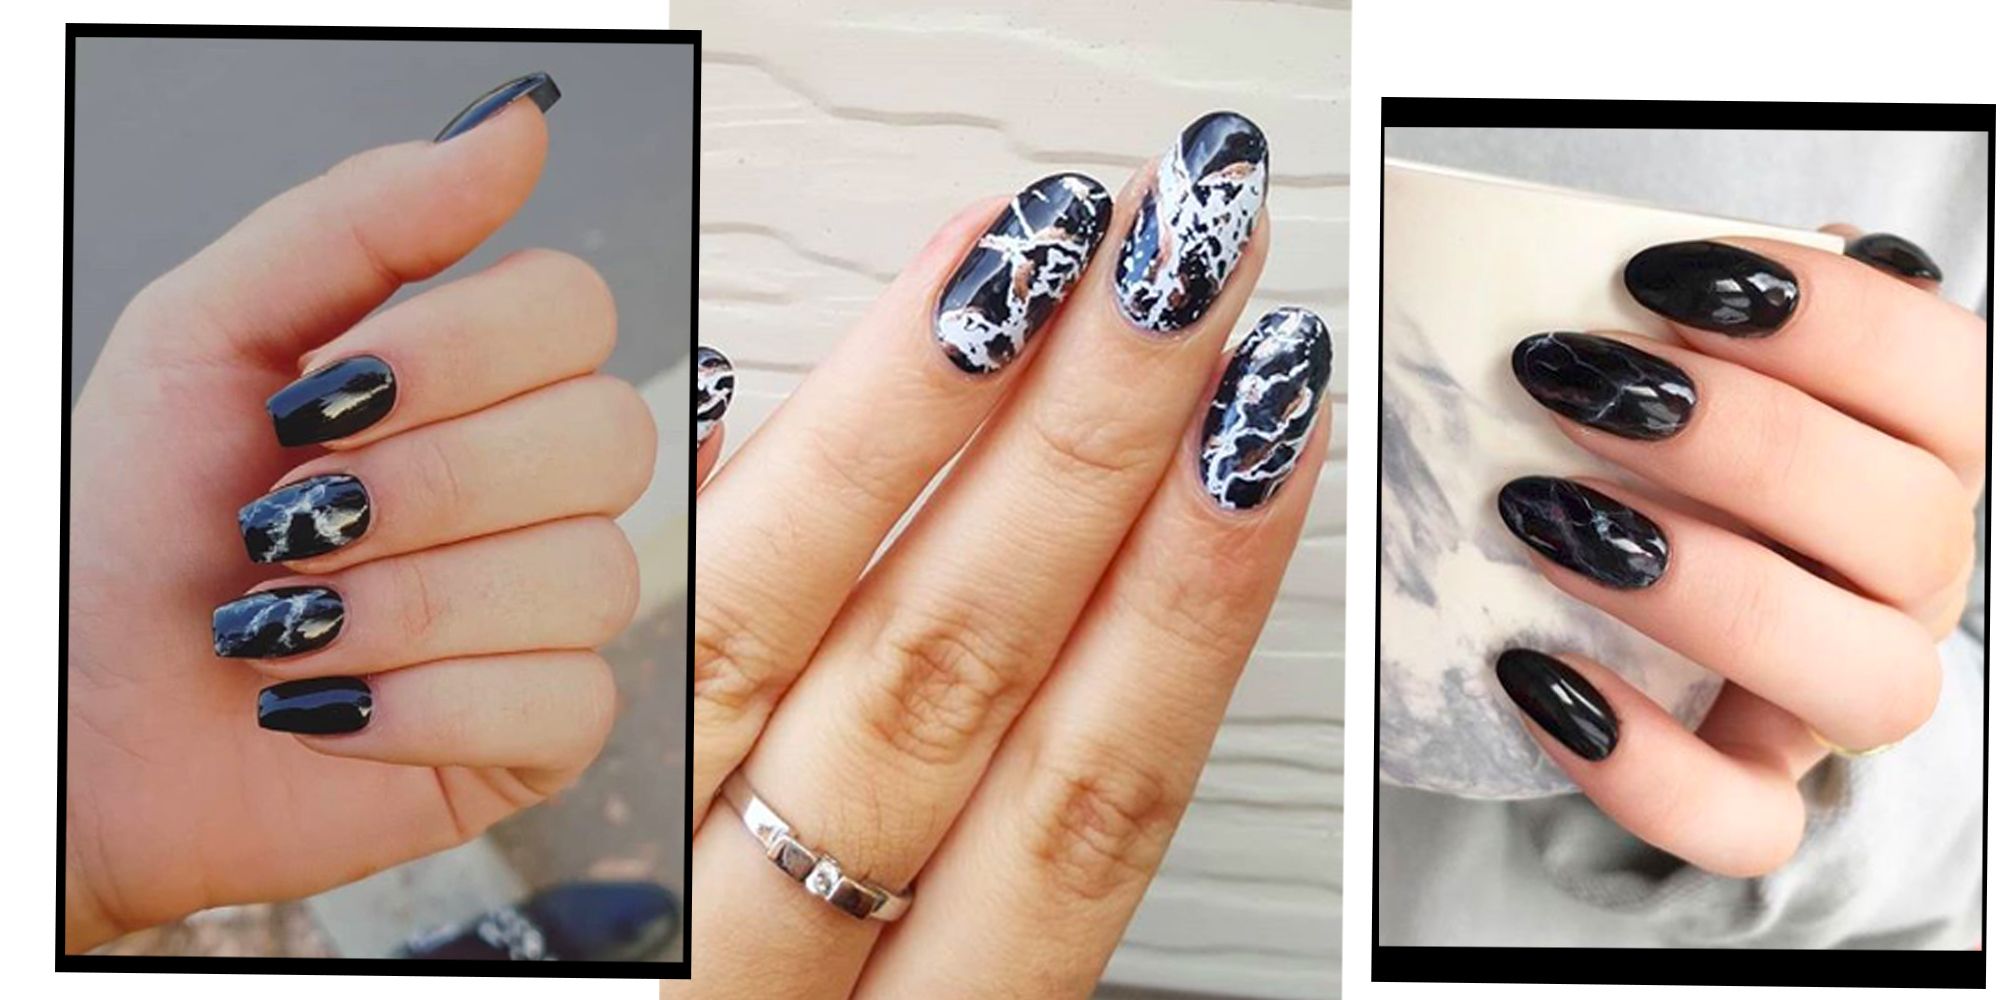
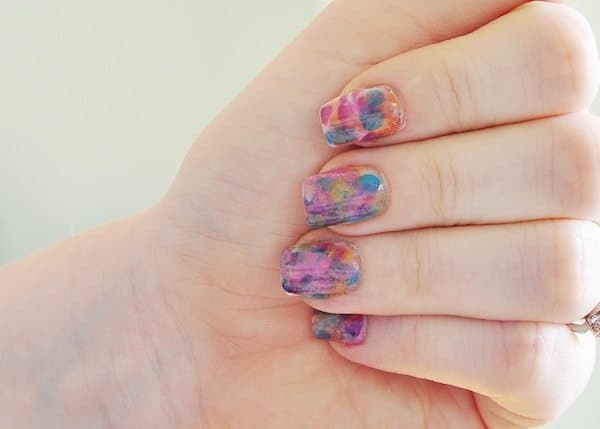
The process of creating water nail art involves using gel polish and water to create beautiful, swirling patterns on your nails. The result is a mesmerizing design that resembles the look of marble or tie-dye. This method is not only fun to do, but it also allows for endless color combinations and designs.
When it comes to nail art, there are endless possibilities to express your creativity and style. From intricate designs to bold colors, there is always something new to try. One trend that has been gaining popularity recently is water nail art with gel polish. This unique technique not only looks stunning, but it also provides long-lasting results.
The process of creating water nail art involves using gel polish and water to create beautiful, swirling patterns on your nails. The result is a mesmerizing design that resembles the look of marble or tie-dye. This method is not only fun to do, but it also allows for endless color combinations and designs.
How to Achieve Water Nail Art with Gel Polish
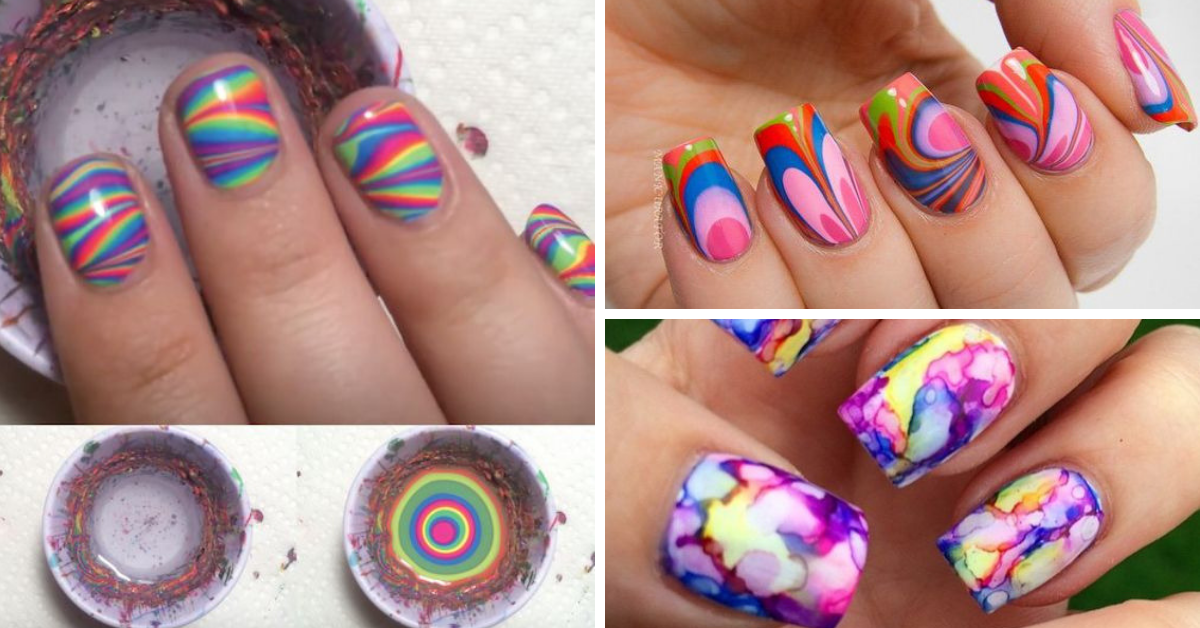
 To achieve this stunning look, you will need a few essential tools and materials. Firstly, you will need a base coat, gel polish in your desired colors, a small cup of room temperature water, and a toothpick or dotting tool. Start by applying a thin layer of base coat on your nails and curing it under a UV or LED lamp. Then, apply a layer of
gel polish
in your chosen color and cure it under the lamp.
Next, take another color of
gel polish
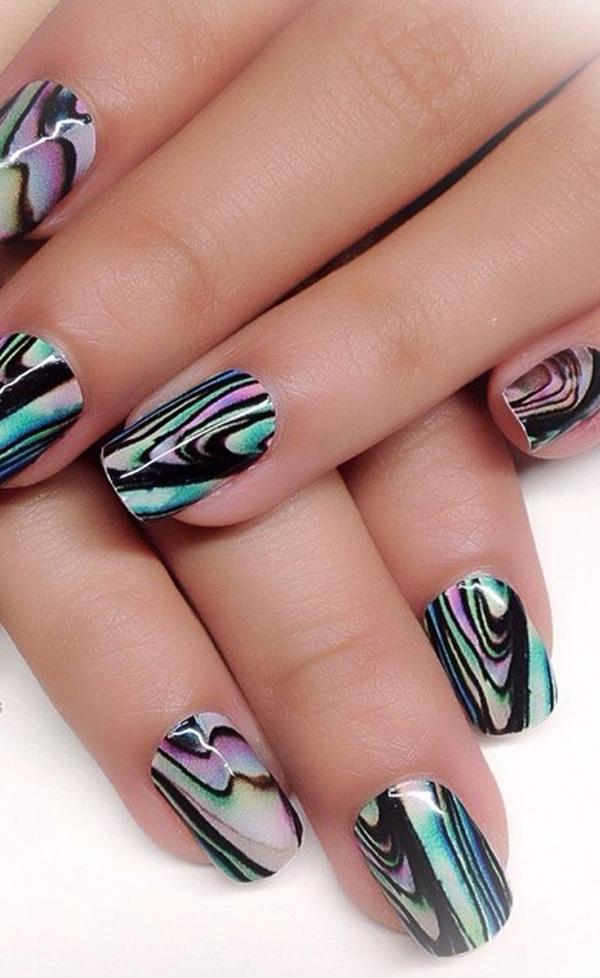
and apply a few drops onto the surface of the water. Use the toothpick or dotting tool to create a design by dragging the colors around. Once you are satisfied with the design, gently dip your nail into the water, making sure to submerge the entire nail. Use the toothpick to remove any excess polish from the surface of the water before pulling your finger out.
Lastly, apply a layer of topcoat to seal in the design and cure it under the lamp. This will not only add shine to your nails but also ensure that the design stays intact for longer.
To achieve this stunning look, you will need a few essential tools and materials. Firstly, you will need a base coat, gel polish in your desired colors, a small cup of room temperature water, and a toothpick or dotting tool. Start by applying a thin layer of base coat on your nails and curing it under a UV or LED lamp. Then, apply a layer of
gel polish
in your chosen color and cure it under the lamp.
Next, take another color of
gel polish
and apply a few drops onto the surface of the water. Use the toothpick or dotting tool to create a design by dragging the colors around. Once you are satisfied with the design, gently dip your nail into the water, making sure to submerge the entire nail. Use the toothpick to remove any excess polish from the surface of the water before pulling your finger out.
Lastly, apply a layer of topcoat to seal in the design and cure it under the lamp. This will not only add shine to your nails but also ensure that the design stays intact for longer.
The Benefits of Water Nail Art with Gel Polish
 Aside from the stunning and unique designs, water nail art with gel polish also has several other benefits. The gel polish used in this technique is known for its long-lasting formula, which can stay on your nails for up to two weeks without chipping or peeling. This makes it perfect for those who lead busy lifestyles but still want to have beautiful nails.
Moreover, gel polish is also known for its durability, meaning it can withstand daily activities without losing its shine or color. This makes it a great option for those who work with their hands or regularly use their nails.
In conclusion, water nail art with gel polish is a trendy and unique way to elevate your nail game. With its mesmerizing designs and long-lasting results, this technique is perfect for anyone looking to add a touch of creativity and style to their nails. So why not give it a try and see the stunning results for yourself?
Aside from the stunning and unique designs, water nail art with gel polish also has several other benefits. The gel polish used in this technique is known for its long-lasting formula, which can stay on your nails for up to two weeks without chipping or peeling. This makes it perfect for those who lead busy lifestyles but still want to have beautiful nails.
Moreover, gel polish is also known for its durability, meaning it can withstand daily activities without losing its shine or color. This makes it a great option for those who work with their hands or regularly use their nails.
In conclusion, water nail art with gel polish is a trendy and unique way to elevate your nail game. With its mesmerizing designs and long-lasting results, this technique is perfect for anyone looking to add a touch of creativity and style to their nails. So why not give it a try and see the stunning results for yourself?


