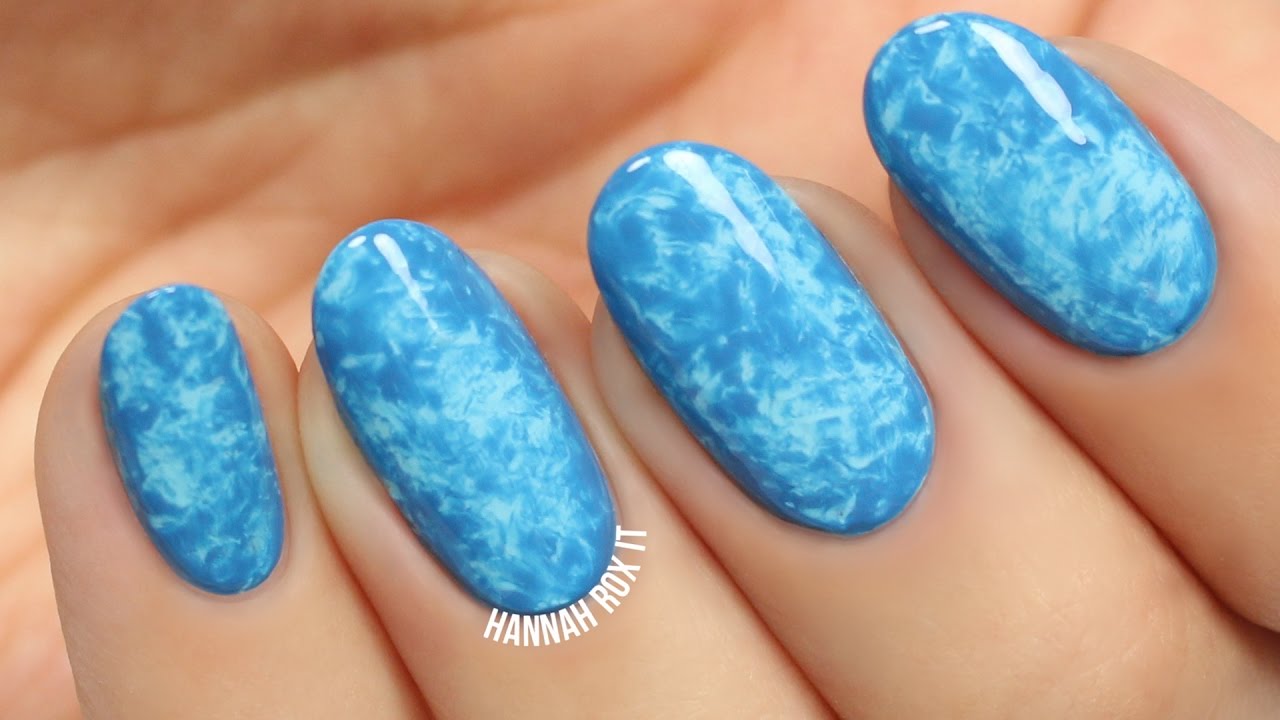
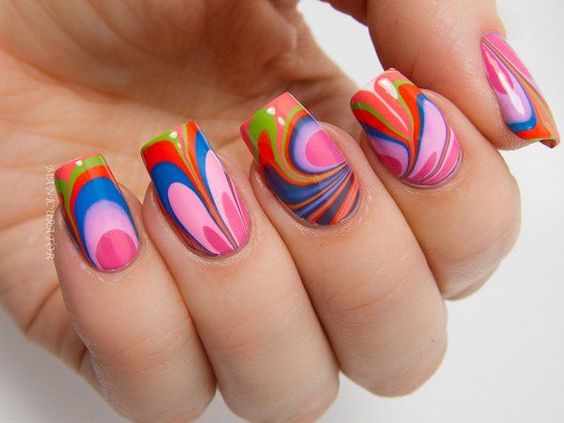
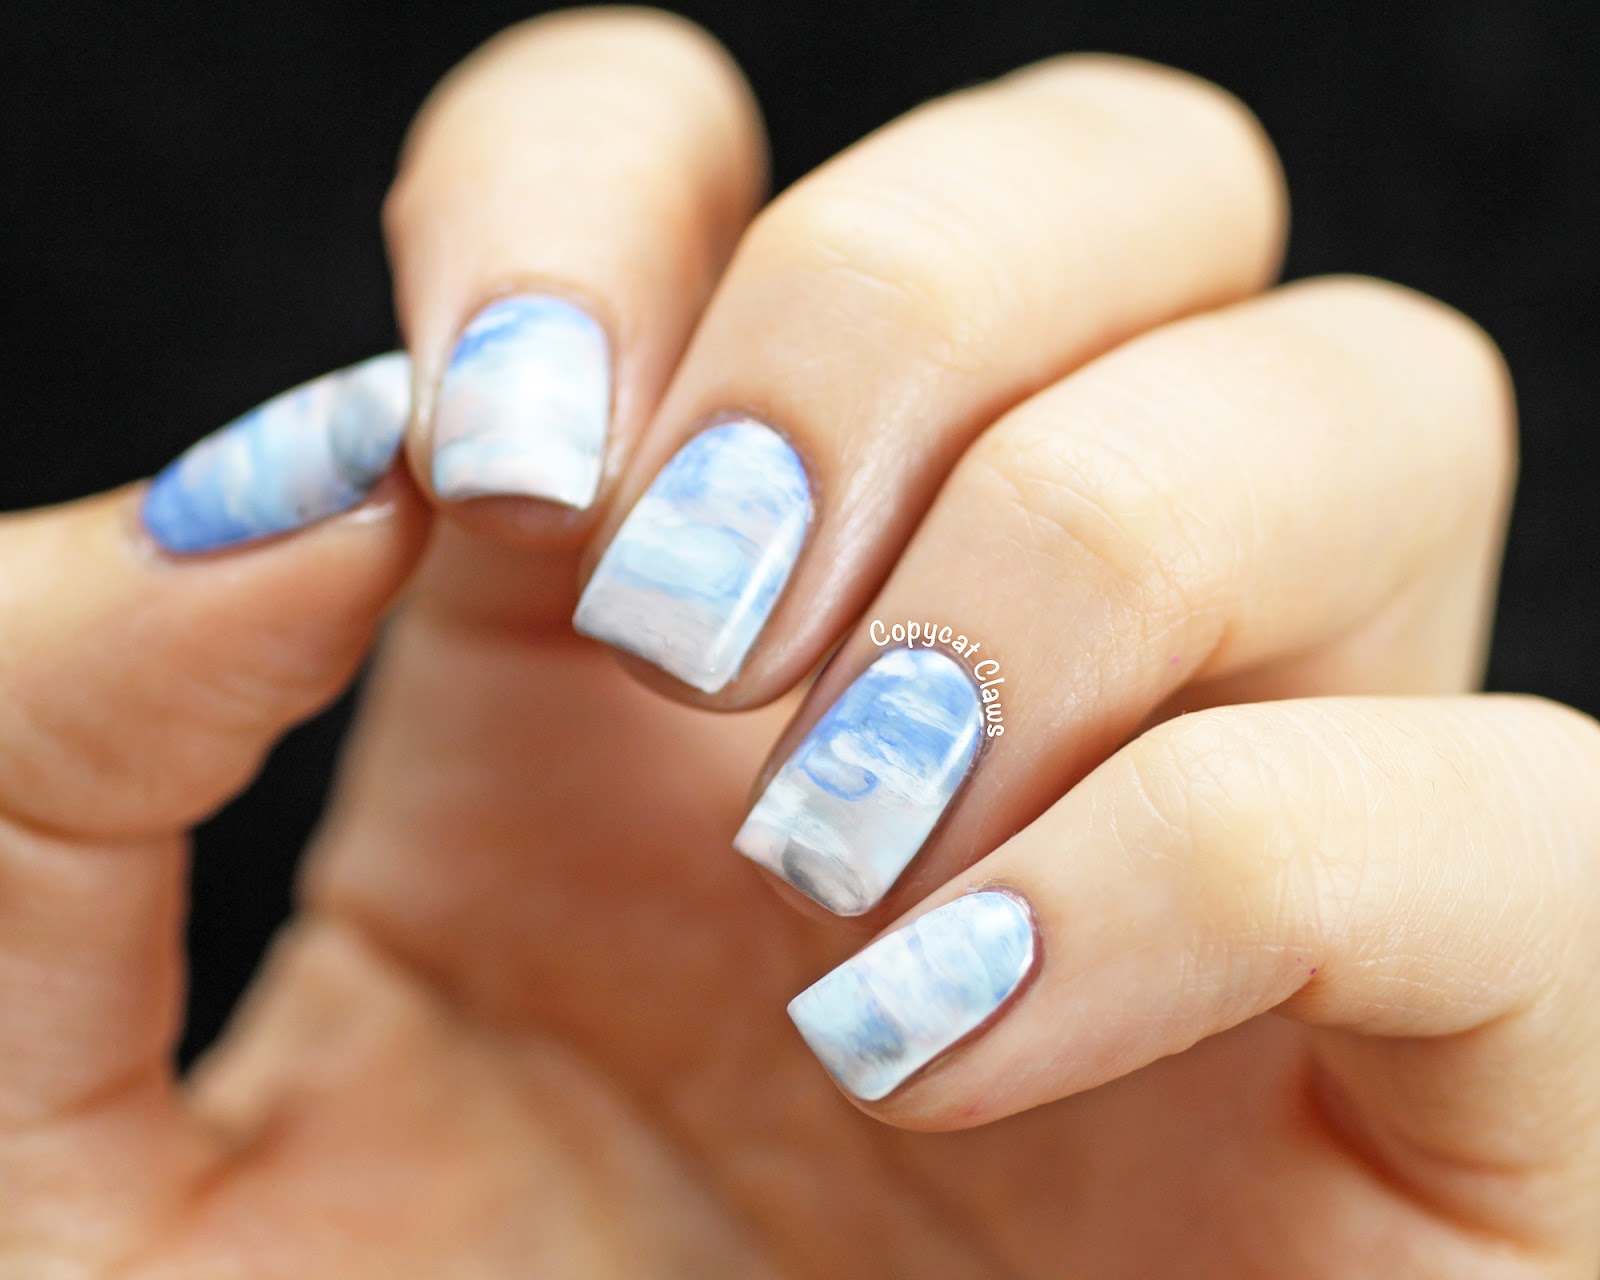
Water marble nail art is a unique and mesmerizing technique that creates beautiful swirling patterns on your nails. It's a great way to add a pop of color and dimension to your manicure. To create this look, you will need a bowl of water, nail polish, and some toothpicks. Start by applying a base coat to protect your nails and then drop a few colors of nail polish into the water. Use a toothpick to create swirls and designs and then dip your finger into the water to transfer the pattern onto your nail. Repeat this process for each nail and finish with a top coat for a glossy finish.Water Marble Nail Art Tutorial


Water Marble Nail Art Tutorial


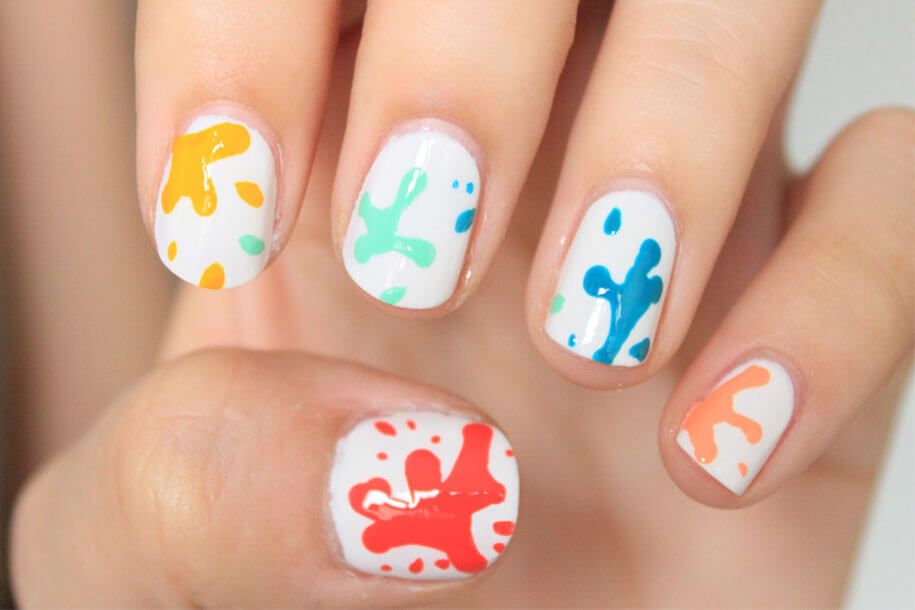
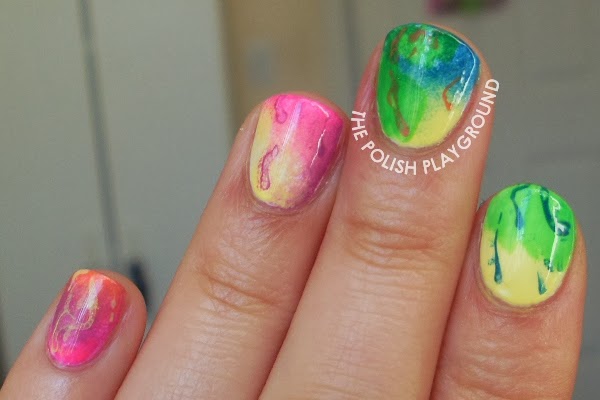
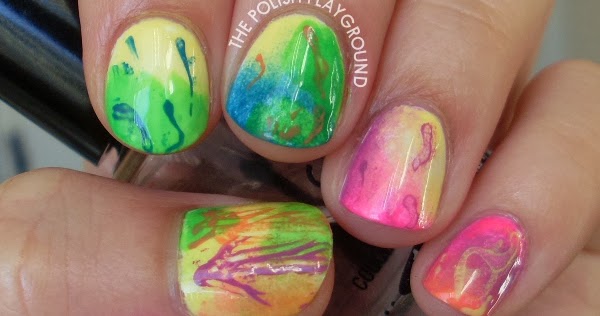
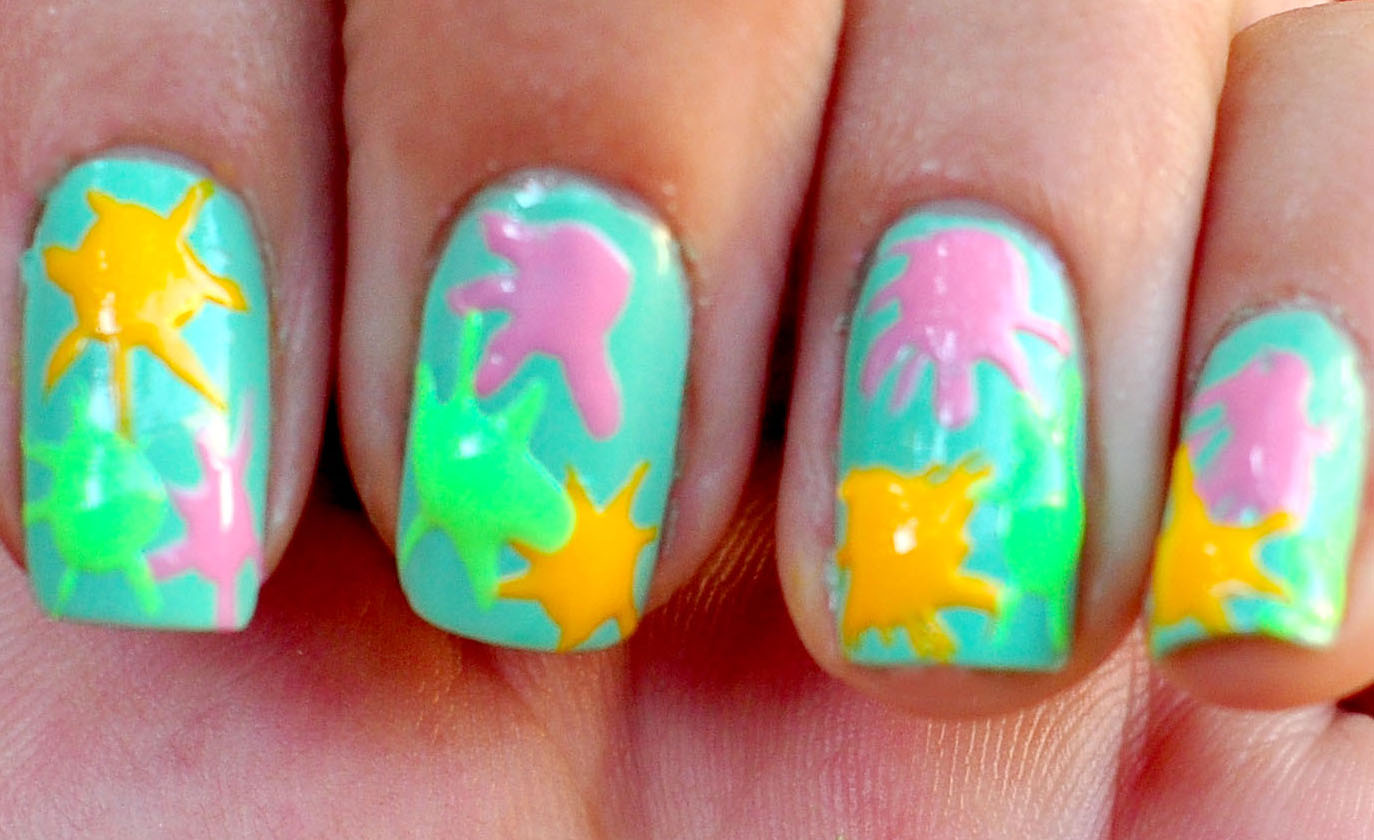
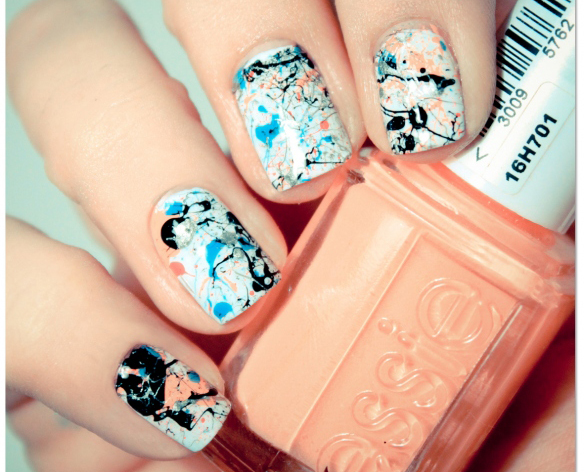
If you want to add a fun and playful touch to your manicure, try creating a water splash nail art design. This easy and bold design is perfect for summer and can be created using bright and bold nail polish colors. Start by applying a base coat and then paint your nails with a white or light blue polish. Once dry, take a straw and dip it into a colorful polish. Hold the straw close to your nail and blow through the other end to create a splatter effect. Repeat this process with different colors until you achieve your desired look.How to Create a Water Splash Nail Art Design


How to Create a Water Splash Nail Art Design


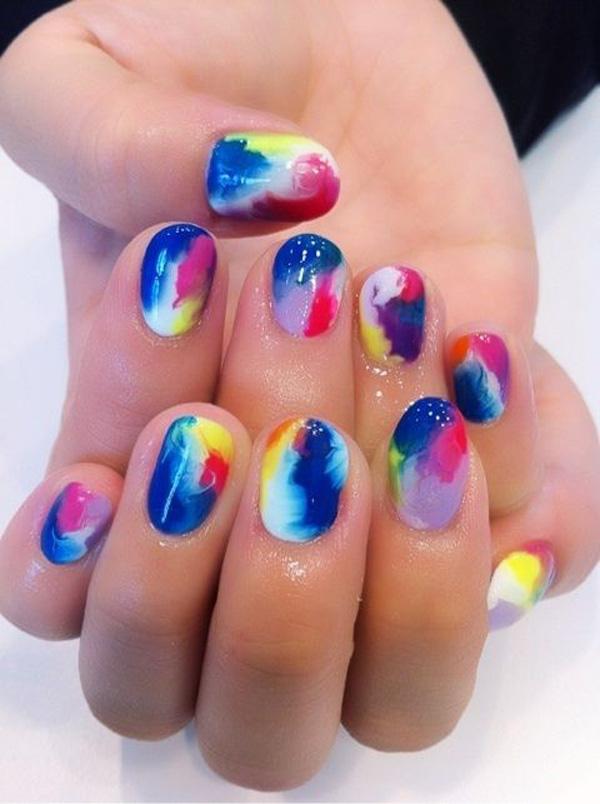
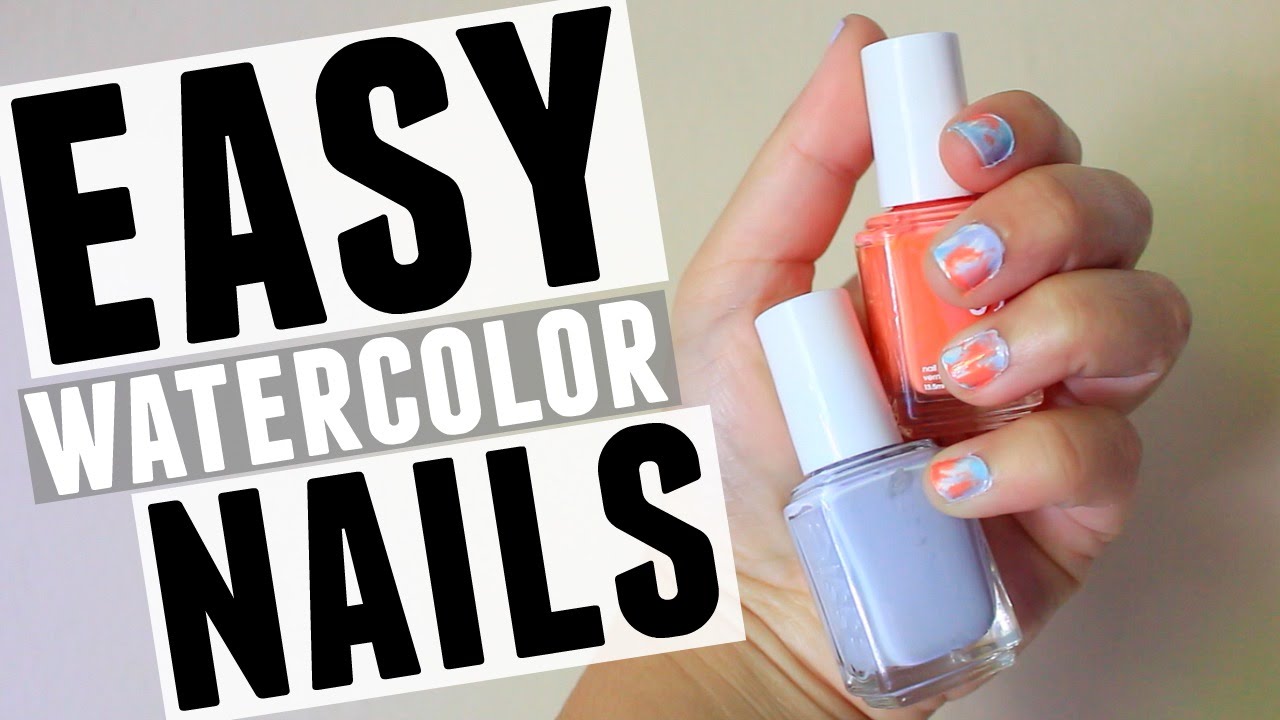
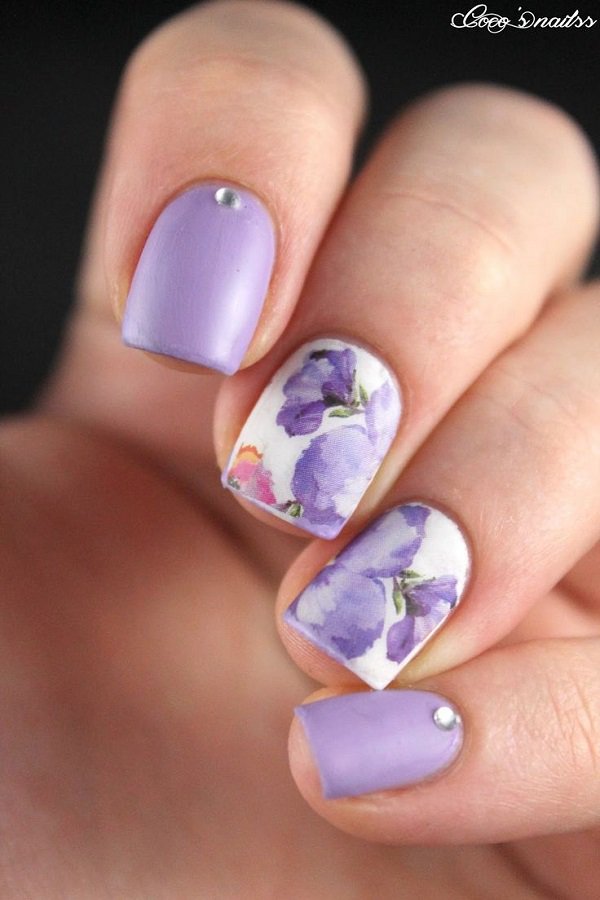
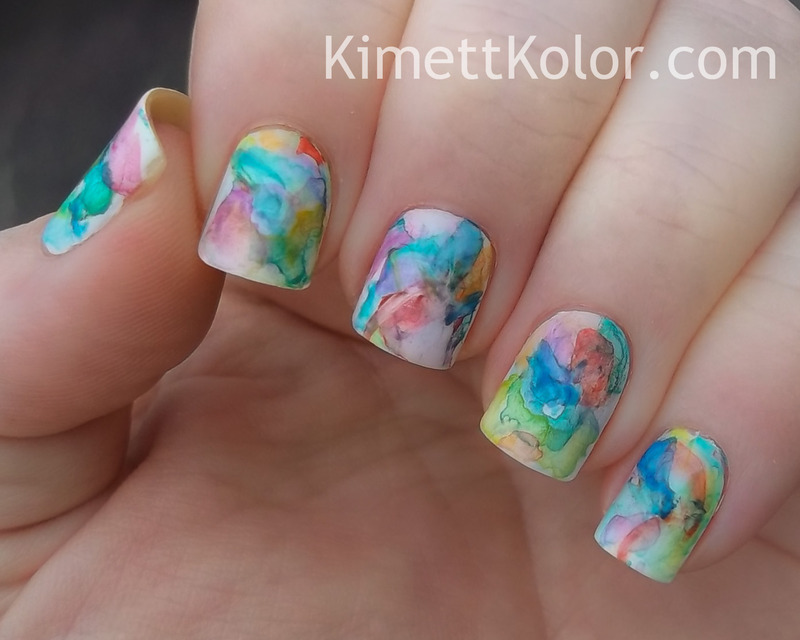
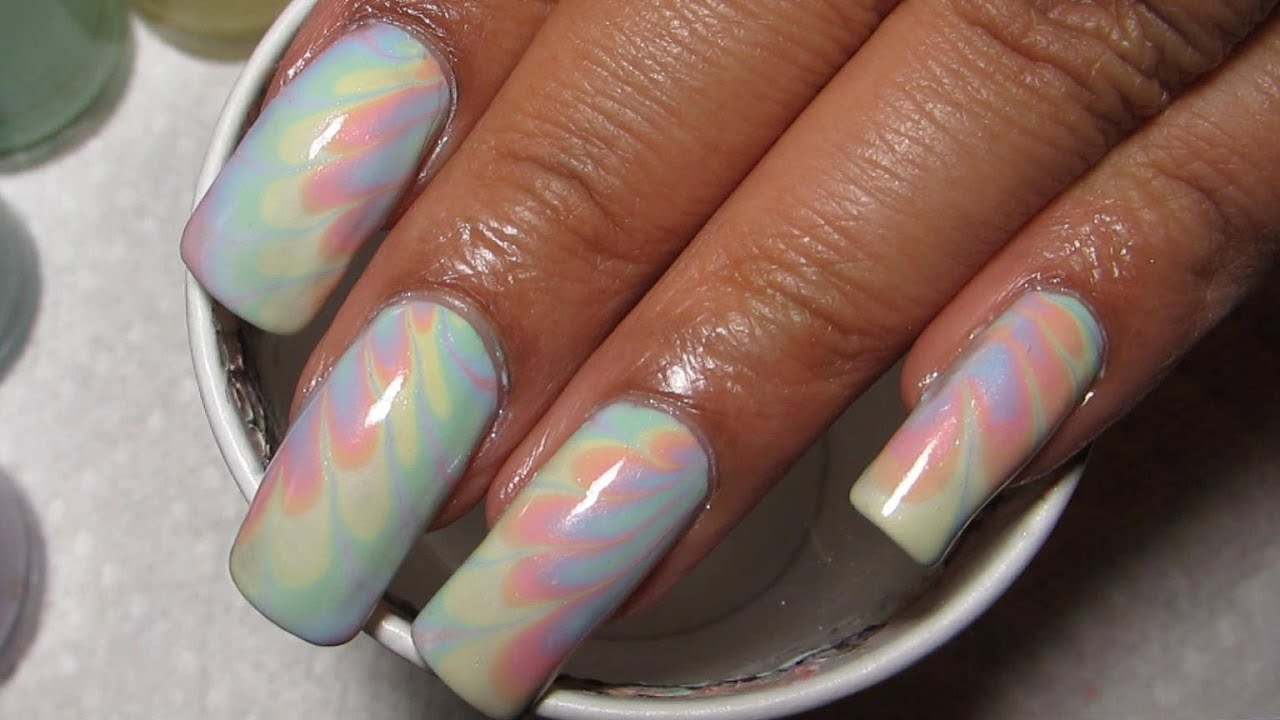
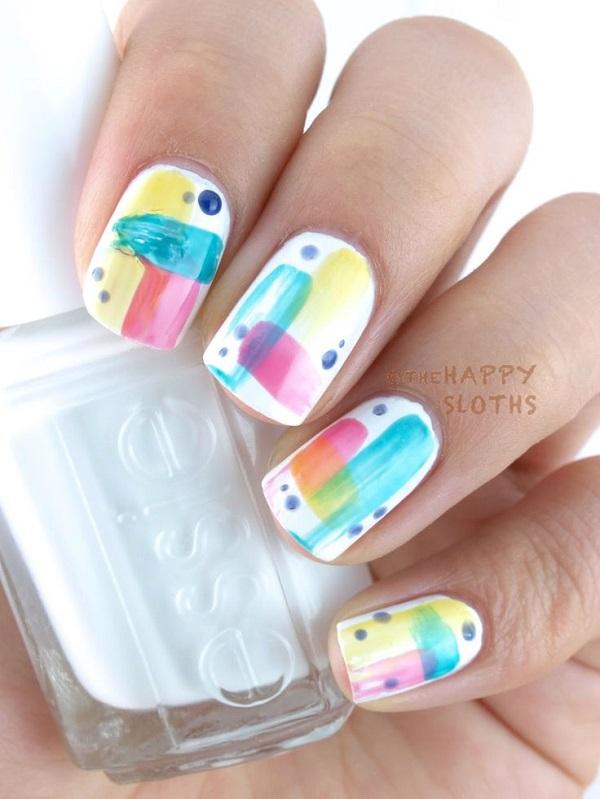
Watercolor nail art is a soft and subtle way to add a touch of artistic flair to your manicure. To create this look, you will need a white base coat, a variety of pastel nail polish colors, and a makeup sponge. Start by painting your nails with a white base coat and let it dry. Then, dab a few drops of your chosen nail polish colors onto the makeup sponge and lightly press it onto your nail, creating a blended effect. Repeat this process with different colors until you achieve your desired look. Finish with a top coat to seal in the design.Easy Watercolor Nail Art Tutorial

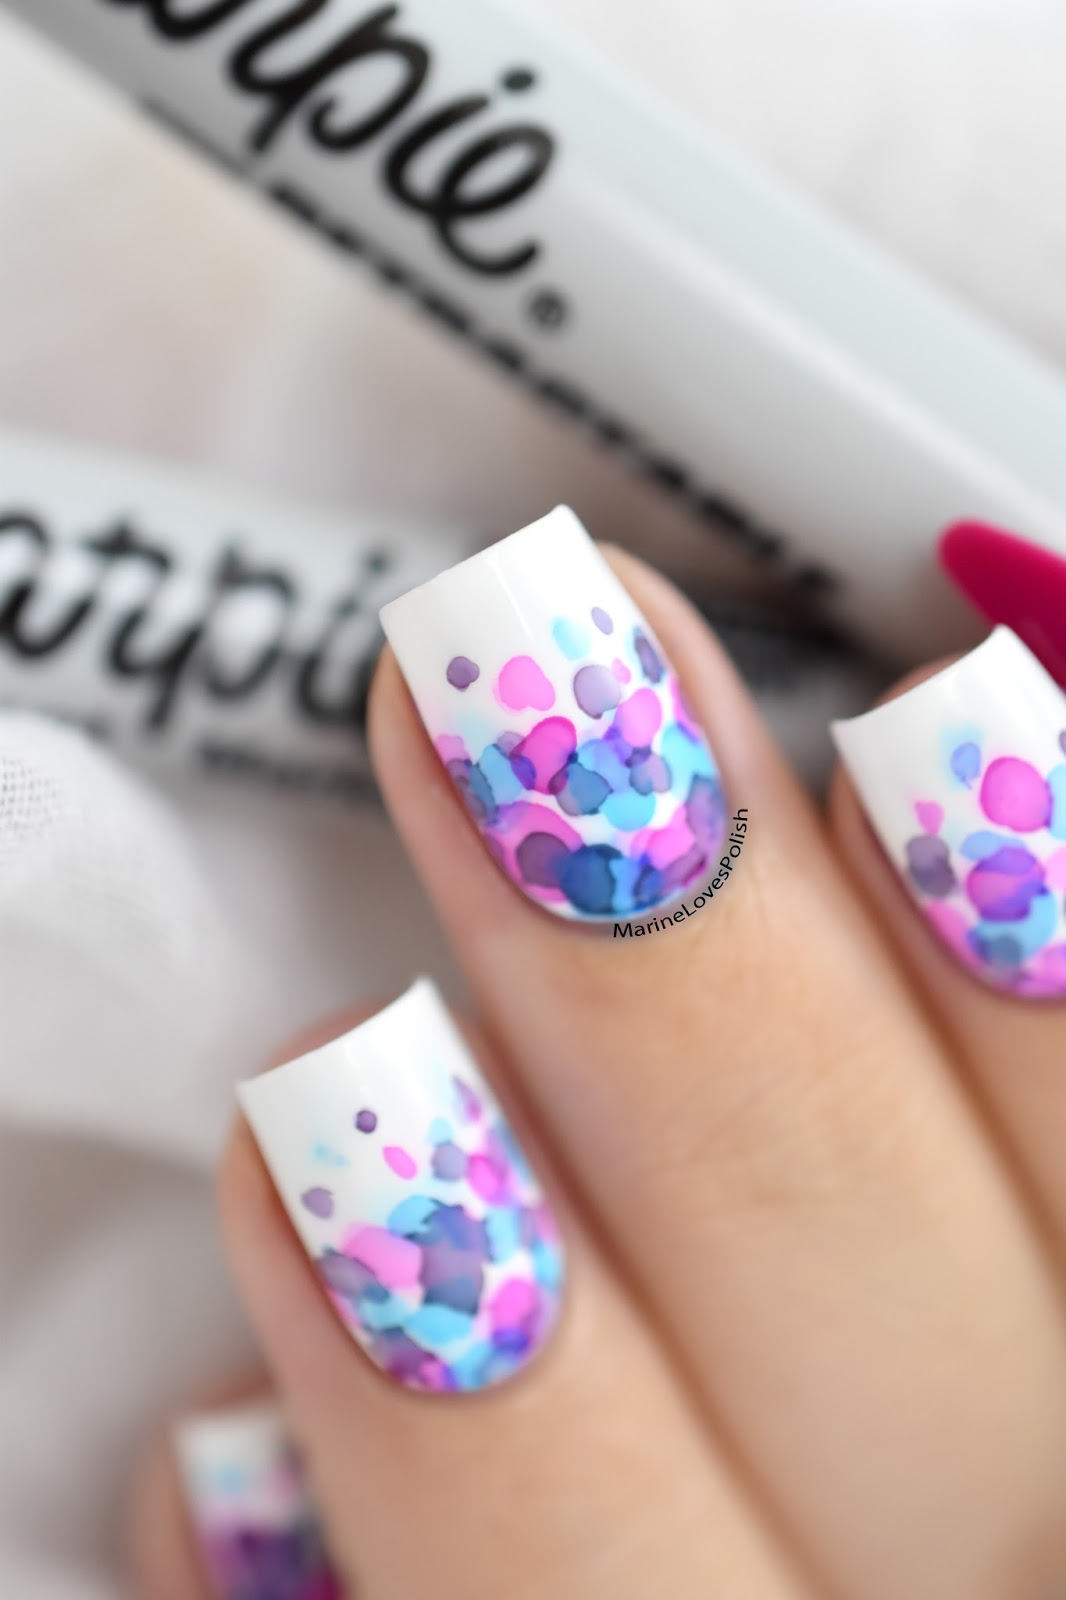

Easy Watercolor Nail Art Tutorial


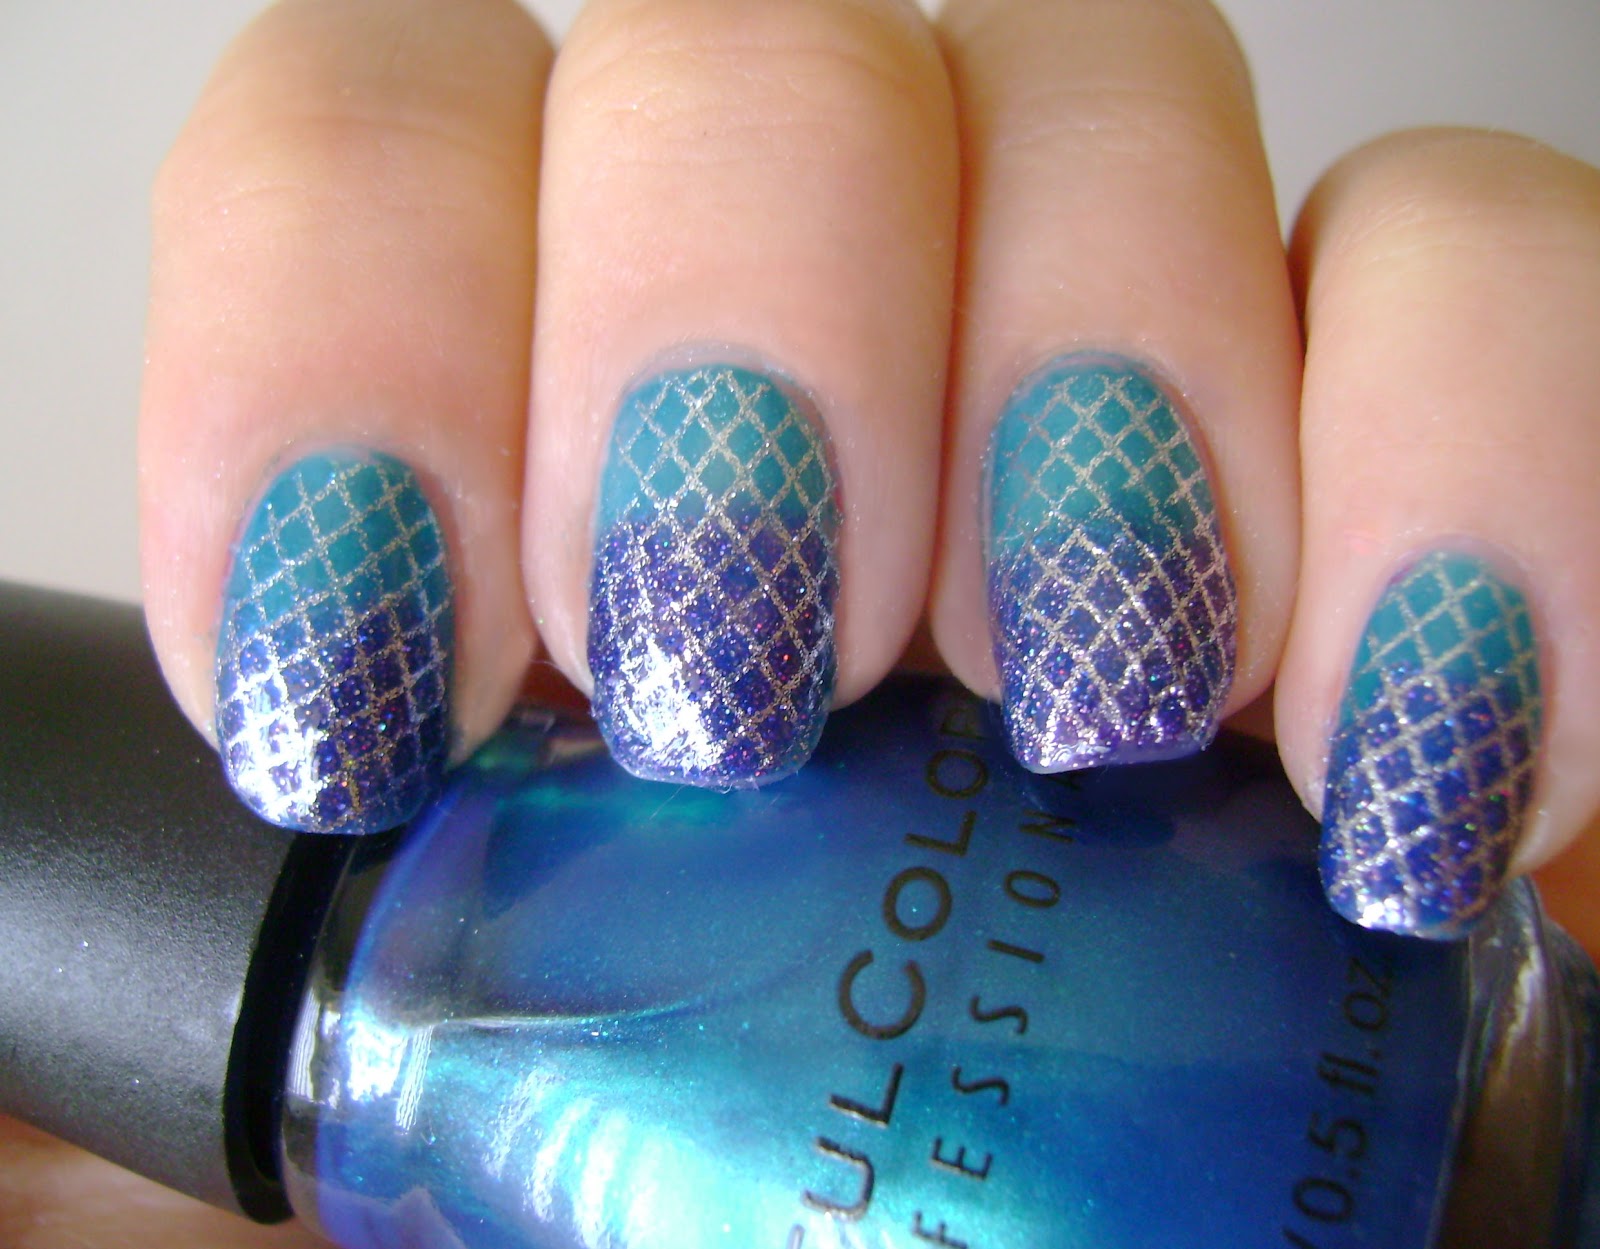
If you're a fan of the ocean and all things nautical, these ocean themed nail art ideas are perfect for you. Start by painting your nails with a light blue base coat to represent the ocean. Then, create waves with a white or light blue nail polish using a thin brush or toothpick. You can also add seashell designs using pearlescent or iridescent nail polish. For a more dramatic look, add some glitter to represent the sun reflecting off the water. Finish with a top coat to seal in your ocean inspired design.Ocean Themed Nail Art Ideas


Ocean Themed Nail Art Ideas


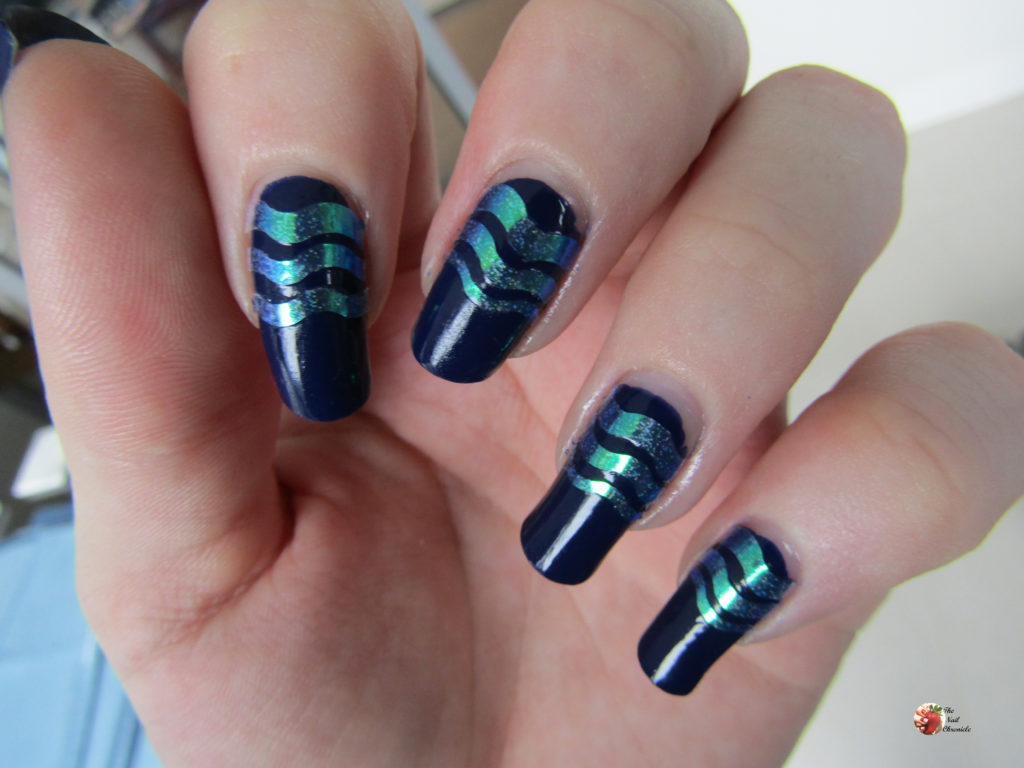


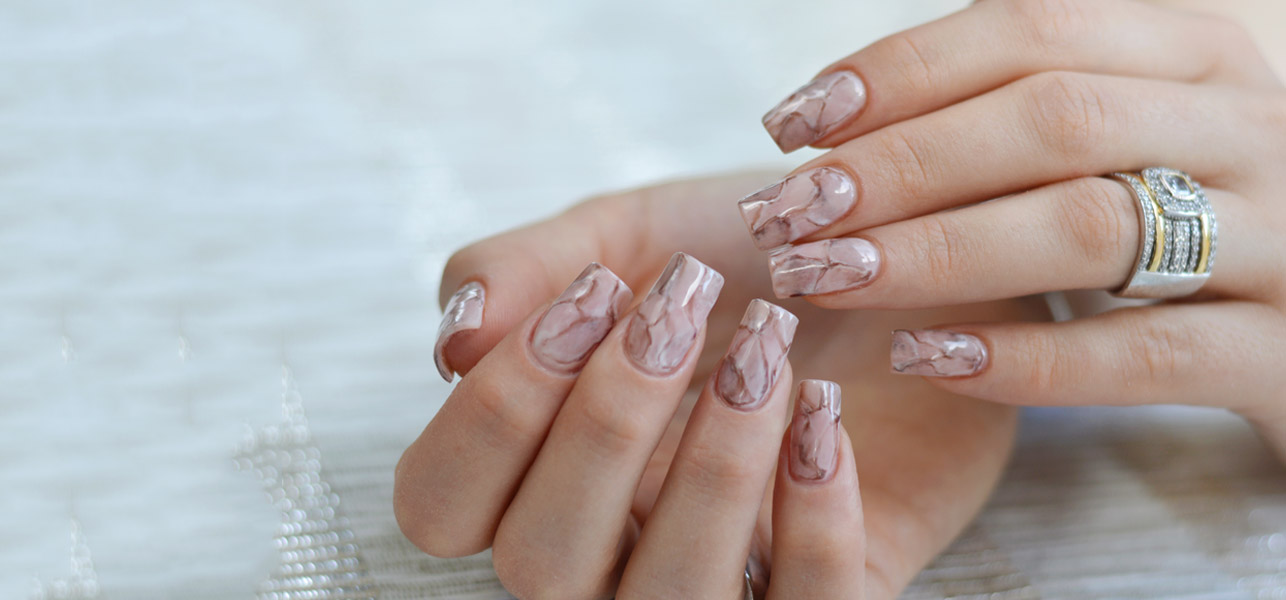
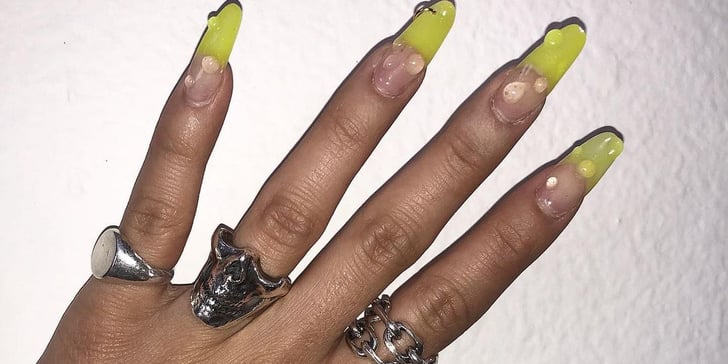
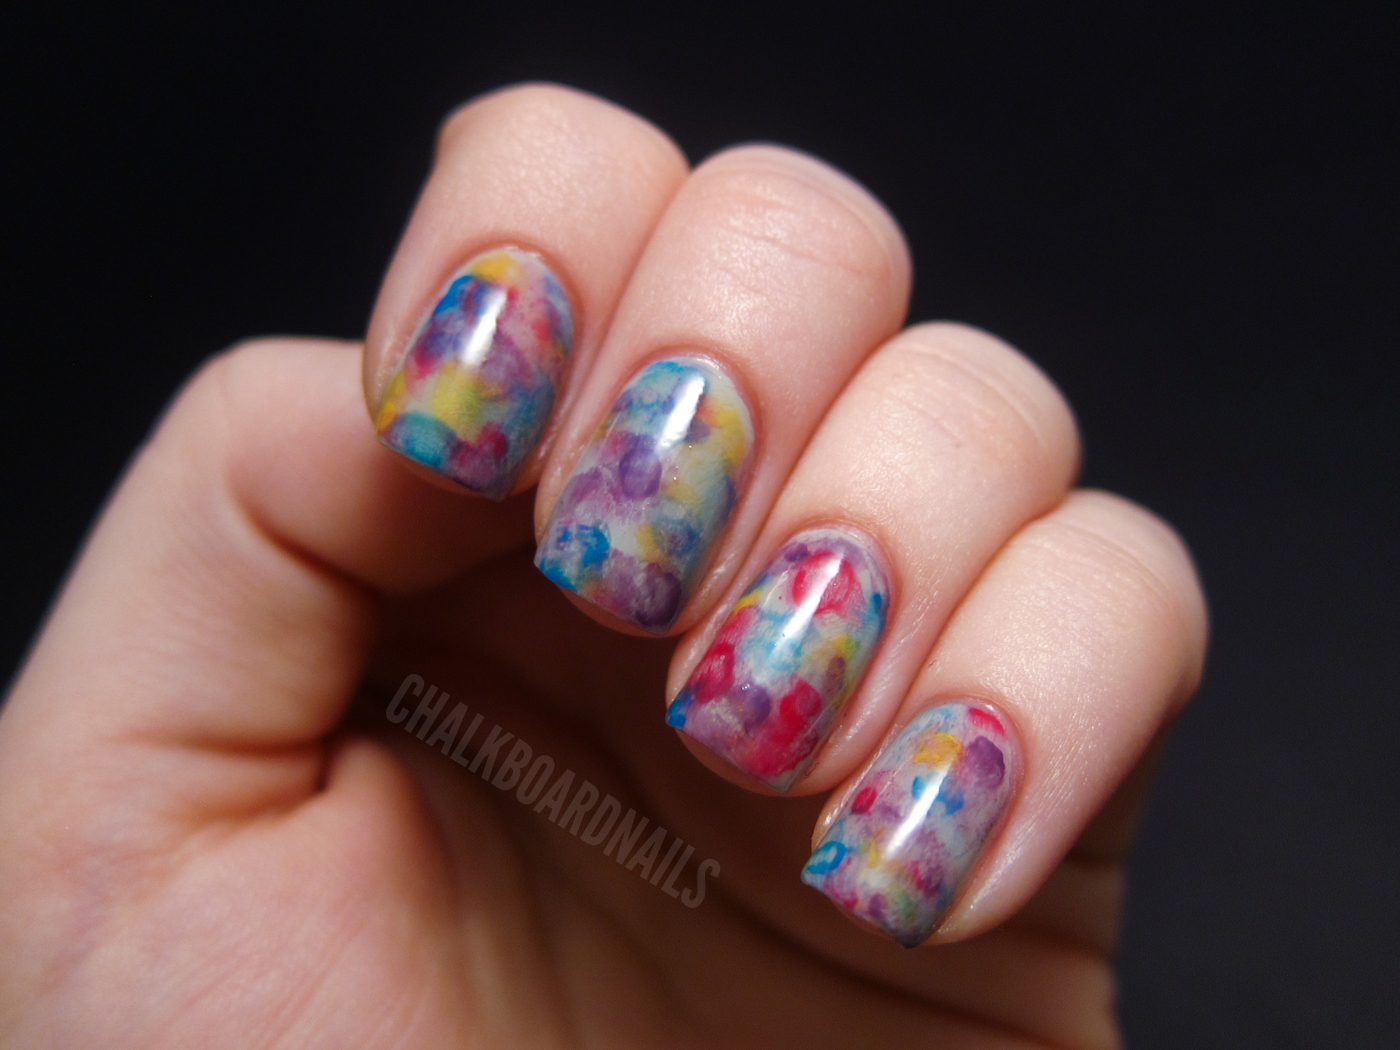
This unique and eye-catching water droplet nail art design is perfect for those who love a bit of edginess in their manicure. Start by painting your nails with a dark base color, such as black or navy blue. Then, using a thin brush or toothpick, create small droplets of nail polish in a light color, such as white or silver. You can also add a few sparkles to represent water droplets. This design looks especially dramatic when paired with a matte top coat.DIY Water Droplet Nail Art


DIY Water Droplet Nail Art


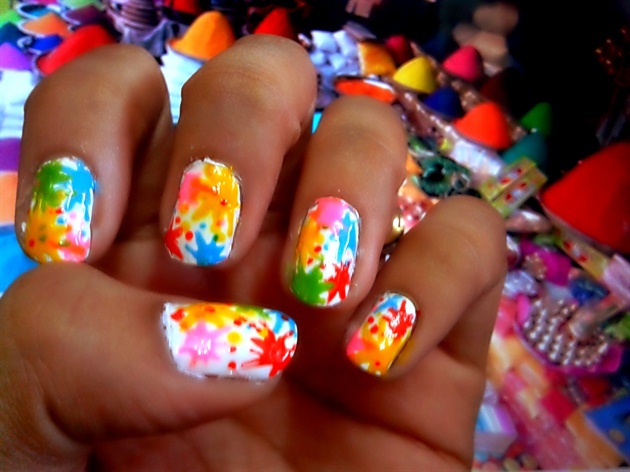
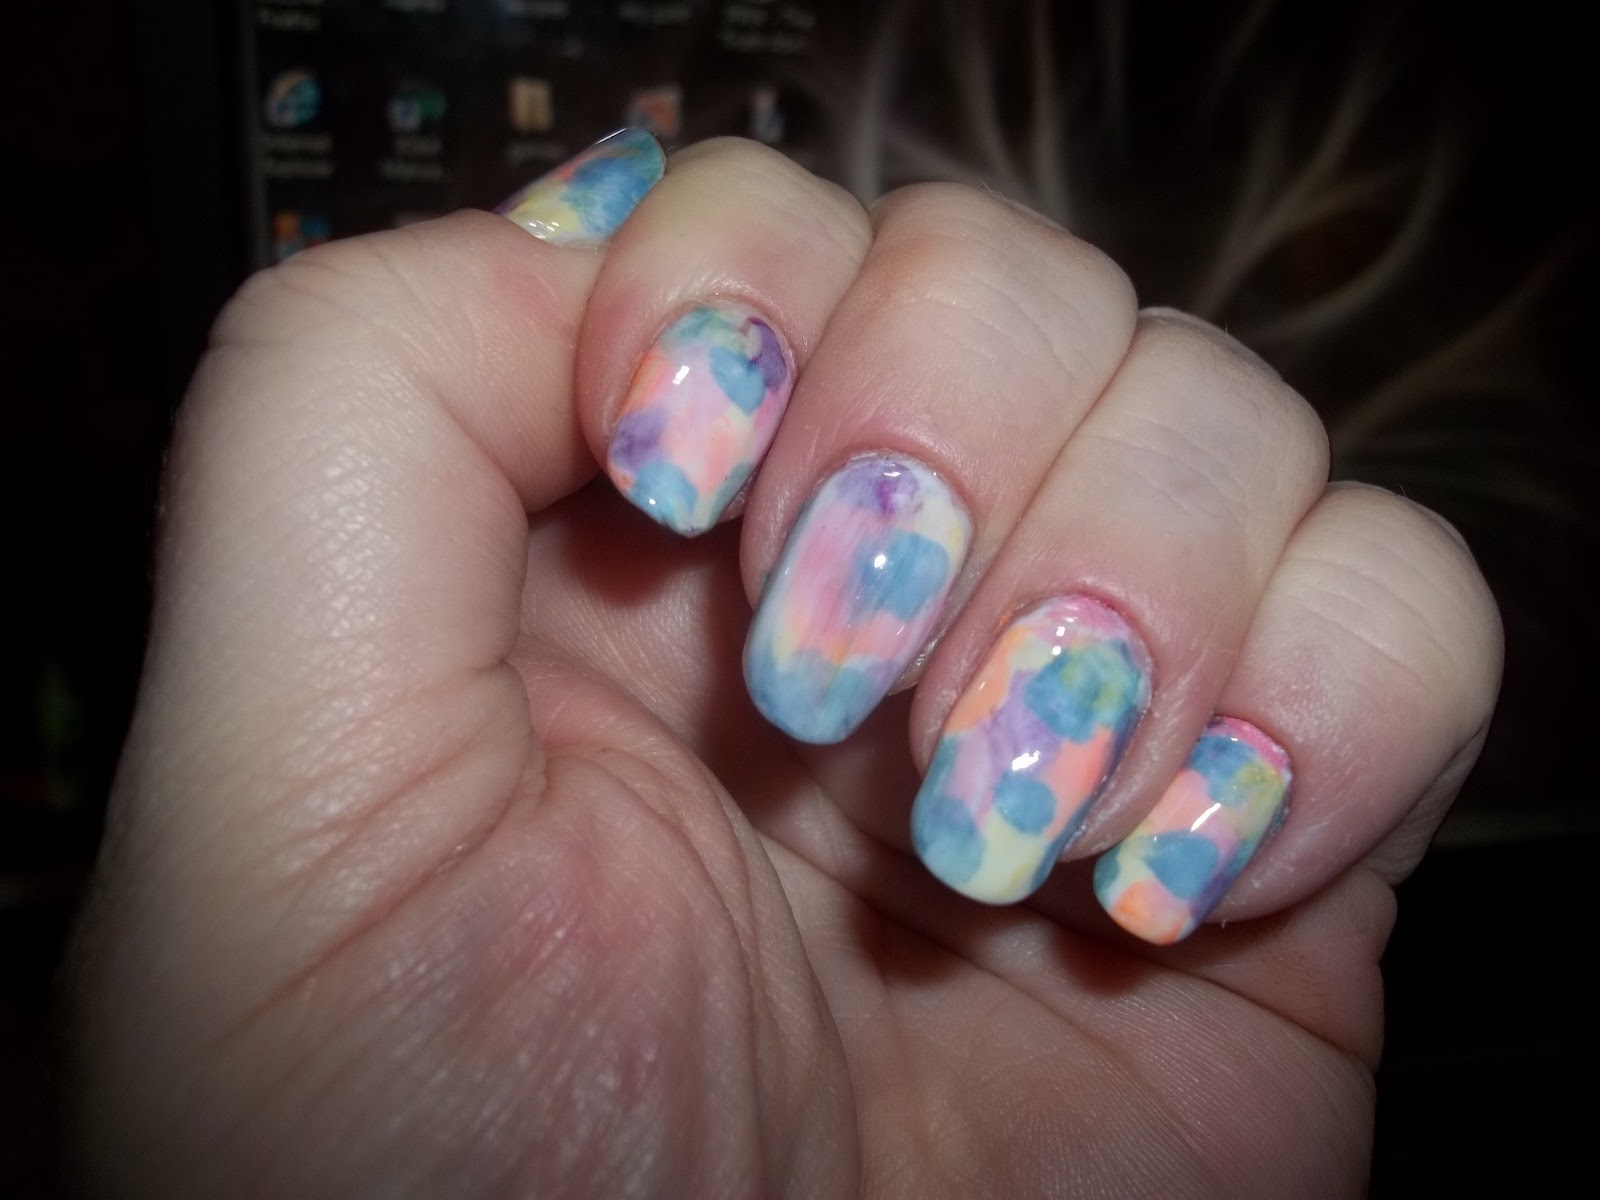
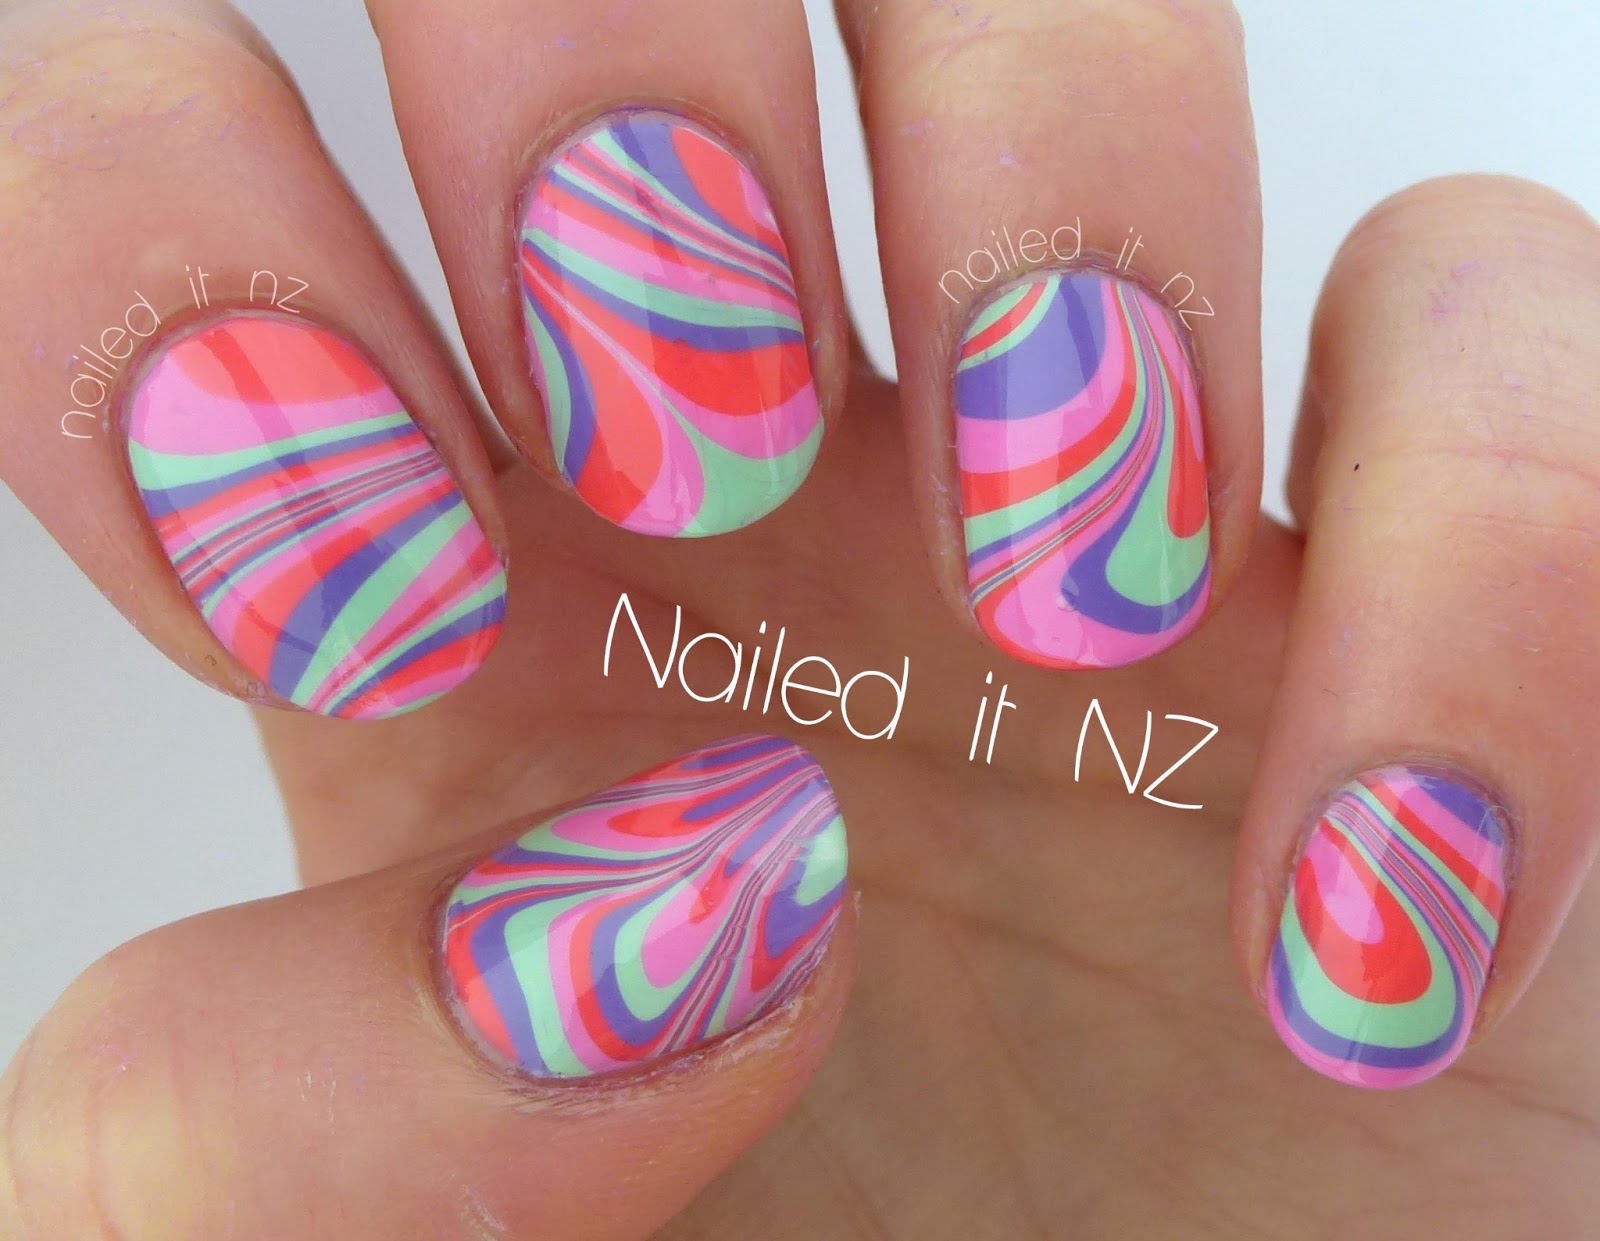
If you're feeling creative and want to experiment with abstract designs, this watercolor nail art tutorial is perfect for you. Start with a white base coat and then use a makeup sponge to apply swirls of colorful nail polish onto your nails. You can use a variety of colors to create a unique and abstract design. Once dry, you can also add details using a thin brush or toothpick to create flowers or geometric shapes. Finish with a top coat for a glossy and colorful look.Abstract Watercolor Nail Art Tutorial


Abstract Watercolor Nail Art Tutorial


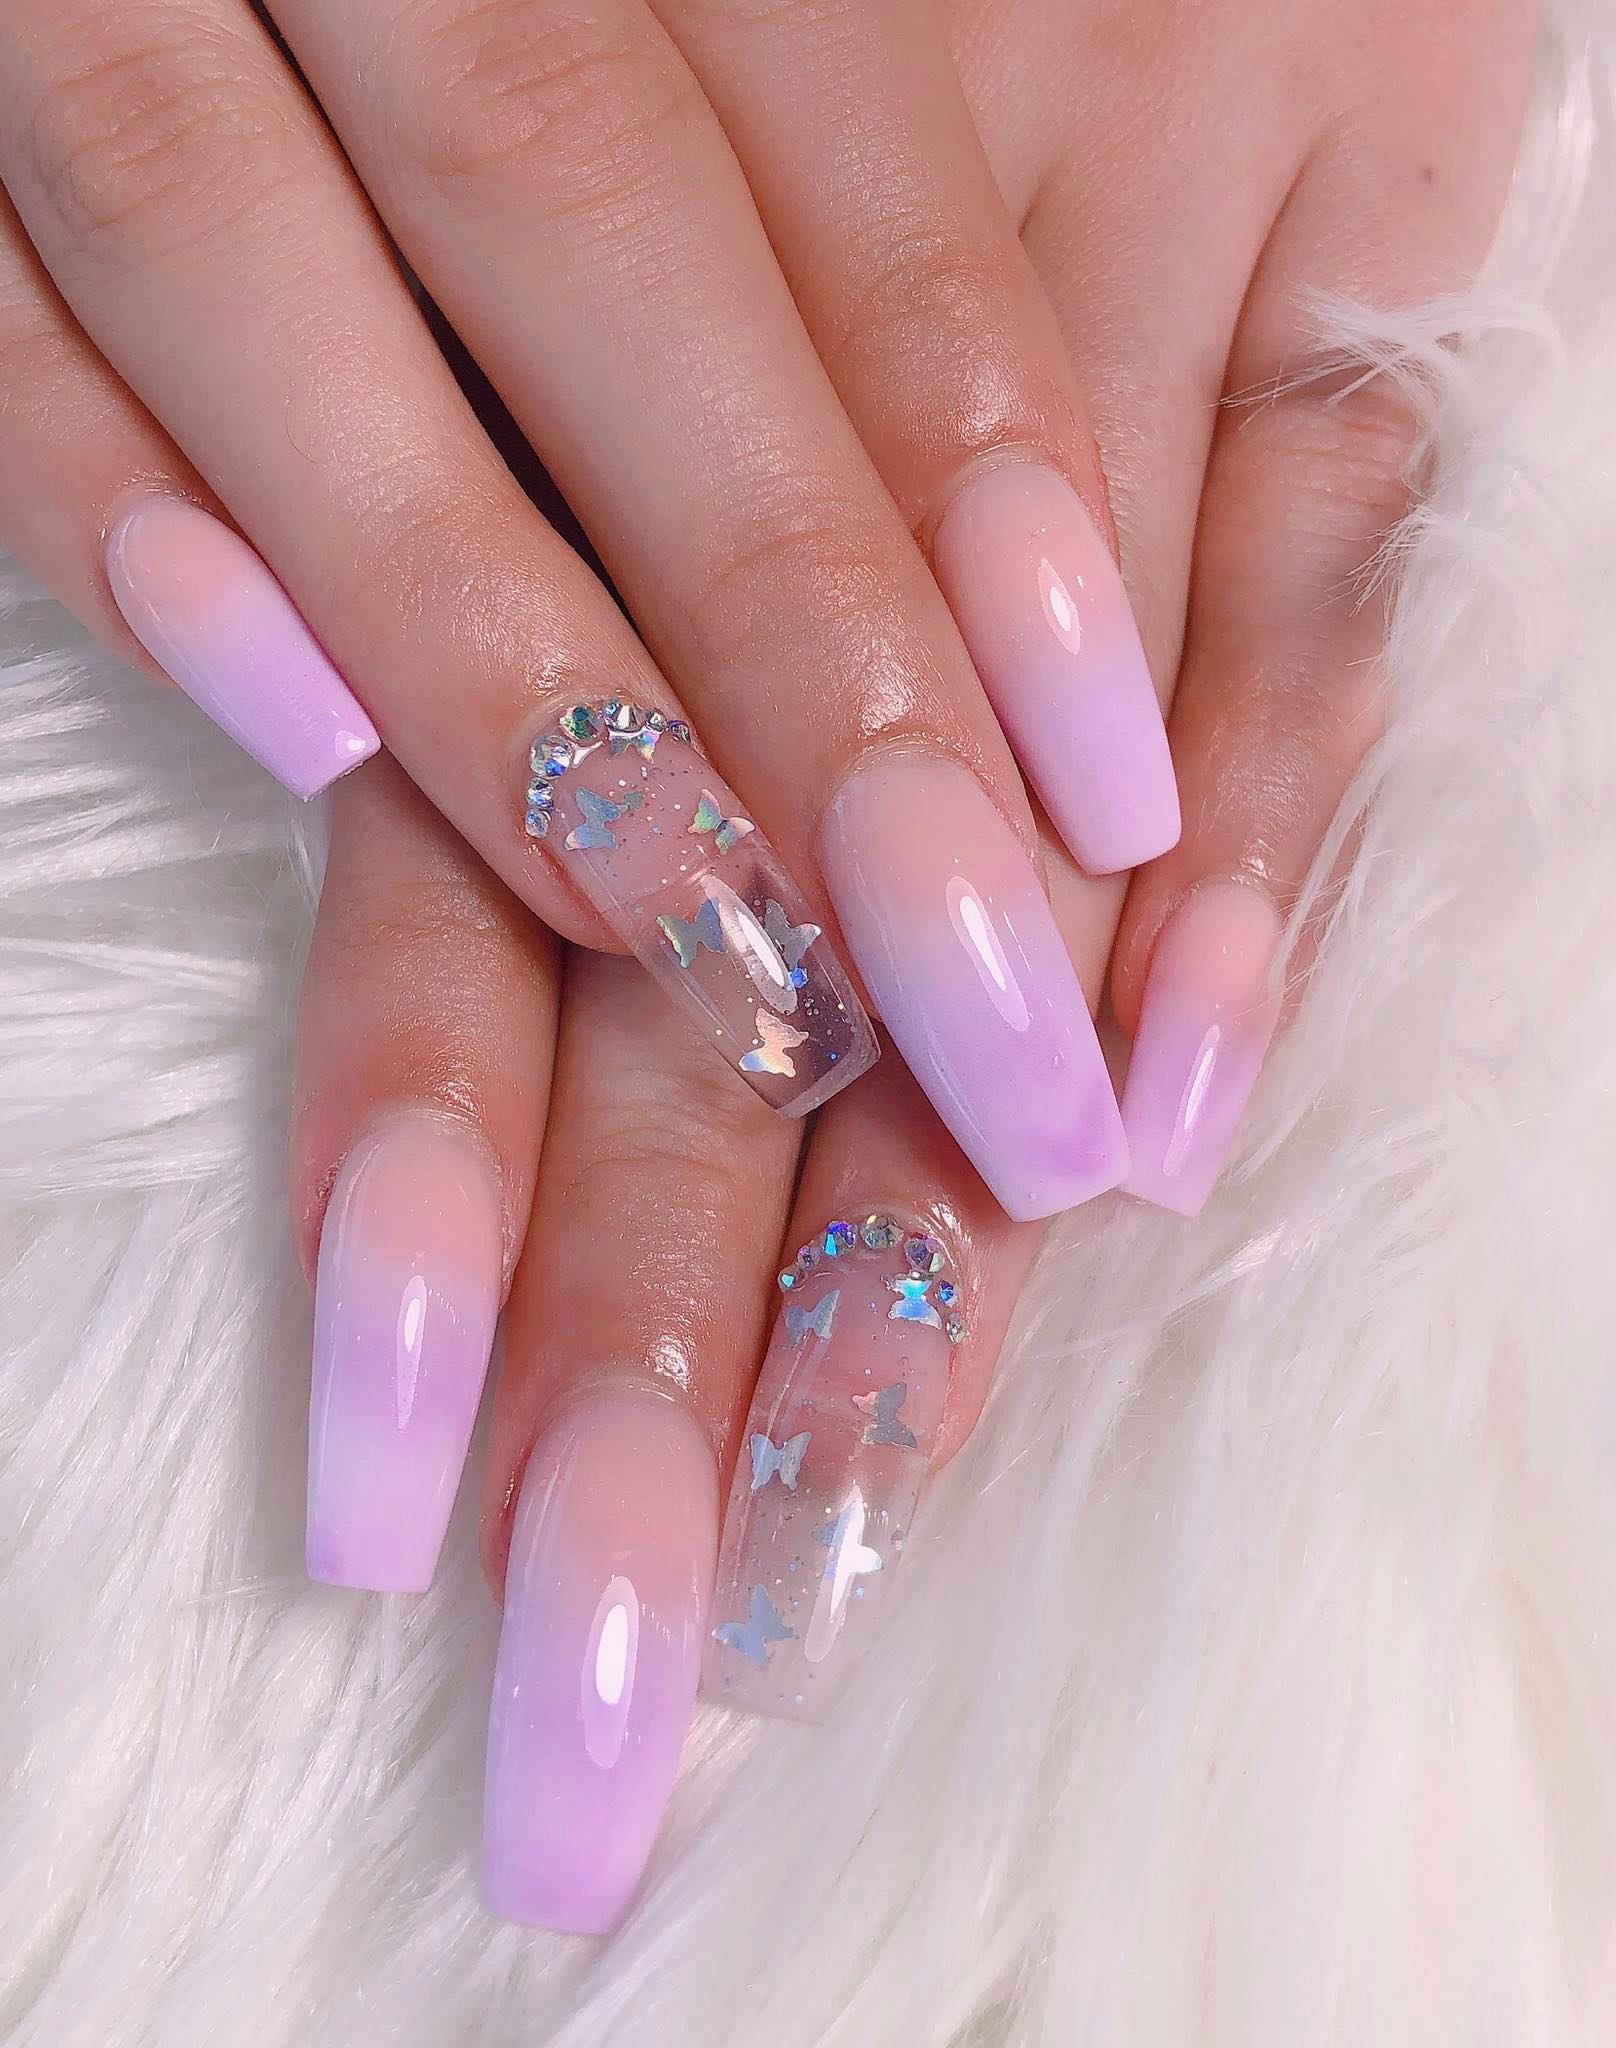
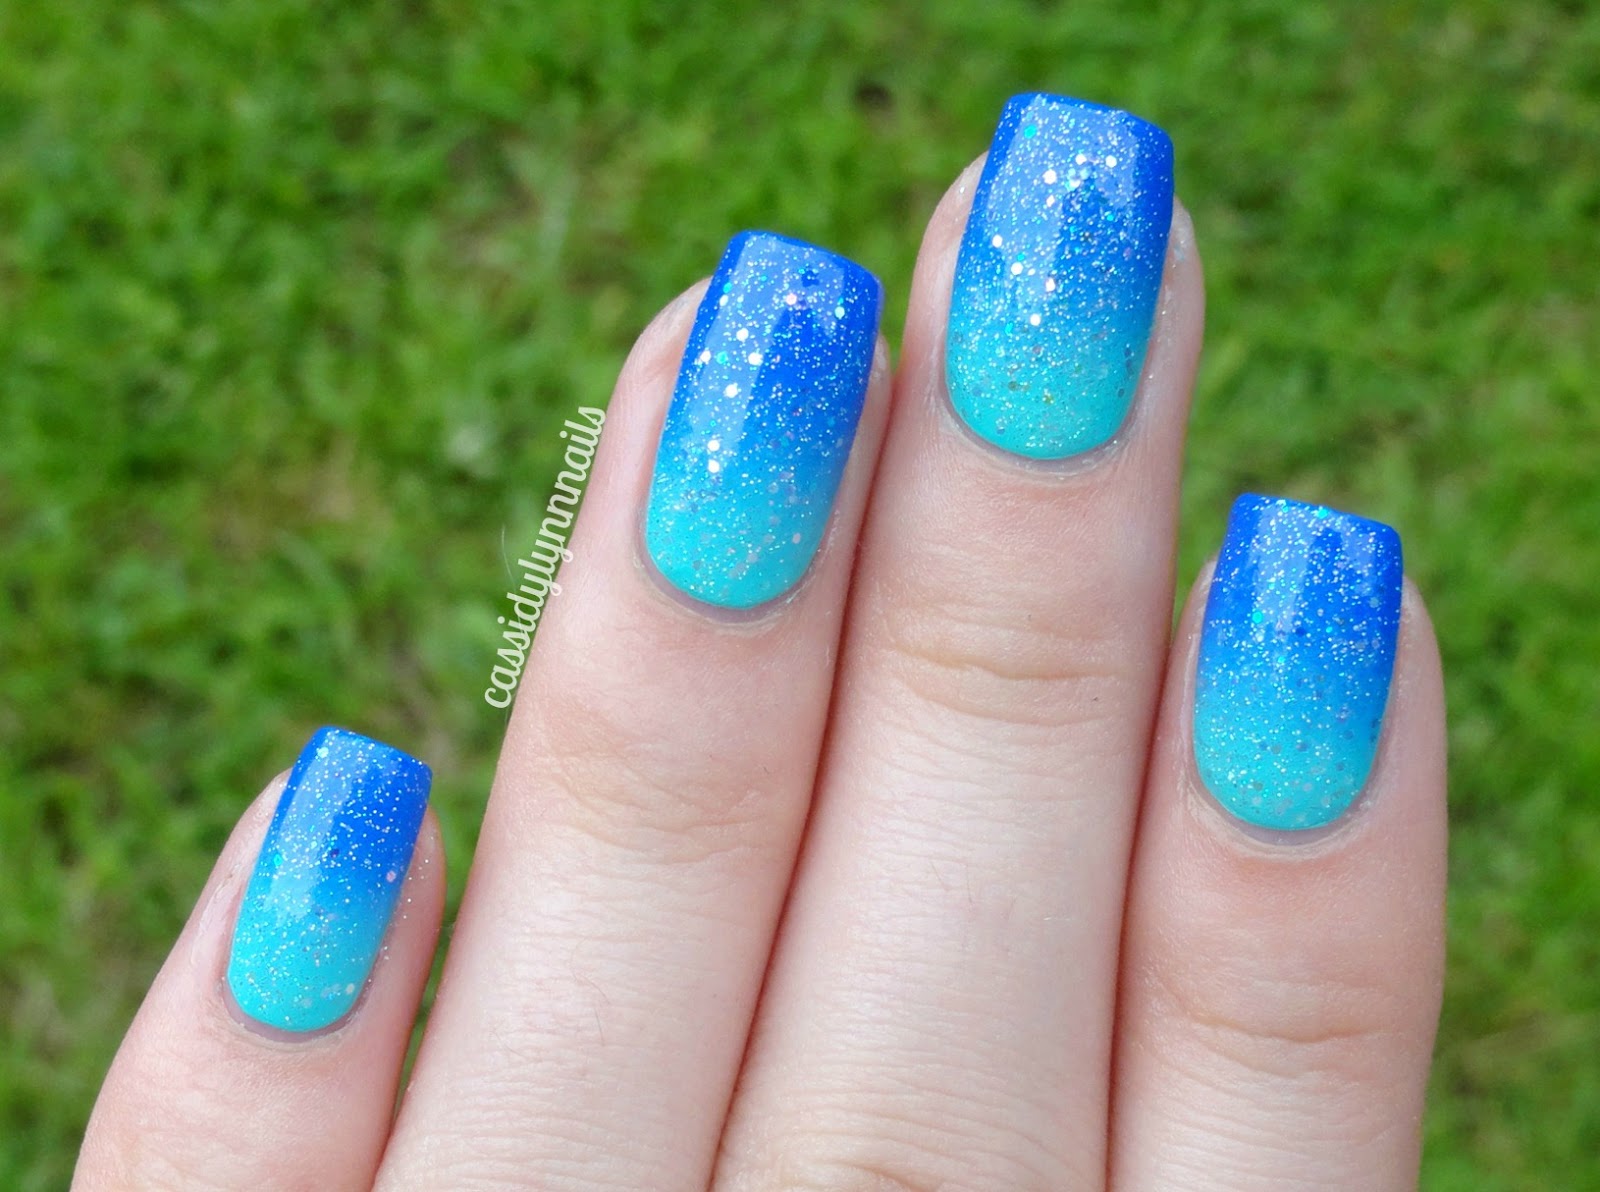
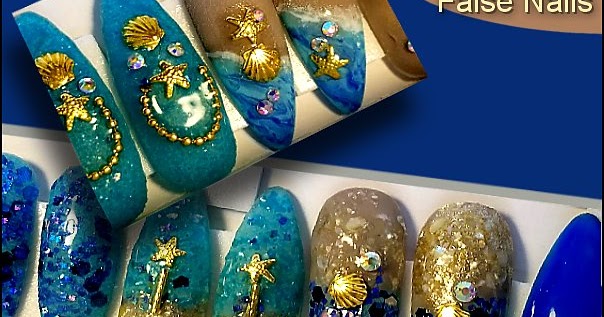
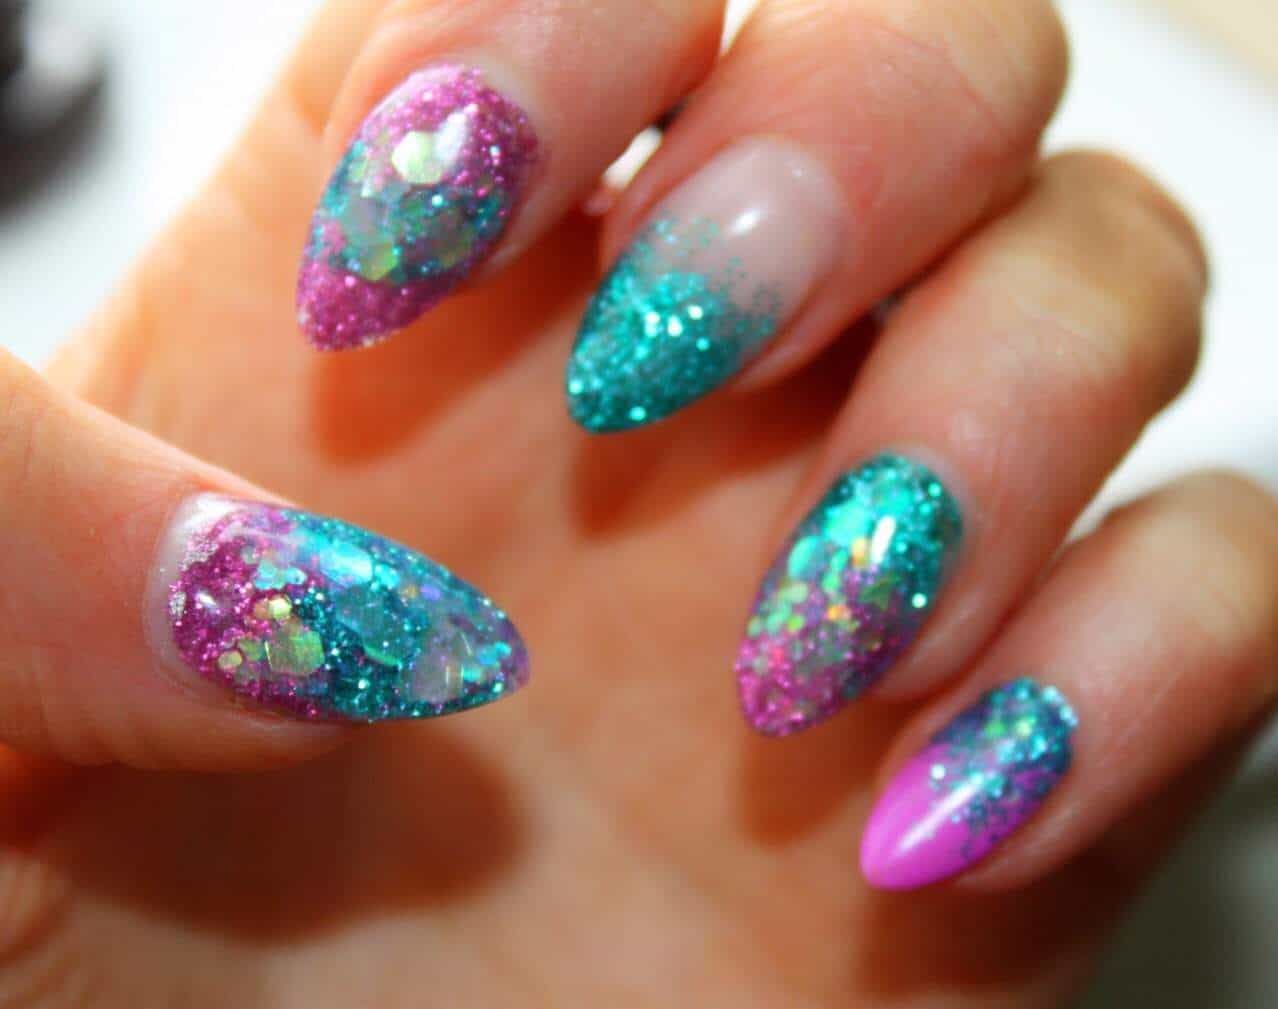
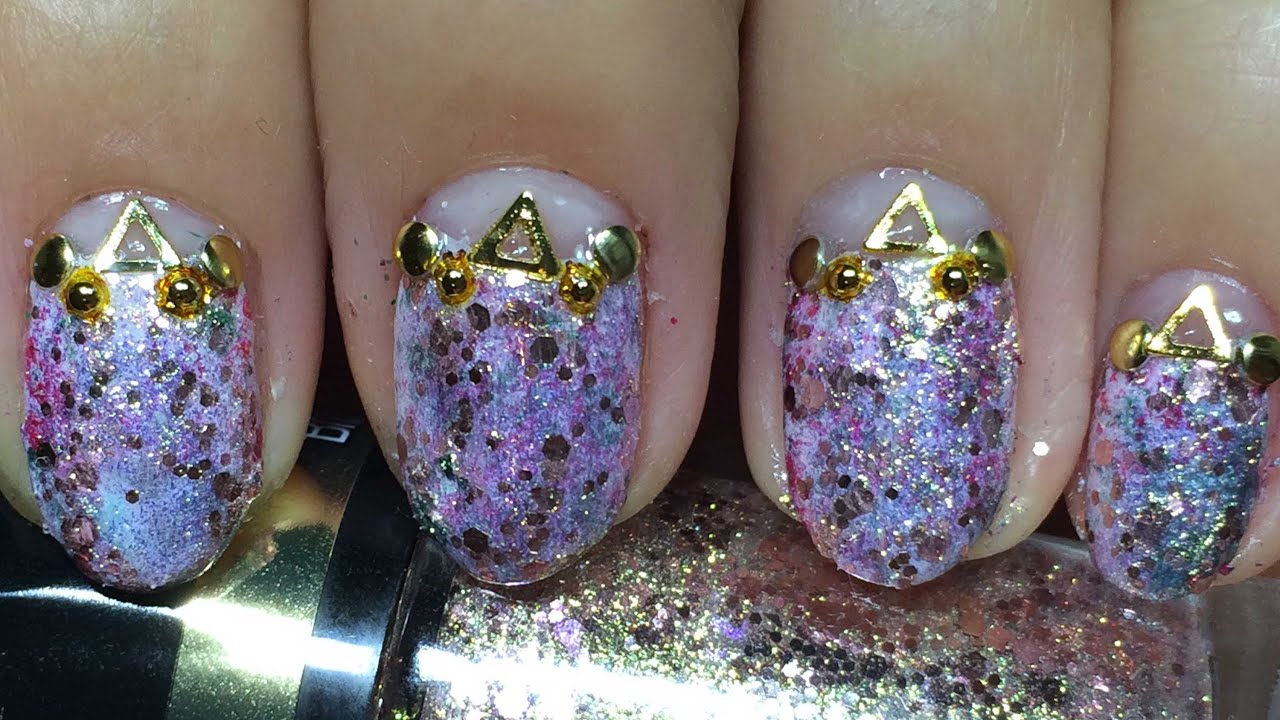
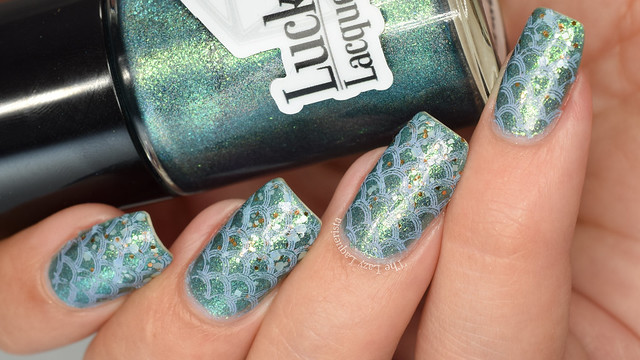
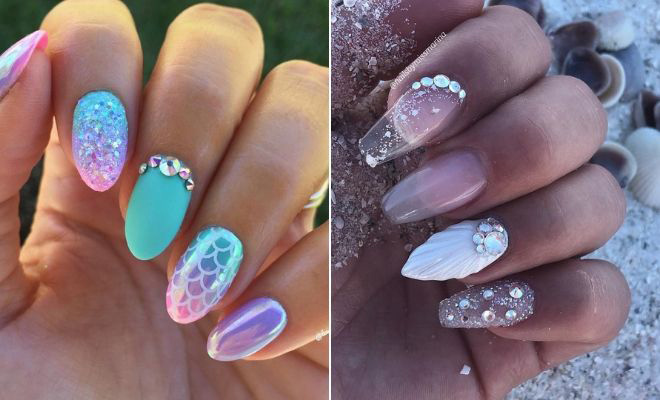
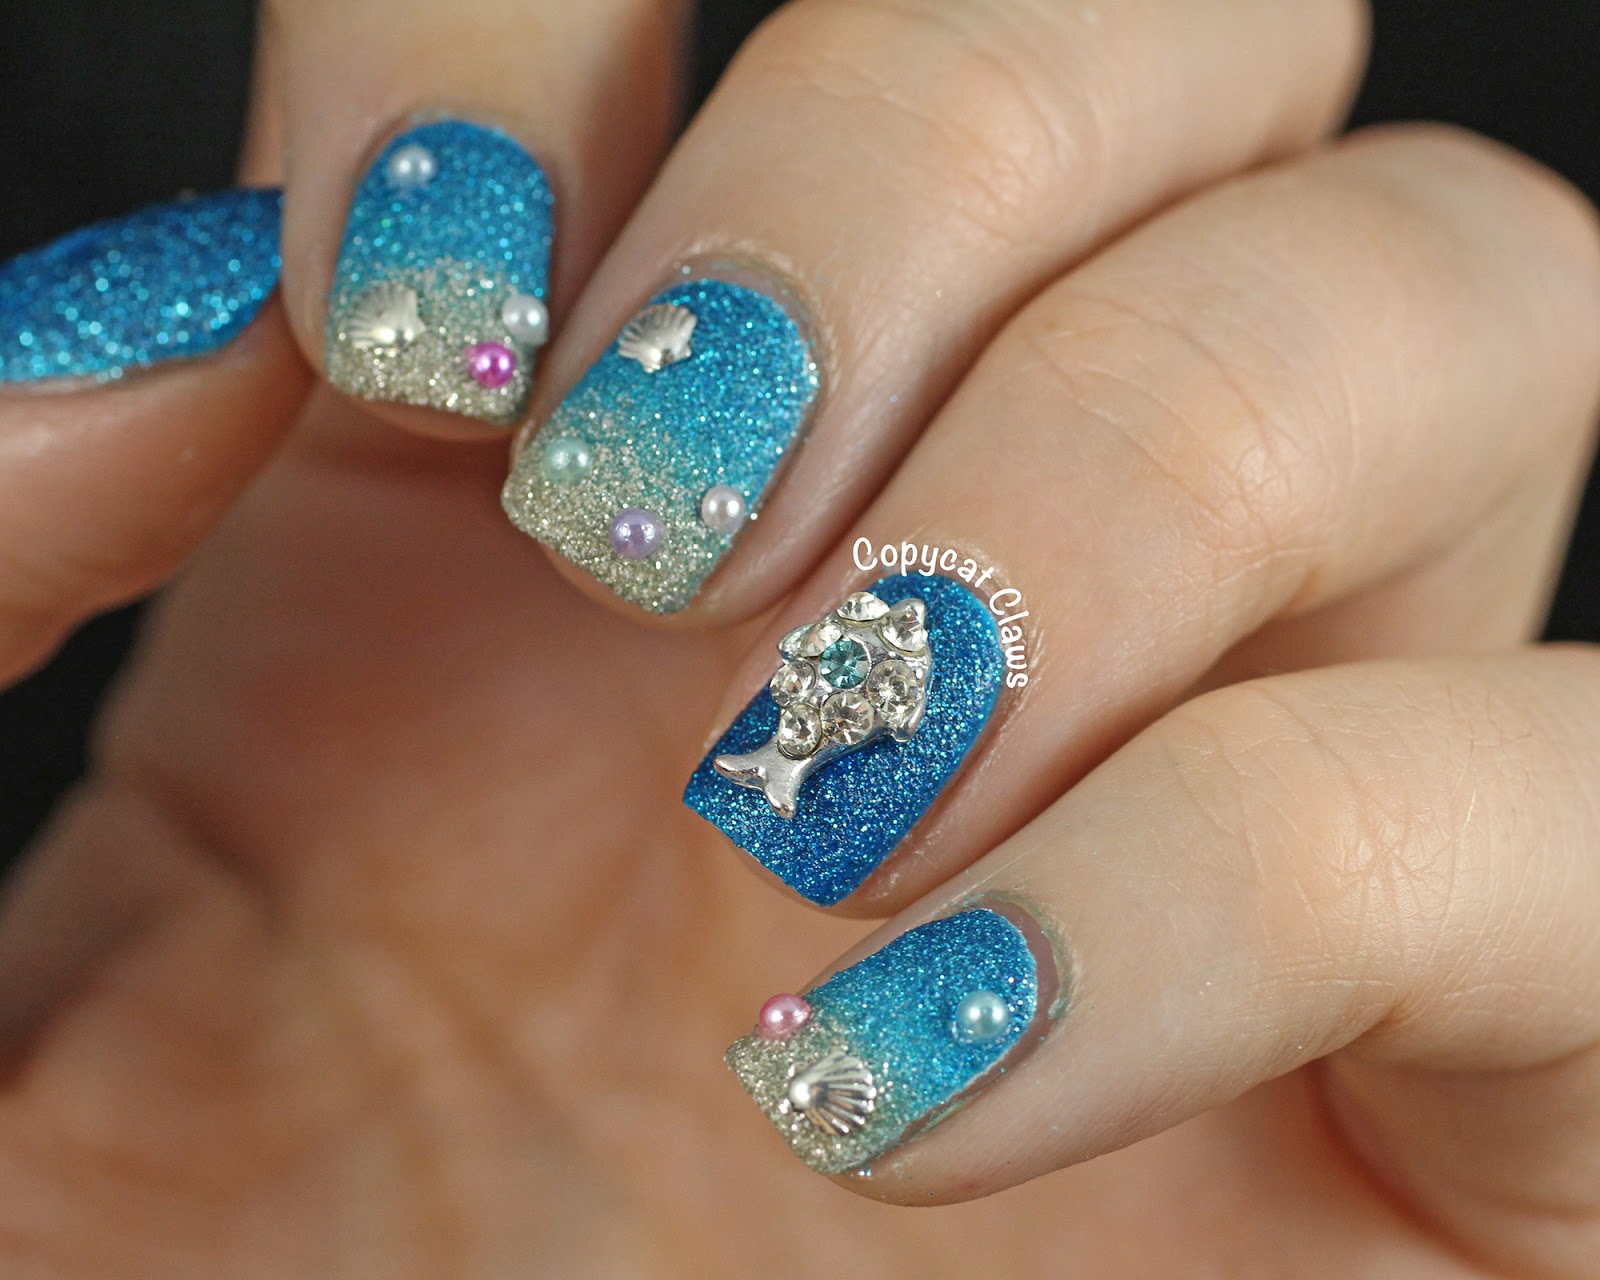
Channel your inner mermaid with these stunning and whimsical nail art designs. Start with a light blue base coat and then use a makeup sponge to dab on iridescent nail polish. You can also use a variety of pearlescent or shimmery nail polish colors to create a sparkly and magical look. For a more mermaid inspired design, add some seashell or scale accents using a thin brush or toothpick. Finish with a top coat to seal in your oceanic look.Mermaid Inspired Nail Art Designs


Mermaid Inspired Nail Art Designs


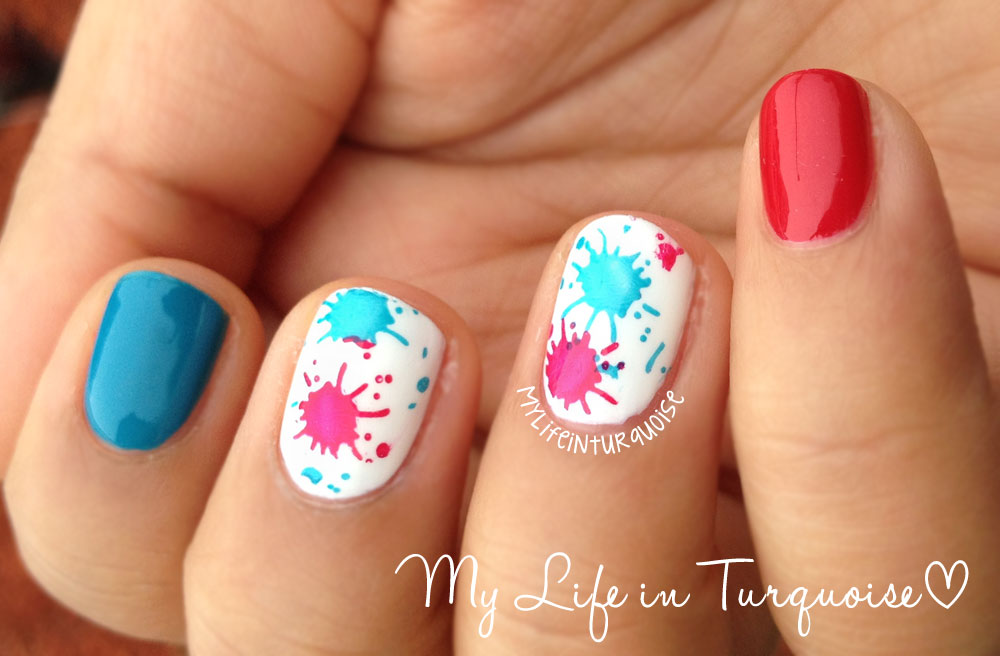
For those who love precision and clean lines in their nail art, try this water splash nail art stamping tutorial. You will need a variety of colorful nail polish, a stamping plate with a water splash design, and a stamping tool. Start by painting your nails with a light base coat and then use the stamping tool to transfer the water splash design onto your nails. You can use different colors for each nail to create a rainbow effect. Finish with a top coat for a polished and professional look.Water Splash Nail Art Stamping Tutorial


Water Splash Nail Art Stamping Tutorial

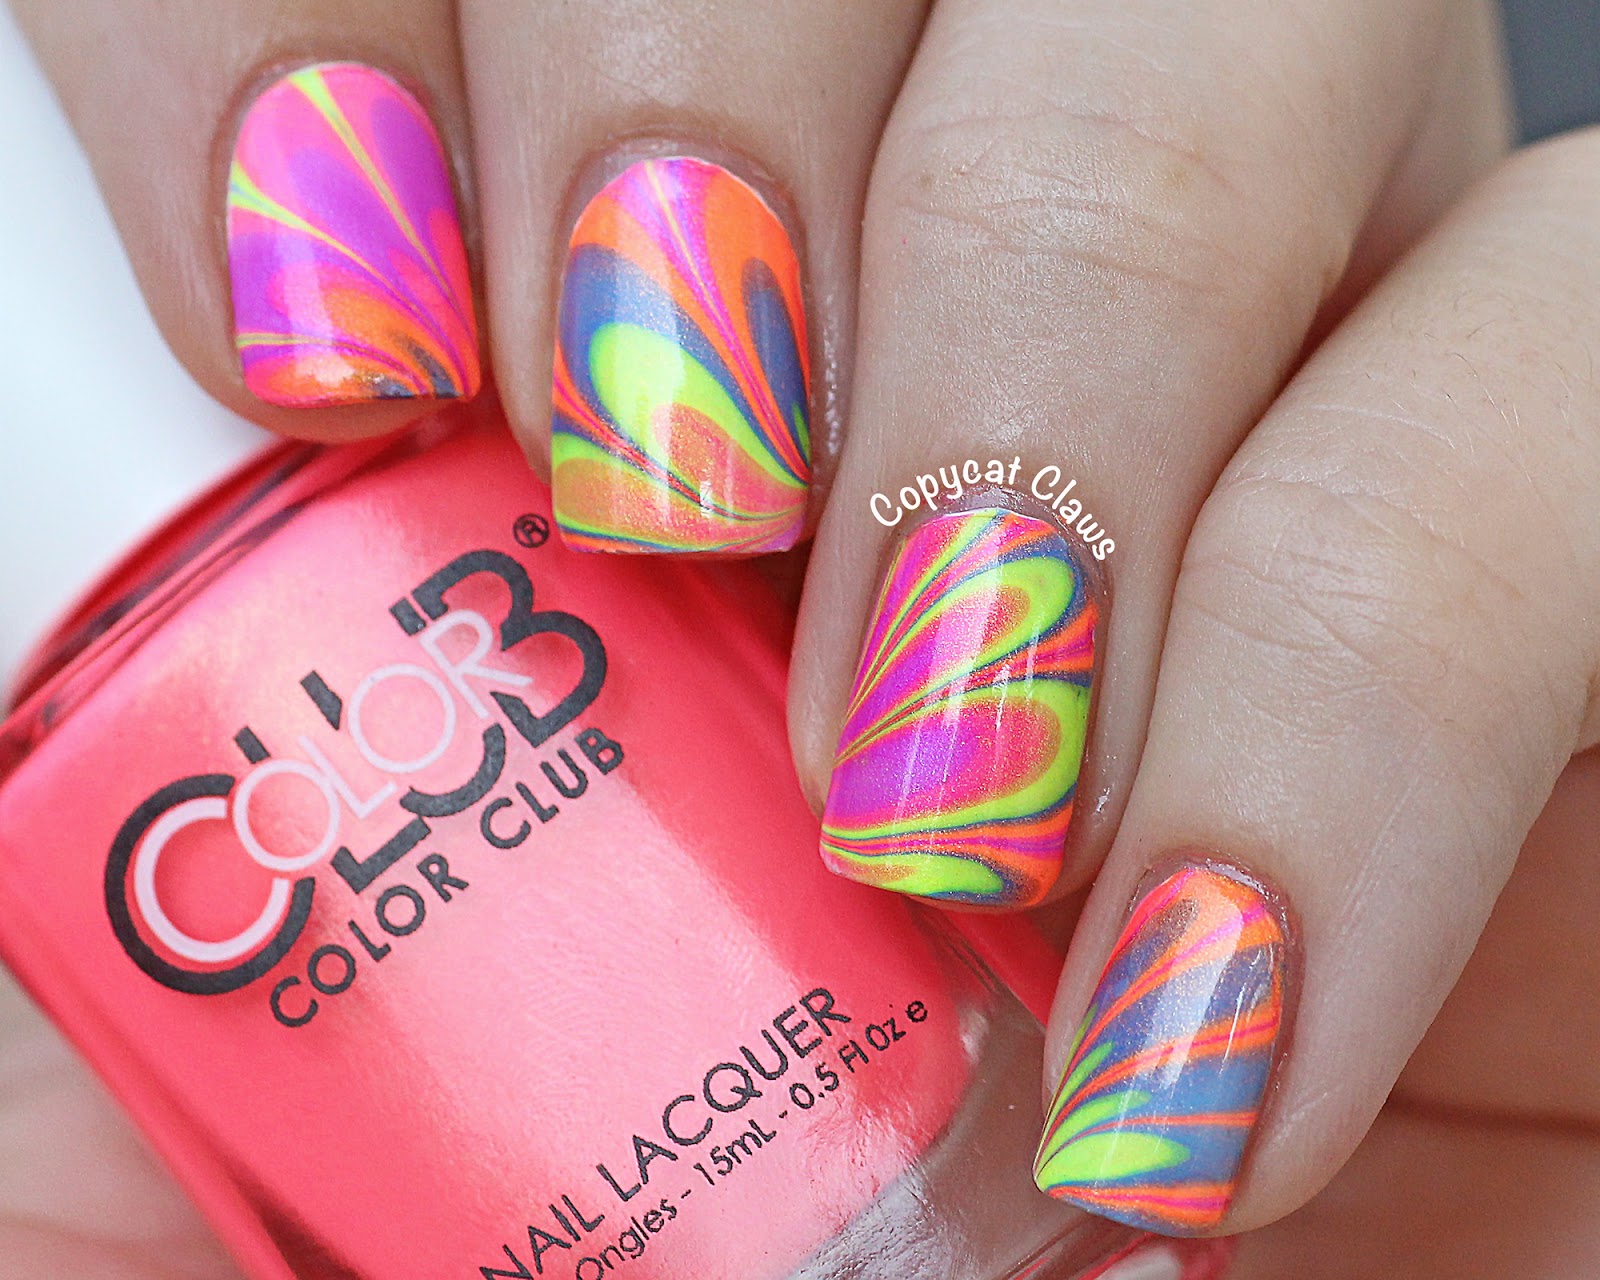
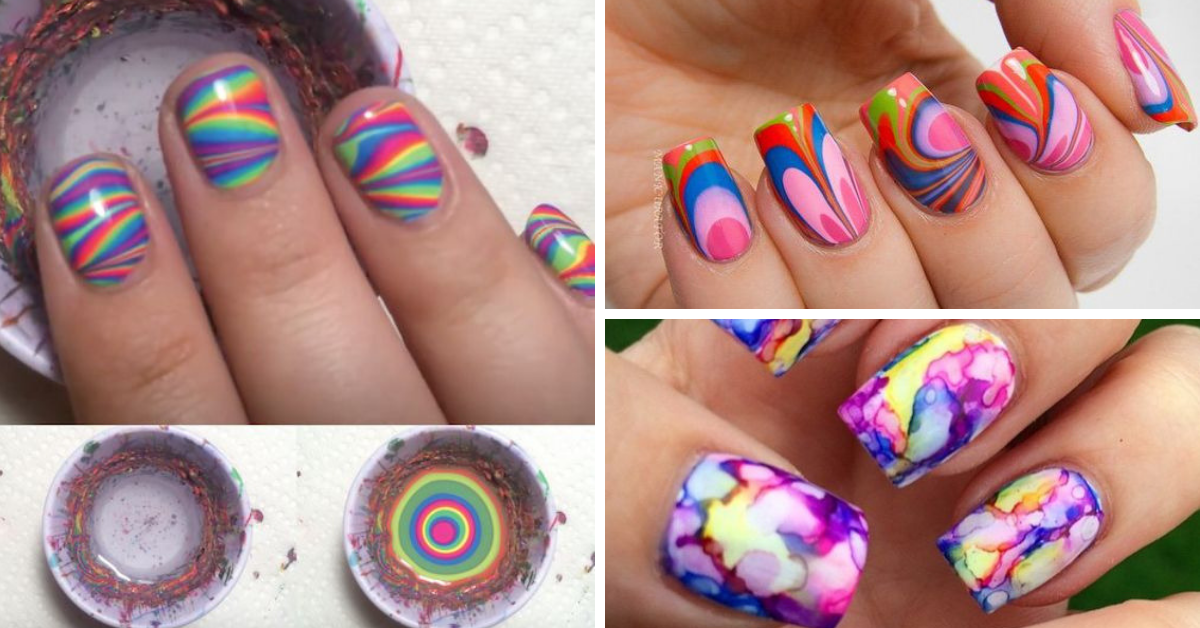
Take your water marble nail art to the next level by incorporating a rainbow of colors into your design. To create this look, you will need a bowl of water, nail polish in rainbow colors, and a toothpick. Start by applying a base coat and then drop a few colors of nail polish into the water in a rainbow order. Use a toothpick to create swirls and designs and then dip your finger into the water to transfer the pattern onto your nail. Repeat this process for each nail and finish with a top coat for a vibrant and colorful look.Rainbow Water Marble Nail Art


Rainbow Water Marble Nail Art


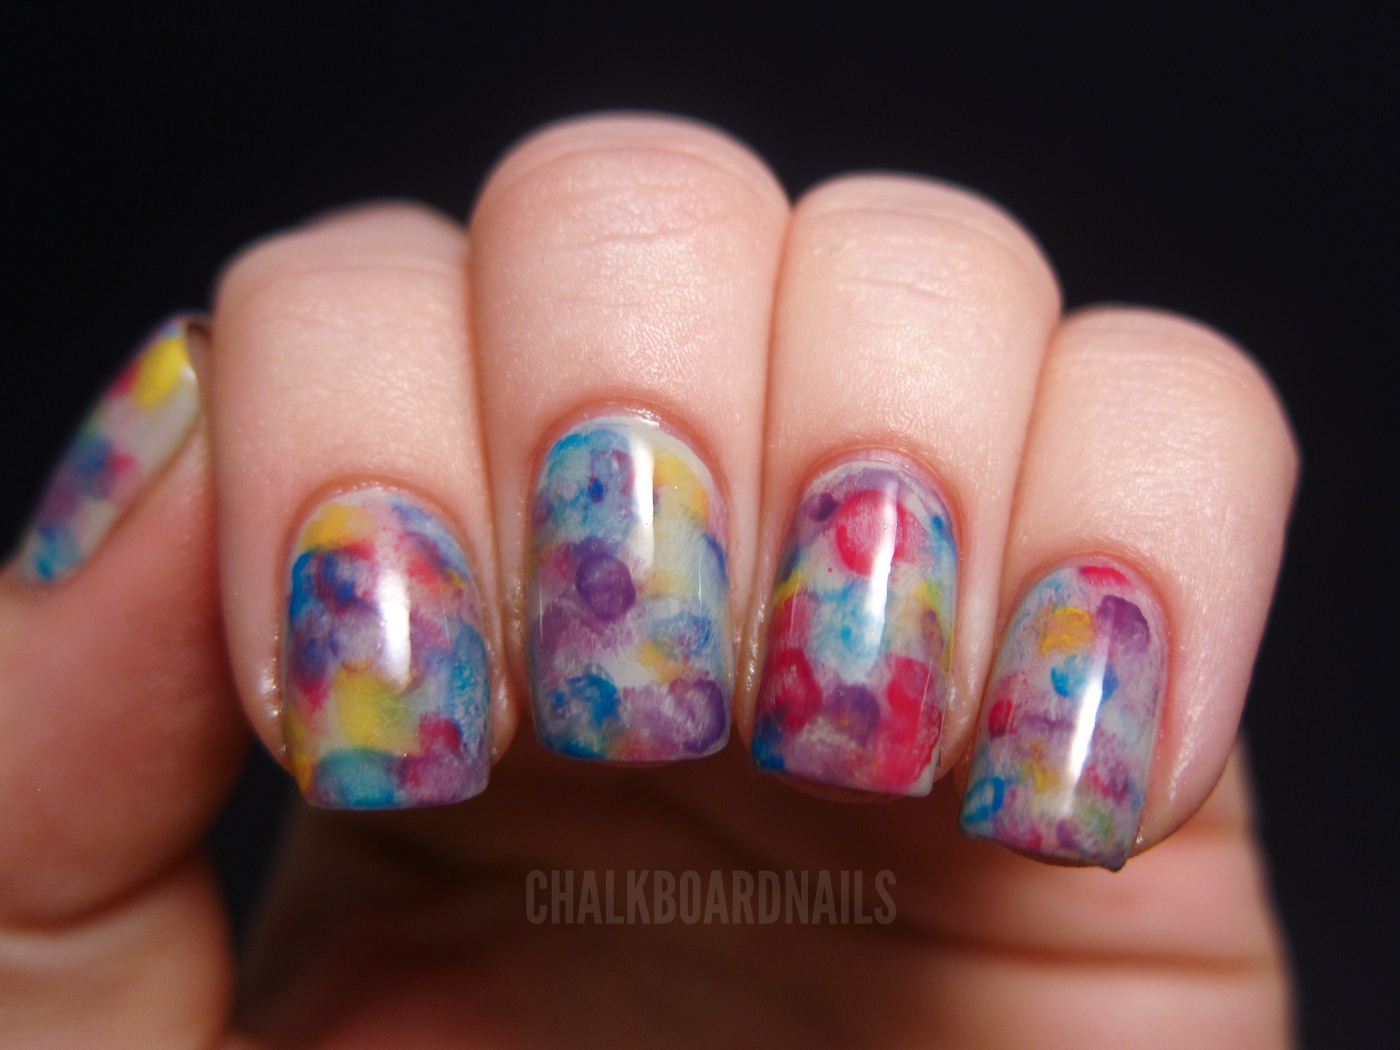
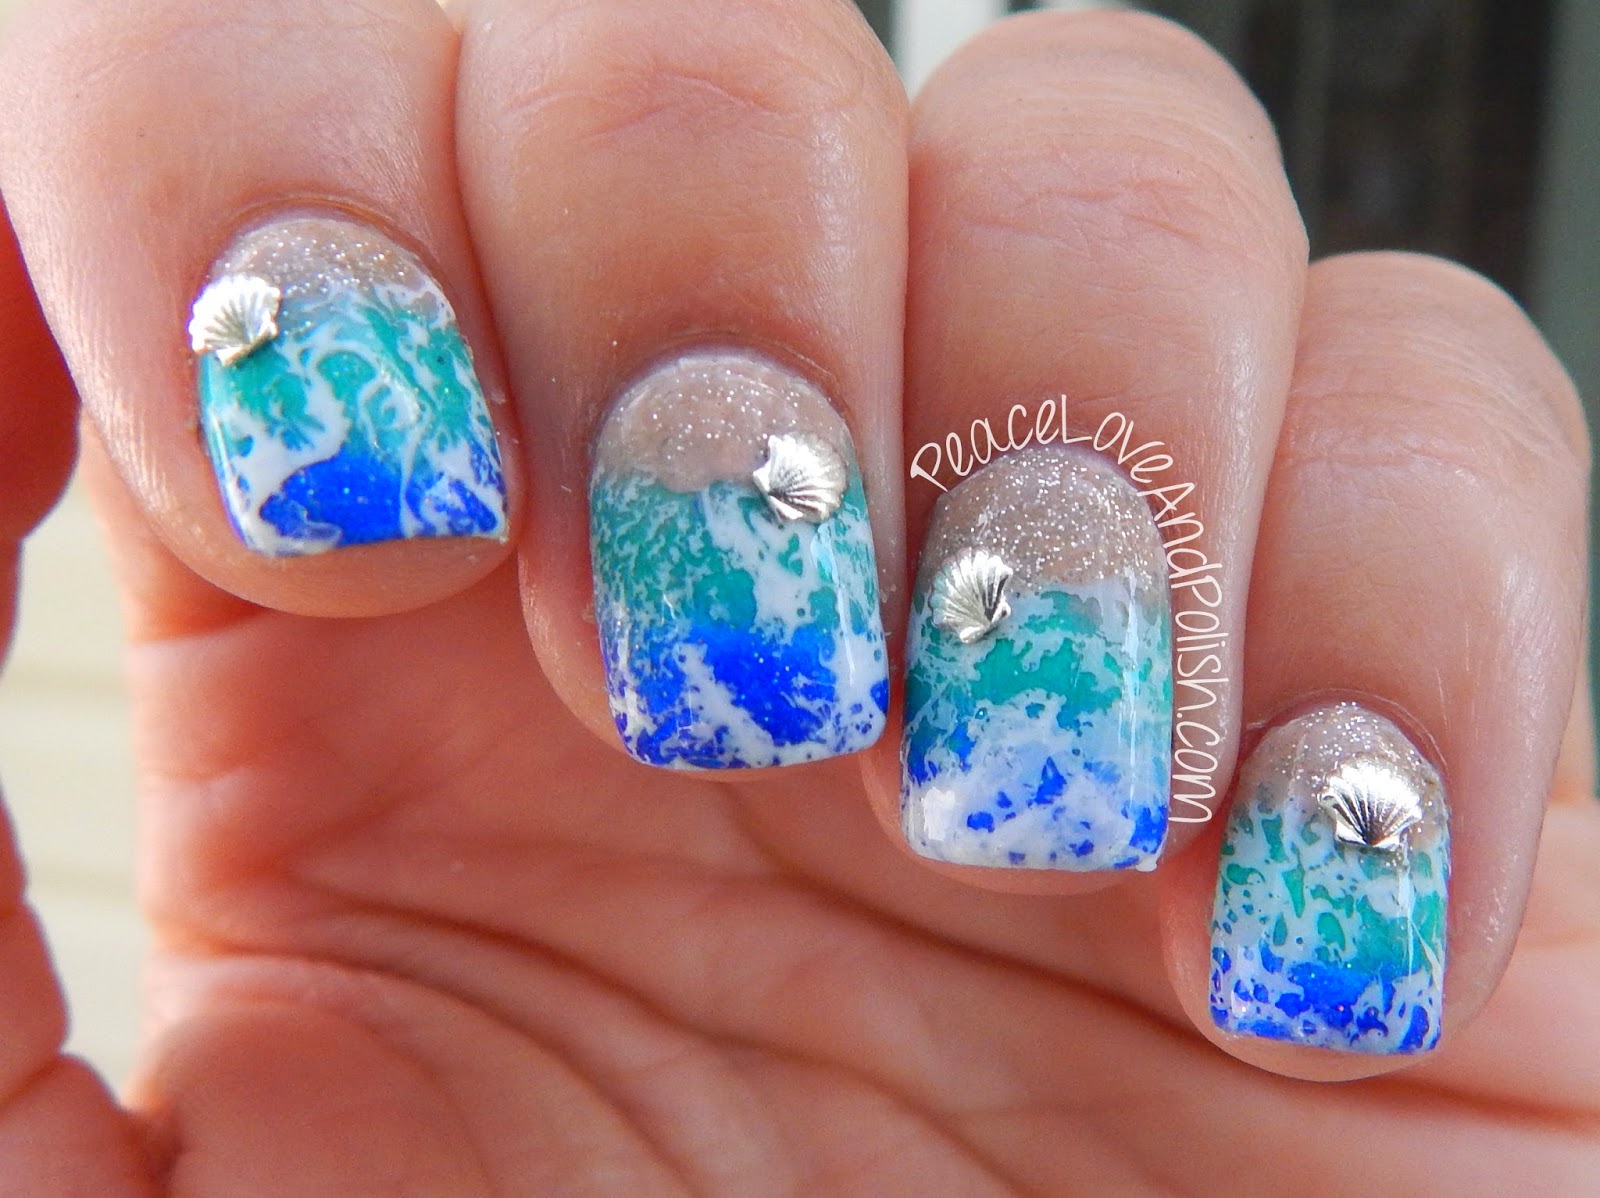
Bring the beach to your fingertips with these relaxing and beachy watercolor nail art ideas. Start with a white base coat and then use a makeup sponge to create a gradient effect using blue, green, and yellow nail polish. You can also add some sand accents using a light brown polish. For a more beachy vibe, add some sea creatures or beach themed designs using a thin brush or toothpick. Finish with a top coat for a summery and beachy look.Beachy Watercolor Nail Art Ideas


Beachy Watercolor Nail Art Ideas


The Popularity of Water Splash Nail Art in House Design
What is Water Splash Nail Art?
 Water splash nail art is a trendy and unique way to elevate your house design. It involves creating a watercolor effect on your nails using different shades of nail polish and a water droplet technique. This technique creates a beautiful and abstract design that resembles splashes of water on a canvas. It is a fun and creative way to add a pop of color and personality to your home.
Why is it Gaining Popularity in House Design?
 Water splash nail art has become increasingly popular in house design because it offers a wide range of possibilities. You can choose from a variety of color combinations and designs to create a look that best suits your style and home decor. It also allows for a lot of experimentation and creativity, making it perfect for those who want to add a personal touch to their living space.
Additionally, water splash nail art is a budget-friendly option for house design. You can easily create this look at home with just a few basic nail polish colors and tools. It is a great alternative to expensive wall art or decor pieces, and it adds a unique and eye-catching element to any room.
Water splash nail art has become increasingly popular in house design because it offers a wide range of possibilities. You can choose from a variety of color combinations and designs to create a look that best suits your style and home decor. It also allows for a lot of experimentation and creativity, making it perfect for those who want to add a personal touch to their living space.
Additionally, water splash nail art is a budget-friendly option for house design. You can easily create this look at home with just a few basic nail polish colors and tools. It is a great alternative to expensive wall art or decor pieces, and it adds a unique and eye-catching element to any room.
How to Incorporate Water Splash Nail Art in Your House Design?
 There are many ways to incorporate water splash nail art in your house design. You can create a feature wall in your living room or bedroom by painting a watercolor design using different shades of nail polish. You can also use this technique to add a pop of color to plain furniture pieces, such as a coffee table or a bookshelf.
Another creative way to use water splash nail art is by creating a custom wall art. You can use a canvas or a piece of wood and create a watercolor design using the water droplet technique. This can be a fun and easy DIY project that will give your home a unique and personalized touch.
There are many ways to incorporate water splash nail art in your house design. You can create a feature wall in your living room or bedroom by painting a watercolor design using different shades of nail polish. You can also use this technique to add a pop of color to plain furniture pieces, such as a coffee table or a bookshelf.
Another creative way to use water splash nail art is by creating a custom wall art. You can use a canvas or a piece of wood and create a watercolor design using the water droplet technique. This can be a fun and easy DIY project that will give your home a unique and personalized touch.
Final Thoughts
 Water splash nail art is a fun and innovative way to incorporate color and creativity into your house design. It is a popular trend that offers endless possibilities and can be easily customized to fit your style and budget. So why not give it a try and add a splash of color to your home?


