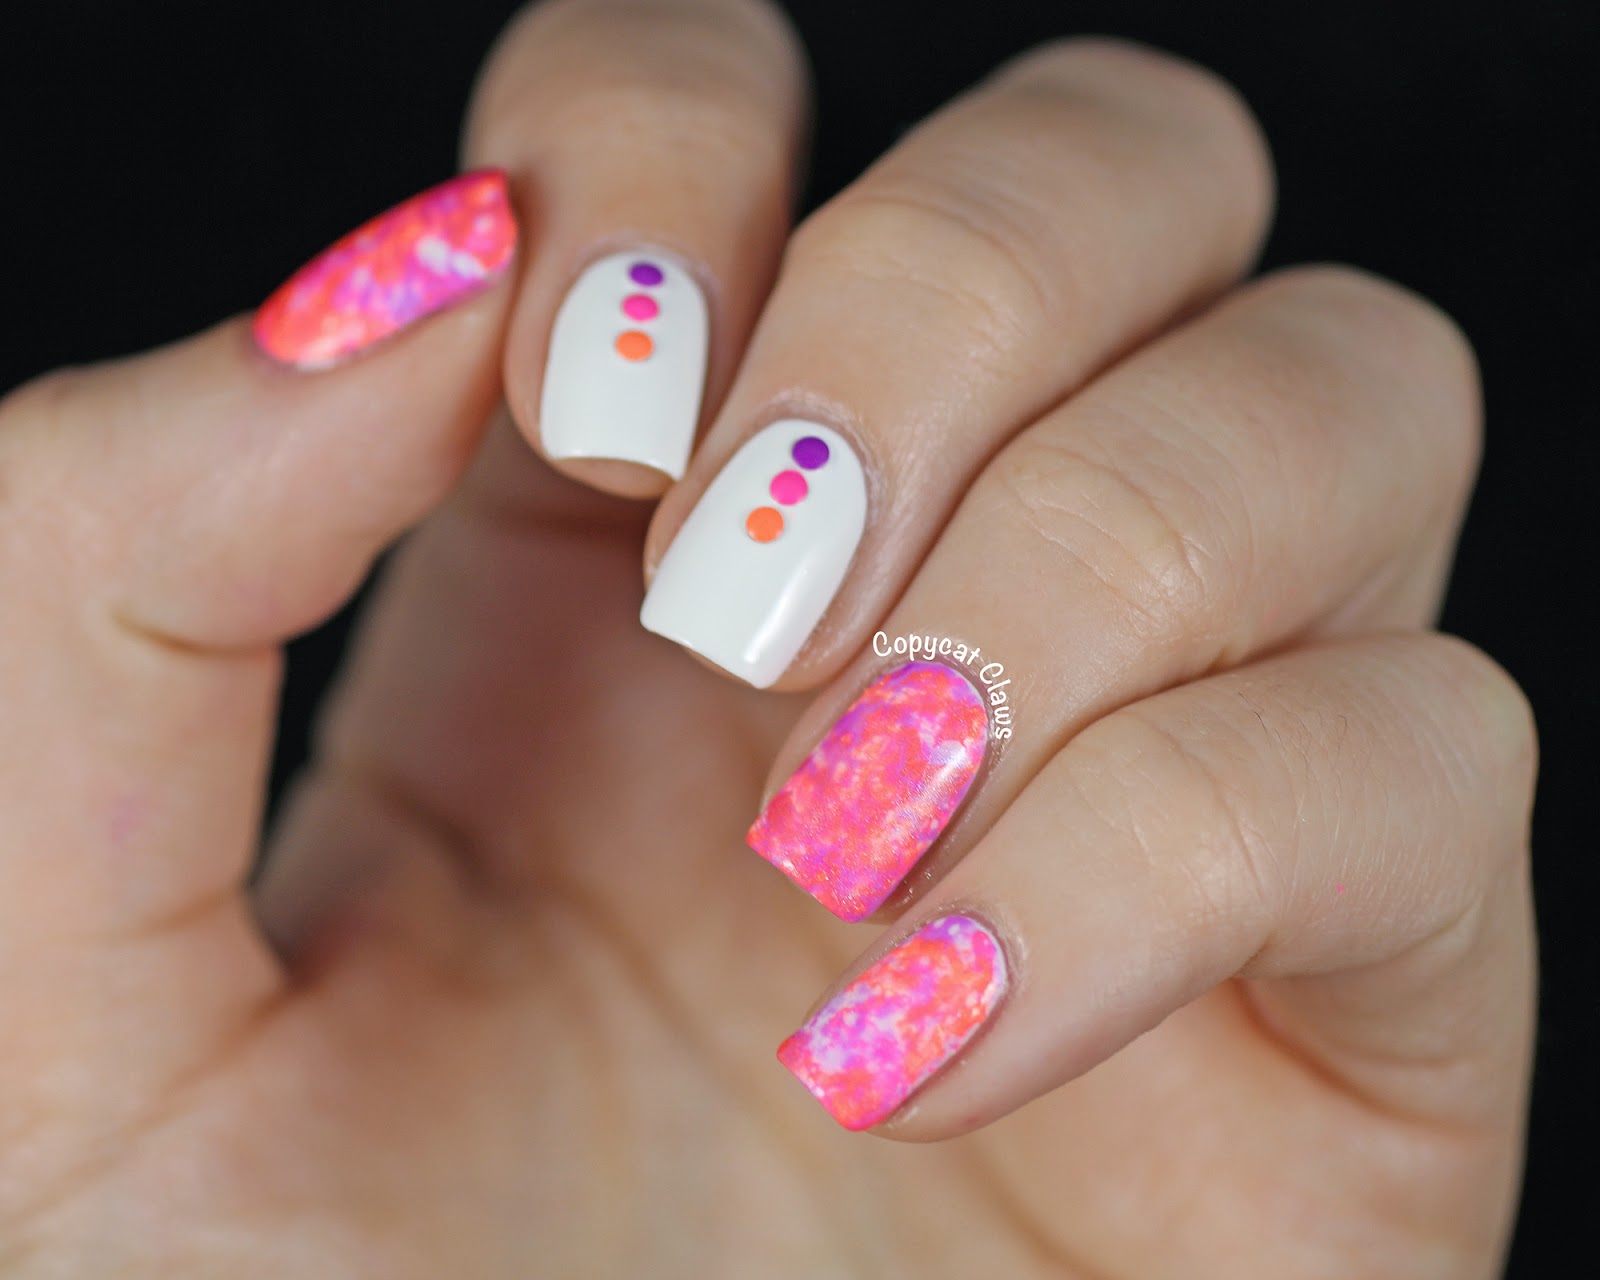
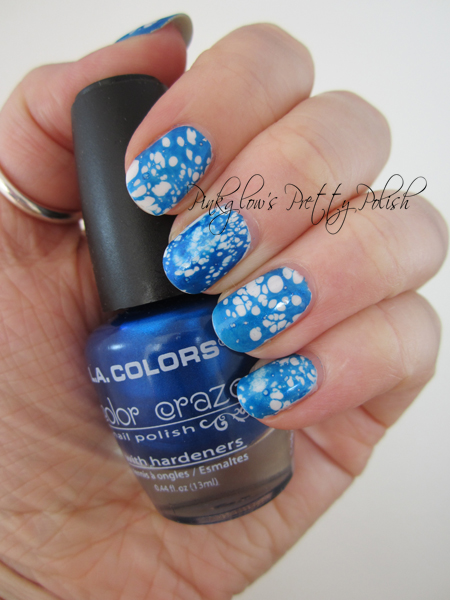
Looking for a unique and eye-catching nail design? Look no further than water spotted nail art! This fun and easy technique allows you to create a marbled effect on your nails using just a few simple tools. In this tutorial, we'll walk you through the steps to create your own water spotted nail art. Get ready to make a splash with your nails!Water Spotted Nail Art Tutorial


Water Spotted Nail Art Tutorial


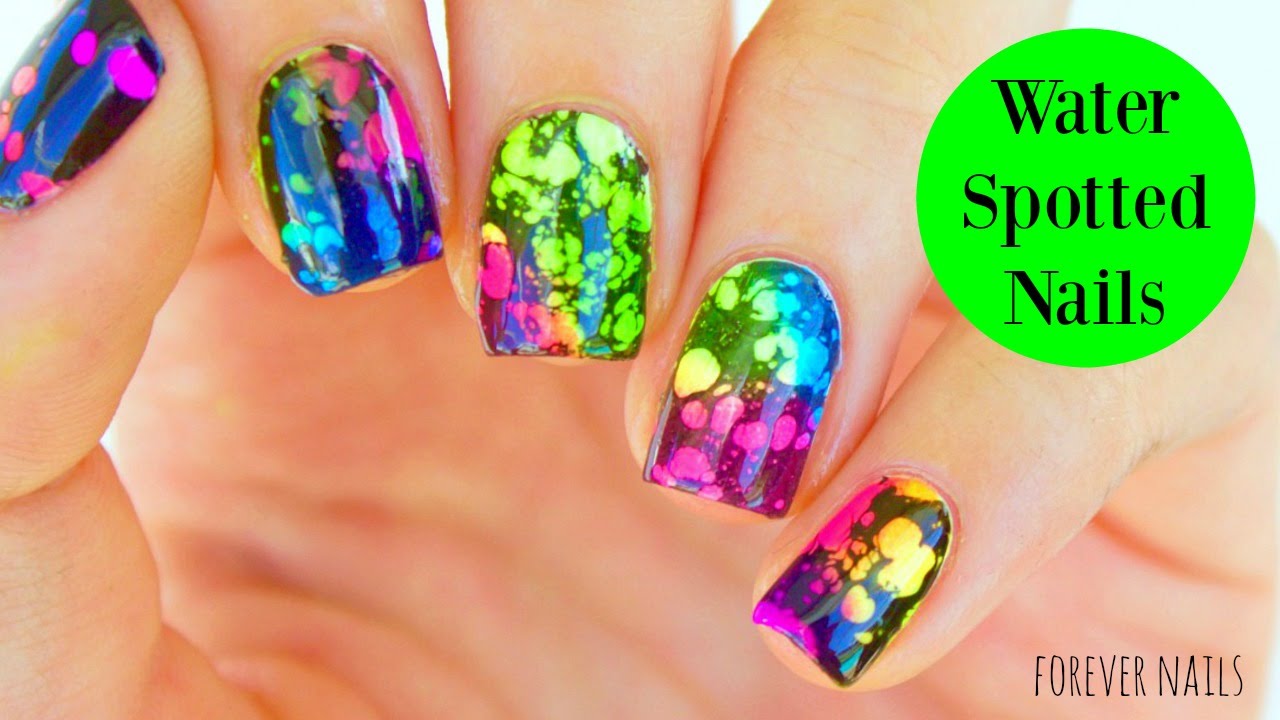
If you're new to nail art, don't worry – water spotted nail art is simple and easy to do! All you need is some nail polish, a cup of water, and a toothpick. The best part? Each nail will turn out unique, so there's no need to worry about getting the same design on both hands. Let's dive into this easy water spotted nail art tutorial.Easy Water Spotted Nail Art Tutorial

Easy Water Spotted Nail Art Tutorial


Why spend money on expensive nail salon visits when you can create your own stunning nail art at home? With this DIY water spotted nail art tutorial, you can achieve a professional look without breaking the bank. Plus, you'll have fun experimenting with different colors and designs to create your own unique look.DIY Water Spotted Nail Art Tutorial

DIY Water Spotted Nail Art Tutorial


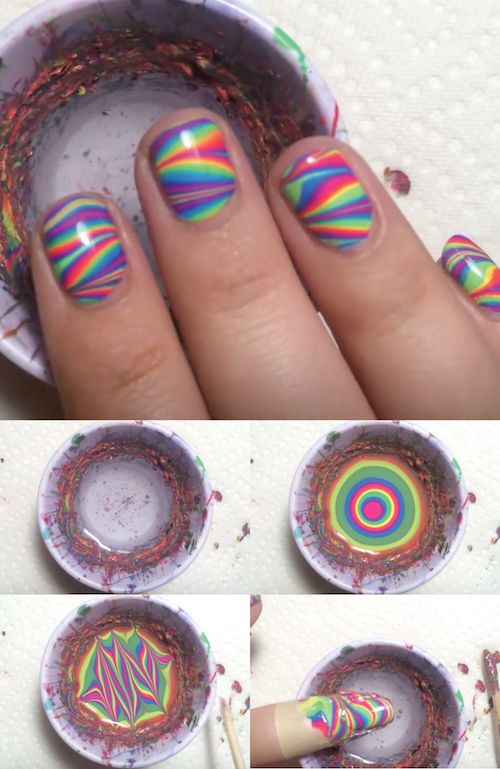
Ready to get started? Follow these simple steps to create your own water spotted nail art:Step-by-Step Water Spotted Nail Art Tutorial


Step-by-Step Water Spotted Nail Art Tutorial
.JPG)

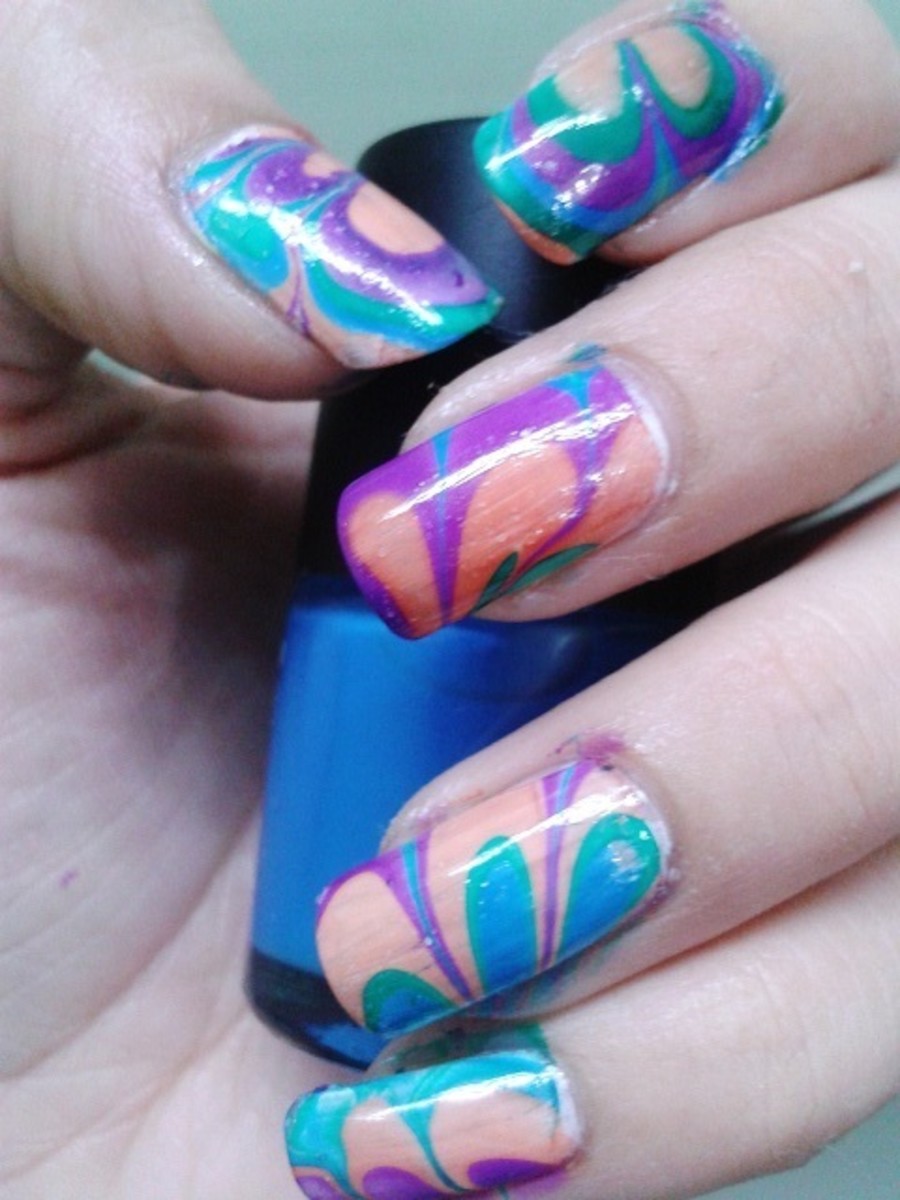
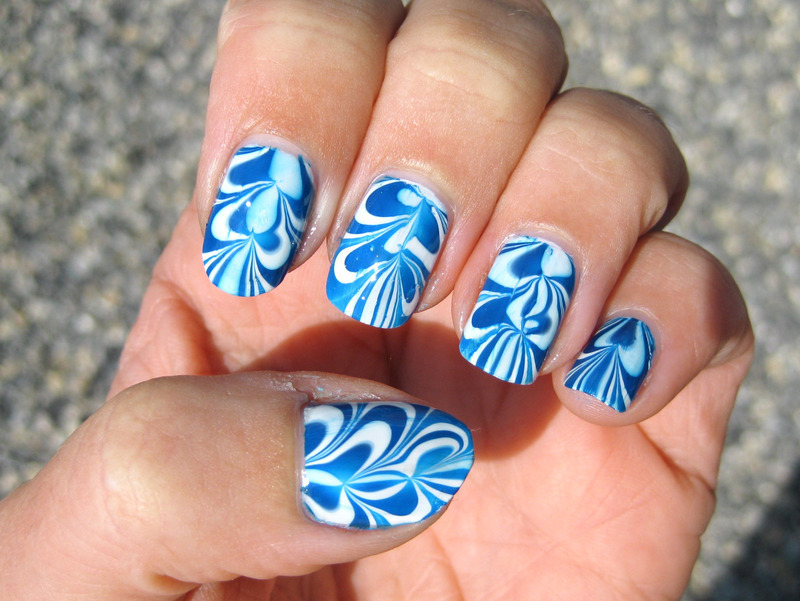
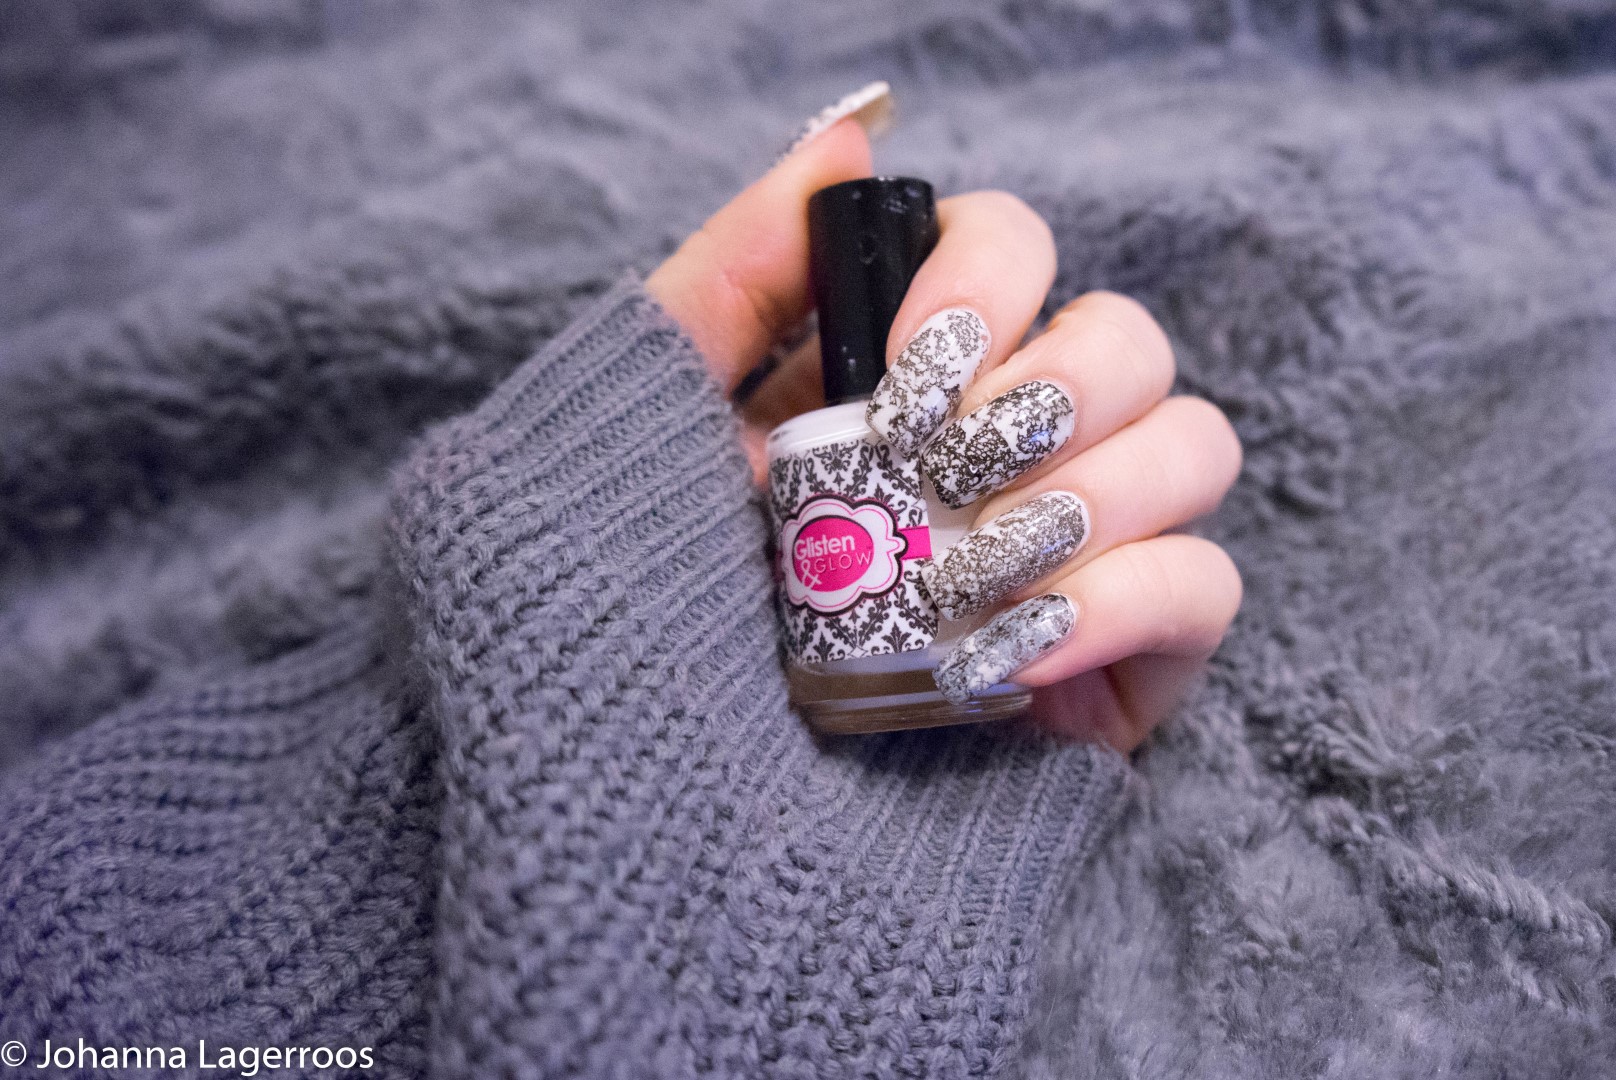
If you want to take your water spotted nail art to the next level, try creating a water marble design. This technique involves using multiple colors and creating intricate patterns on the surface of the water before dipping your nails. It may take a bit more practice, but the end result is worth it!Water Marble Nail Art Tutorial


Water Marble Nail Art Tutorial


Still not sure how to create water spotted nail art? Here are a few more tips to help you achieve the perfect look:How to Create Water Spotted Nail Art


How to Create Water Spotted Nail Art


If you're new to nail art, water spotted nail art is a great place to start. It's forgiving and allows for a lot of creativity and experimentation. Plus, the end result is always unique and eye-catching. So don't be afraid to give it a try – you may just discover a new hobby!Water Spotted Nail Art for Beginners


Water Spotted Nail Art for Beginners
Want to see the water spotted nail art technique in action? Check out online tutorials or follow along with a step-by-step guide to help you create your own stunning designs. Once you get the hang of it, you can even come up with your own variations and techniques!Nail Art Tutorial: Water Spotted Design
Nail Art Tutorial: Water Spotted Design

While there are many tools you can use to create water spotted nail art, a toothpick is one of the easiest and most accessible options. Its fine tip allows for precise designs and swirls, making it perfect for beginners and advanced nail artists alike.Water Spotted Nail Art with Toothpick

Water Spotted Nail Art with Toothpick

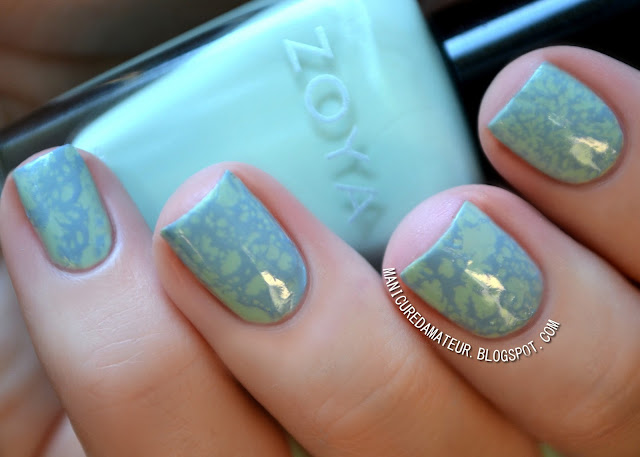
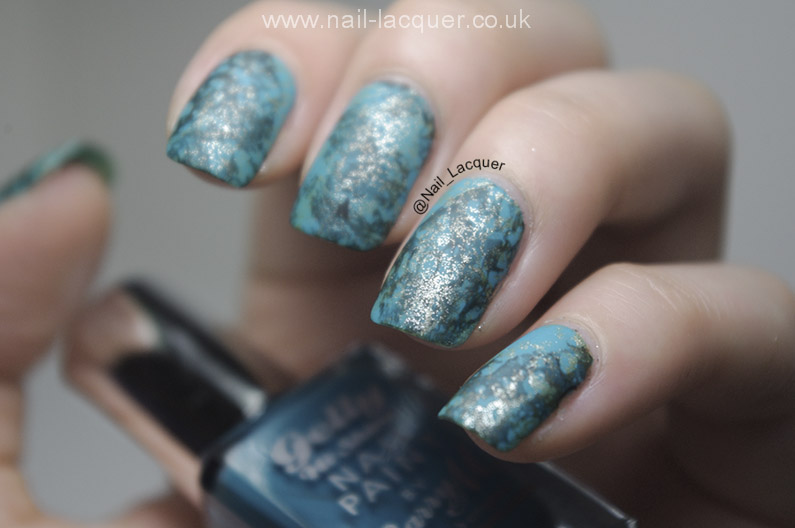
If you don't have a toothpick on hand, don't worry – you can still achieve a beautiful water spotted design using plastic wrap. Simply crumple up a small piece of plastic wrap and dip it into the water with the polish. Use it to create swirls and designs on the surface of the water before dipping your nails. Now that you know how to create stunning water spotted nail art, it's time to give it a try! Remember to have fun and get creative with your designs. With a little practice, you'll become a pro at this fun and easy nail art technique.Water Spotted Nail Art with Plastic Wrap

Water Spotted Nail Art with Plastic Wrap
Creating a Unique Look with Water Spotted Nail Art: A Step-by-Step Tutorial
Get Ready to Make a Splash with Your Nails
Are you tired of the same old, plain nail designs? Want to add some fun and creativity to your manicures? Look no further than water spotted nail art! This unique technique creates a stunning, one-of-a-kind look that will make your nails stand out. In this tutorial, we will guide you through the process of creating this eye-catching design, using just a few simple materials and some creativity. So grab your favorite nail polish shades and let's get started!
Gather Your Materials
Before we dive into the tutorial, make sure you have all the necessary materials on hand. You will need:
- Base coat
- White nail polish
-
Water spotted nail polish
(available in a variety of colors)
-
Water
- Small cup or bowl
- Toothpick or
dotting tool
-
Top coat
Step-by-Step Tutorial
Now that you have all your materials, it's time to create your water spotted nail art design! Follow these simple steps for a stunning look:
Step 1:
Begin by applying a base coat to your nails. This will help protect your nails and make your manicure last longer.
Step 2:
Apply two coats of white nail polish to your nails and let it dry completely.
Step 3:
Fill a small cup or bowl with room temperature water.
Squeeze a few drops of the water spotted nail polish onto the surface of the water.
The polish will spread over the surface of the water, creating a unique pattern.
Step 4:
Use a toothpick or dotting tool to create swirls or designs in the polish on the surface of the water. This will help create a more intricate design.
Step 5:
Dip your finger into the water and gently press it onto the surface of the water. Hold your finger in place for a few seconds, then carefully lift it out. You should see the design transfer onto your nail.
Step 6:
Repeat this process on all your nails, dipping each one into the water and creating a unique pattern each time.
You can also mix and match different colors of water spotted nail polish for a more vibrant look.
Step 7:
Once your design is complete, clean up any excess polish around your nails using a cotton swab dipped in nail polish remover.
Step 8:
Finish off with a top coat to seal in your design and add shine to your nails.
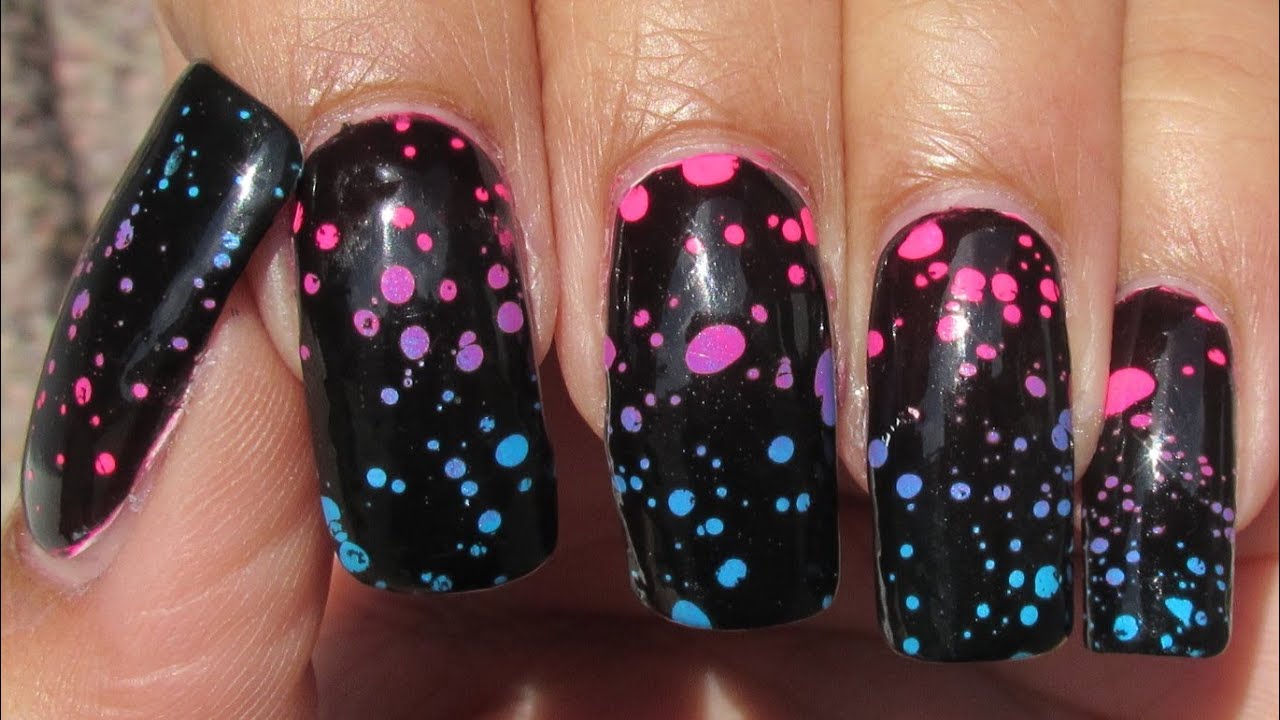
Get Creative with Water Spotted Nail Art
The great thing about water spotted nail art is that each design will come out differently, making it a truly unique and creative look.
Try experimenting with different color combinations, patterns, and techniques to create your own personalized design.
You can also add glitter or other nail art accents to make your design even more eye-catching.
Now that you know how to create this fun and funky nail art, go ahead and give it a try! With some practice, you'll be creating stunning water spotted nail designs in no time. So go ahead and make a splash with your nails!


Gather Your Materials
Before we dive into the tutorial, make sure you have all the necessary materials on hand. You will need:
- Base coat
- White nail polish
-
Water spotted nail polish
(available in a variety of colors)
-
Water
- Small cup or bowl
- Toothpick or
dotting tool
-
Top coat
Step-by-Step Tutorial
Now that you have all your materials, it's time to create your water spotted nail art design! Follow these simple steps for a stunning look:
Step 1:
Begin by applying a base coat to your nails. This will help protect your nails and make your manicure last longer.
Step 2:
Apply two coats of white nail polish to your nails and let it dry completely.
Step 3:
Fill a small cup or bowl with room temperature water.
Squeeze a few drops of the water spotted nail polish onto the surface of the water.
The polish will spread over the surface of the water, creating a unique pattern.
Step 4:
Use a toothpick or dotting tool to create swirls or designs in the polish on the surface of the water. This will help create a more intricate design.
Step 5:
Dip your finger into the water and gently press it onto the surface of the water. Hold your finger in place for a few seconds, then carefully lift it out. You should see the design transfer onto your nail.
Step 6:
Repeat this process on all your nails, dipping each one into the water and creating a unique pattern each time.
You can also mix and match different colors of water spotted nail polish for a more vibrant look.
Step 7:
Once your design is complete, clean up any excess polish around your nails using a cotton swab dipped in nail polish remover.
Step 8:
Finish off with a top coat to seal in your design and add shine to your nails.
Get Creative with Water Spotted Nail Art
The great thing about water spotted nail art is that each design will come out differently, making it a truly unique and creative look.
Try experimenting with different color combinations, patterns, and techniques to create your own personalized design.
You can also add glitter or other nail art accents to make your design even more eye-catching.
Now that you know how to create this fun and funky nail art, go ahead and give it a try! With some practice, you'll be creating stunning water spotted nail designs in no time. So go ahead and make a splash with your nails!
Get Creative with Water Spotted Nail Art The great thing about water spotted nail art is that each design will come out differently, making it a truly unique and creative look. Try experimenting with different color combinations, patterns, and techniques to create your own personalized design. You can also add glitter or other nail art accents to make your design even more eye-catching. Now that you know how to create this fun and funky nail art, go ahead and give it a try! With some practice, you'll be creating stunning water spotted nail designs in no time. So go ahead and make a splash with your nails!


