Are you looking for a fun and fruity design to spice up your nails this summer? Look no further than watermelon nail art! This playful and colorful design is perfect for any occasion and is sure to make a statement. Follow our step-by-step tutorial to learn how to create your own watermelon nail art.Watermelon Nail Art Tutorial


Watermelon Nail Art Tutorial


The first step to creating watermelon nail art is to gather all the necessary supplies and tools. You will need a base coat, light green, dark green, white, and red nail polish, a thin brush or toothpick, and a top coat. Make sure to have a clean and dry base before starting. Featured Keywords: watermelon nail art, supplies and toolsHow to Create Watermelon Nail Art


How to Create Watermelon Nail Art
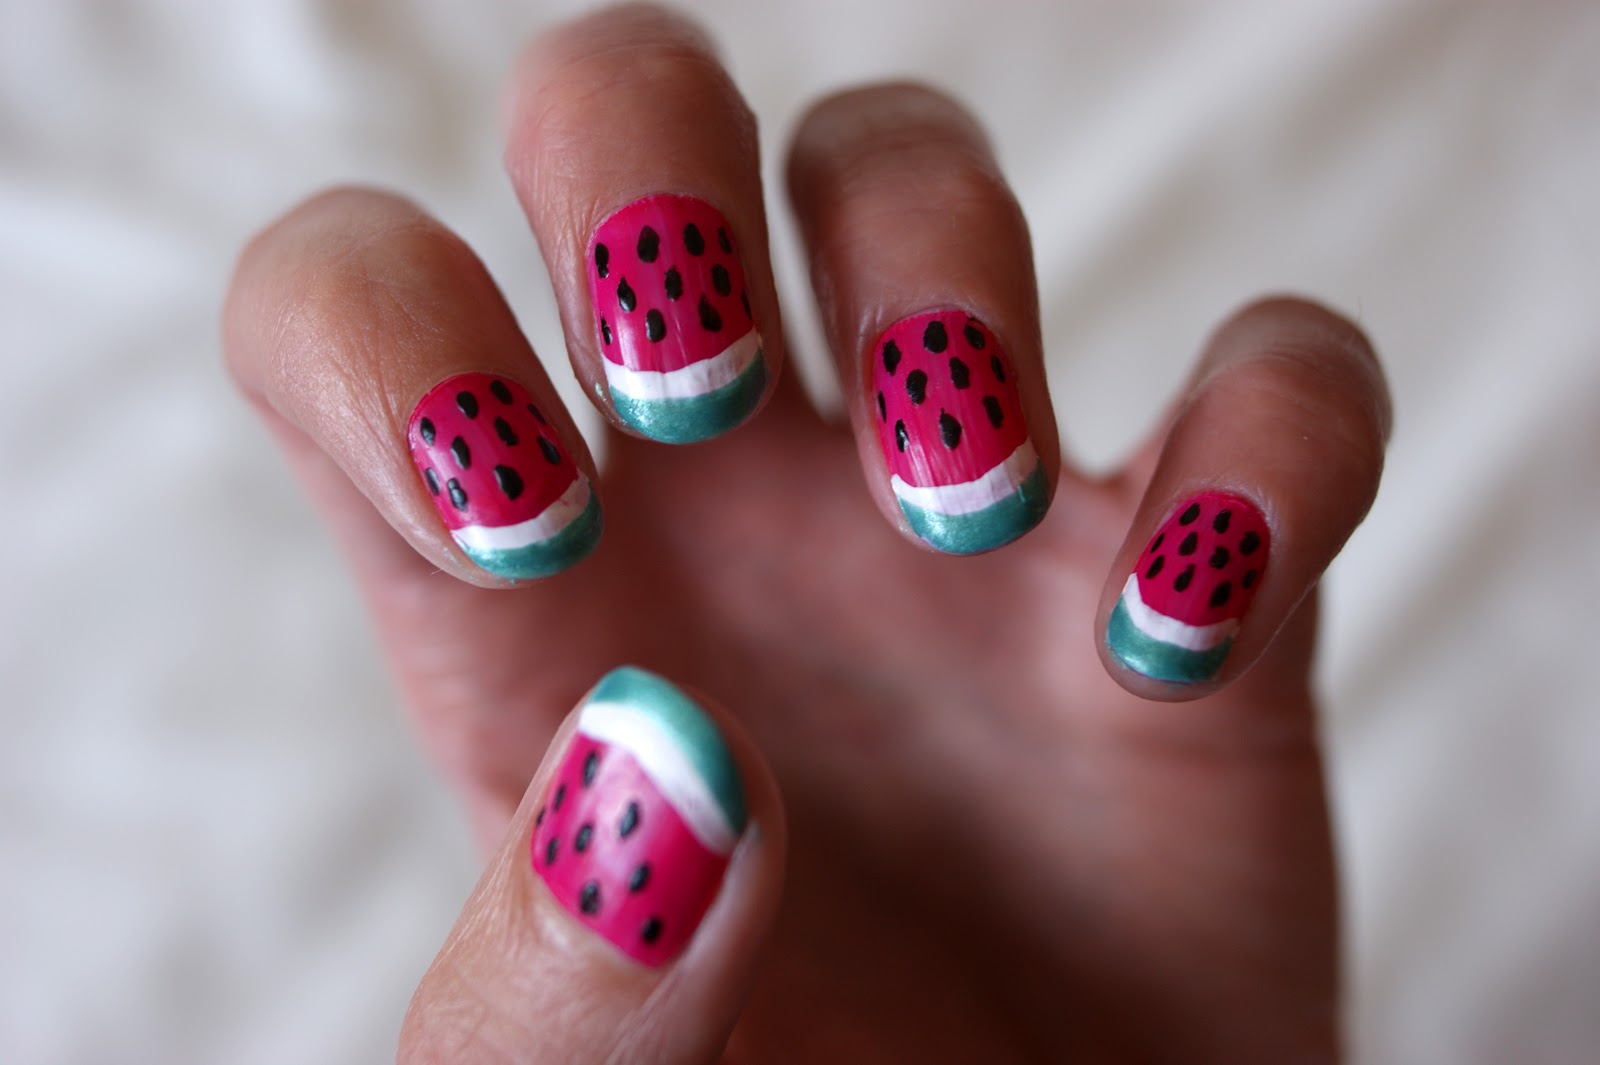


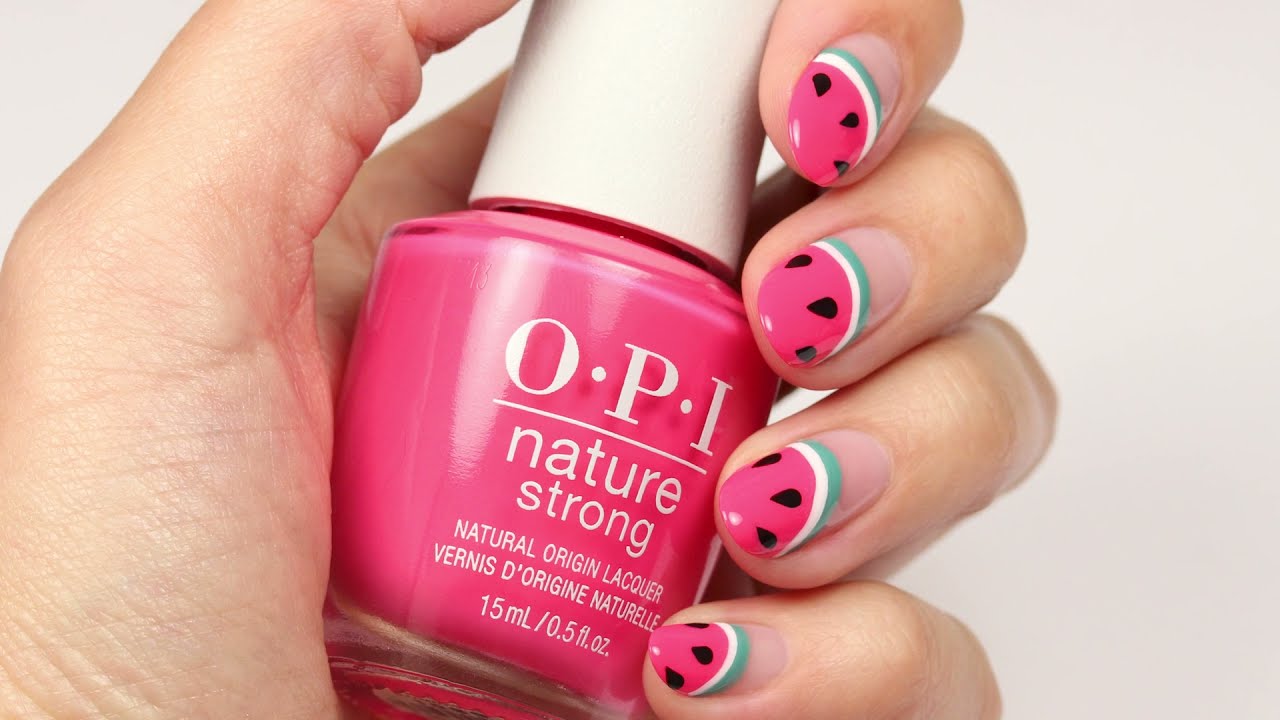
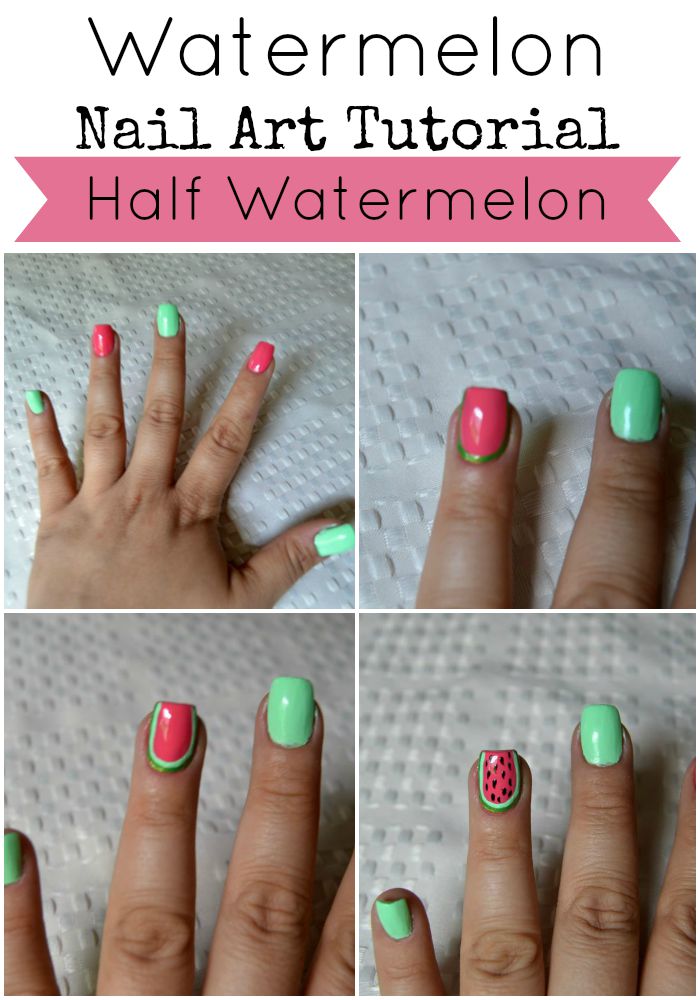
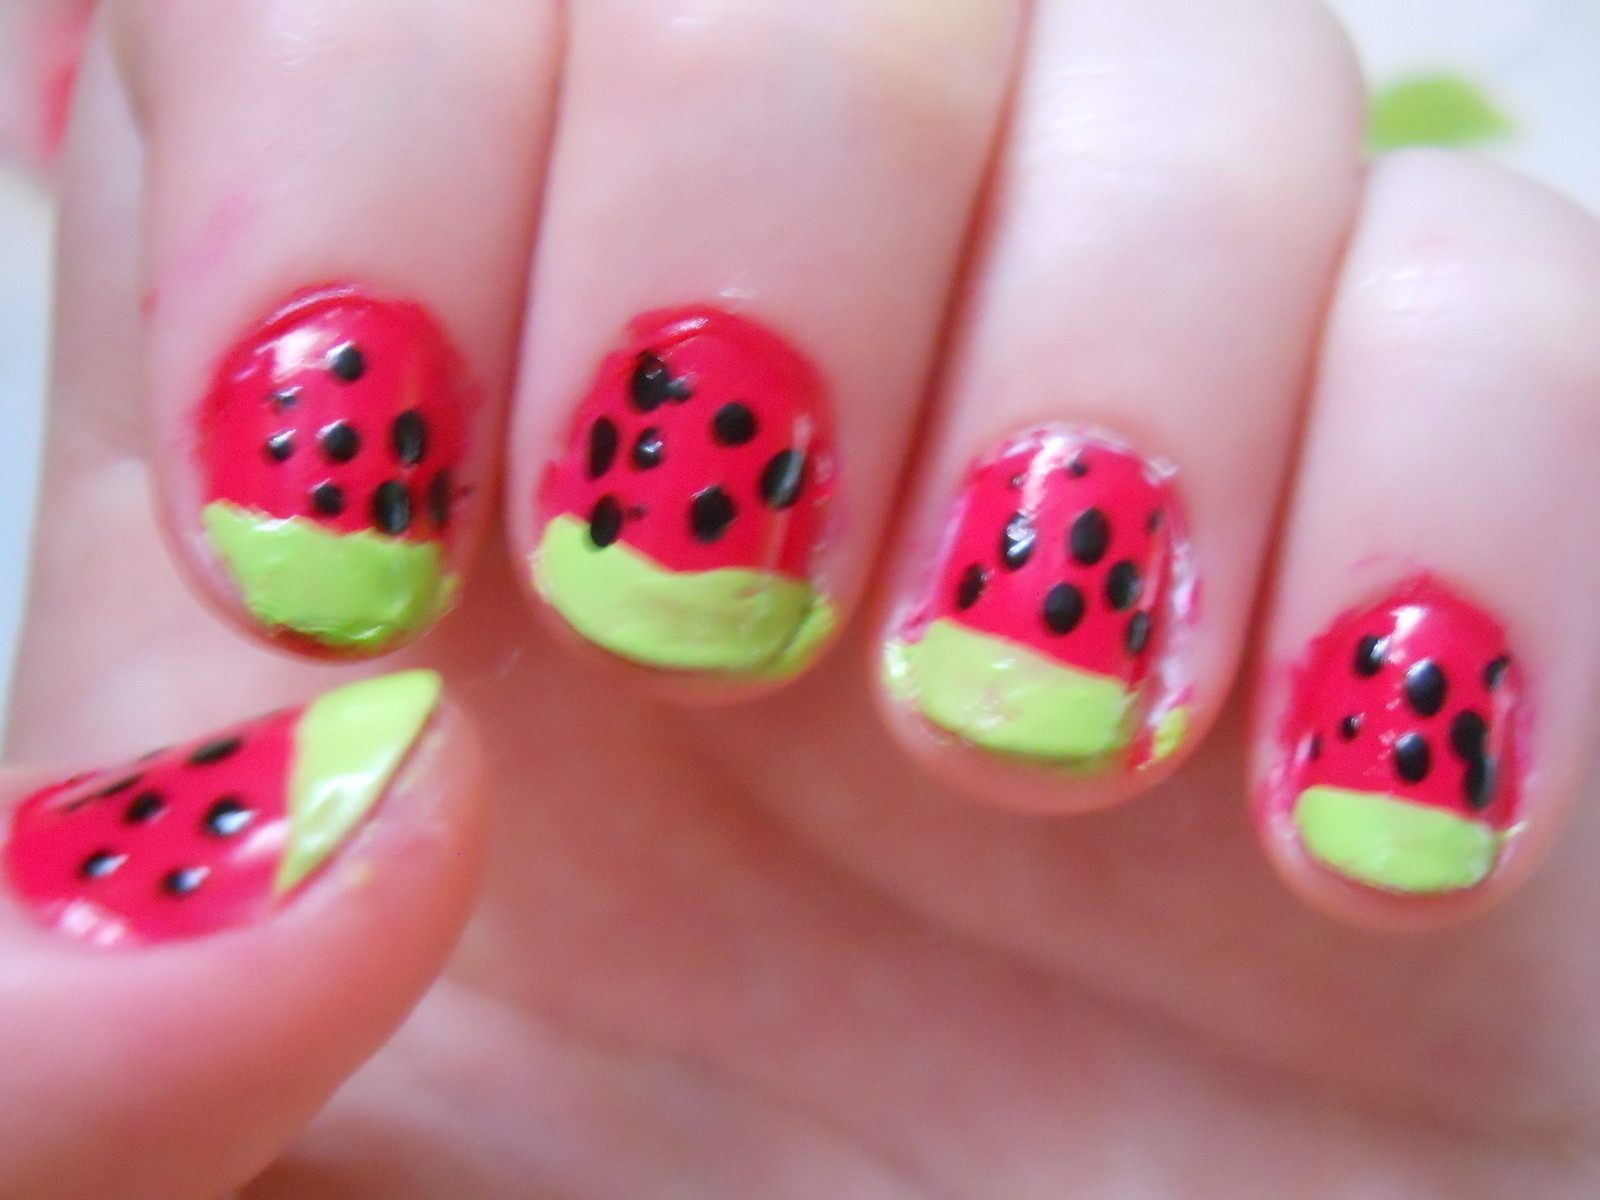
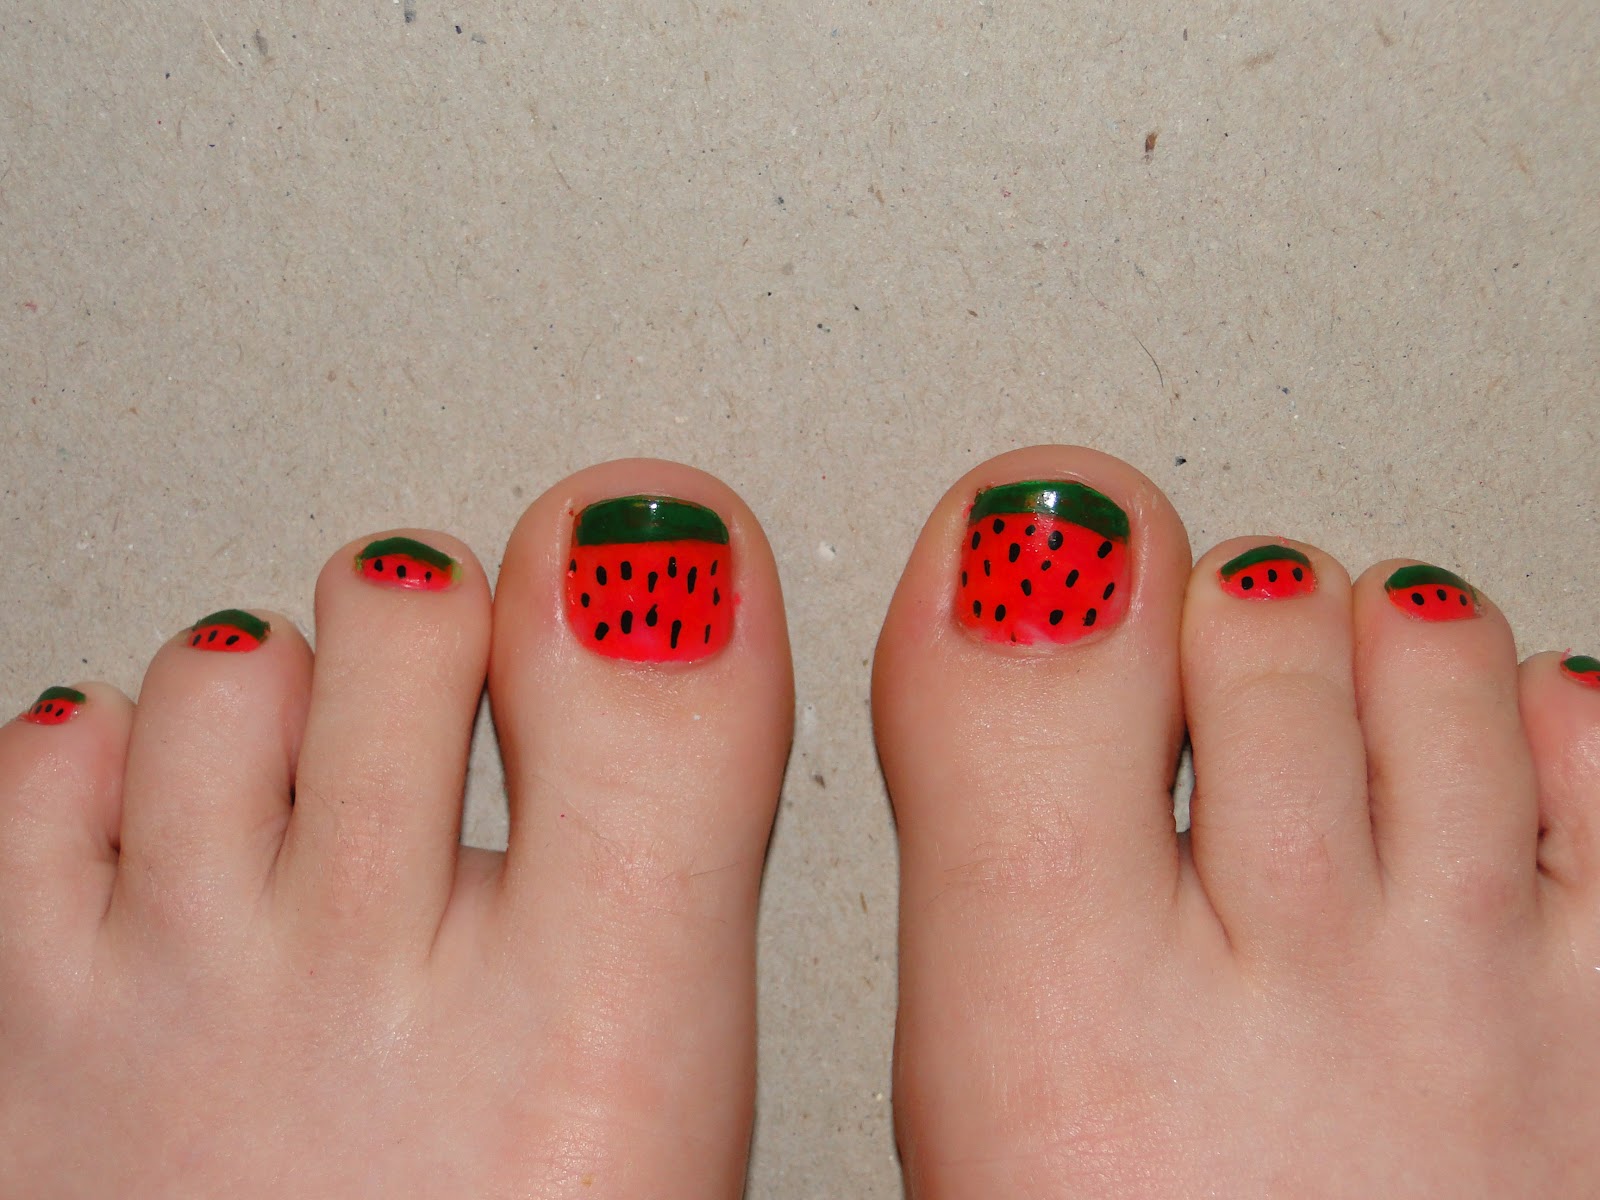
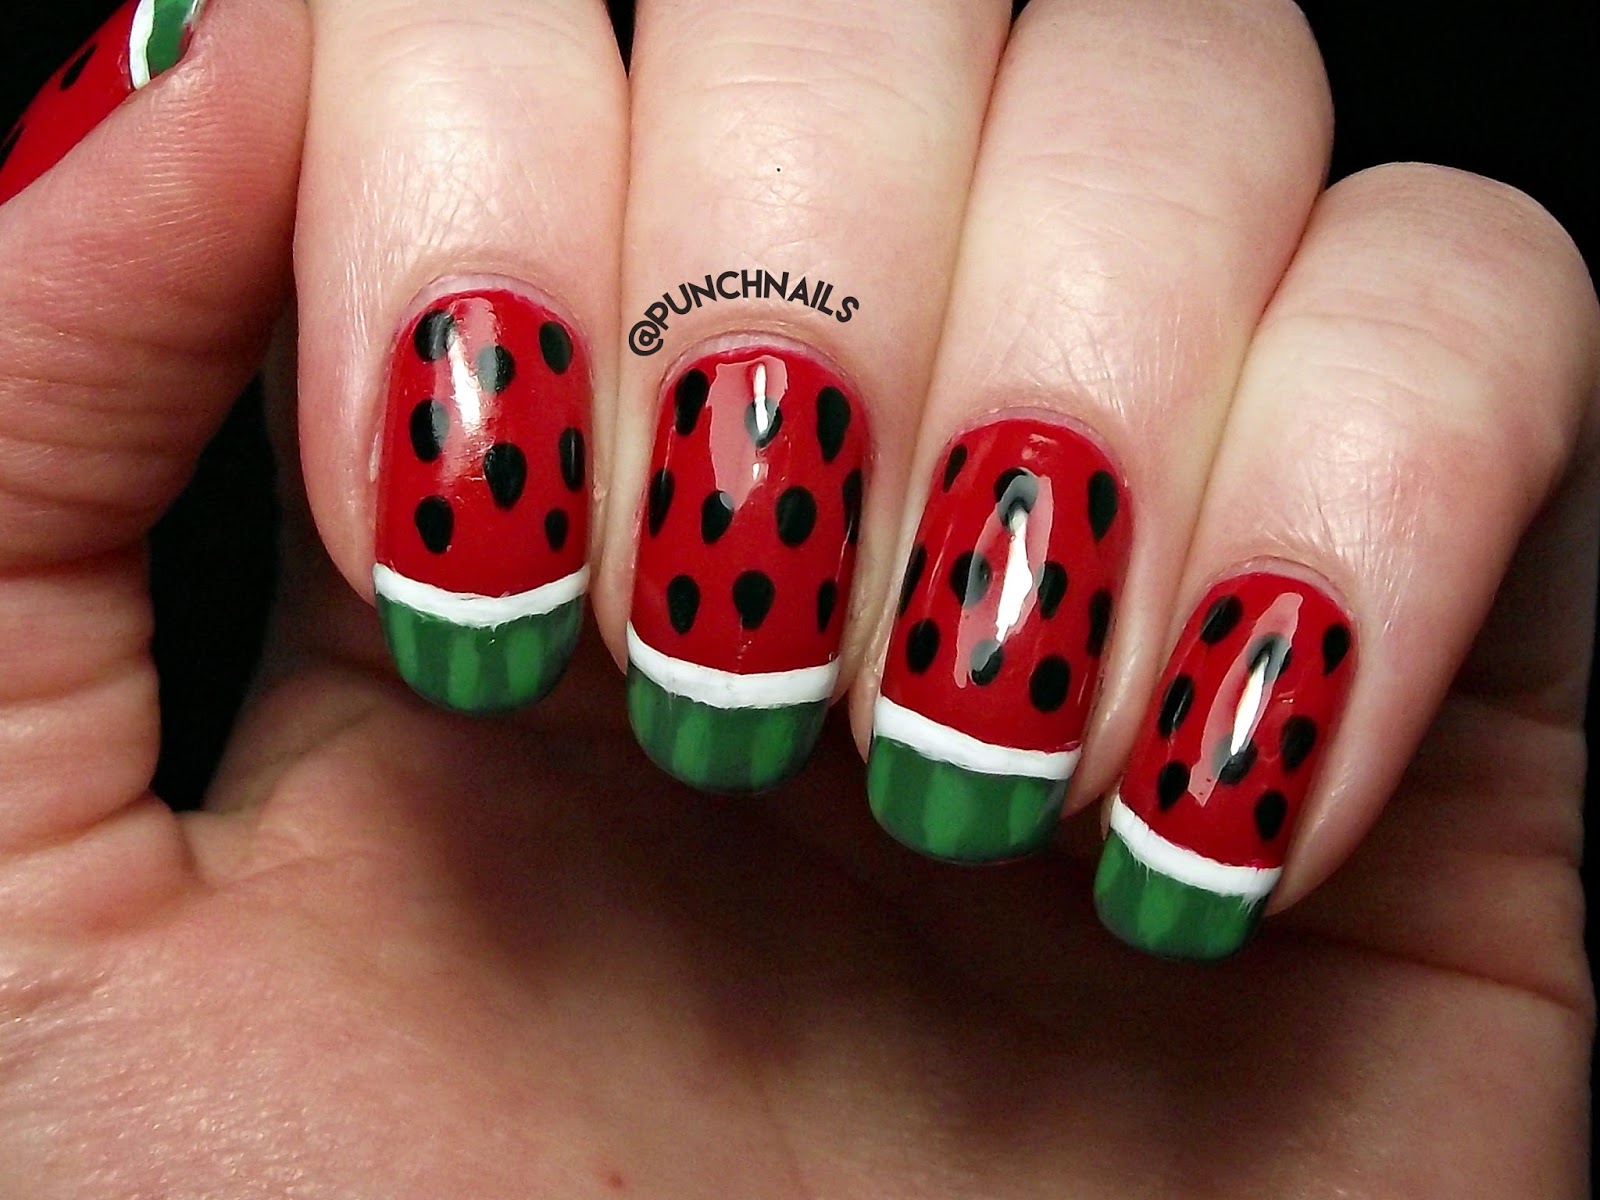
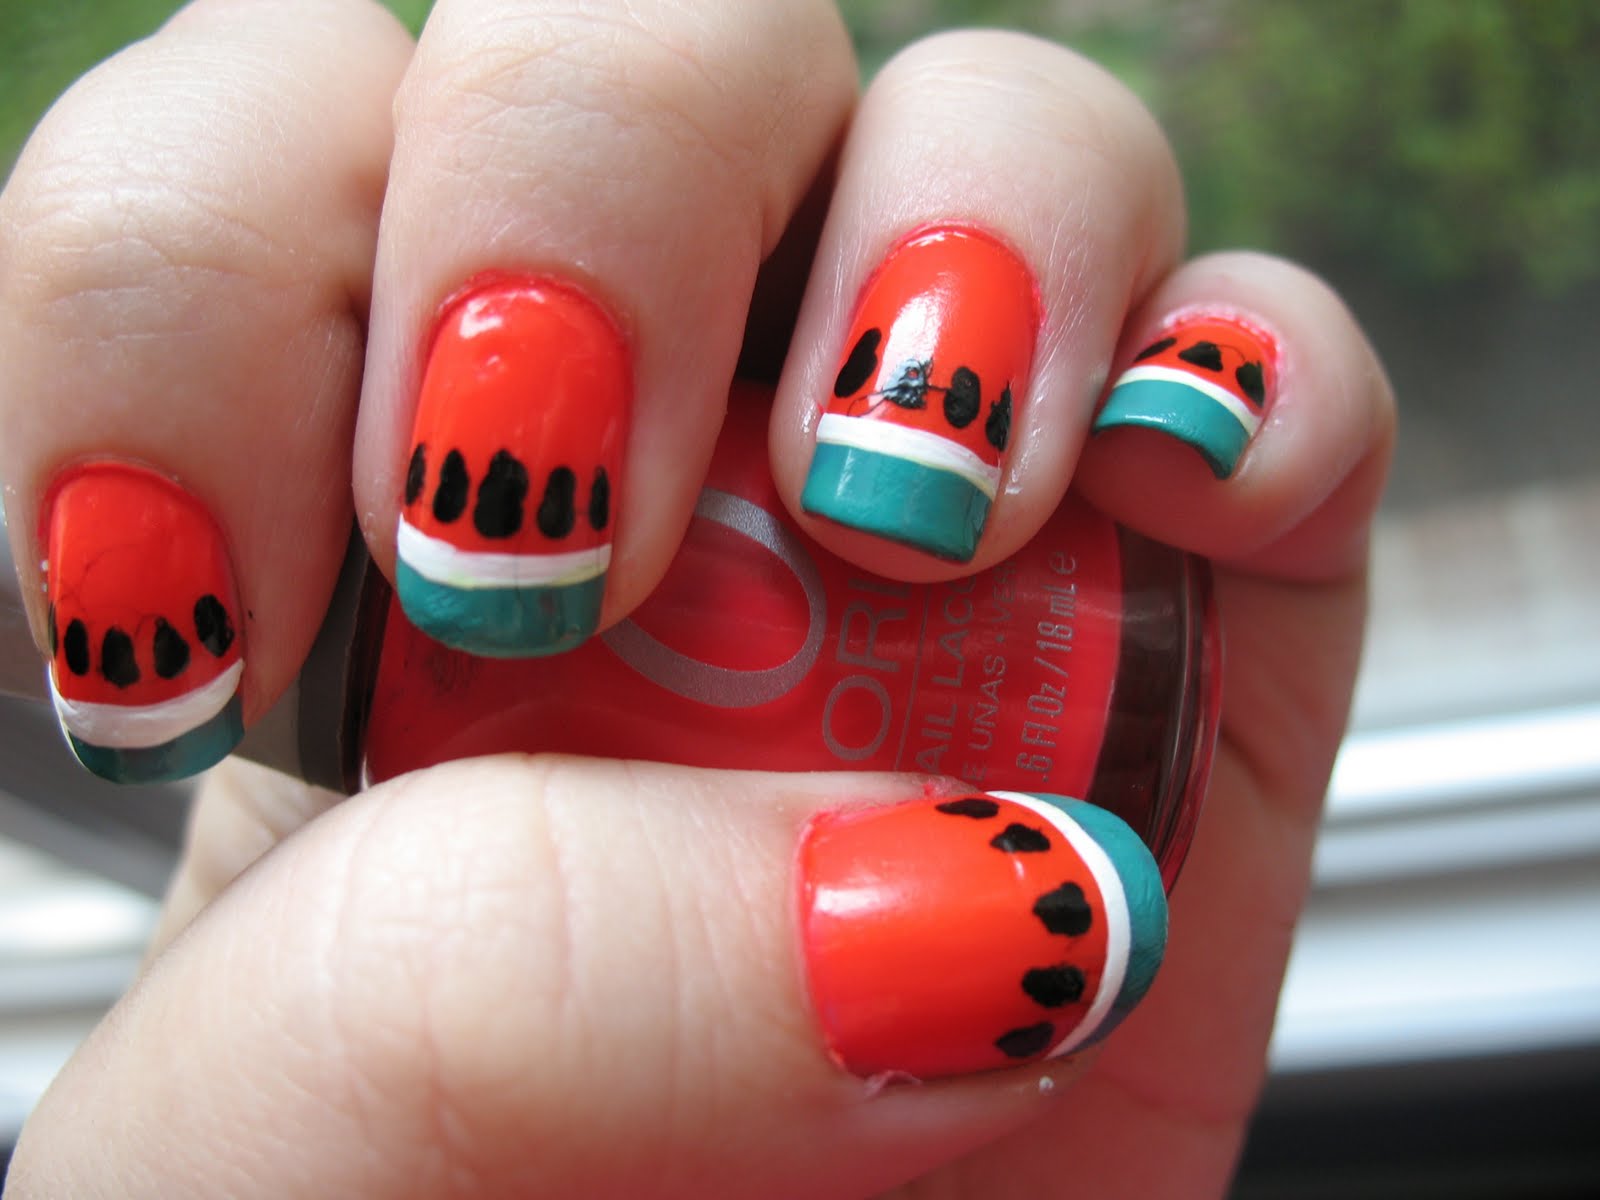
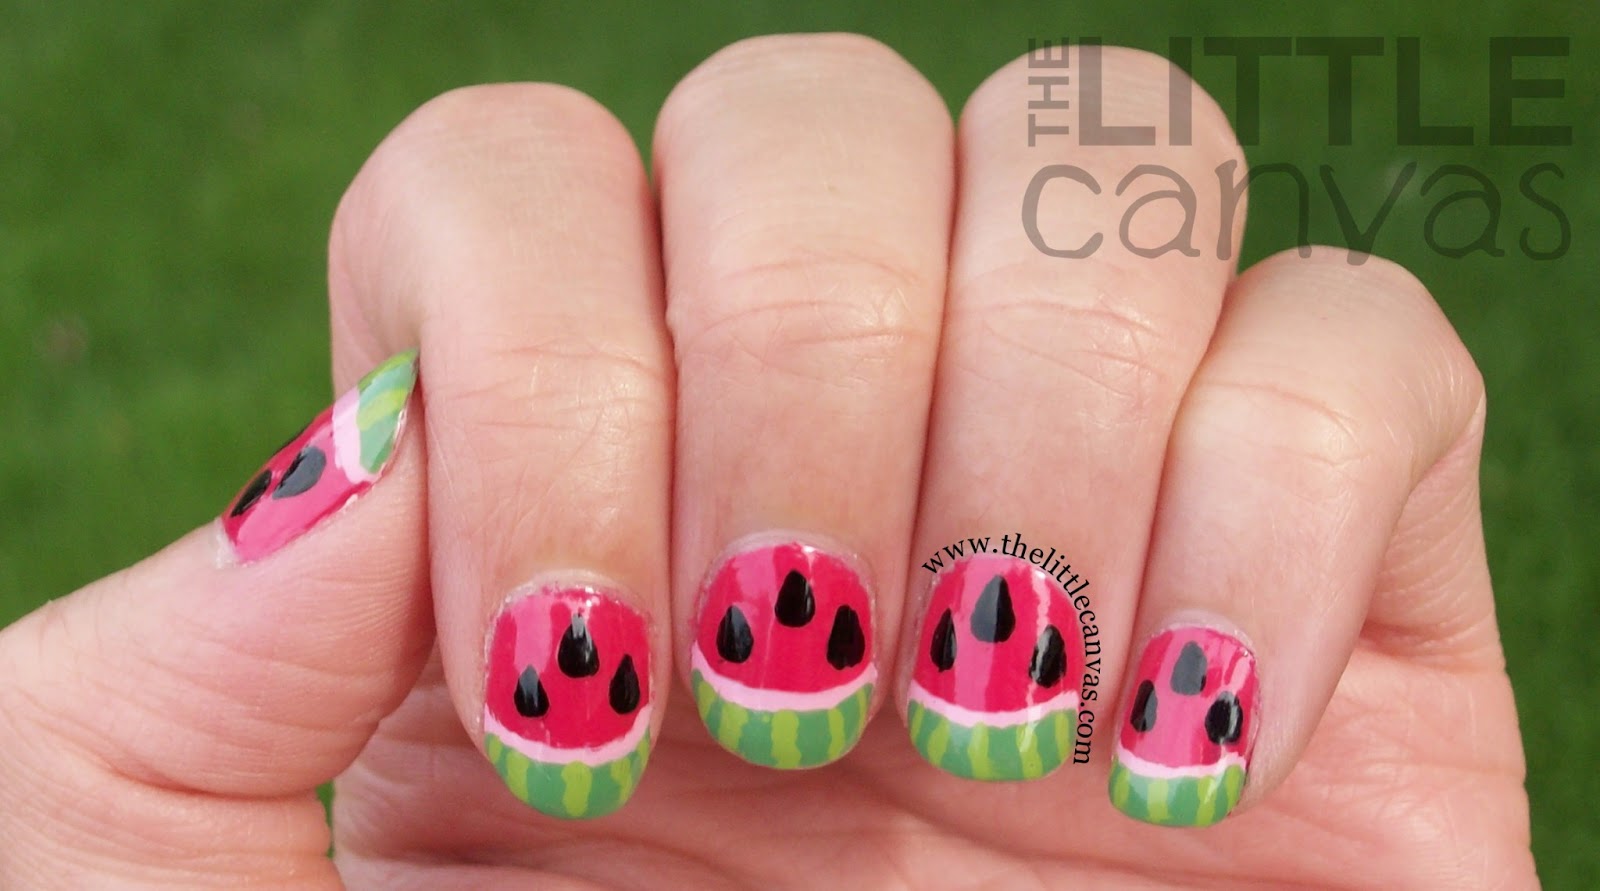
Step 1: Apply a base coat to all your nails to protect them from the nail polish and help your manicure last longer. Step 2: Once the base coat is dry, apply two coats of light green nail polish to all your nails. Step 3: Using a thin brush or toothpick, create a curved line with the dark green nail polish on the tip of your nail. This will be the rind of the watermelon. Step 4: Next, create a smaller curved line with the white nail polish just below the dark green line. This will be the white part of the watermelon. Step 5: Using the red nail polish, fill in the rest of your nail below the white line to create the juicy red watermelon flesh. Step 6: Take a toothpick or a thin brush and dip it into the dark green nail polish. Create small black seeds on the white part of the watermelon. You can add as many or as few as you like. Step 7: Once the design is complete, let it dry for a few minutes and then apply a top coat to seal in the design and add shine.Step-by-Step Watermelon Nail Art Procedure

Step-by-Step Watermelon Nail Art Procedure

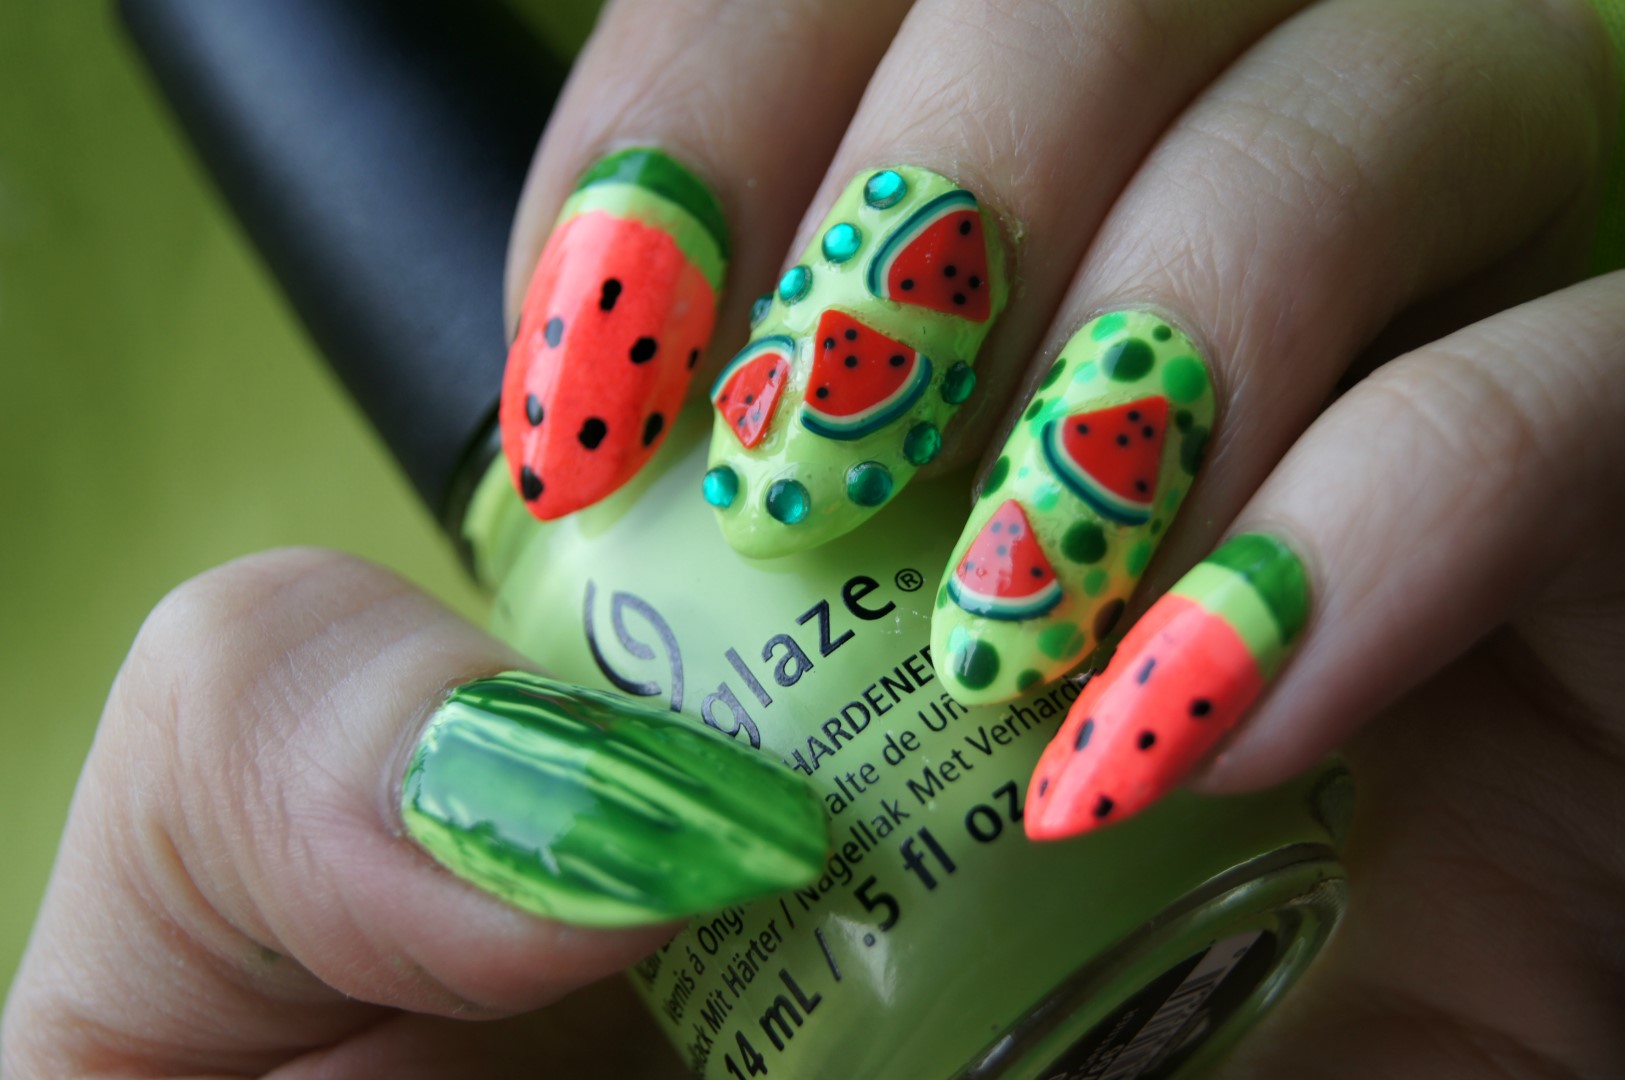

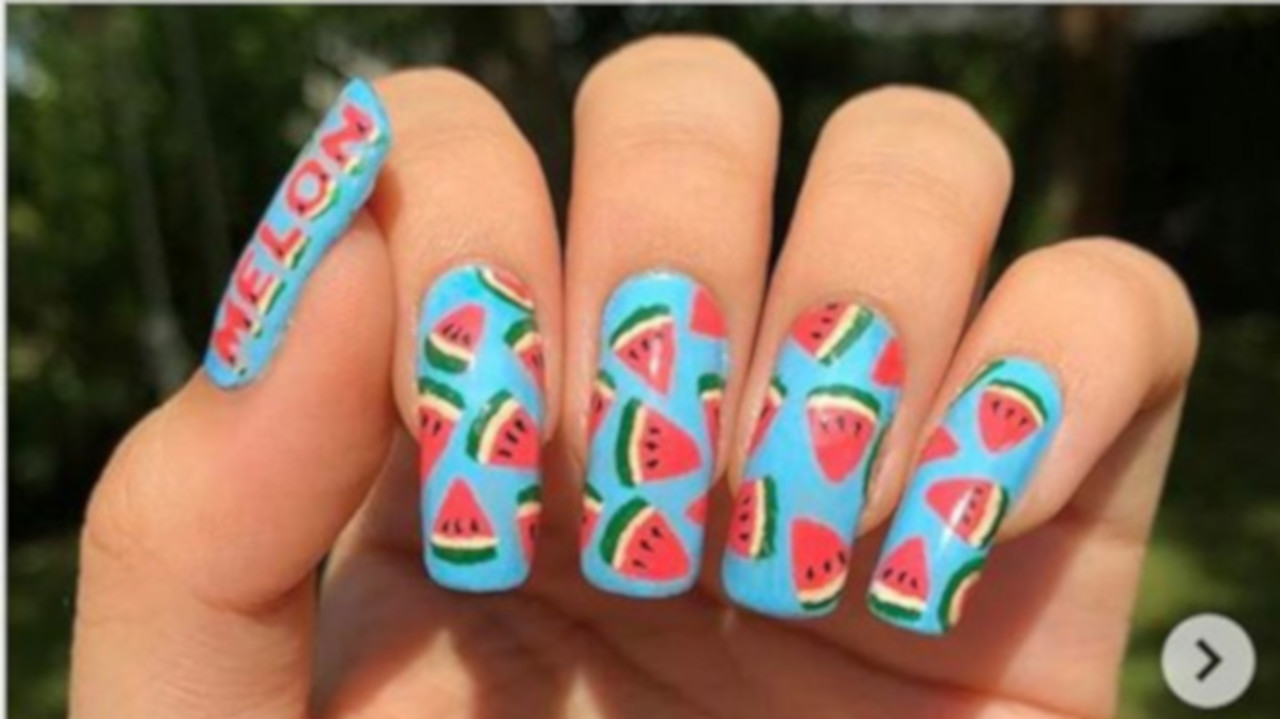
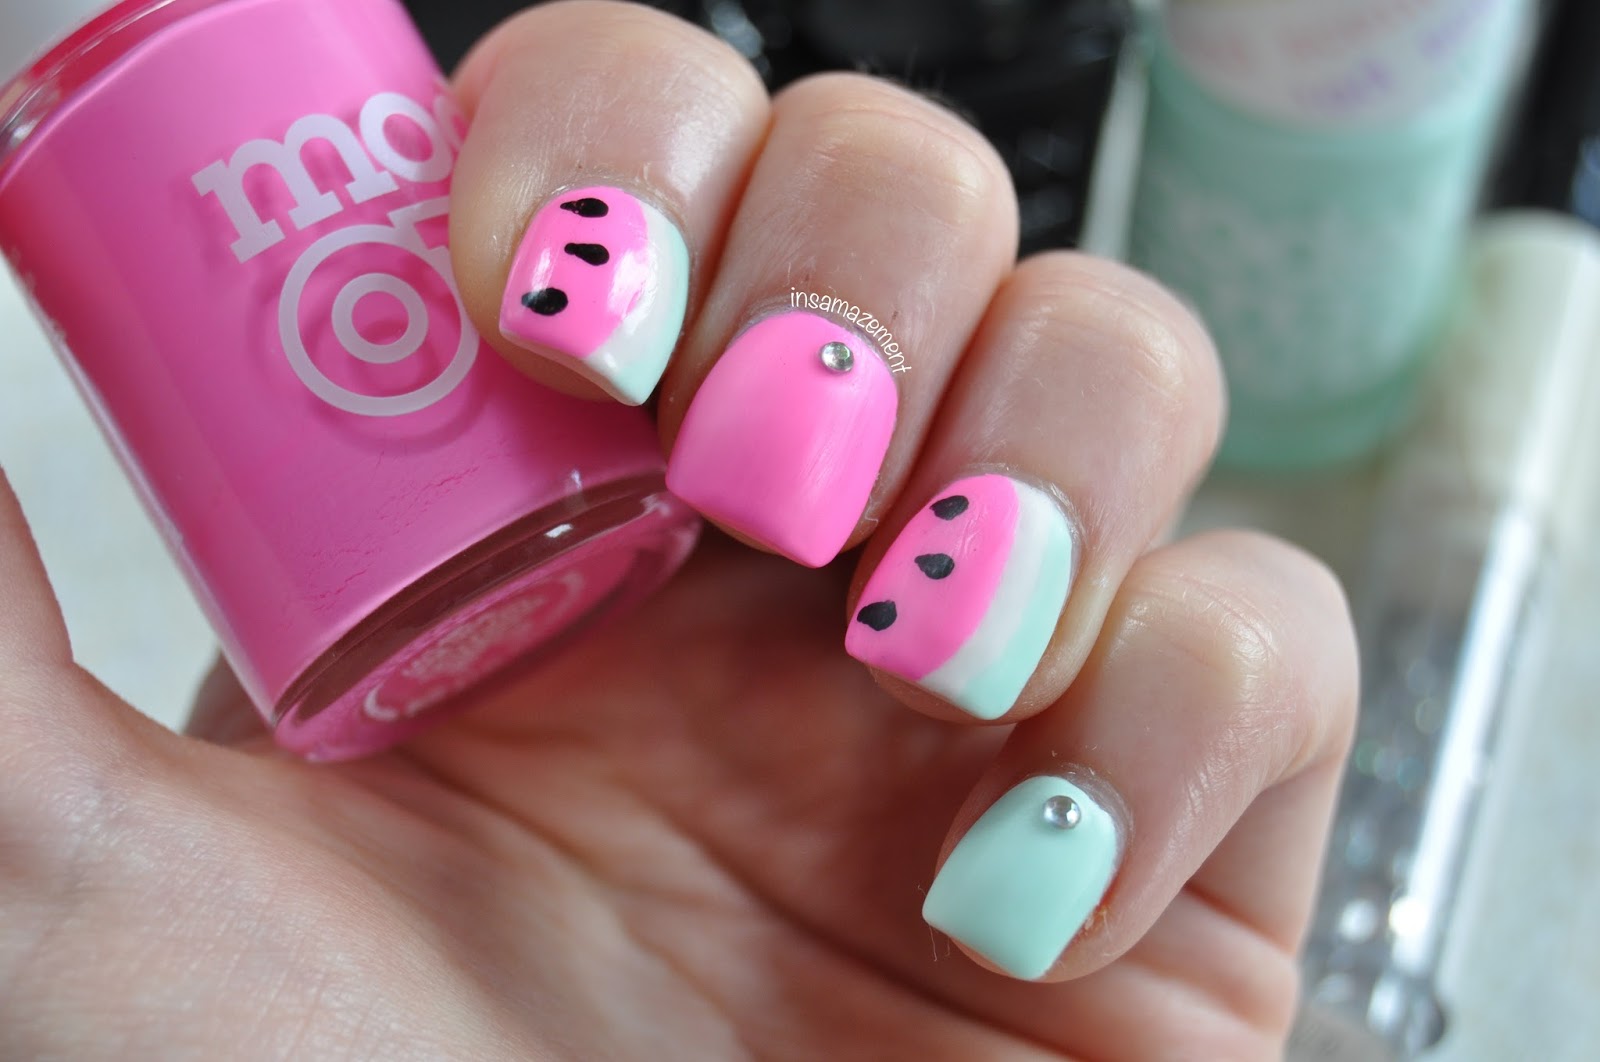


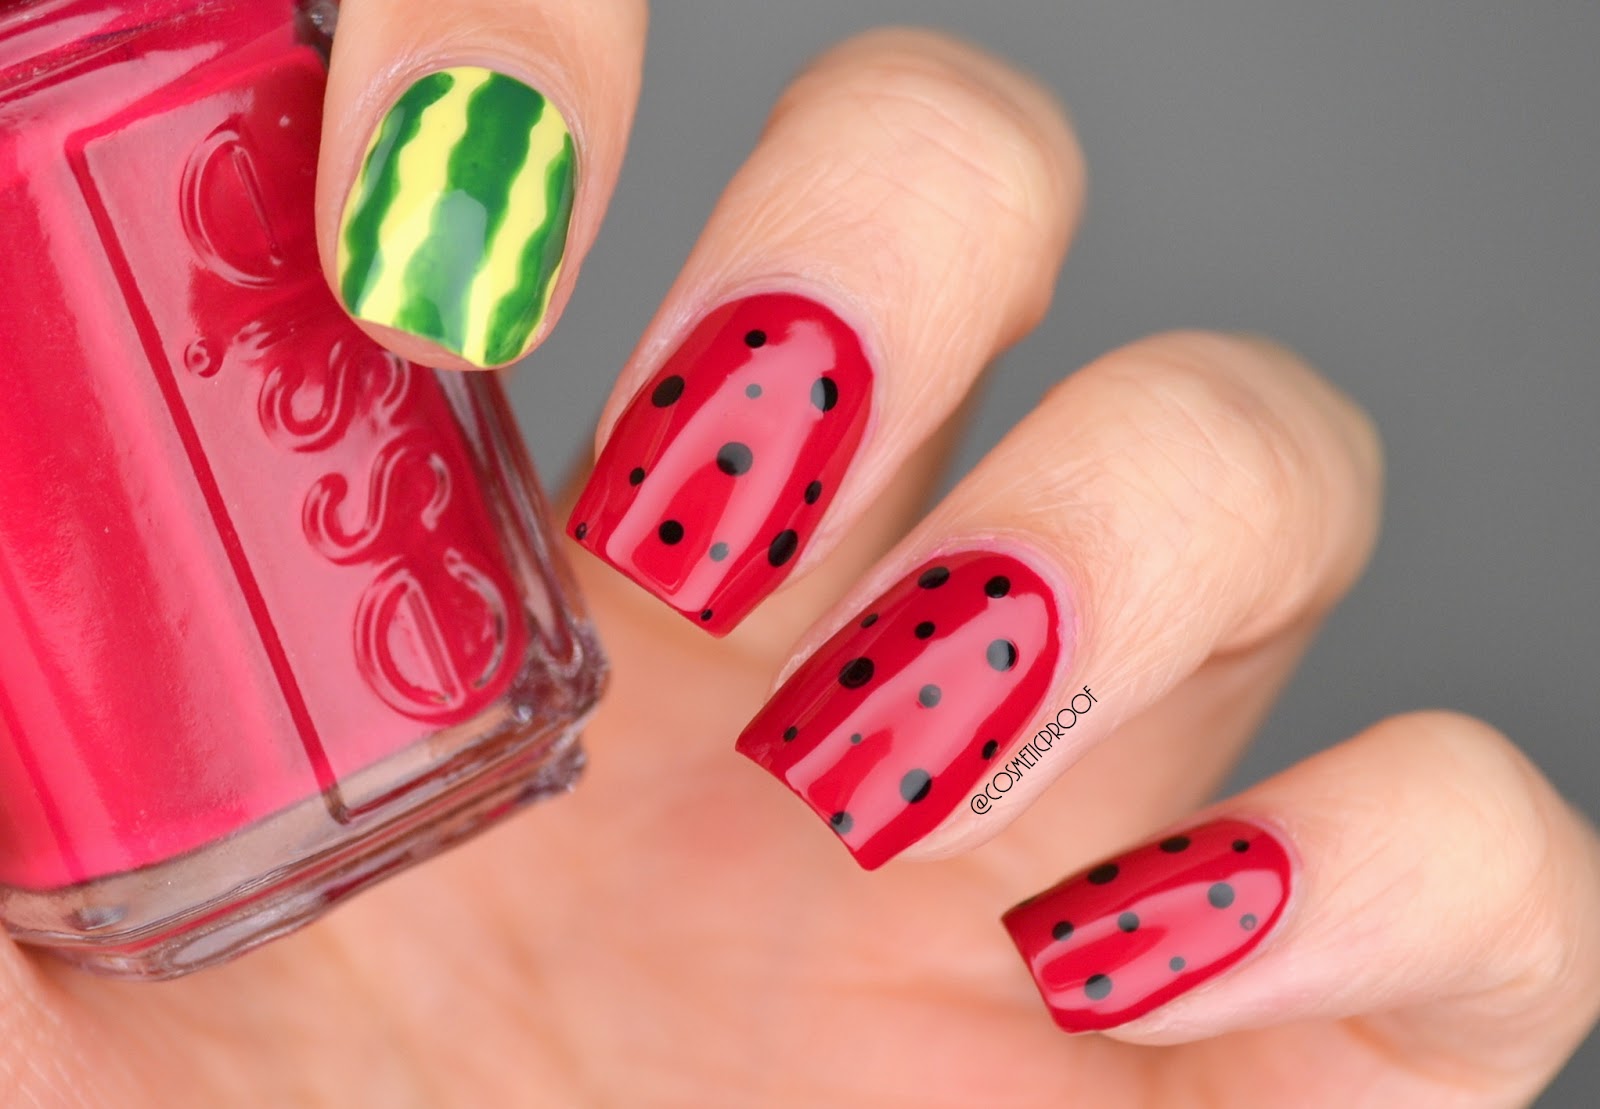
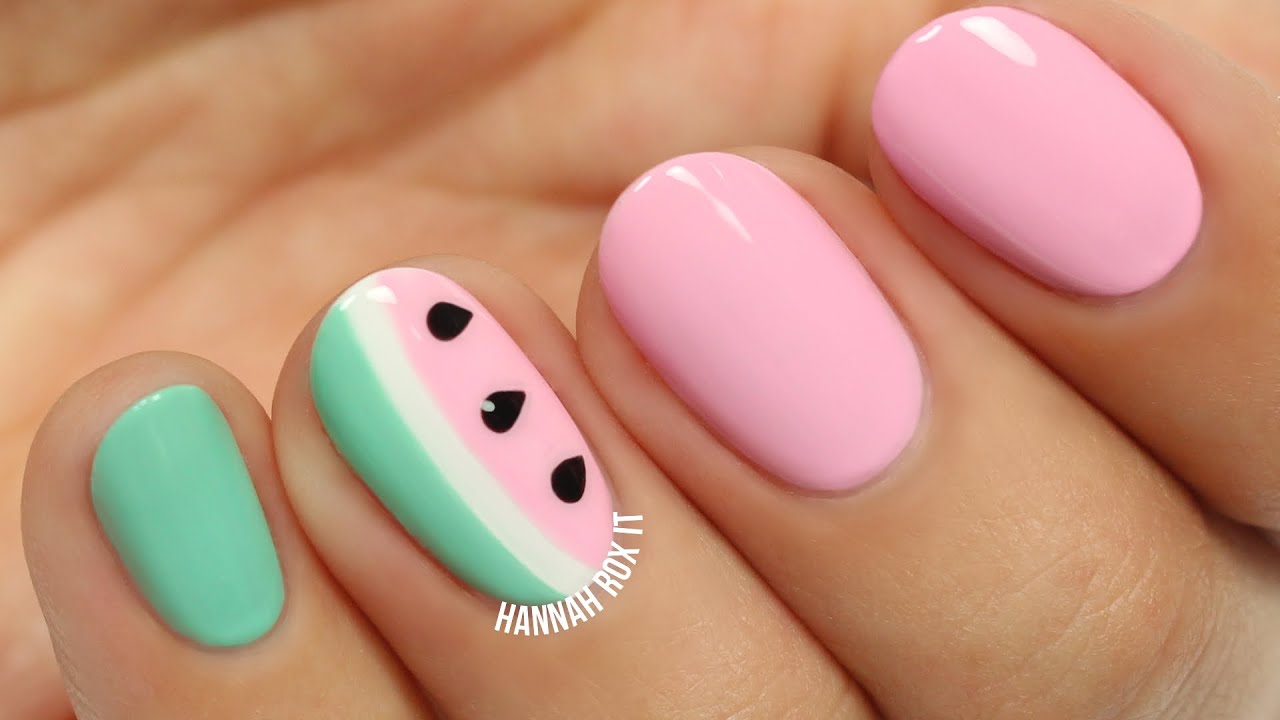
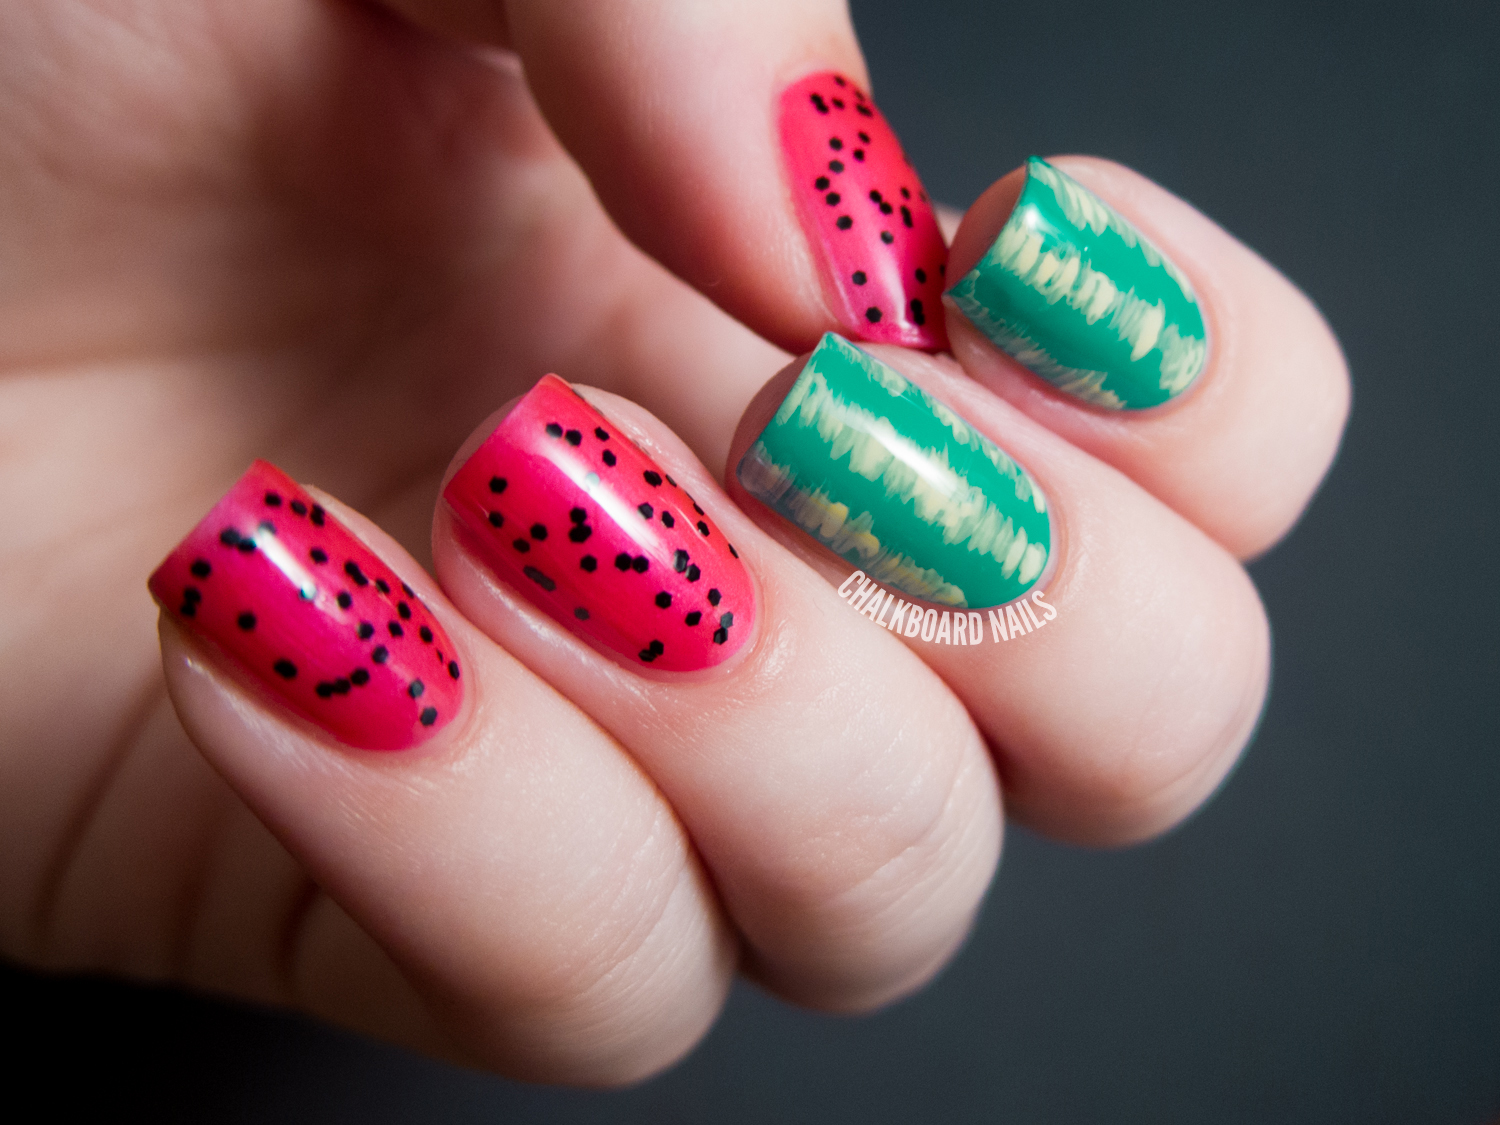
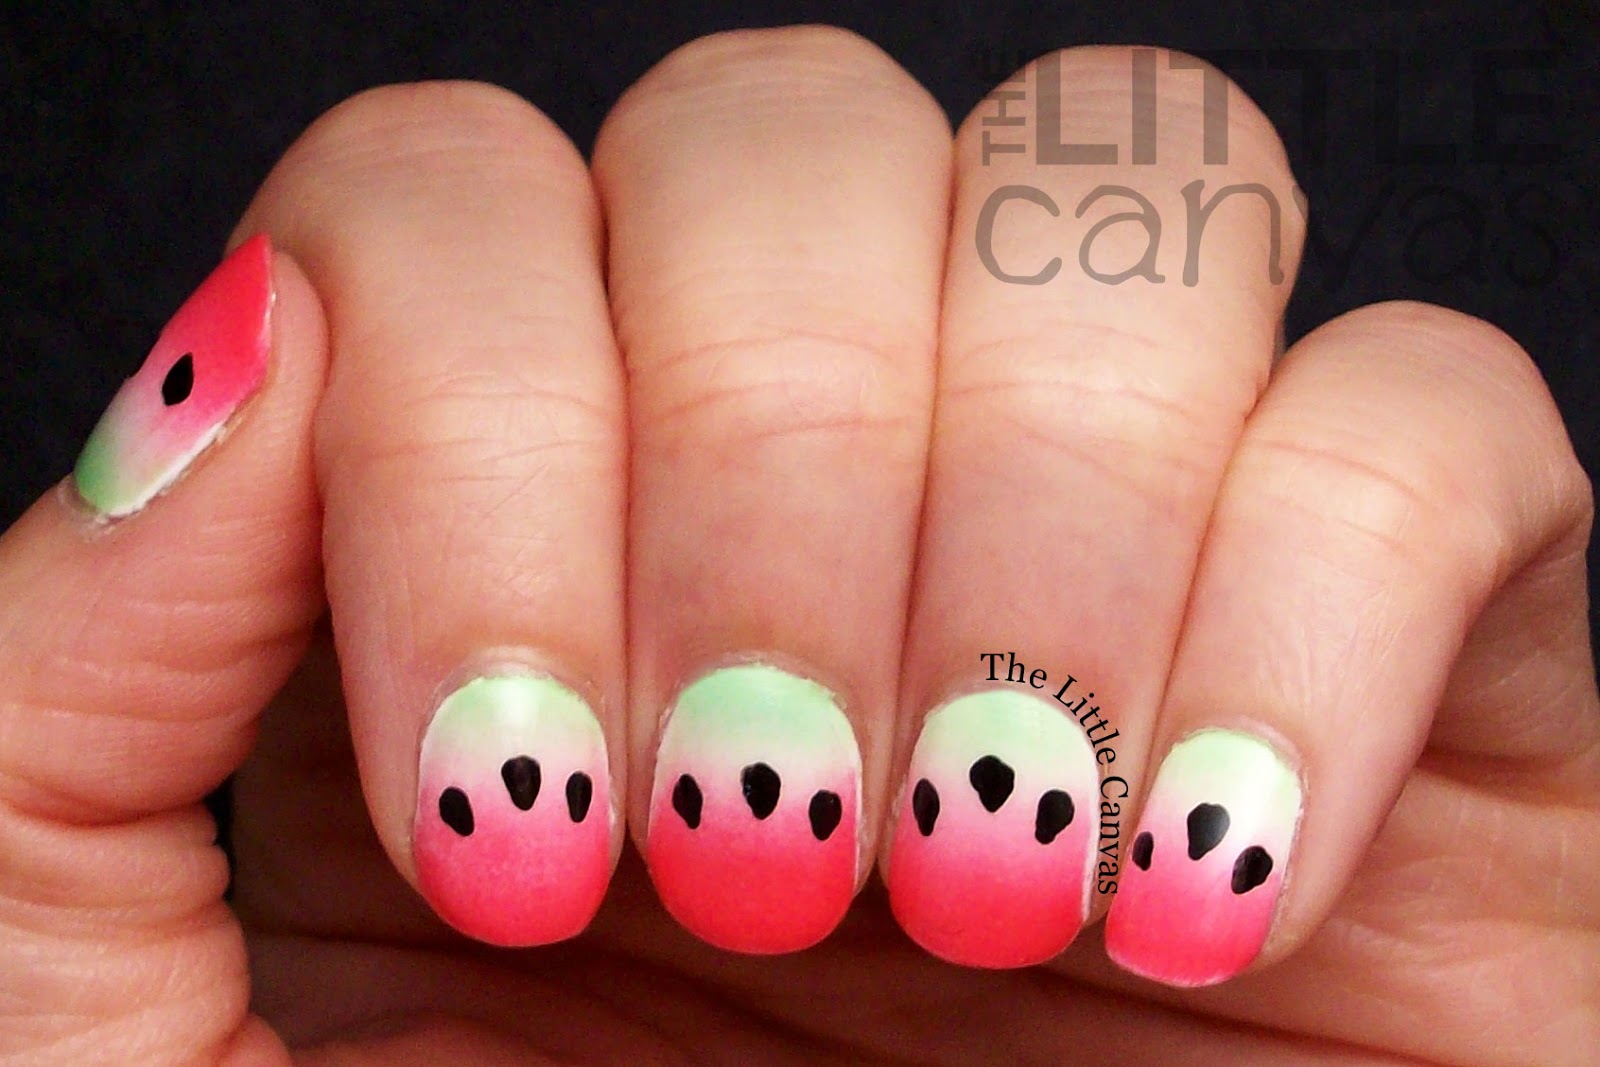
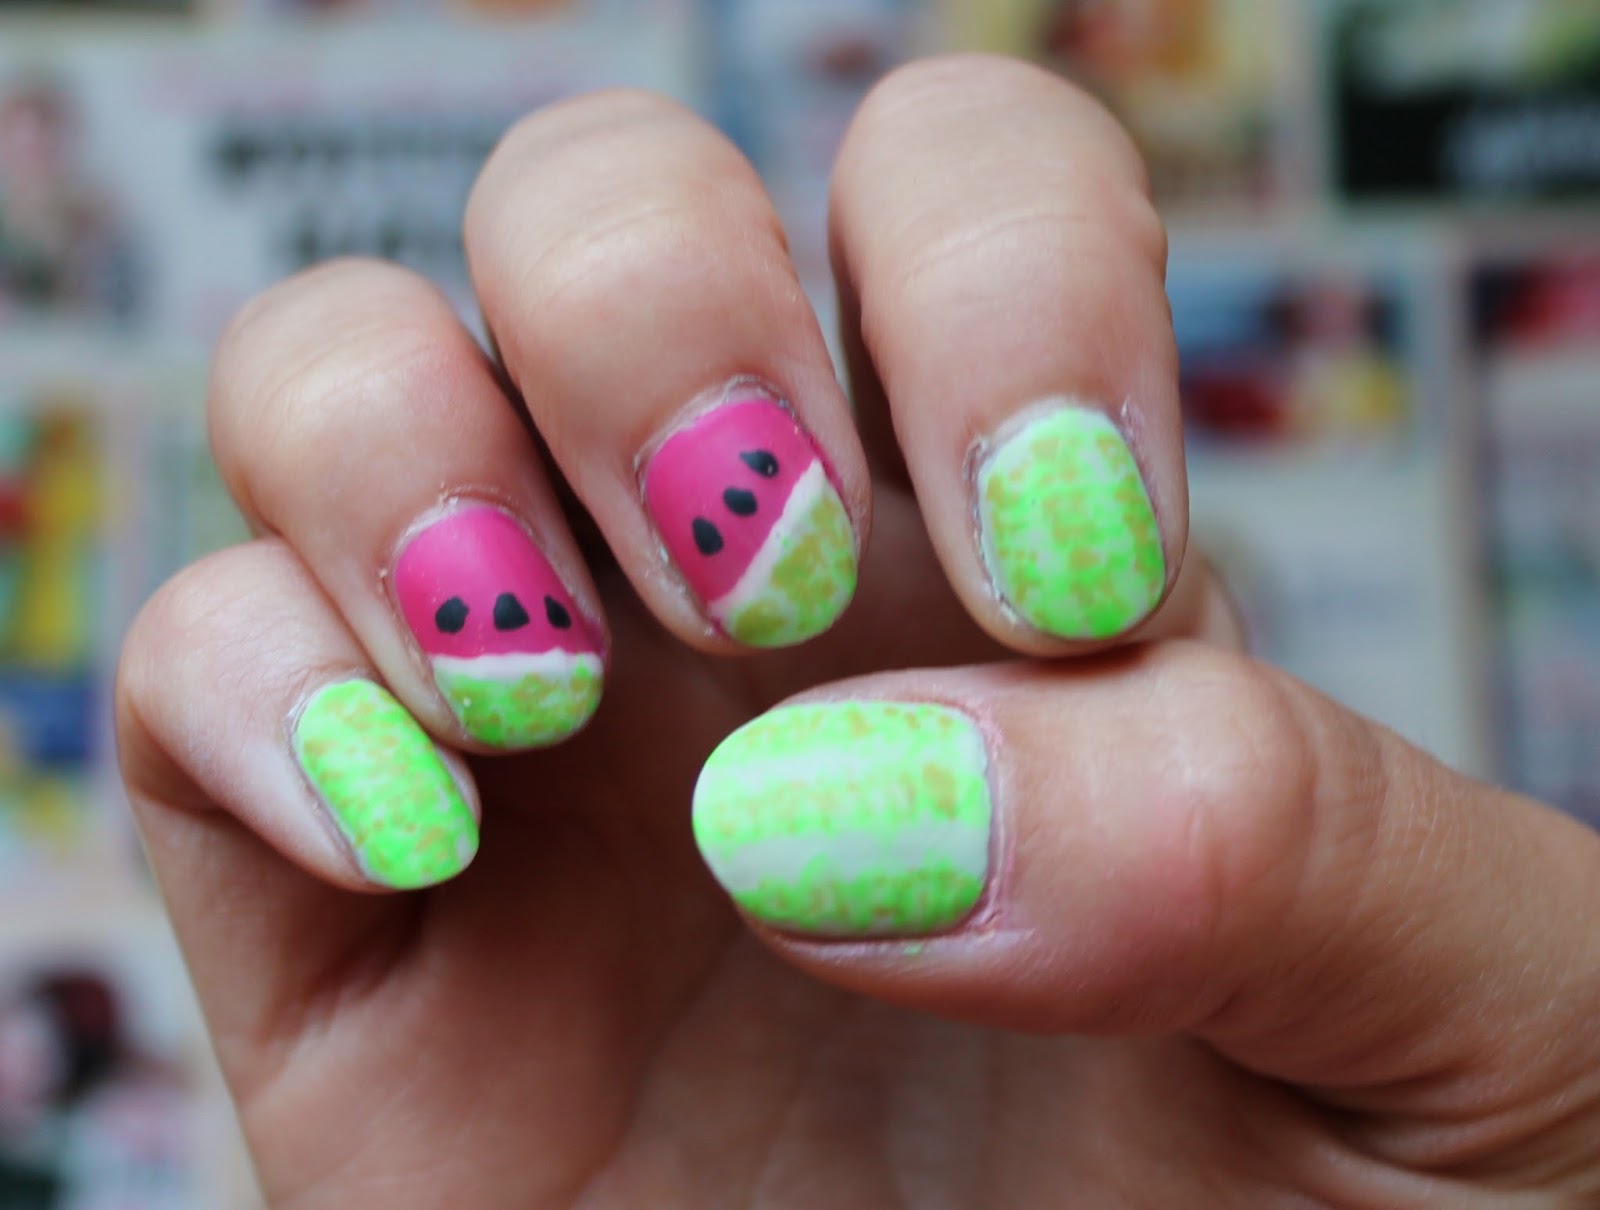
If you want to switch up your watermelon nail art, here are a few design ideas to try: Watermelon French Tips: Instead of painting the watermelon design on the entire nail, try creating a watermelon French tip by painting the design on the edge of your nail. This will give your manicure a subtle and chic look. Watermelon Accent Nail: If you don't want to commit to a full watermelon design on all your nails, try painting the design on just one accent nail. This will add a pop of color and interest to your overall manicure. Watermelon Ombre: For a more subtle watermelon design, try creating an ombre effect with the red and green nail polish. Start with the light green polish on your nail and gradually add more red to the tip to create a gradient effect. Then, add the dark green line and white line to complete the watermelon look.Watermelon Nail Art Design Ideas

Watermelon Nail Art Design Ideas

If you're new to nail art or don't have a steady hand, don't worry! This easy watermelon nail art tutorial is perfect for beginners. Featured Keywords: easy watermelon nail art, beginners Follow the same steps as the regular watermelon nail art tutorial, but instead of using a thin brush or toothpick, use a cotton swab to create the curved lines for the rind and white part of the watermelon. This will give you a more forgiving and simple design.Easy Watermelon Nail Art Tutorial


Easy Watermelon Nail Art Tutorial

If you're new to nail art and want to try something simple and easy, here are a few tips for creating watermelon nail art: Tip 1: Use a toothpick or a thin brush to create the curved lines for the rind and white part of the watermelon. This will give you more control and precision when drawing the lines. Tip 2: If you make a mistake, don't worry! You can always use a cotton swab dipped in nail polish remover to clean up any smudges or errors. Tip 3: Practice makes perfect! Don't get discouraged if your first attempt doesn't turn out exactly how you want it. Keep practicing and you'll soon become a watermelon nail art pro.Watermelon Nail Art for Beginners


Watermelon Nail Art for Beginners
Creating watermelon nail art is a fun and easy DIY project that you can do at home. With the right supplies and a little patience, you can create a professional-looking manicure without having to go to a salon. Featured Keywords: DIY watermelon nail art, supplies and tools Make sure to have all the necessary supplies and follow our step-by-step tutorial to create your own DIY watermelon nail art. Don't be afraid to get creative and add your own personal touch to the design.DIY Watermelon Nail Art Procedure

DIY Watermelon Nail Art Procedure
To create watermelon nail art, you will need the following supplies and tools: Nail polish: light green, dark green, white, and red Thin brush or toothpick: for drawing the curved lines and seeds Base coat: to protect your nails Top coat: to seal in the design and add shine Cotton swabs and nail polish remover: for clean up and fixing any mistakesWatermelon Nail Art Supplies and Tools


Watermelon Nail Art Supplies and Tools


Follow our step-by-step guide to create your own watermelon nail art: Step 1: Prep your nails by cleaning them and applying a base coat. Step 2: Apply two coats of light green nail polish to all your nails and let them dry completely. Step 3: Use a thin brush or toothpick to create a curved line with dark green nail polish on the tip of your nail. Step 4: Create a smaller curved line with white nail polish just below the dark green line. Step 5: Fill in the rest of your nail with red nail polish, leaving the white part of the watermelon untouched. Step 6: Use a toothpick or thin brush to create small black seeds on the white part of the watermelon. Step 7: Once the design is complete and dry, apply a top coat to seal it in and add shine.Watermelon Nail Art Step-by-Step Guide

Watermelon Nail Art Step-by-Step Guide
Here are a few techniques and tips to help you create the perfect watermelon nail art: Technique 1: When creating the curved lines for the rind and white part of the watermelon, use a light touch to avoid smudging the nail polish. Technique 2: For a more realistic look, add a few small white dots on the red part of the watermelon to mimic the seeds. Tip 1: If you want your watermelon nail art to last longer, apply a layer of top coat every few days to protect the design. Tip 2: Have fun and experiment with different color combinations. You can create a pink watermelon using pink and green nail polish or a more abstract design using different shades of green and red. Tip 3: Don't be afraid to add your own personal touch to the design. You can add glitter, rhinestones, or even a cute watermelon face using nail art tools. Now that you know how to create watermelon nail art, grab your supplies and get ready to rock this fun and fruity design! Whether you're a beginner or a nail art pro, this design is perfect for anyone looking to add a playful touch to their manicure. Have fun and happy painting!Watermelon Nail Art Techniques and Tips
Watermelon Nail Art Techniques and Tips

The Trendy and Playful Watermelon Nail Art Procedure

Introduction
 Watermelon nail art has become a popular and playful trend in the world of nail design. It's a fun and creative way to add a pop of color and personality to your nails. This trendy design is perfect for the summer season, as it incorporates the vibrant colors and refreshing feel of a watermelon. In this article, we will take you through the step-by-step procedure of creating your own watermelon nail art.
Gather Your Supplies
 Before starting the procedure, it's important to gather all the necessary supplies. You will need a base coat, white, green, and pink nail polish, a thin nail art brush, a dotting tool, and a top coat. You can also use a toothpick or bobby pin instead of a dotting tool if you don't have one.
Step 1: Apply the Base Coat
 To protect your nails and ensure a smooth application, start by applying a base coat. This will also help the nail polish to last longer.
Step 2: Paint Your Nails White
 Once the base coat is dry, paint all your nails with white nail polish. This will serve as the base color for your watermelon design.
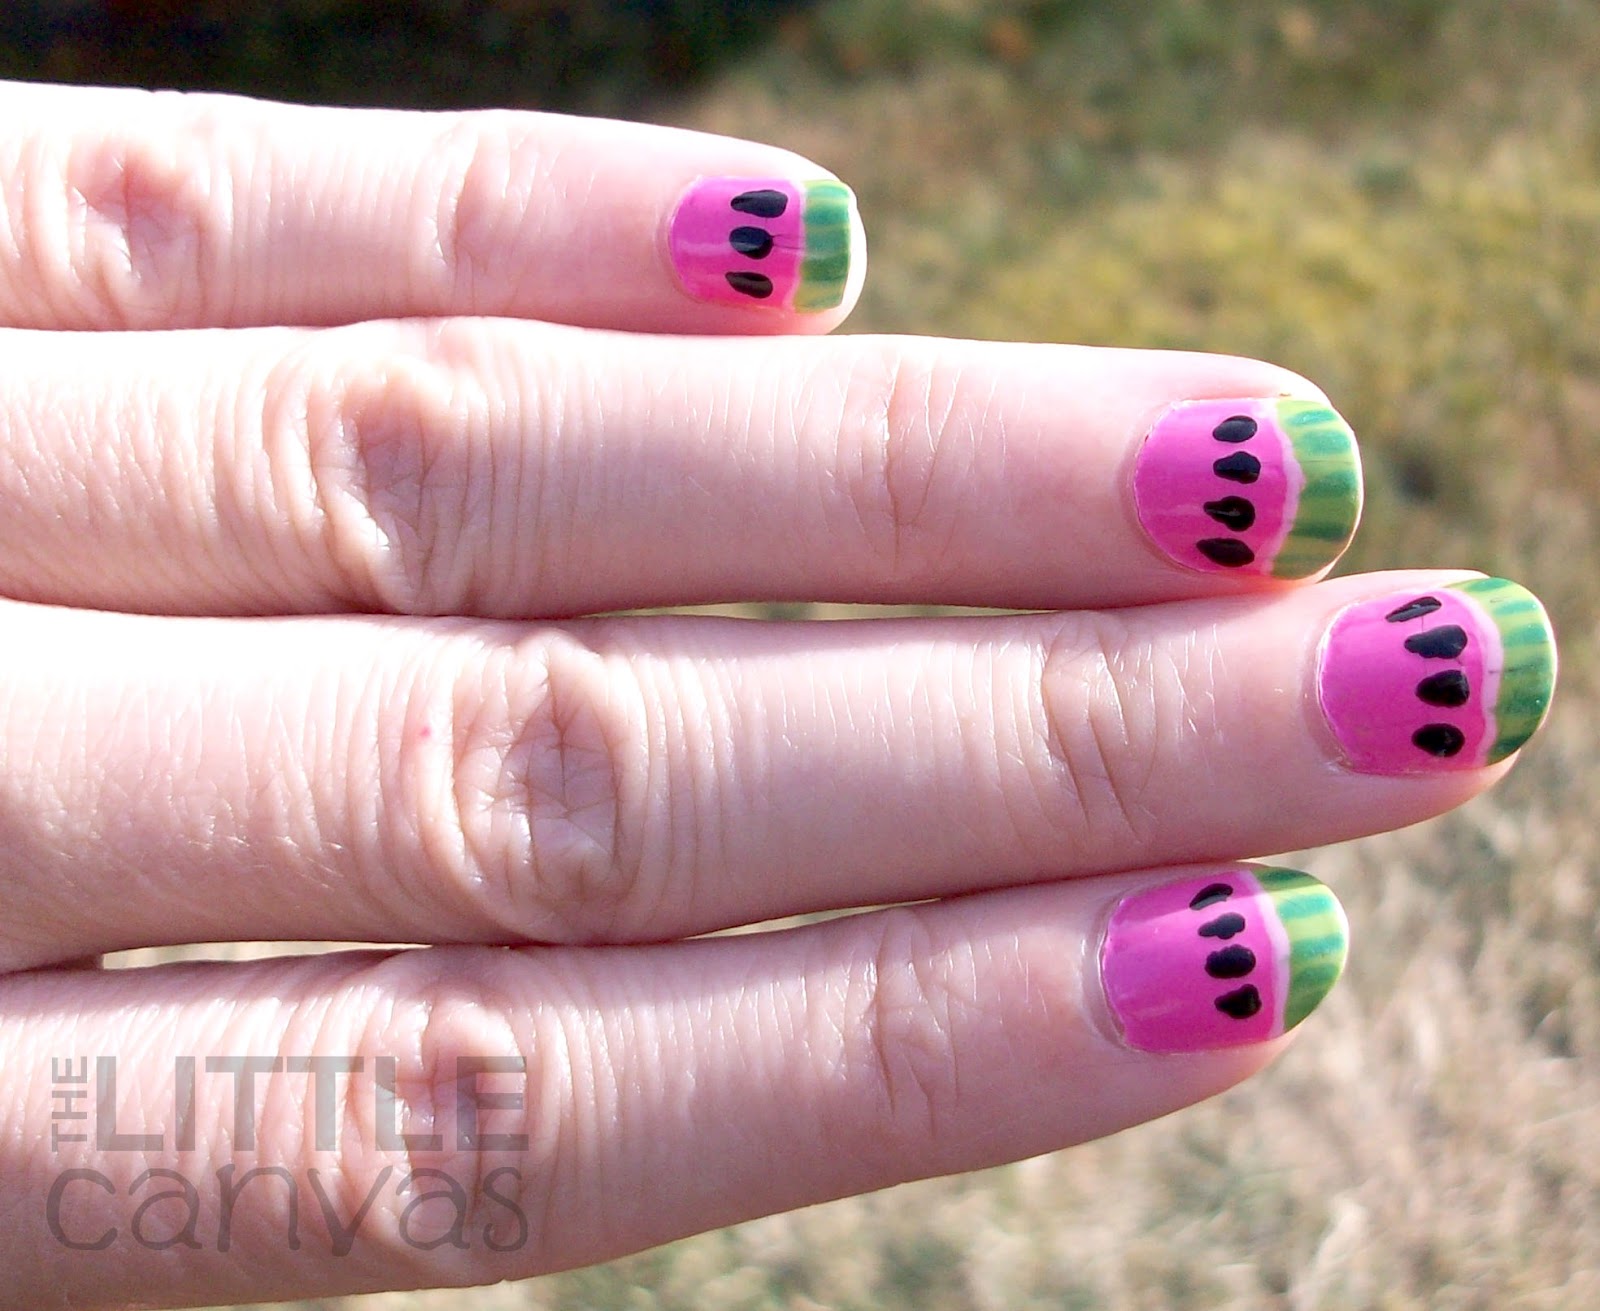
Step 3: Create the Watermelon Rind
 Using your green nail polish and the thin nail art brush, paint a curved line at the tip of your nail, leaving a small gap at the sides. Then, fill in the gap with the green polish to create the rind of the watermelon.
Step 4: Add the Watermelon Seeds
 Using the dotting tool or toothpick, dip it into the black nail polish and create small black dots on the white part of the nail. These dots will represent the seeds of the watermelon. You can add as many or as few seeds as you like.
Step 5: Add the Pink Flesh
 Using the pink nail polish, paint a curved line just below the green rind. This will represent the pink flesh of the watermelon. You can use the nail art brush or a toothpick to create a smooth and even line.
Step 6: Finish with a Top Coat
 Once your design is dry, finish off with a top coat to seal in the design and add shine to your nails.
Conclusion
 Watermelon nail art is a fun and easy way to add a playful touch to your nails. With these simple steps, you can create your own vibrant watermelon design and show off your creative side. So, gather your supplies and give this trendy nail art a try!


