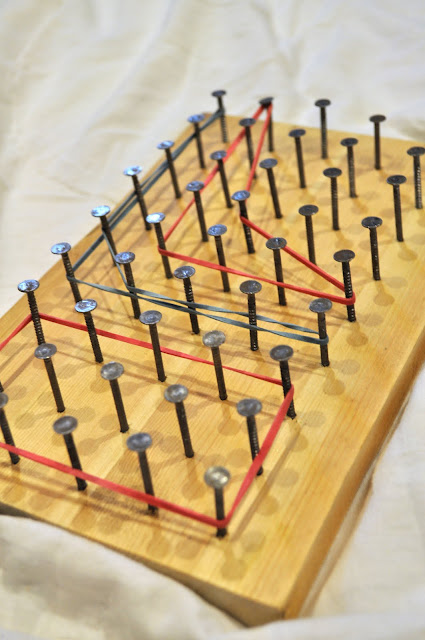
Nail art has become a popular way to express one's creativity and add a unique touch to their style. While many people opt for traditional nail polish or intricate designs, there's a new trend that's taking the beauty world by storm – wooden board nail art. This rustic and chic nail art involves creating designs on a wooden board, mimicking the look of a real plank of wood. It's a fun and inventive way to elevate your manicure game, and we've got the ultimate tutorial to help you achieve the perfect wooden board nail art look.Wooden Board Nail Art Tutorial


Wooden Board Nail Art Tutorial


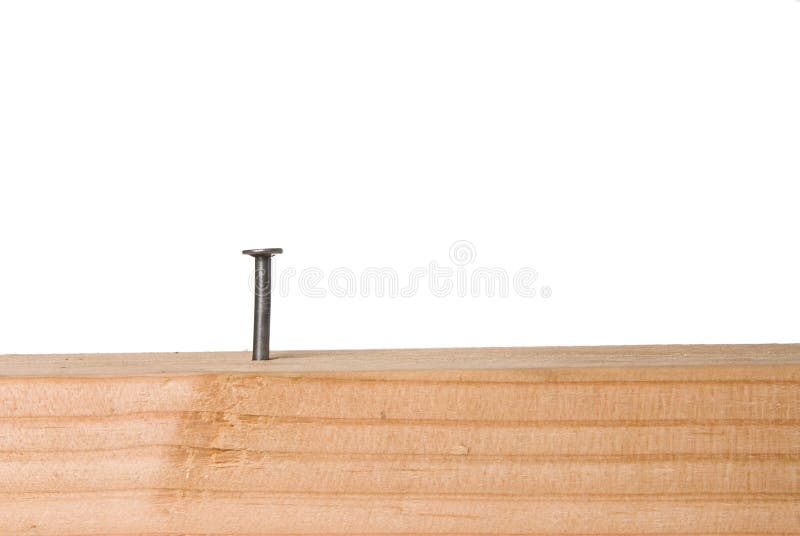
:max_bytes(150000):strip_icc()/how-to-nail-into-concrete-by-hand-3573191-04-b902db67f46d439d9d112e39673d5261.jpg)
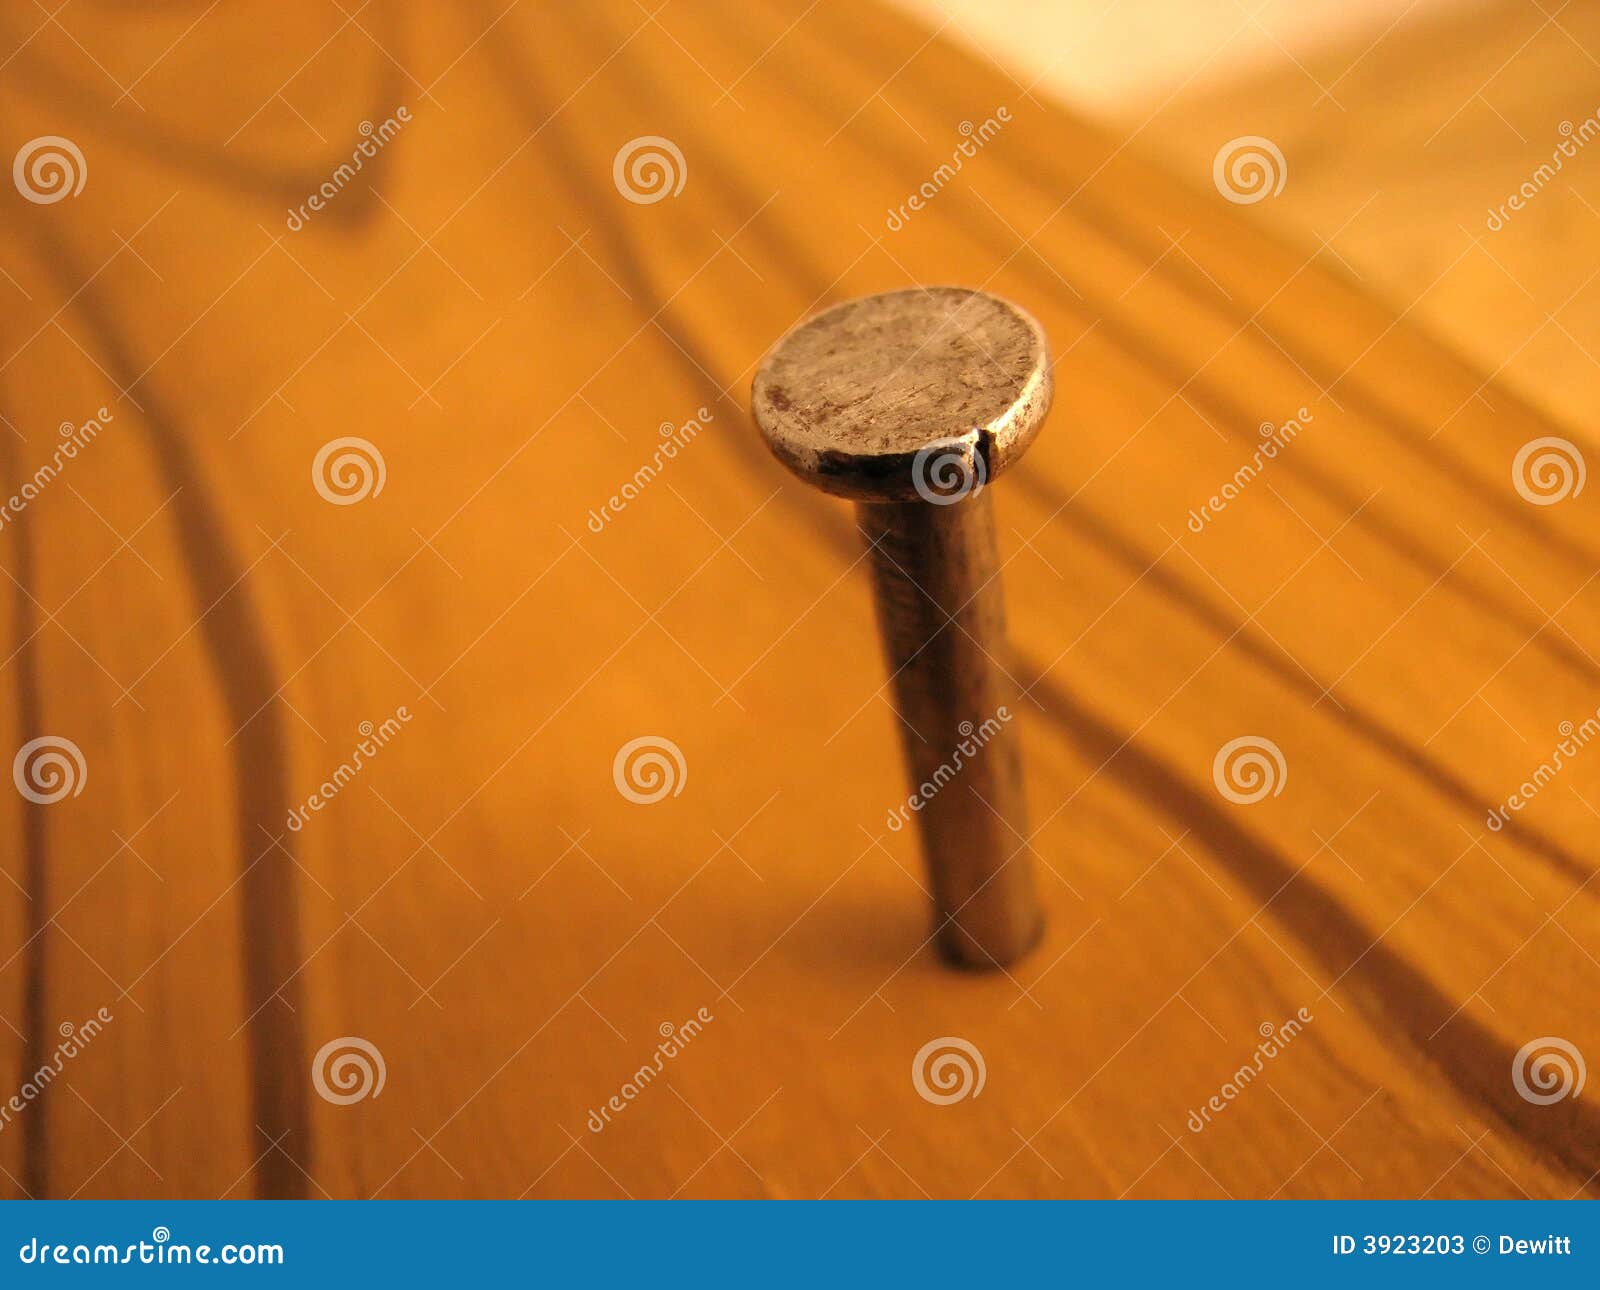
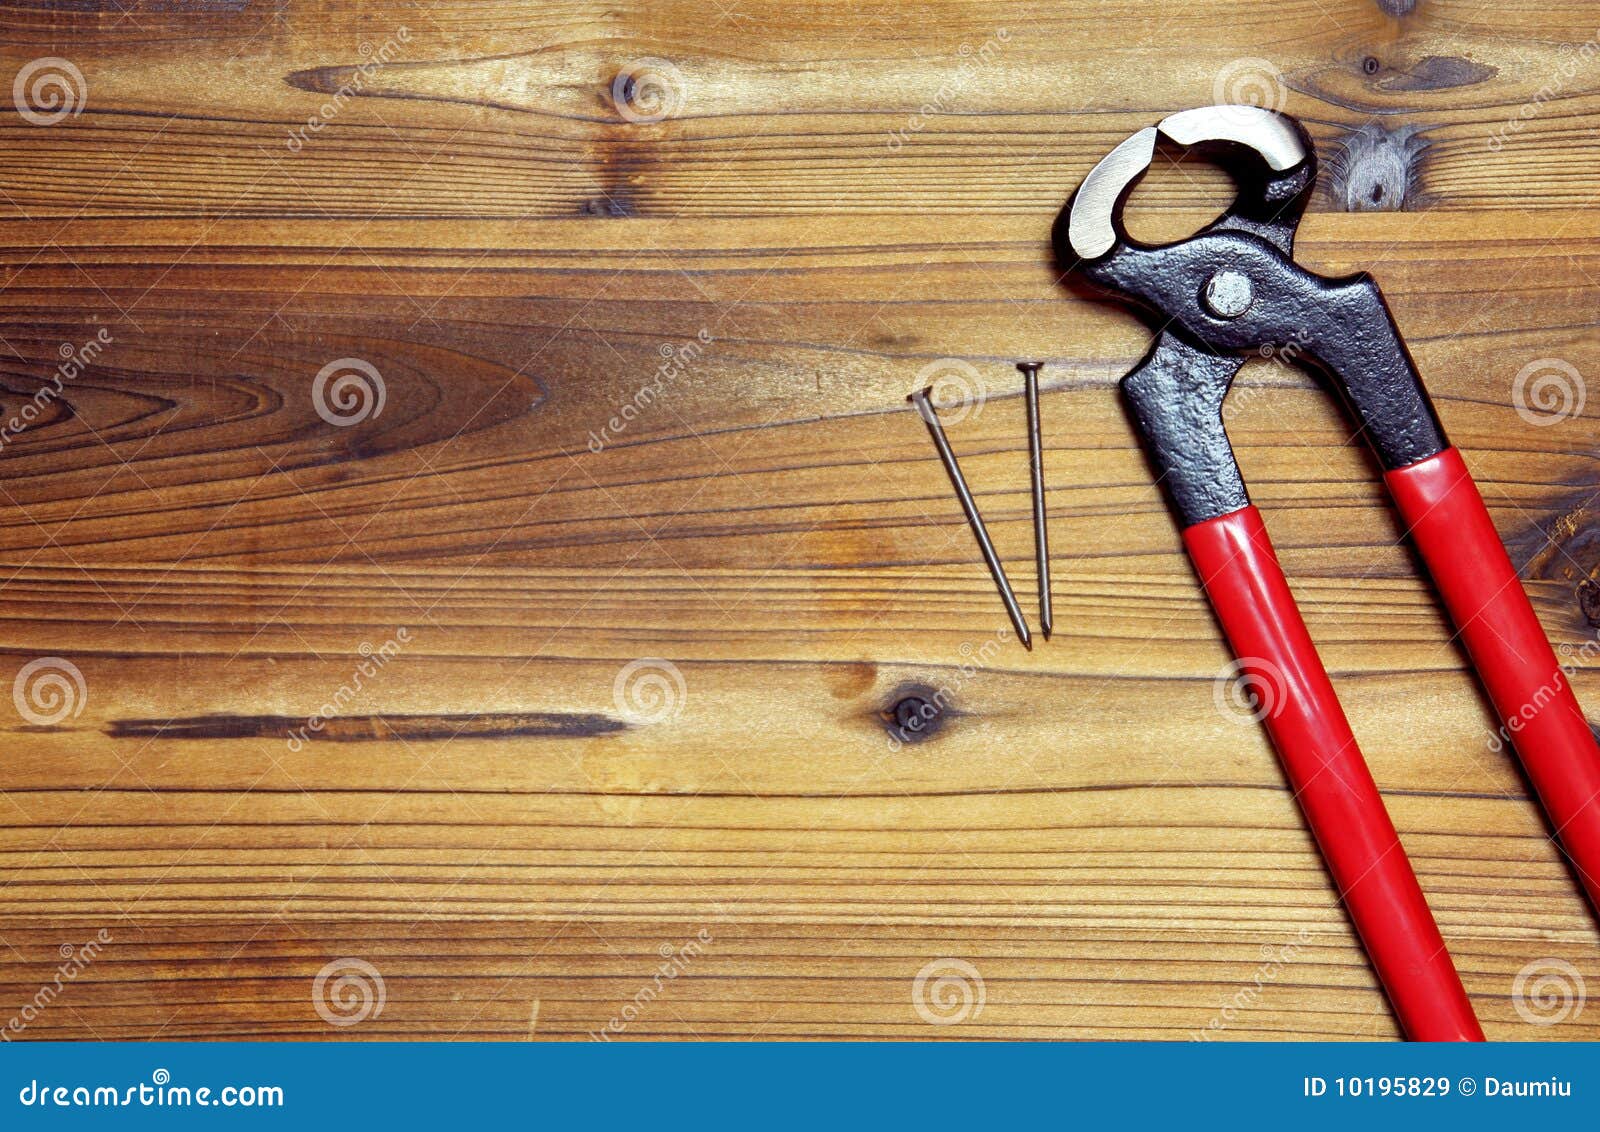
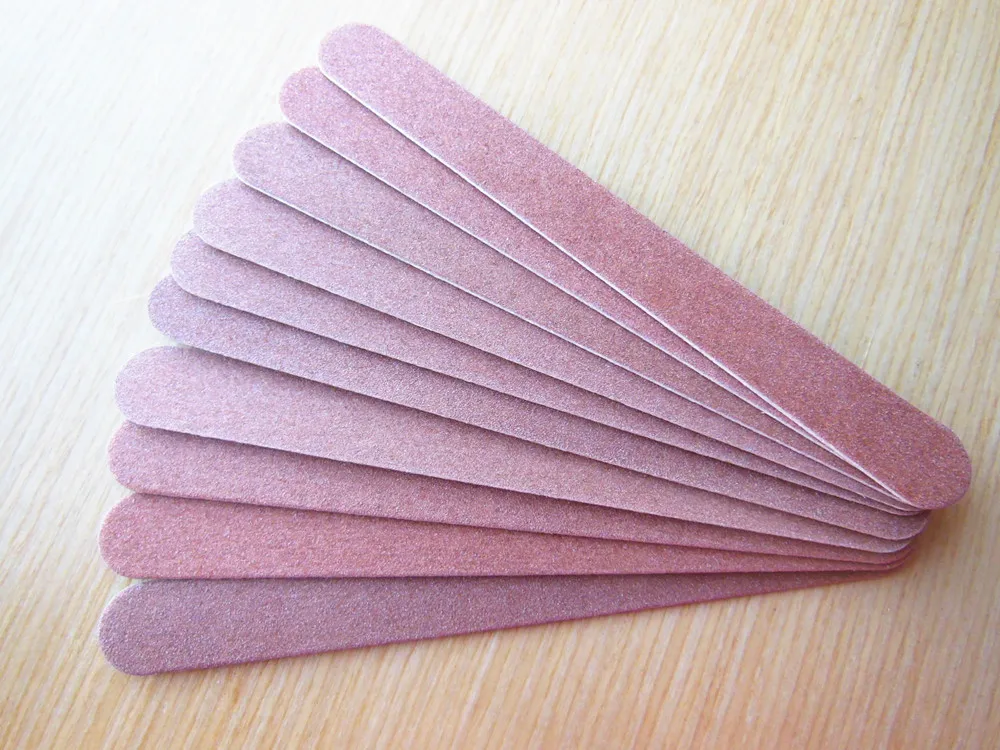
One of the best things about wooden board nail art is that it can easily be done at home as a DIY project. All you need are a few basic supplies, and you'll be able to create stunning designs on your nails that will have everyone asking, "Where did you get that done?" Start by gathering your supplies, including a wooden board, sandpaper, acrylic paints, a small paintbrush, and a top coat. Begin by sanding down the wooden board to smooth out any rough edges. Then, using your paintbrush, create your desired design on the board. Once the paint is dry, cut the board into small pieces, and you have your very own wooden board nail art pieces to apply to your nails.DIY Wood Board Nail Art


DIY Wood Board Nail Art


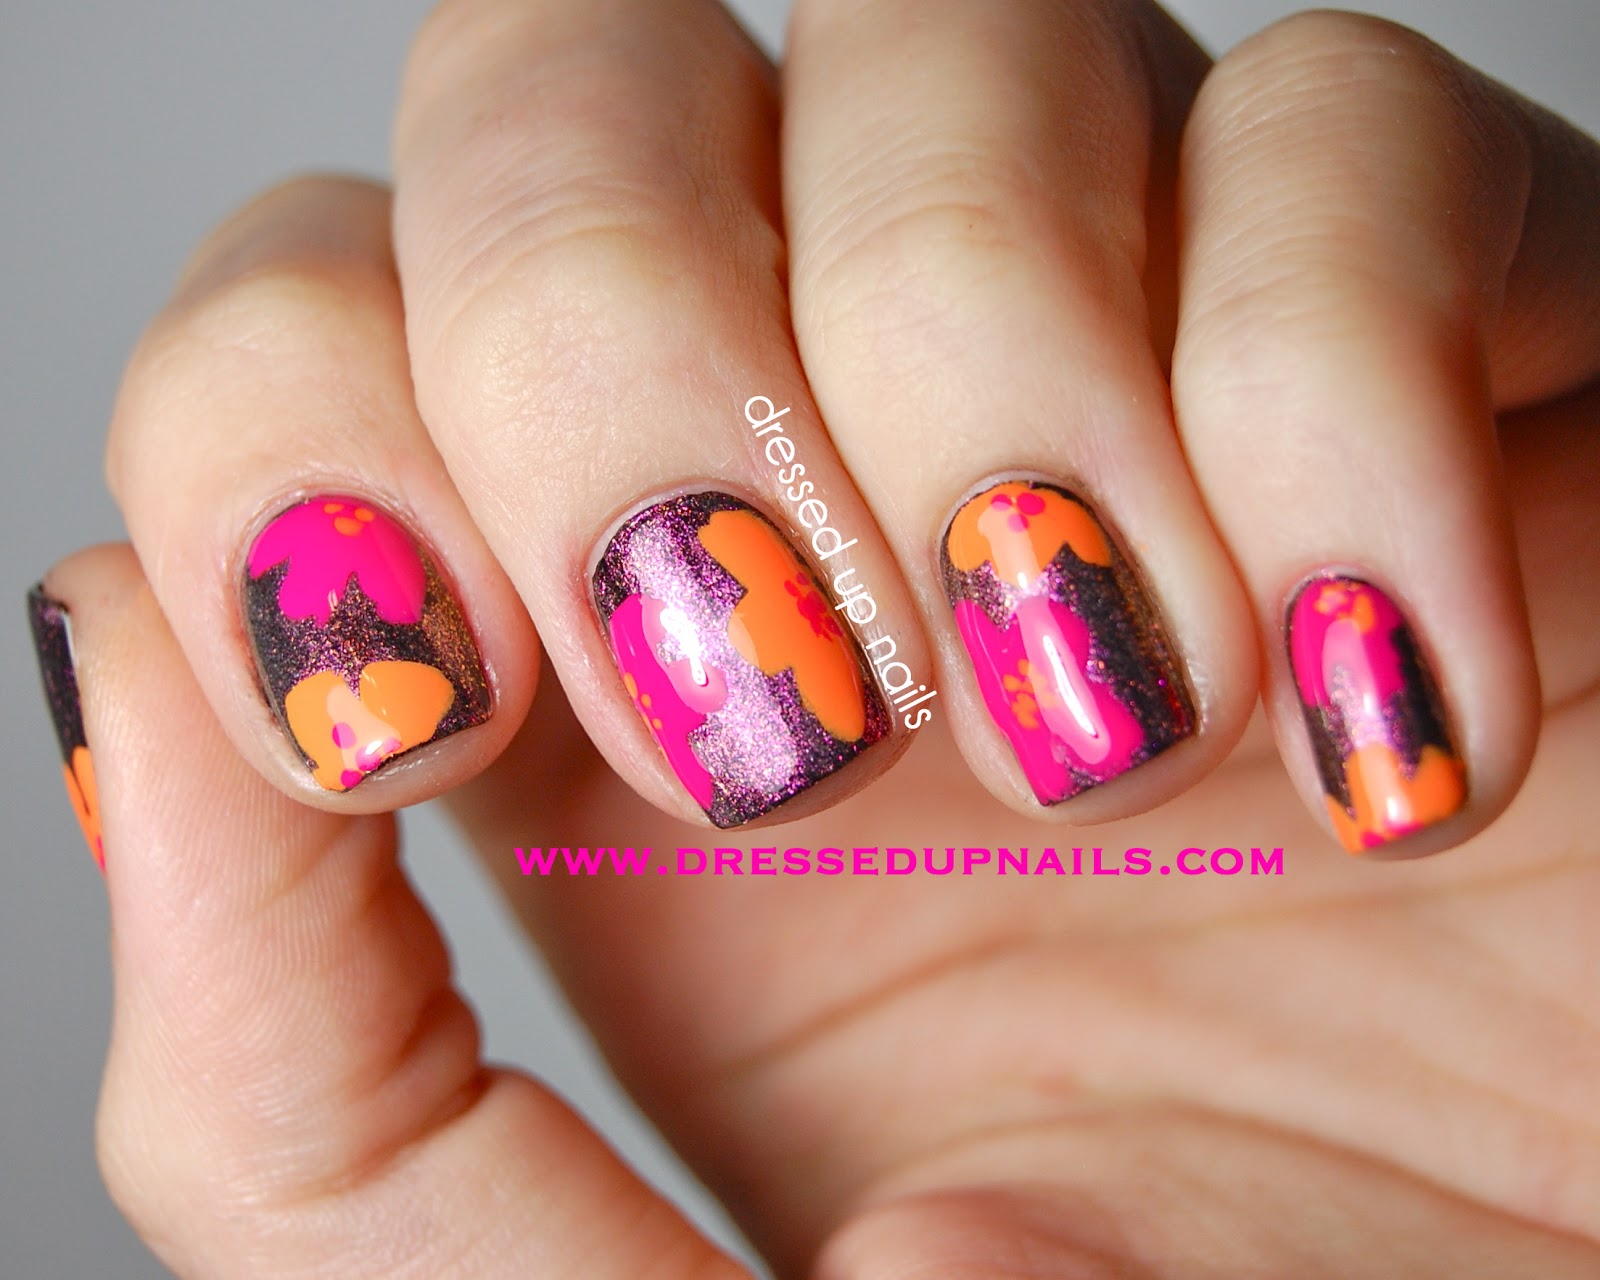
The beauty of wooden board nail art is its ability to create a rustic and natural look on your nails. The rough texture and earthy tones of the wood add a unique and charming element to your manicure. You can create a simple, single-colored design or get more creative with various patterns and designs. One popular design is a wood grain look, where you use a thin paintbrush to create lines and knots on the wooden board. This design mimics the natural pattern of a real piece of wood and looks stunning on the nails.Rustic Nail Art on Wood Board


Rustic Nail Art on Wood Board


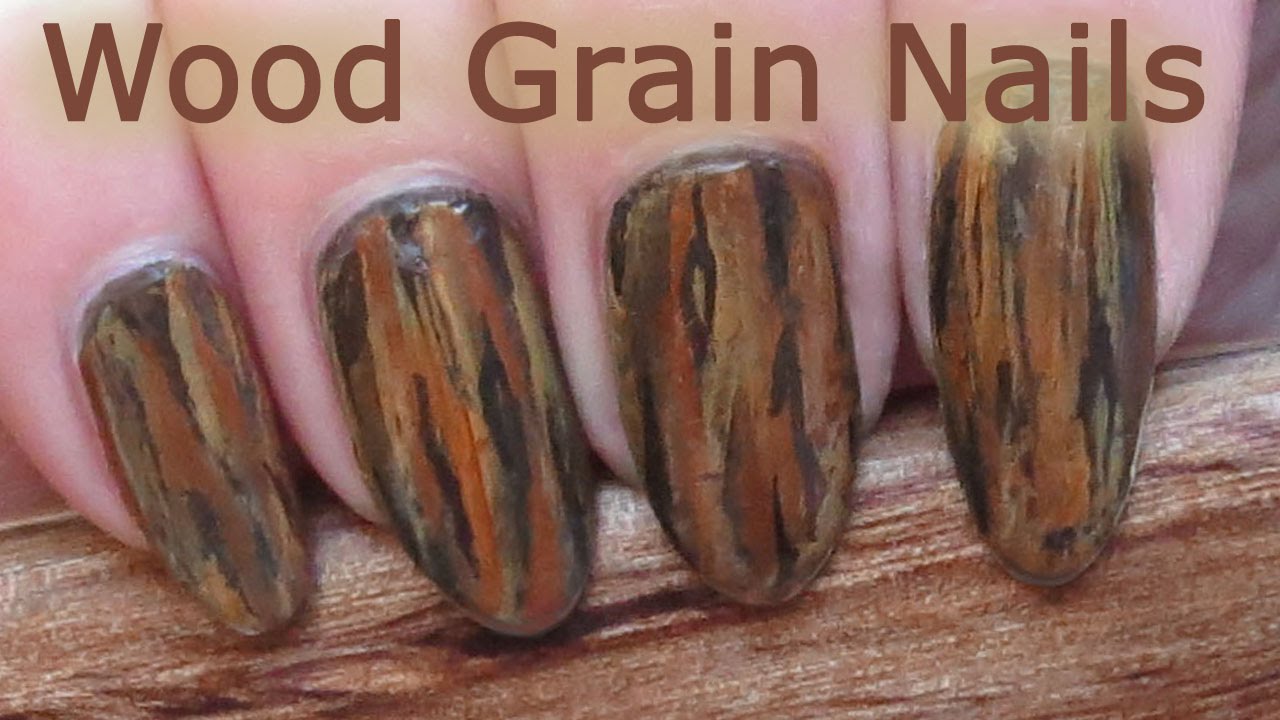
As mentioned before, the wood grain design is a popular choice for wooden board nail art. To achieve this look, start by painting your nails with a base color that resembles the color of wood, such as a light brown or beige. Then, using a thin paintbrush, create thin lines in a darker shade of brown to mimic the grain of the wood. You can add knots and other details for a more realistic look. Finish off with a top coat to seal in your design.Wood Grain Nail Art


Wood Grain Nail Art


For those who want a more natural and eco-friendly option, you can also create wooden board nail art using real nails instead of acrylic or gel extensions. This adds a unique and playful element to your manicure, as each nail will have a different shape and size. To create this look, simply follow the DIY tutorial above, but instead of using a wooden board, use real nails. You can find these at your local hardware store, and they come in various sizes and shapes.Nail Art on Wood Board with Real Nails


Nail Art on Wood Board with Real Nails


The possibilities for wooden board nail art designs are endless. You can get creative and create your own unique designs or take inspiration from nature, such as creating a floral pattern or an animal print. You can also use stencils or stickers to make the process easier and create more intricate designs. Another fun idea is to use different colored paints to create a colorful and vibrant wooden board nail art look. This adds a playful and modern twist to the rustic trend.Wood Board Nail Art Designs


Wood Board Nail Art Designs

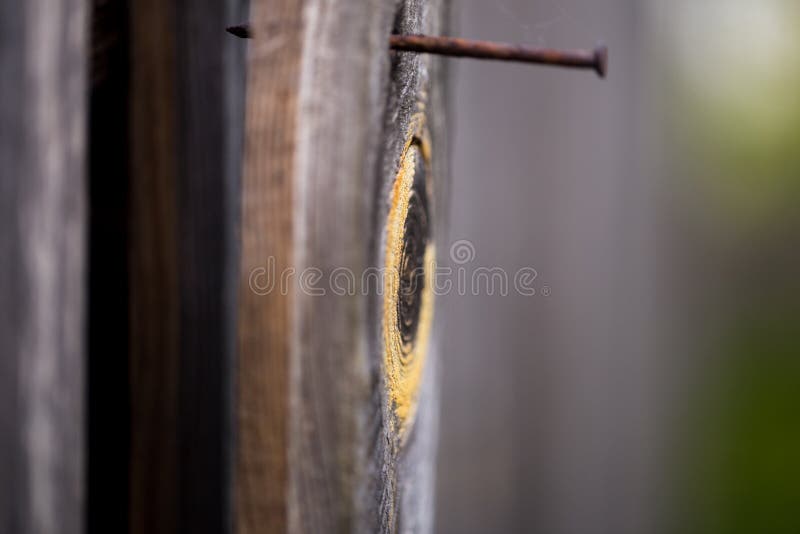
While wooden boards are the most common material used for this type of nail art, you can also experiment with other wooden materials, such as wooden planks. These can be cut into different shapes and sizes to create unique and eye-catching designs on your nails. For a more polished look, you can also paint the wooden planks with a glossy or matte finish before creating your design. This will give your wooden board nail art a more professional and clean look.Nail Art on Wooden Planks

Nail Art on Wooden Planks


If you're looking for some inspiration for your wooden board nail art, here are a few ideas to get you started: - Create a beachy vibe with a blue and white ombre design on a wooden board. - Use metallic paints to create a glam and edgy look on wooden planks. - Experiment with different patterns and shapes, such as chevron or stripes, on wood grain designs. - Add some sparkle to your wooden board nail art with glitter or rhinestones.Wood Board Nail Art Ideas


Wood Board Nail Art Ideas


For a more unique and edgy look, consider using distressed wood for your nail art. This type of wood has a worn and weathered look that adds a cool and vintage touch to your manicure. You can achieve this look by using a piece of old, weathered wood or by distressing a new piece of wood with sandpaper and a hammer. This type of nail art is perfect for those who want to make a statement and stand out from the crowd.Nail Art on Distressed Wood

Nail Art on Distressed Wood

To get started with wooden board nail art, here are the essential supplies you'll need: - Wooden board or planks - Sandpaper - Acrylic paints - Small paintbrushes - Top coat - Real nails (optional) - Stencils or stickers (optional) In conclusion, wooden board nail art is a fun and creative way to add some rustic charm to your manicure. With a few basic supplies and some imagination, you can achieve stunning and unique designs that will make your nails stand out. So why not give it a try and join the wooden board nail art trend? Your nails will thank you.Wood Board Nail Art Supplies


Wood Board Nail Art Supplies
The Versatility and Beauty of Wood Board Nail Art
 Wood board nail art has become a popular trend in the world of house design. This unique form of nail art adds a touch of rustic charm and natural beauty to any space. Whether you are a fan of farmhouse style or simply looking to add some warmth and texture to your home, wood board nail art is the perfect choice.
What is Wood Board Nail Art?
 Wood board nail art involves using wooden boards as a canvas for creating intricate designs and patterns. These boards can be used in various ways, such as creating a feature wall, adding accents to furniture, or even as a base for hanging artwork. The possibilities are endless, and the end result is always stunning.
The Benefits of Wood Board Nail Art
 One of the main benefits of wood board nail art is its versatility. It can be used in any room of the house, from the living room to the bedroom, and even in the kitchen or bathroom. The natural textures and colors of wood add a warm and welcoming feel to any space.
In addition to its aesthetic appeal, wood board nail art is also a budget-friendly option for house design. With a little creativity and some basic tools, you can create a beautiful and unique look in your home without breaking the bank.
One of the main benefits of wood board nail art is its versatility. It can be used in any room of the house, from the living room to the bedroom, and even in the kitchen or bathroom. The natural textures and colors of wood add a warm and welcoming feel to any space.
In addition to its aesthetic appeal, wood board nail art is also a budget-friendly option for house design. With a little creativity and some basic tools, you can create a beautiful and unique look in your home without breaking the bank.
Getting Creative with Wood Board Nail Art
 The beauty of wood board nail art lies in its ability to be customized and personalized. You can choose from a variety of wood types, such as pine, cedar, or reclaimed wood, to create a look that best suits your style. You can also experiment with different designs and patterns, from simple geometric shapes to intricate mandalas.
Another way to get creative with wood board nail art is by incorporating other elements, such as paint, stain, or even metal accents. This allows you to add a pop of color or give your design a more industrial feel.
The beauty of wood board nail art lies in its ability to be customized and personalized. You can choose from a variety of wood types, such as pine, cedar, or reclaimed wood, to create a look that best suits your style. You can also experiment with different designs and patterns, from simple geometric shapes to intricate mandalas.
Another way to get creative with wood board nail art is by incorporating other elements, such as paint, stain, or even metal accents. This allows you to add a pop of color or give your design a more industrial feel.
Bringing the Outdoors In
 In today's fast-paced world, many of us long for a connection to nature. Wood board nail art allows you to bring a piece of the outdoors into your home. Not only does it add a natural element, but it also creates a sense of calm and tranquility in your living space.
In conclusion, wood board nail art is a versatile and budget-friendly option for adding a touch of beauty and charm to your home. Its endless possibilities for customization make it a popular choice for house design. So why not give it a try and see how this unique form of nail art can transform your space into a warm and inviting sanctuary.
In today's fast-paced world, many of us long for a connection to nature. Wood board nail art allows you to bring a piece of the outdoors into your home. Not only does it add a natural element, but it also creates a sense of calm and tranquility in your living space.
In conclusion, wood board nail art is a versatile and budget-friendly option for adding a touch of beauty and charm to your home. Its endless possibilities for customization make it a popular choice for house design. So why not give it a try and see how this unique form of nail art can transform your space into a warm and inviting sanctuary.


