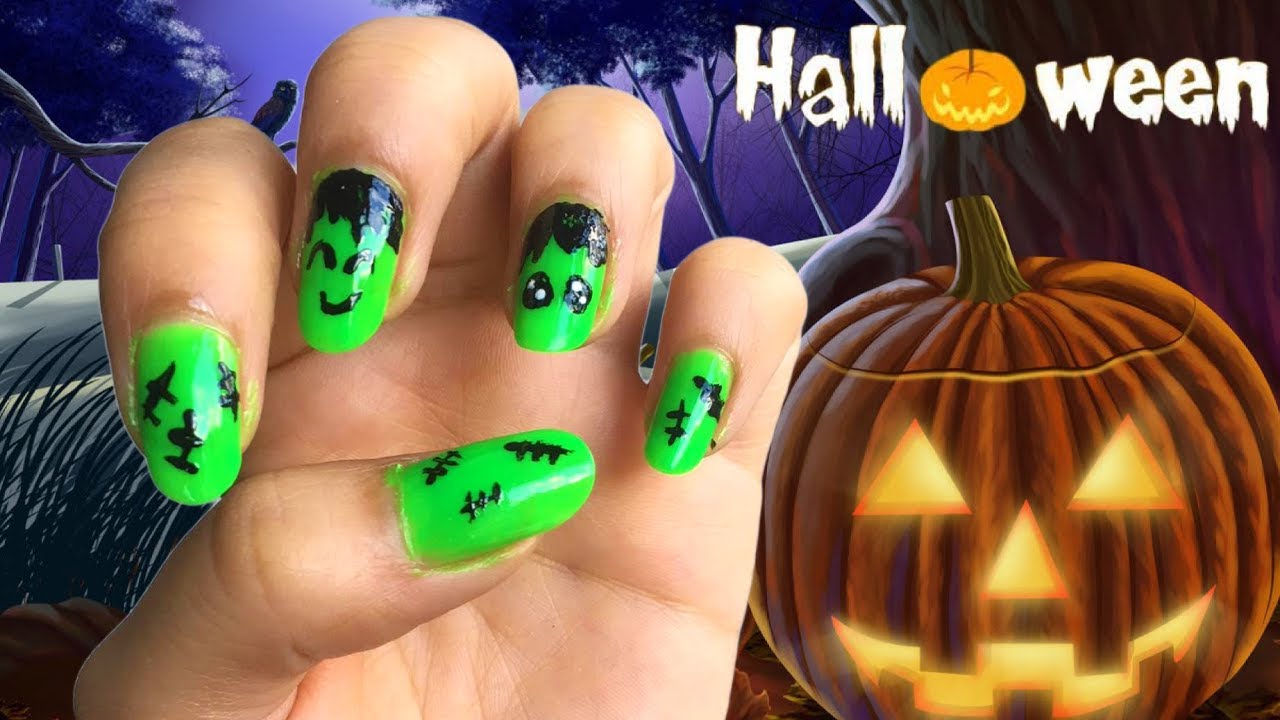
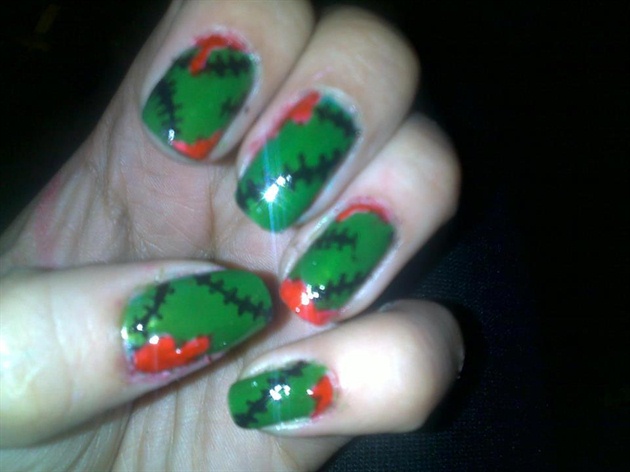
If you're new to nail art or just looking for a quick and easy design, this tutorial is perfect for you. All you need is a base coat, dark green nail polish, black nail polish, white nail polish, and a thin brush. Start by applying a base coat to protect your nails. Then, using the green polish, paint your nails and let them dry. Next, use the black polish to create jagged lines on each nail to represent torn skin. Finally, use the white polish to add details such as bones or stitches. Finish with a top coat, and you have yourself some creepy zombie nails.1. "Easy Zombie Nail Art Tutorial"


1. "Easy Zombie Nail Art Tutorial"

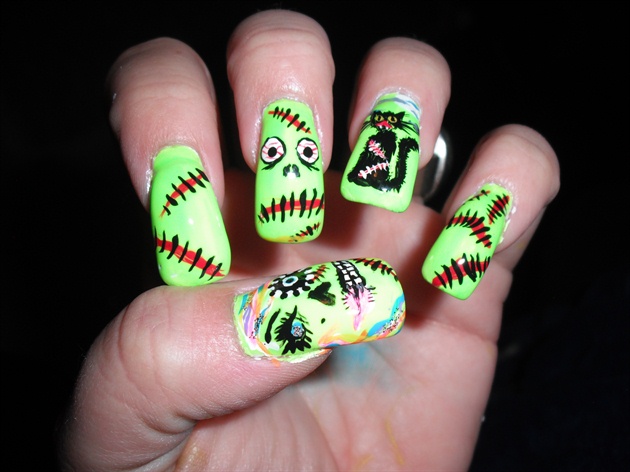
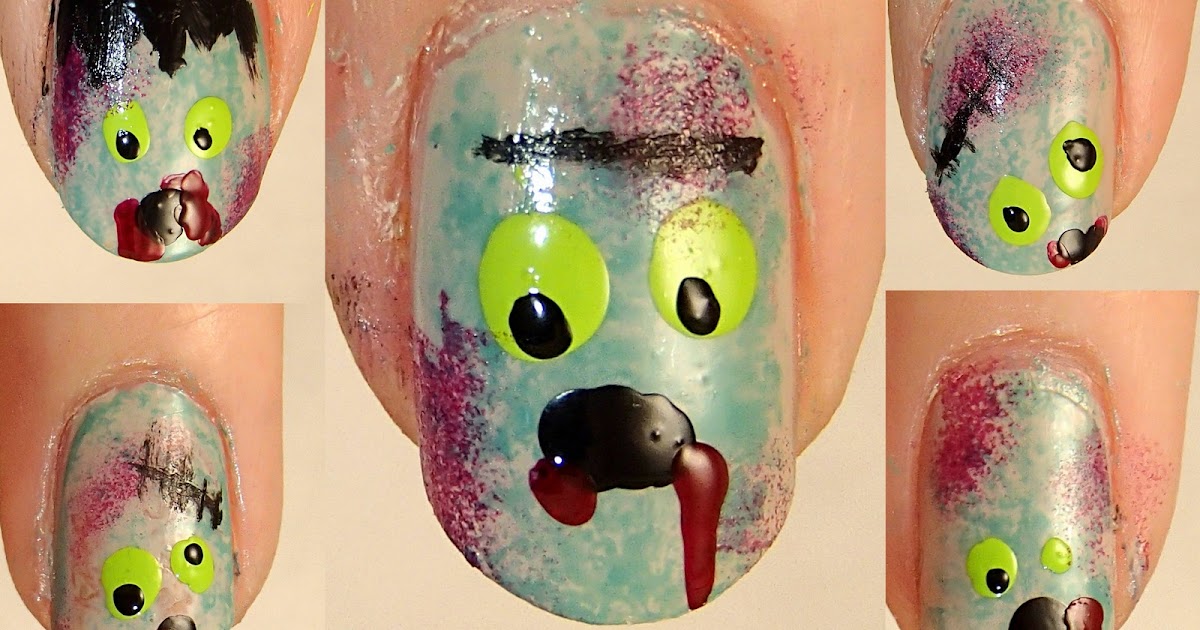
For those who want a more detailed and realistic zombie look, this step-by-step tutorial is for you. You will need a base coat, light green nail polish, dark green nail polish, black nail polish, white nail polish, red nail polish, thin brush, and a makeup sponge. Start by applying a base coat, then use the light green polish to create a base color. Next, use the dark green polish and the makeup sponge to create a gradient effect on each nail. Then, use the black polish to create torn skin lines and add details with the white and red polishes. Finish with a top coat for a truly gruesome zombie look.2. "Step-by-Step Zombie Nail Art Tutorial"


2. "Step-by-Step Zombie Nail Art Tutorial"


If you want to add some spooky elements to your zombie nails, this tutorial is perfect for you. You will need a base coat, gray nail polish, black nail polish, white nail polish, red nail polish, thin brush, and a toothpick. Start by applying a base coat, then use the gray polish to create a base color. Next, use the black polish to create jagged lines and add details with the white and red polishes. Use the toothpick to create small dots for an extra creepy effect. Finish with a top coat and your nails will be ready to haunt.3. "Spooky Zombie Nails Tutorial"


3. "Spooky Zombie Nails Tutorial"


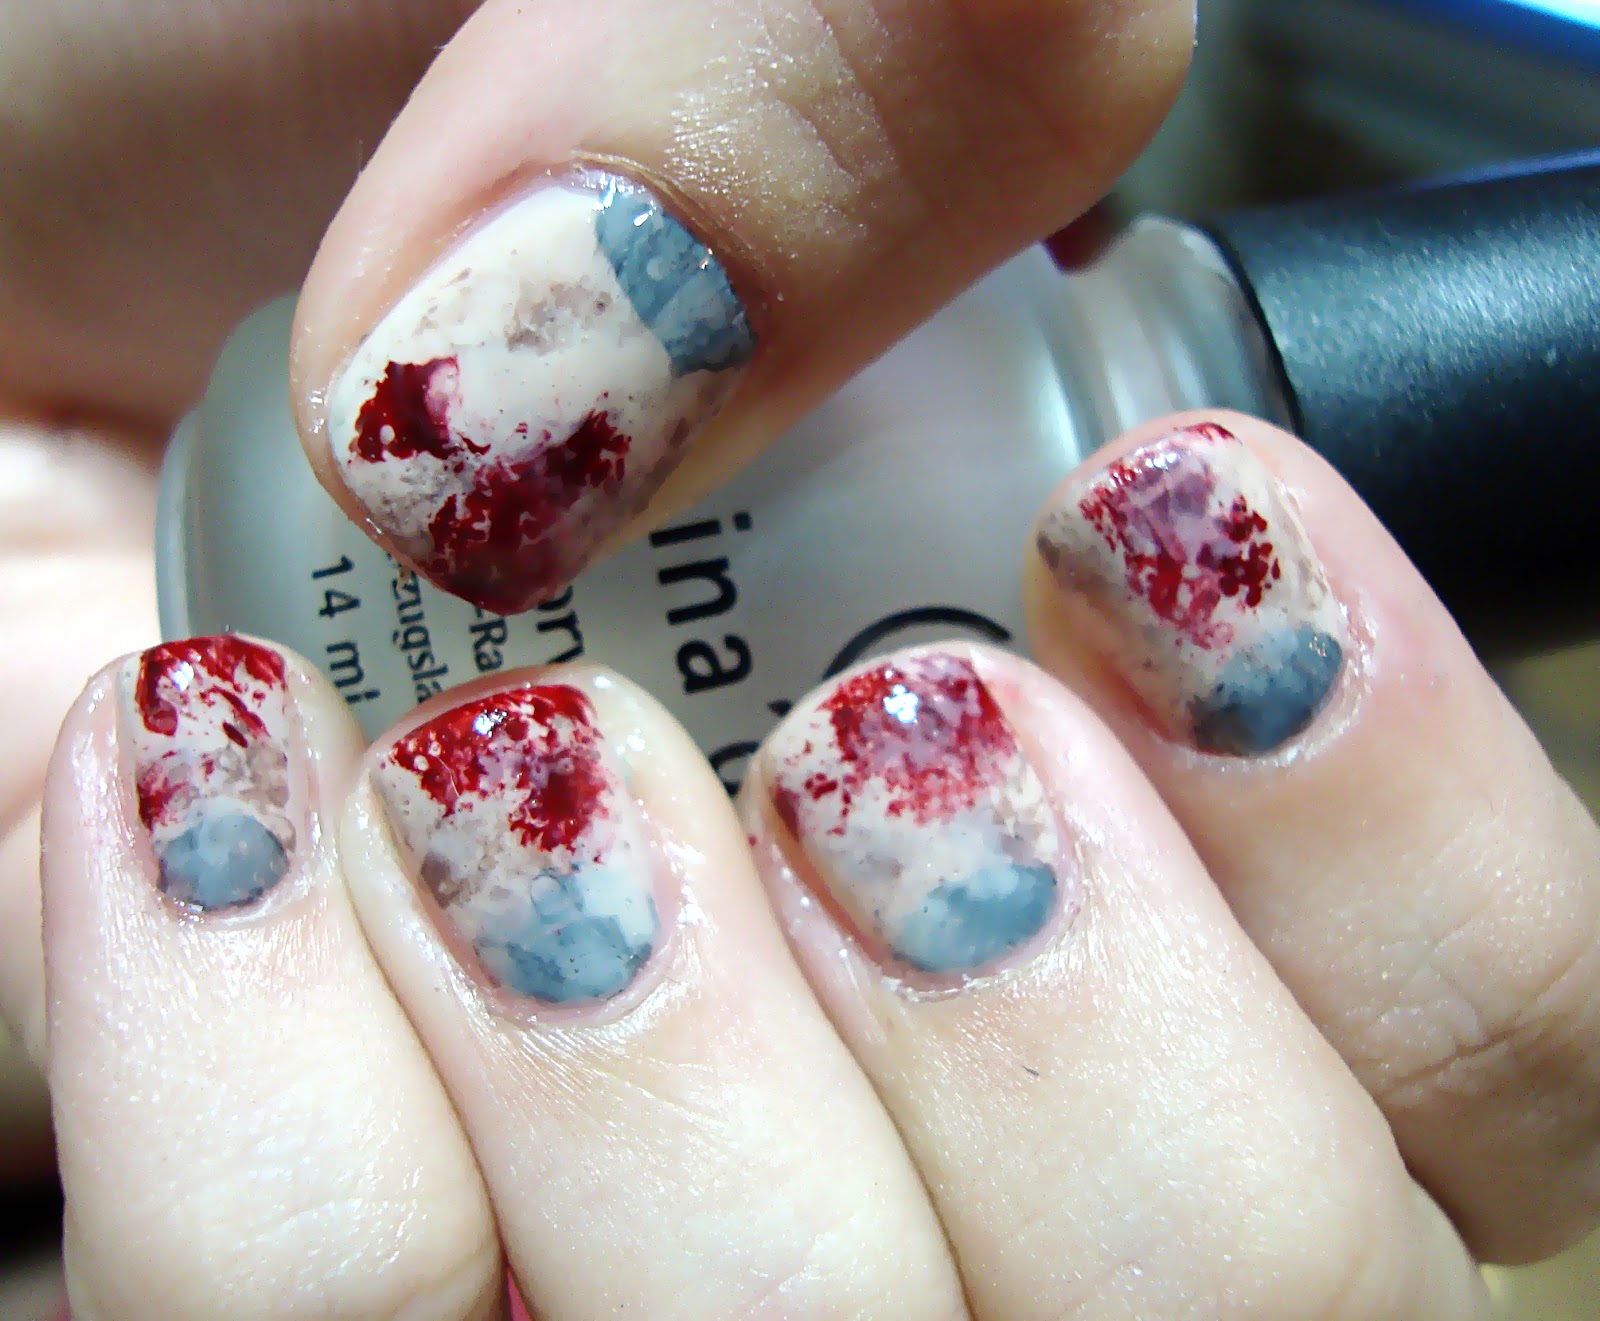
This tutorial is perfect for those who want to get creative and make their own unique zombie nails. You will need a base coat, white nail polish, acrylic paint, toothbrush, thin brush, and a makeup sponge. Start by applying a base coat, then use the white polish to create a base color. Next, use the acrylic paint to create a zombie design of your choice, such as a brain or a hand reaching out from the grave. Use the toothbrush to splatter some red paint for a gory effect. Finish with a top coat and your DIY zombie nails will be a hit.4. "DIY Zombie Nail Art Tutorial"


4. "DIY Zombie Nail Art Tutorial"

Get into the Halloween spirit with this zombie nails tutorial. You will need a base coat, black nail polish, white nail polish, red nail polish, thin brush, and a dotting tool. Start by applying a base coat, then use the black polish to create a base color. Next, use the white polish to create jagged lines and add details with the red polish. Use the dotting tool to create small dots for an extra spooky effect. Finish with a top coat and you'll be the talk of the Halloween party.5. "Halloween Zombie Nails Tutorial"

5. "Halloween Zombie Nails Tutorial"

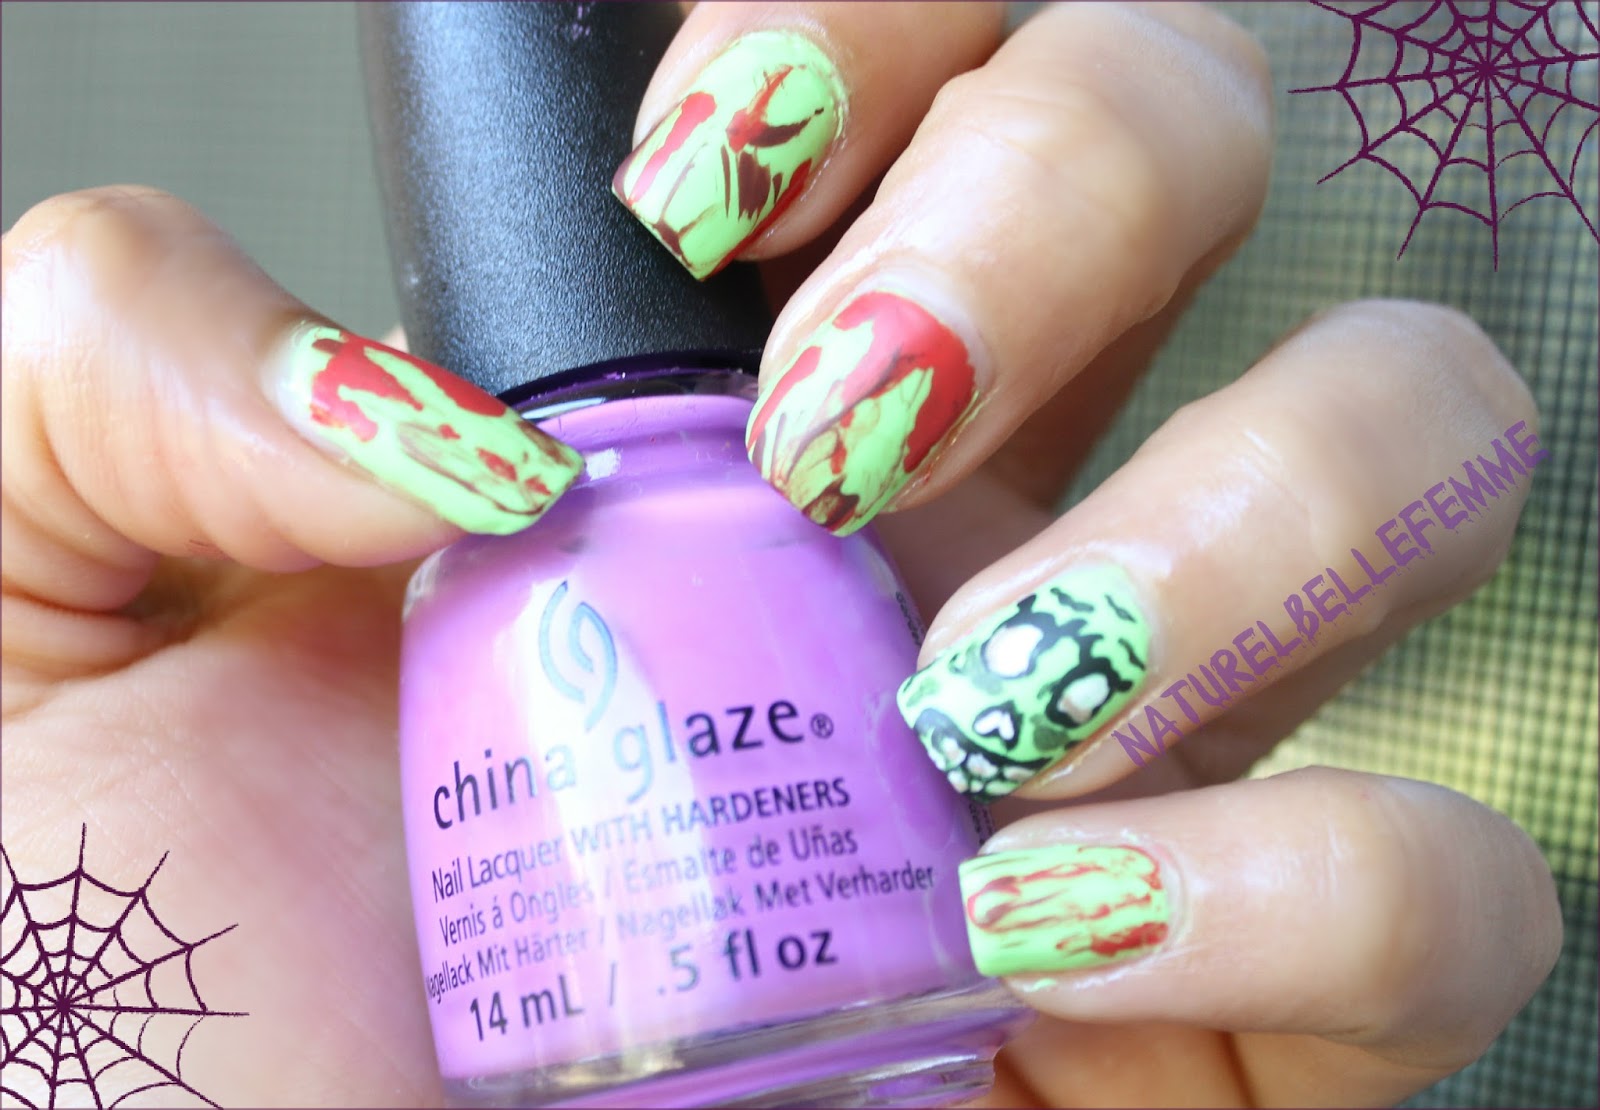
If you want to go all out with your zombie nails, this tutorial is for you. You will need a base coat, white nail polish, black nail polish, green nail polish, red nail polish, thin brush, and fake blood. Start by applying a base coat, then use the white polish to create a base color. Next, use the black and green polishes to create a gnarly skin texture. Add details with the red polish and use the thin brush to create blood dripping down the nails. Finish with a top coat and some fake blood for a truly gory look.6. "Gory Zombie Nail Art Tutorial"


6. "Gory Zombie Nail Art Tutorial"


Are you a fan of the zombie apocalypse genre? Then this tutorial is perfect for you. You will need a base coat, dark gray nail polish, black nail polish, white nail polish, red nail polish, thin brush, and makeup sponge. Start by applying a base coat, then use the dark gray polish to create a base color. Next, use the black polish and makeup sponge to create a smoky effect on each nail. Use the white polish to add details and the red polish for a bloody touch. Finish with a top coat for some apocalyptic zombie nails.7. "Zombie Apocalypse Nail Art Tutorial"

7. "Zombie Apocalypse Nail Art Tutorial"


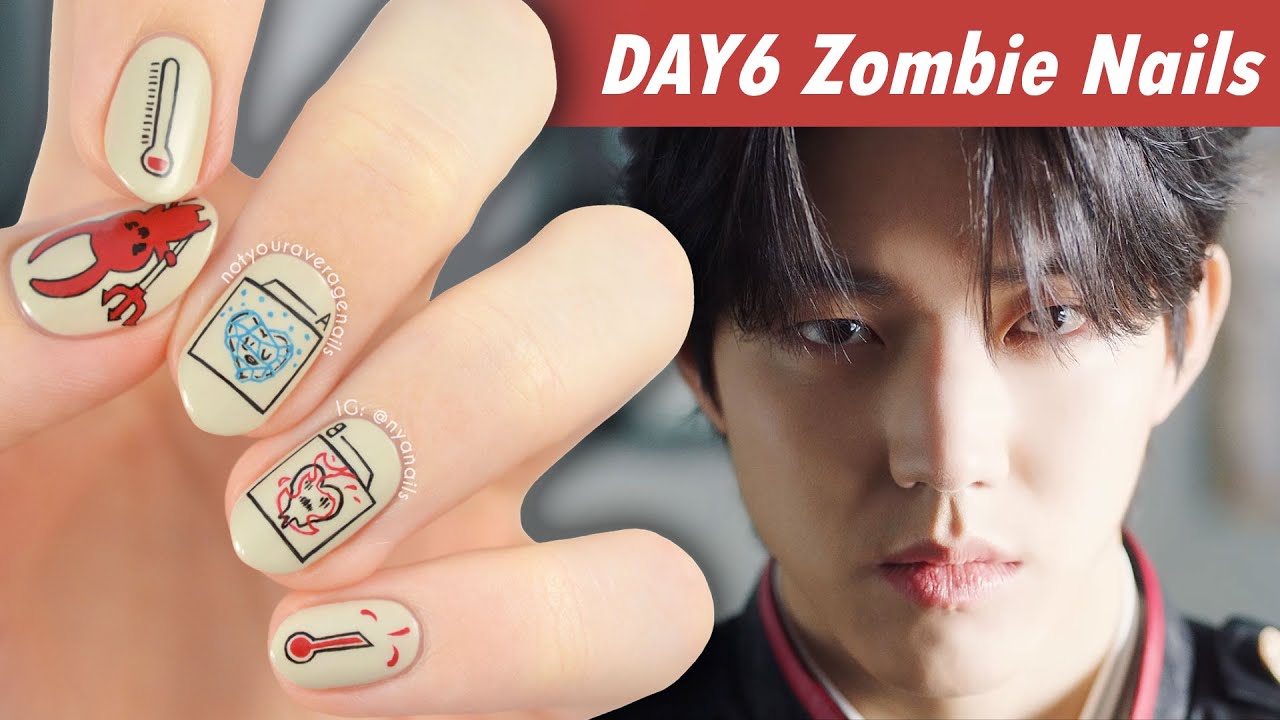
For all the "Walking Dead" fans out there, this tutorial will help you achieve the perfect zombie nails inspired by the hit TV show. You will need a base coat, light gray nail polish, black nail polish, white nail polish, red nail polish, thin brush, and toothpick. Start by applying a base coat, then use the light gray polish to create a base color. Next, use the black polish to create a distressed look and add details with the white and red polishes. Use the toothpick to create small dots for an extra gruesome effect. Finish with a top coat for some "Walking Dead" inspired zombie nails.8. "Walking Dead Inspired Nail Art Tutorial"
8. "Walking Dead Inspired Nail Art Tutorial"

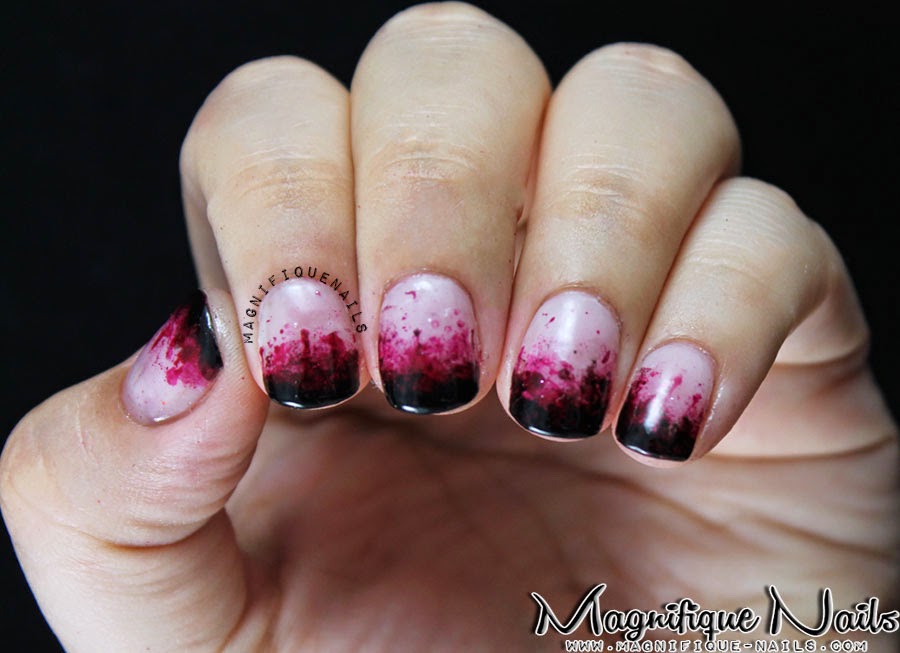
If you want to create a unique and attention-grabbing zombie nail design, this tutorial is for you. You will need a base coat, light pink nail polish, black nail polish, white nail polish, red nail polish, thin brush, and a toothpick. Start by applying a base coat, then use the light pink polish to create a base color. Next, use the black polish to create a bite mark on each nail. Add details with the white and red polishes, such as teeth or blood. Finish with a top coat for some gruesome zombie bite nails.9. "Zombie Bite Nail Art Tutorial"

9. "Zombie Bite Nail Art Tutorial"
For a more subtle and wearable zombie nail look, try out this tutorial. You will need a base coat, gray nail polish, black nail polish, white nail polish, and thin brush. Start by applying a base coat, then use the gray polish to create a base color. Next, use the black polish to create a smoky effect on each nail. Use the white polish to add details, such as bones or stitches. Finish with a top coat for some undead zombie nails that can be worn any time of the year. Now that you have 10 amazing zombie nail art tutorials at your disposal, you can unleash your creativity and embrace your inner zombie. Remember to have fun with these designs and make them your own. Happy Halloween!10. "Undead Zombie Nails Tutorial"

10. "Undead Zombie Nails Tutorial"


Creating the Ultimate Zombie Nail Art: A Step-by-Step Tutorial

Introduction
 Are you ready to take your nail game to the next level? Look no further, because we have the perfect tutorial for you - zombie nail art! This trend has been taking the beauty world by storm, with its creepy and cool designs that are perfect for Halloween or just a fun night out. With just a few simple steps, you can transform your nails into the undead and wow everyone with your killer style. So grab your nail polish and let's get started on creating the ultimate zombie nail art.
Step 1: Gather Your Supplies
 Before we begin, make sure you have all the necessary supplies. You will need a base coat, a top coat, black nail polish, green nail polish, red nail polish, white nail polish, a small brush or toothpick, and some rubbing alcohol. You can also add in some other colors like gray or purple for a more unique look.
Step 2: Start with a Base Coat
 To keep your nails healthy and strong, always start with a base coat. This will also help your nail polish adhere better and last longer. Apply a thin layer of base coat on each nail and let it dry completely.
Step 3: Create a Grungy Background
 Using your black nail polish, paint each nail with a rough and uneven coat. This will serve as the base for your zombie design. Don't worry about being perfect, the messier the better! You can also add in some gray or purple for a more dynamic look.
Step 4: Add Some Gore
 Now it's time to add some blood and guts to your zombie nails. Dip your small brush or toothpick into the red nail polish and create random drips and splatters on each nail. This will give the illusion of fresh blood on your undead fingers.
Step 5: Create the Zombie Skin
 Using your green nail polish, paint random patches on each nail to create the look of decaying zombie skin. You can also add in some white to create a more mottled effect. Don't be afraid to get creative and experiment with different shades and textures.
Step 6: Add the Finishing Touches
 To really make your zombie nails pop, use some rubbing alcohol to smudge and blend the colors together. This will give a more realistic look to your undead nails. You can also add in some extra details like stitches or scars using a toothpick or small brush and black nail polish.
Step 7: Seal the Deal with a Top Coat
 Once your design is complete, let it dry completely and then apply a top coat to seal it in and give it a glossy finish. This will also help your zombie nails last longer and prevent any chipping.
Congratulations, you now have the ultimate zombie nails! With just a few simple steps, you can rock this spooky and stylish look. So go out and show off your killer zombie nail art to the world. Happy Halloween!
Once your design is complete, let it dry completely and then apply a top coat to seal it in and give it a glossy finish. This will also help your zombie nails last longer and prevent any chipping.
Congratulations, you now have the ultimate zombie nails! With just a few simple steps, you can rock this spooky and stylish look. So go out and show off your killer zombie nail art to the world. Happy Halloween!


